Yes another relaxing Christmas item from Daisy’s that I did a demo for on Hochanda TV.
This is such a fun project using the chlkboard kit and adding holly leaves from the accessories!
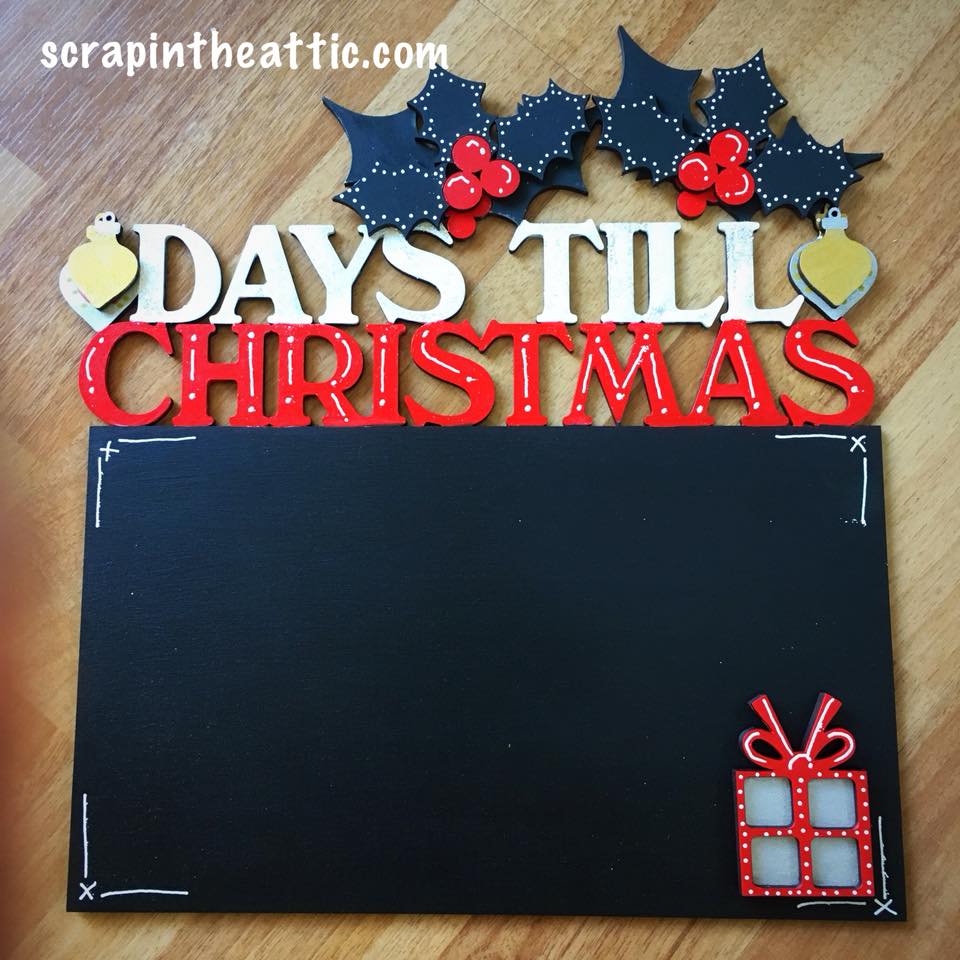
The Decoart Chalkboard paint is easy to use, I like to apply with a sponge and add a couple of layers as its going to get some wear and tear in December!
The holly was painted Black-Green to show off the red berries, I will add Glossy Accents to give a shine.
I restricted the pallette to bright Christmas colours and silver sparkle. The highlights were with white Posca Pen which works really well with acrylic paints, which I used throughout.
The kits are available from Daisy’s Jewels Crafts.
Enjoy
Jan xx
]]>I had lots of interest in the technique I applied on the Christmas Frame.
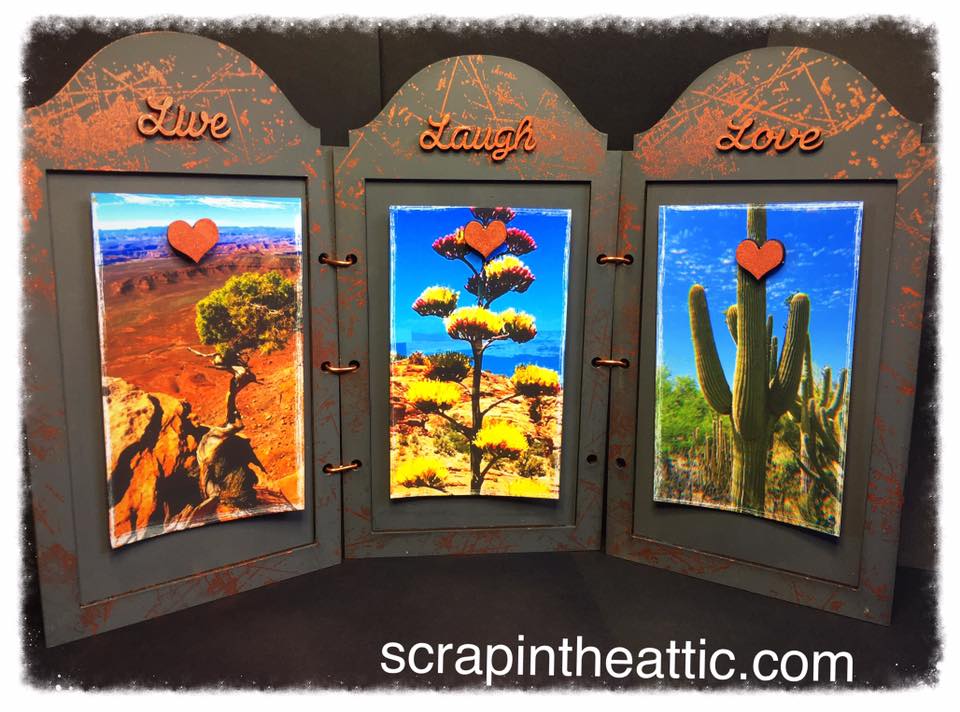
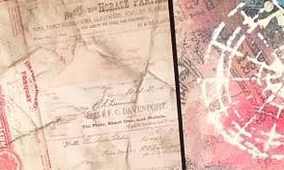
First apply a coat of Titan Buff acrylic paint to the backing and the frame and dry. No need to wipe residue or gesso.
Take a brown Archival ink pad, I used Potting Soil from Wendy Vecci. Drag the pad in lines across each piece, turning as you finish each stripe, easy!!
I used Guilding Flakes to cover the script and two embellishments, also from Daisy’s pack.
I used Daisy’s mdf glue to hold the mdf in the slots.
Buy the kits and glue at Daisy’s Jewels and Crafts
Enjoy x
I am showcasing Daisy’s MDF range on Sunday, July 8th, two live shows at 10am and 2pm.
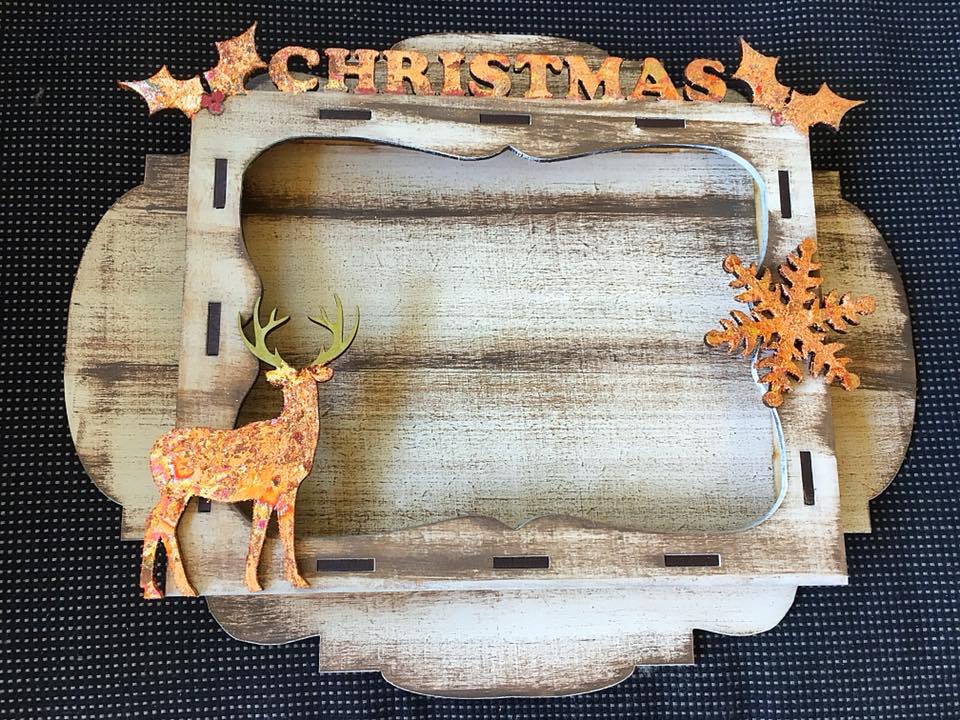
I went to the studios last Wednesday for an Induction Day. I had a filmed demo and prepped this frame.
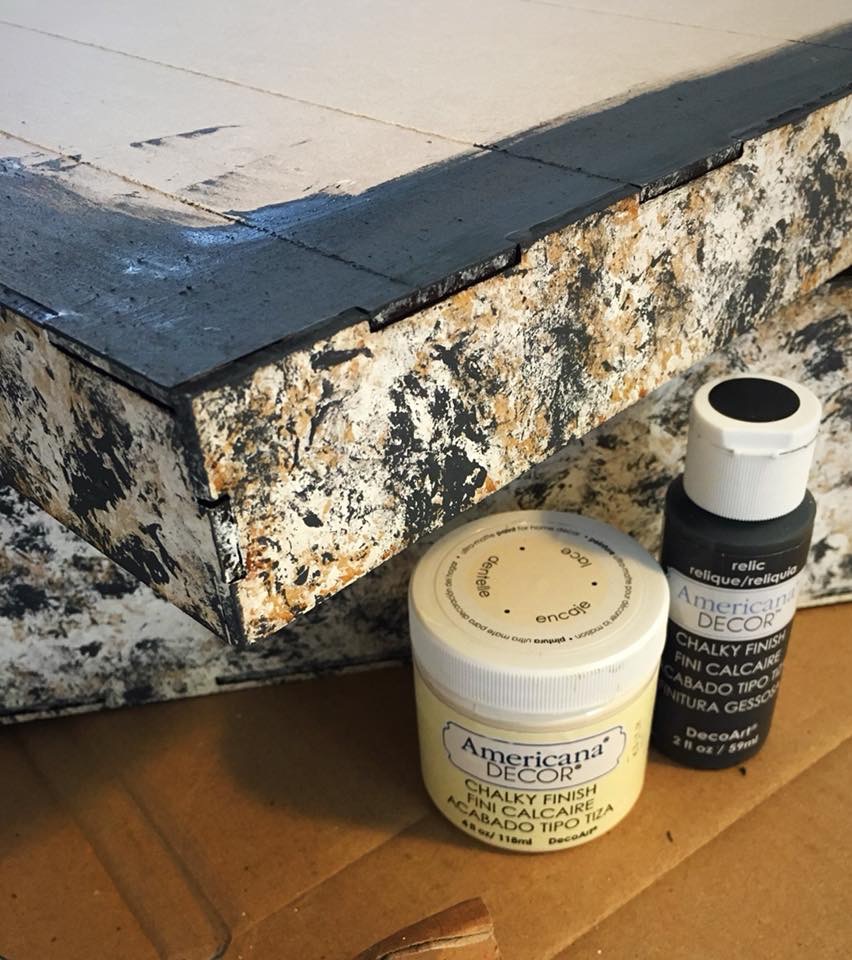
 I began by painting both frame and backing with DecoArt Chalky Paint in Relic. I brayered a splatter stamp with Copper Docraft paint, random stamping on the frames. Please don’t forget to clean your stamp immediately of the paint will dry. Use any spare paint to cover sentiments and embellishments.
I joined the frames together with florist copper wire. cut about 3 inches and bend into a U shape, push through the adjoining holes and bend across at the back., I left a gap to show at my demo!
The photos are attached with self-adhesive magnets. A small piece stuck on the back of the hearts and the other section on the backing.
The photos can be changed as you wish.
Hope you like the frame, available from Daisy’s Jewels and Crafts.
Hope you can join me on Hochanda!
Jan x
]]>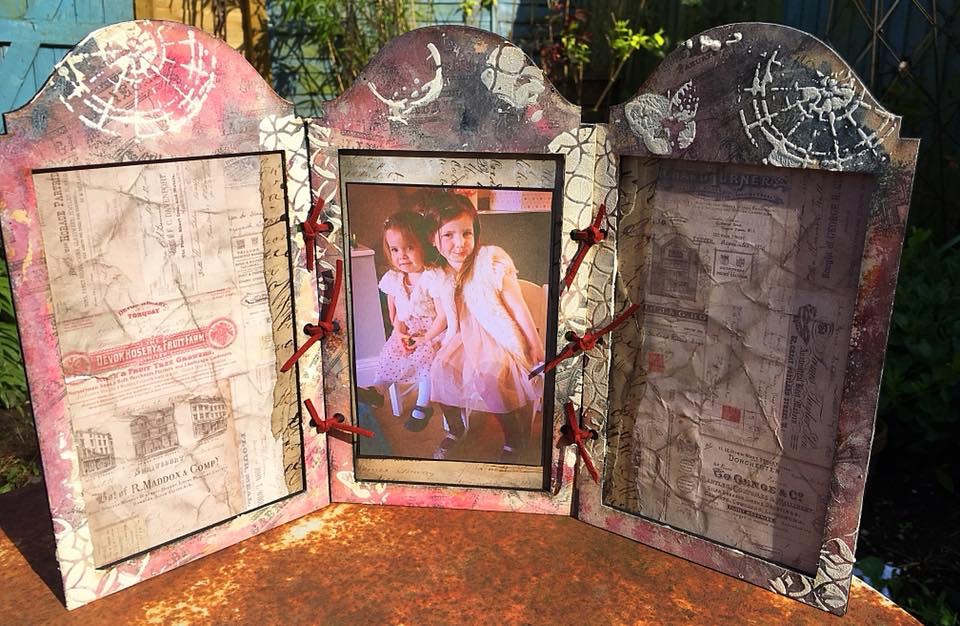
This triple frame was perfect for my granddaughters photo! They were ready to go to a party.The frame is a Daisy and Jewels kit.
I was actually in a hotel room when I created it so very little required to complete the look!
The frames were smooshed through watery paint. I used DecoArt acrylic paint, Quin Magenta, Paynes Grey and Titan Buff. I squeezed a little of each on a craft mat, sprayed with water and dragged the mdf through.
Butterflies and text were stamped on with Archival Potting Soil.
I used an old stencil from my stash with White Crackle paint.
Each frame was covered with TH papers, scrunched and inked. A strip of DecoArt tissue paper finished the look.

I joined the frames with strips of maroon suede.
Hope you like it x
]]>
I love the Scrapberry papers in this set and wanted to use my favourite for the box lid, to match the storage box I have made previously.
The mdf colour works well with the paper so I used Decoart chalk paint Relic and Lace.
I “scrambled” the paint on with scrunched kitchen towel to get the effect I wanted. I painted a border of Relic to set off the paper on the lid.
Perfect to fit papers inside!
hope you like this quick and easy project
Jan x
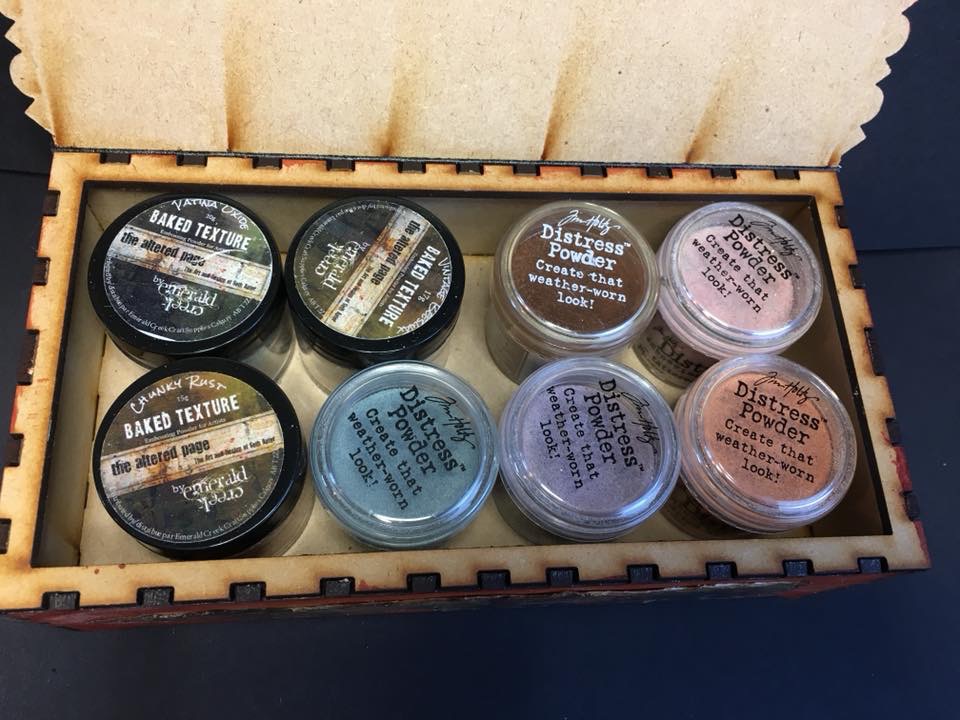
]]>After a play I put them on a pencil box from Daisy’s Jewels which is the perfect size to hold the jars.
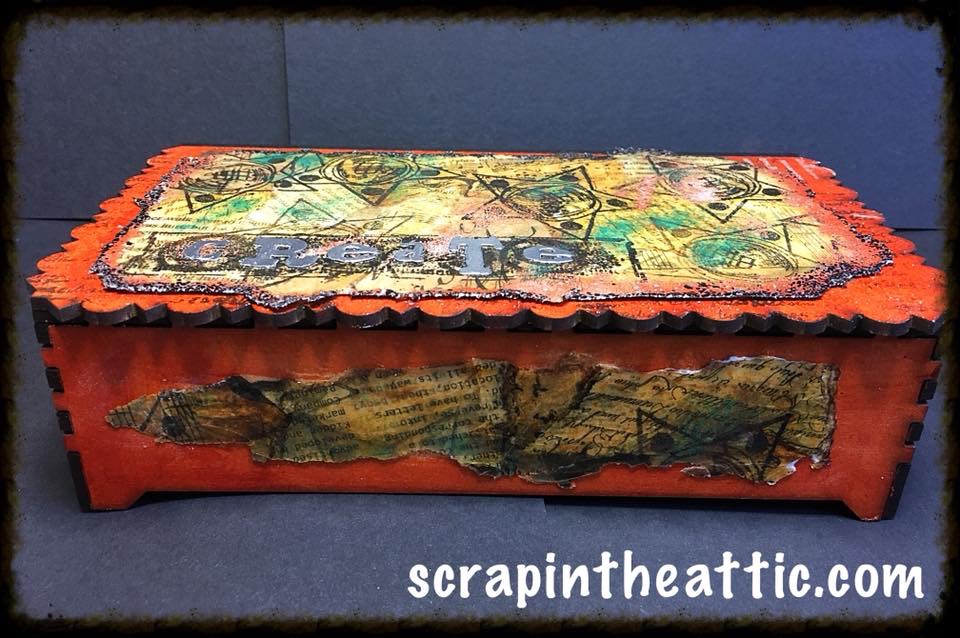
I started with a sheet of watercolour paper I covered in small pieces of collage papers, tissue paper, scrapbook paper and old book pages. The edges were inked with Vintage Photo DI.
I stamped the next layer with Seth Apter star and Archival ink.
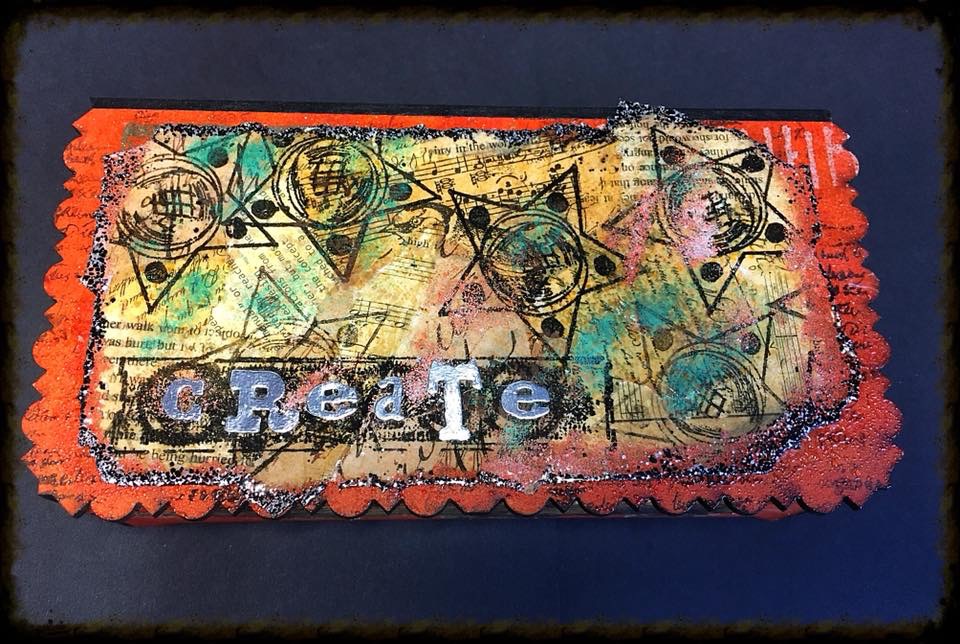
Then the fun!!! Three layers of Vintage Beeswax then sprinkles of Chunky Rust and Vintage Patina into the hot melted powder. The sides of the lid piece were edges with Tarnidhed Black powder. I added silver letters cut from a TH die.
When it was cool the backing peeled off the edges and tore into strips which I glued onto the sides and top. I had to weight it down whilst it was drying.
I assembled the box and painted it with DecoArt Quin Gold. I left the inside plain as I like the appearance.
The lid was hinged with strong black tape.
]]>
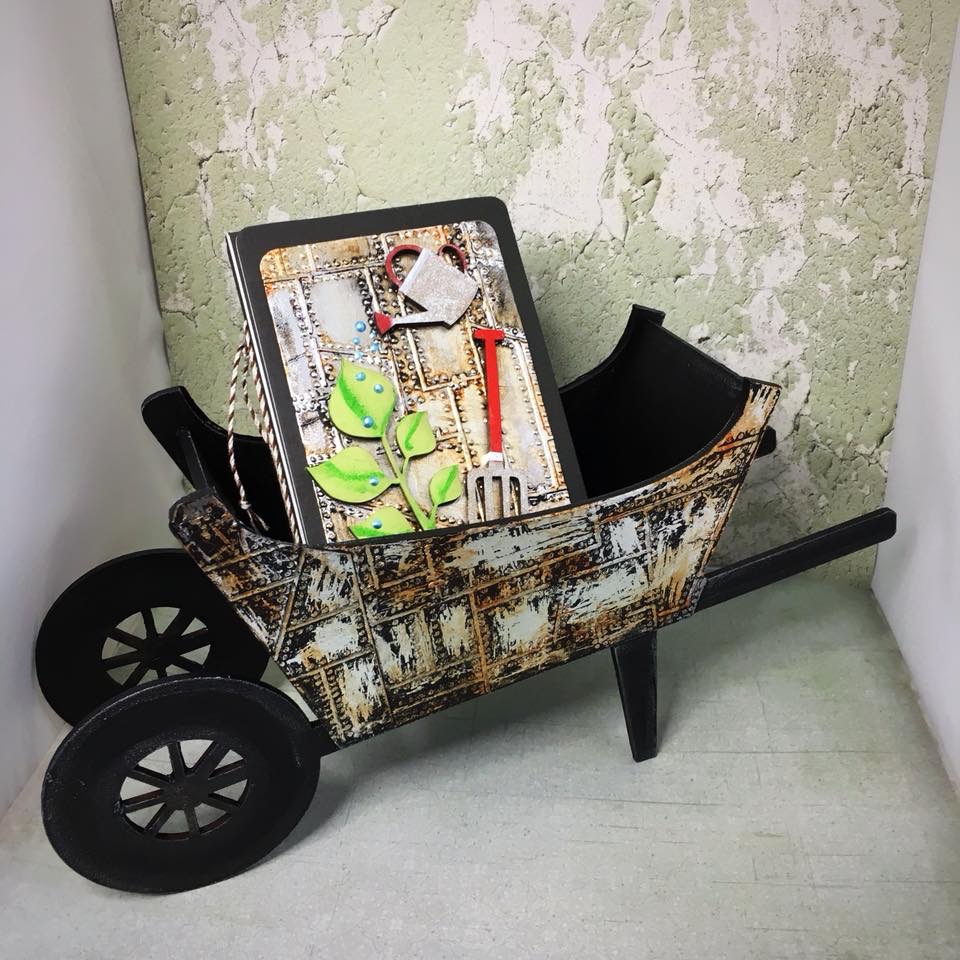
The theme is flowers and gardening.
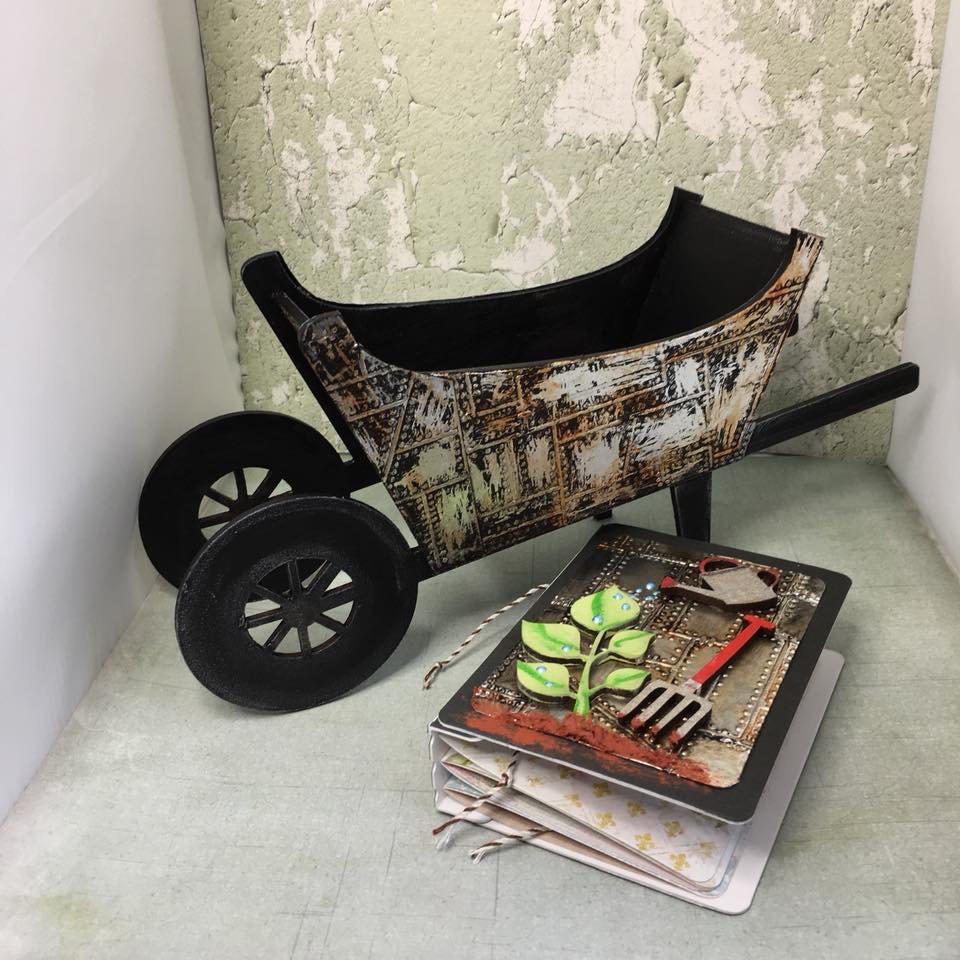
I used Tim Holtz industrial embossing folder with plumbers tape and craft card. Decoart paints created the rusty effect. The gardening journal is Eileen Hull Passport die as the base.
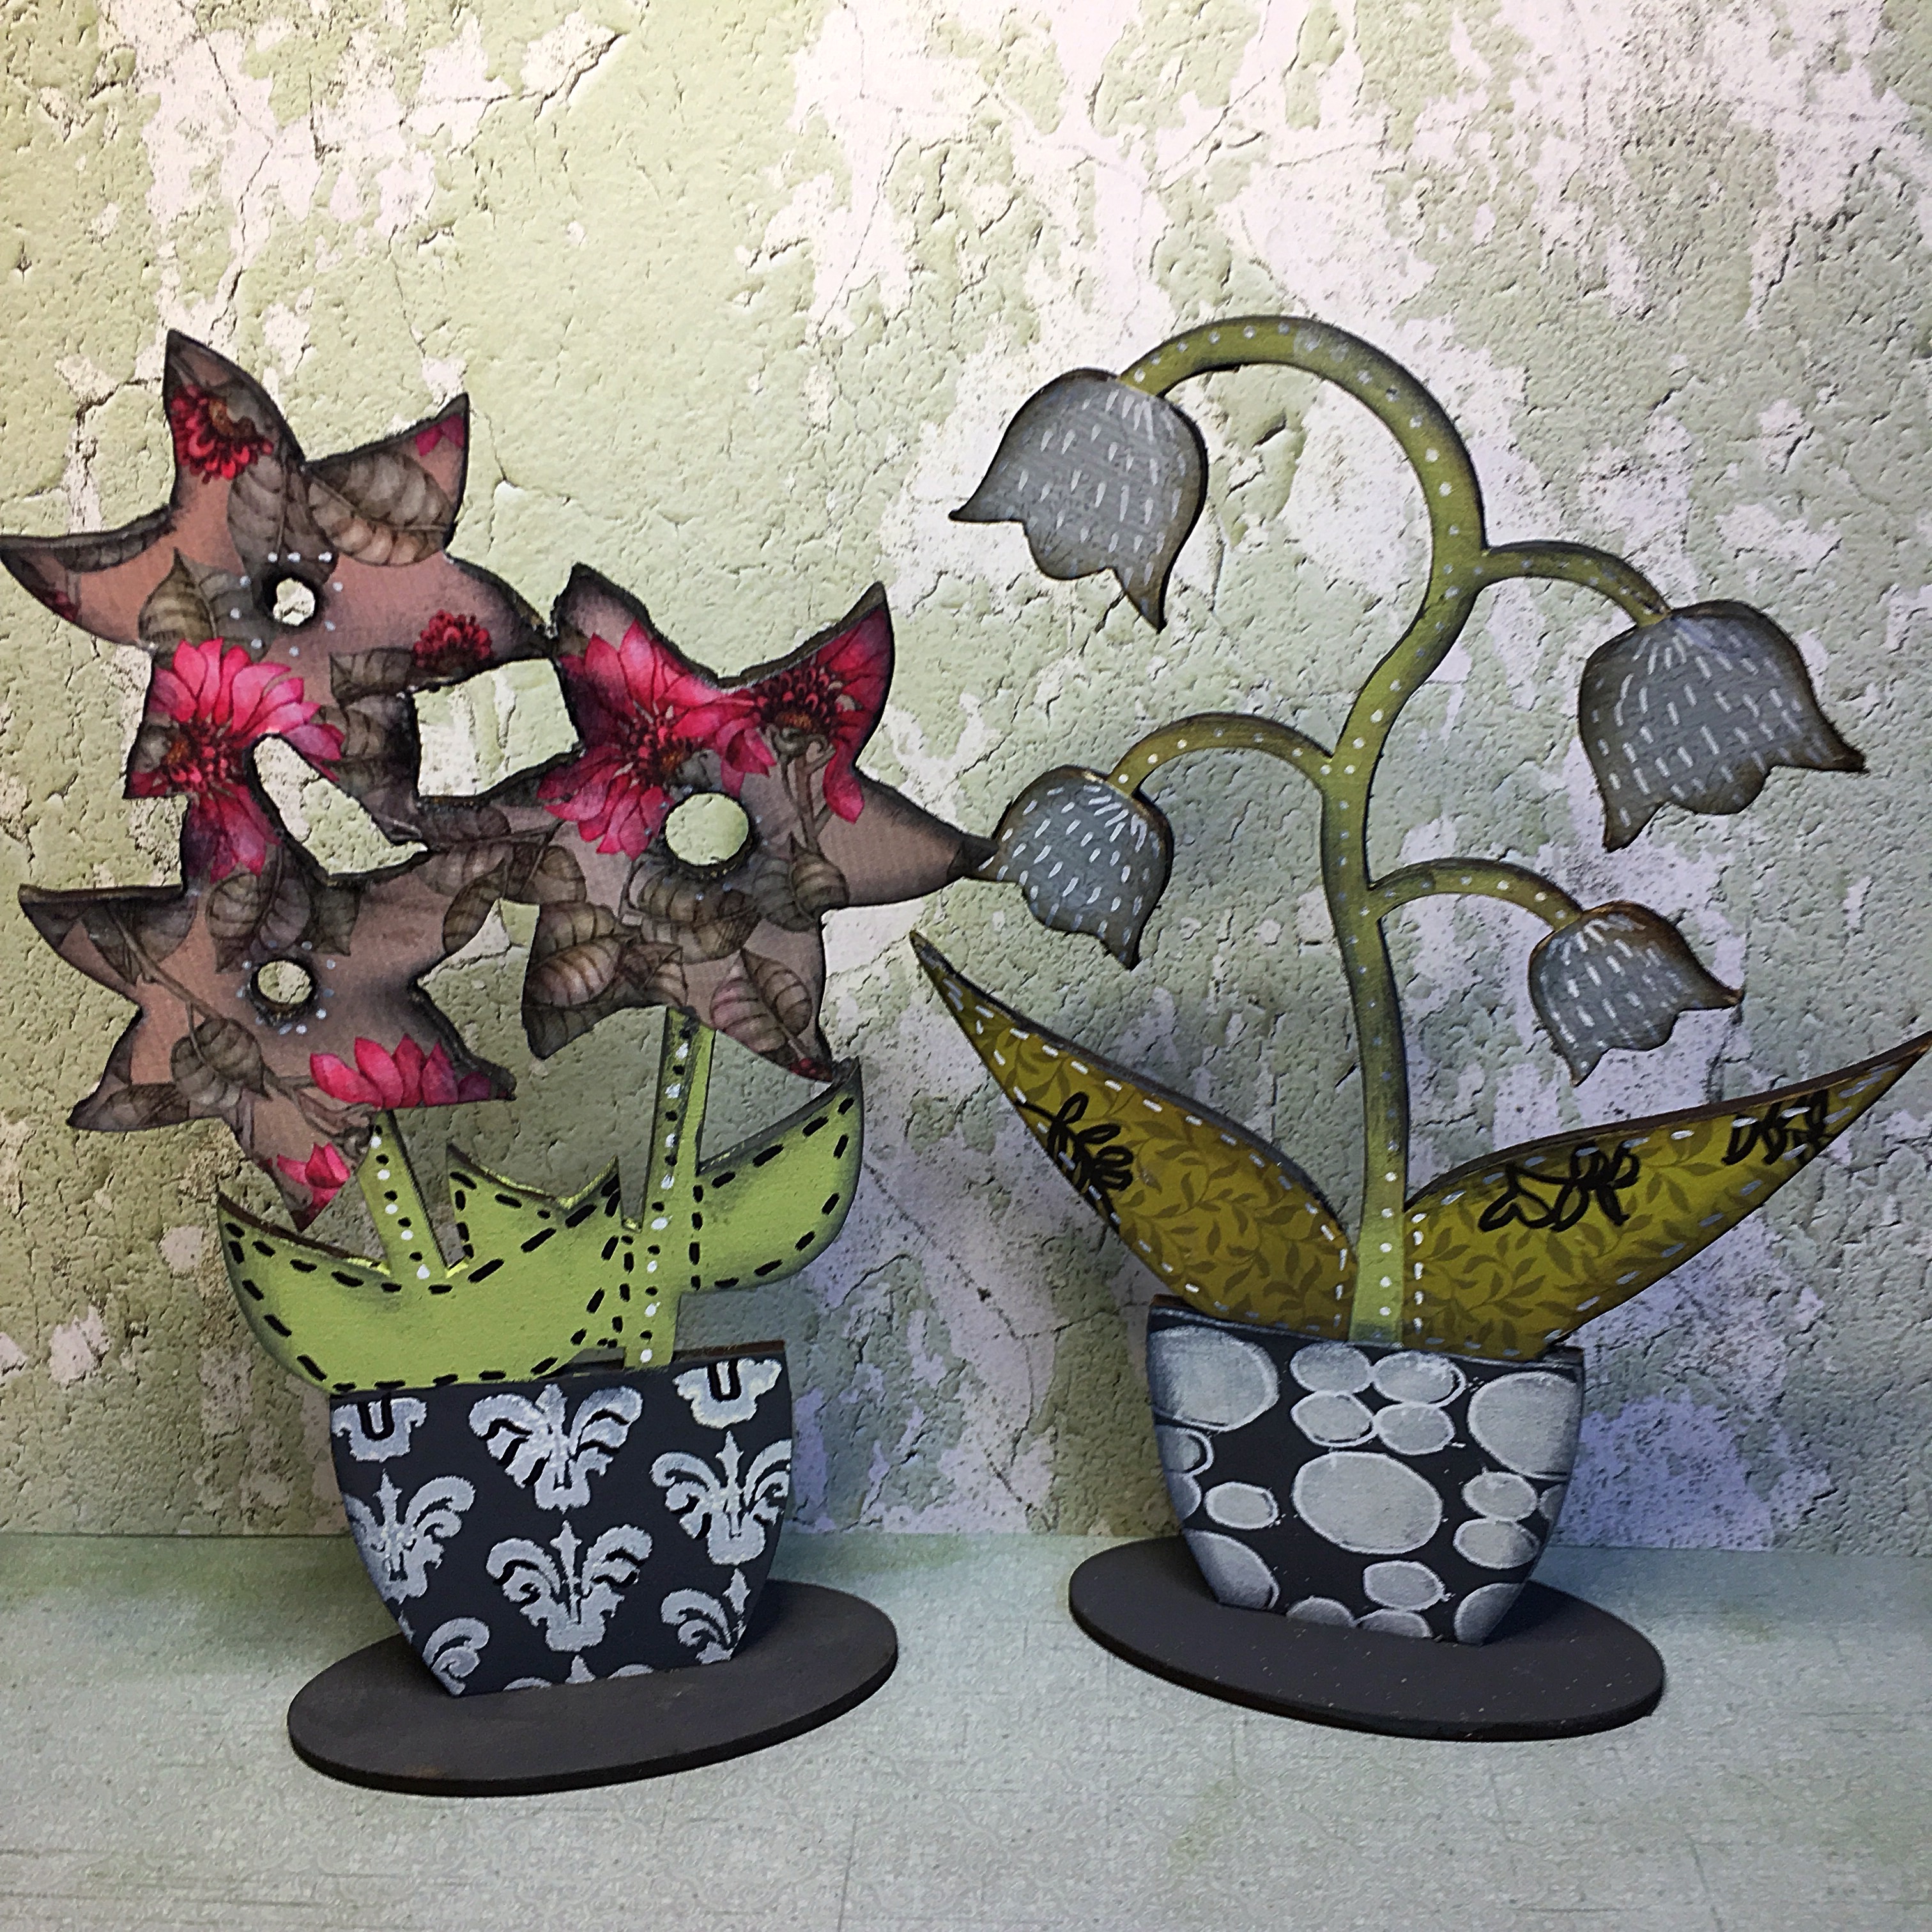
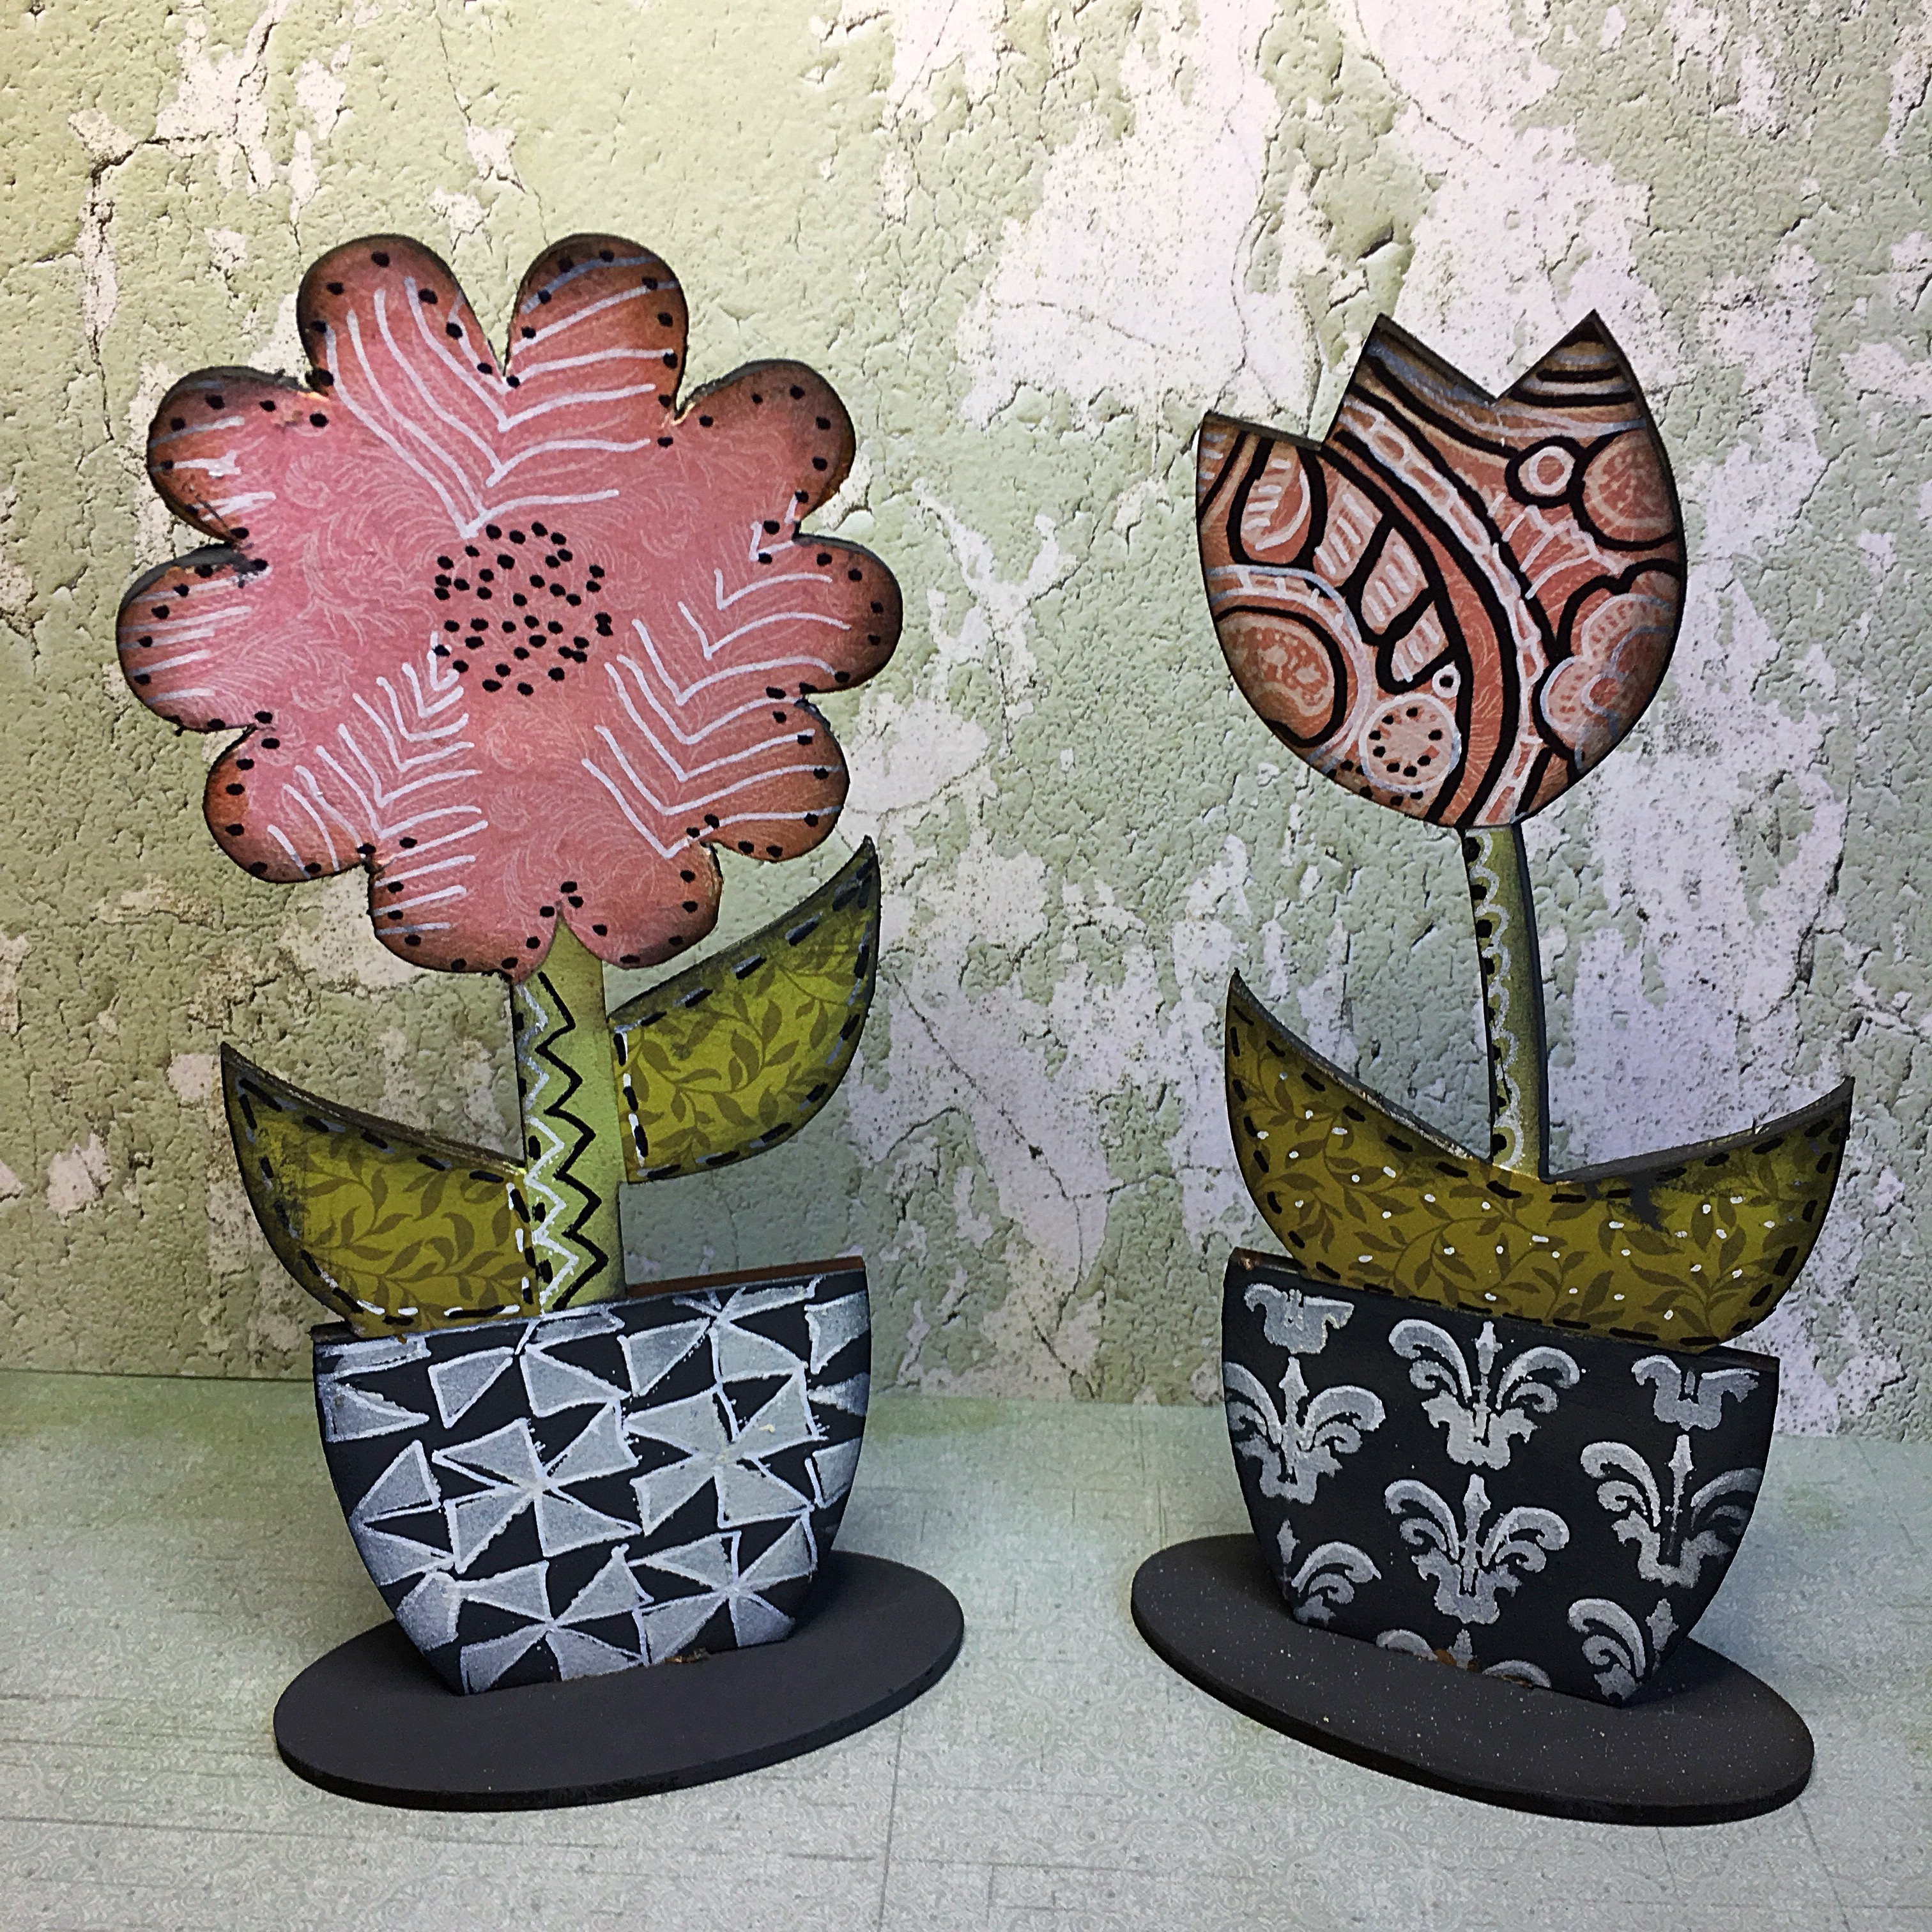
The flower vase was also covered in Scrapberry paper andPaperartsy paint.
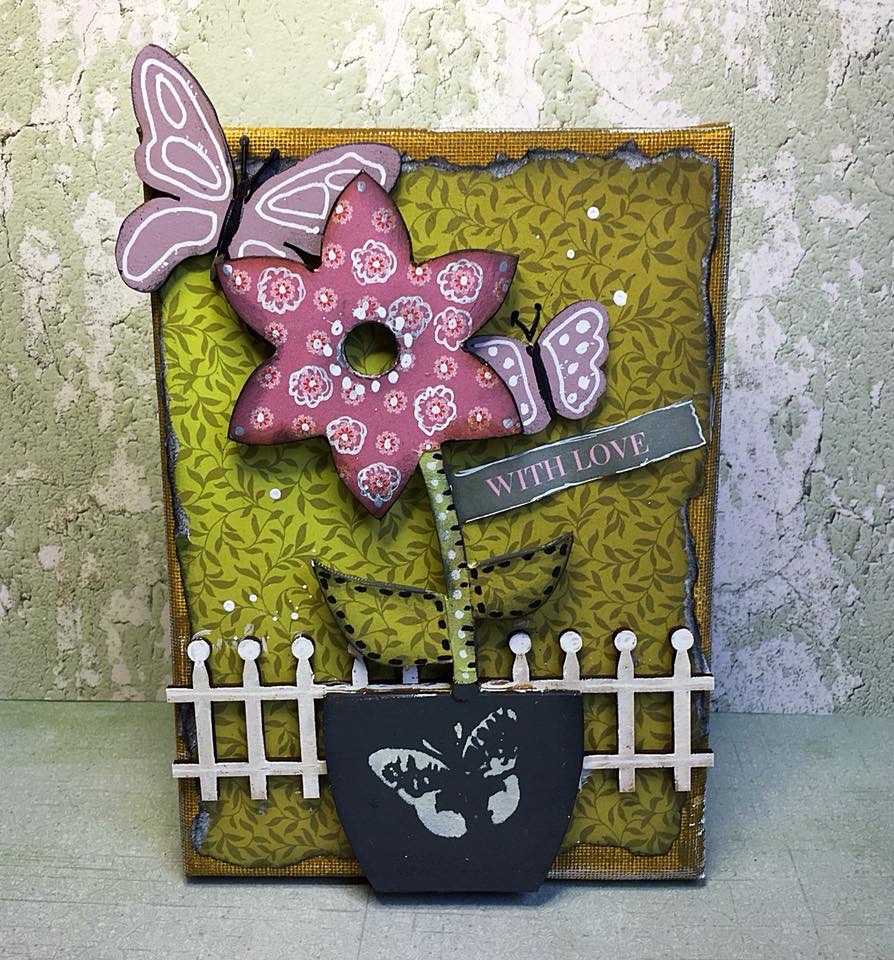
I used another flower to make a small Mothers Day canvas.
Be sure to watch the shows!
Hugs
Jan x
]]>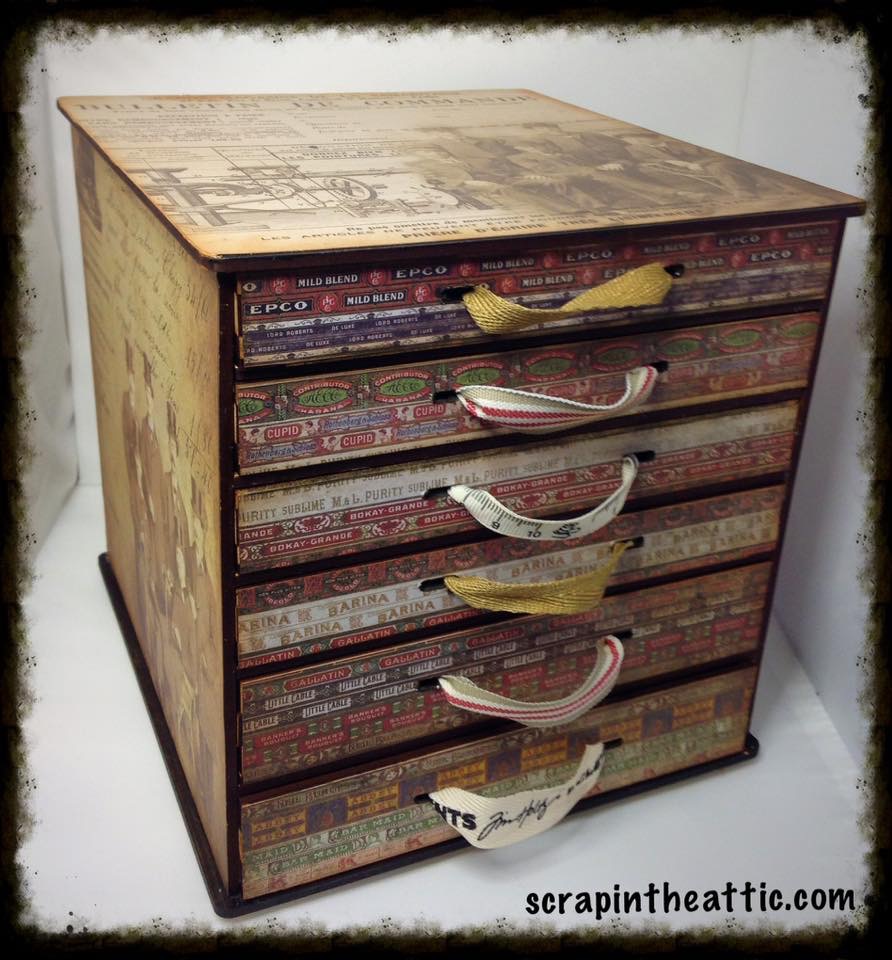
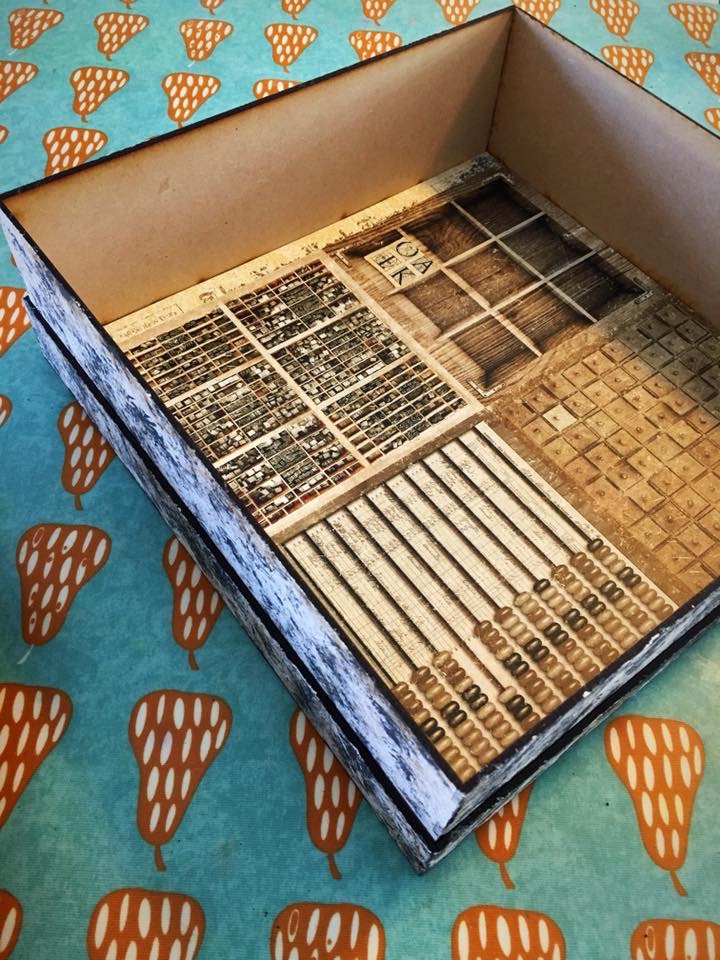
I love this stencil drawer from Daisy’s. The mdf fits together easily, the drawers have letters to match. I used Daisy’s glue and painted the edges black when it was dry.
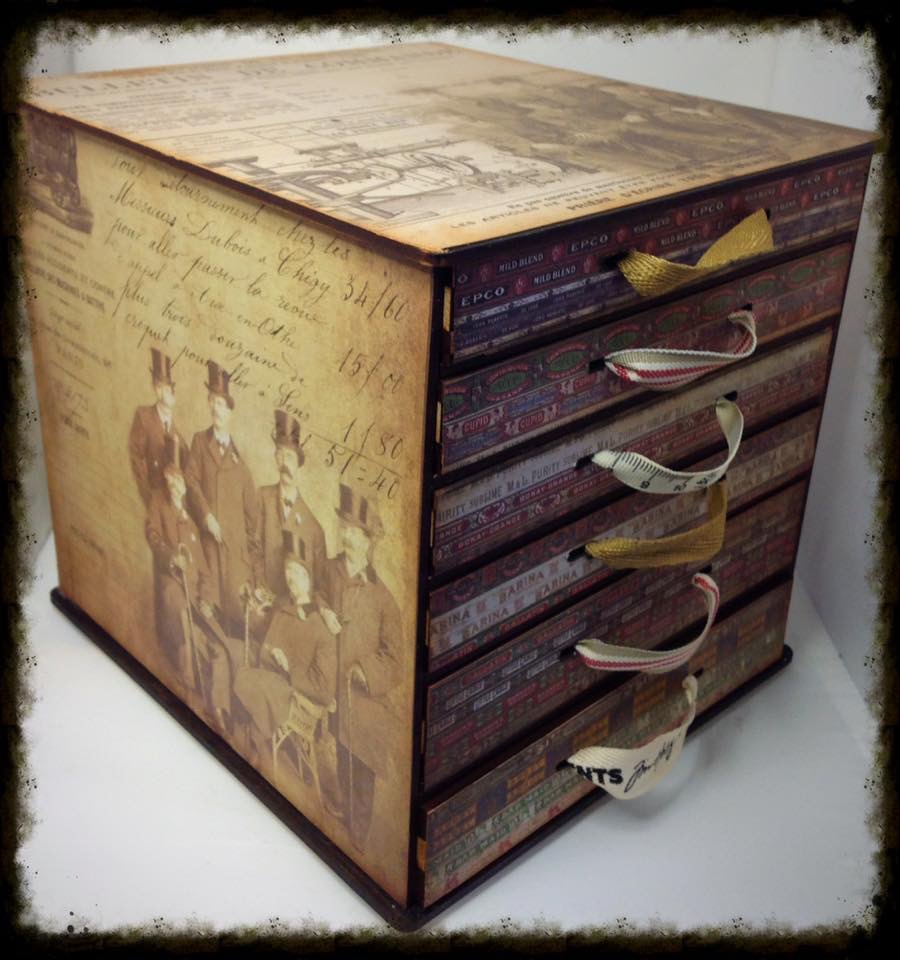
I wanted to show my new Tim Holtz paper pad, the 8×8 inch was perfect to fit on the sides and top. I inked the edges with Vintage Photo DI.
The drawers were strips from the same collection. There are mdf drawer pulls but I wanted to use ribbon because it showed off the papers. I poked a hole through where the mdf should slot in and threaded to ribbon, knotting it at the back.
The draws are perfect for stencil storage.
Hope you enjoy creating yours!
Hugs
Jan x
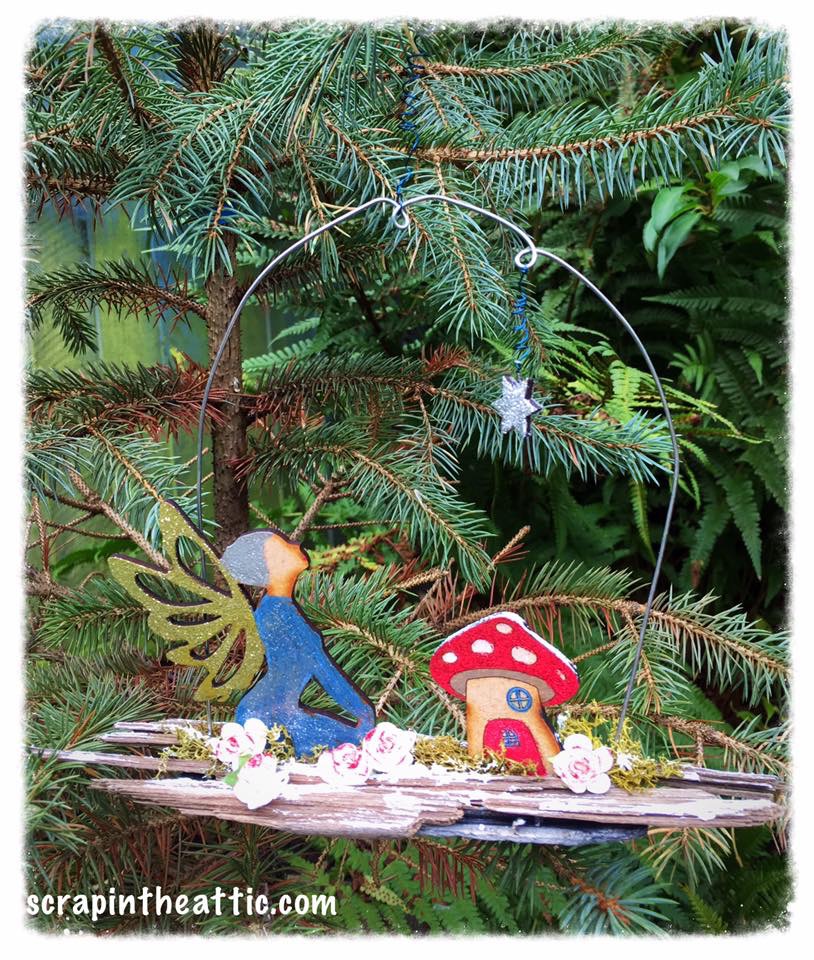
I was just nspired by a small piece of driftwood I found on Brighton Beach.
I cut a piece of corrugated card smaller than the wood and broke the driftwood into pieces to glue on being able to slot the mdf shapes between.
I used alcohol ink pens to colour the mdf. The star was then dipped into embossing powder, heated then glittered with TH glass glitter.
The fairy had silver power embossed on her hair, gold over the wing and clear tinsel on her dress. The blue on the mushroom was embossed to link with her dress. She also has red embossed lips to match the toadstool.
I added moss and paper roses to fill the gaps.
I had send florist wire to curve the shape, adding loops for the hanging wire and star.
The final touch was 3 D snow!
Hope you enjoy, I am inspired to make some Christmas wreaths a similar way!
Hugs
Jan x
]]>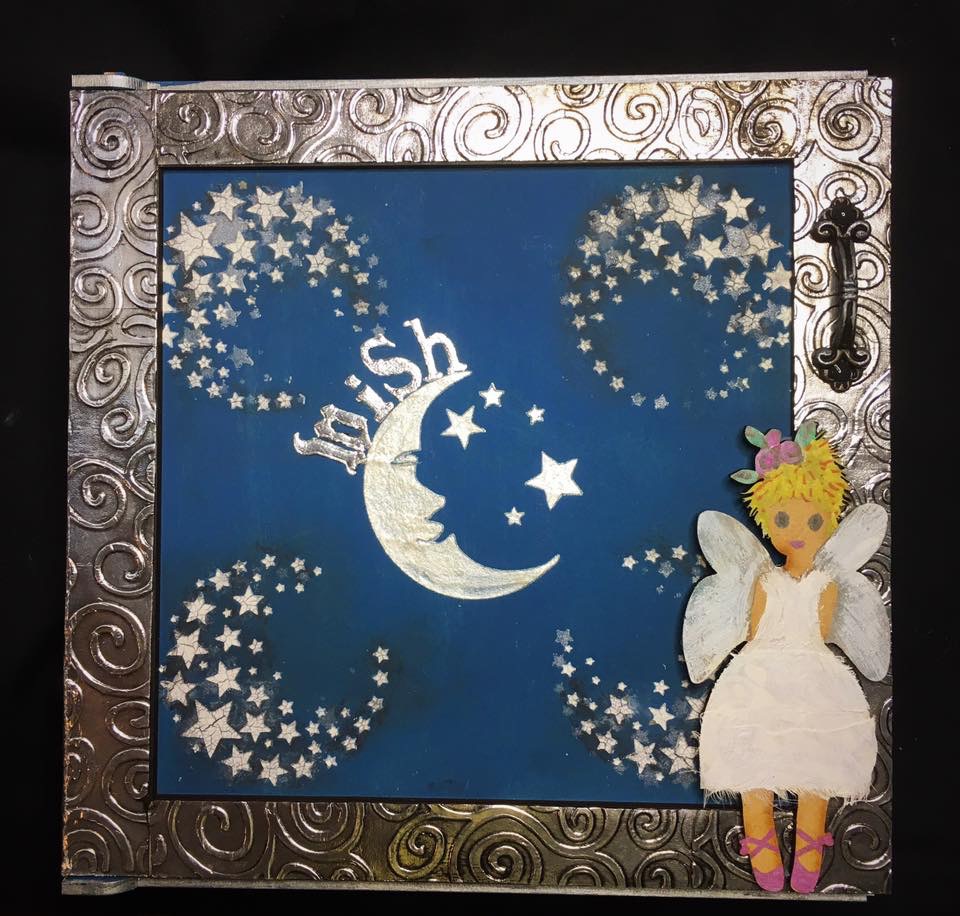
I really enjoyed making this cupboard with two shelves inside. The front is hinged to open.
i played with the new Daisy stencils, moon and stars using silver paint, Crackle paste and Pearlescent Texture Paste.
the frame was covered in embossed silver duck tape.
The mdf fairy was coloured with alcohol pens and sari silk on her dress.
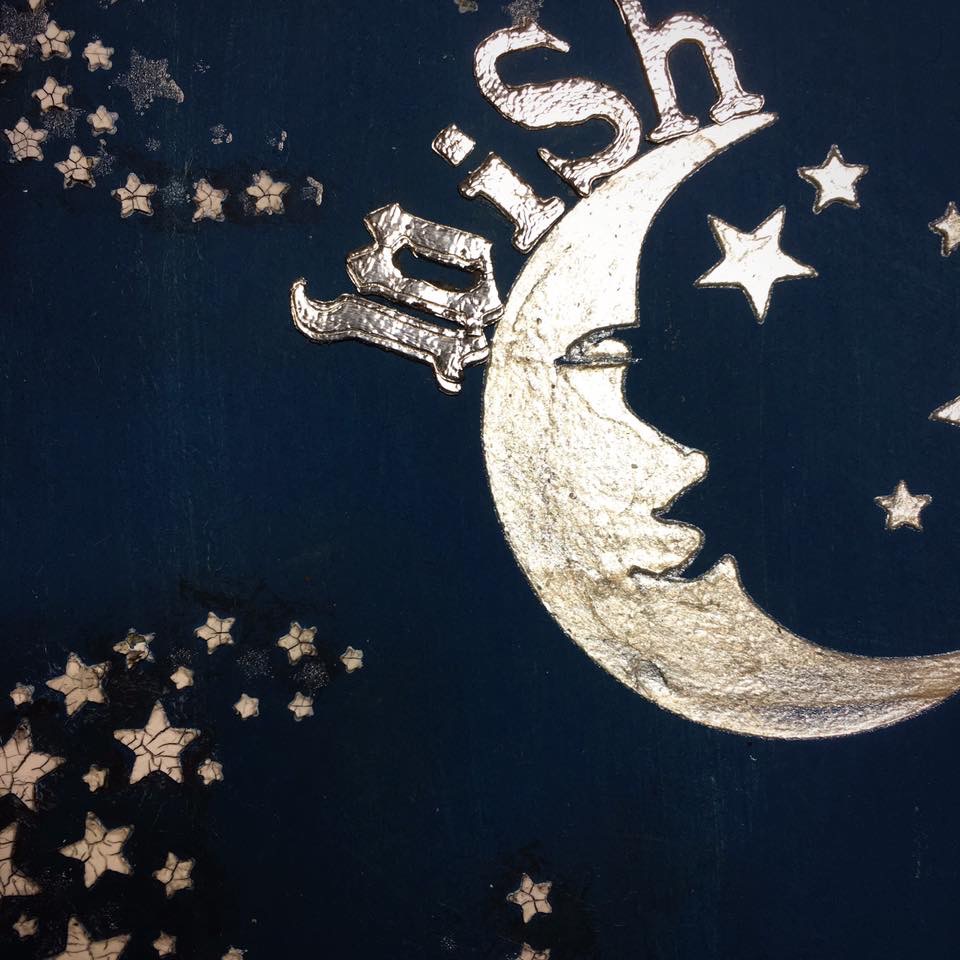
A close up of the stencilling.
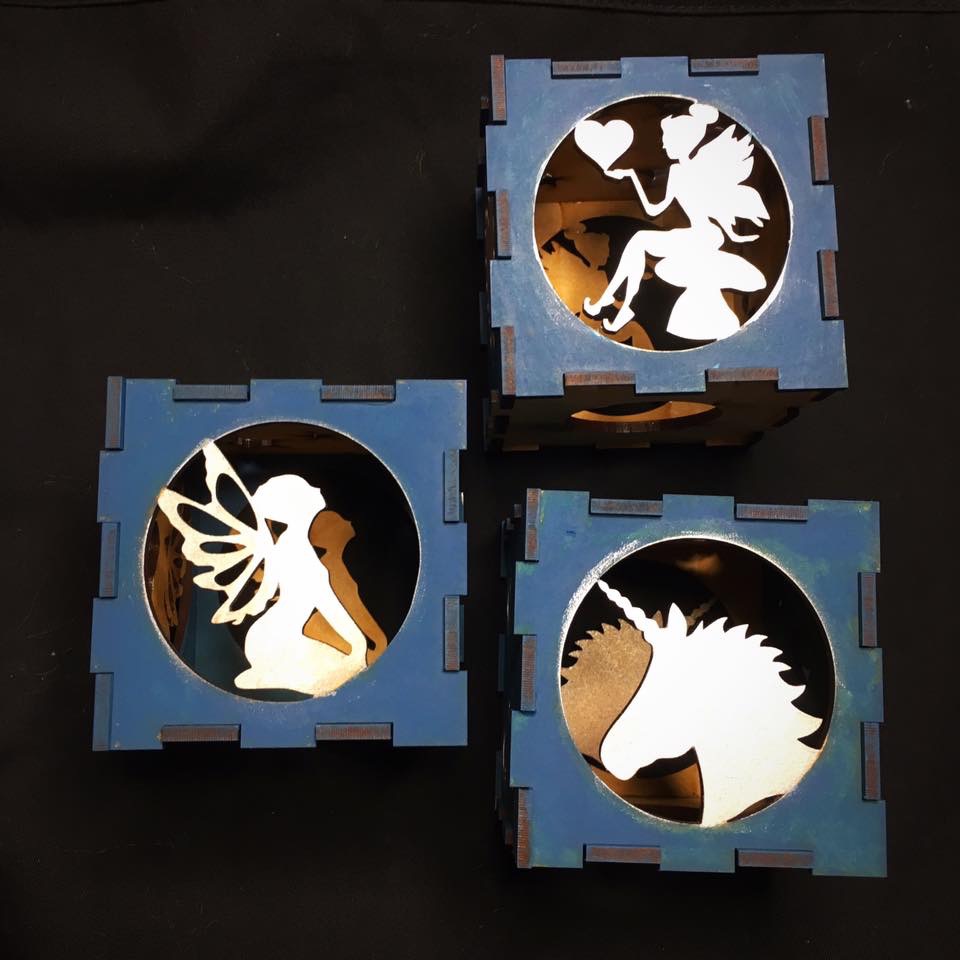
I painted with metallics the cute nightlight holders. I know who wants these for Christmas!
enjoy the show x
]]>