Mothers Day card and gift box

Posted on

image

It’s March again, the year is flying by! Mothering Sunday is close and I made a card and matching gift box using G 45 Artisan papers and stickers.

image

I layered both sides of the Decorative Flourish paper with black to cover a black card. I used the buckle from Chipboard 1 and a Cardstock sticker in the center.

I love this alphabet, it reminds me of Charles Rennie Macintosh style. All the papers and letters were edged in black. The belt is a glossy black card which doesn’t show up in the photo but adds a nice contrast. I put a strip of lace underneath inked with Distress Ink Tea Dye.

image

The gift box started life as a tin of travel sweets I picked up at the airport. I cut a strip of paper to cover the side and stuck lace around the middle. Then I added a die cut circle of paper on the lid with a card label.

The rose and the leaf papers are from Artisan Style Patterns and Solids which were die cut with TH Tattered Pinecone. A couple of dots of glossy accents completed the tin.

This was a fun project, the Graphics 45 papers all mixed and matched so well.

This is my second project for Jones Design Team, hope you like it.

Hugs

Jan x


Graphic 45 Spring Night Lights!

Posted on

image

I love Christmas decorations around our home, I have lots of candles and fairy lights everywhere. The house looks so dull afterwards that I thought I would make a Spring Night Light feature for our mantelpiece.

The Graphic 45 Artisan Style papers were perfect with the G45 Window Shadow Box . A lot of fussy cutting from the first page, Artisan Style. I cut 2 of the door motif for the central recess and layered them to allow room to open the main doors. I used panels from Creative Ideal and the Ephemera pack for the sides and glossy accented the patterns.

image

I love the peacock and he seemed perfect to be strutting along the front and the colourful flowers balanced on the left. The flowers were cut from Decorative Flourish.

image


image


The flickering battery night lights looked very plastic so I made covers from paper in the Patterns and Solids. I used Martha Stewart punch round the top to give an extra pattern with the lights. I actually used green paper in the end rather than blue in the photo.


The piece needed some height so I added Tim Holtz legs!

This is my first project as a member of the Jones Design Team, I really enjoyed using the papers.

Hope you enjoyed looking, thanks for dropping in, please leave me a comment.

Hugs

Jan x


Wings – The Mirror Crack’d DT

Posted on

Wings
Our theme  at The Mirror Crack’d for this month is Wings. We want to see ANYTHING (apart from cards) you can create with wings.

Our host is Lin, and she will be choosing our Winner and Top 5.

Instead of a physical prize this month we would like to offer our Winner a Guest Designer spot for a future challenge.

imageWe hope our fabulous Design Team can inspire you. Please pop by their blogs and show them your appreciation.

I created a shadow box and used my favourite G45 paper to make the picture, I added mechanical wings to the female to let her fly, the poor thing looks so sad! I added feathers and butterflies in the bottles. The frame has lots of distress elements. It was fun to make but difficult for me to move away from butterflies, birds and dragonflies to stick to the Wings challenge!


I painted the frame with Distress Paint in shades of blue and green plus some copper. I painted Distress Crackle Paint in Old Linen over the top in areas, love this effect. Some crackle paints seem to work better than others and this is the one for me!

image

This is my favourite G45, Old Curiosity Shoppe paper, I have been saving for ages, the time has come to put it on display. I put glossy accents on different motifs to highlight them and added wings made from Plumbers Tape. The tape is stuck onto card then dry embossed with TH Cogs and Gears folder, then painted black and the paint wiped off after a couple of minutes so the black only and adheres in the recesses.

I had some irridescent  feathers in my stash which were perfect to tuck into the roller skating boot and a small bottle to continue the wings theme.


I had to get some butterflies in somewhere, so rubbed D I stress markers on my TH Pappillon stamp, stamped and cut them out and put them in a bottle.

image

I finished with cogs die cut from and on the edge die

then embossed with Vintage Photo powder and

a couple of card tags from the G45 set.

I hope you have been inspired by the team

I am looking forward to seeing your creations!

Please leave me a message, I appreciate your visit.

Hugs

Jan x


Junk in your trunk! OCC March Challenge

Posted on
image

The finished cupboard

Today is the start of the March Challenge from Our Creative Corner!

Create something out of any kind of junk and re-fashion it either into something useful, functional or beautiful for                                                        the JUNK IN YOUR TRUNK challenge this month.

Candice, our host, is leaving the challenge open to your interpretation of what constitutes “Junk”

I am leaving the challenge open to your interpretation of what constitutes “Junk”.
It may mean a set of hideously patterned china that you want to smash up and a make a mosaic…
It may mean reams of patterned paper you have lying around that you turn into a collage masterpiece…
It may mean doing something with skeins of wool that you intended to make a a sweater with…
It may mean doing something with rusty keys,nuts and bolts and random pieces of wire that you pick up off the street…
It may mean using the strings on an old harp to make a cheese-cutter…
It may mean making a robot out of Aluminium Roof Flashing!!!

You can create whatever you want to, however you want to and with whatever you want to.

The only rules are that your project MUST contain something that you have reclaimed or recycled. ”


image


I started the transformation by adding die cut cogs from TH on the edge range. I used fine corrugated card so they are quite chunky. The door was covered in glue then thin tissue paper was scrumpled on the make ridges. I used Grunge Paste through a range of stencils to make lots of texture. I added sticky mesh for a different texture.

Where the door overlapped to close a band of embossed Plumbers Tape was run between.

I started collecting metal embellishments from

image my stash, bottle tops, buttons and beads to stick on the front. I used TH clock dies with Plumbers Tape inserts which had been dry embossed with cogs and gears then painted black and baby wiped. ( My favourite technique!)

When I was happy with the arrangements I stuck it all down with Finnabair 3D Paste and added her glass beads to any excess glue around the embellishments.

It looks a real mess at this point! BUT once it is all painted with black gesso then all the highlights tickled with treasure gold WOW!


image This is how I found the CD cupboard in the loft. It had been my daughters 20 years ago! I found some old CDs of her favourites as a teenager.

I now have a place to keep my dies ( And room for more!)

I used Tissue Tape on the edge of the shelves.image

I hope you have been inspired to transform some of your own junk and play along at Our Creative Corner.

The sponsor this month is Crafty Individuals,

you could be the winner or make our top three!

I am looking forward to seeing what you create!

Please leave me a comment, I appreciate reading them,

hugs

Jan x


A Little Thing Can Make You Smile

Posted on

image


Hi everyone, I have made a new page for my Tim Holtz die album. Yes, I was inspired, I just received my new butterfly die with embossing folder!!! I also wanted to use my Garden Greens die and Frameworks Honeycomb.

image

I am entering Linda Ledbetter’s latest challenge 21 on CC3. There are great prizes from the sponsor, Inspiration Emporium.
I started by making a background paper using Wrinkle Free Distress  and then put the Rock Candy Distress technique from Compendium of Curiosities book 3, page 55, however you need your own copy to get the technique.

Unfortunately, the photo doesn’t show the beautiful sparkle in the background. I used Tim’s Distress Damask stamp.


image

image


I mounted the tag onto corrugated card which had been covered with tissue paper, distressed then painted white with Dabber.

I added Honeycomb kraft card embossed with leaves over a Honeycomb inked with Cracked Pistachio. I used Distress Stain to make a background to cut out the leaves.

image

Then the new Butterfly die, I inked the card with Cracked Pistachio and cut the butterflies. I embossed them then inked Black Soot on the raised areas. Super cool effect! I covered them in Glossy Accents. I wound some blue jewellery wire around a thin paintbrush and fashioned a body and antennae. I filled the void with Glossy Accents which stuck them in place.


I made a Tattered Flower using the spare background paper. The middle was created from a washer filled with a mixture of Glossy image3D paste,  mustard Seed DP, Rock Candy Glitter and glass beads.

I was pleased with the effect.

I am also entering A Vintage Journey, Tic Tac Toe challenge, I chose Ribbon, Stain and Die Cuts from the grid.


Please leave me a comment, I love to read them.

Hugs Jan x


Tic Tac Toe

Posted on


image

It is the Our Creative Corner February Challenge! The Design Team have been busy and there are some real treats to look at this month.

imageI  was so excited to have a go at Julia’s Tic Tac Toe, I have to admit I’ve never seen one used before for crafting!

This is what Julia says:

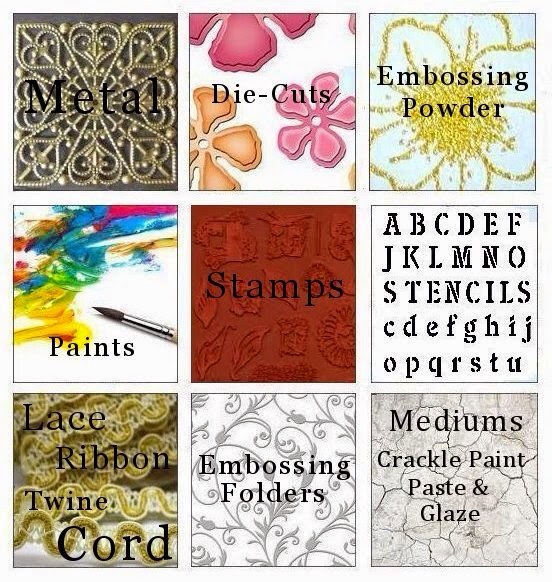
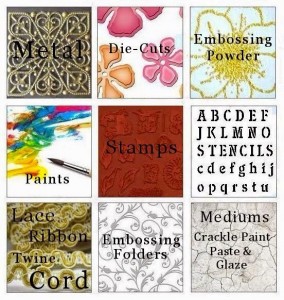
For this challenge please choose one line from the grid shown. This can be a horizontal, vertical or diagonal line but you must select the middle square as one of your choices. What you make is your choice but please ensure that the three items you have chosen are clearly visible on your make.


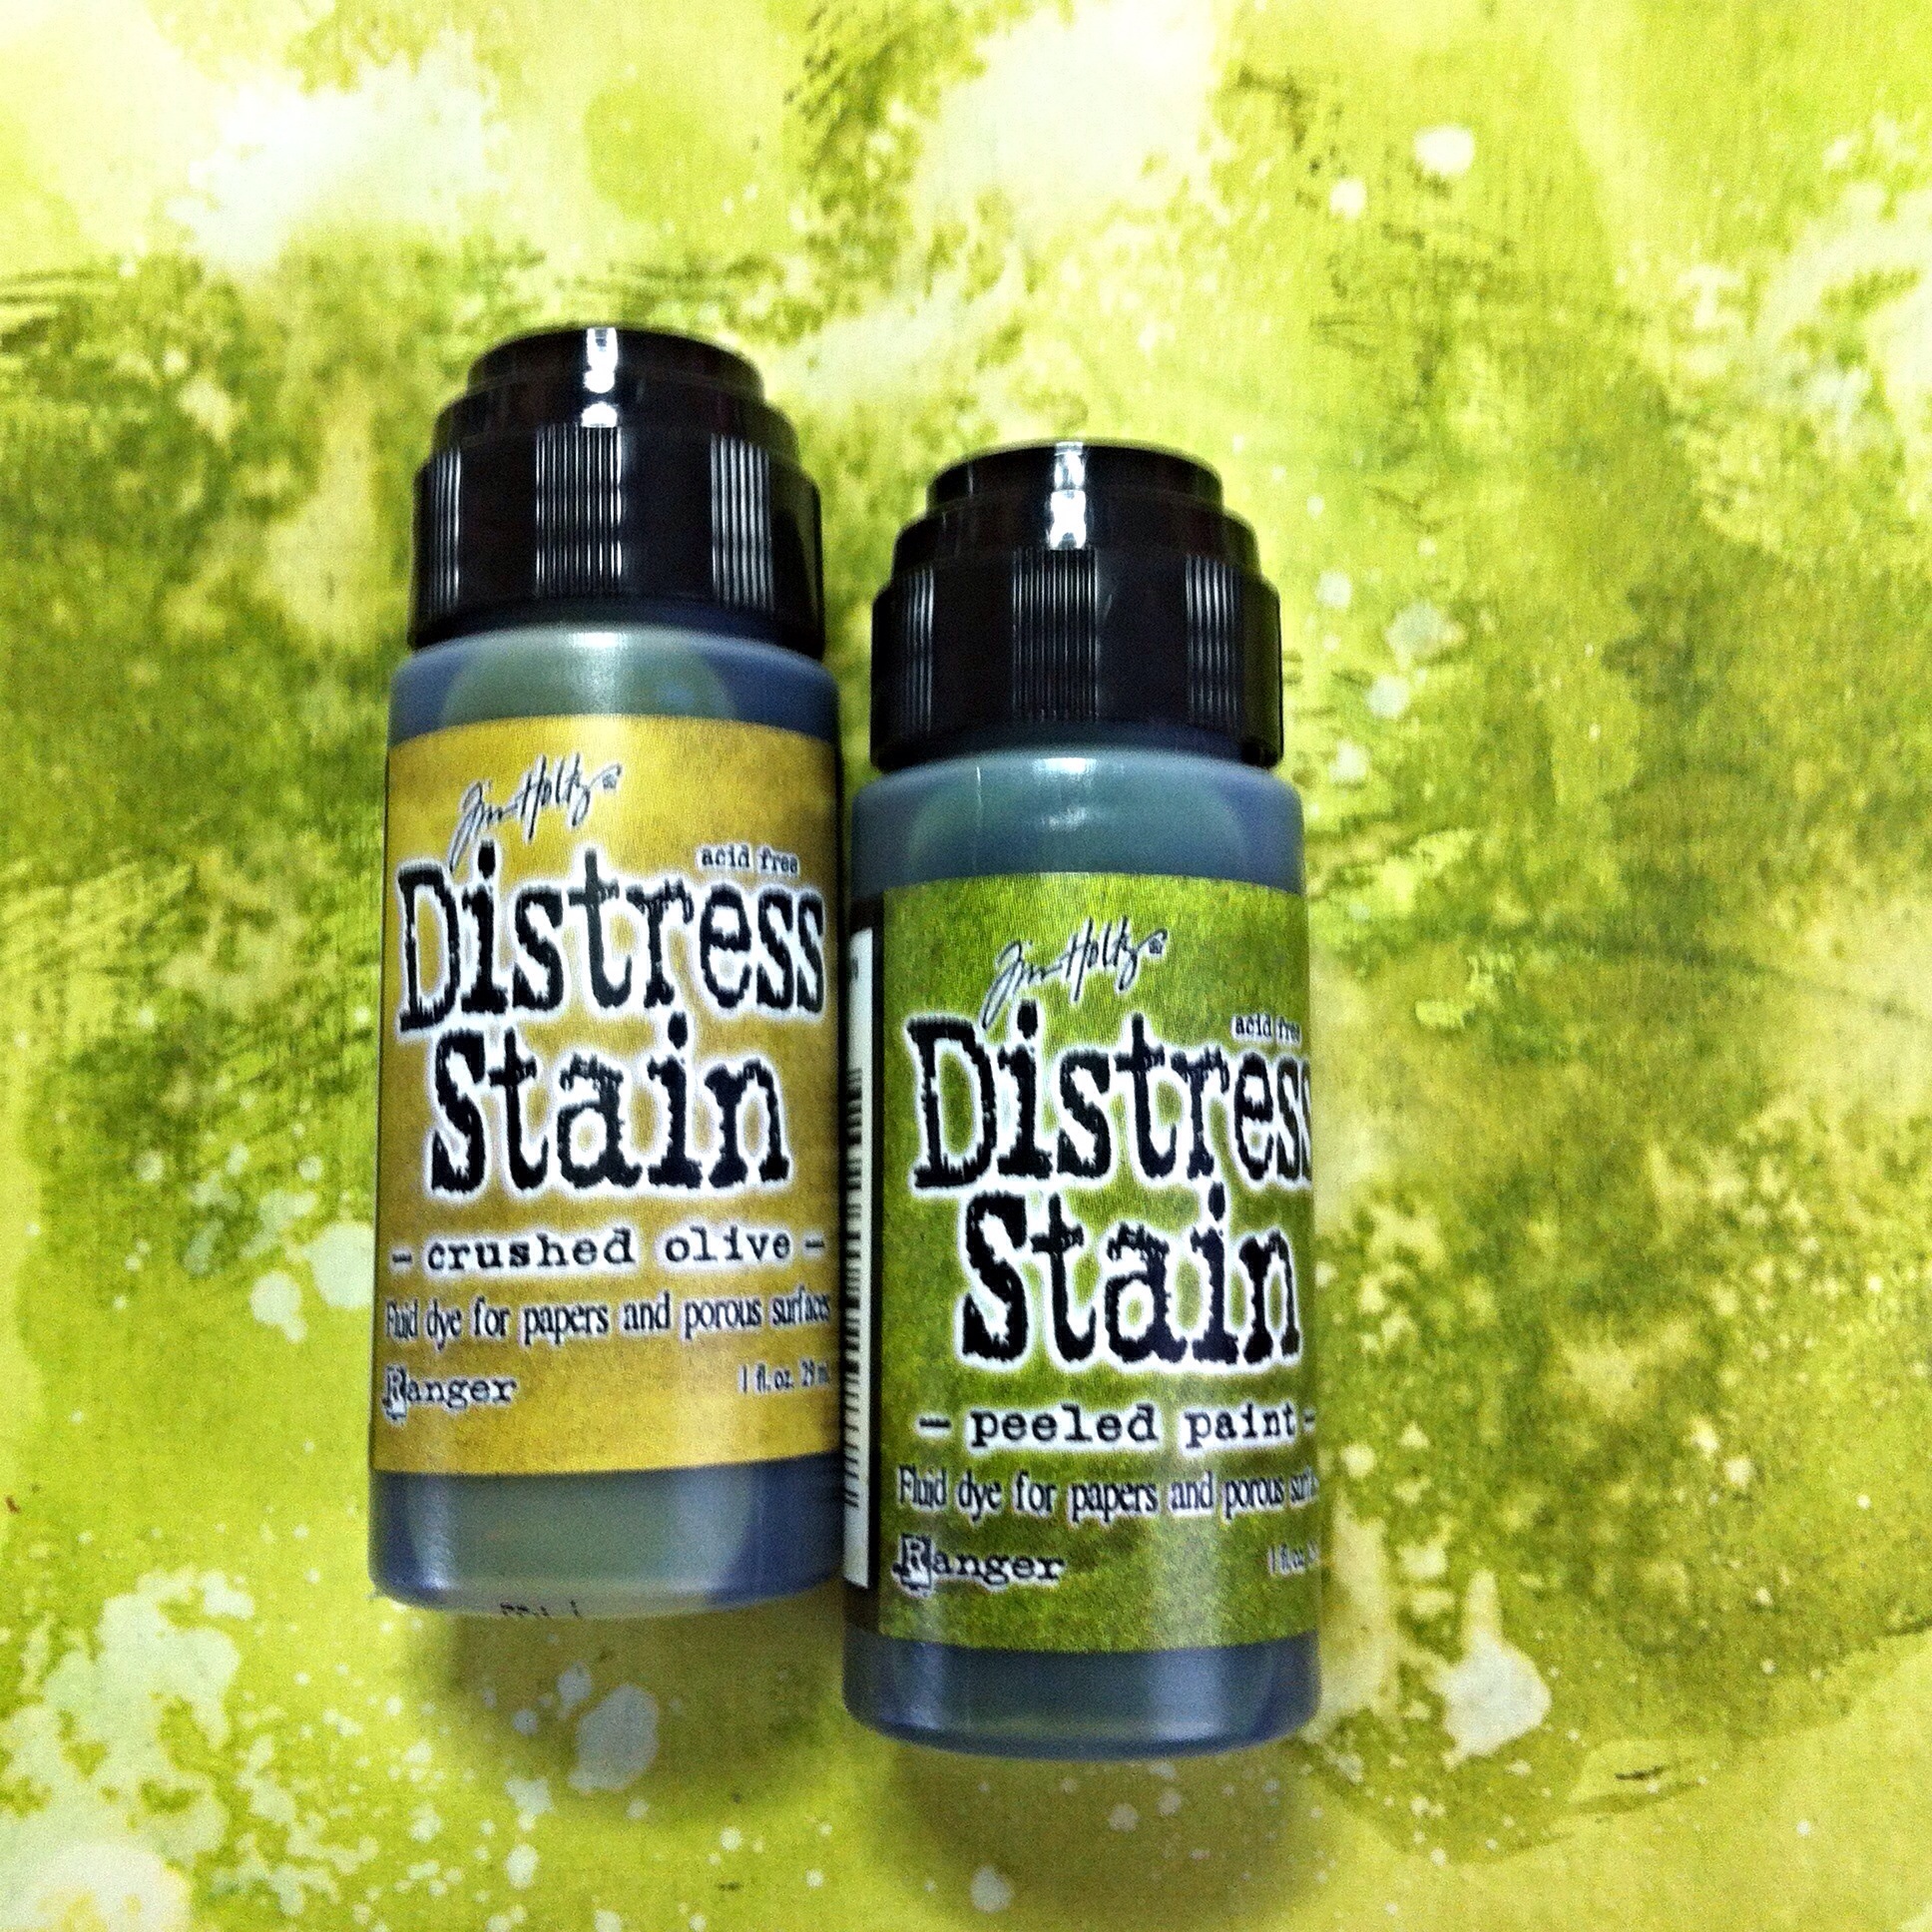
Please state in your post which line you have chosen. Inks, stains, sprays etc can be used as necessary on your project.


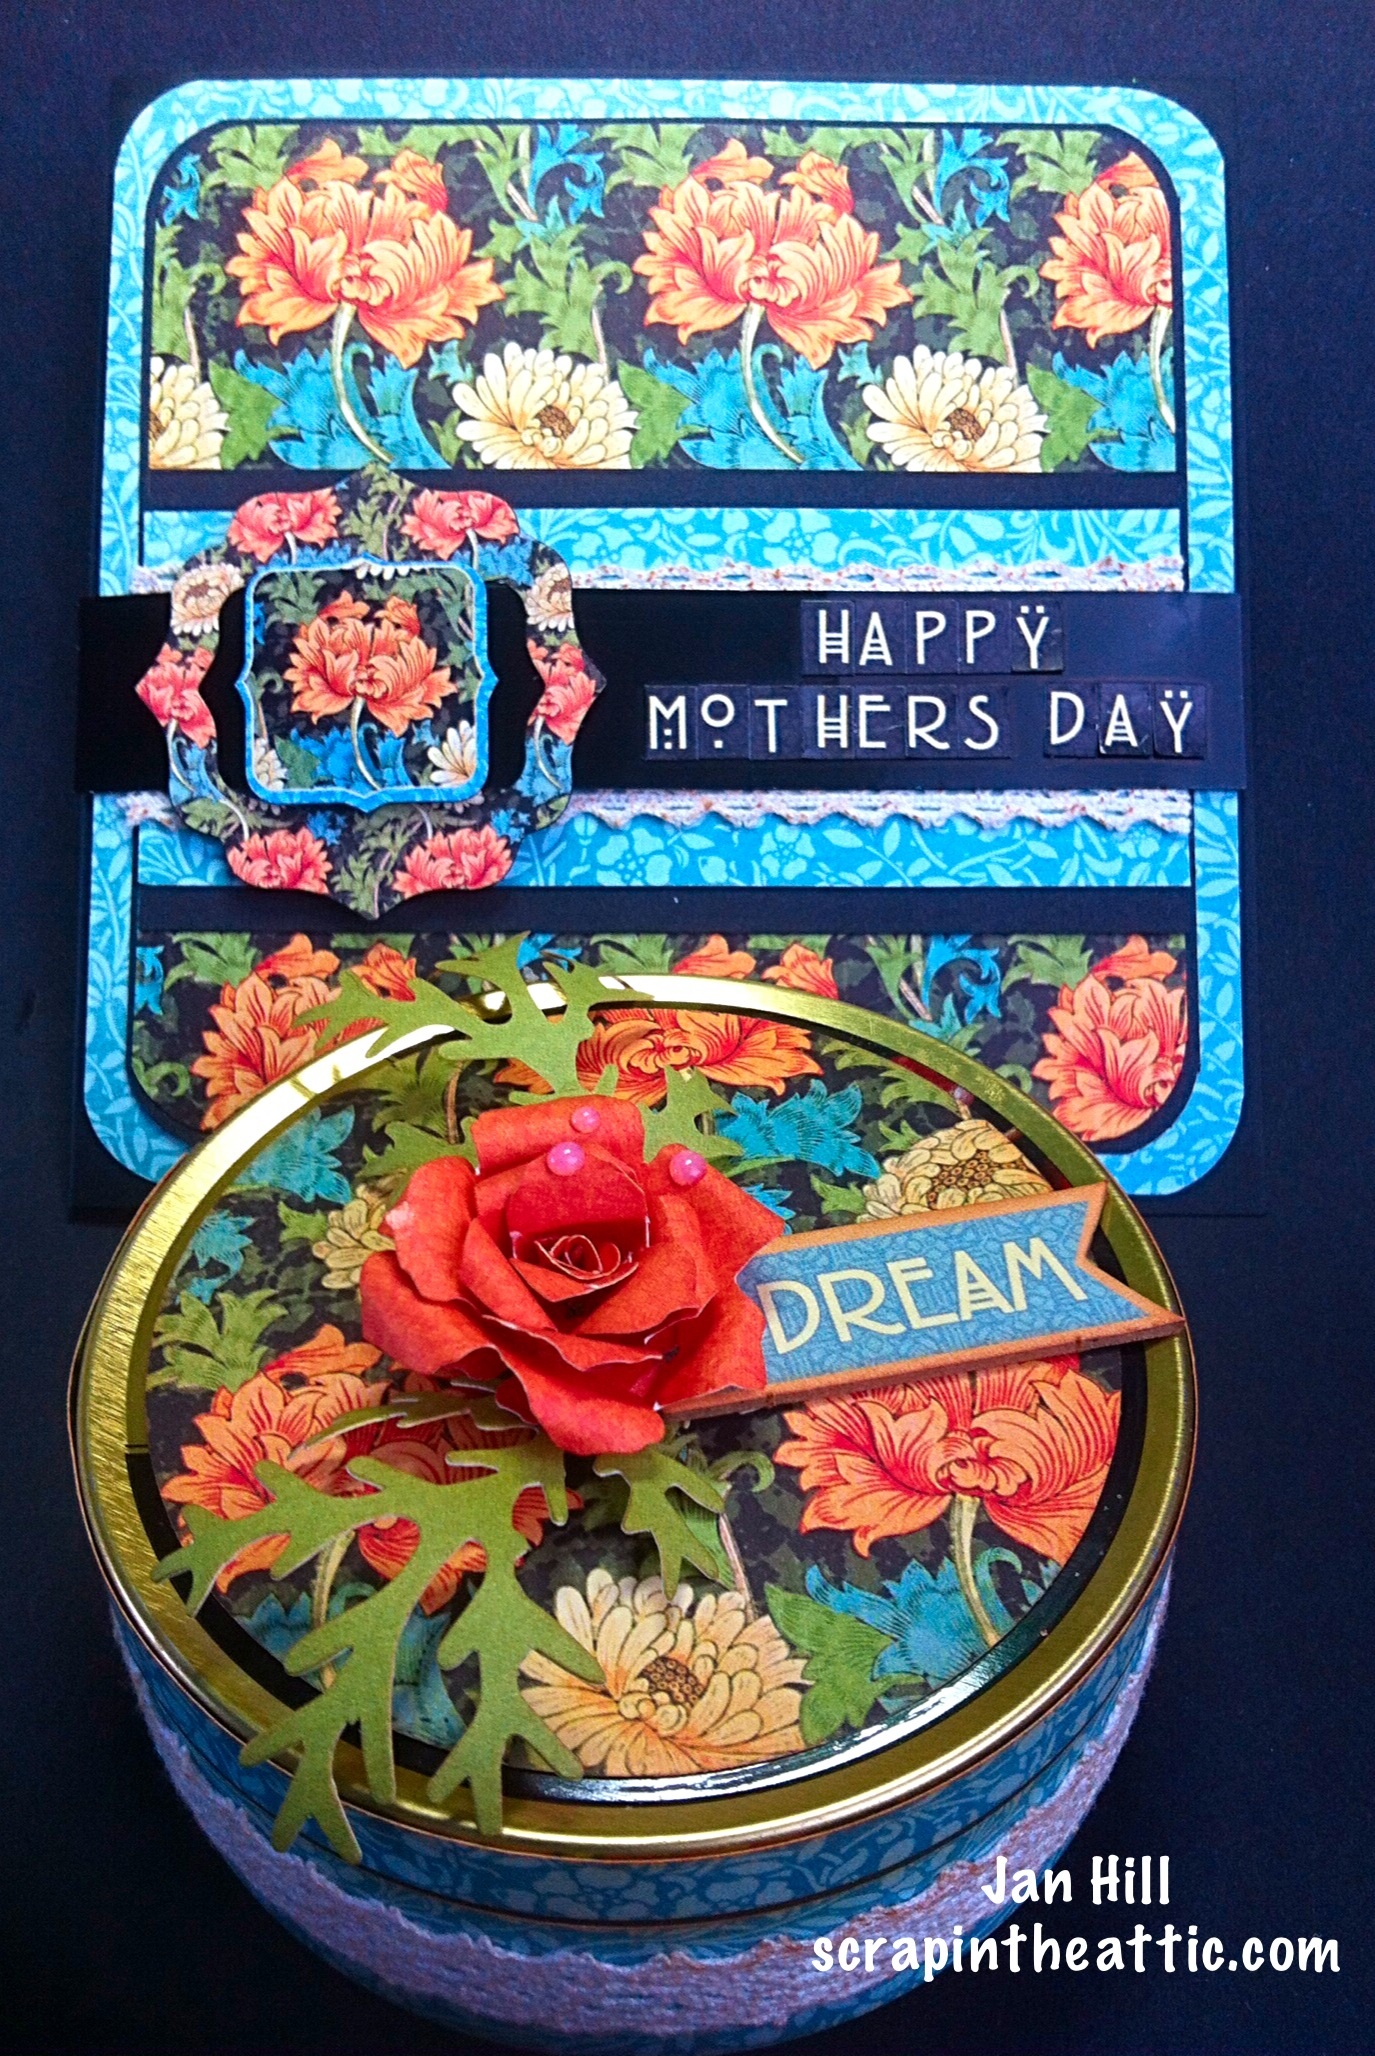
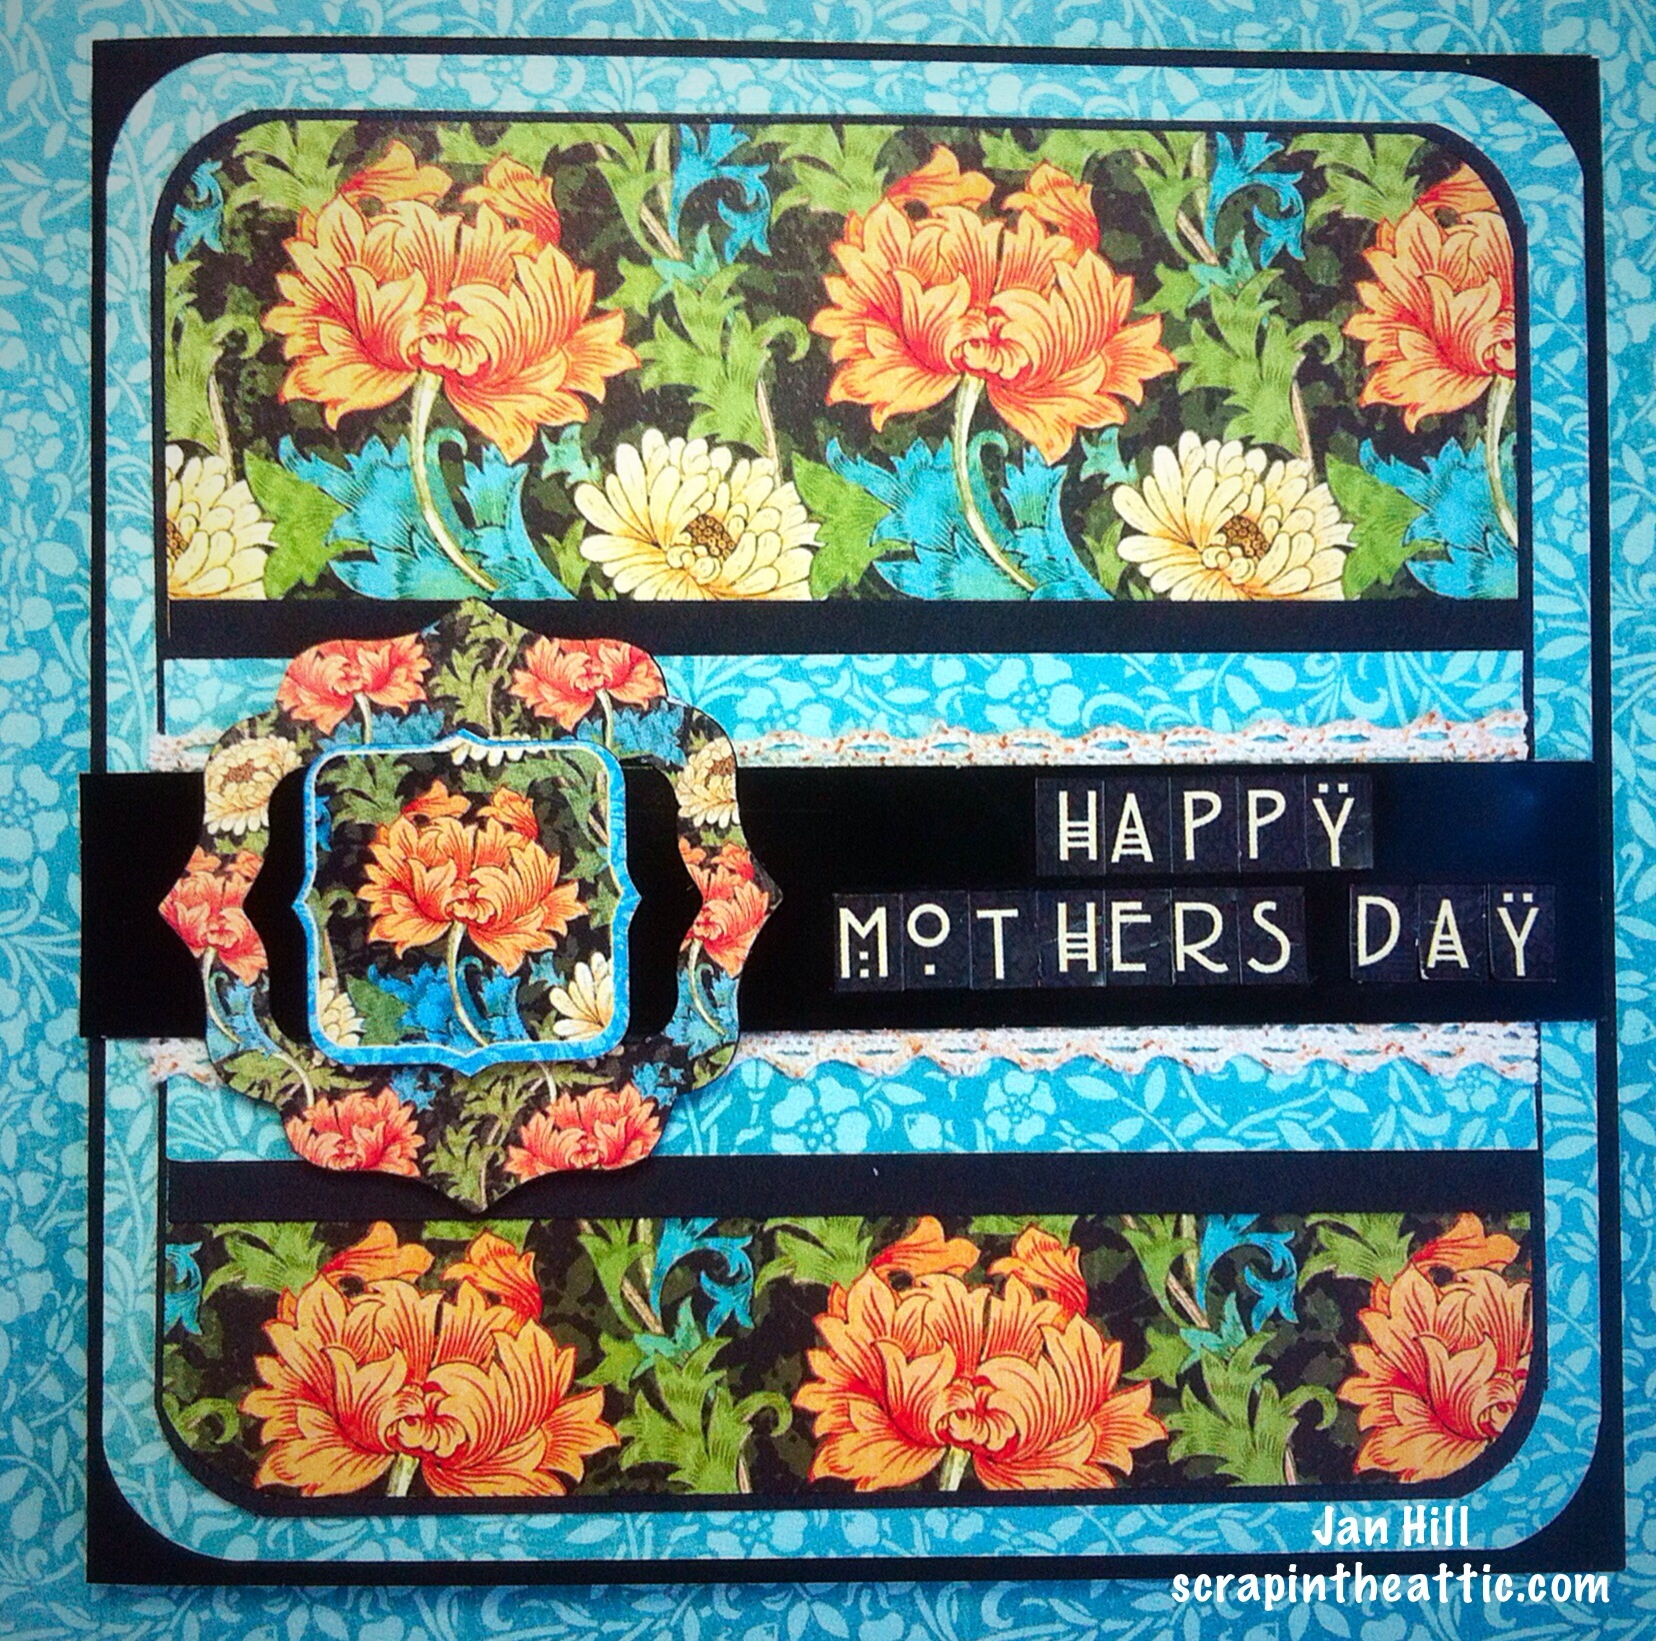
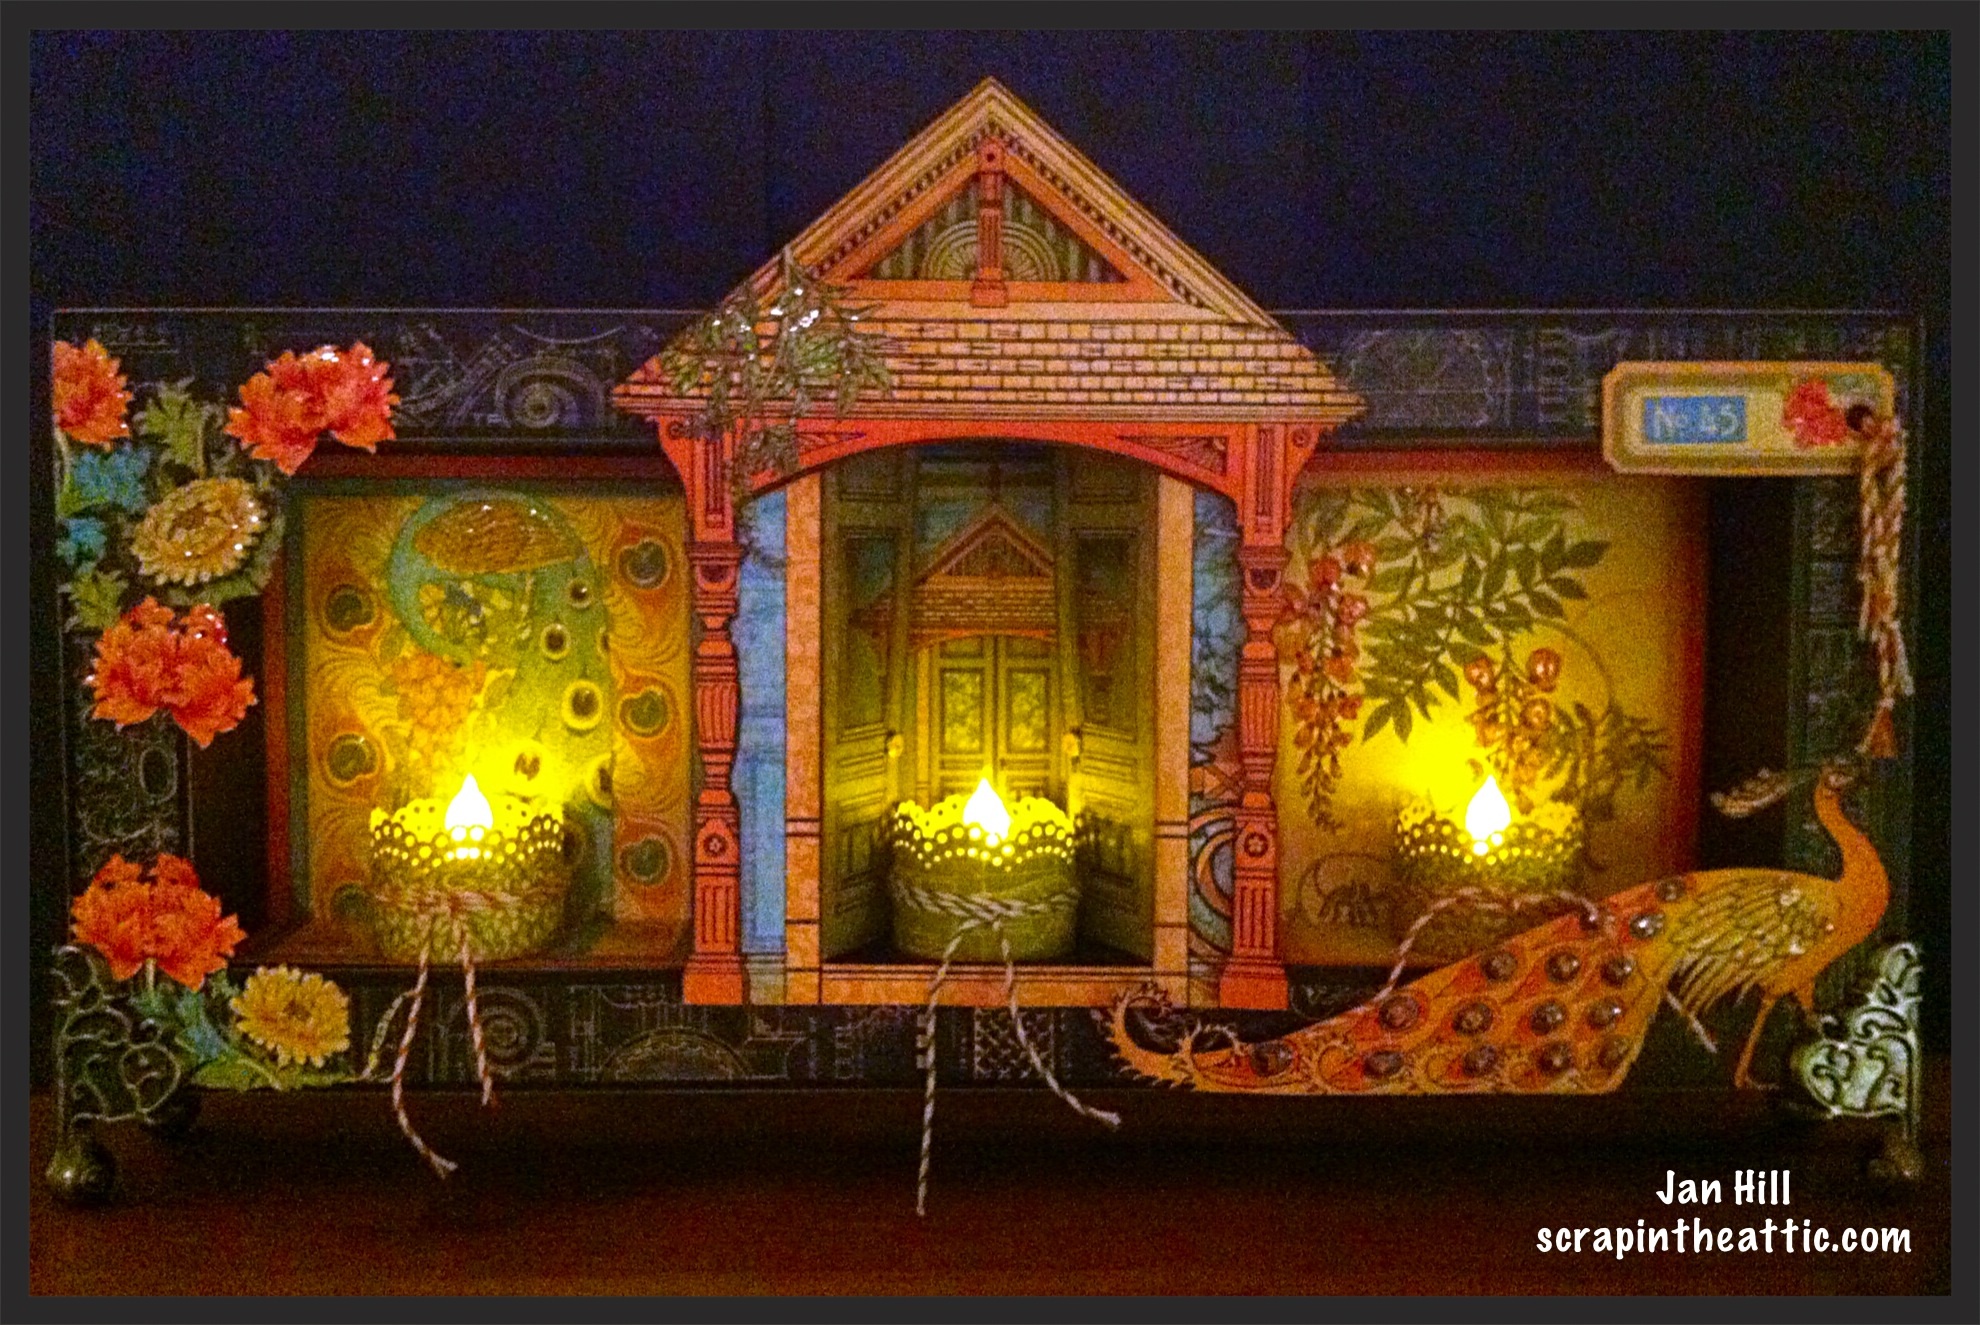
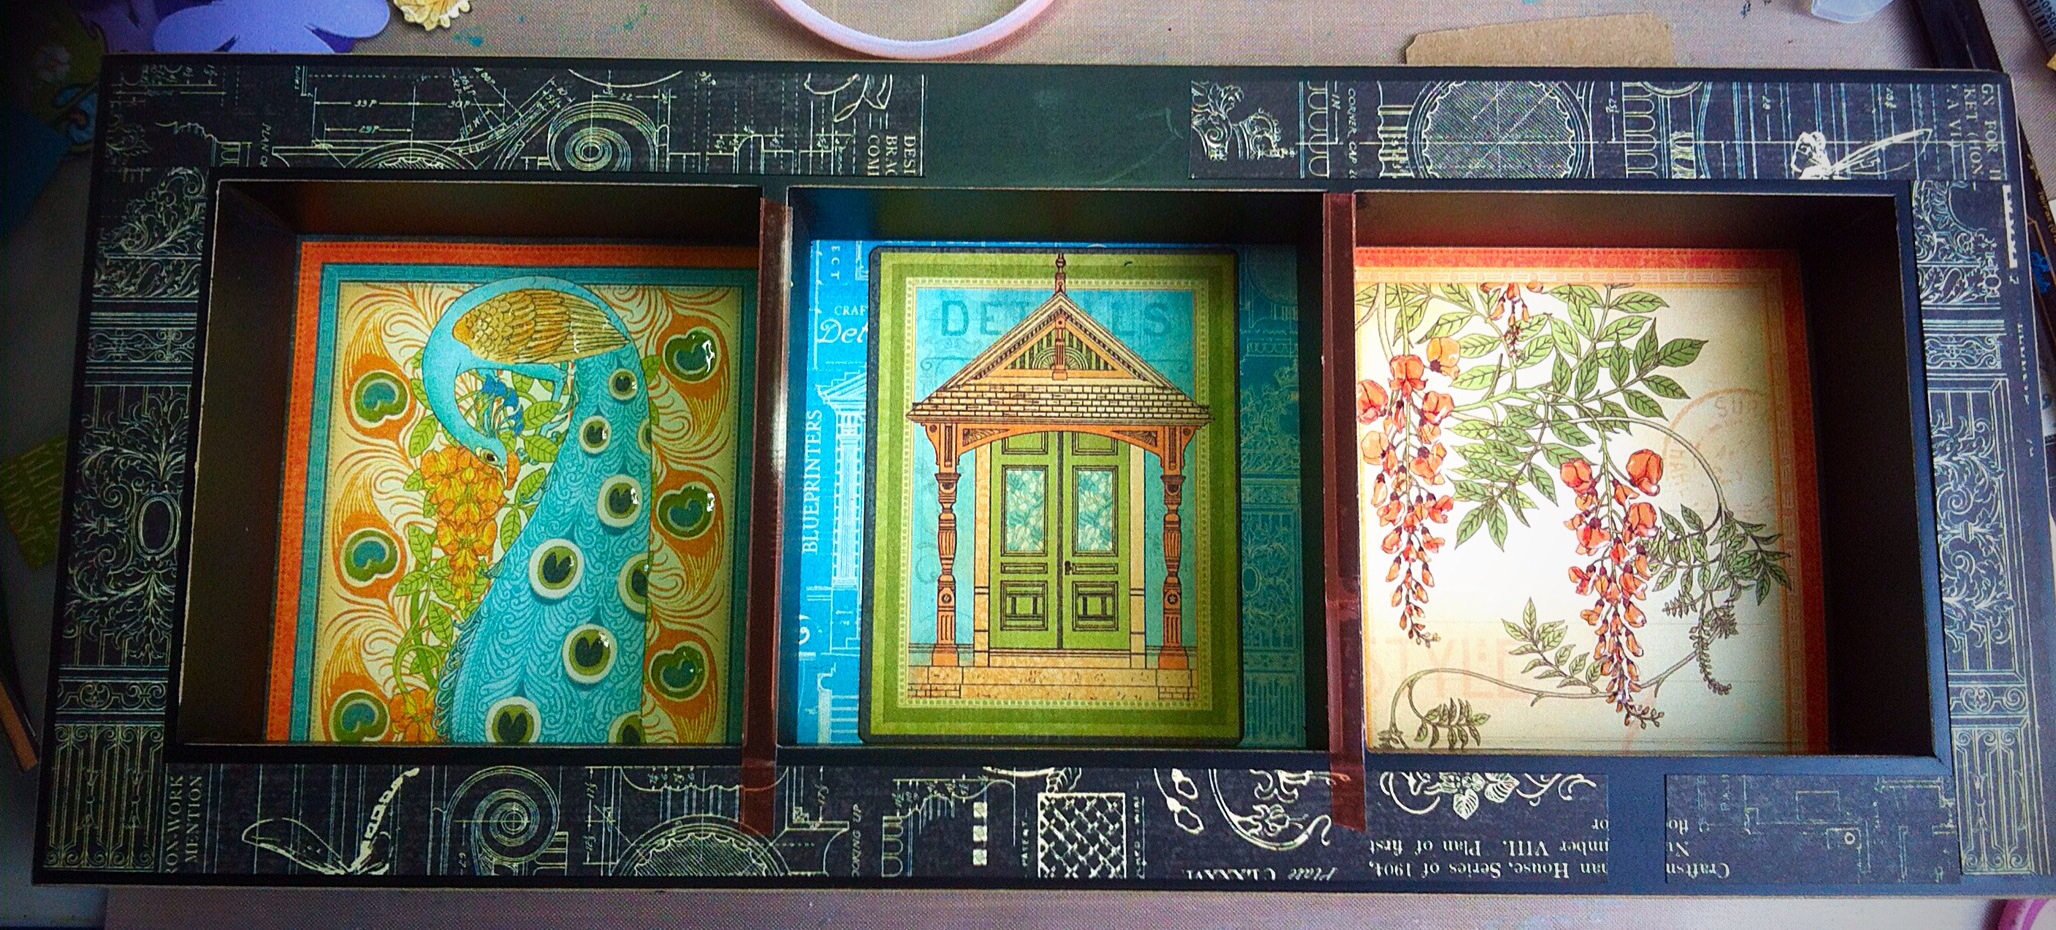
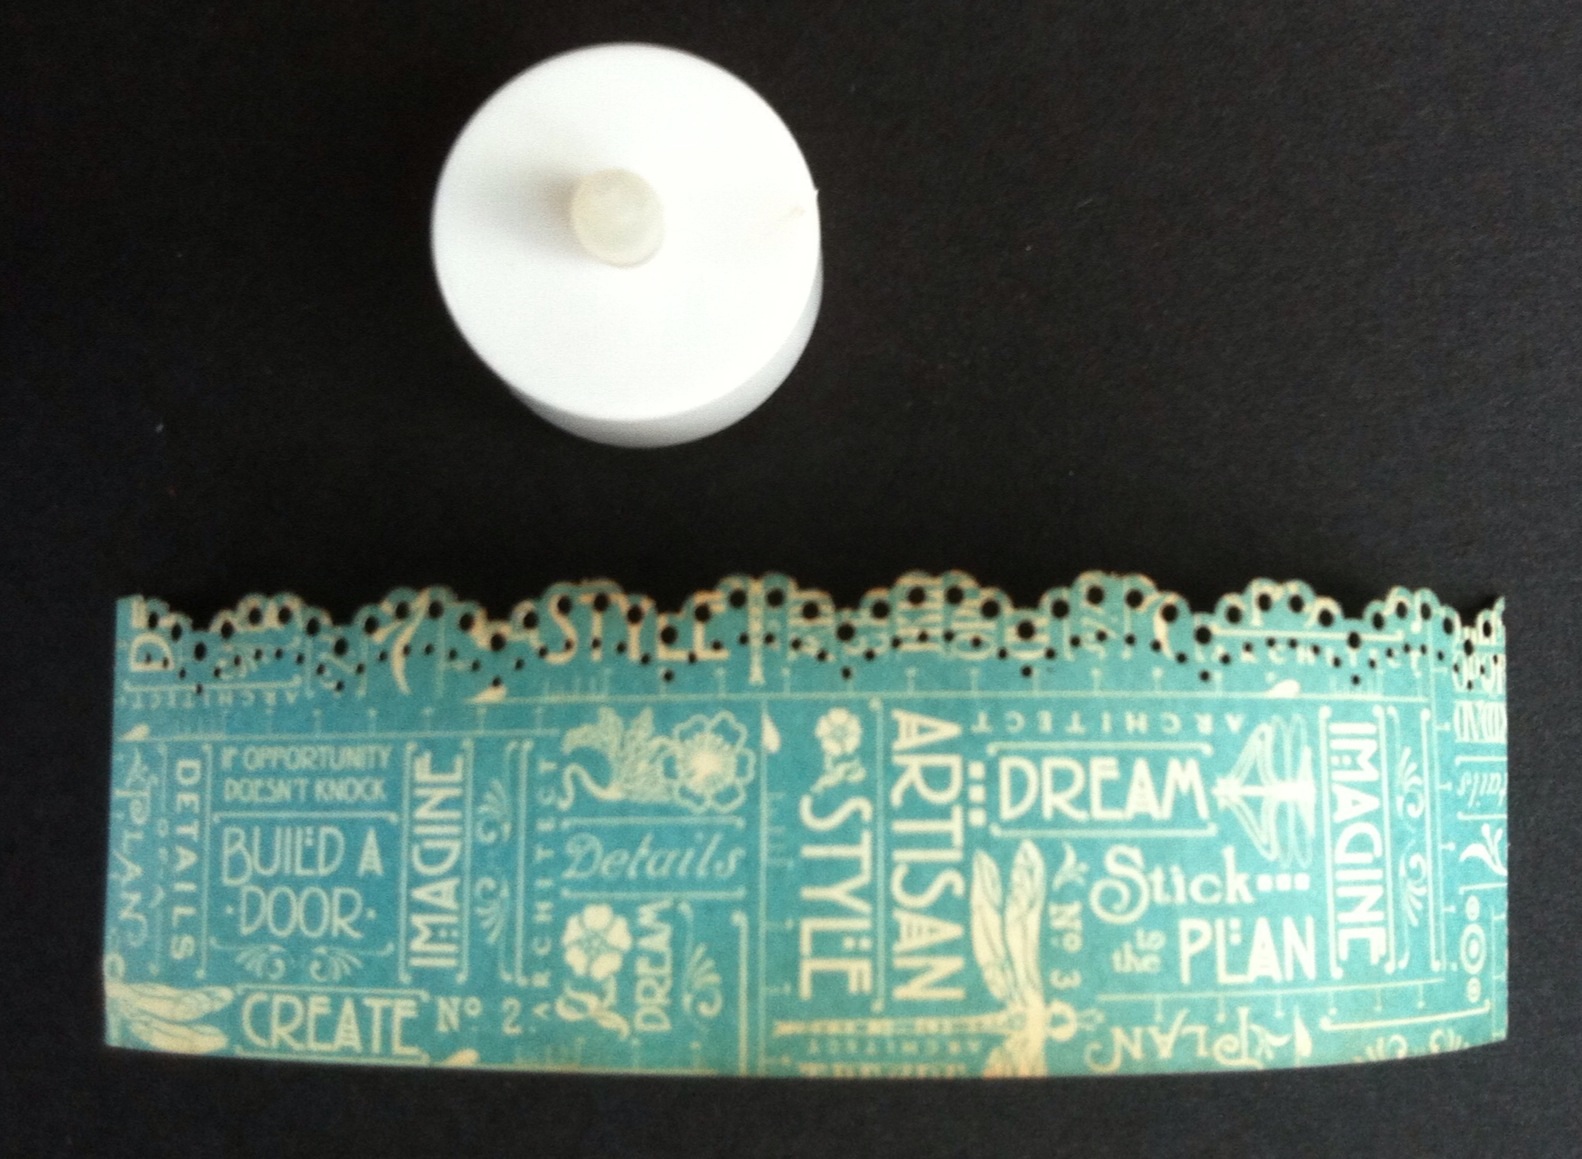
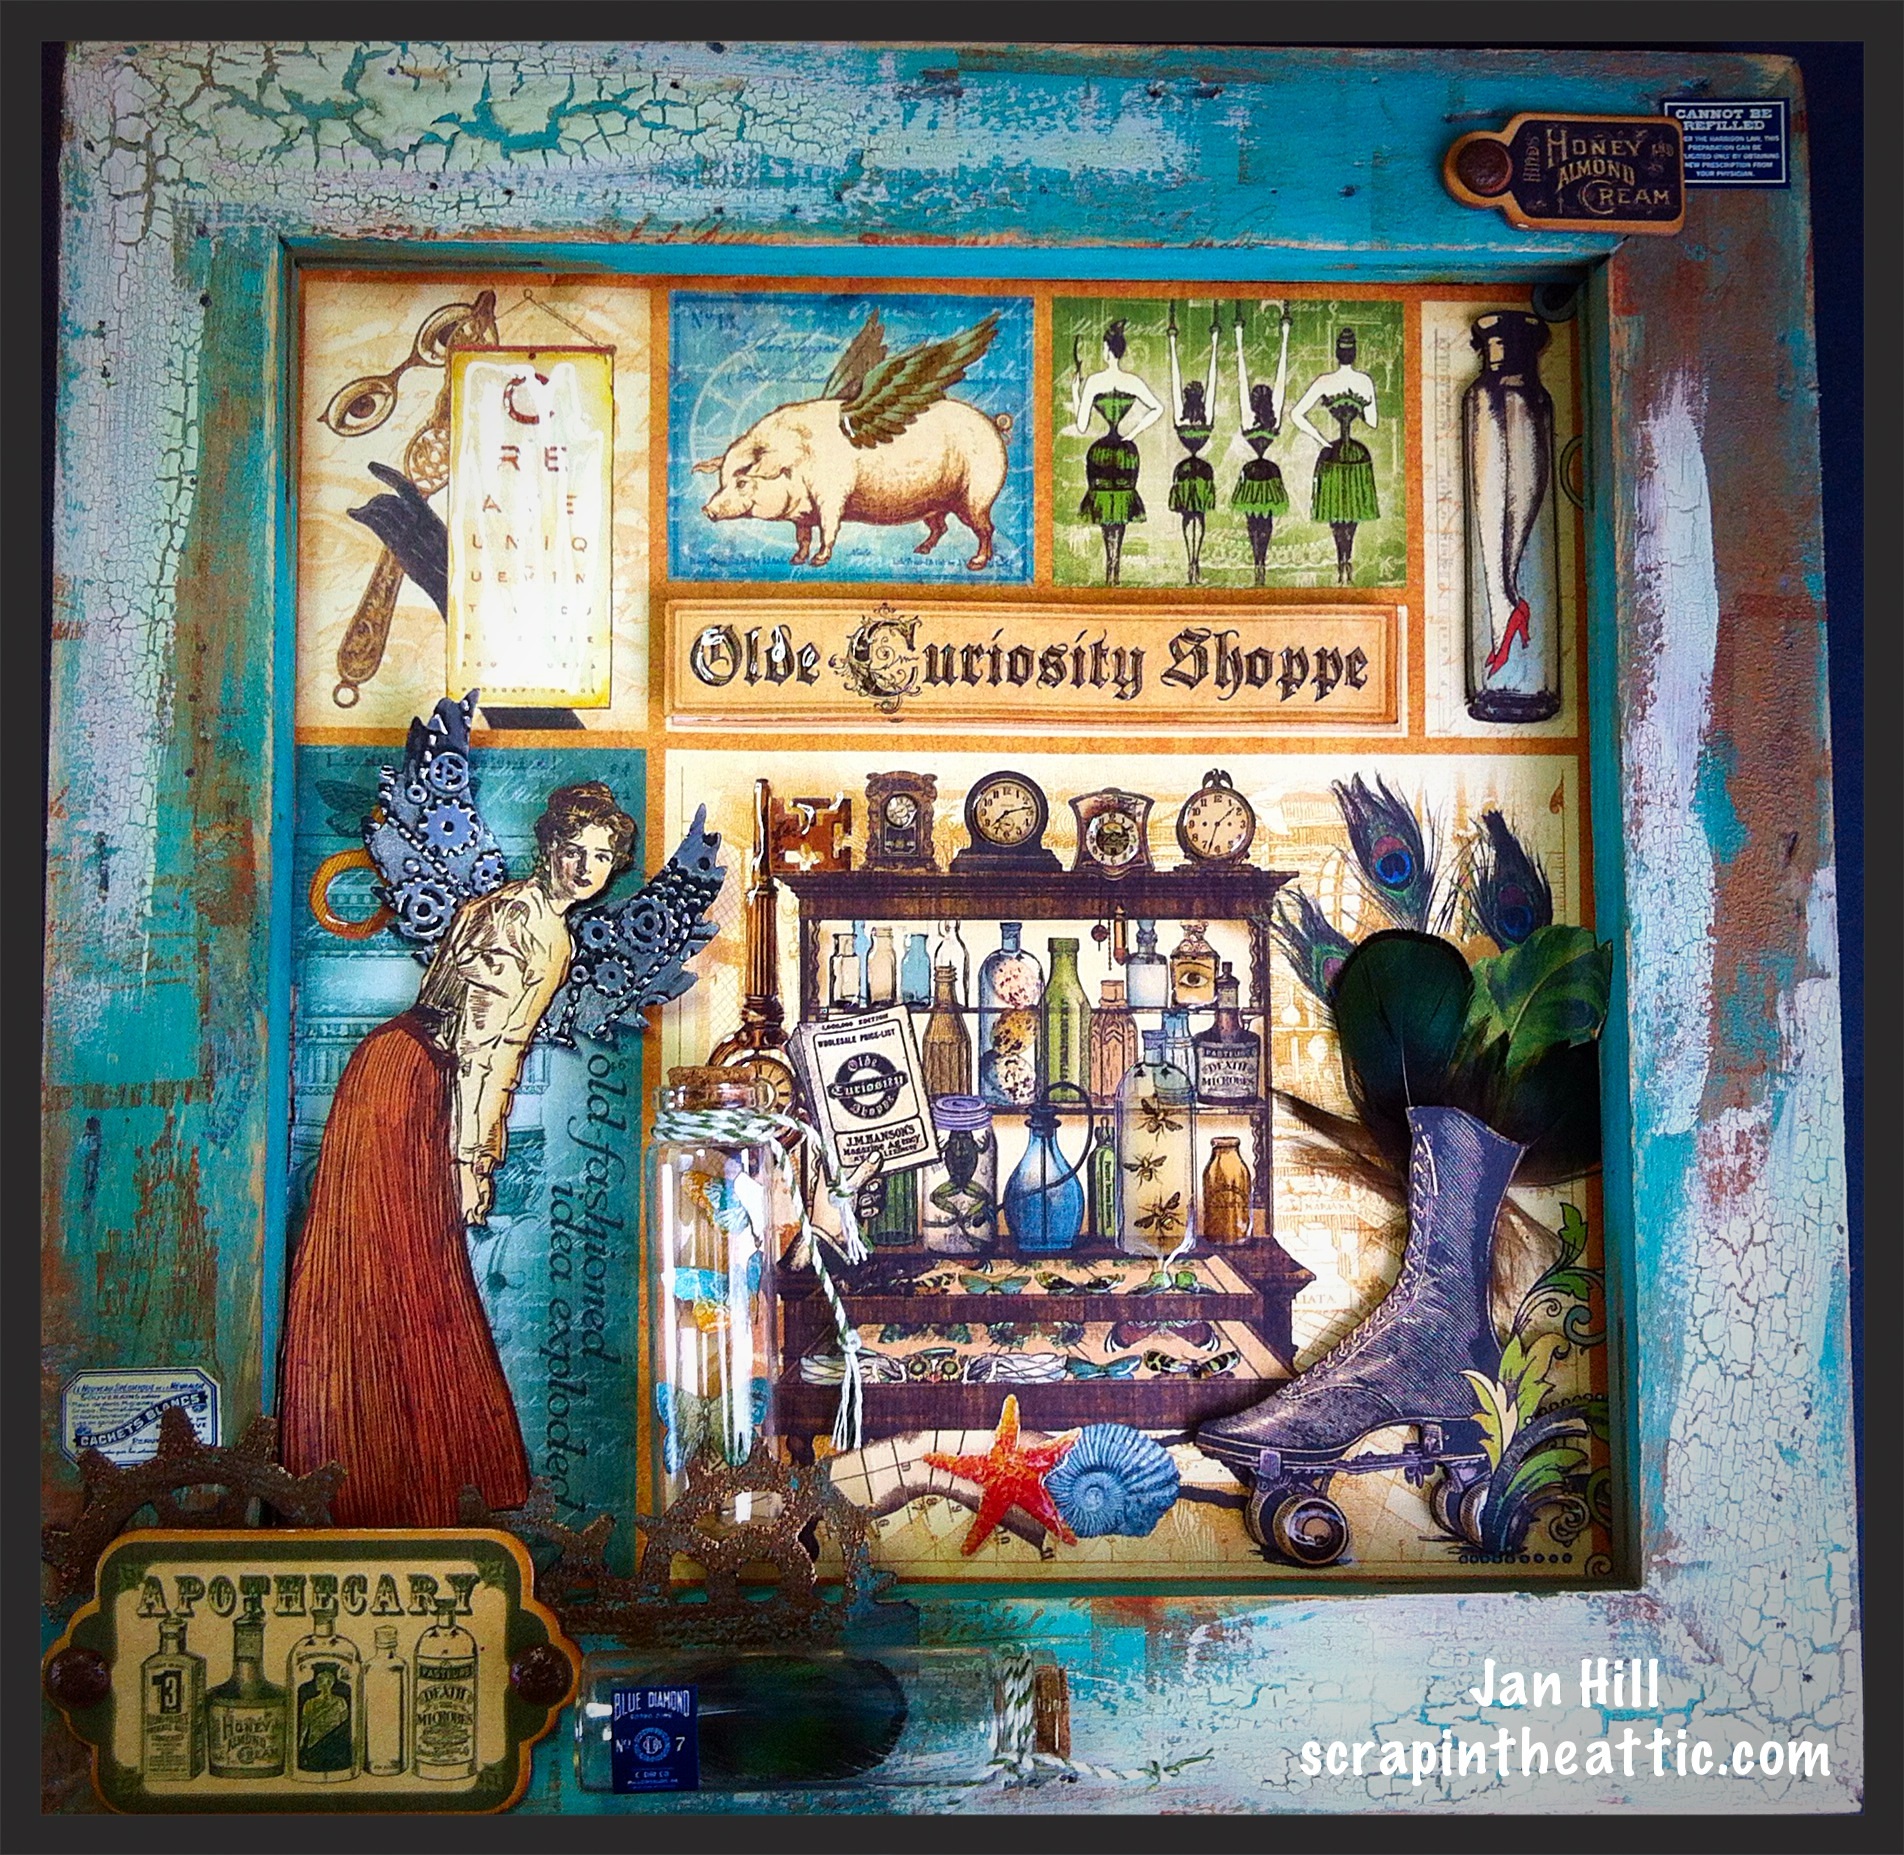
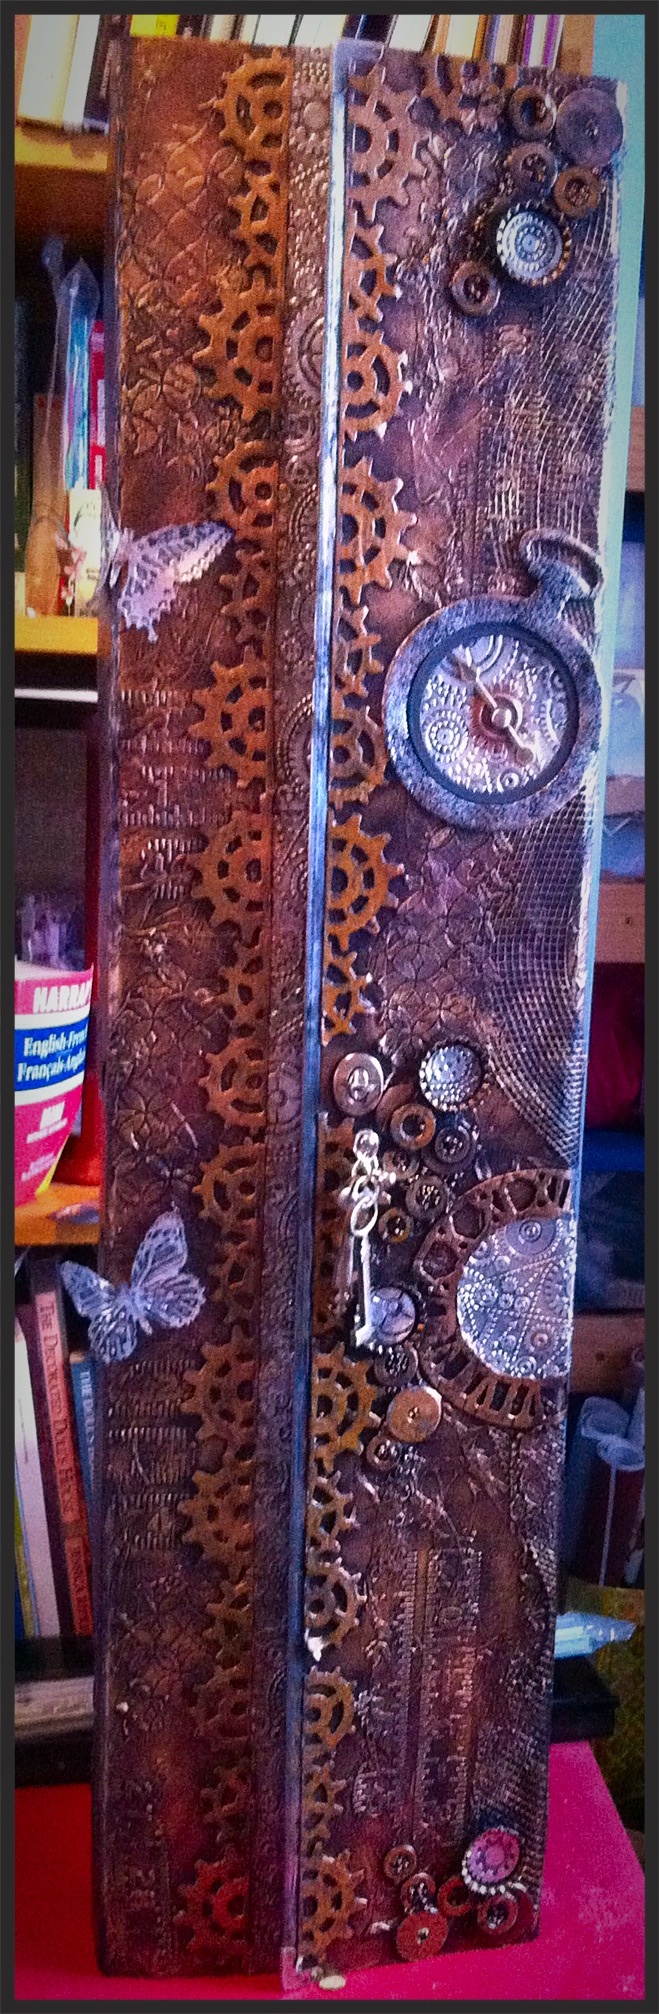
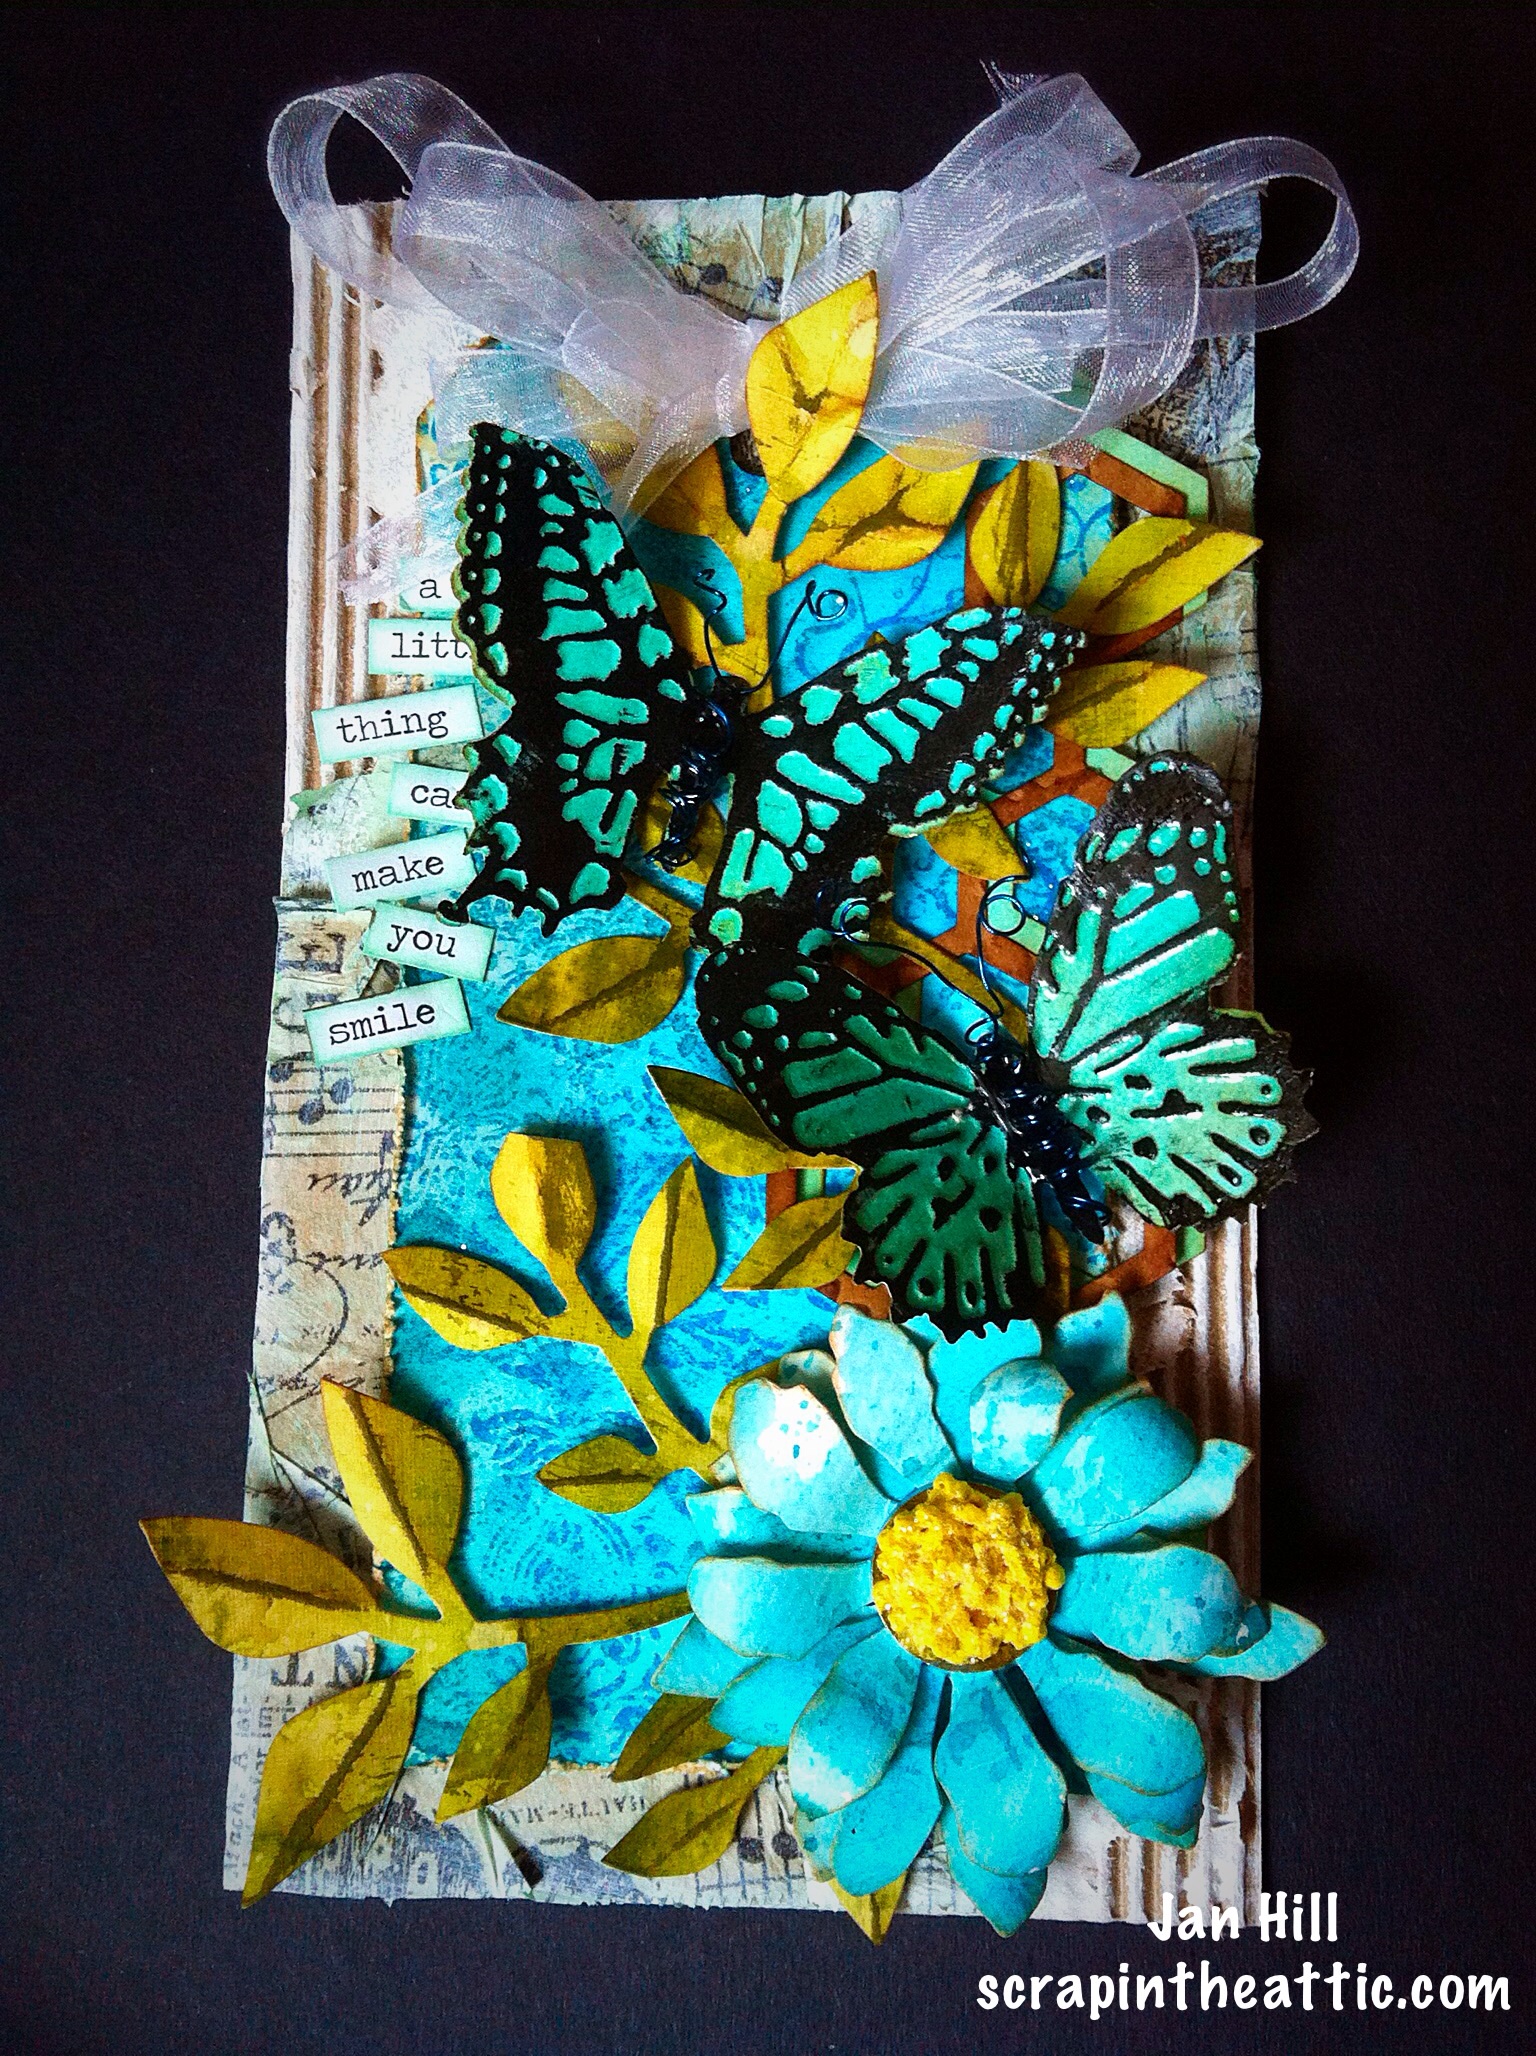
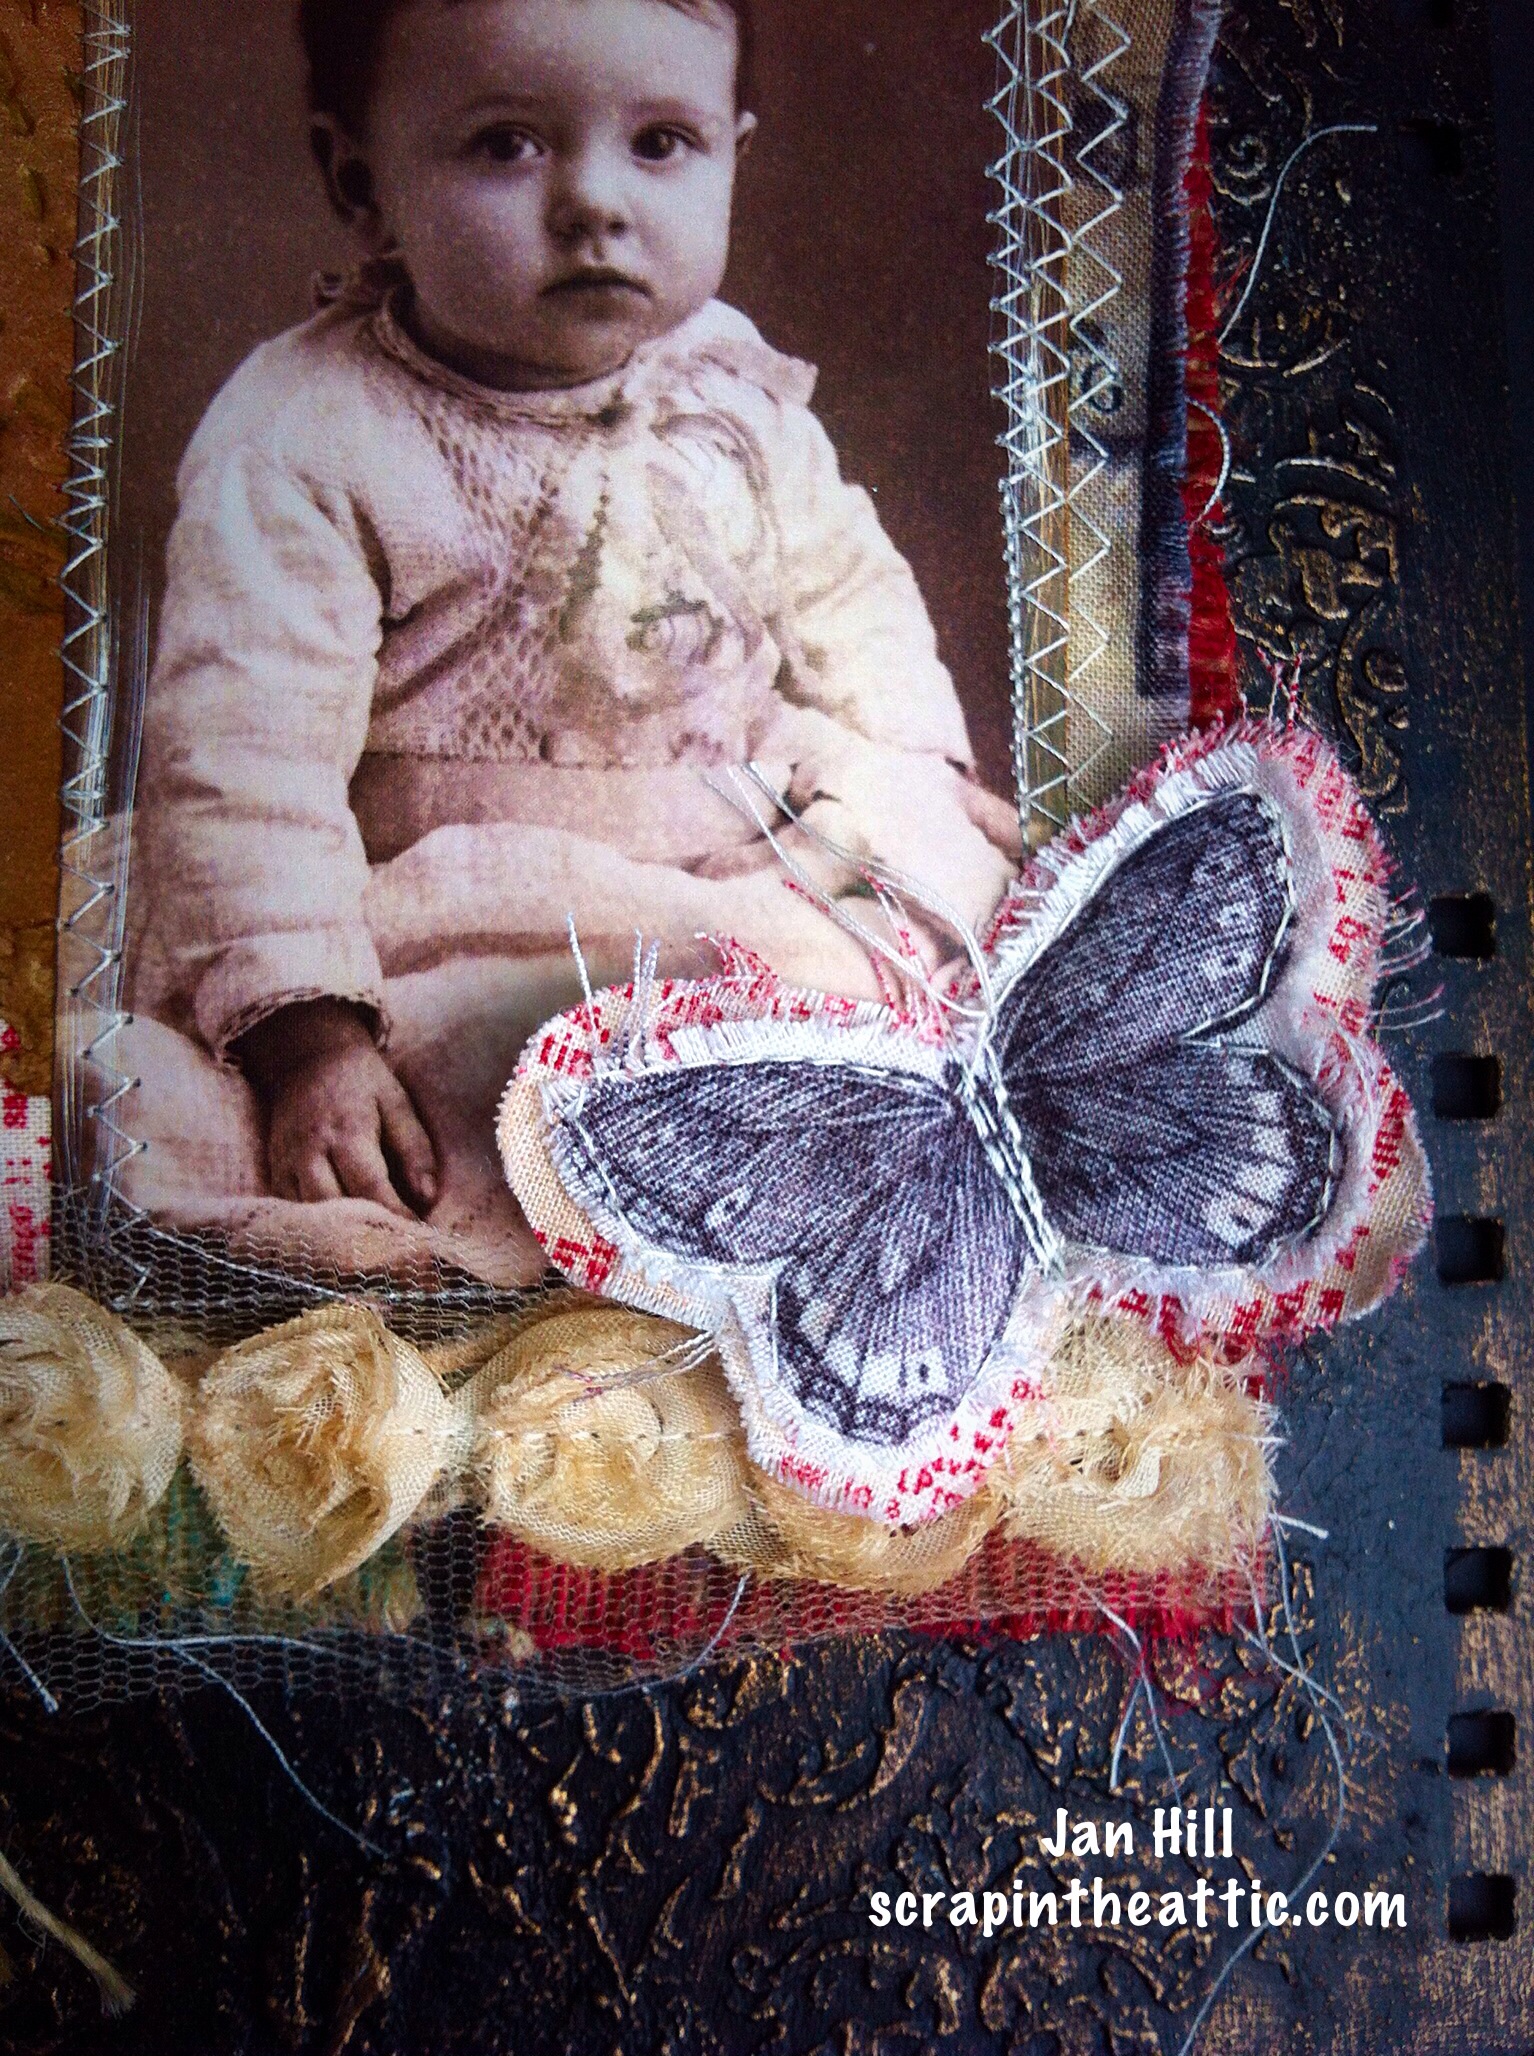
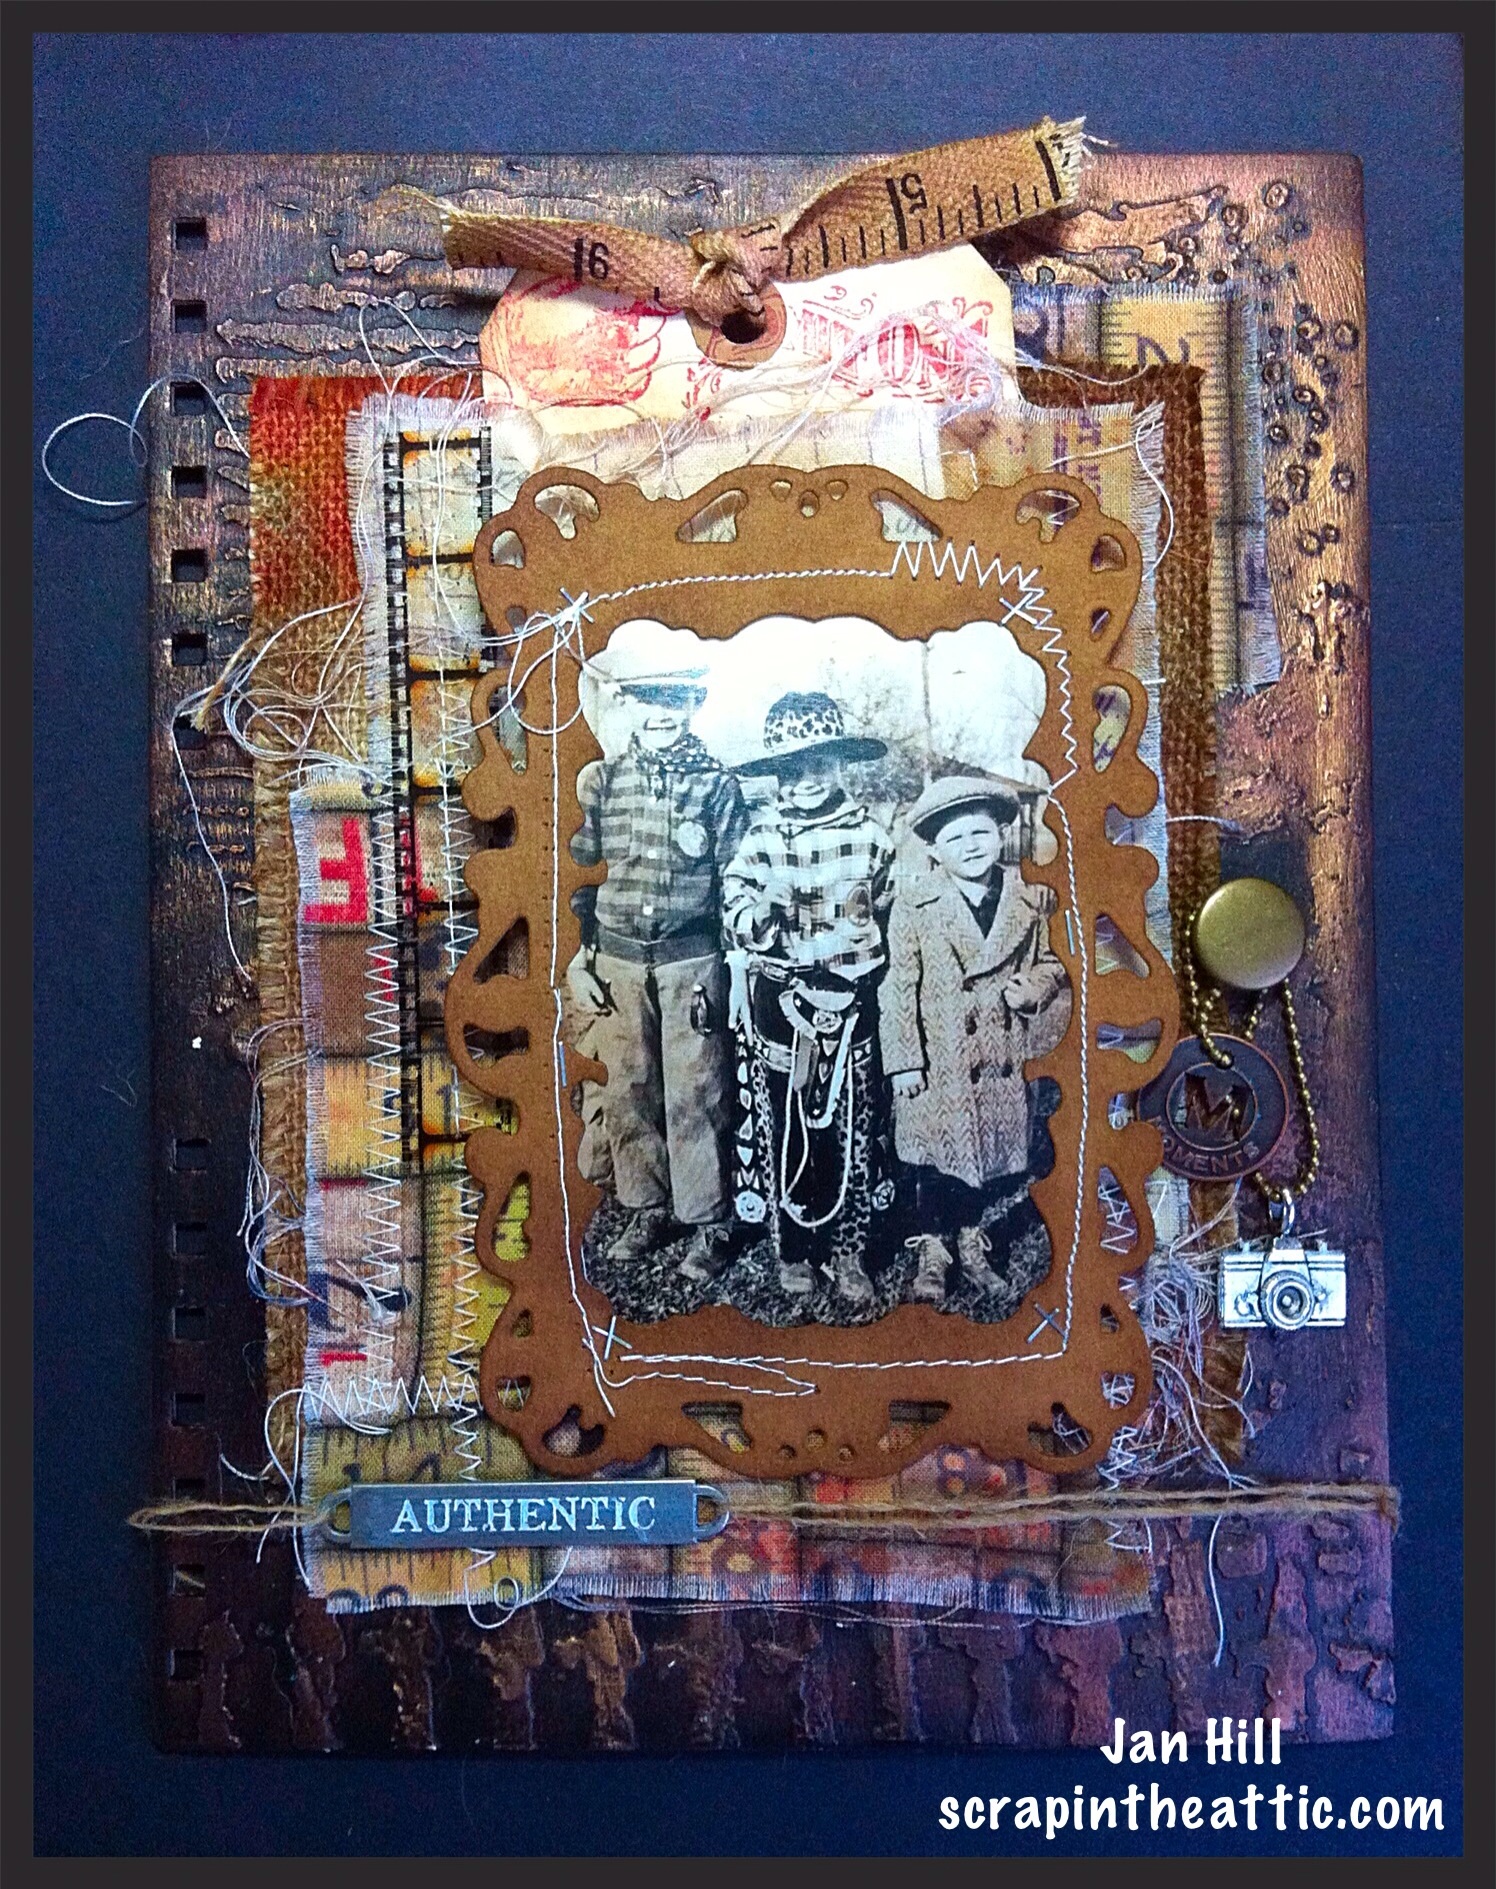
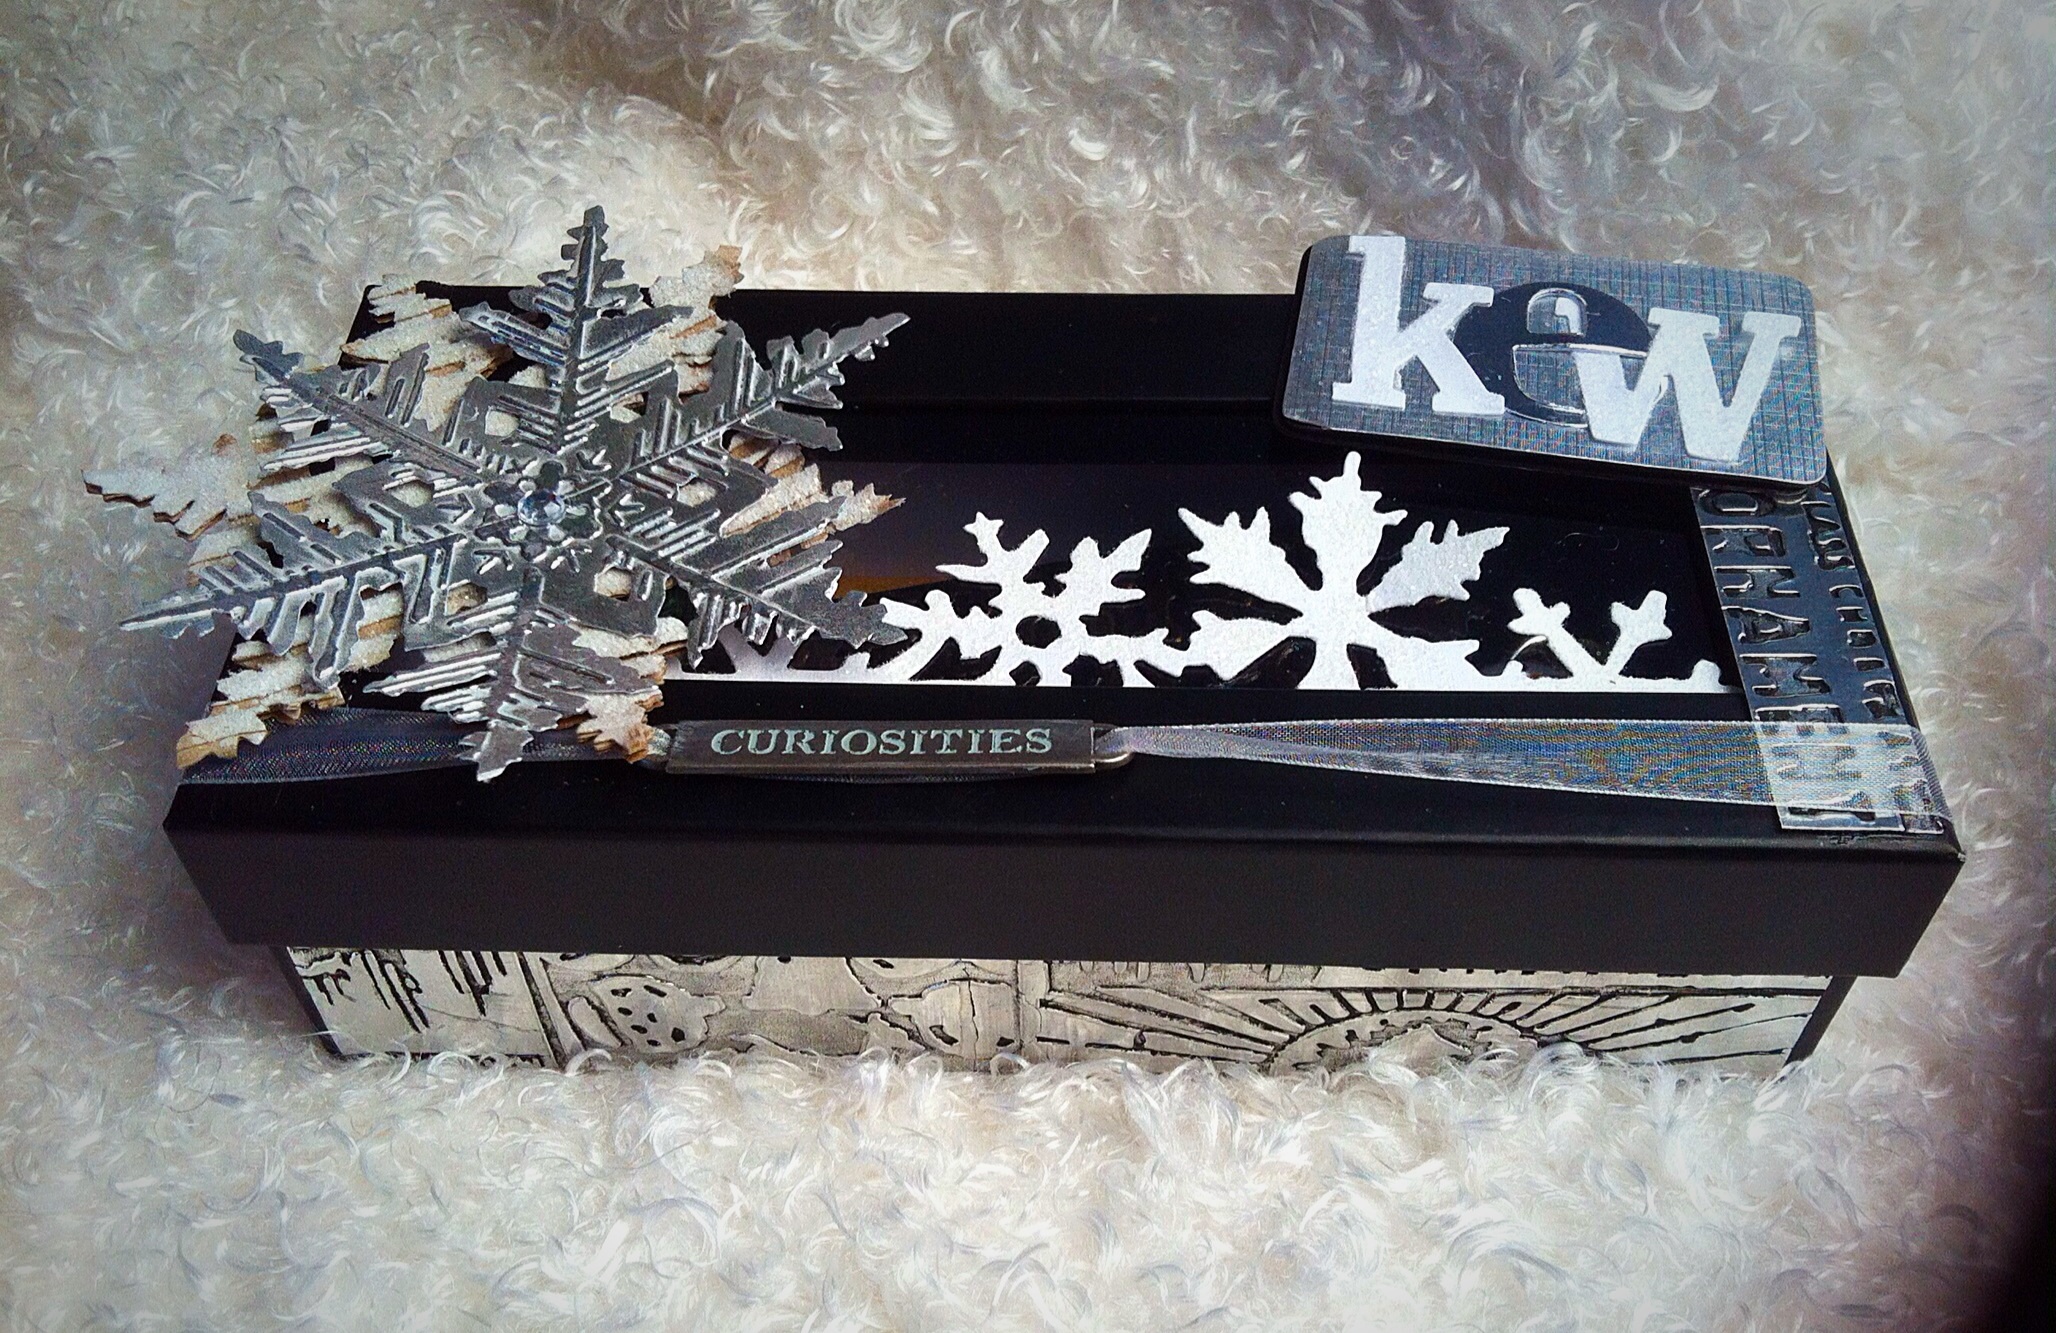
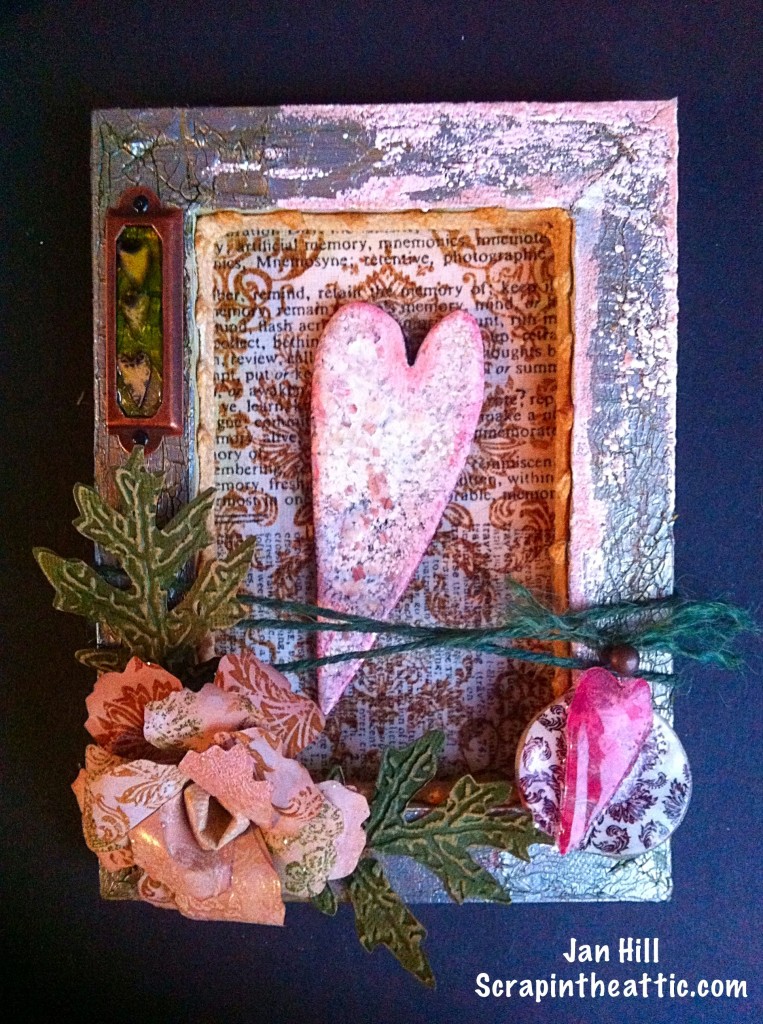
I chose the diagonal line, embossing powder, stamping and ribbon/twine/lace. I wanted to create a different Valentine gift for my husband. I love the effect of shadow boxes and tucking things inside so I worked on that idea.

This is how I made the project:


image

image

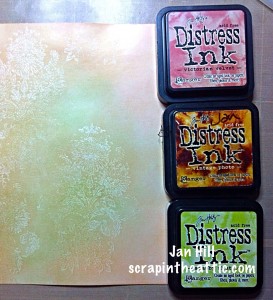
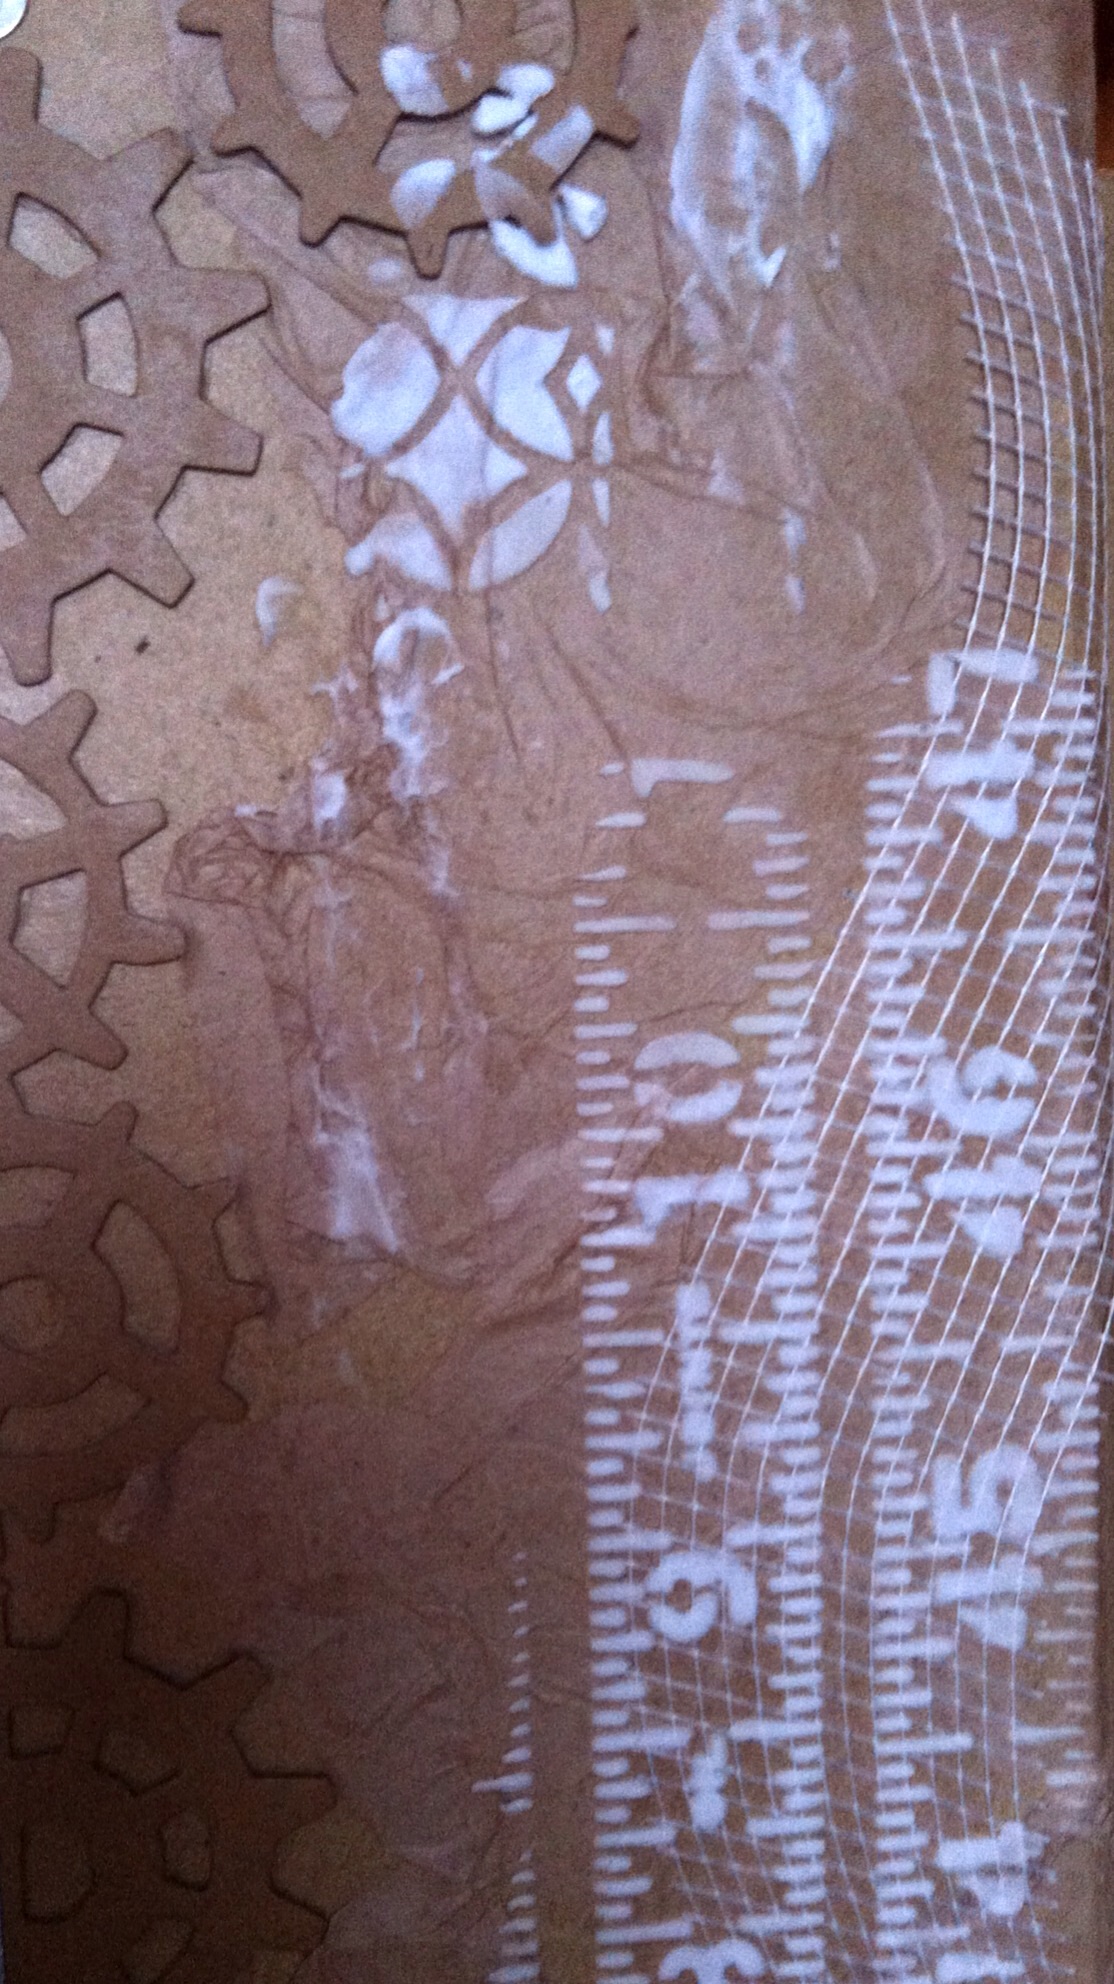
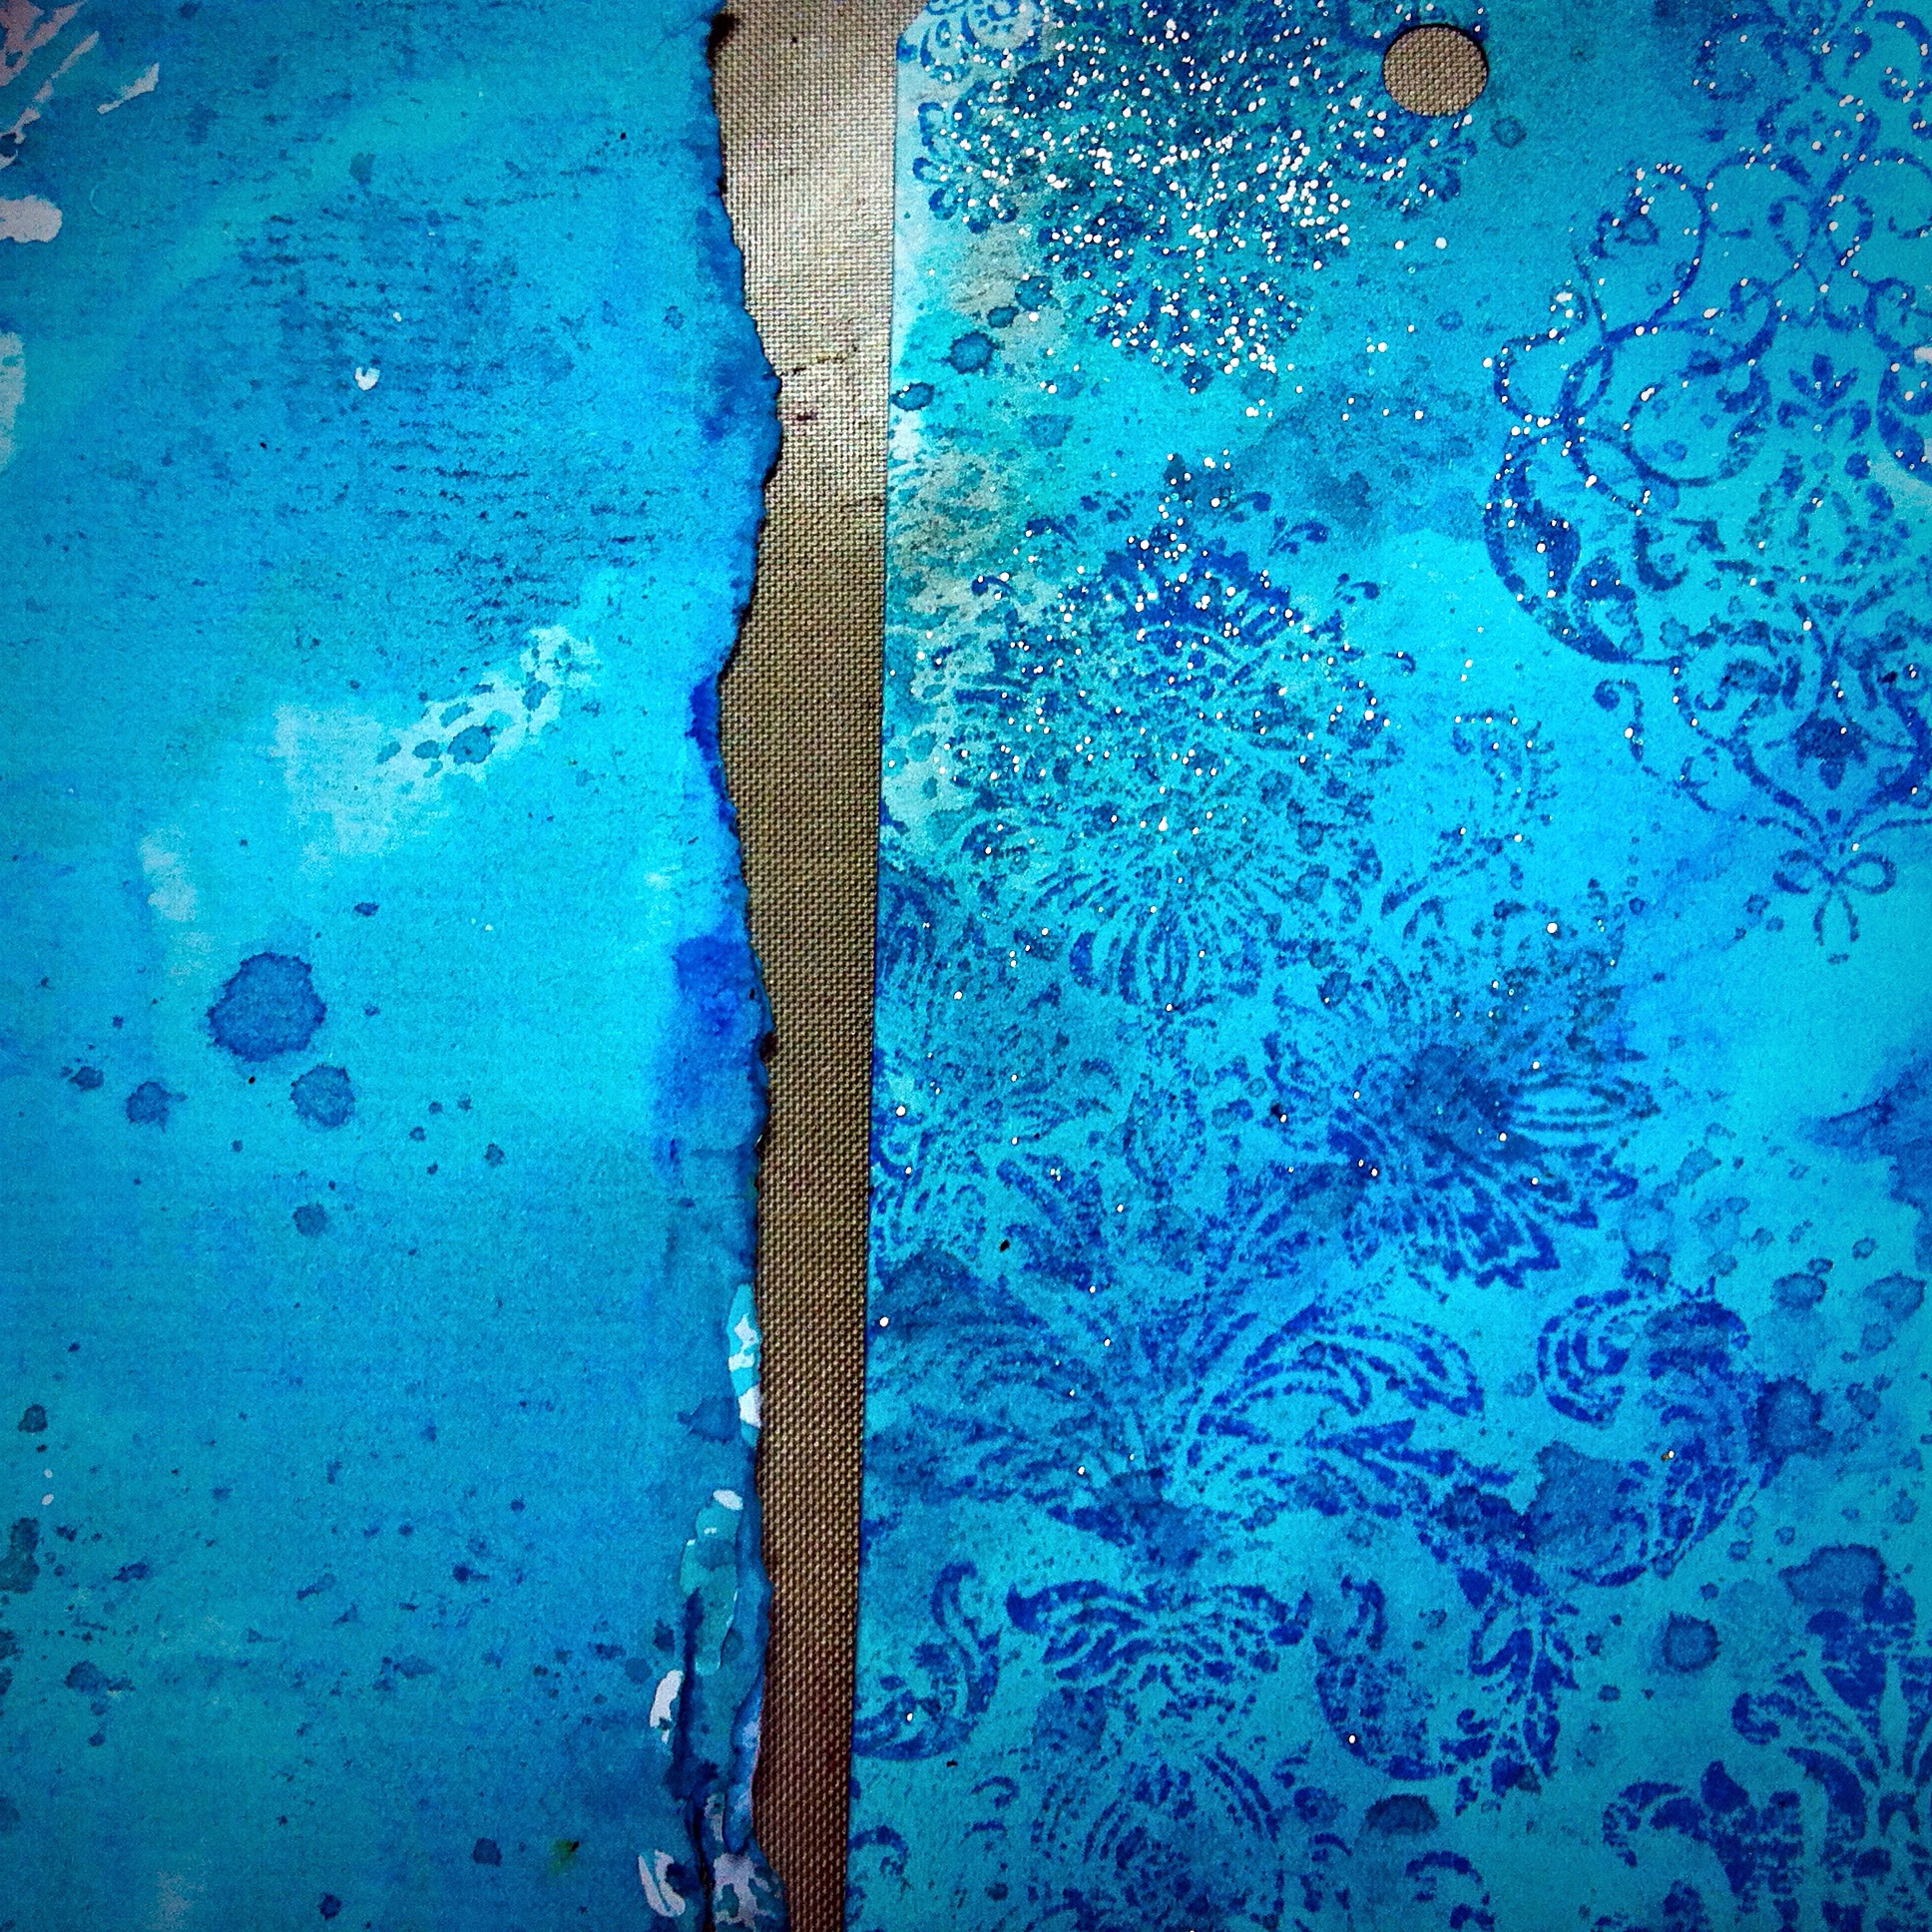
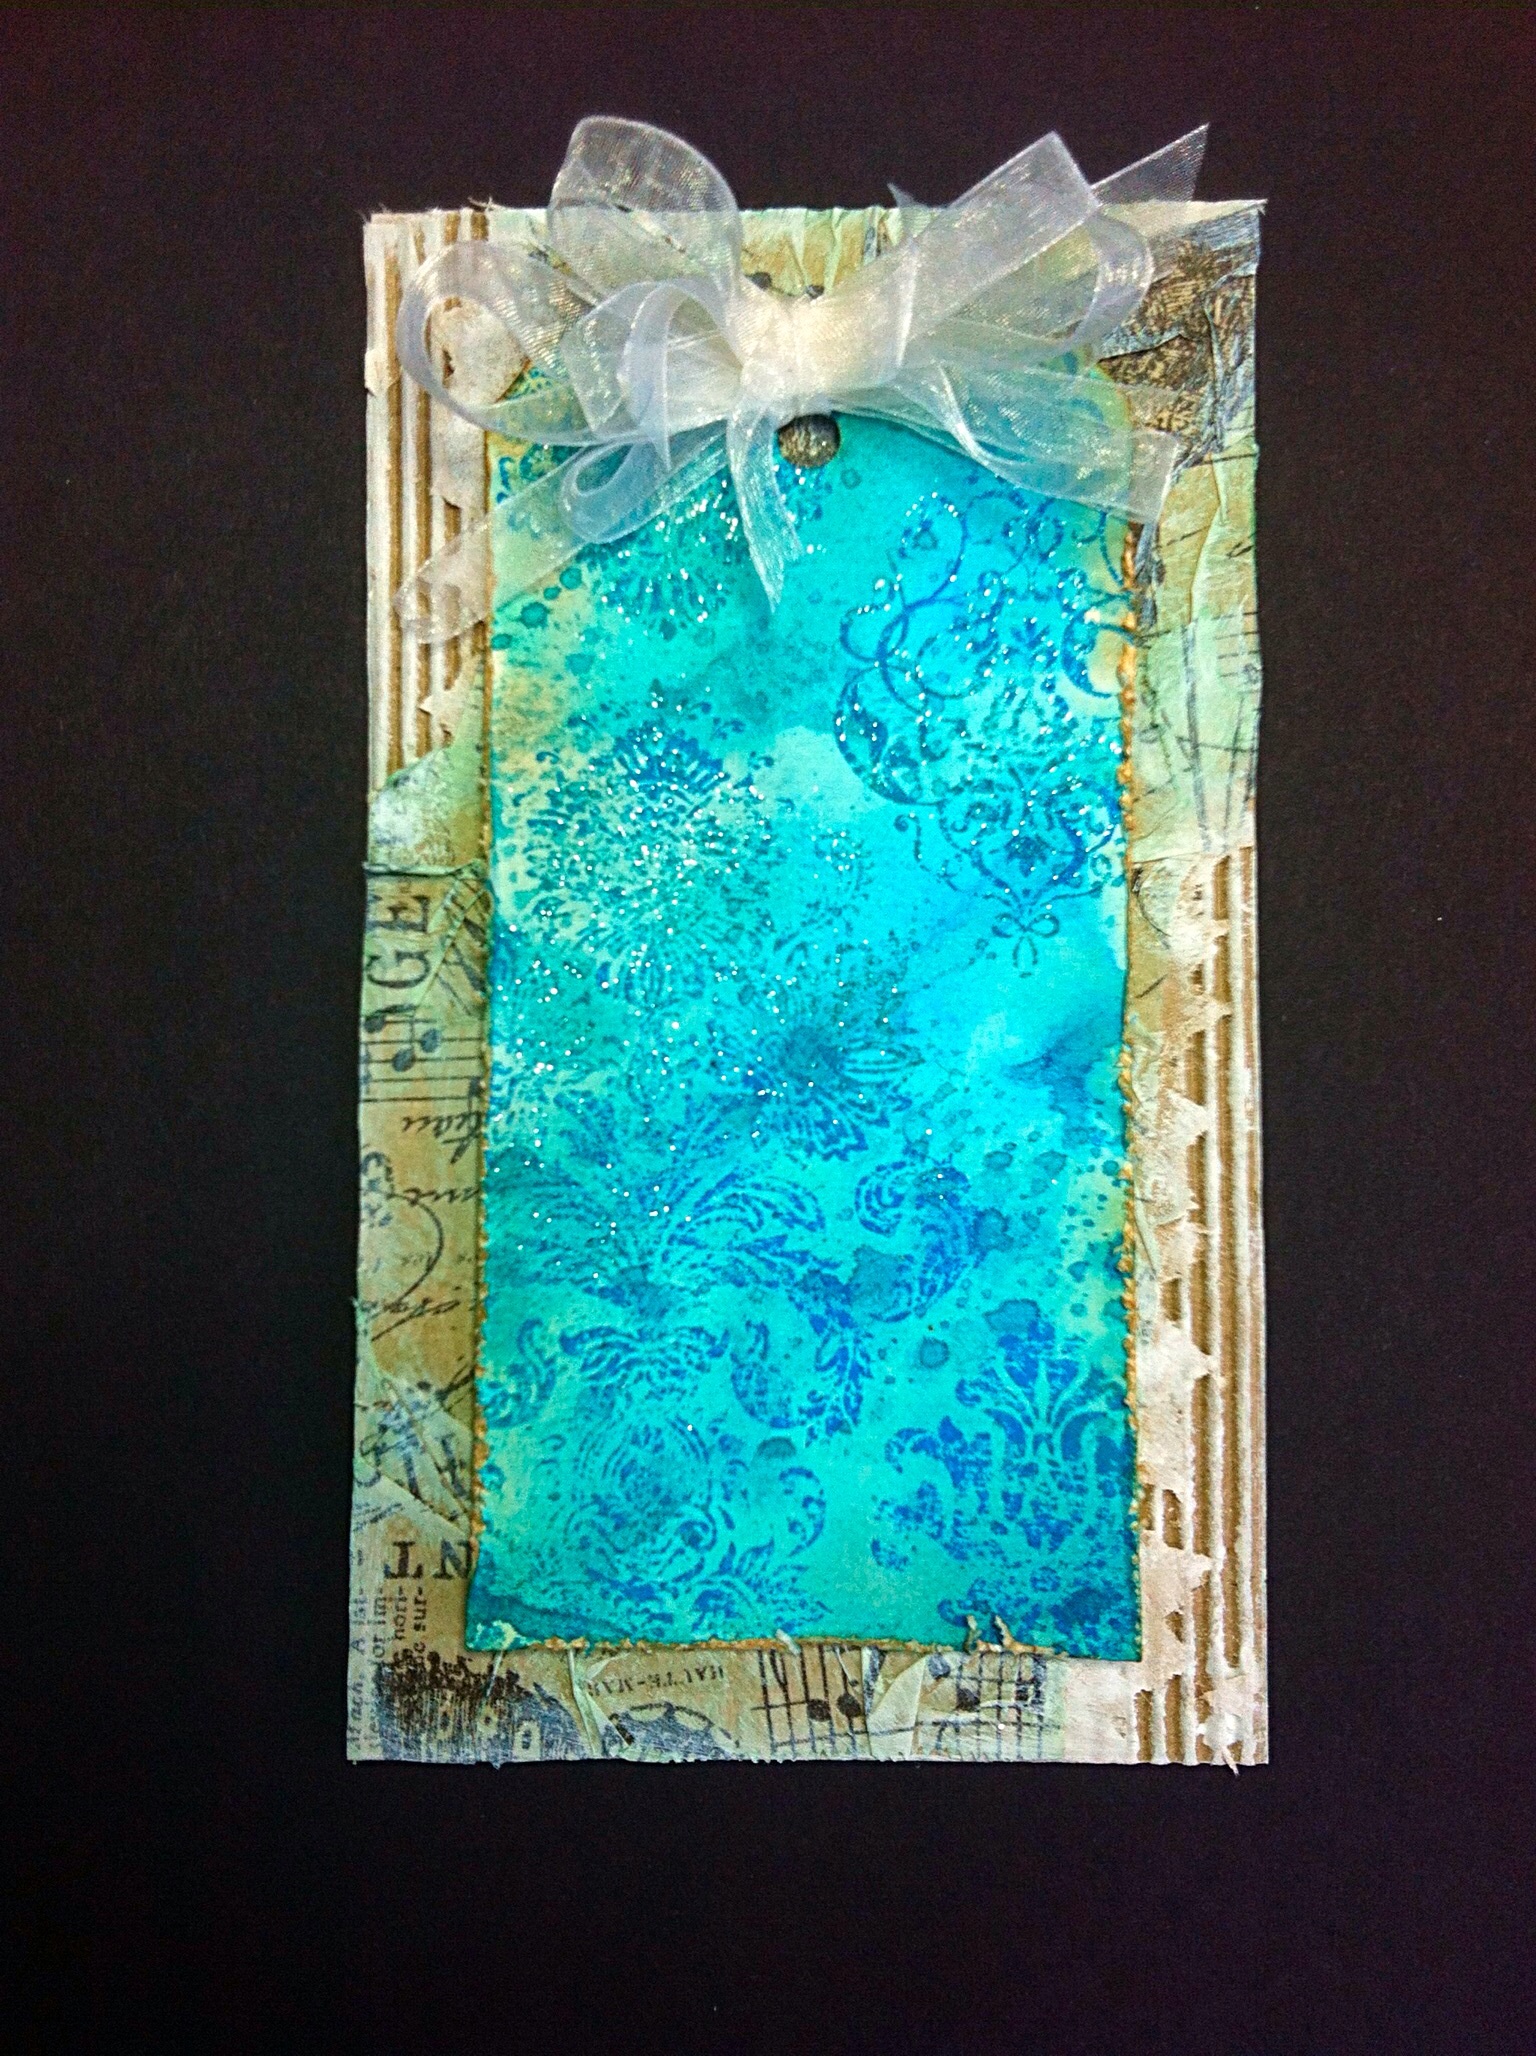
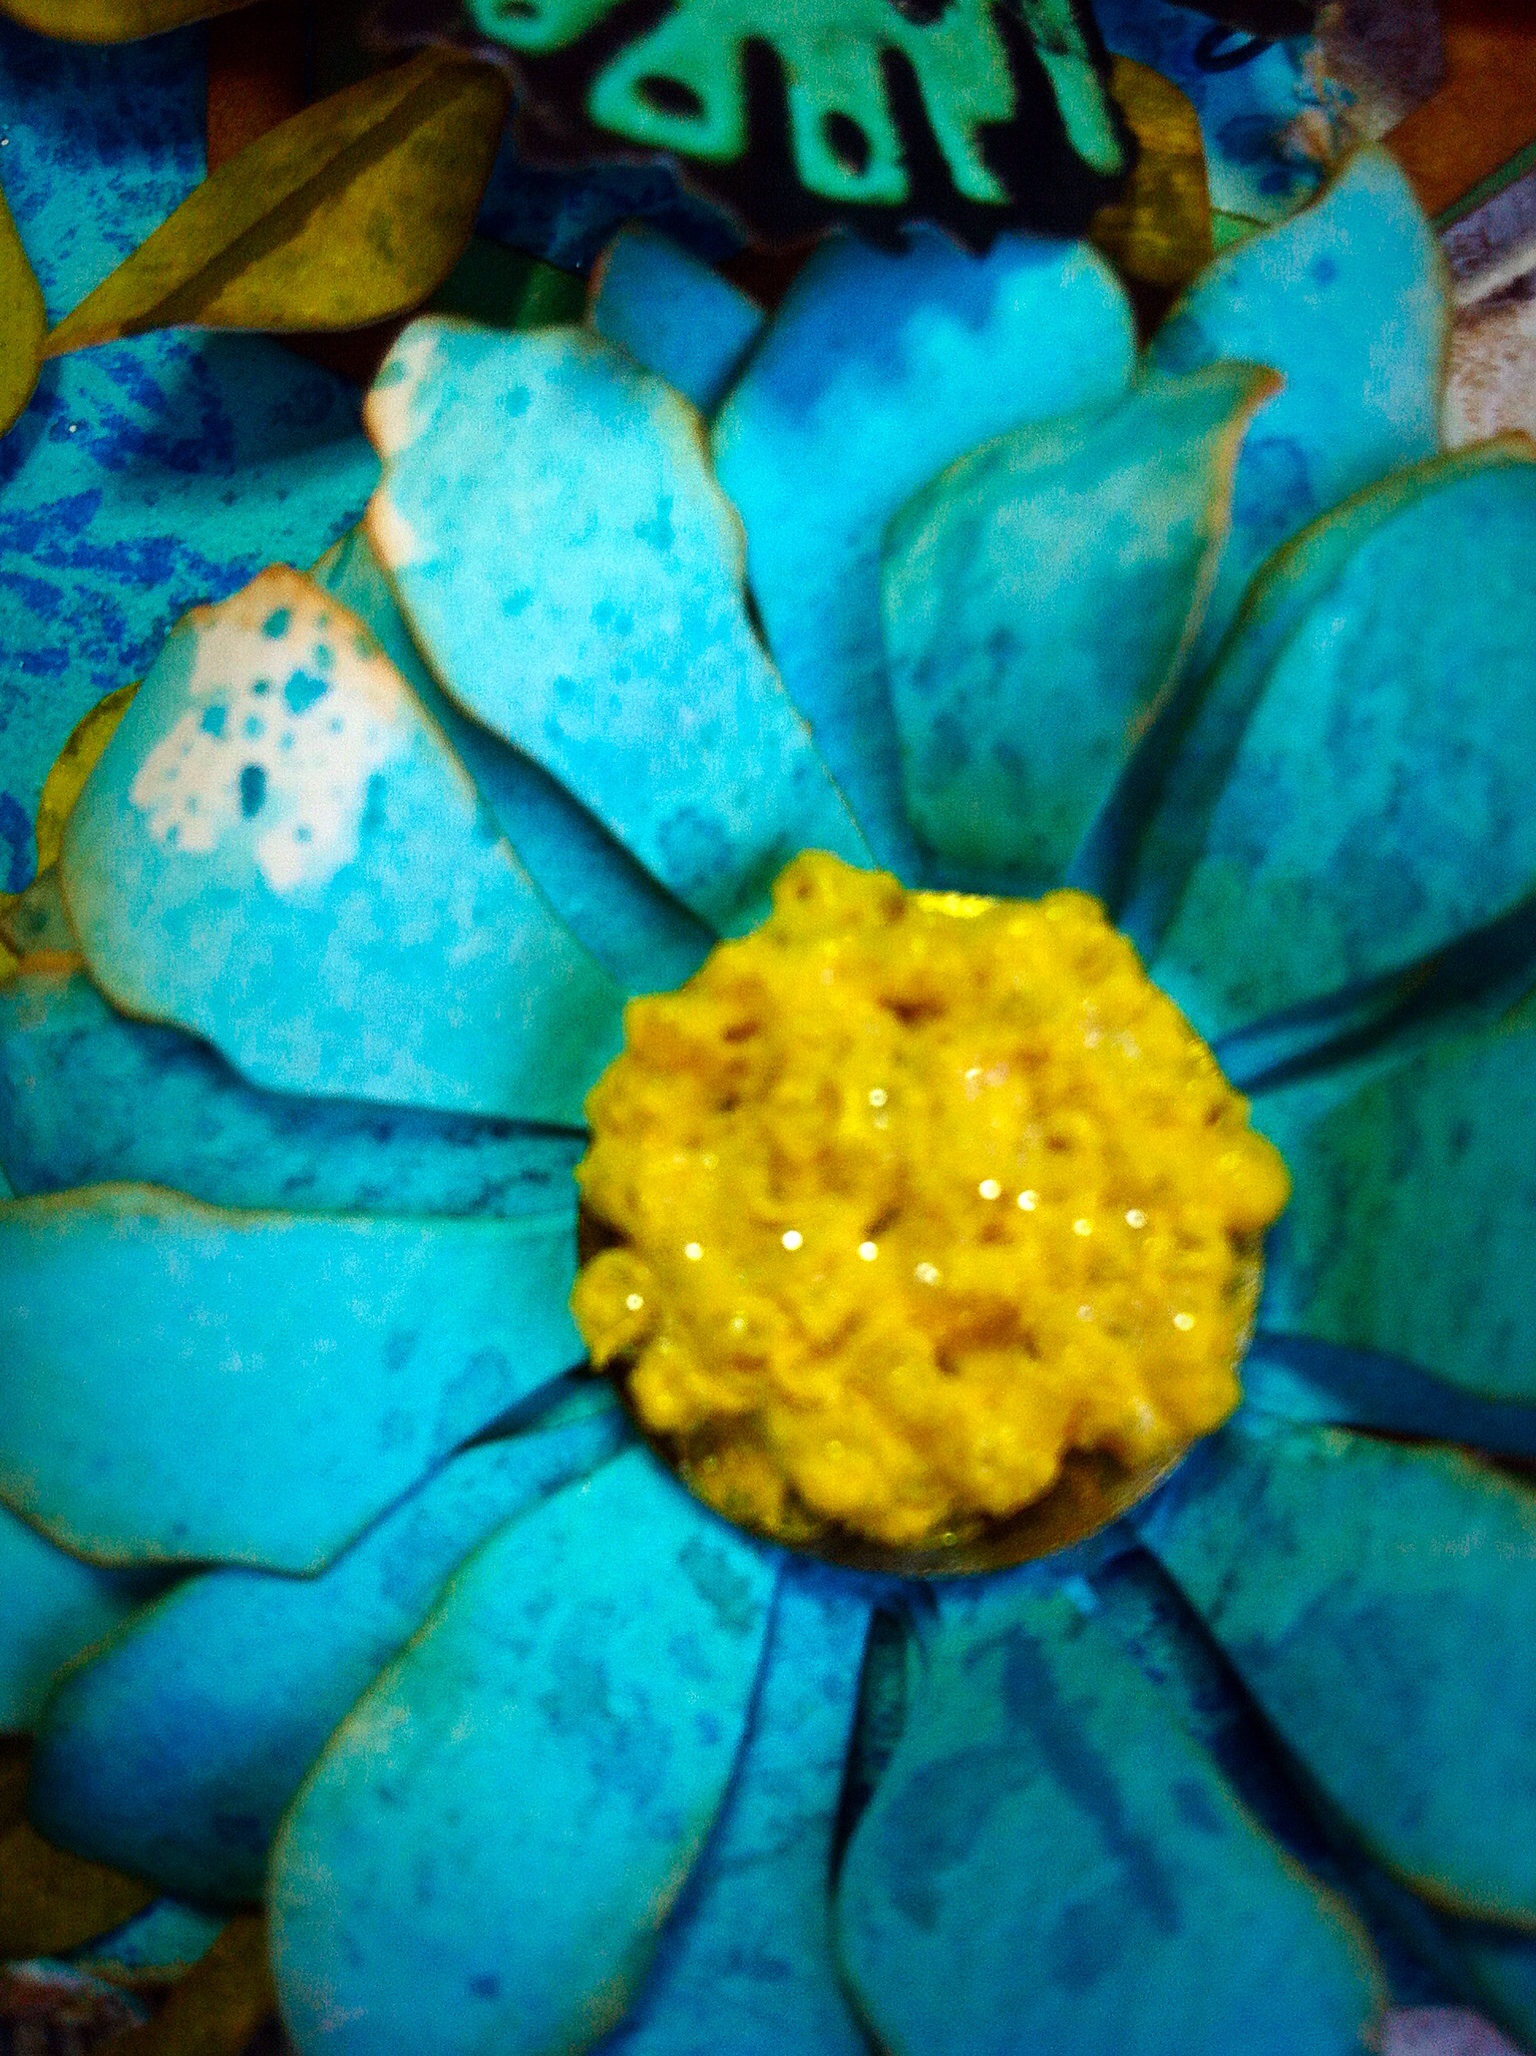
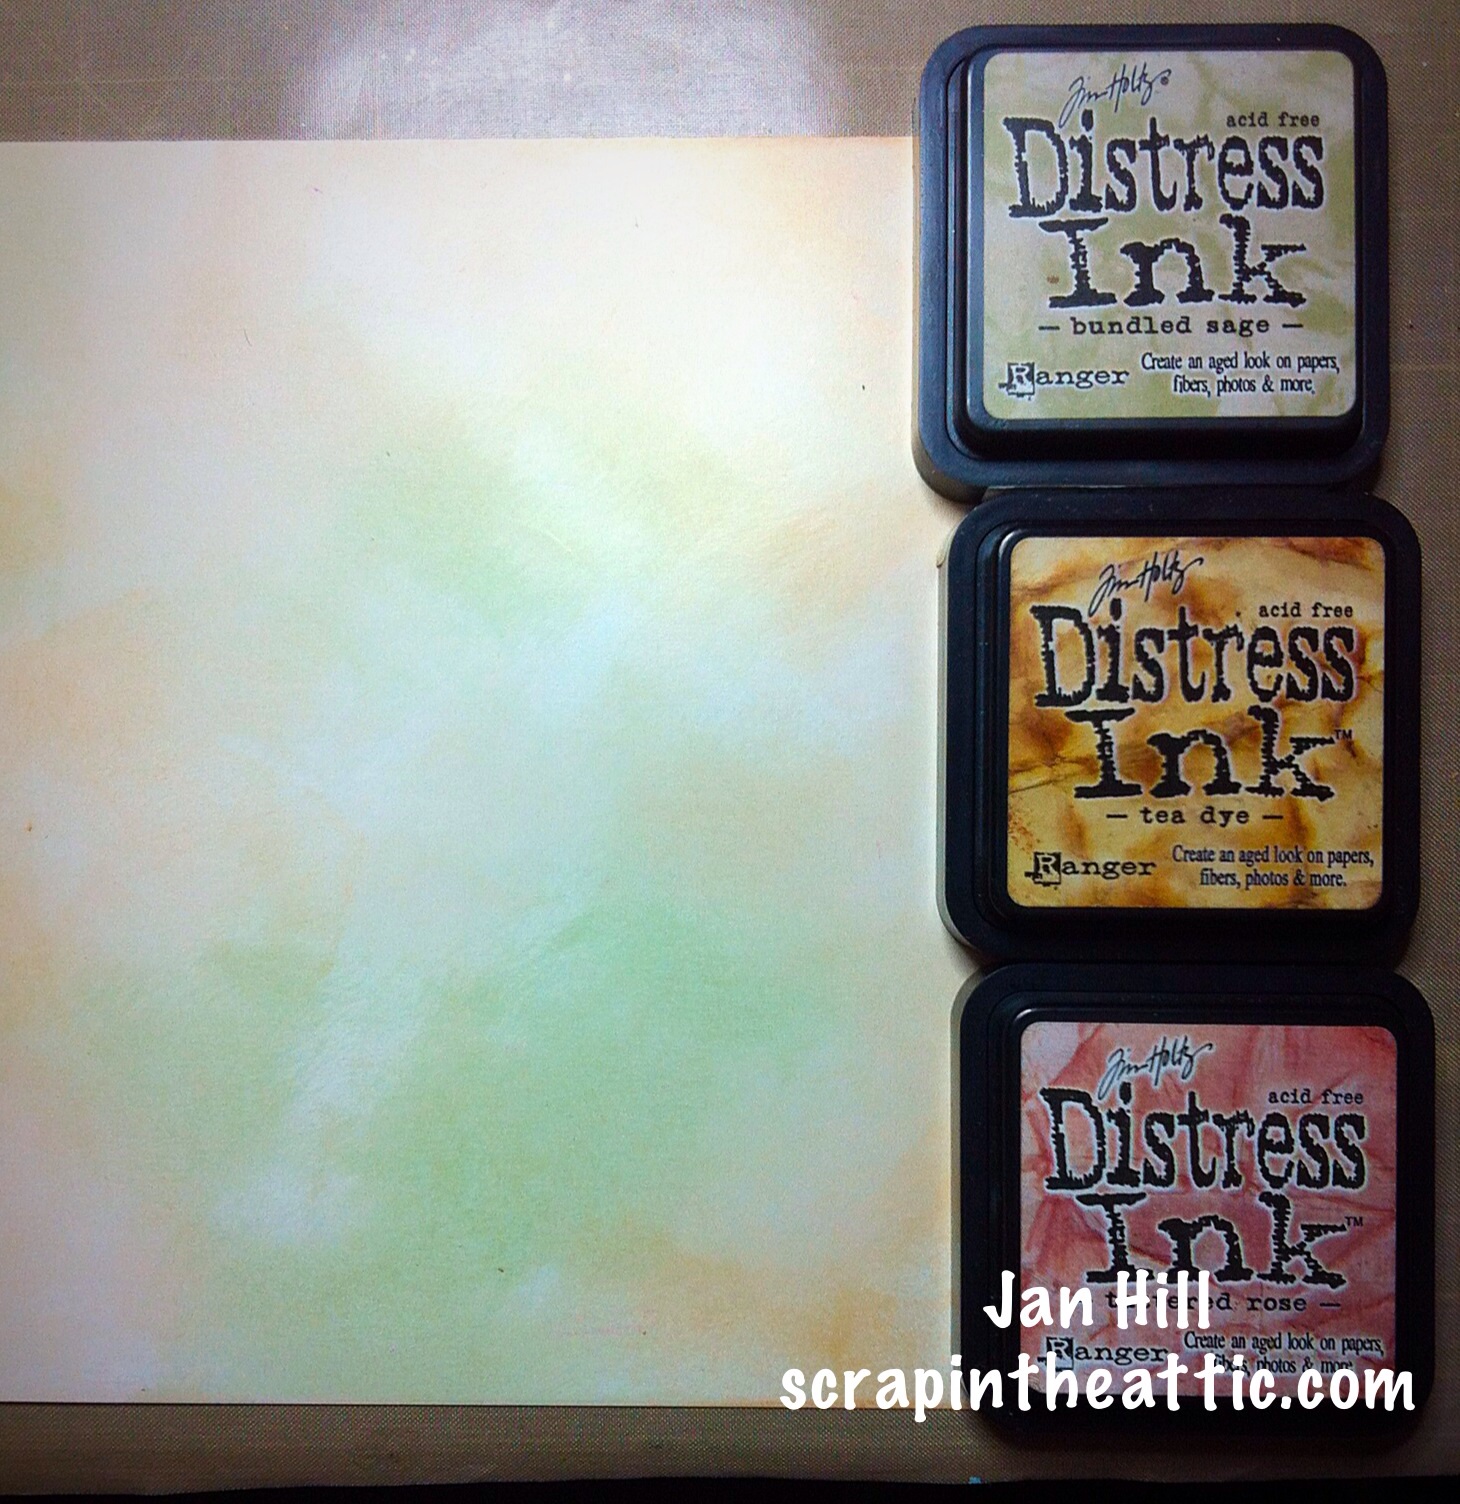
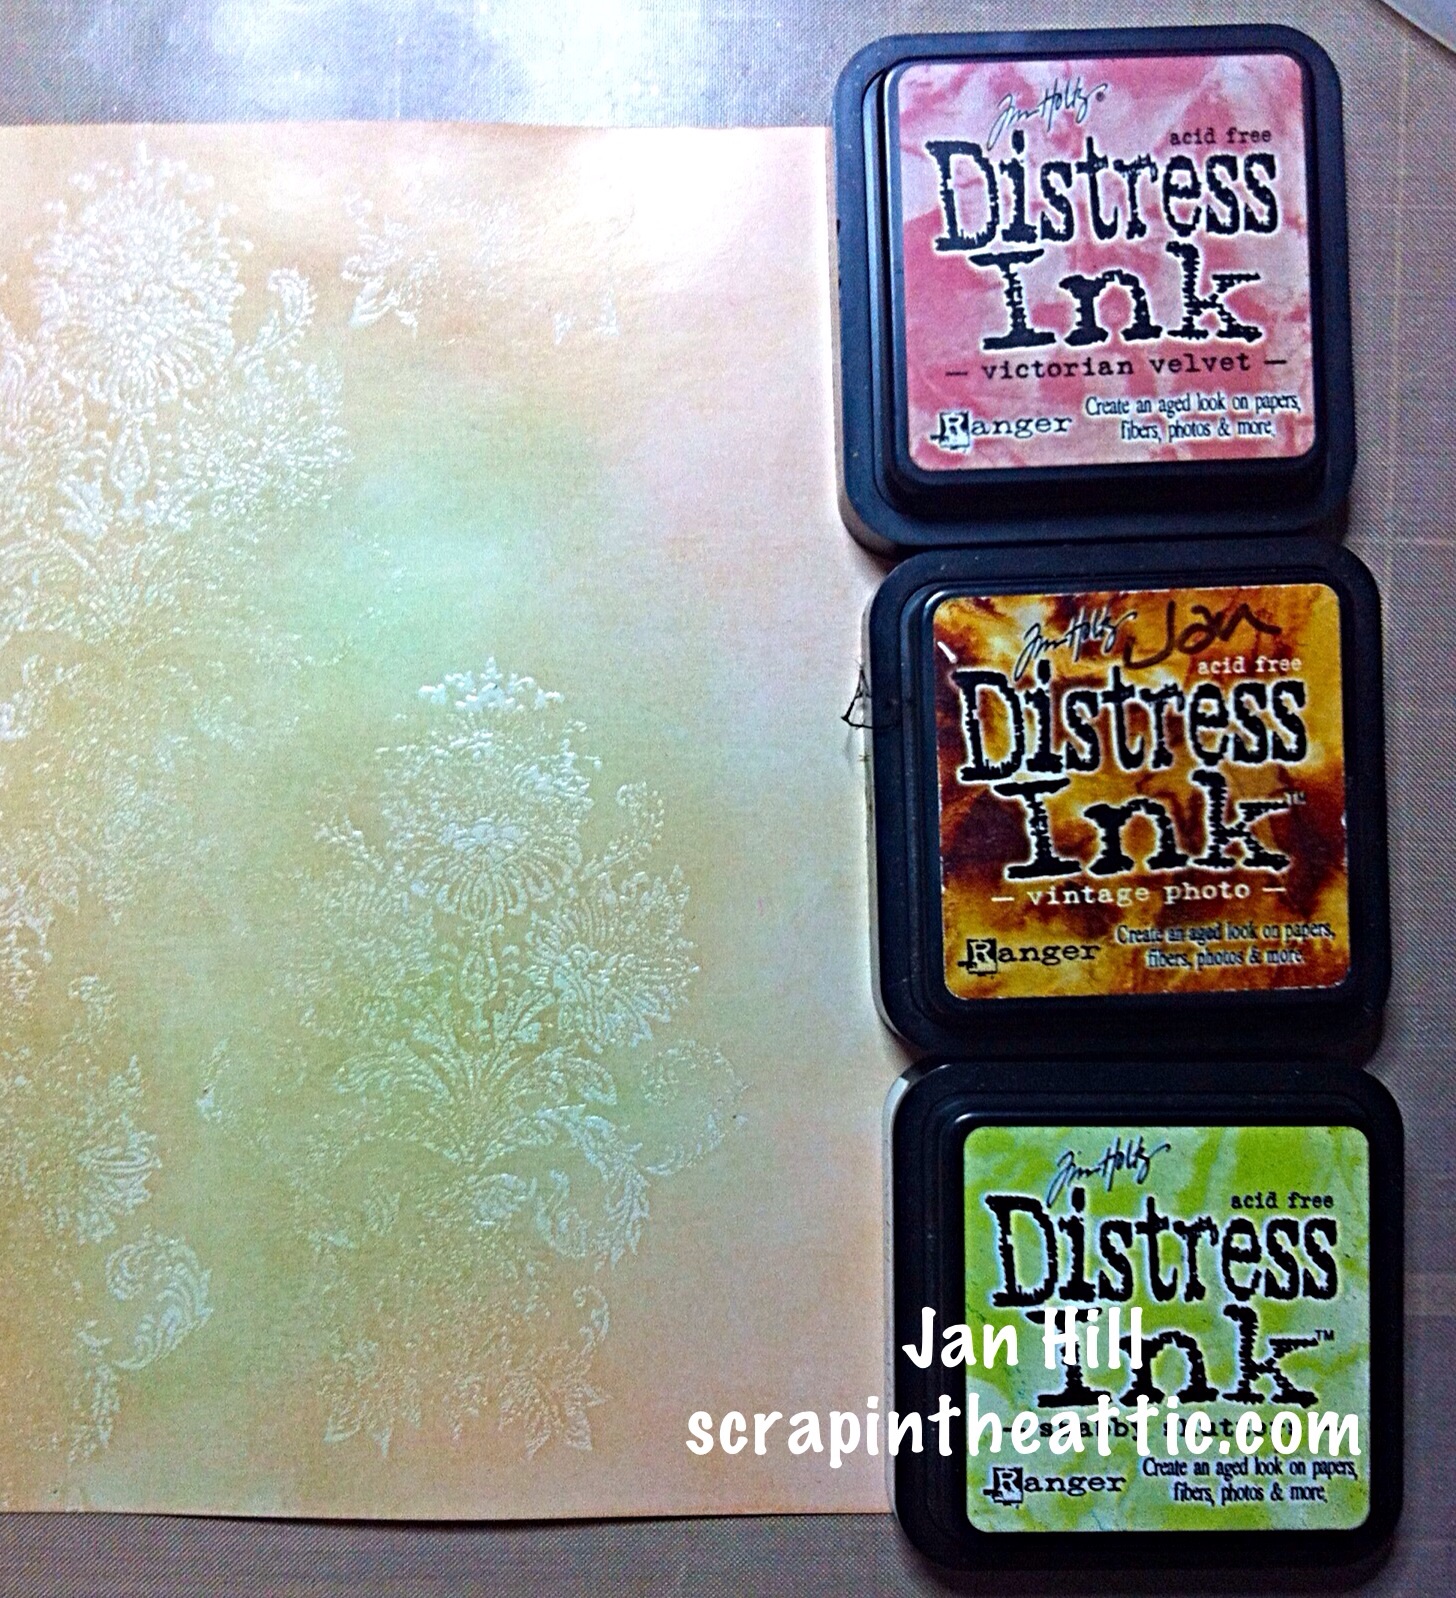
The fun part started by making the paper for the rose. First I made a muted background with Distress Inks. I used the Distress Damask Stamp with Distress Embossing Ink and clear embossed the image then re-inked over the top. I used the same stamp over the paper with Archival Potting Compost. I also embossed some more with green Distress Powder.


image
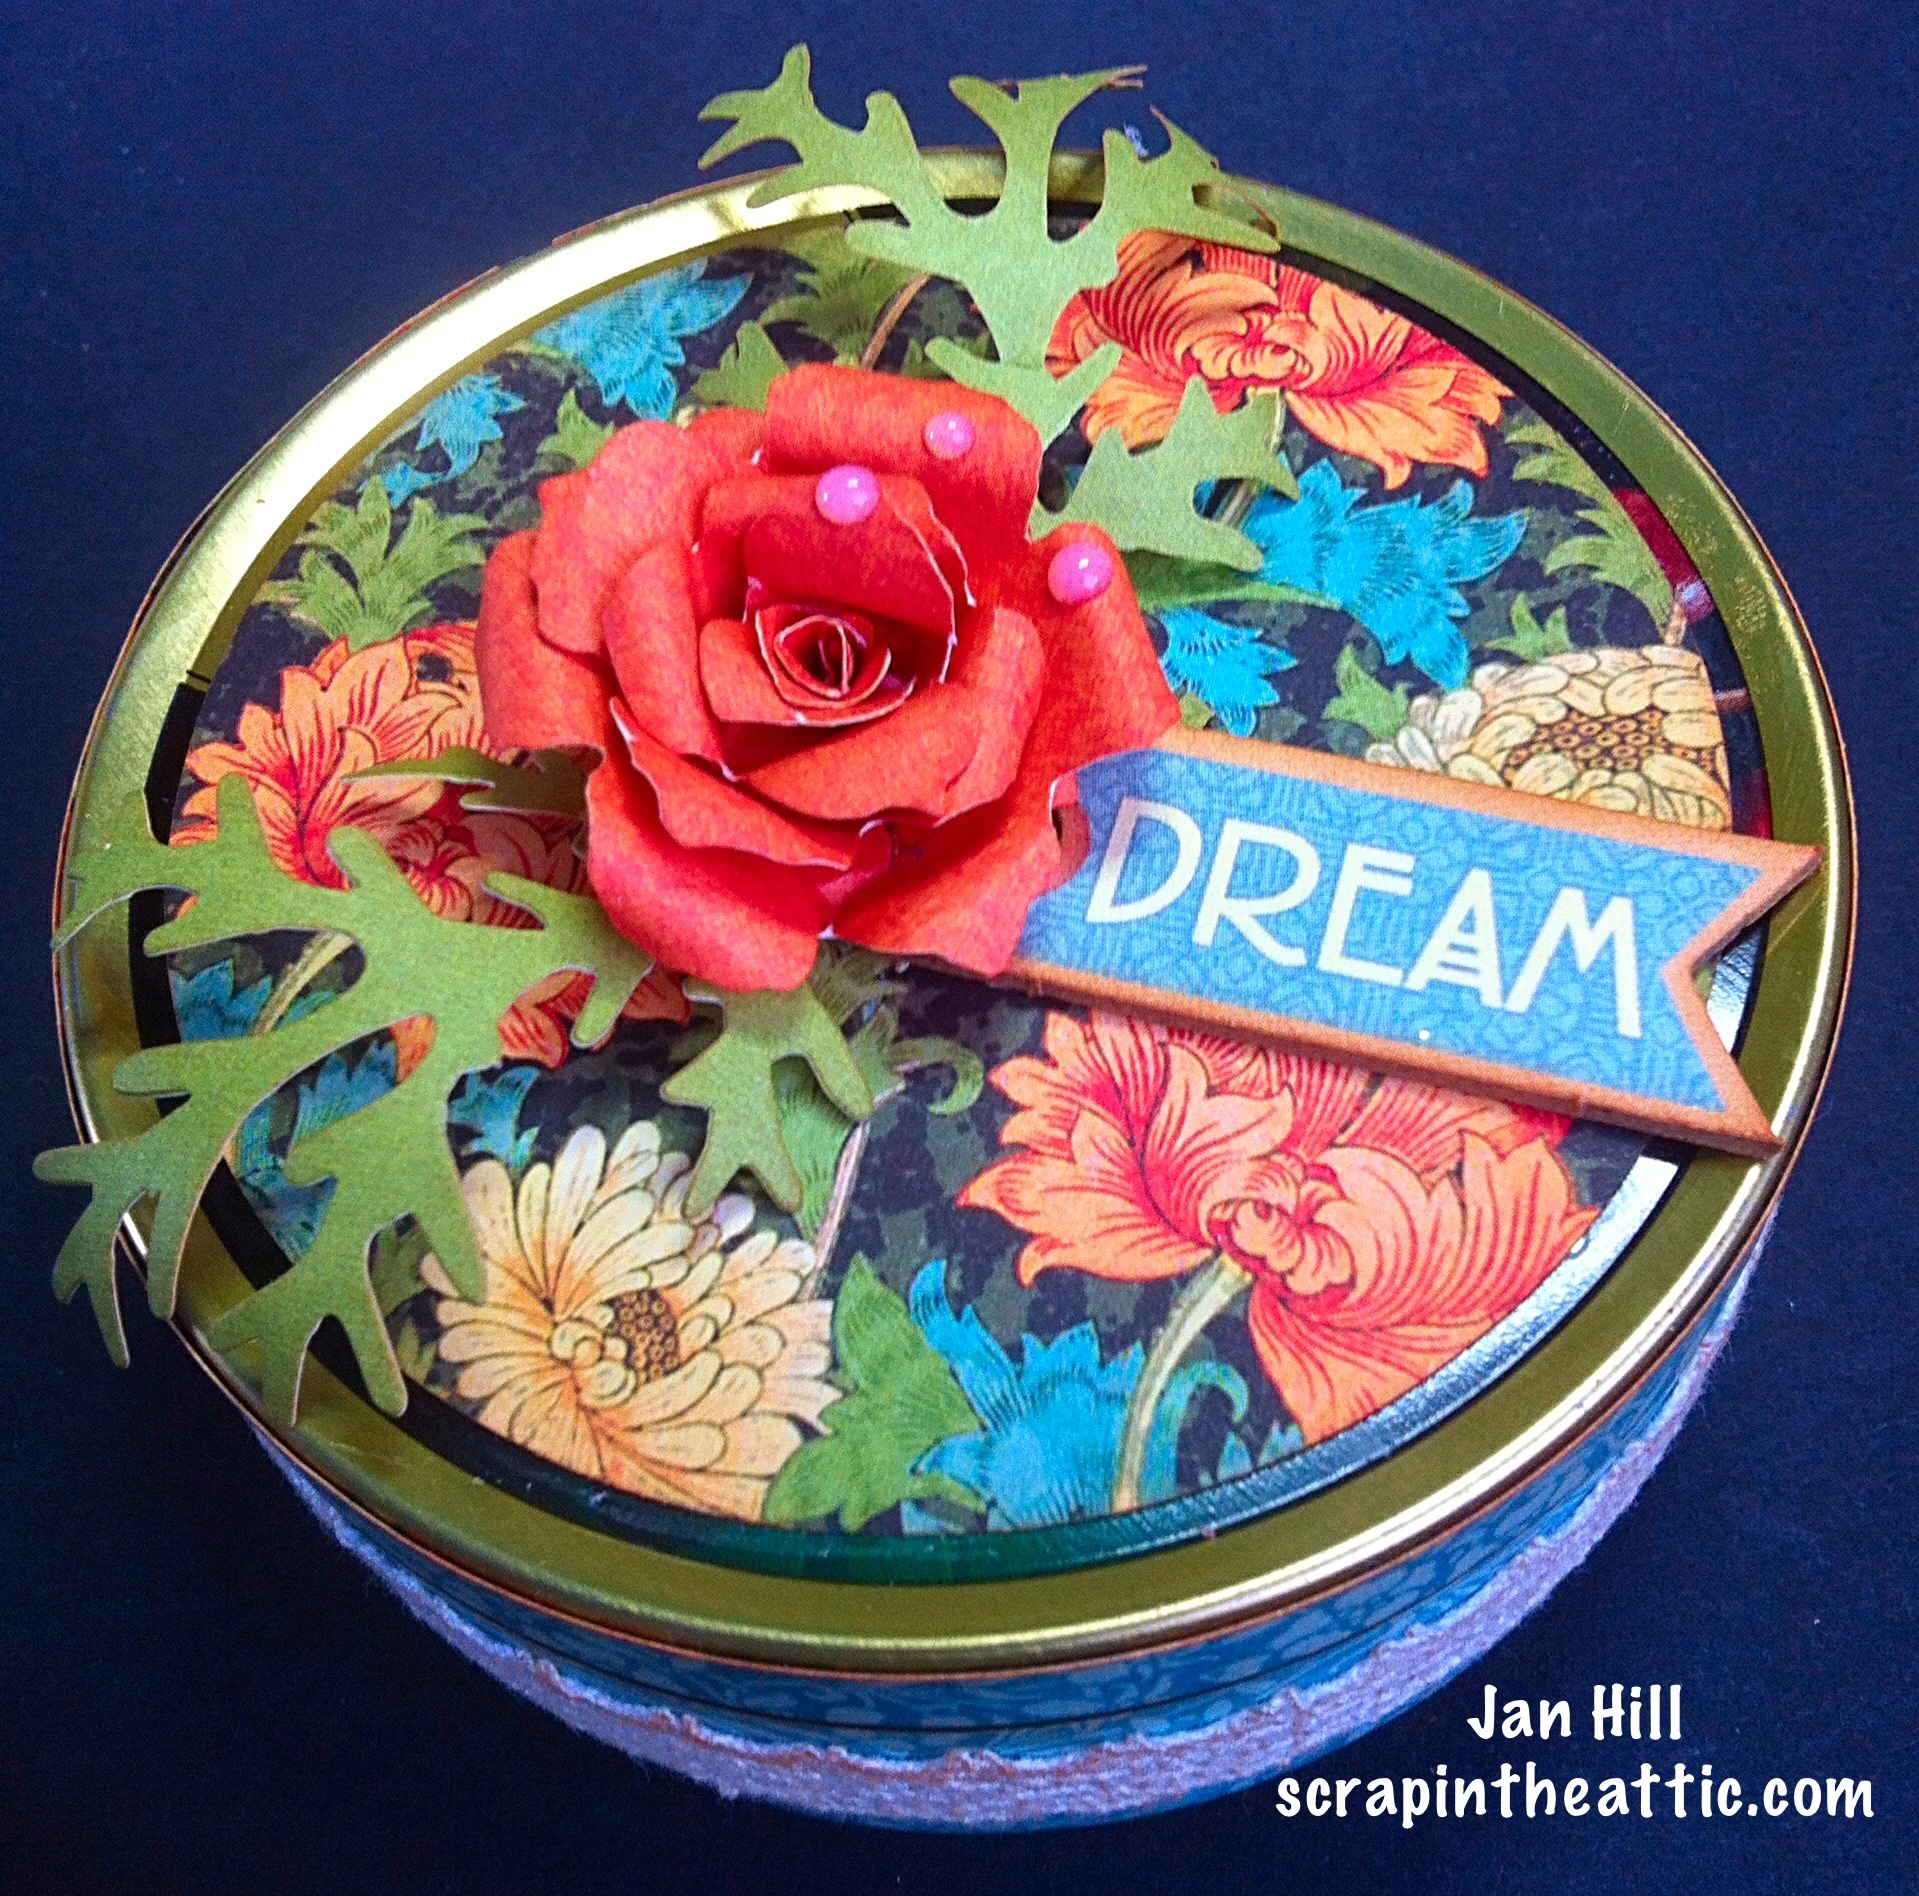
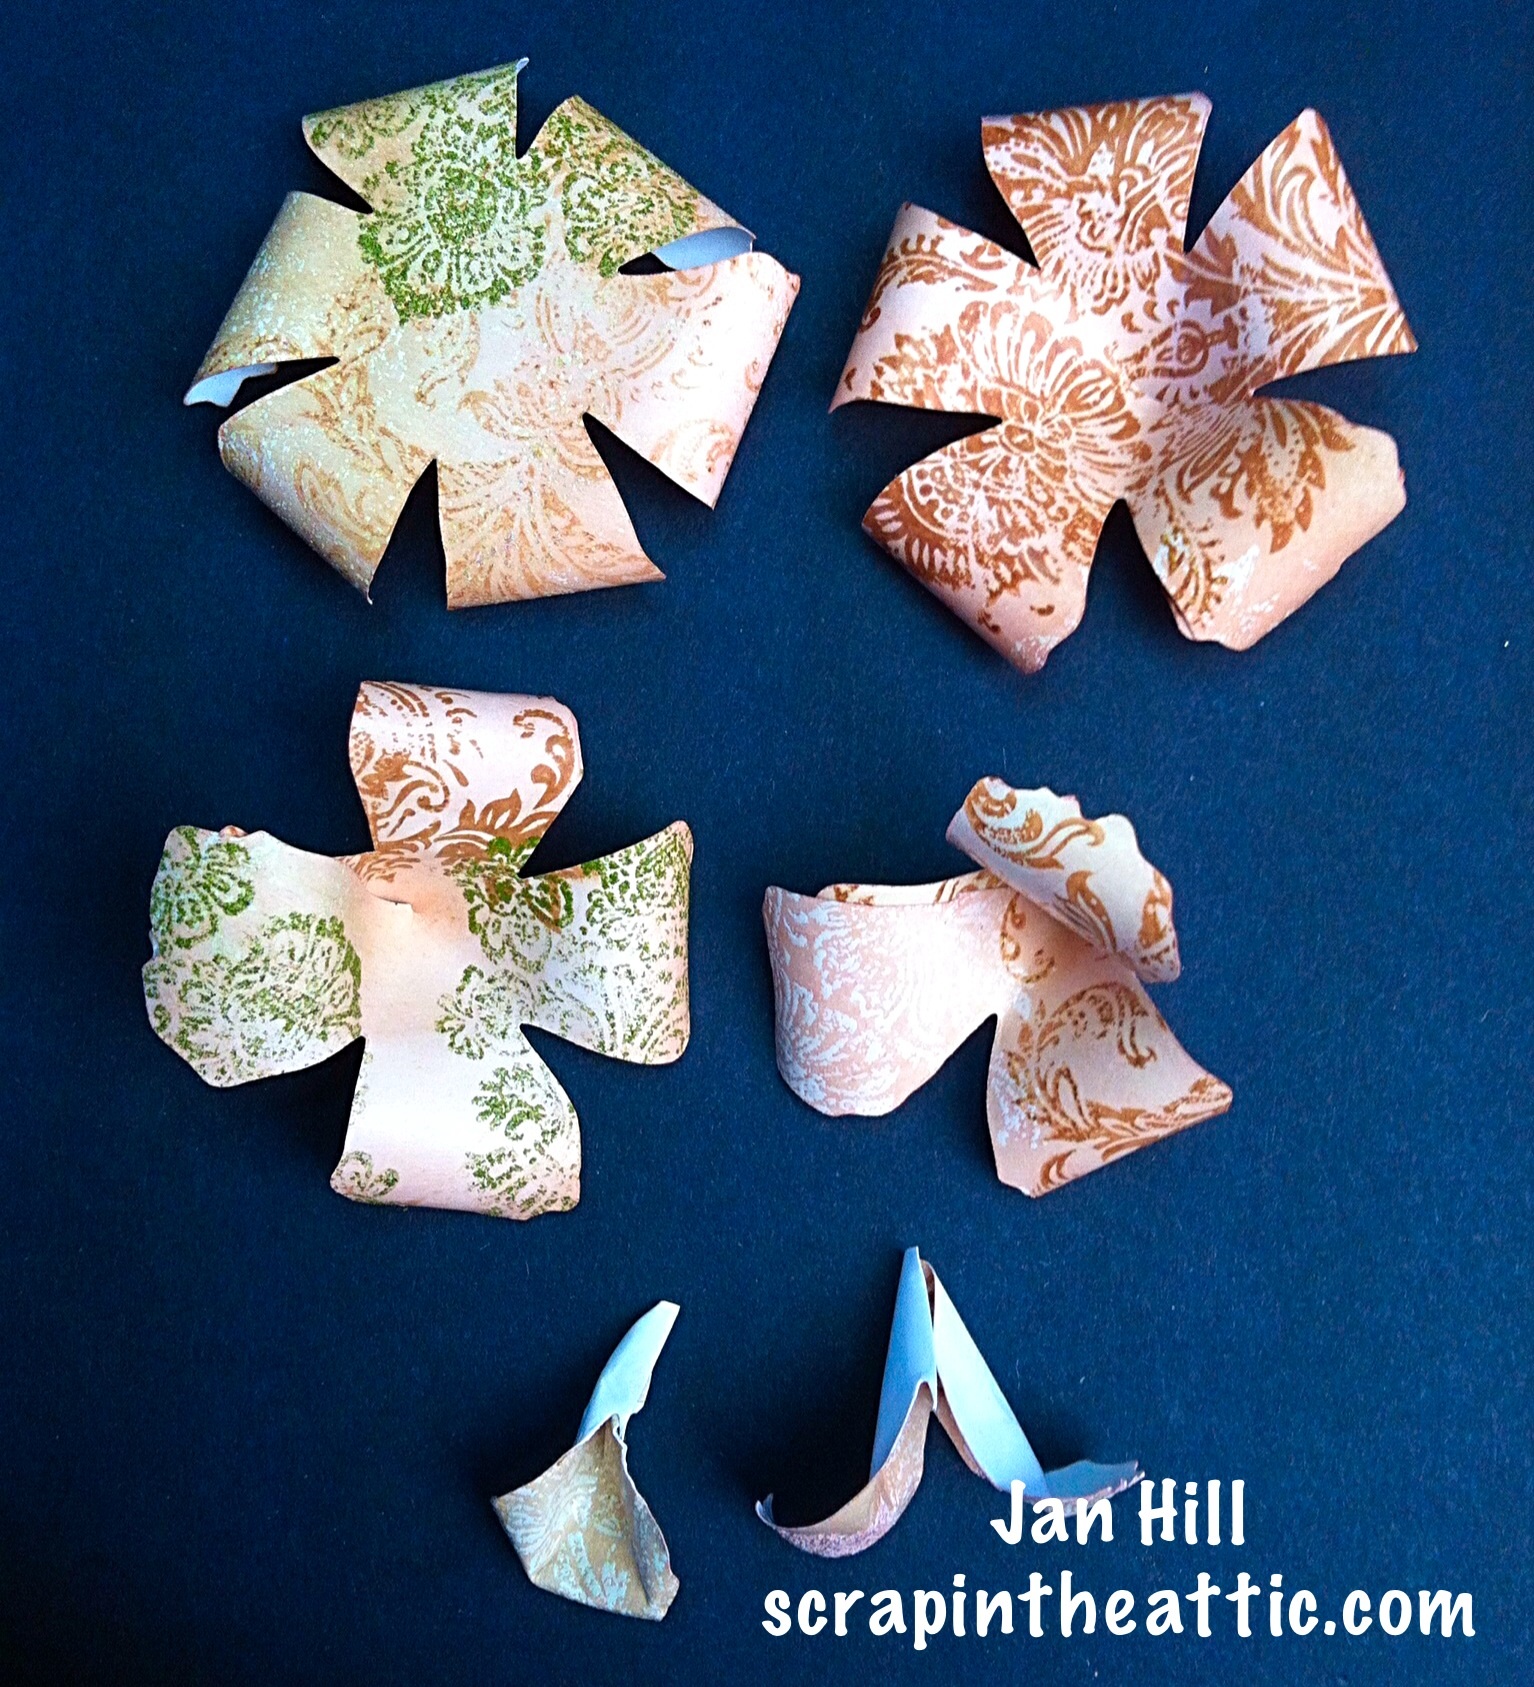
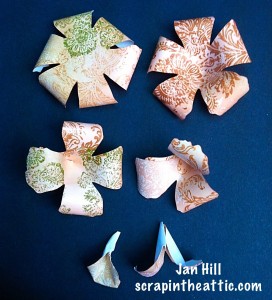
I used the paper to die cut  4 of Tim’s Tattered Flowers and then assembled them into a 3D rose.

I added dry embossed, die cut leaves from Cor’dinations Kraft Paper.

The rose was glued onto the frame with Silicone Glue.
image

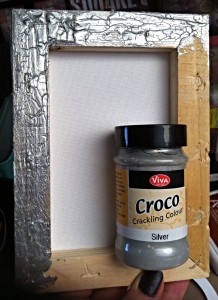
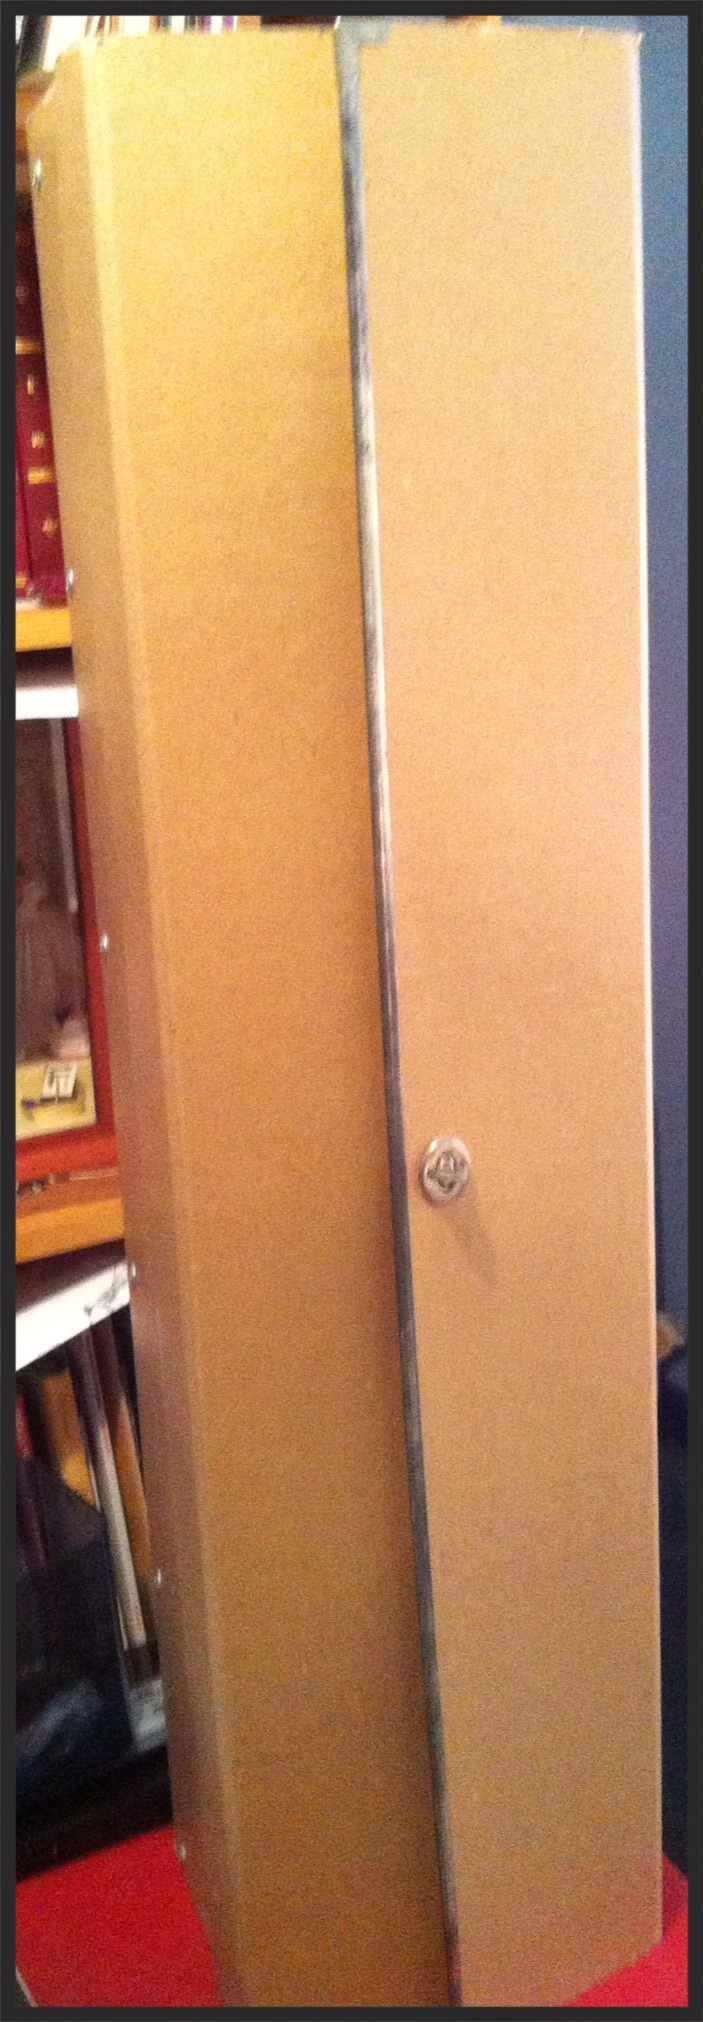
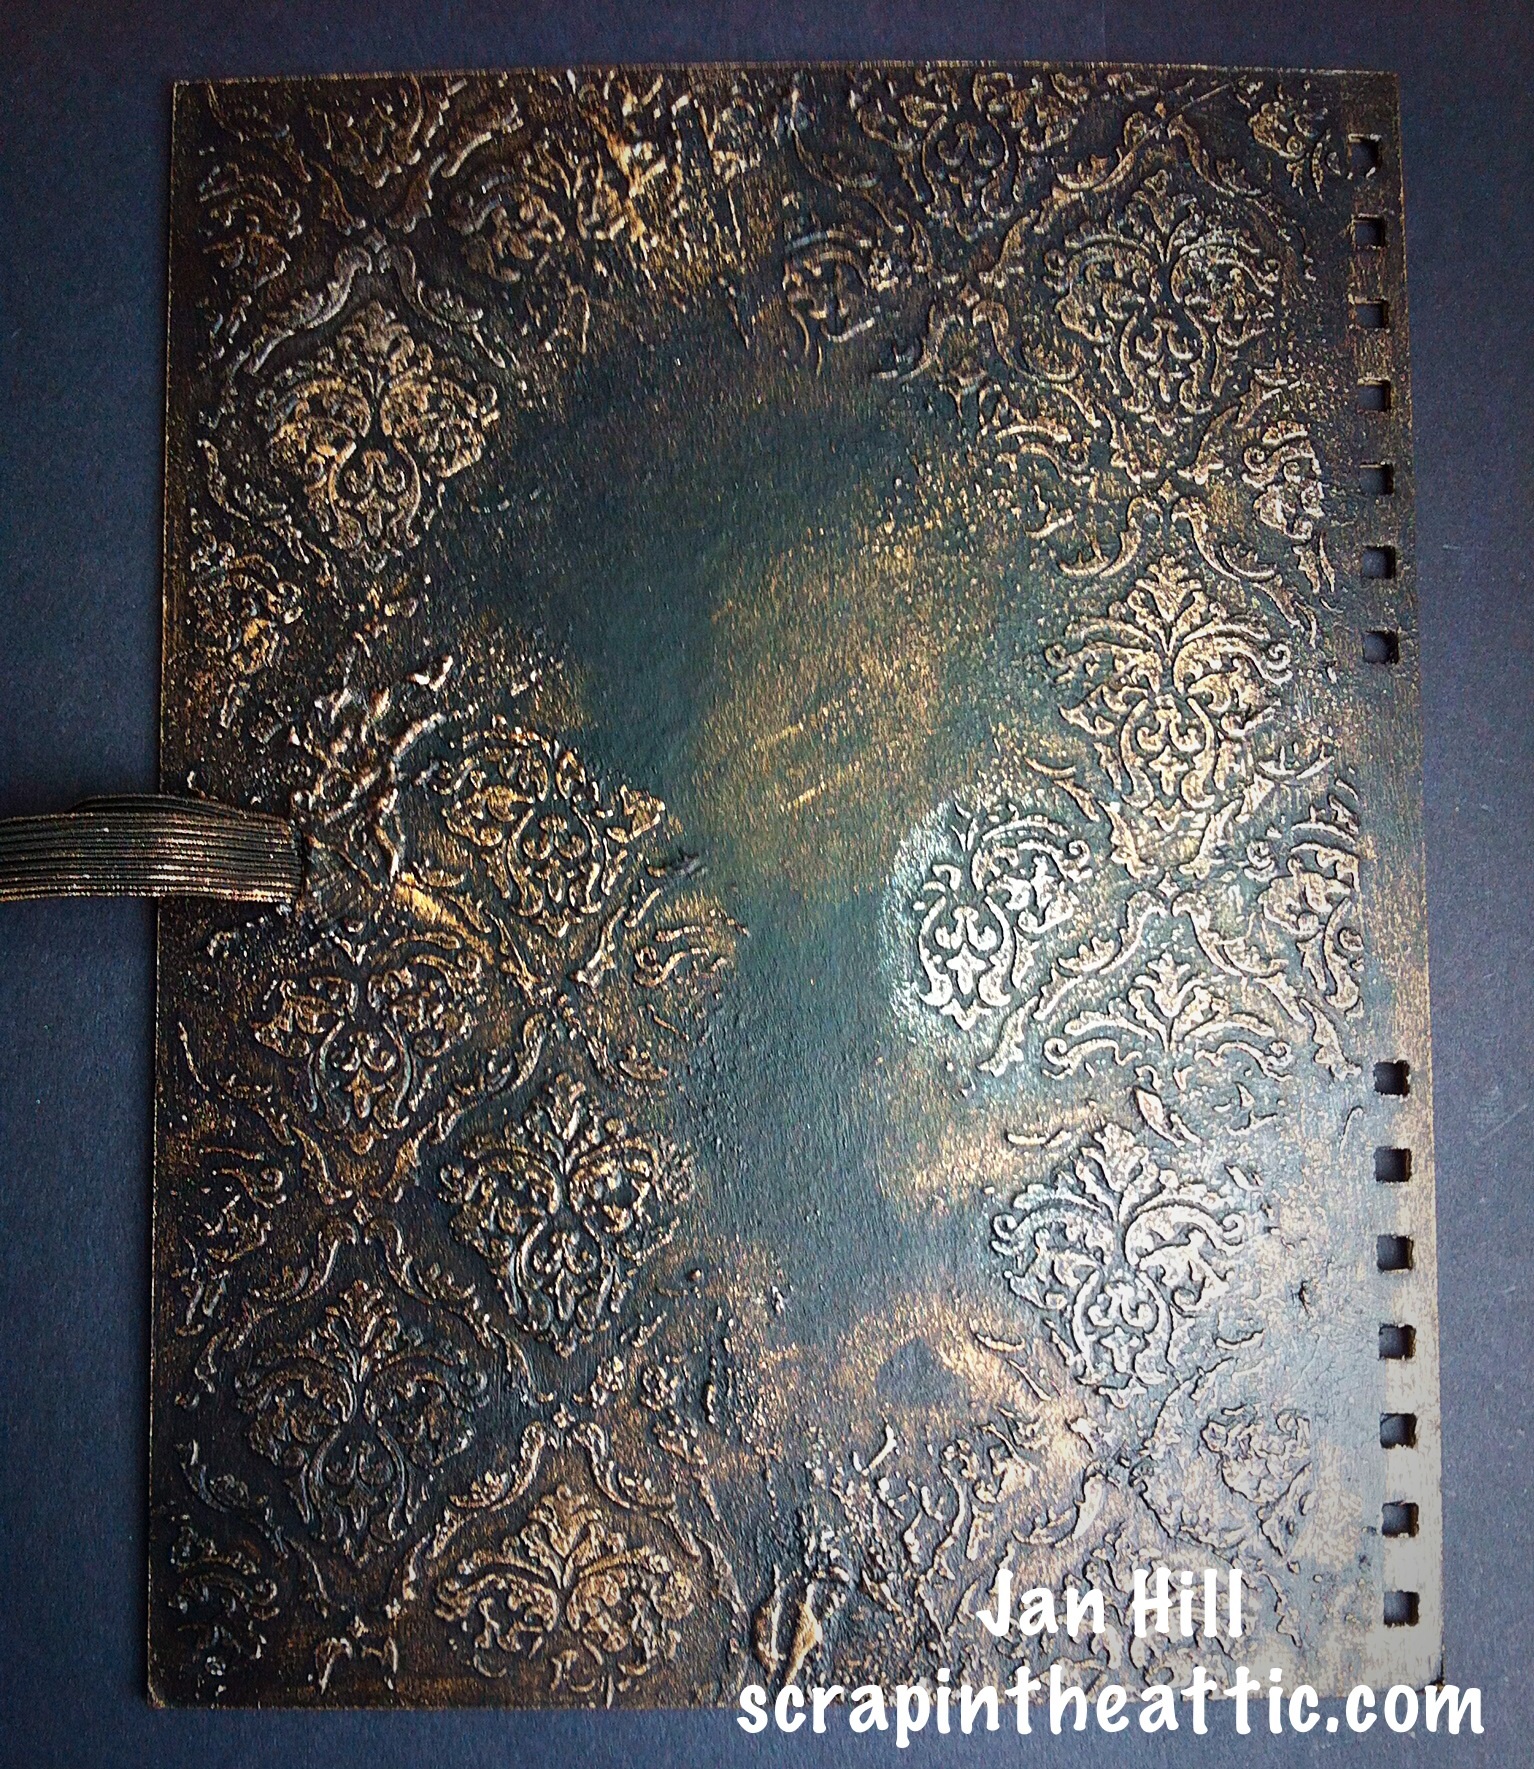
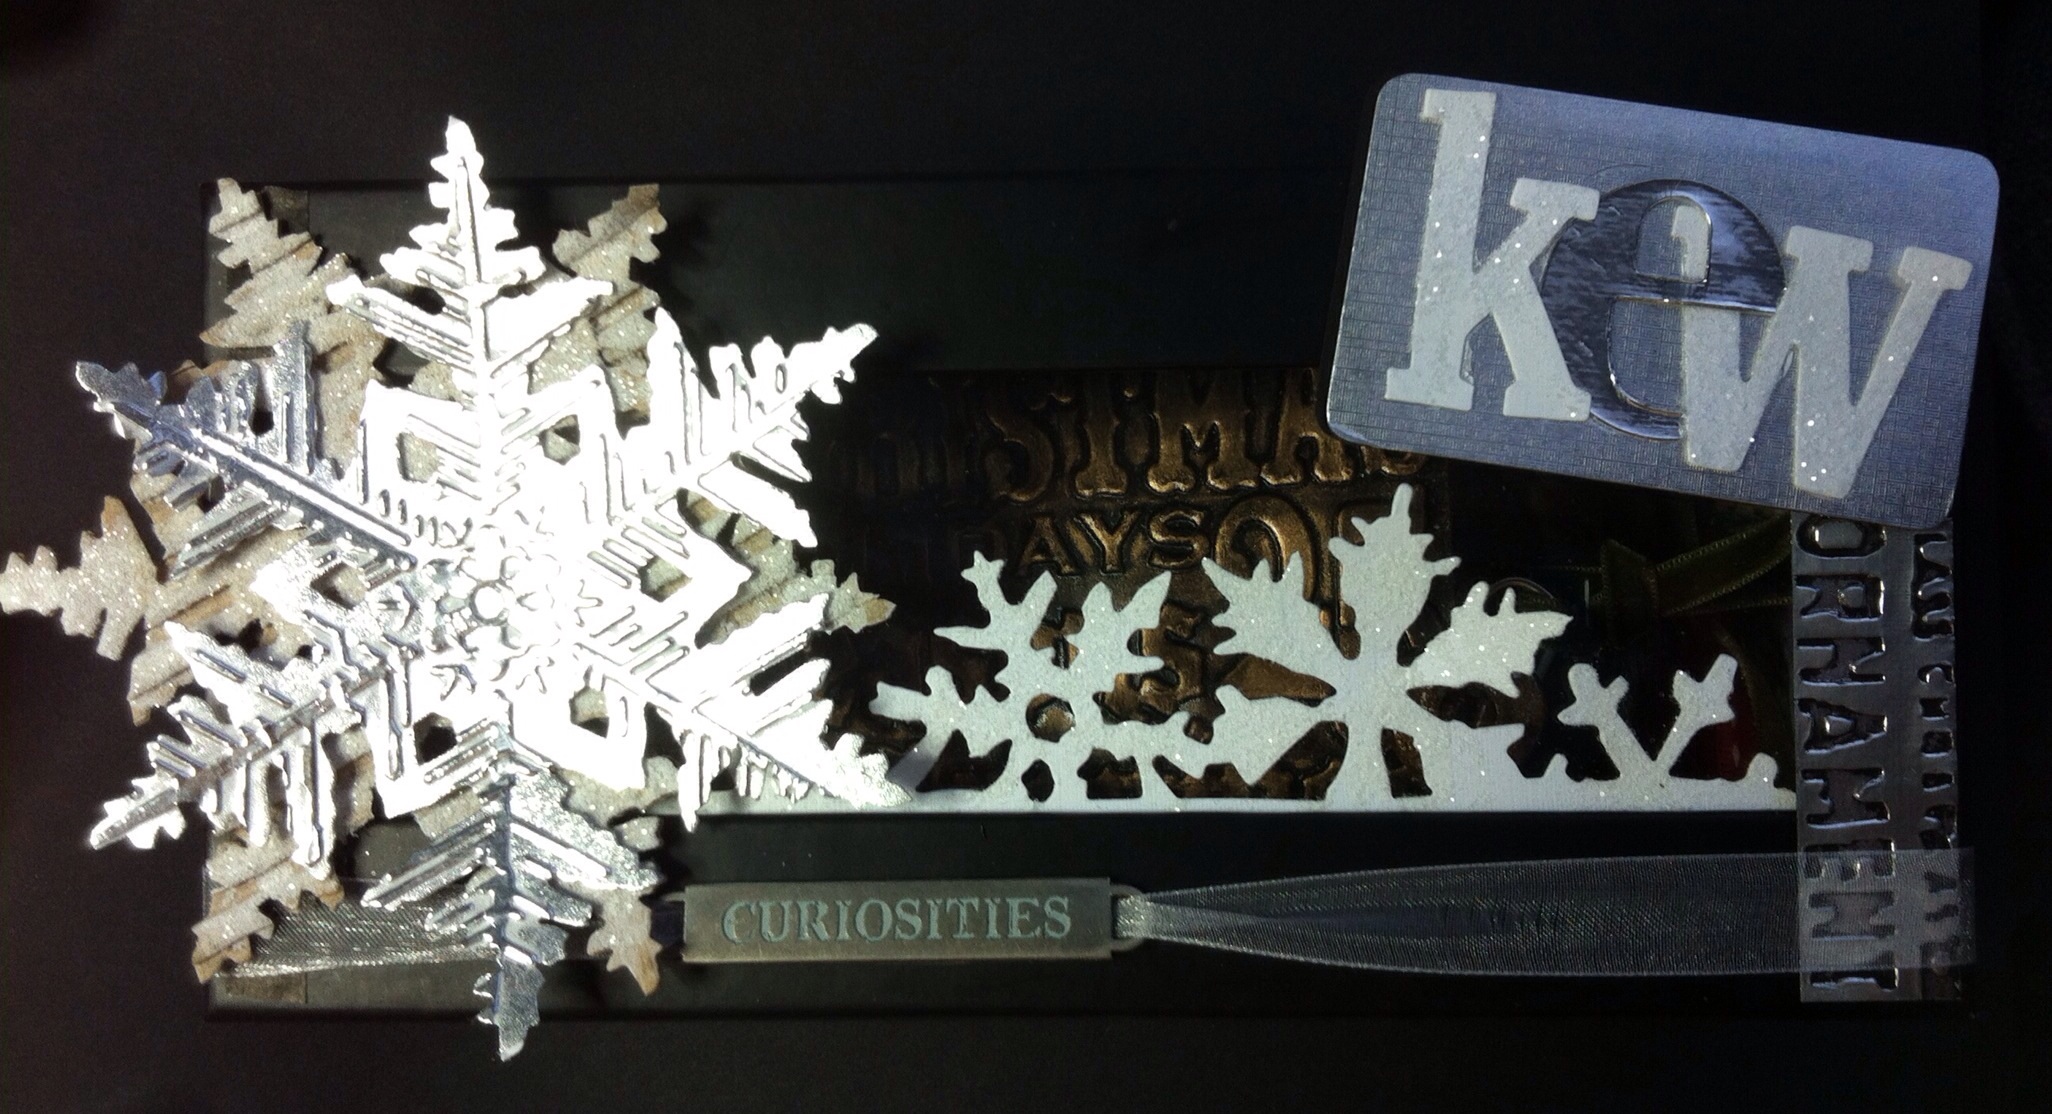
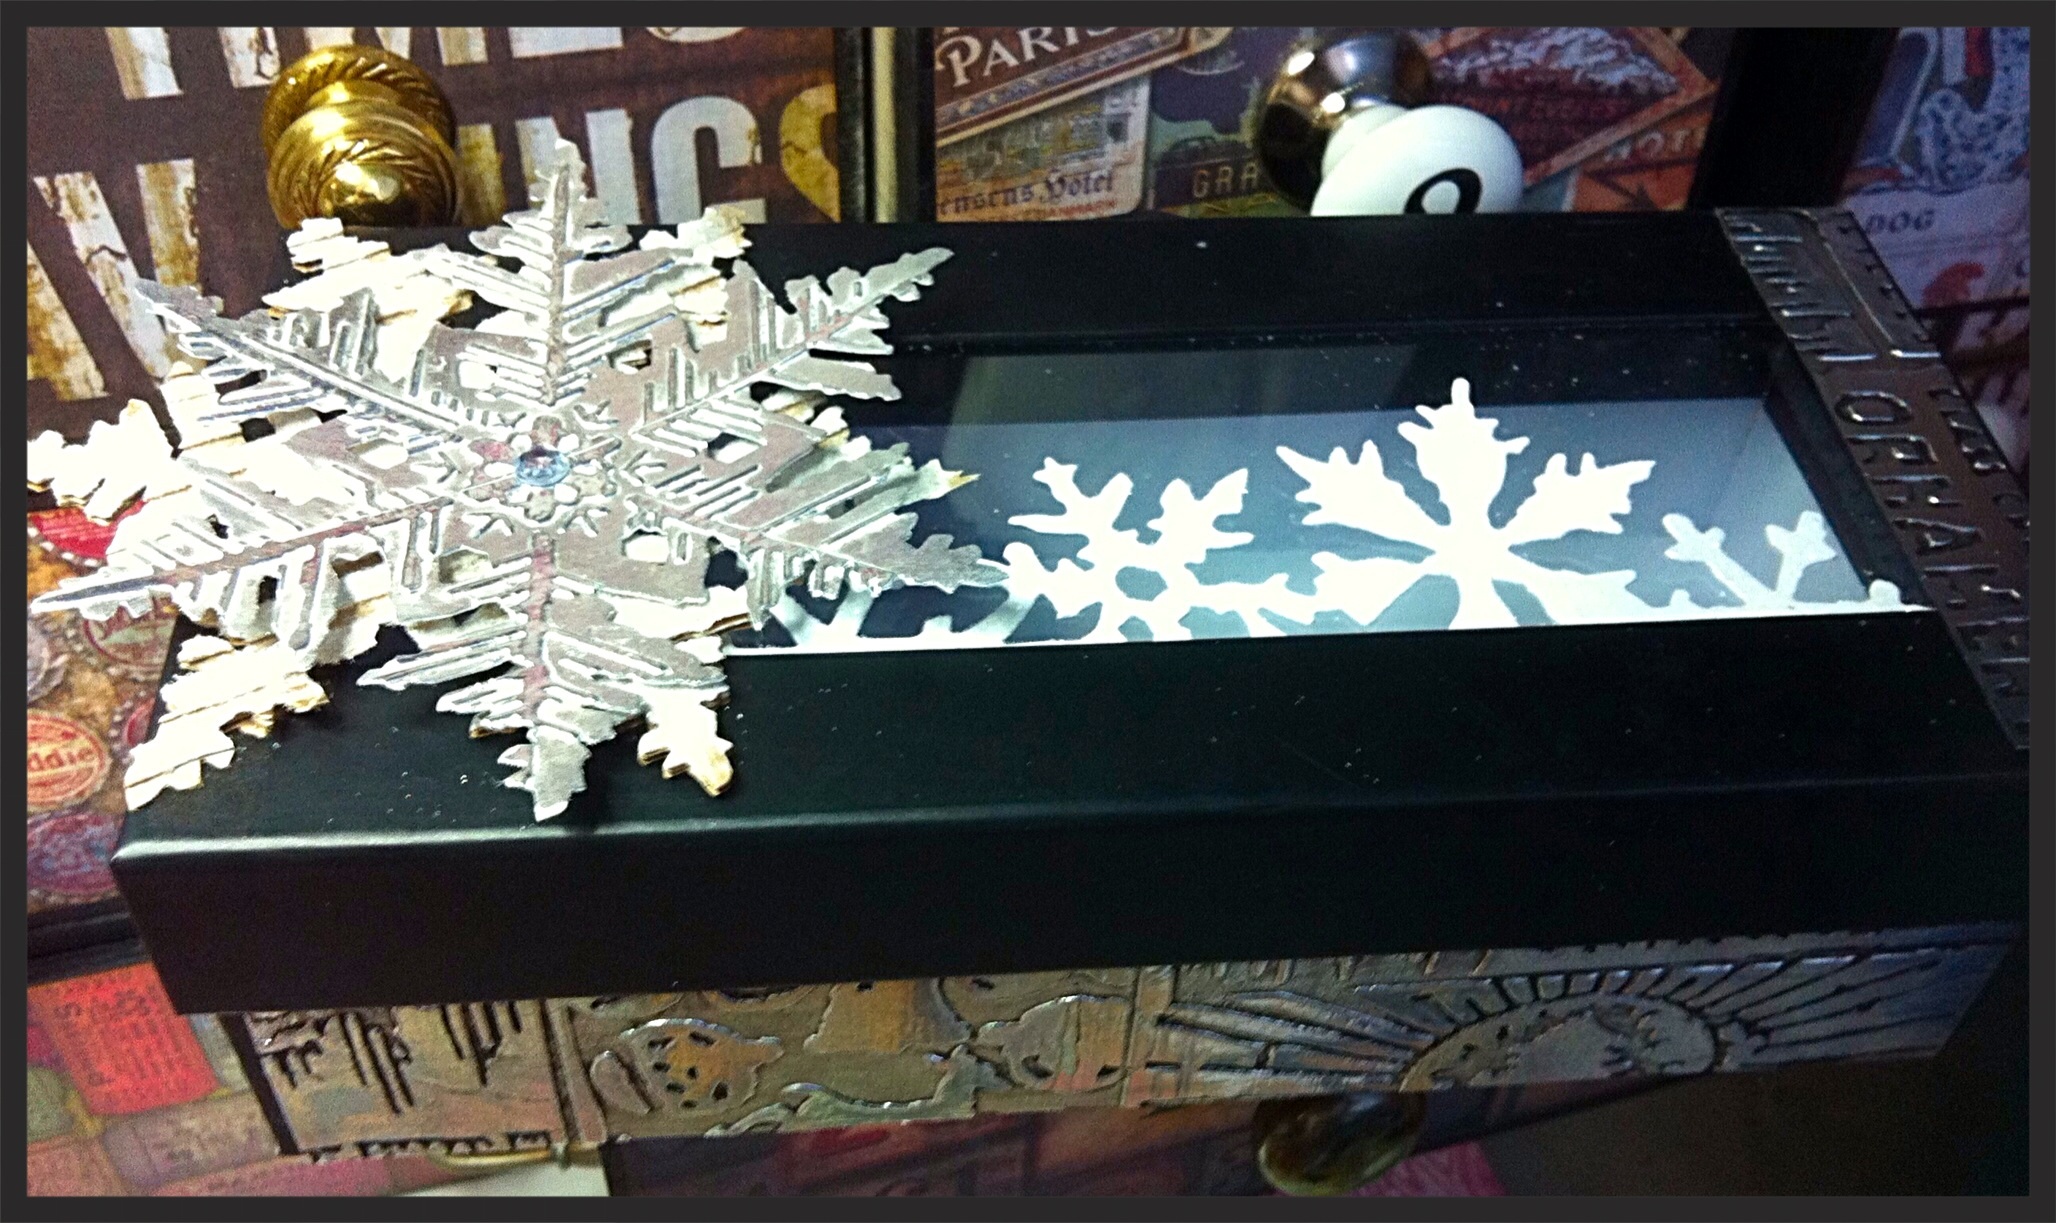
I made the Shadow Box from a cheap canvas frame. I love the distressed look of the wood once the staples are removed.

I covered the frame with a good layer of Croco Crackling Colour in silver. You need a generous layer to get big, wide cracks as I have done.

I put green stain over to settle in the cracks. I randomly smeared embossing ink on the edge of the frame and added pink and white embossing powder, it popped and bubbled when I heated it.

image


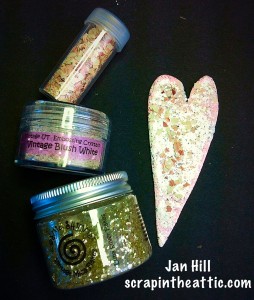
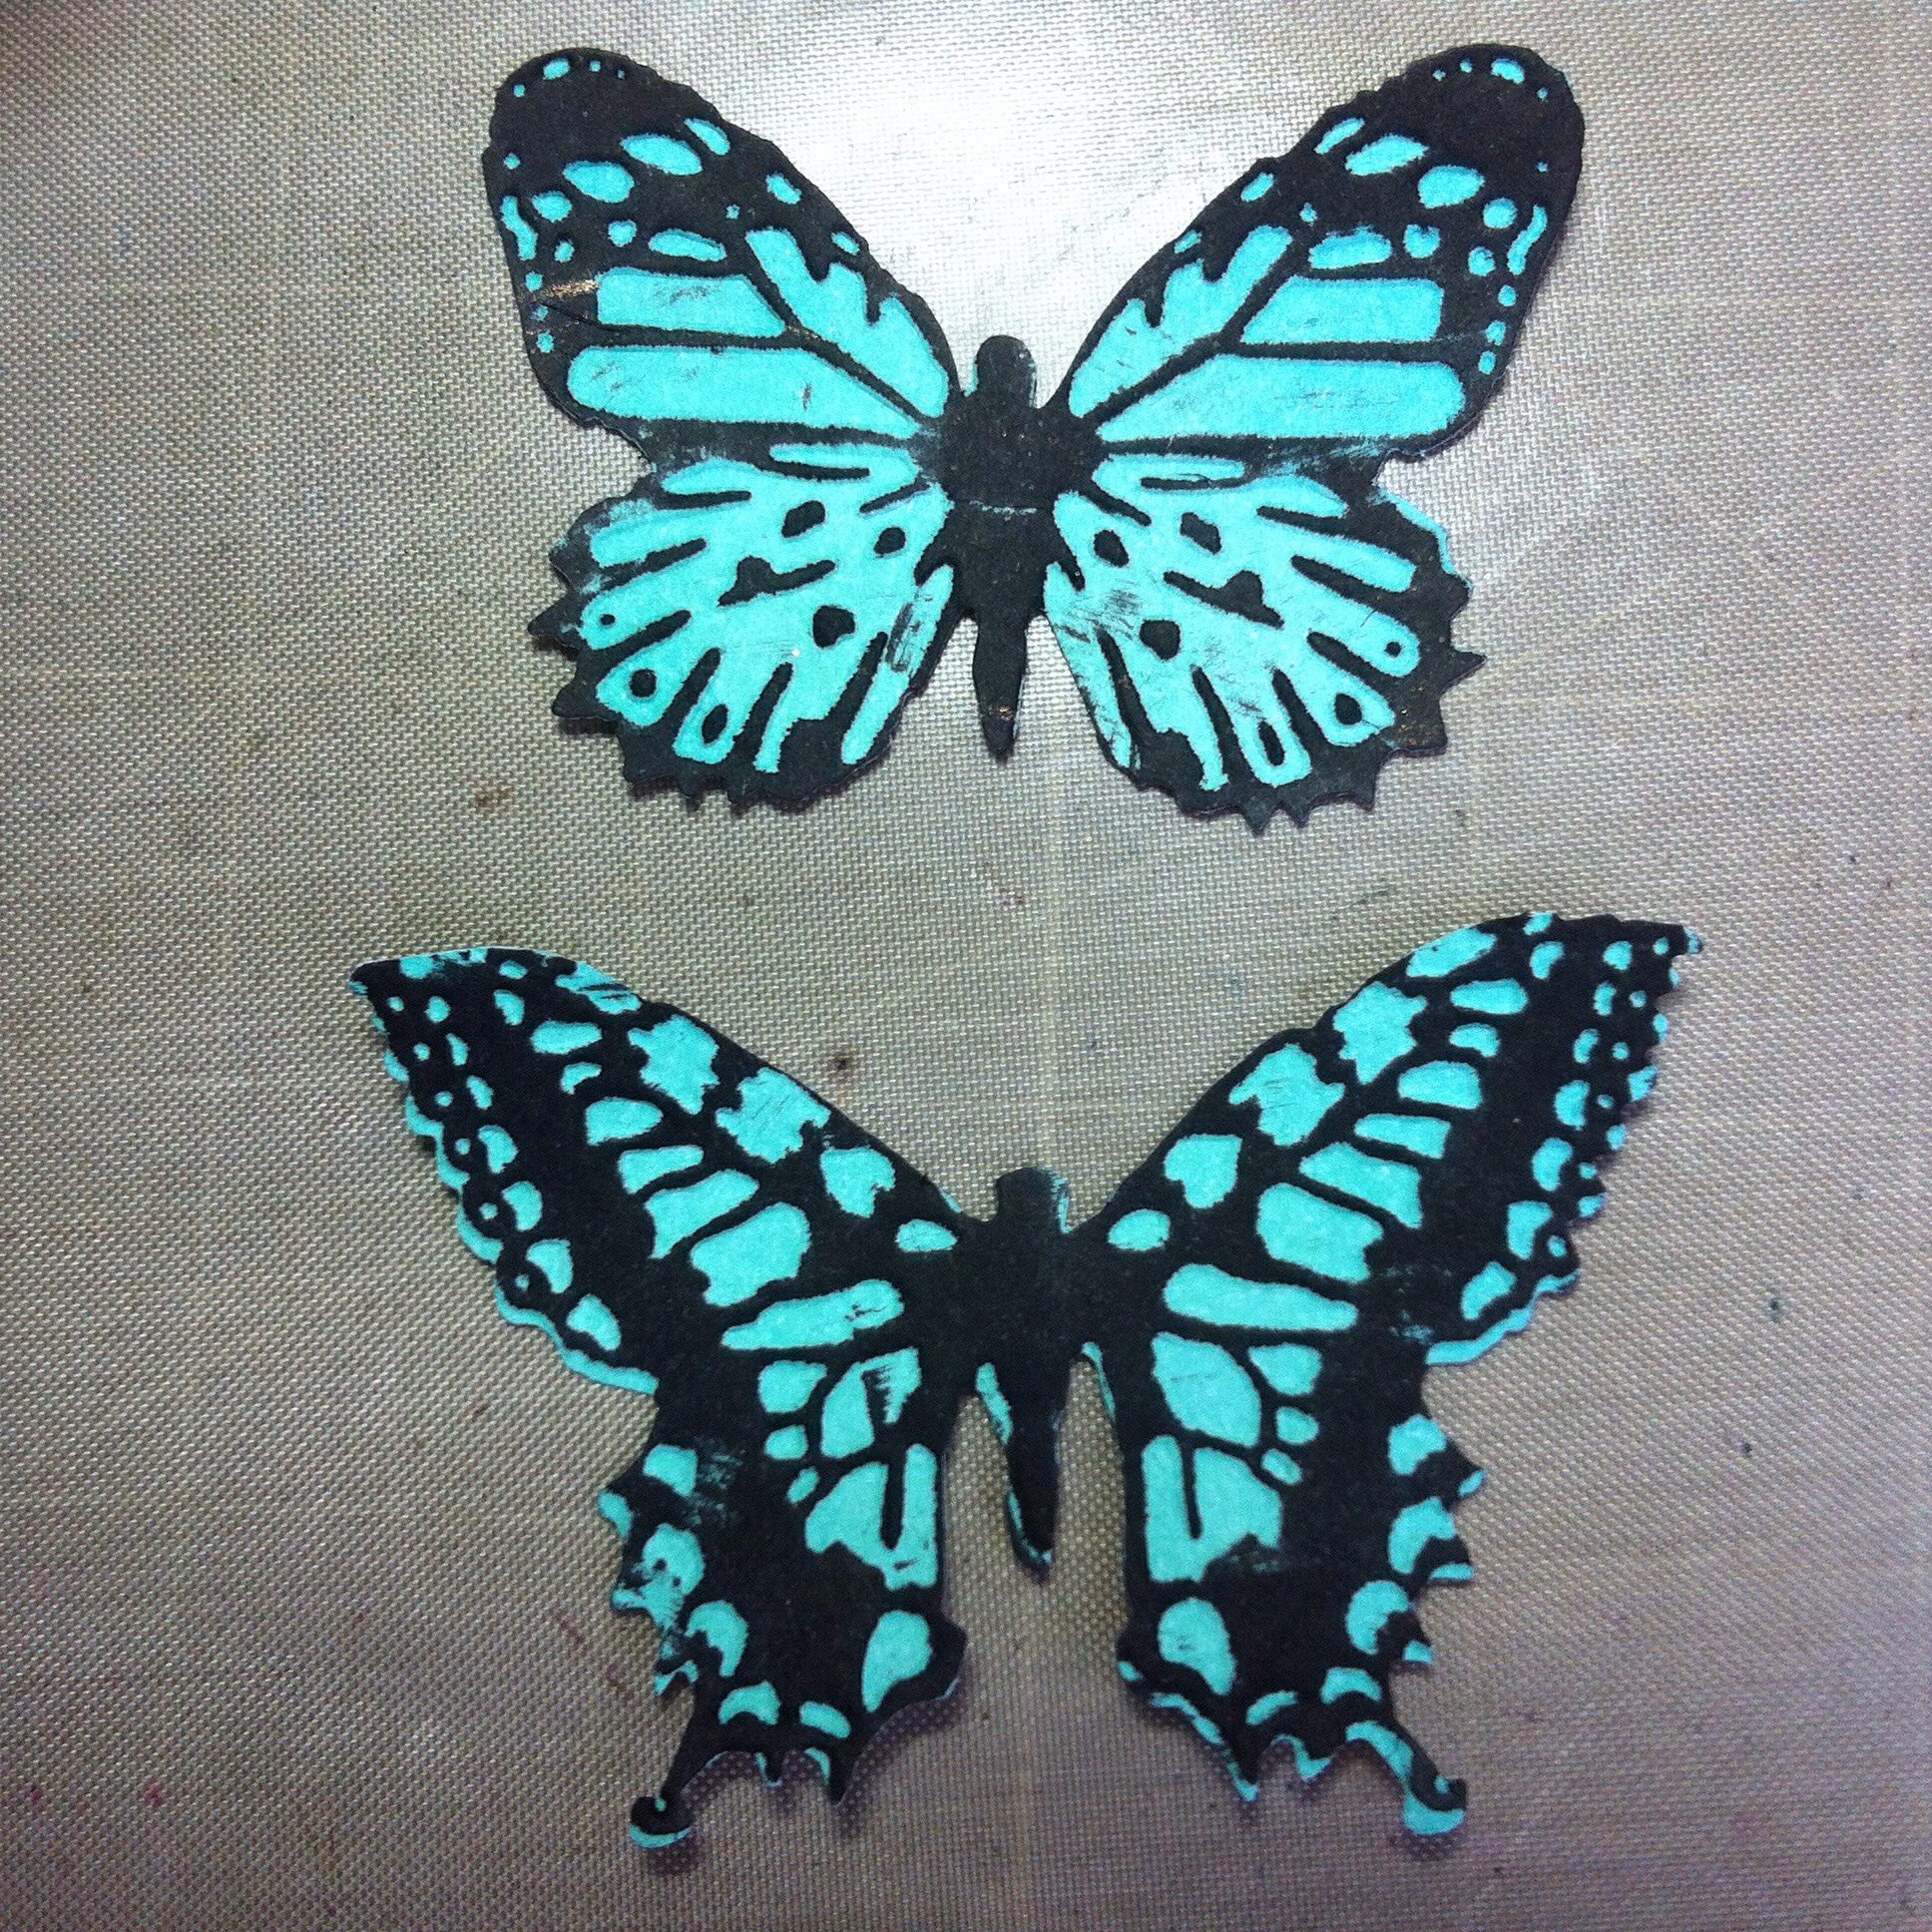
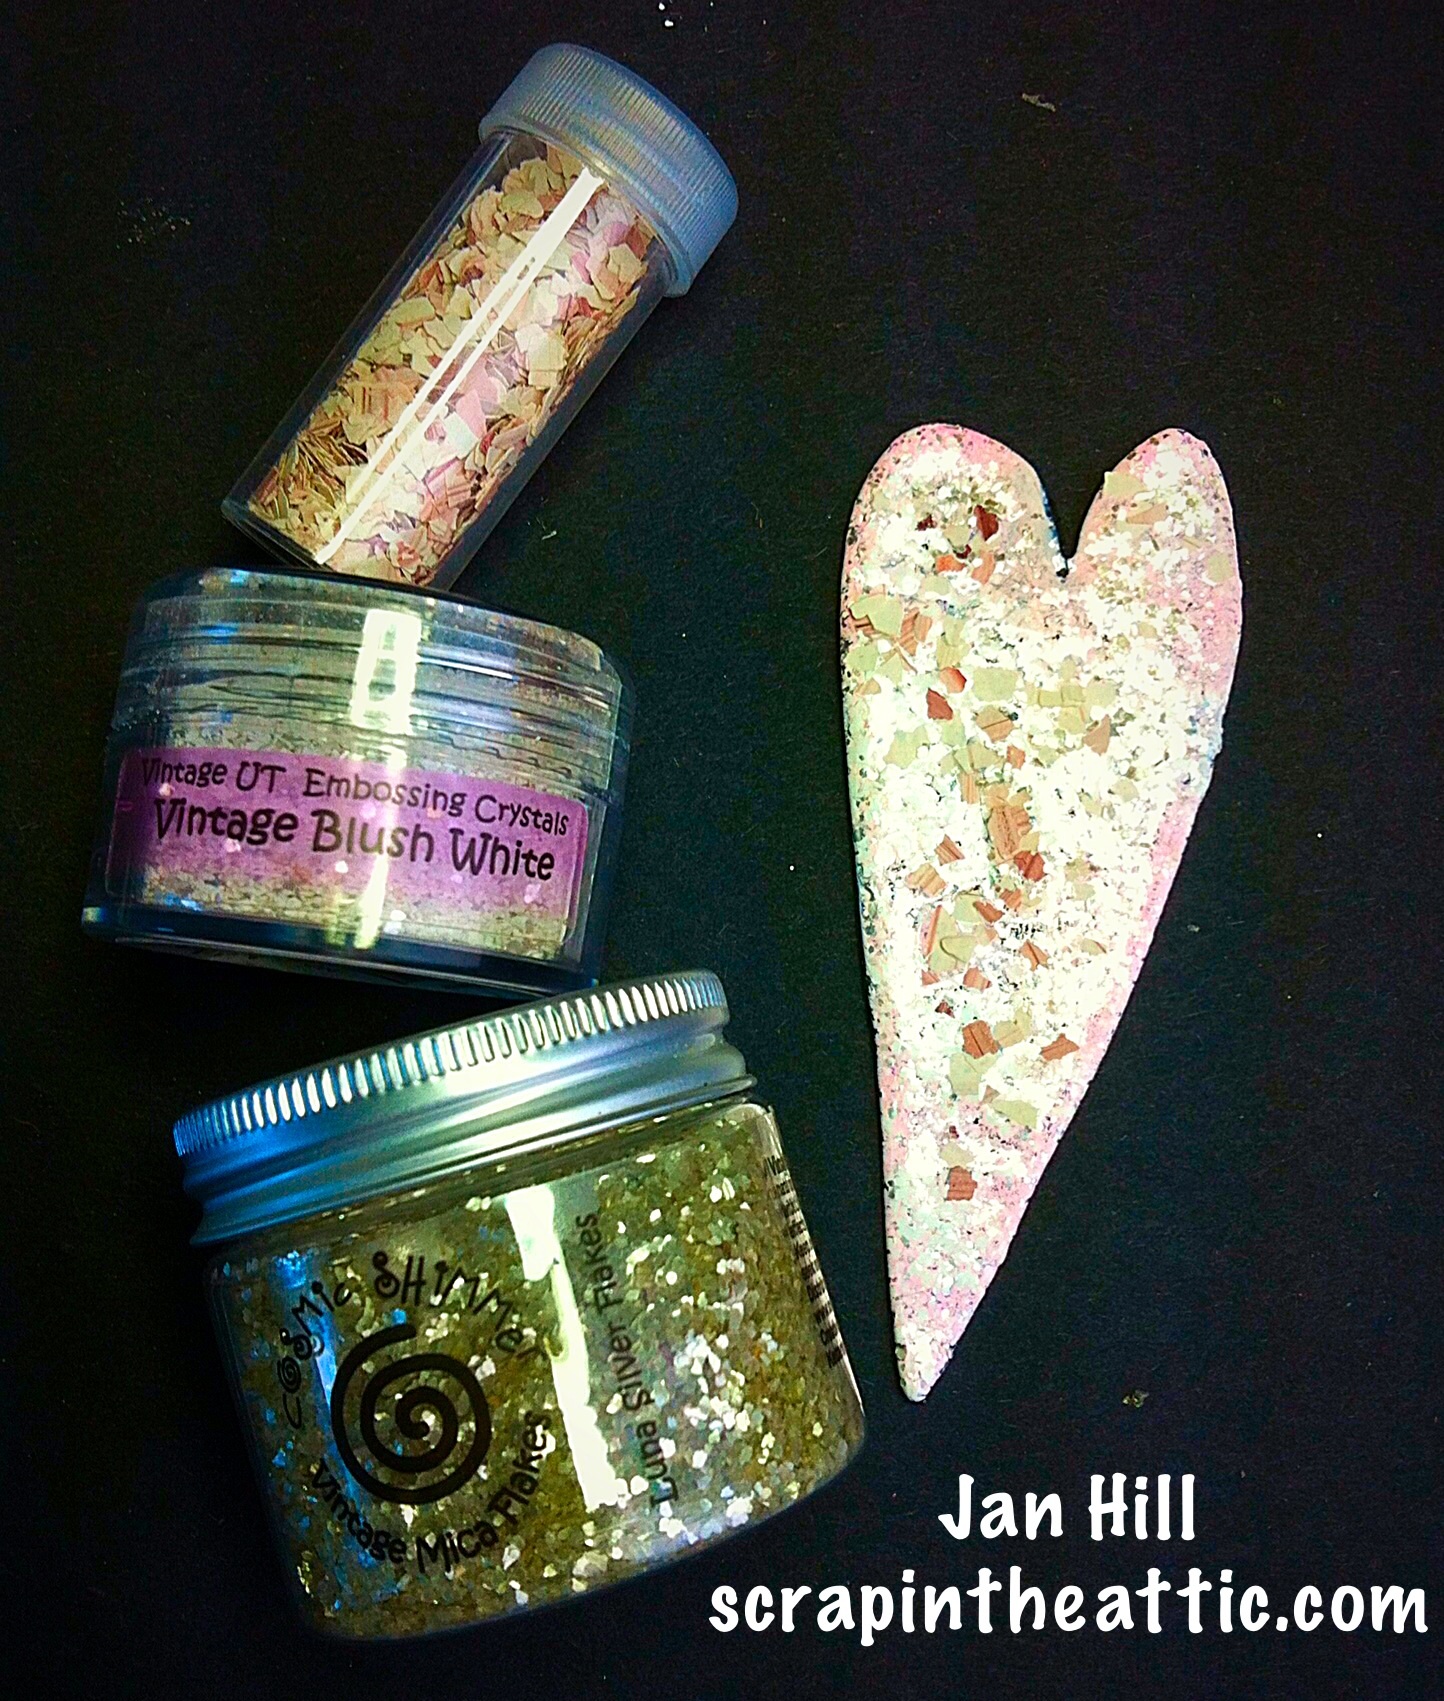
The heart was a Paperartsy die, triple embossed with UTEE then

mica flakes, Blush Powder and glitter sprinkled over and reheated.

It made a great texture. I outlined the edge of the heart with the blush powder.

The backing paper for the heart was Tim Holtz Tissue Paper, stamped with the same stamp and Archival Potting Soil.

image

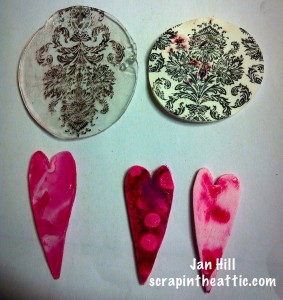
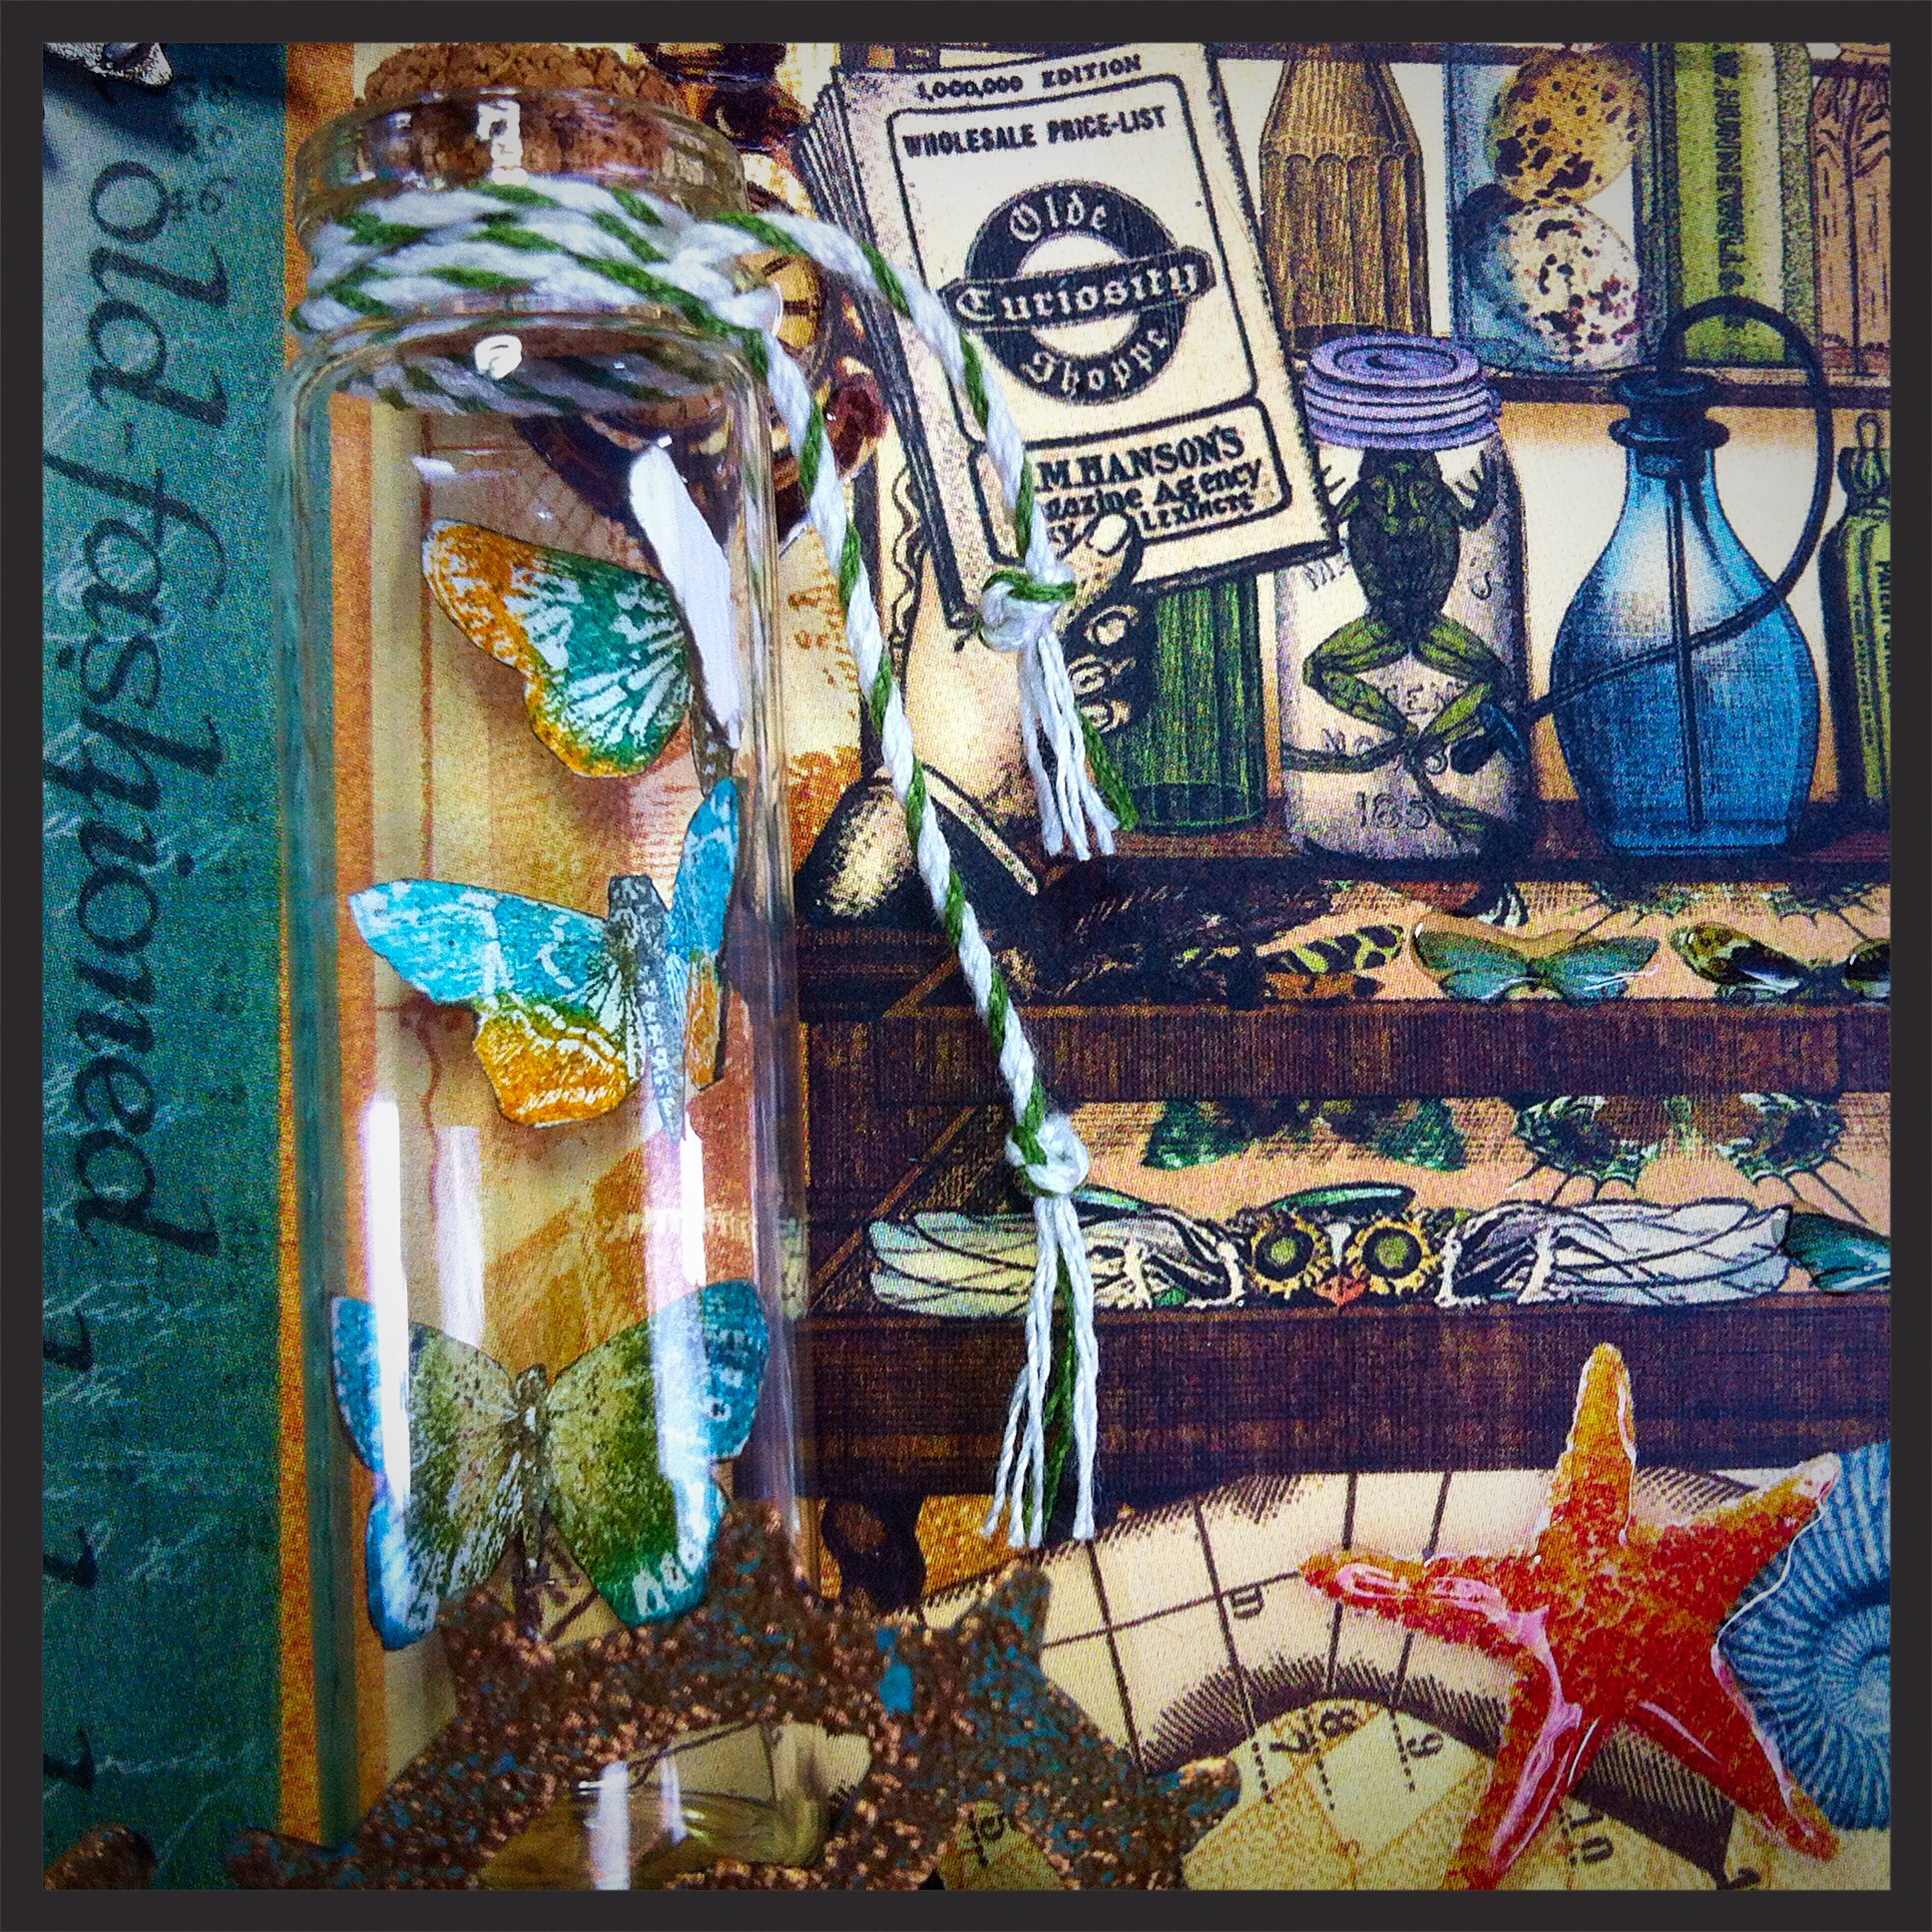
I wanted a charm to hang from the twine. I love the Faux Glass technique on Tammy Tutterow’s blog. I tried stamping using clear and white shrink plastic, but decided I liked the white best for this project. The hearts were coloured with alcohol inks, you only need a drop to get intense colour! I used the same heart die.

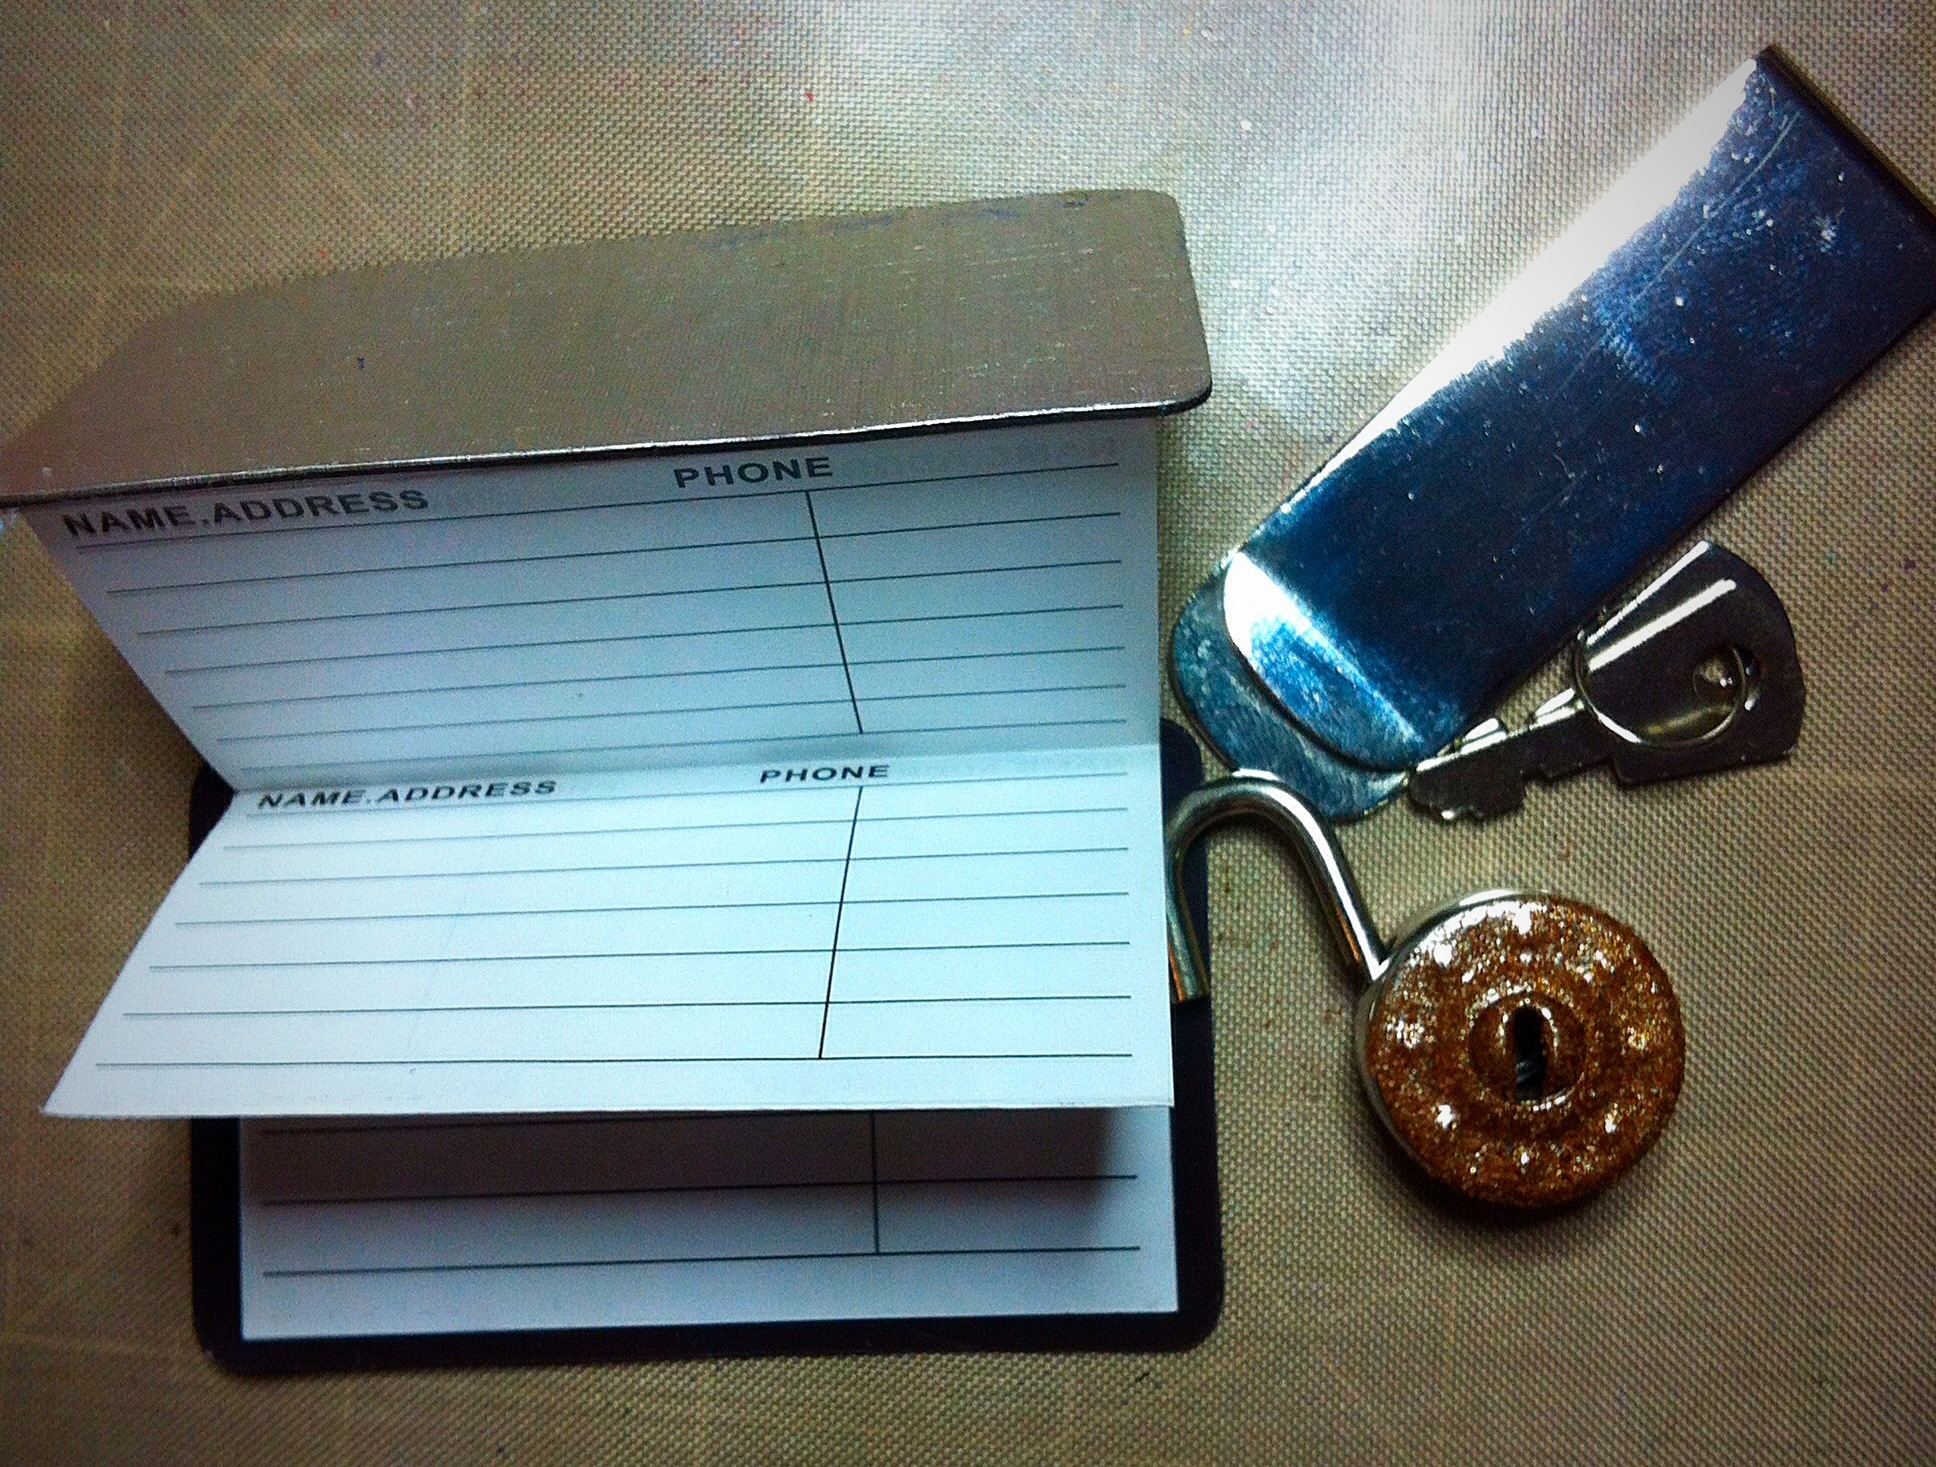
I used the white circle and a clear heart together for the final piece. I tied it onto a hitch fastener with the garden twine.

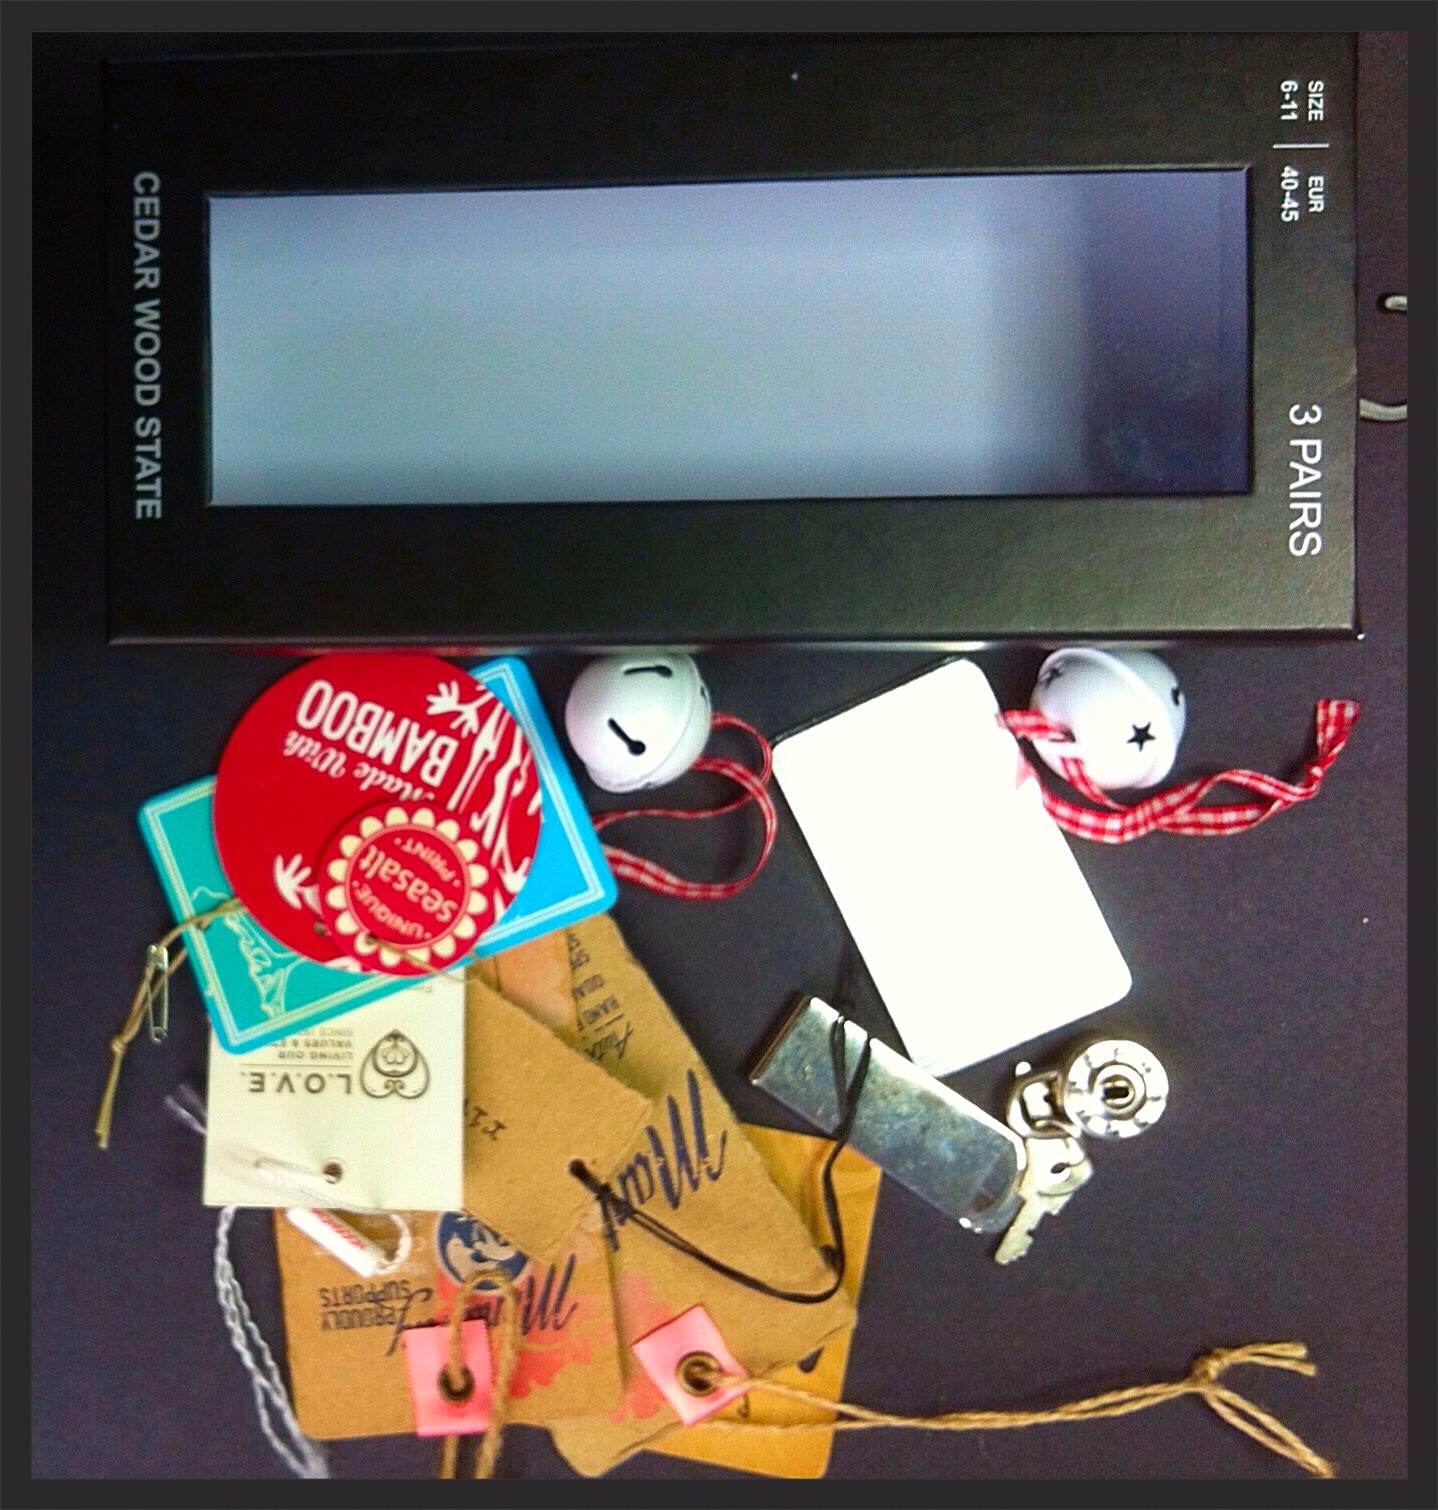
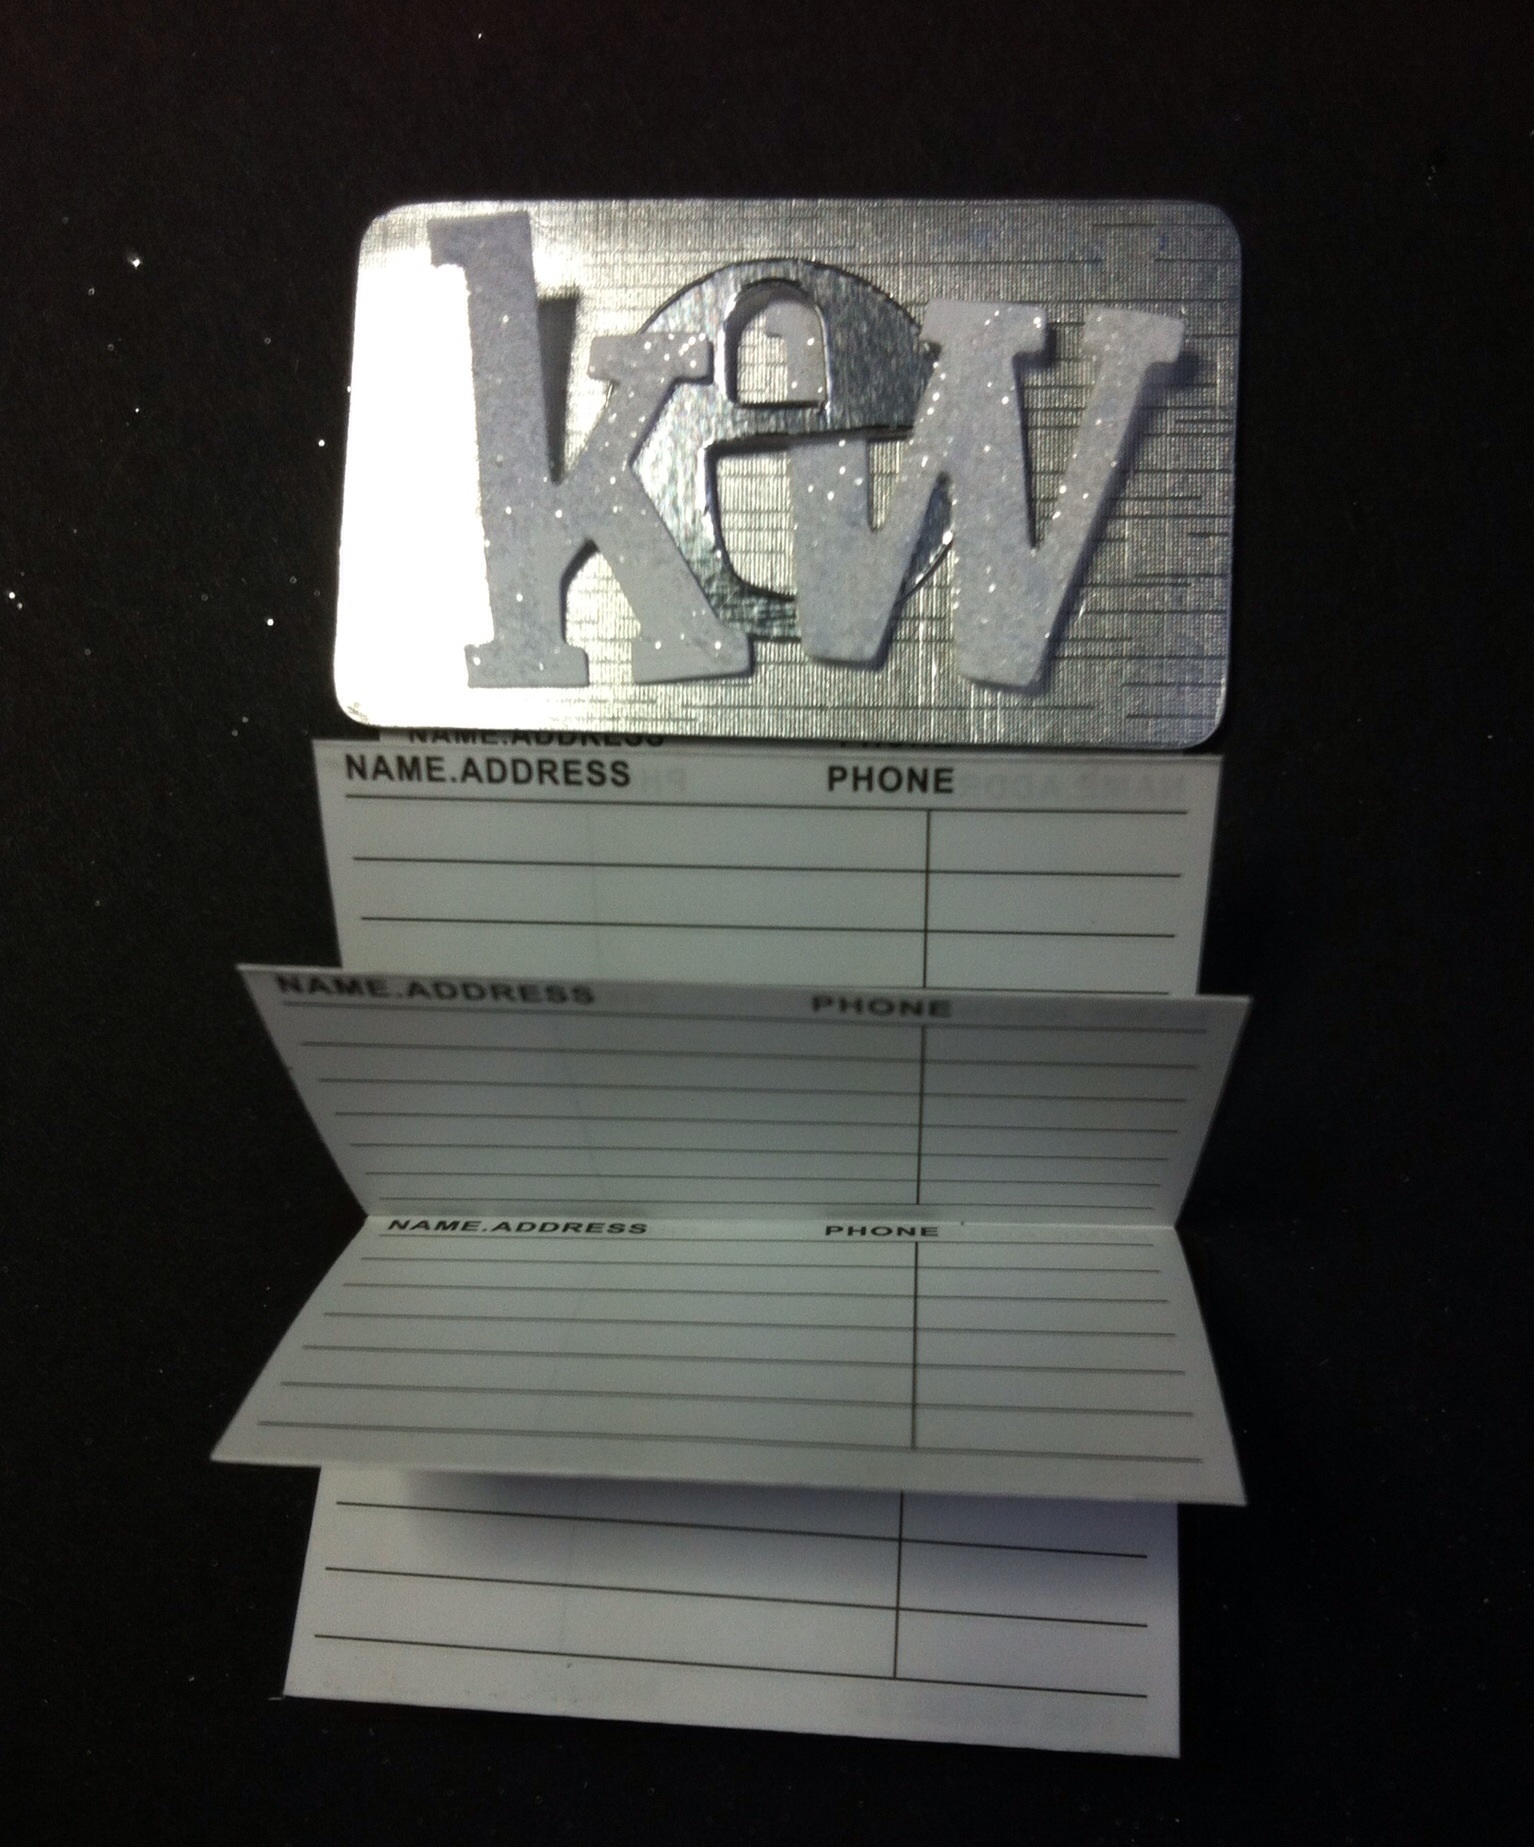
The frame needed something else….. I found a file index holder in my stash, cut out hearts from the rose paper and filled the appature with glossy accents. The green stain seeped into the glossy accents but I liked that effect! Finally I added some tea dyed lace around the inside of the frame.

FINISHED!!

I hope you like it.

Please come over to  Our Creative Corner and look at the lovely projects the Design Team have created to inspire you. I am looking forward to see what you create.

Our sponsors this month are Tando with some great prizes, check out their amazing products!

Jan x

Please leave a comment I do appreciate reading them.


Watercolour Distress Shell

Posted on


image

image

Whilst we were travelling around Australia we visited Phillip Island, home of Tiny Penguins and beautiful shells. I found a shell similar to Tim’s stamp and recreated the colours from the original. It brings back so many happy memories.

The background ground for the shell was stamped with other images from the set. I used Potting Soil Archival Ink.  I used China Blue, Salty Ocean and Peacock Feathers to colour the sea.

image
The Shell was created with the Distress Watercolouring – Part 2 technique in Tim Holtz Compendium of Curiosities 3 book. I can’t tell you any details, you need your ownimage copy! I am entering Linda Ledbetter’s Challenge 20. There are some amazing prizes from Tim and Mario, plus the sponsor Funkie Junkie Boutique.

I decided to mount the shell on a small canvas, painted with Salty Ocean and Iced Spruce Distress Paint. I stencilled Dot Fade with pearlescent embossing paste. Then I layered burlap, scrunched vellum, dyed muslin, sparkly ribbon and chit chat stickers. I sewed the layers together.

I wanted to give the impression of the sea and rolling waves so I made small rolls with left over background paper and wired them with glass beads onto earring hooks. I poked holes in the canvas and threaded them through.

The seashell word was stamped and embossed with gold to stand out on the background. I love the sand effects behind the shell. I used Mustard Seed, Spiced Marmalade, Scattered Straw and Pumice Stone.

I was really inspired by this technique to create the canvas. Hope you enjoy looking at it!

Please leave me a comment, I love reading them!

Jan x


Found Relatives 2

Posted on

image

I loved making the front cover of my journal so much I made the back to match!  I used a Tim stencil to imitate Victorian wallpaper which I thought matched the picture. She looks a lost soul, I was attracted to this Found Relative. Maybe she is a sibling of one of the cowboys?

I used Grunge Paste through a Tim Stencil, then covered it in black gesso. I used Renaissance Treasure Gold to highlight the texture.

I used Grunge Paste through a Tim Stencil, then covered it in black gesso. I used Renaissance Treasure Gold to highlight the texture.

I followed the instructions for Challenge 19 on
Linda Ledbetter’s blog. Sorry I can’t give you details you NEED Tim’s b
ook Compendium of Curiosities 3 for yourself. The challenge is to use Frayed Fabric technique. The sponsor is Inspiration Emporium.

image

I used the Frayed Fabric technique on the butterfly, I think I am addicted!

image

Here you can see all the layers of burlap and eclectic elements fabric using the frayed fabric technique.

I am also entering A Vintage Journey Challenge to use Portraits. I love the Found Relatives pictures and have finally found how to use them!
I would like to enter the challenge at The Mirror Crack’d challenge for stencils.

I am pleased how the covers of the journal turned out, now the scary part of filling the pages! Hopefully I will have lots of inspiration!


Please leave me a comment I really appreciate your thoughts

Jan x


Wow I received a Pinworthy mention from A Vintage Journey!

image


Found Relatives

Posted on


image

I have had a fun afternoon playing with Tim Holtz frayed fabric technique. I had some of the charm squares from Eclectic Elements range. I sewed on some film strip, a stamped and inked tag plus some charms. I followed the instructions in Compendium of Curiosities 3. Sorry I can’t tell you any details because I am entering Challenge 19 on Linda Ledbetter’s blog. Check out the DT work there, lots of inspiration! There are some great prizes to be won from Inspiration Emporium.

I decided to use the fabric as part of the cover for a new journal. I am very hesitant to start the journal ( because it’s so new and clean) so this was a good start.
I used grunge paste through a stencil to get some background texture then covered it in black gesso. TOTAL disaster the gesso splurged out over my jeans and favourite jumper!! No I wasn’t wearing an apron, but then I wouldn’t want black over my Tim apron either. So quick change and clothes in the washing machine. Sorry I forgot to take photos after the incident.
I highlighted the texture with Treasure Gold, Renaissance and Oxonite, I think the colours complement the fabric.

I love this Found Relatives photo of the three little boys. The guy in the cowboy outfit reminds me of a cowgirl set I had in the 1950’s. I gave them a Kraft Card frame to show them off.

I am also entering Challenge 25 at A Vintage Journey. The challenge is To Use a Portrait, sponsored by Country View Crafts. I think the young cowboys are a great portrait. Check out the DT, some beautiful projects on the blog.

I hope you enjoyed looking at my work. Please leave a message, I do appreciate your comments.

Jan x


Christmas Leftovers – January Challenge at OCC

Posted on

This months challenge was set by my new Team Mate, Pamellia.

“Christmas wrapping, gift bags, tinsel, ribbon, gift boxes, tissue paper, Christmas crackers, wine boxes, empty gift wrap rolls, Christmas cookie tins, even the images from the fronts of cards I received…you name, I hoard it!

Let’s put those bits to good use this month!”

image

Wow, this is my first challenge for Our Creative Corner as a member of the design Team!
The challenge is to recycle Christmas bits and bobs. I had collected a few things during the celebrations for my stash, a lovely box containing 3 pairs of Christmas socks, a handful of Christmas cracker pressies from my son in law’s posh work celebration ( everyone knows I collect stuff!) and some clothes labels and jingle bells.
image

I was particularly pleased with the box and cracker stuff as I had thought the box would be great for holding a mini album. The cracker stuff lent itself to embellishments for the album.

image

I die cut tags from Tim Holtz die then used distress paint and inks in seasonal colours to make wrinkle free distress effects. I used journal tickets to make pockets with tissue tape to fit small photos underneath. The robins were die cut in gloss paper then coloured with alcohol inks in traditional colours to complete the Christmas theme.

image

I am a great fan of silver plumbers tape, no idea what they use it for, but it is self adhesive, sticks beautifully to thin card and loves being dry embossed ( AND its very cheap!) I used a TH Christmas embossing folder, painted black paint over, then wiped off the paint when it had slightly dried to leave black in the recesses. I cut pieces to fit the 4 box sides. I die cut a TH snowflake from recycled corrugated card, ripped the smooth top off and glittered it. I also die cut a snowflake from plumbers tape on thin card and then embossed it with the corresponding folder. I had Snow Flurries on the edge die, so cut that from white card and glittered it with rock candy.

image

This is how I assembled the box. The snowflakes fitted on top of each other, the flurries slotted into the clear plastic in the frame. I added a piece of the silver emboss to cover the script on the box then added the ribbon and a TH metal embellishment that fitted.

image

Here is a view of the box side with the metal embossed card in place.

image

We had a fantastic visit to Kew Gardens at Christmas and had some lovely photos, so that inspired the title and the theme for the mini album. The title is die cut and glittered then mounted on the magnetic address book. I thought we could write the names and addresses of the friends we visited with on the pages.

I assembeled the mini pages, but the original red front cover did not work. I die cut a black tag, dry embossed with the TH holiday holder then used Treasure Gold to highlight the letters. (I hope you agree it looks much better.) I coloured the clip and keys with alcohol ink, rusted the lock with embossing powder and added ribbon and string to each tag page.


I am pleased with how the piece turned out, I didn’t use the clothes tags as they didn’t fit but are saved in my stash for next time. The jingle bells were too big and bulky but will be saved!

I hope you enjoy making a mini album to keep your memories too. I get a good feeling recycling discarded bits and bobs.

Our Creative Corner is sponsored by Nice Crane Designs. You could be the lucky Random.org winner who will win a gorgeous selection of treats from our Sponsor this month Nicecrane Designs.

Happy New Year!

Jan x