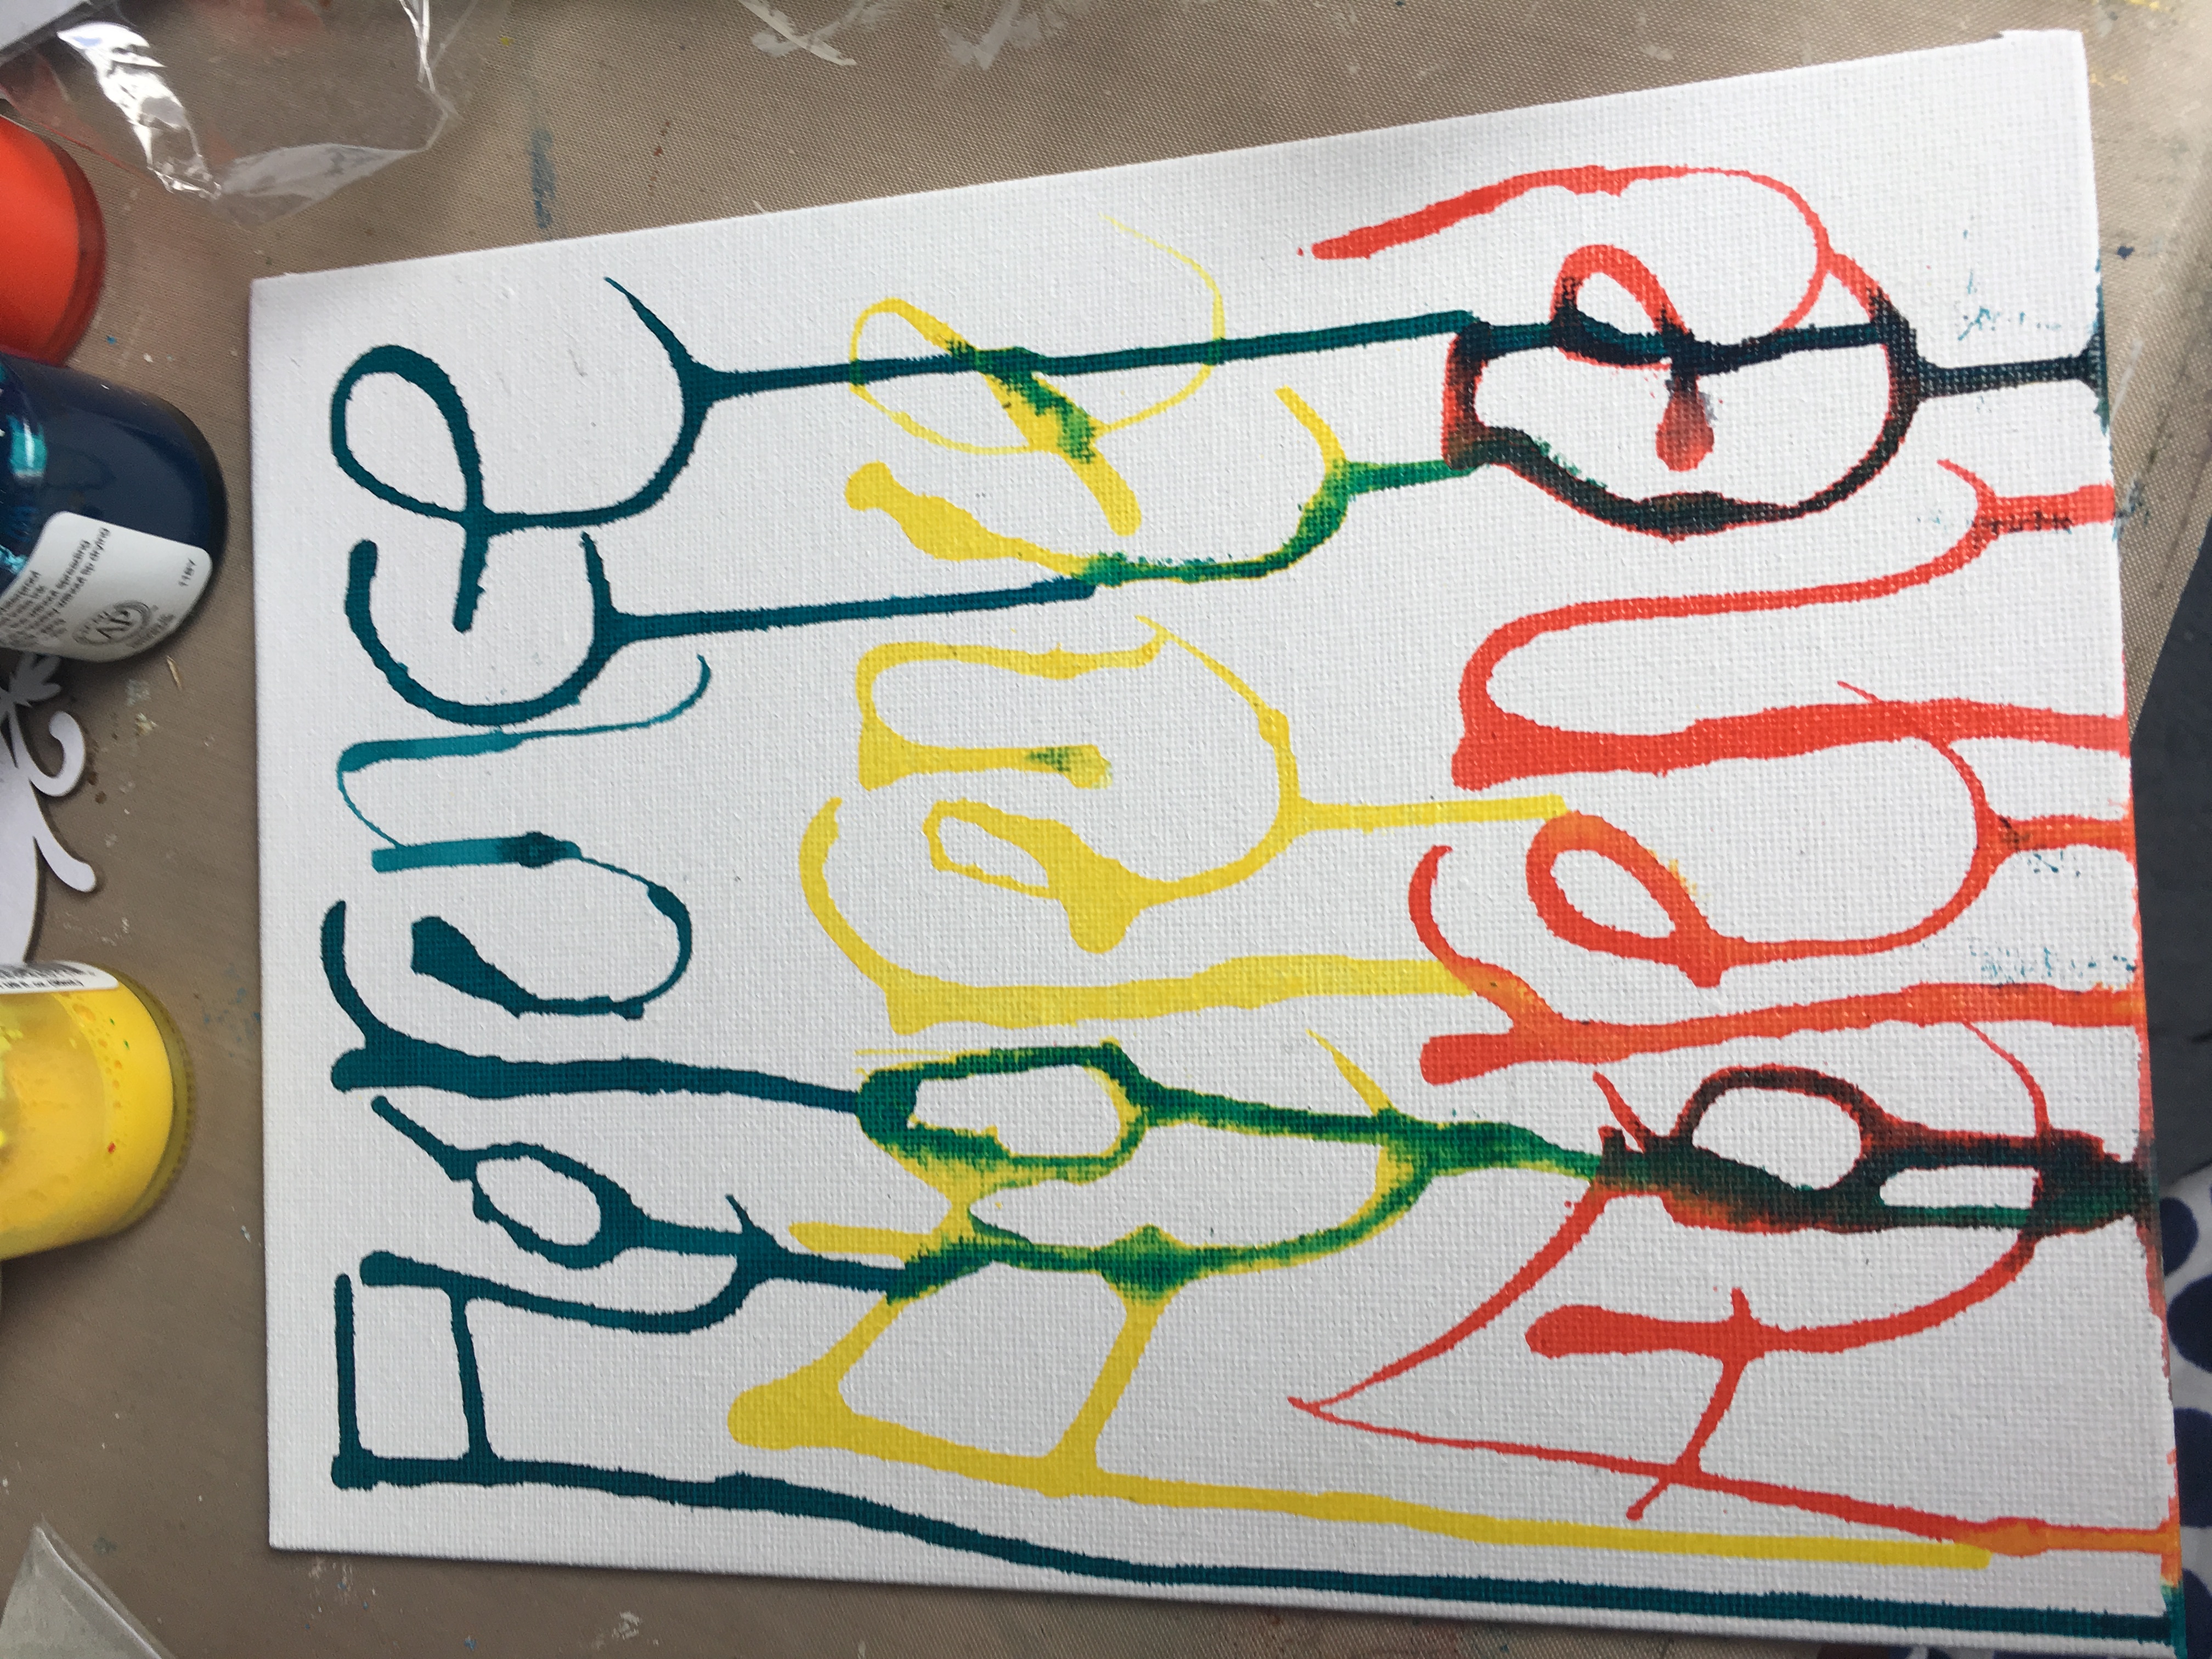
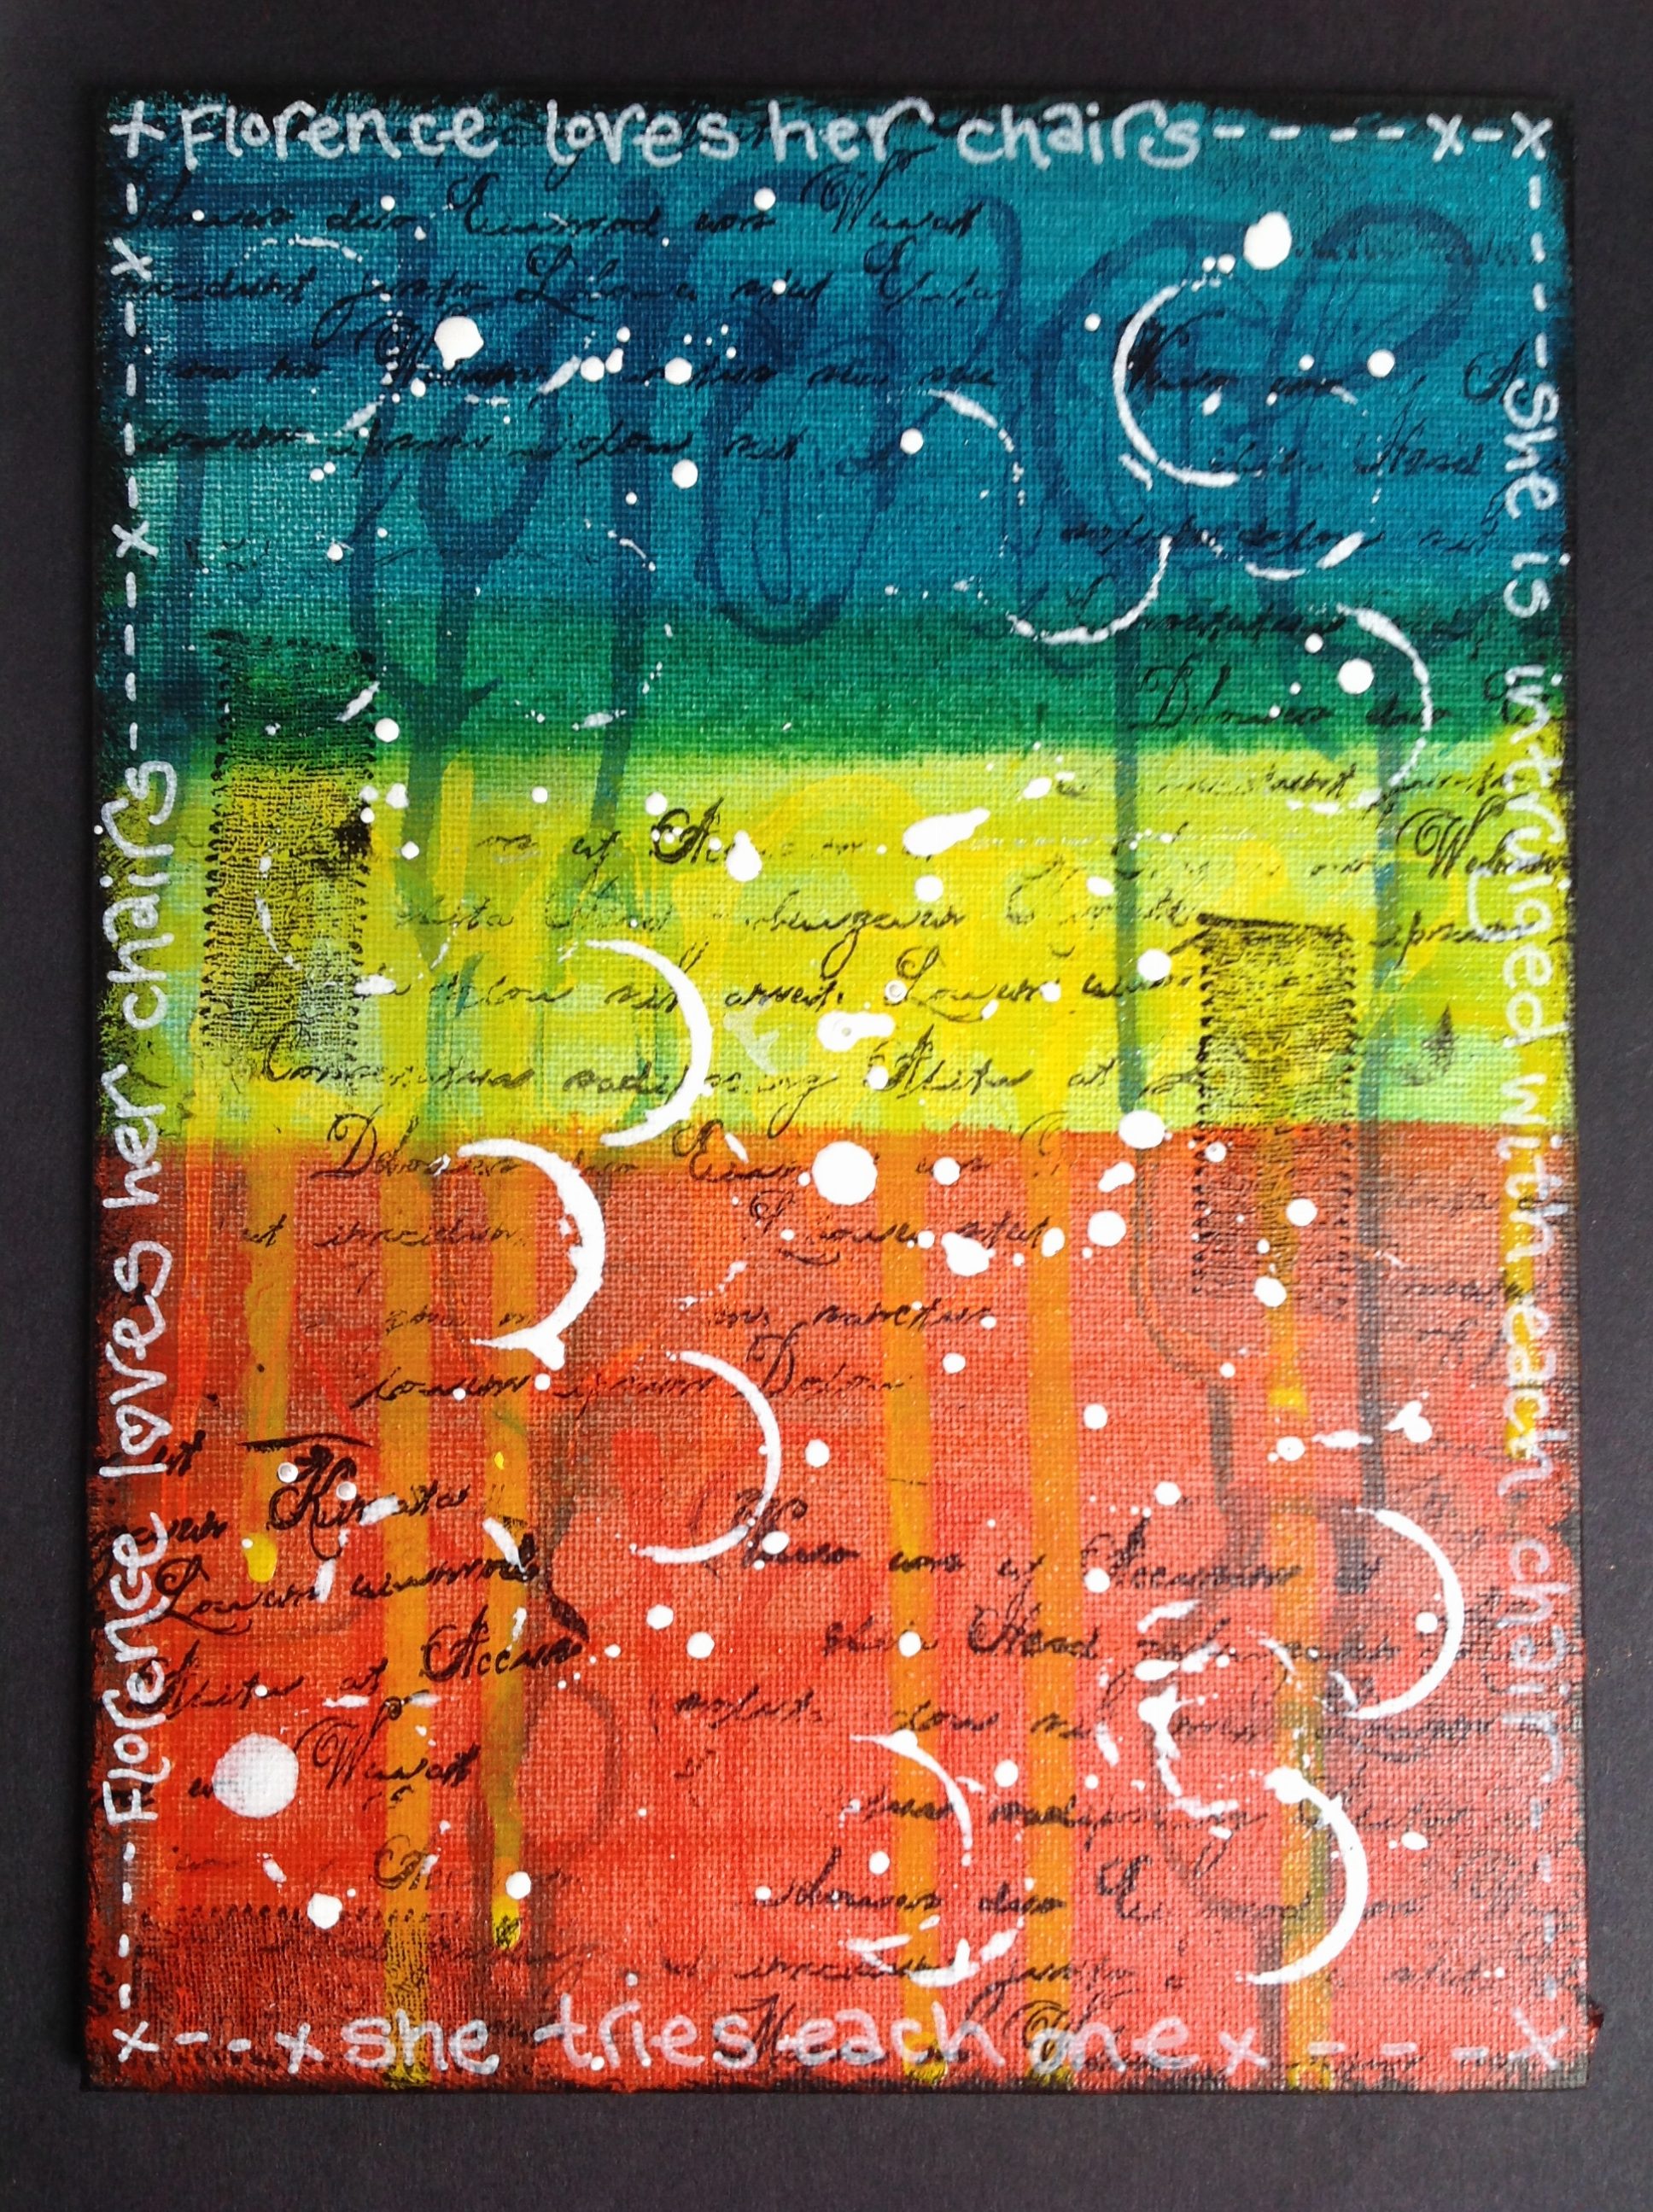
I began using India Ink and writing her name with the bottle dropper in each of the tree colours. I chose colours to correspond to the chairs. I let the colours dry a little then washed Irredescent medium across, this gives a wash of colour but you can still see the letters underneath. I dribbled colours on top.
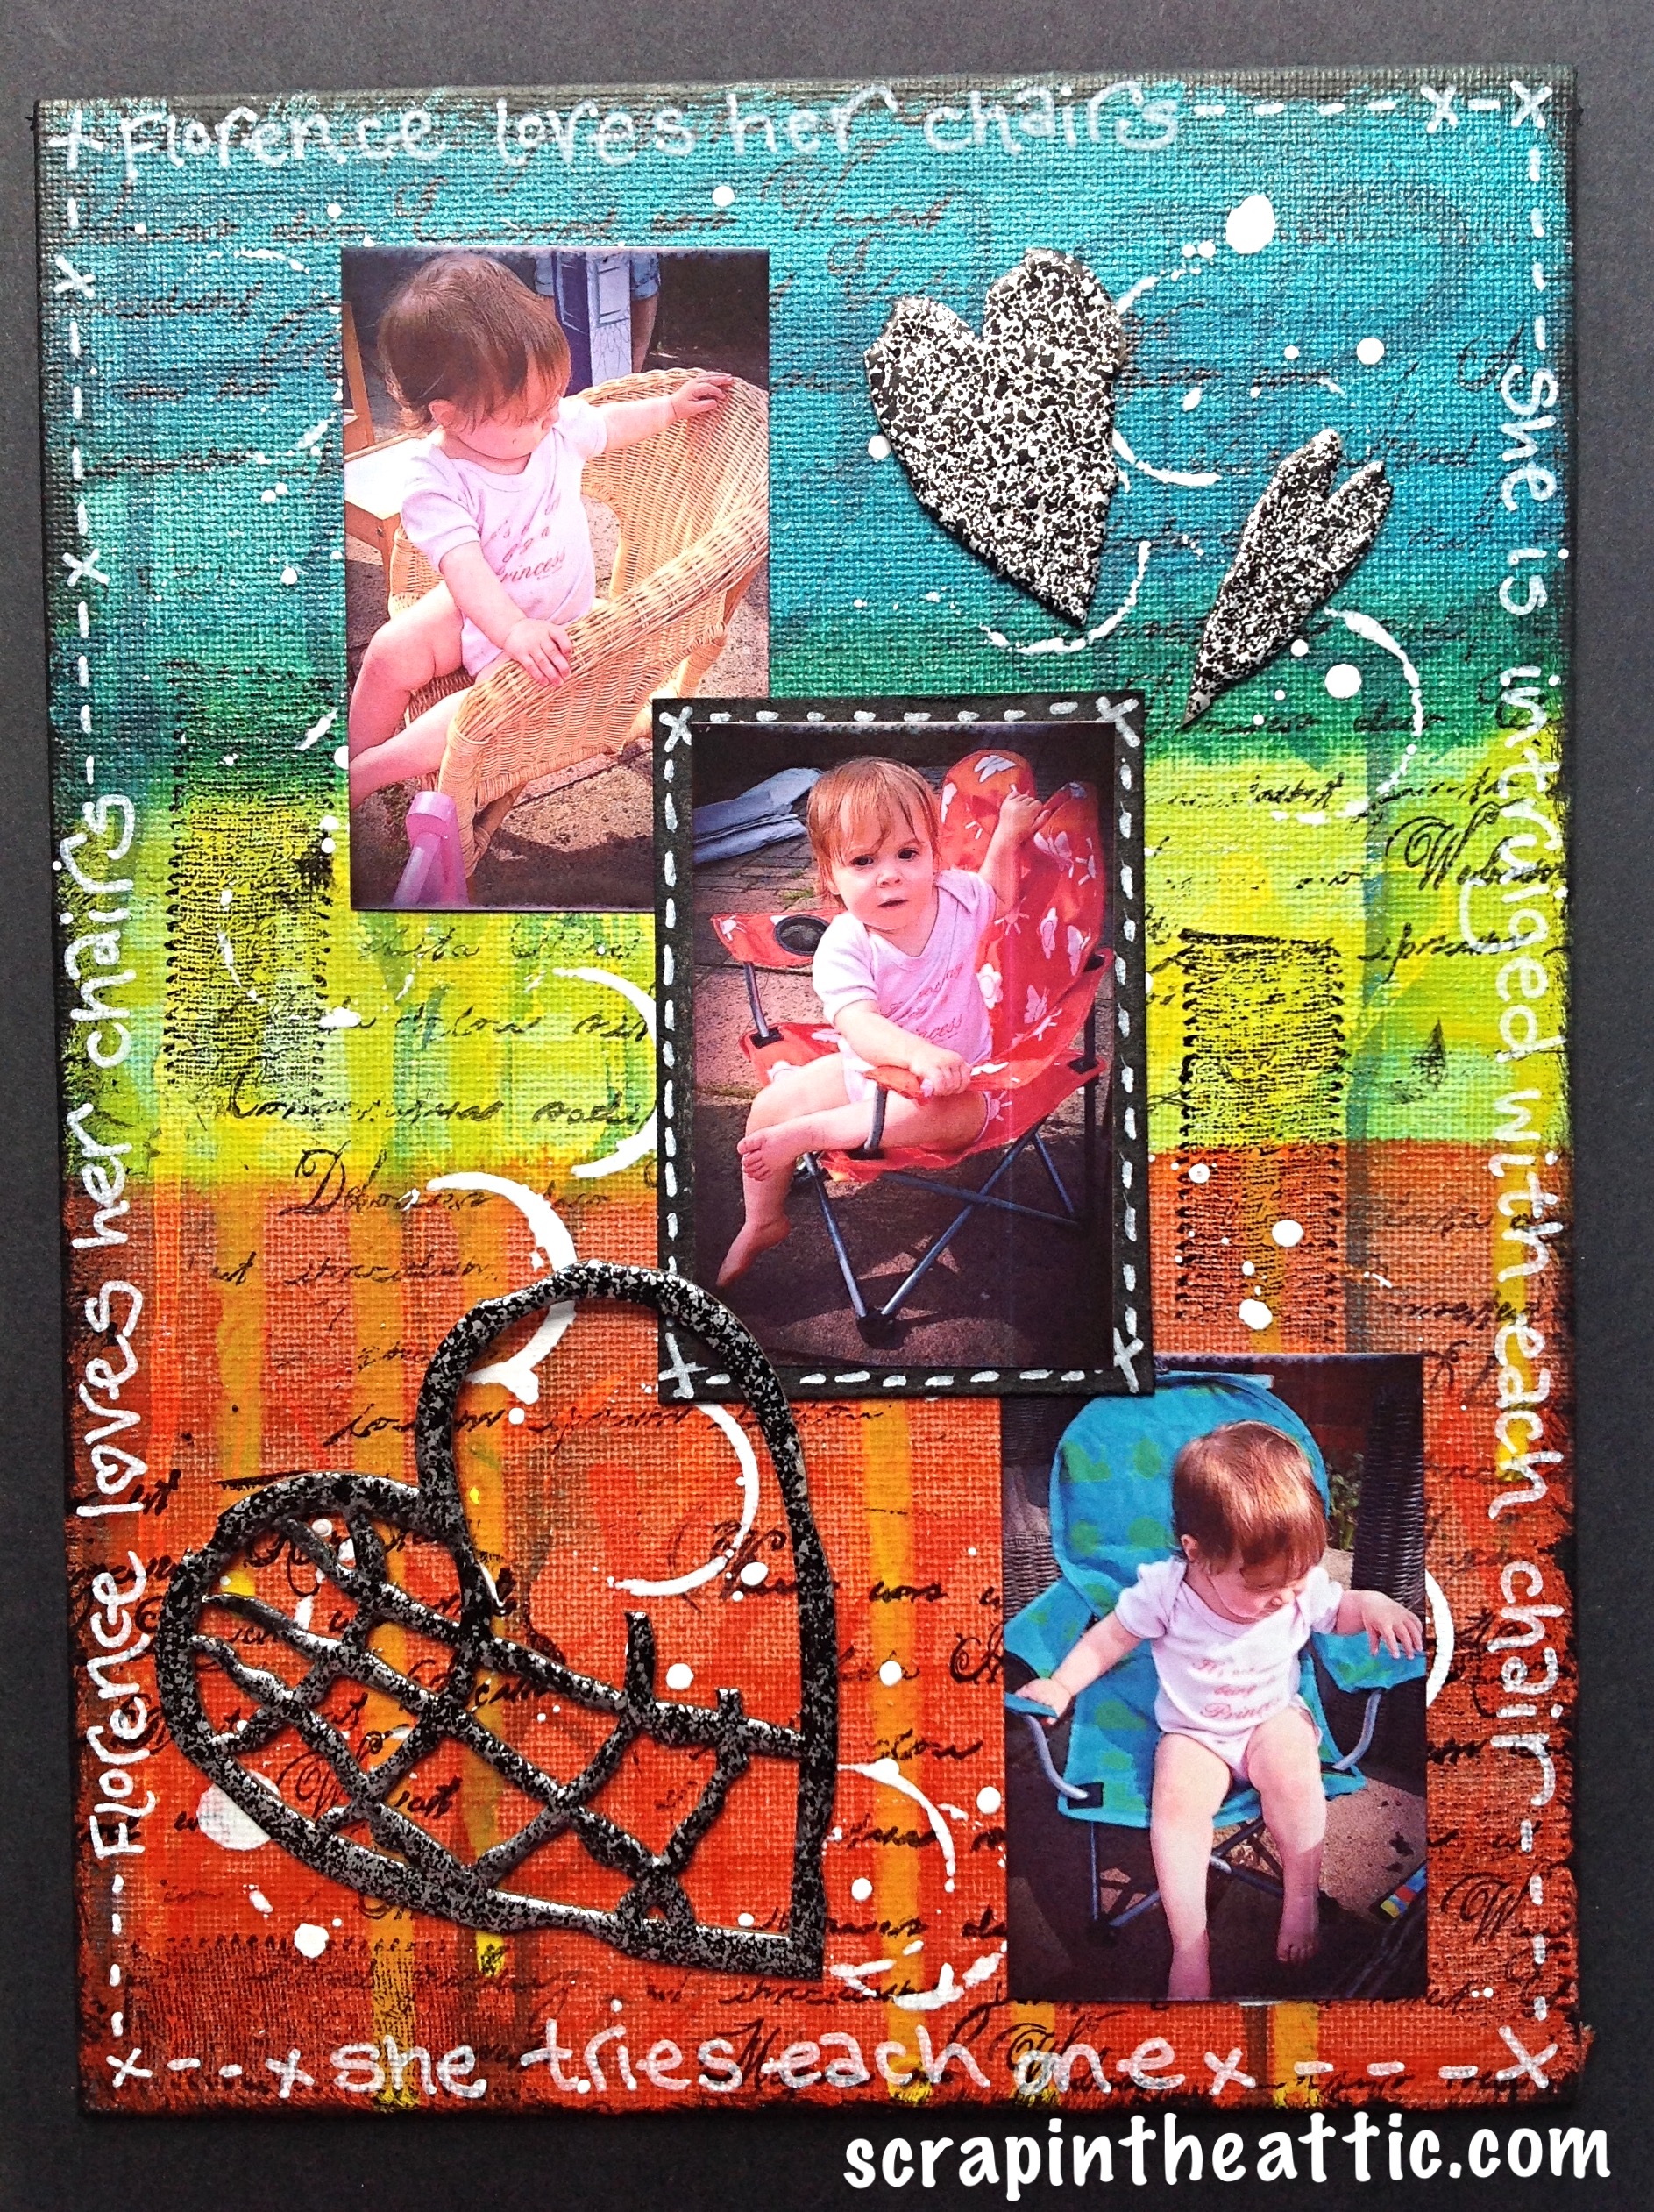
The Tando hearts were heat embossed with Tarnished Silver powder. I stencilled the text with black archival ink and stamped ribbon strips using Paperartsy stamp.

The central photo was mounted on black painted greyboard. I handwrote around the edges with a white Posca pen. I made a puddle and added bottle top prints and splashes.
Hope you can see the concentration on her face deciding which chair to sit in!
Jan x
]]>As soon as I saw this photo of my granddaughter and her friends I knew I had to create a scrap page!
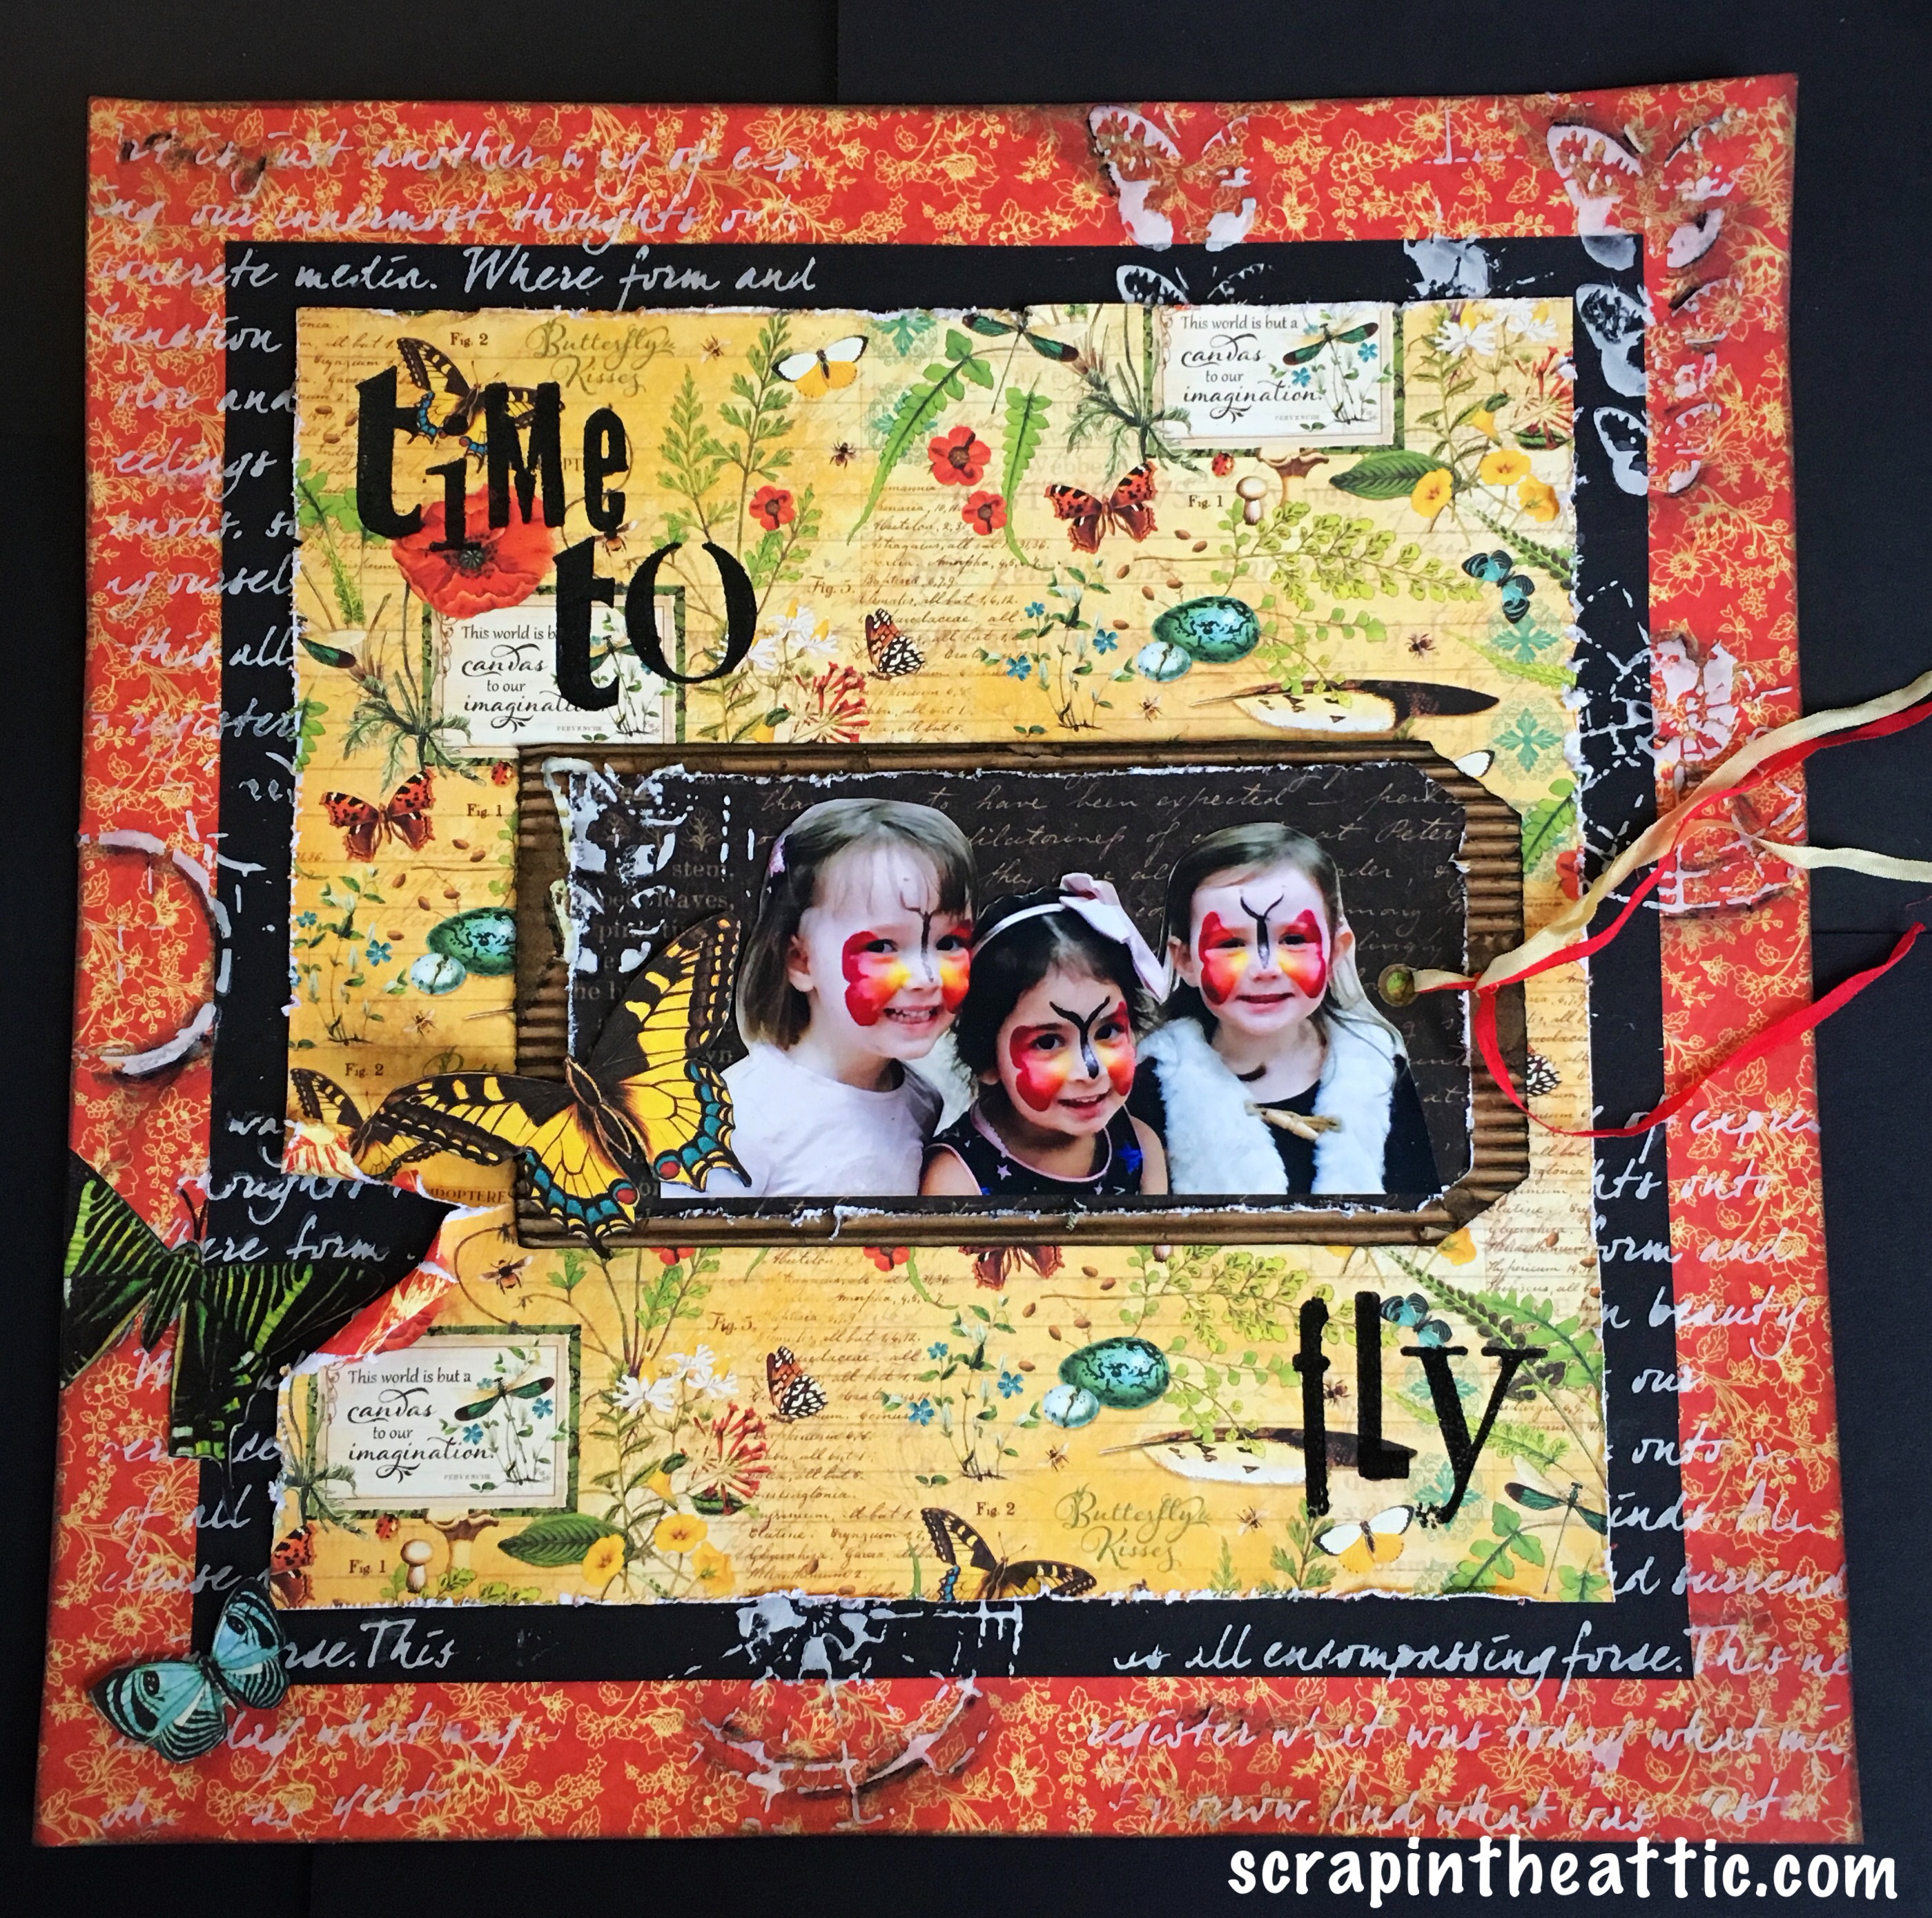
I began with the luscious Graphics 45 Natures Sketchbook papers. The colours were perfect with the photo. I needed a layer of black in between to set the colours off.
I wanted to link the pages together so I used Texture paste through a script stencil. Then for circles and butterflies, my favourite!
I darkened the dry stencilled images with Stabilo pencil then wet the edges with a water brush to add dimension.
The tag was created with corrugated card and Tims tag die. A smaller G45 paper piece was stuck on top, butterfly stencilled and inked.
Then for fussy cutting butterflies. The title was stamped with black ink then clear embossed. The background butterfly was also clear embossed.
Fine silk ribbon finished the tag. I am so pleased with the result.
My New Year Resolution was to join in more challenges, so I am starting with A Vintage Journey. The theme is Going round in circles, I have used circles to make the page more cohesive.
check out their challenge and wish me luck! X
]]>
I created a fun page using G45 papers from Beneath the Sea papers, I love the steampunk influences.
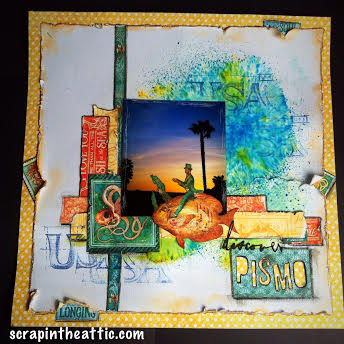
I had this sunset photo from our visit to Pismo Beach, California last year but wanted to create something more quirky. The background is fun with Brushos and waterspray, beware they get evrywhere! The rest is made from scraps I had from other projects.

Welcome… to our Scraptacular Celebration of UK Scrapbooking!
It’s (Inter) National Scrapbook Day today and Jones Crafts are celebrating in style!
We want you to get your scrap on today and join in with our Scraptacular Virtual Crop.
We want you to scraplift one of the Design Team layouts on this post.
Pop a photograph of your layout in the comments on this pinned post and share your scraplift with us.
Visit the Design Team blogs to leave a comment and you could be in with a chance of winning a Scraptacular prize! £50 worth of Scrapbooking materials from our leading Scrapbooking companies
Check out each image for blog details.
On Saturday May 14th, we will select a layout that we think is quite simply Scraptacular and that layout will be featured on the Jones Crafts Facebook page and the scrapper will win an amazing prize.
So what are you waiting for?
Ready, steady, scrap!
And don’t forget to be Scraptacular!
Hugs Jan x
]]>
Wow, it’s November already, we seem to be well into Autumn, here in England!
Our challenge this month at Our Creative Corner is…..
– – hosted by our lovely Lys.
This is what she says…..
“We often try to do the ‘right’ way, use the suitable thing, organize our creations following definite lines or intentions… and sometimes it doesn’t go the way we wanted to. Sometimes it goes to the bin, sometimes we discover something new… and we love it!
On the right side or topsy turvy… Is there a right side in art?

So let’s play!: whatever it is: upside down, inverted, reversed or escaping from the right order…. Please show me one “topsy turvy” creation, and how it came to life in your hands.”
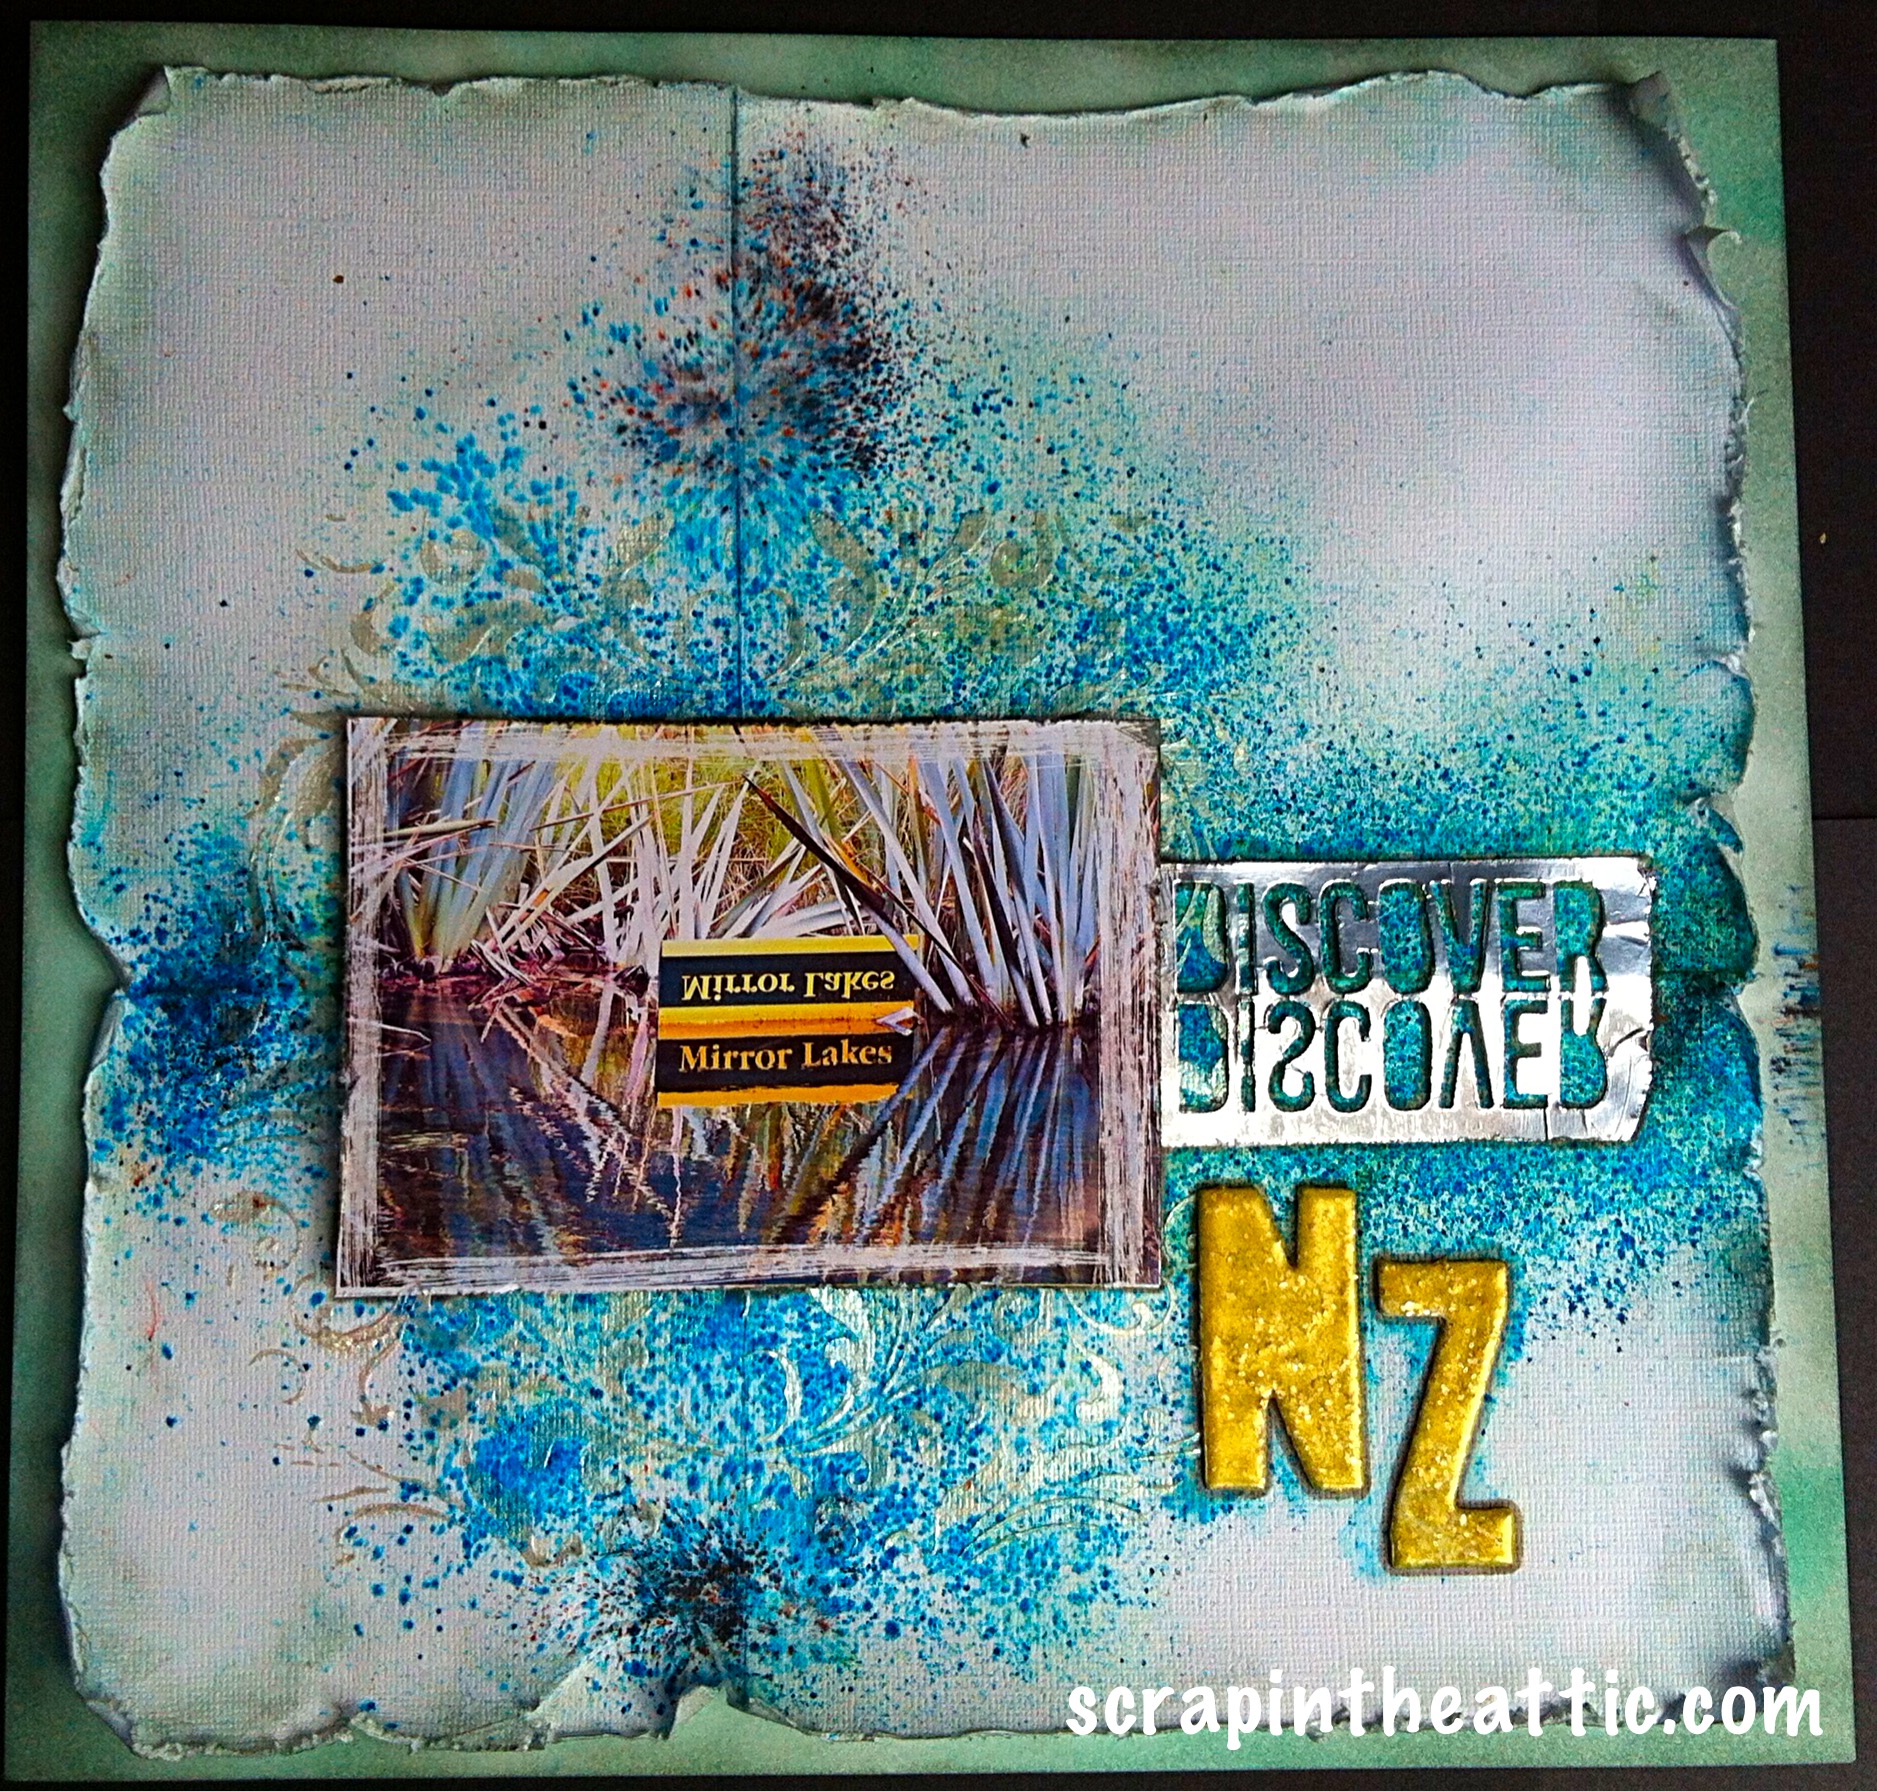
I have been fascinated by reflections in water and love taking photos of interesting compositions to scrapbook. When Lys put up the challenge I thought of the photos I had taken in New Zealand at the Mirror Lakes. It was an amazingly eerie place, you were not quite sure which way up everything was because the signs could only be read in the reflections!
This is how I created my scrap page.
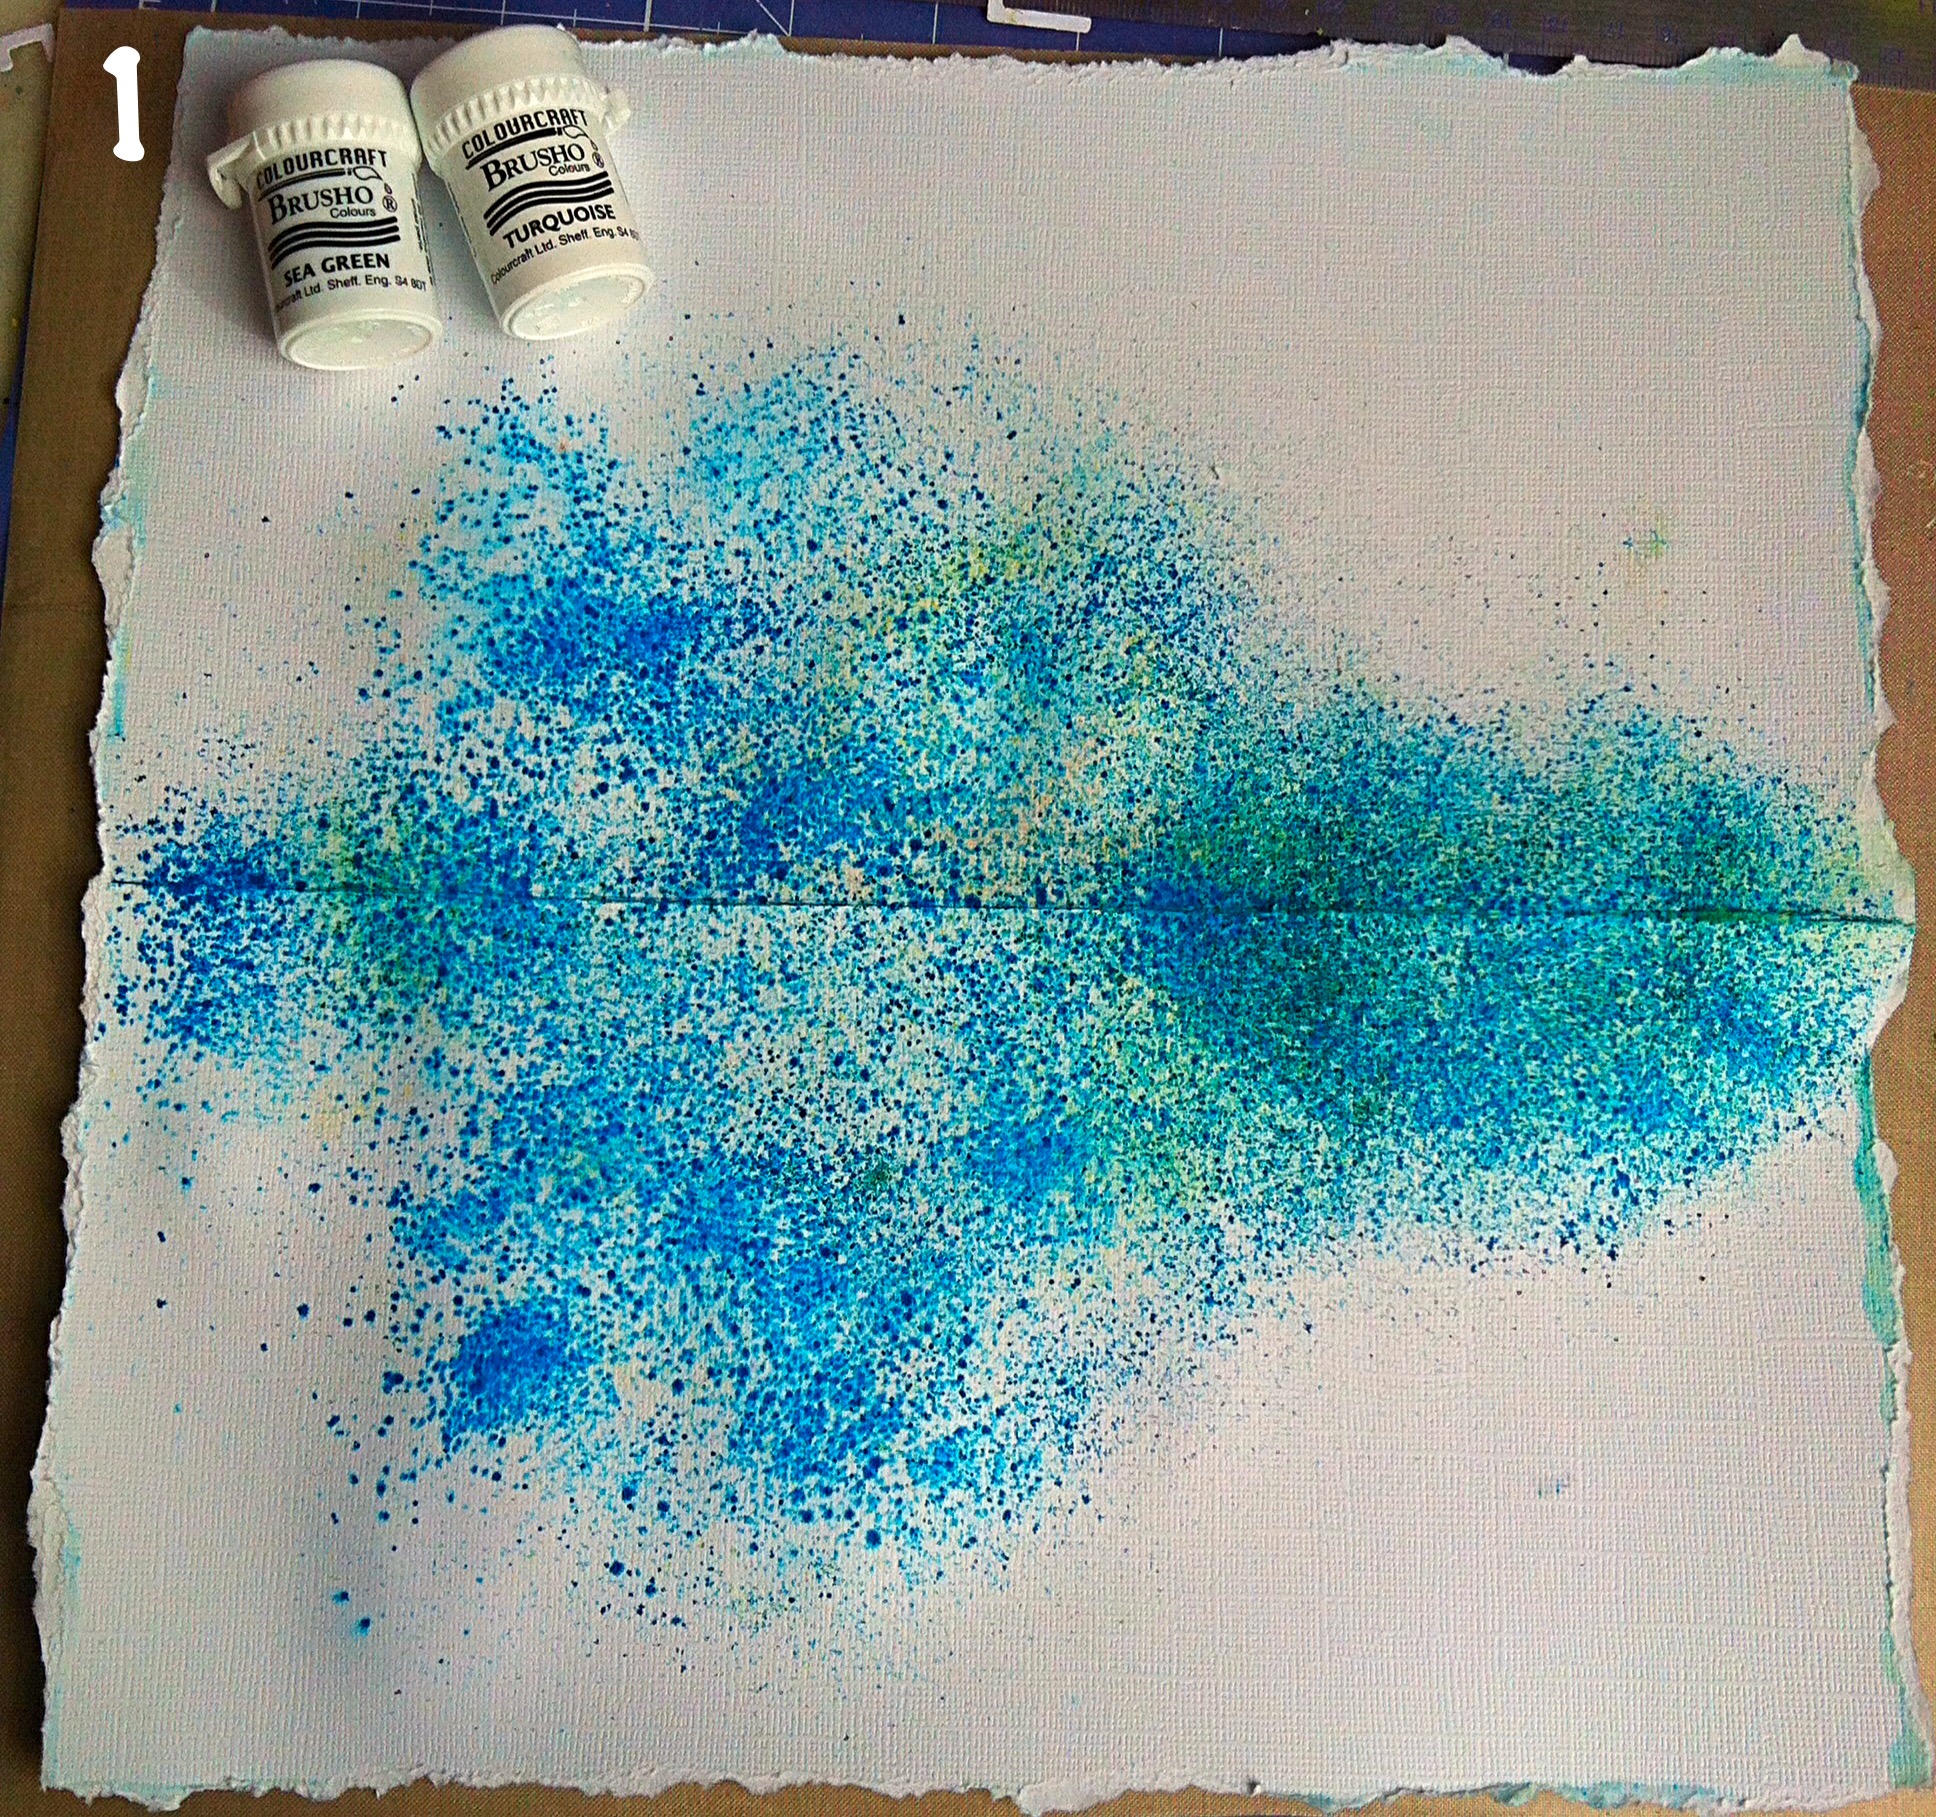
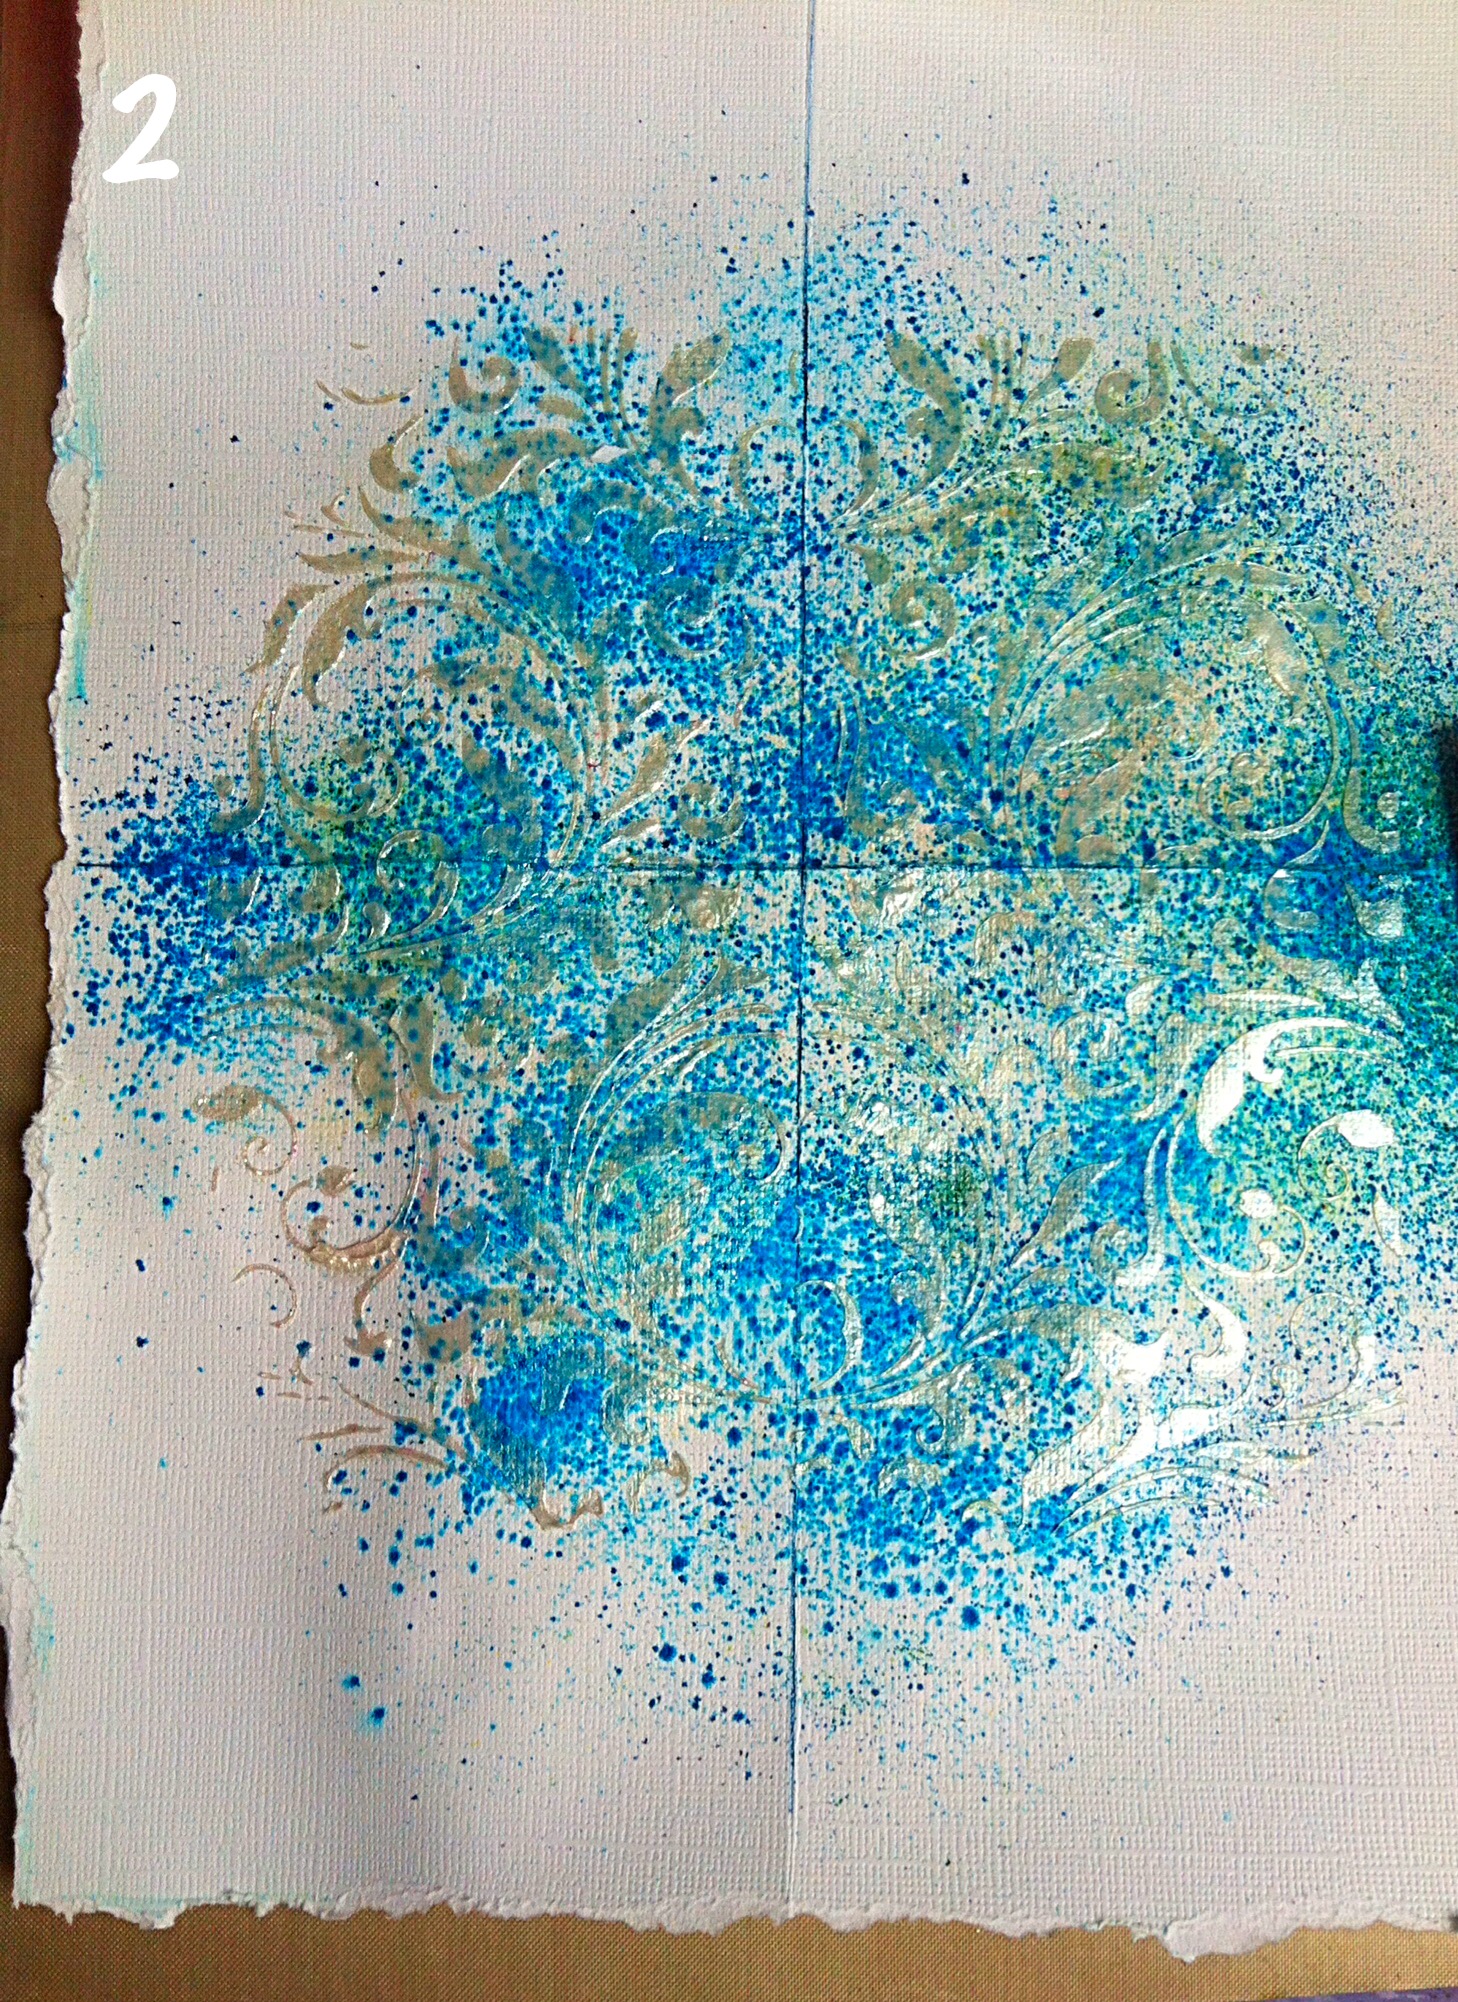
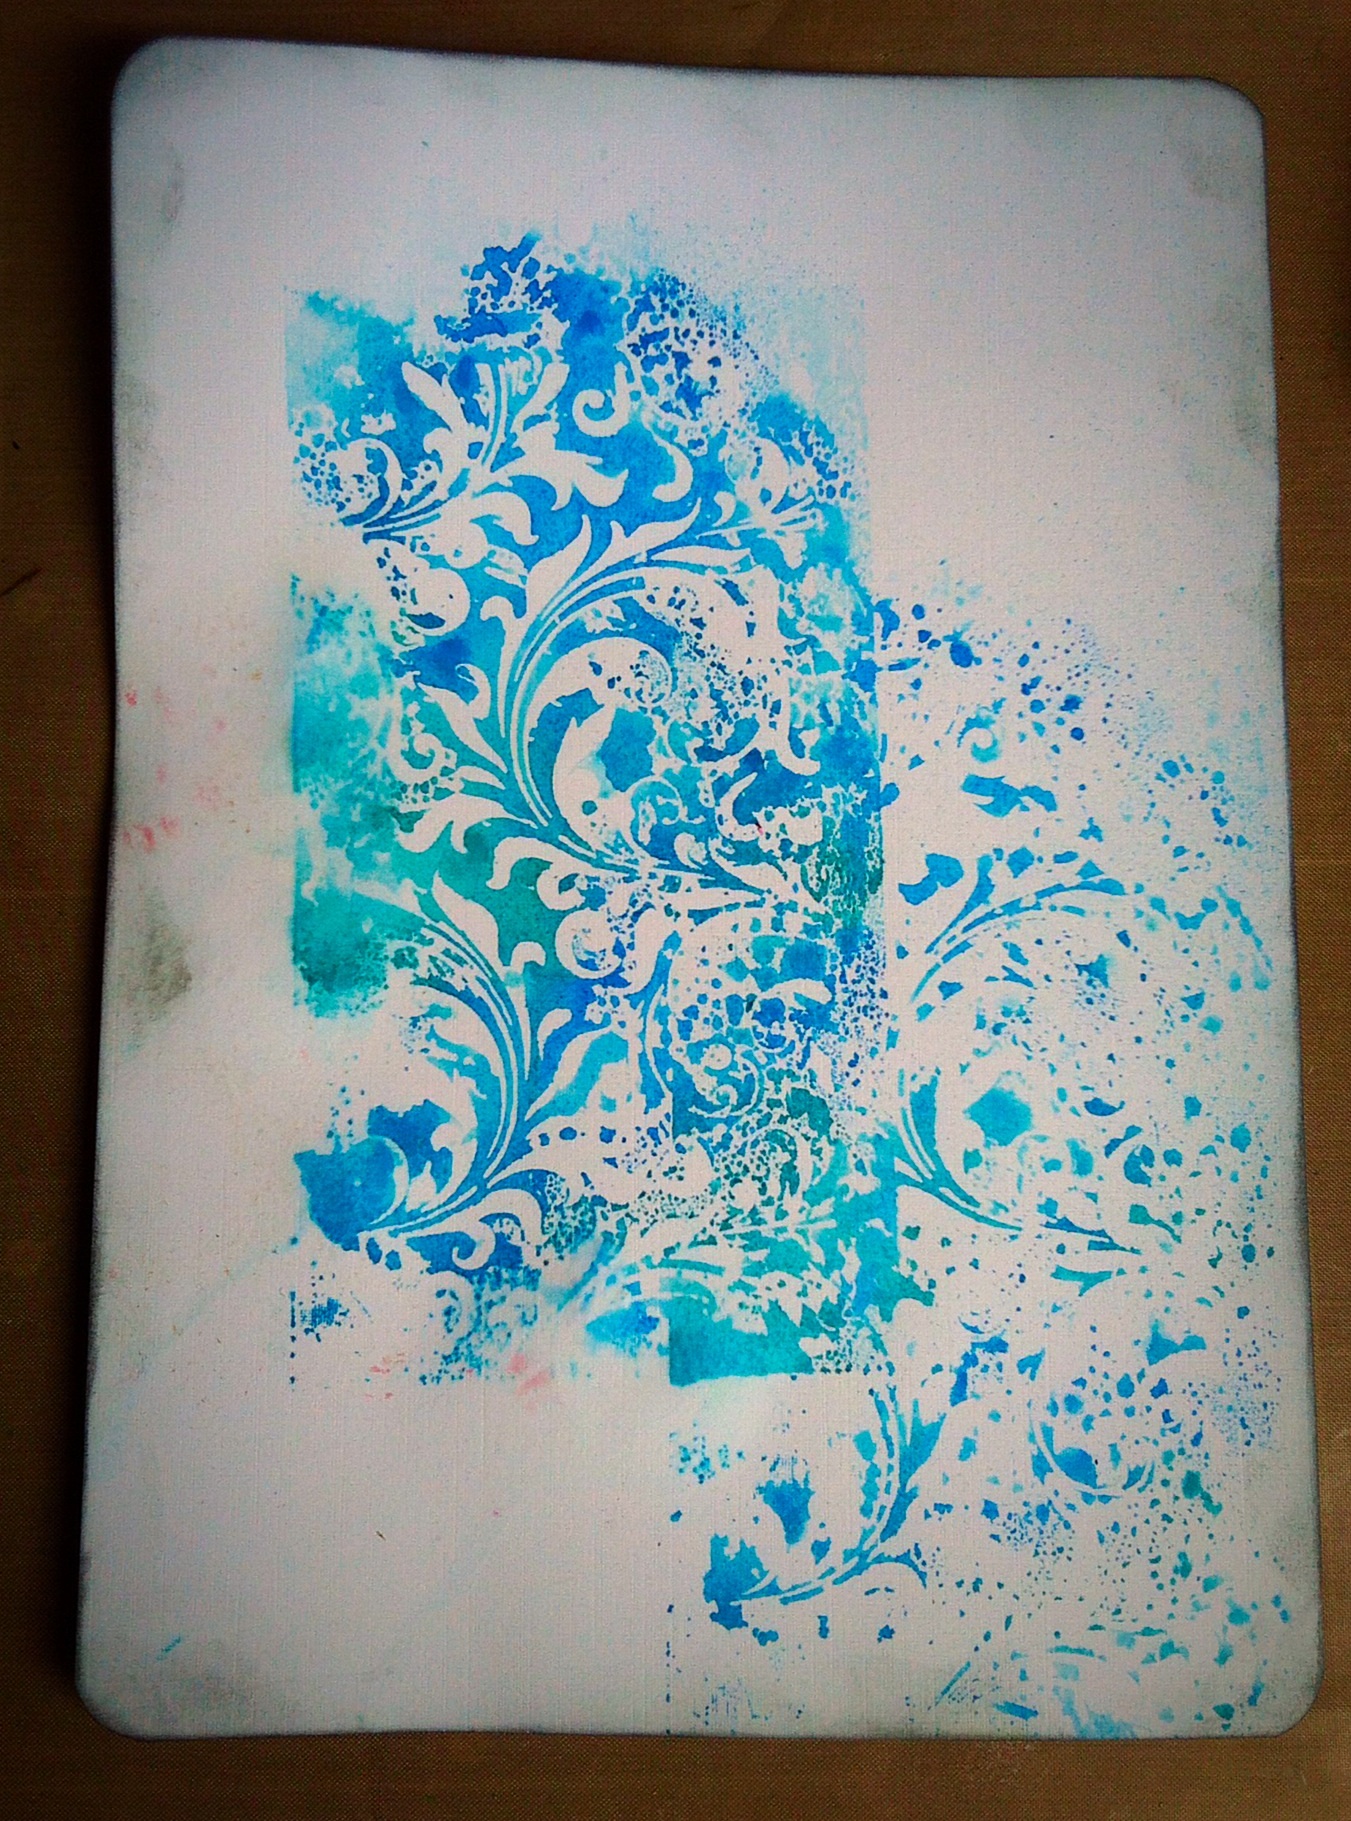
I wanted to experiment with Brushos, not having much success in the past this was also part of the challenge. I wanted to create lines of symmetry so I folded the paper slightly lower than half way down and sprayed water along the crease and at the top. I had put needle holes in the top of the Brusho lids and shook the powder on the crease and top half only. I sprayed water again and quickly folded the paper to create a monoprint. I heat dried, sprayed, heat dried until I liked the effect. I used linen effect 12×12 white paper. I waterbrushed the edges and then tore to create lovely wavy lines. However some of the invisible Brusho powder was on the edge and turned blue with the waterbrush, interesting effects! Quite Topsy Turvy!
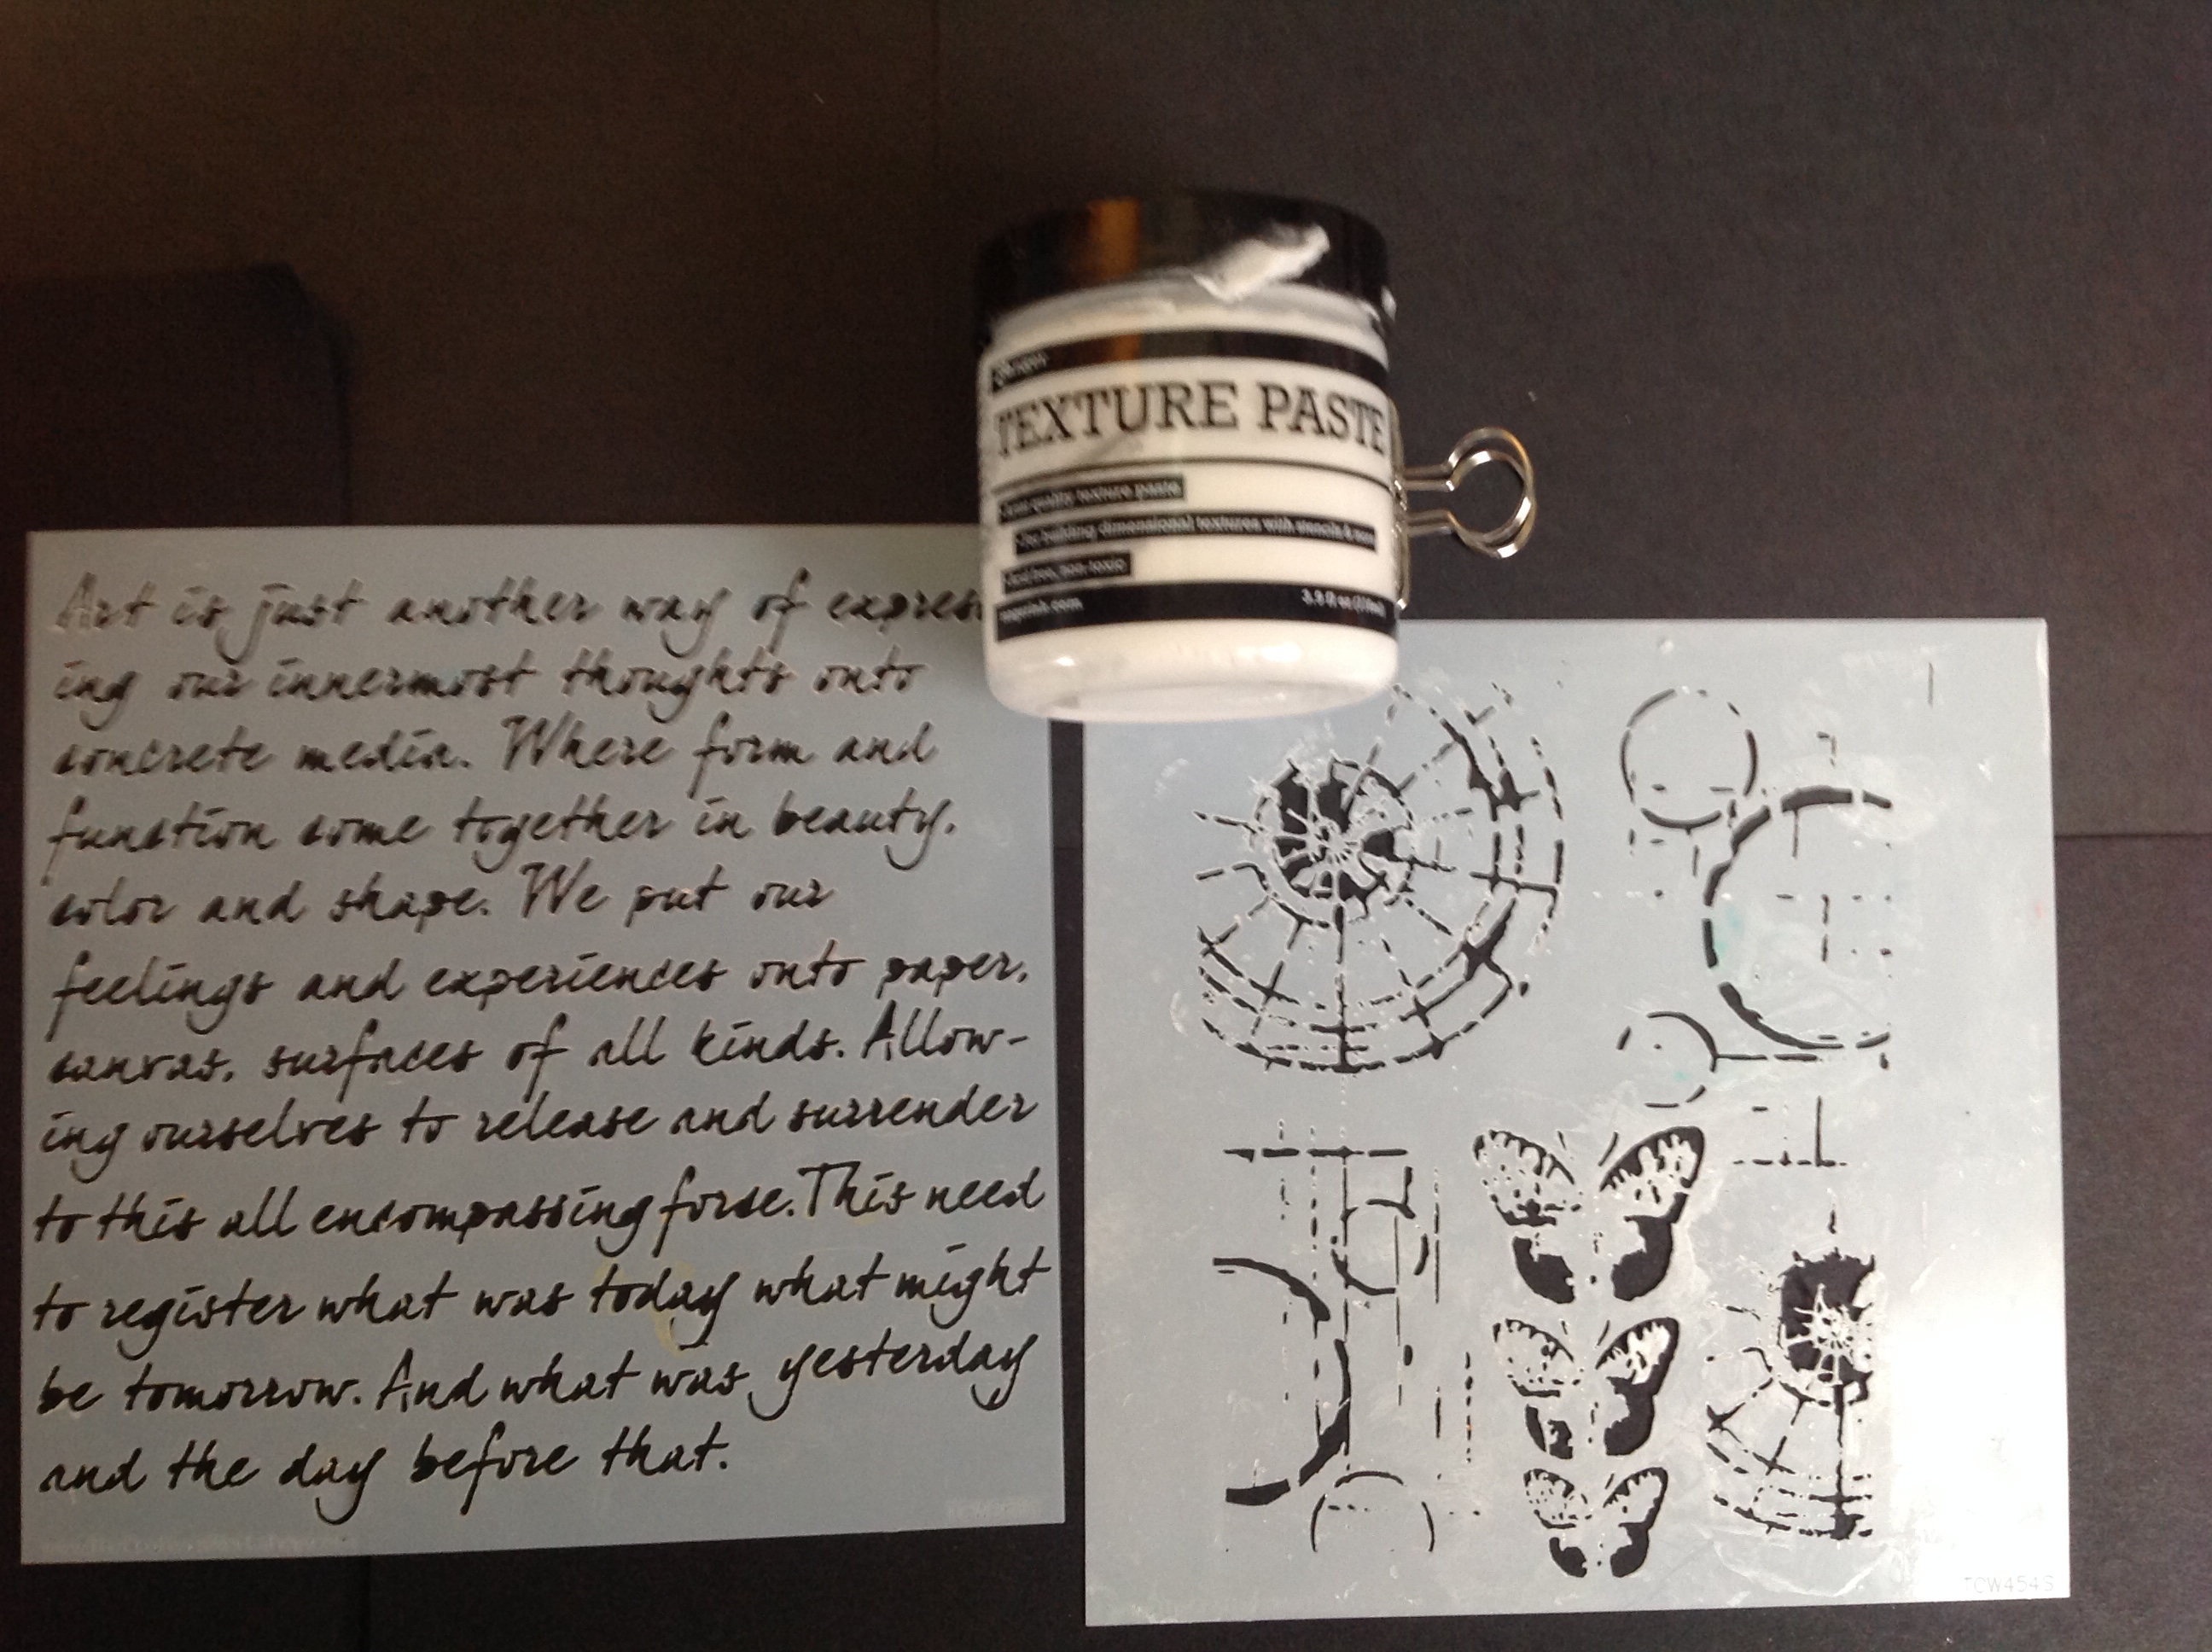
I decided to try a vertical line of symmetry using texture paste and TH layering stencil. I folded the page vertically, scraped the paste through the stencil on the left hand side, cleaned the stencil, flipped it and scraped more paste through. I was pleased with the result. I used Dreamweaver Pearlescent Texture Paste, love how the colours underneath shine through.
I wanted the Journalling to be symmetrical and experimented with TH thinlet word dies. I stuck plumbers tape onto card and die cut the word at the top. So far so good, the letters came out easily! The second cut was on the back, lined up underneath the first, this was not so easy to get the letters out. I think it looks effective.

The LO needed a shot of yellow to balance the Mirror Lakes sign. I used chipboard letters, originally brown and patterned. They were heat embossed with yellow enamel then gold glitter and more enamel to embed the sparkle.
It doesn’t show to well on the photo but the pearl texture paste, the NZ glitter and silver Journalling really shine.
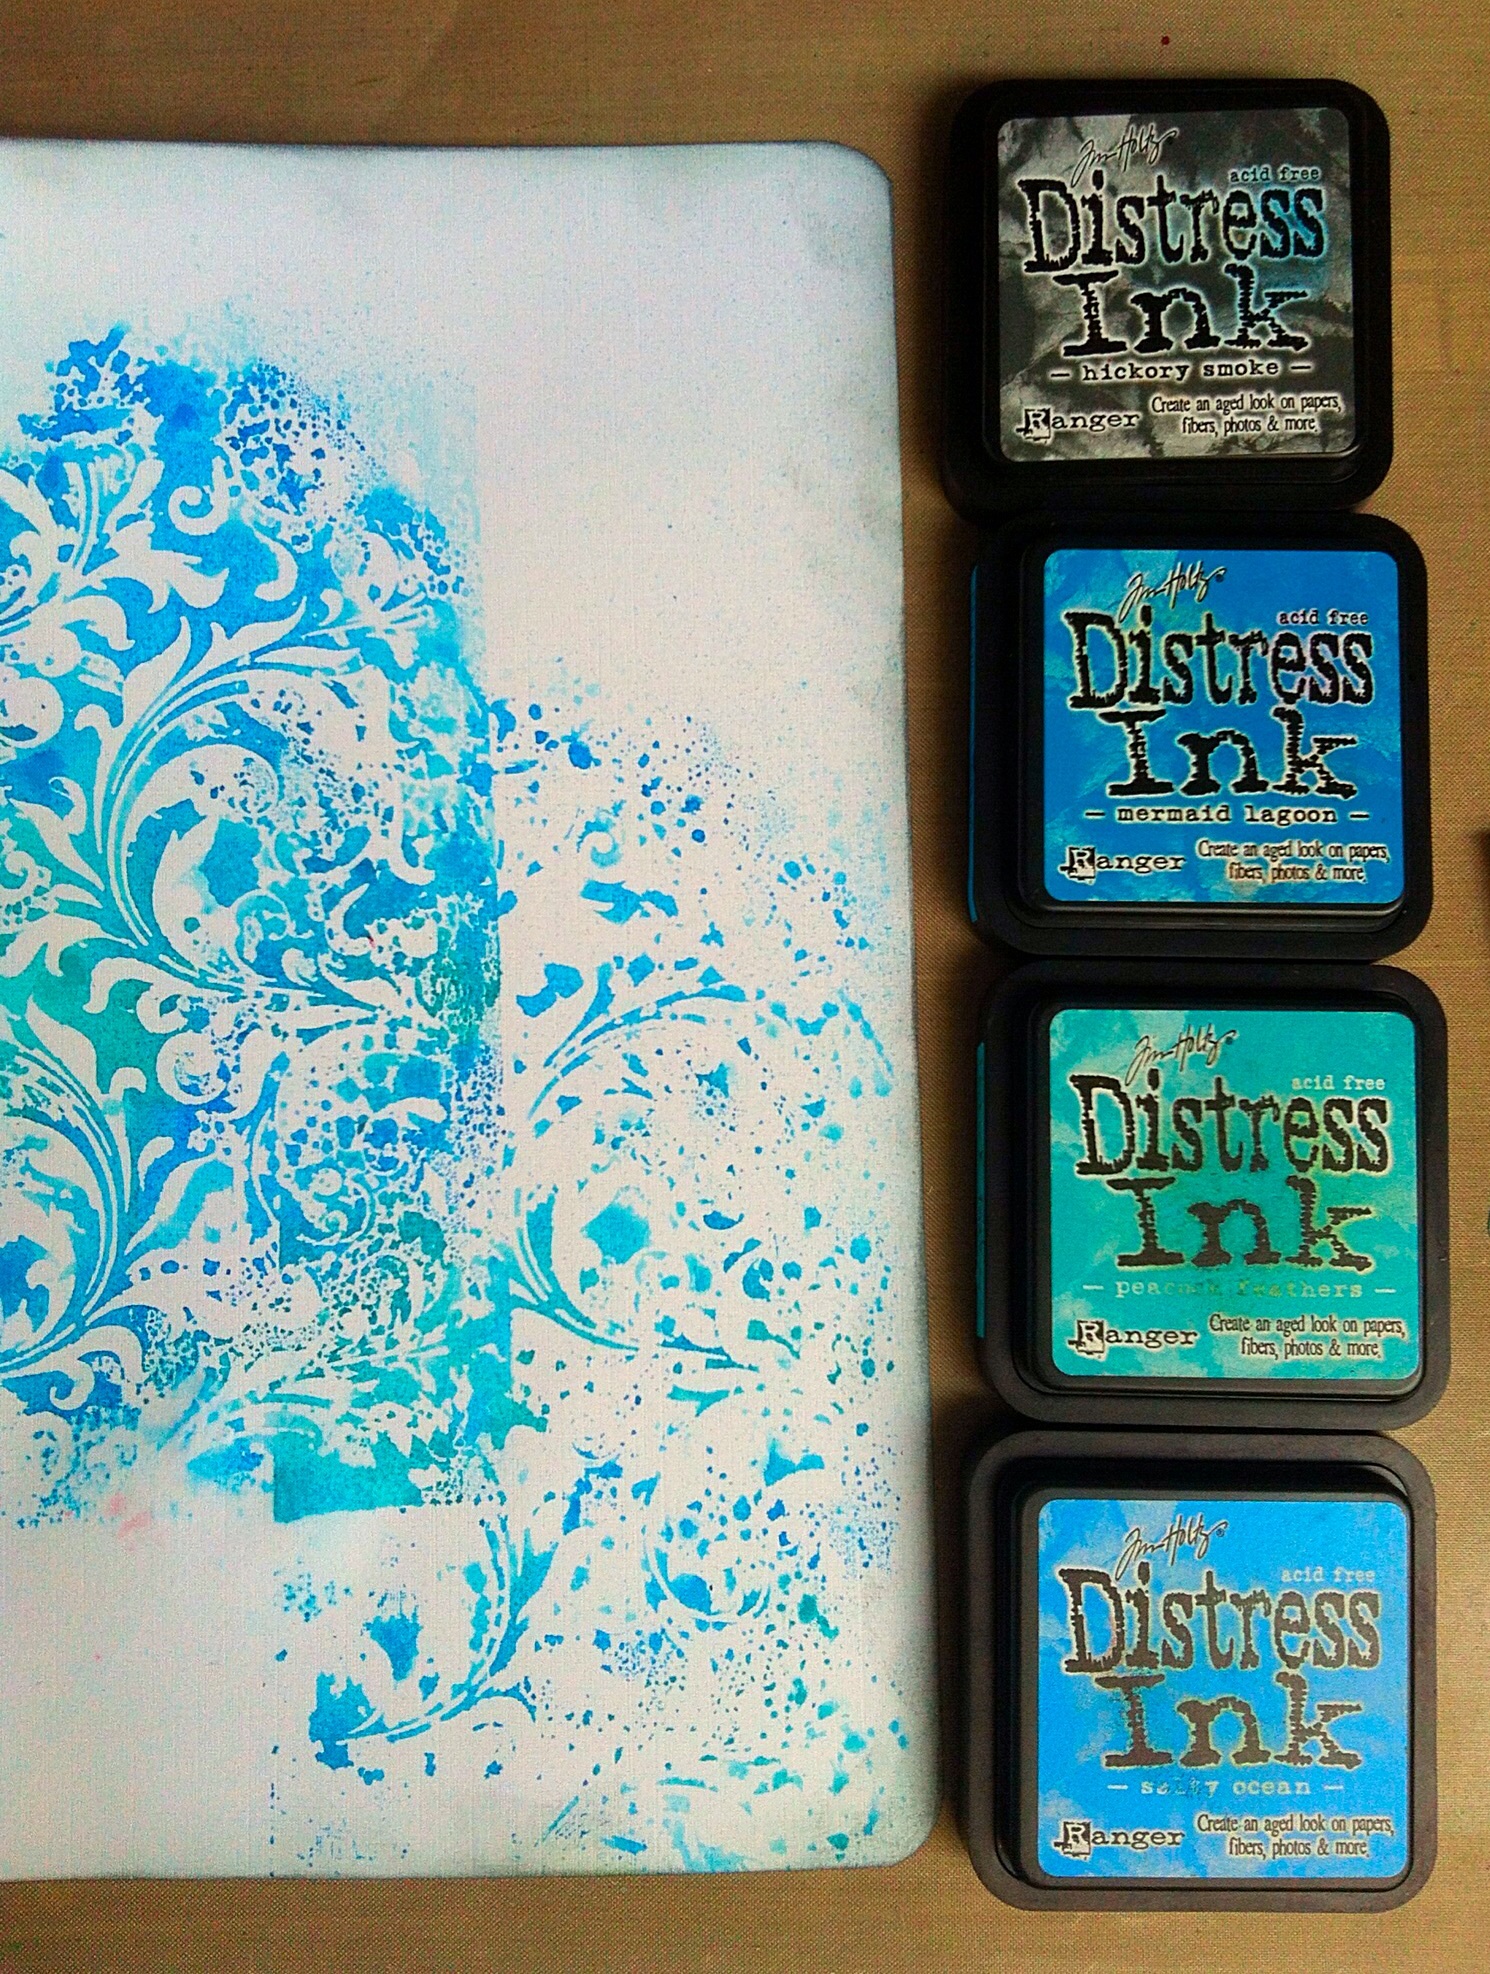
The paper I mounted the page onto was DI inked with Iced Spruce, Pumice Stone,and a hint of Hickory Smoke to match the colour of the rushes.
I hope you are inspired to join our challenge for November.
We have some great prizes sponsored by Decoart.

I wish you luck, have fun!
Hugs
Jan x
]]>
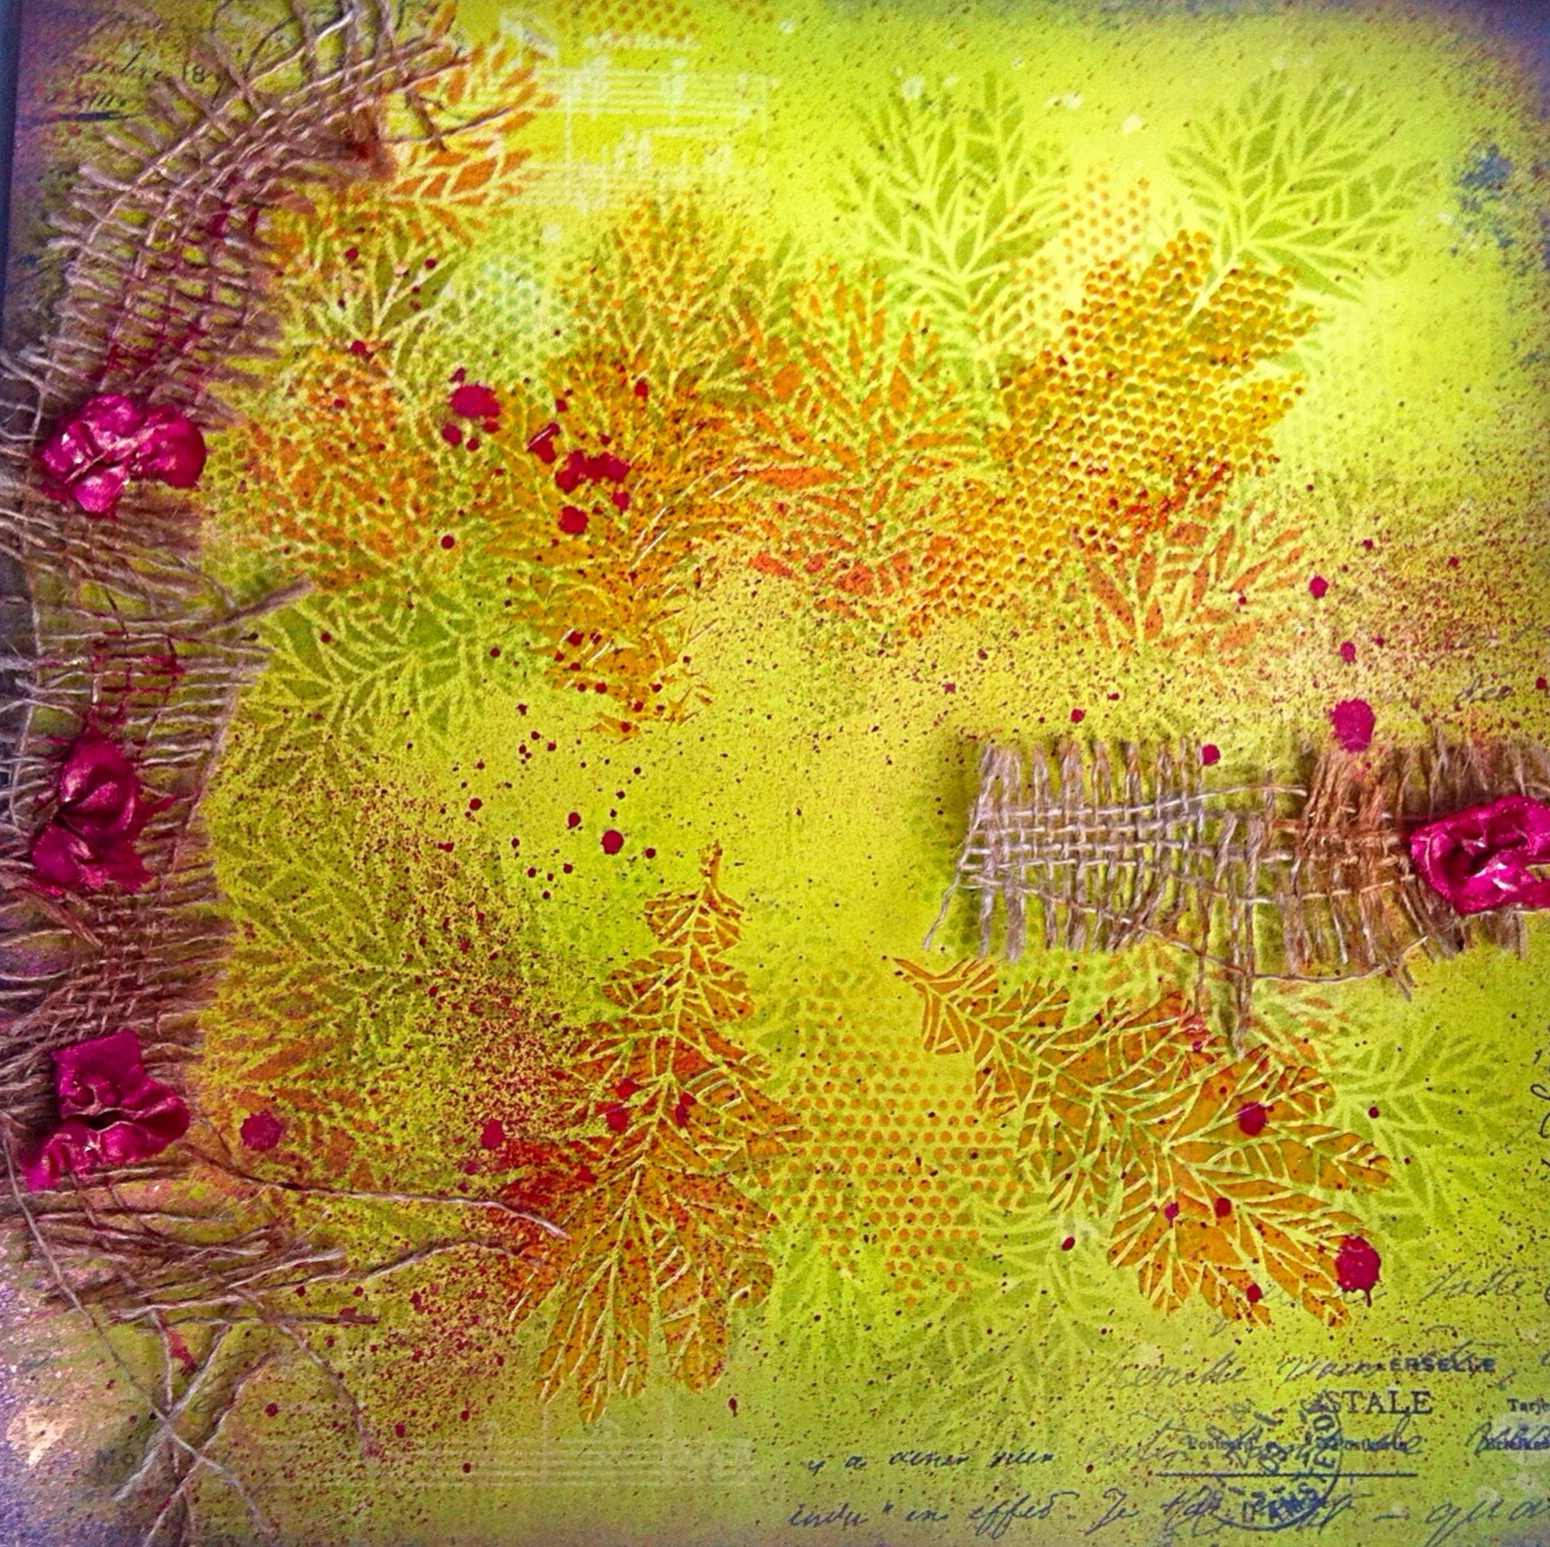
She says, I love the colours of autumn! Those beautiful and dramatic reds, golds, yellows, browns, greens and all shades in between. Your challenge this month is to take some inspiration from the colours in the image provided and make an autumnal inspired project.

I really enjoy walks through the woods with my family. This photo was from a fun day out at Centre Parcs, Woburn. My Granddaughter loved to balance on the fallen tree trunks! This is how I created the page for my scrapbook.
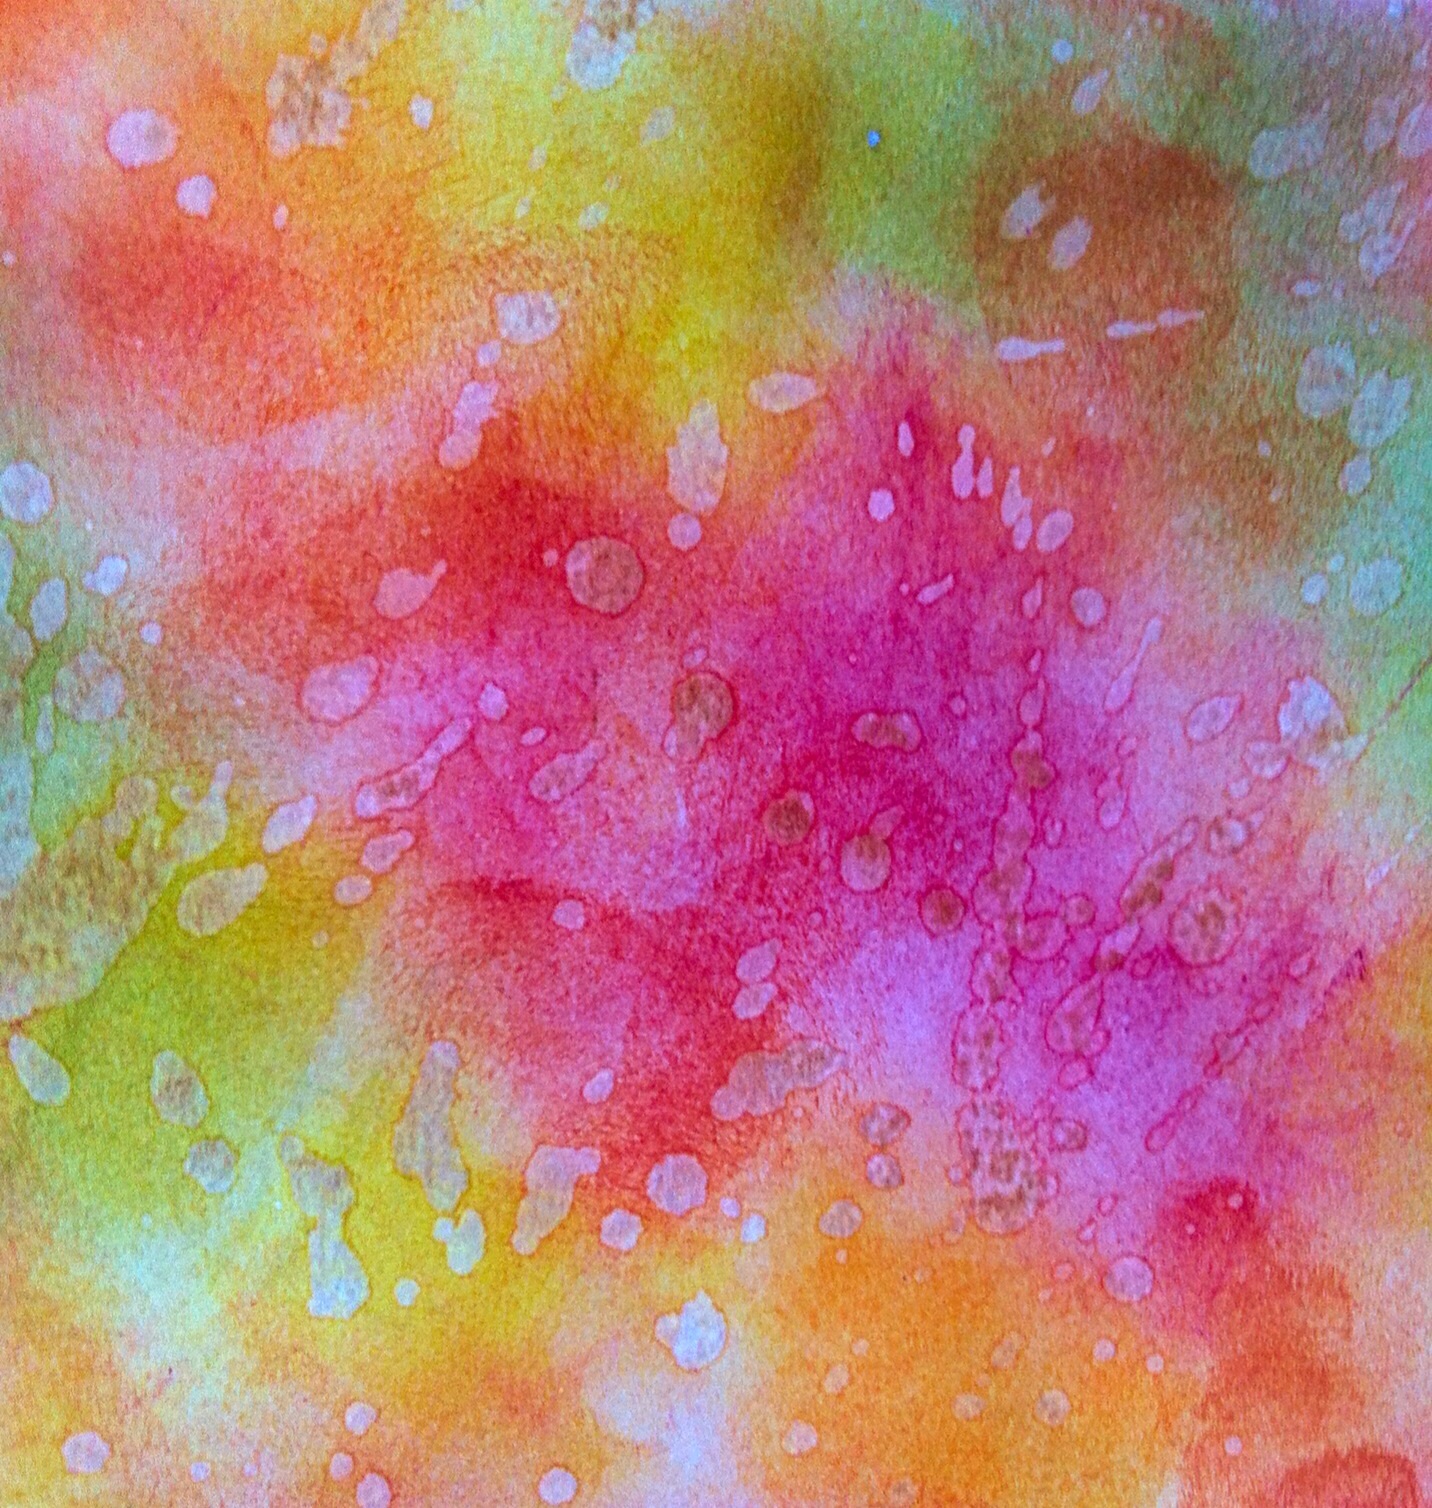
First I made a sheet of Autumn colours for my leaves. I used wrinkle free distress technique with Distress Inks.
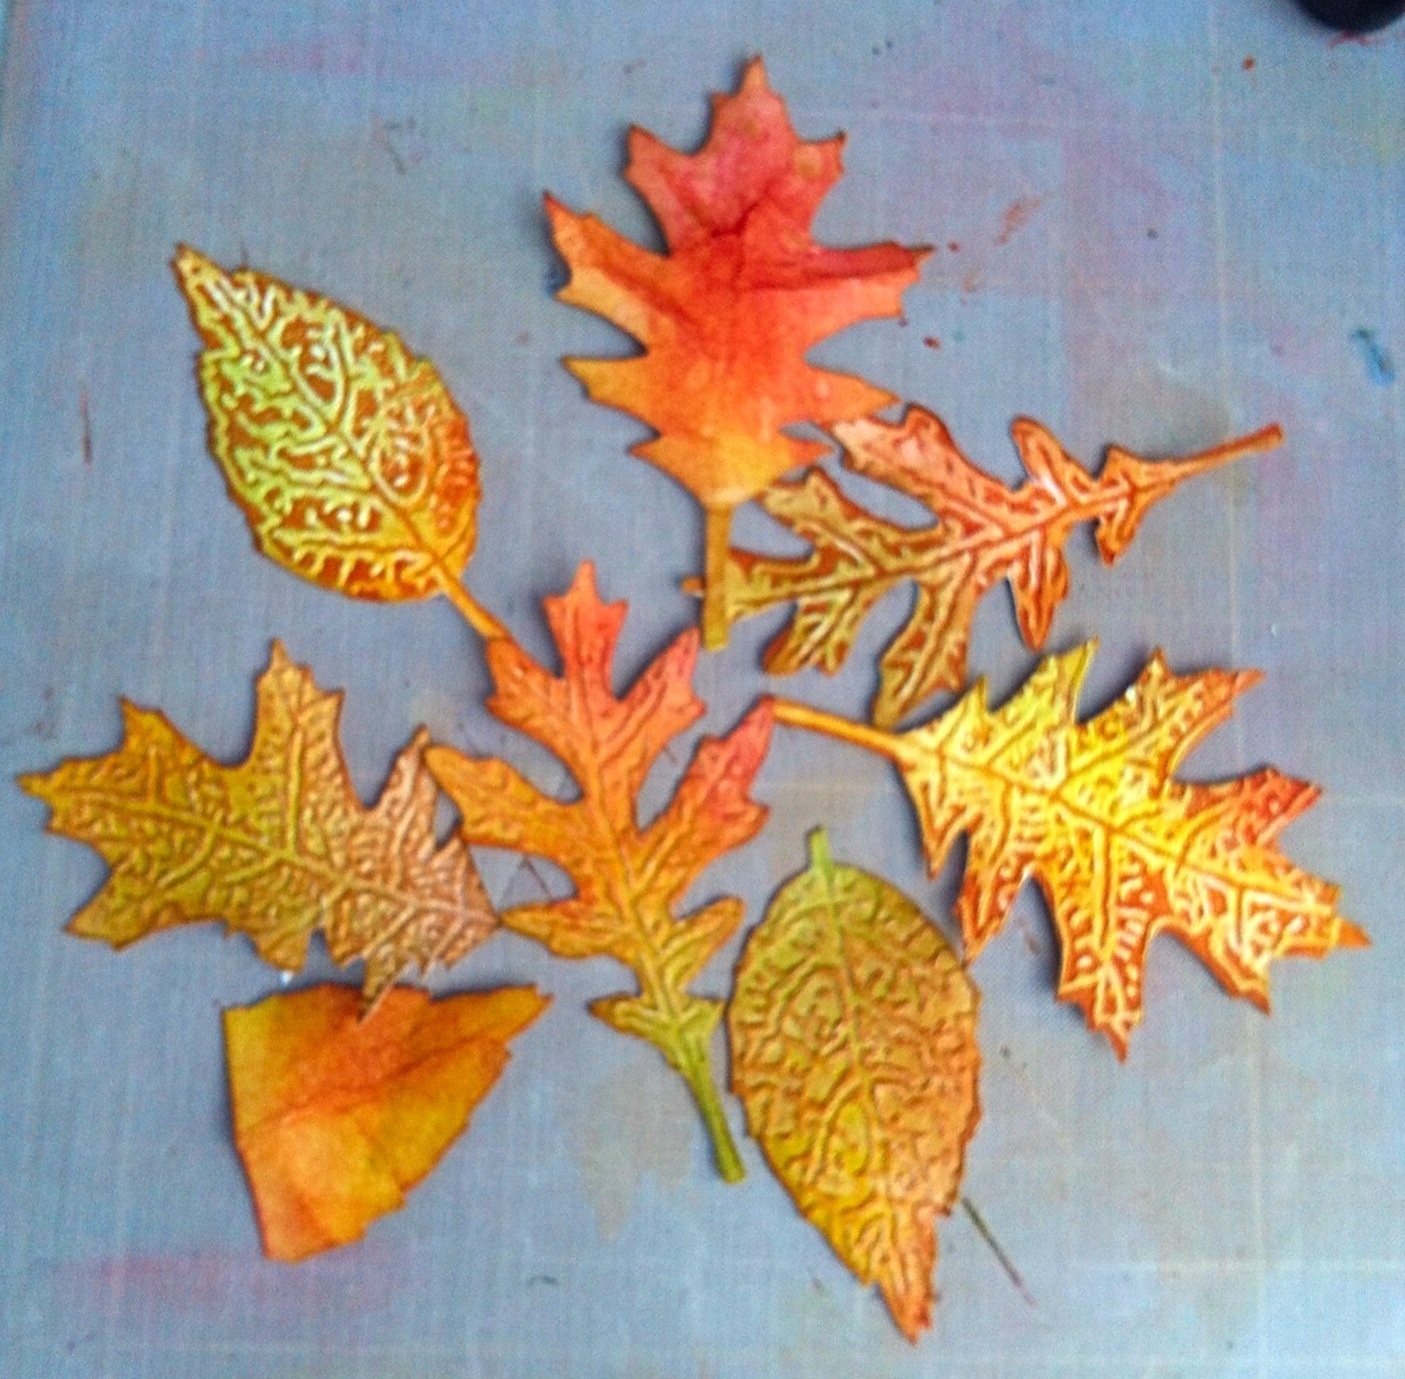
I used TH Tattered Leaves die and embossing folder, then gave the leaves some Vintage Photo and Treasure Gold for a sparkle of Autumn sun. I used Cor’dinations Metal paper in gold to make extra leaves.

I marked where my matted photo would go on a 12×12 sheet of scrapbook paper from my stash. I built up layers of stencilled leaves, first Distress Inks in shades of green and brown then tinted Grunge Paste to add depth. I was working on a pile of wind blown leaves effect! I put some splatters and spray on top.
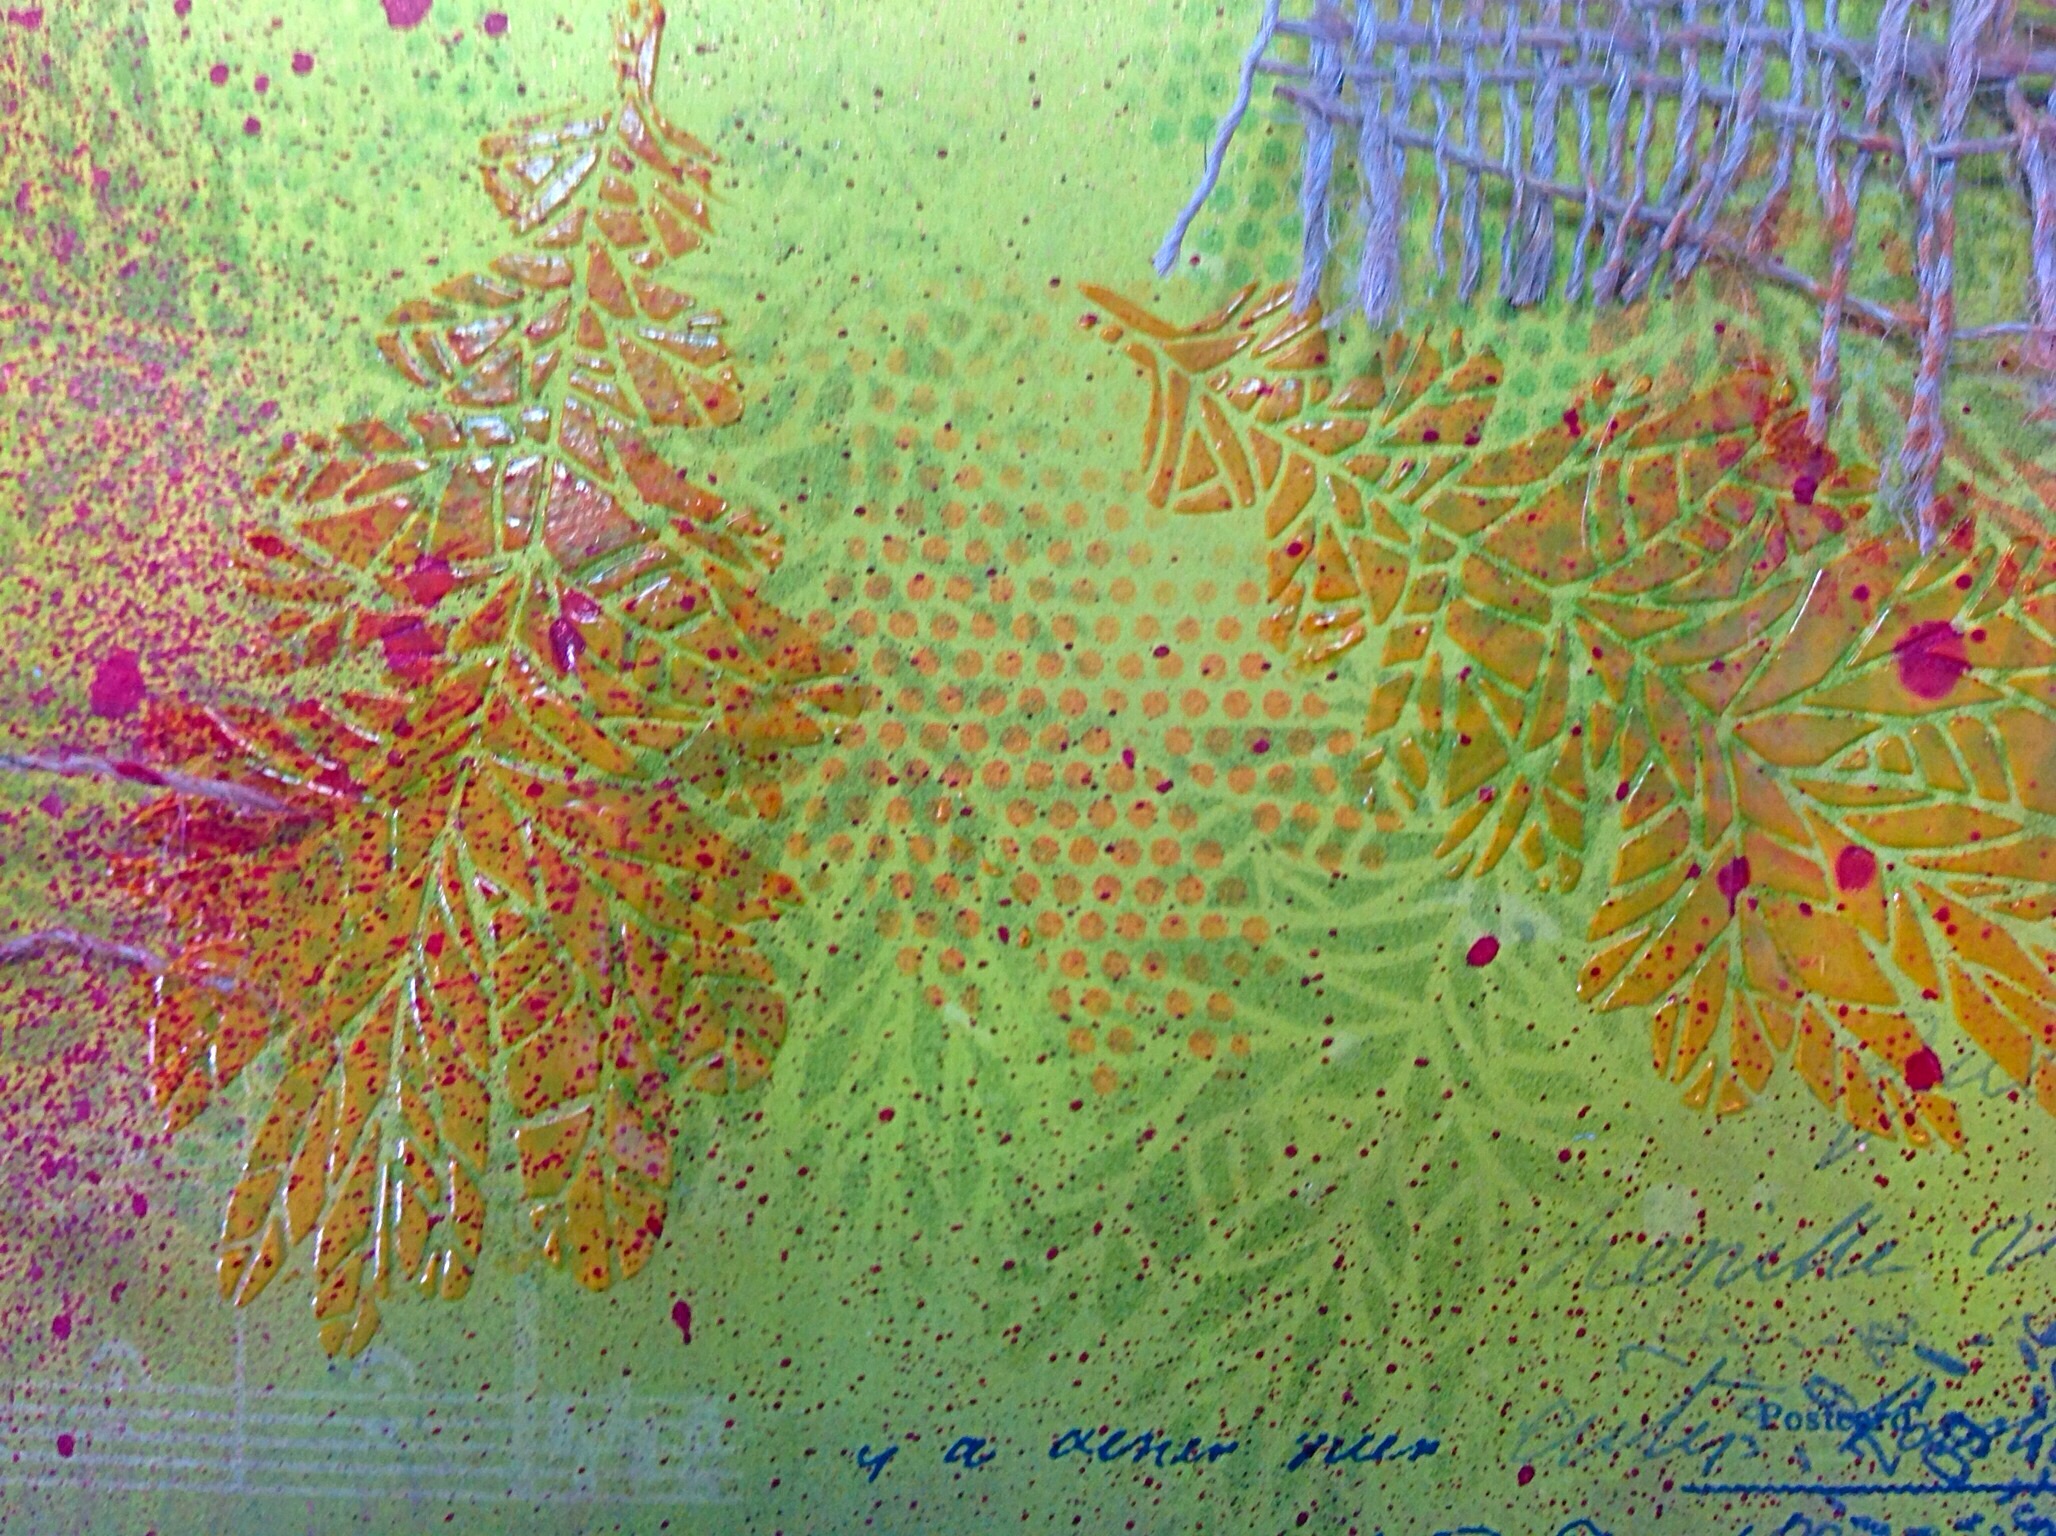
I wanted some textures to give an Autumnal feel so hessian ribbon was attached with eyelets so give more flexibility. I tried various ribbons through the eyelets but eventually tied some textured thick wool which had the colours of our jackets threaded in the black.
I matted the photo onto card and then created a wood effect layer to add the title. I did this by dragging Walnut DI across the kraft card and then ruled lines to make planks, it looks effective.
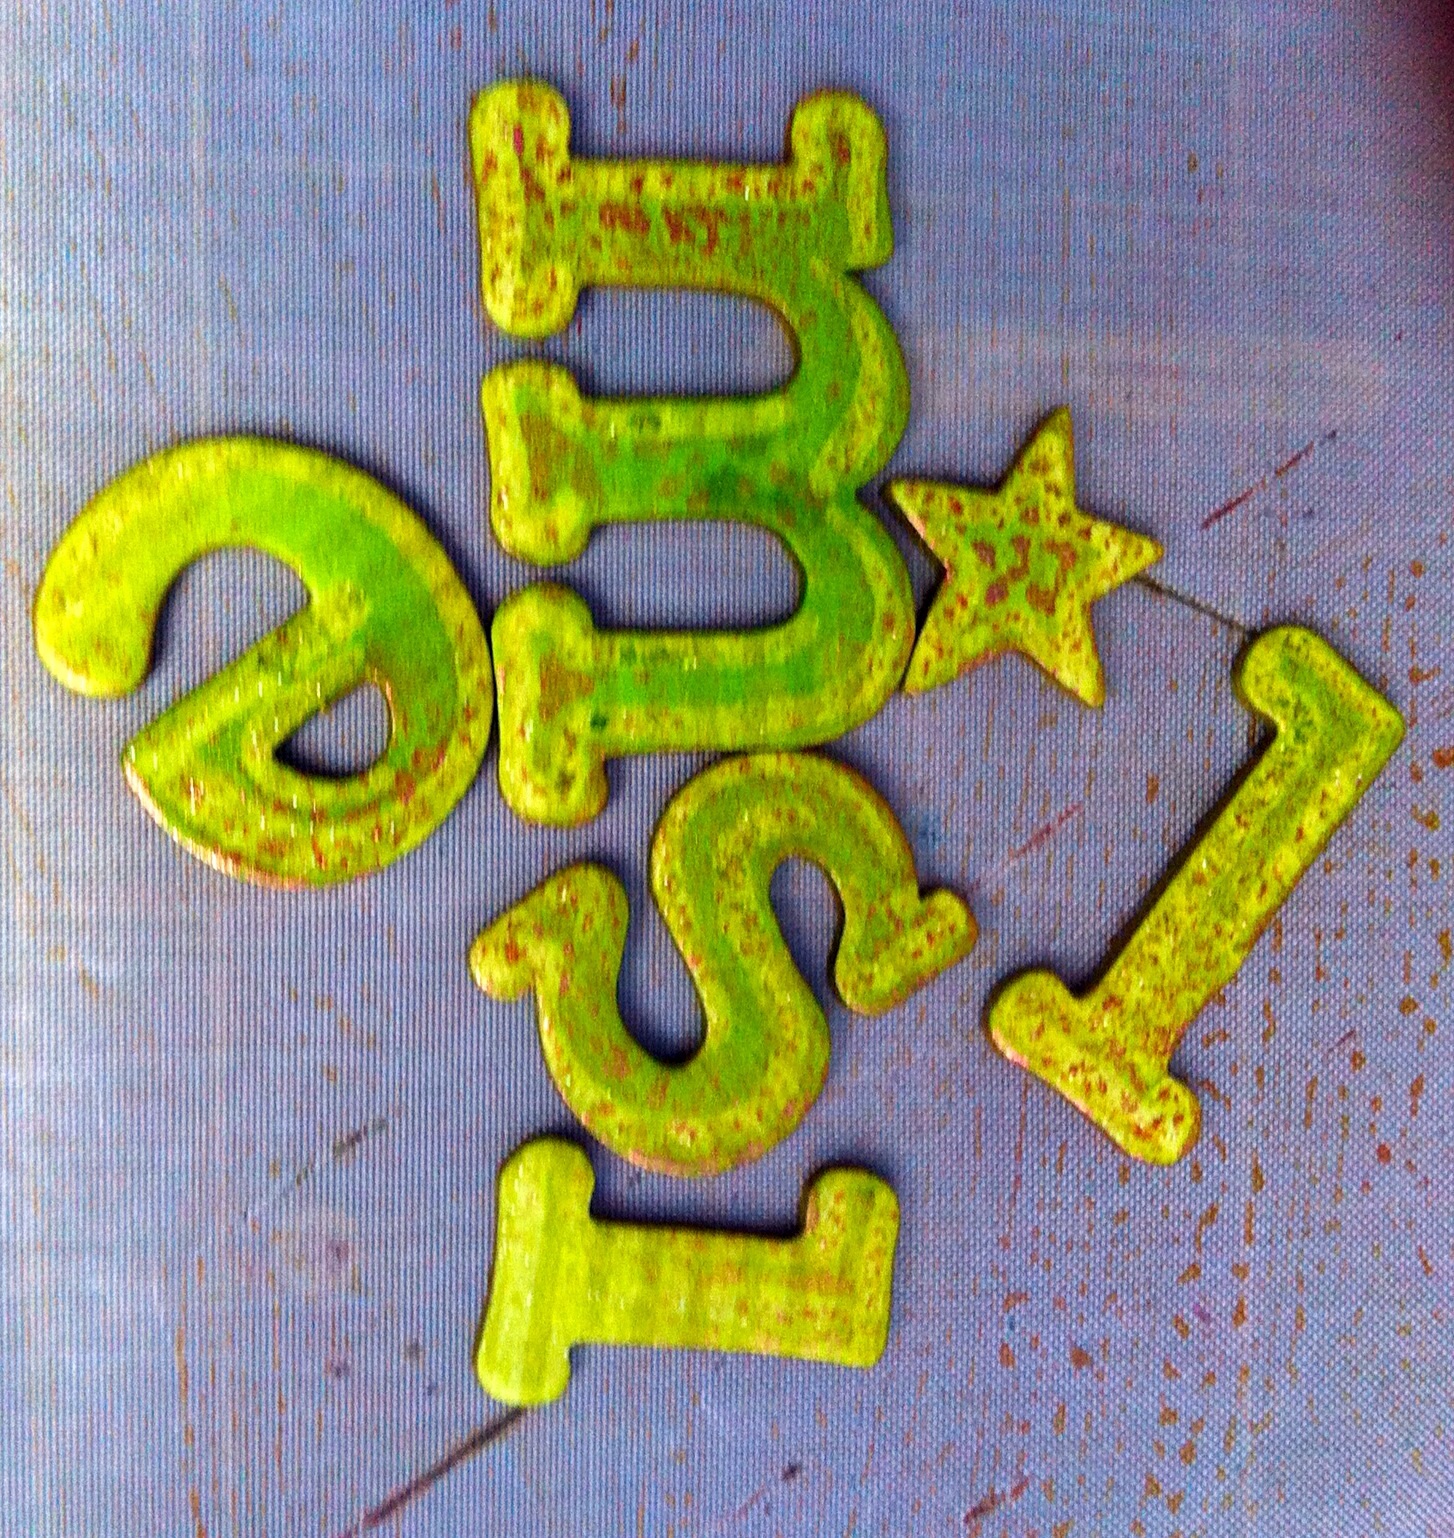
The title was some chipboard letters in the same colour as the scrap paper. A quick spray of metallic gold added a sparkle. I added some stamping from Finnabair, Now is the right time, and Create magic.
We have a great prize on offer this month from……

Creative Embellishments are offering the random prize winner a $25 voucher to spend at their store.

Happy crafting everyone, I look forward to looking at your creations
Hugs
Jan x
]]>
We had a great holiday in LA in May with my daughter, son in law and granddaughter. Arabella spent most of her time chasing the seagulls on the beach. She was very possessive and told all the Americans ” Don’t you chase my seagulls!” Accompanied by a wagging finger, they thought it was cute luckily.
When I saw the latest challenge at A Vintage Journey, Things With Wings it brought back happy memories of Arabella on the beach. I decided to make a page for my Destinations USA Folio.
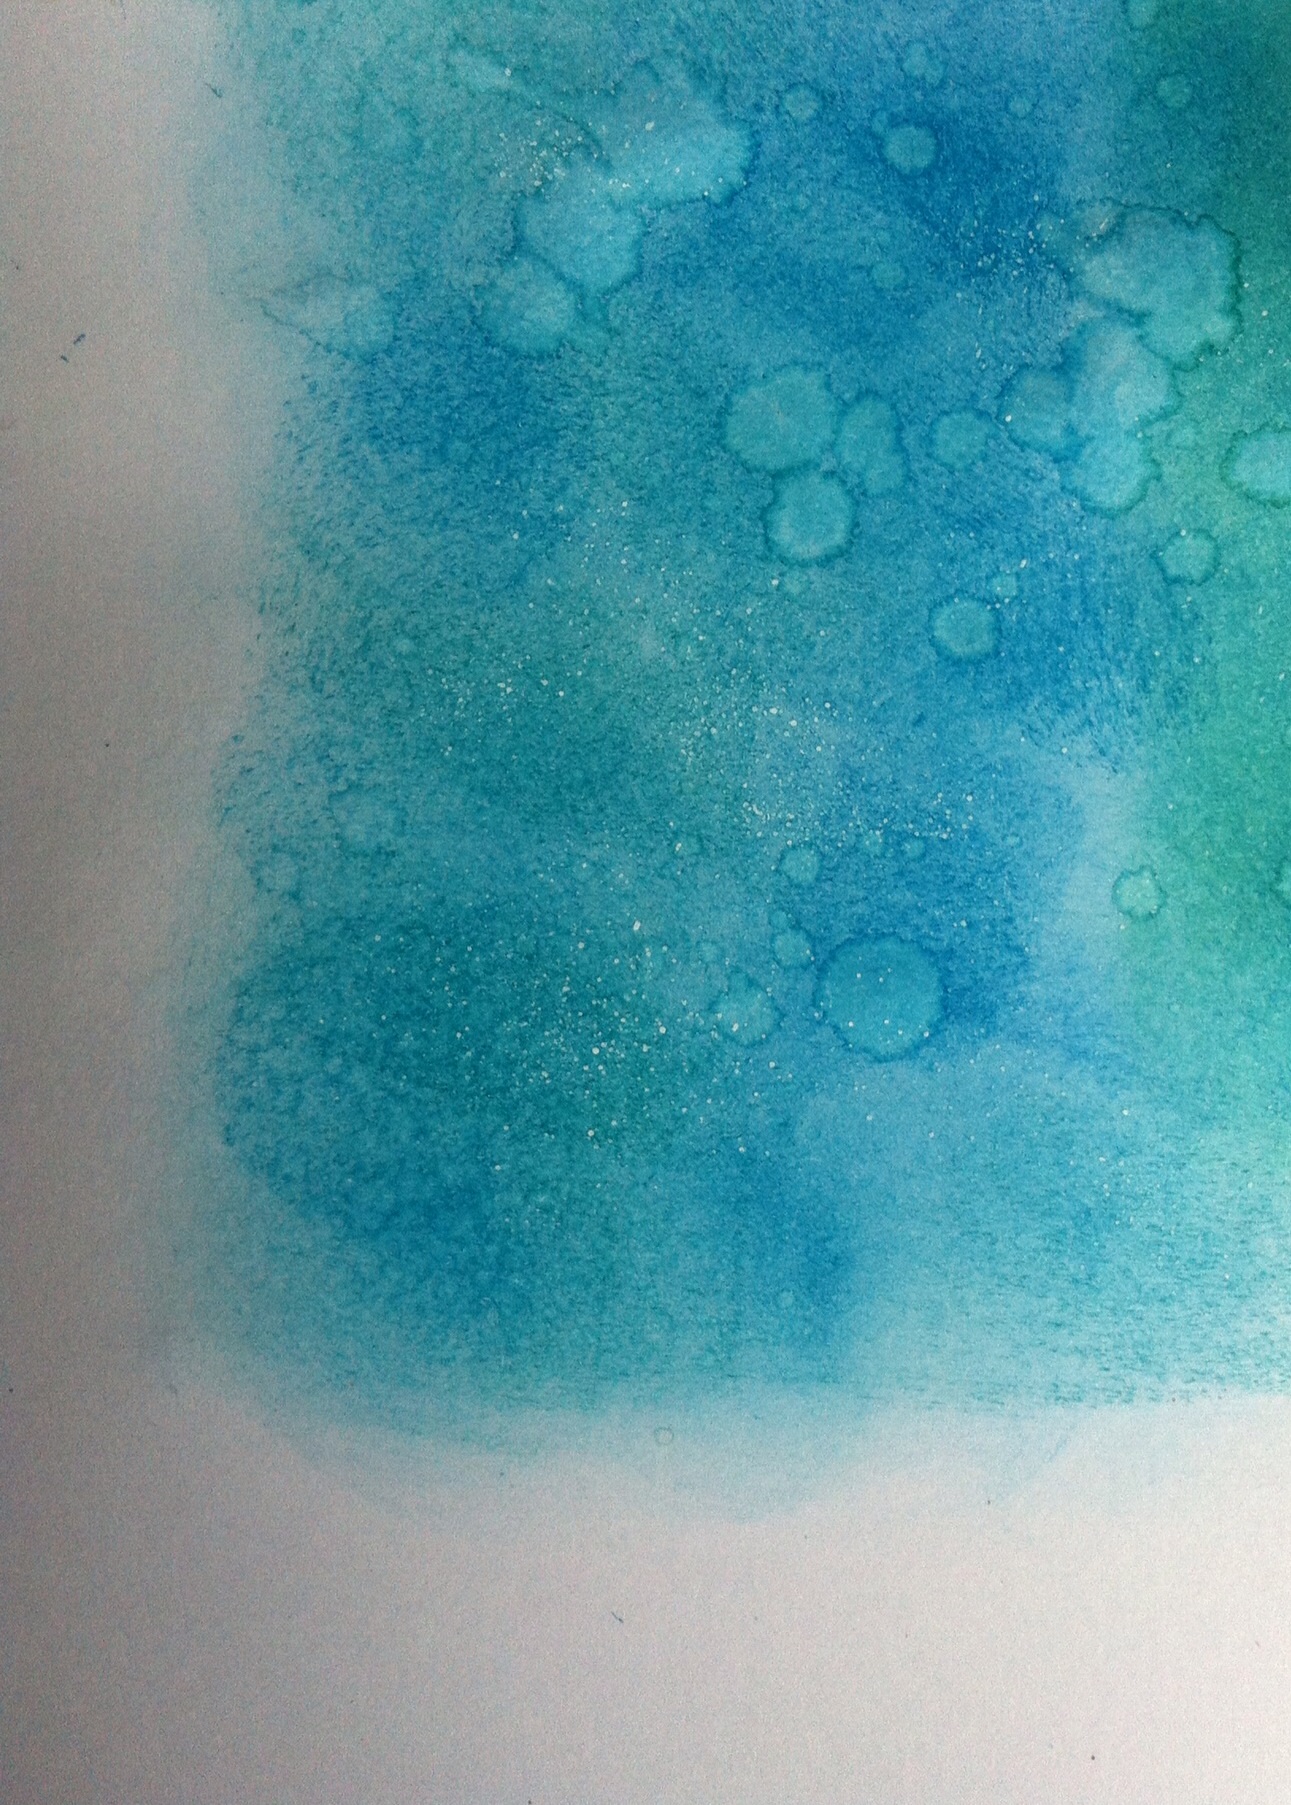
I began by using the mono printing layering stencil technique from CC3. I used Tim’s Flourish stencil onto textured cardstock. I made a print and then used the stencil a second time to get a shadow next to the first print but lower down. I spritzed DI markers and inked the edges with Hickory Smoke and Ground Expresso.( Arrived in the post yesterday! )
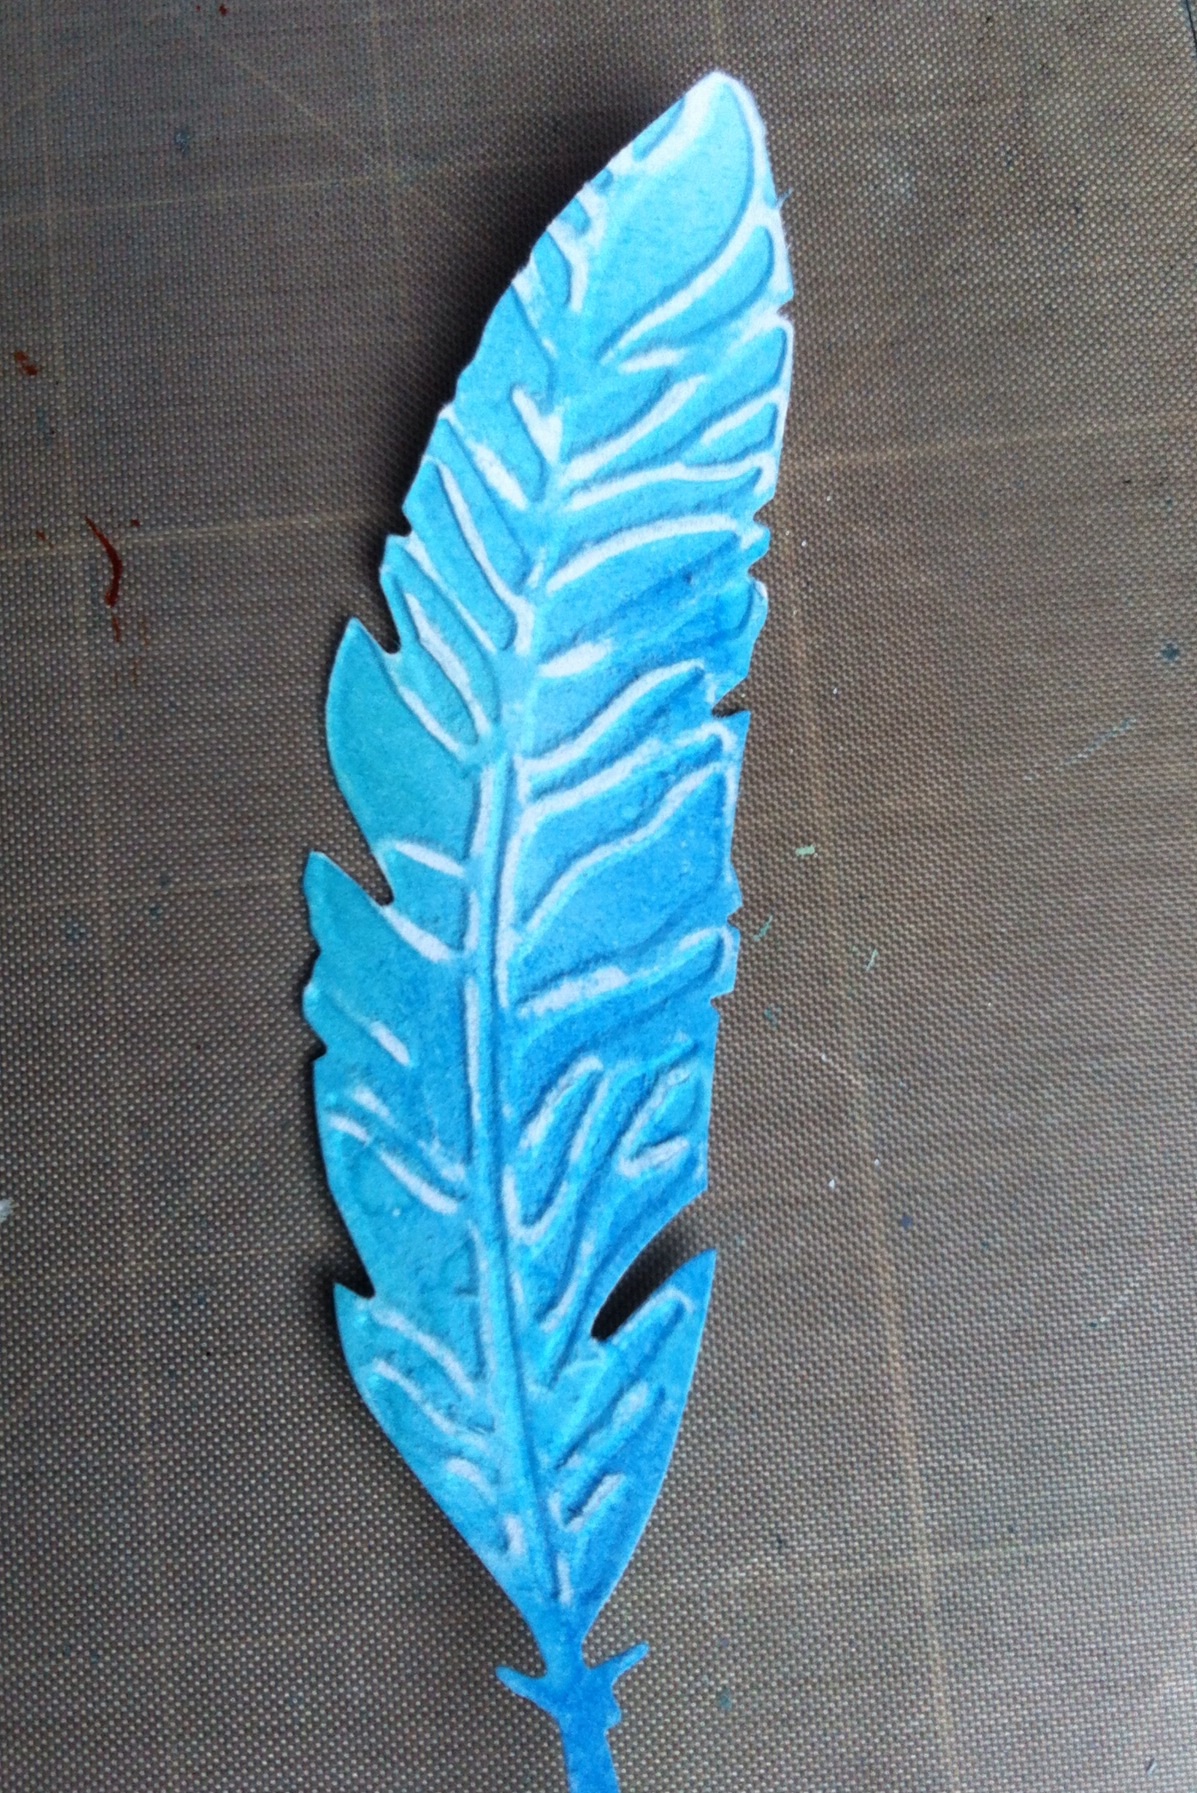
The TH feather die and embossing folder were perfect for seagull feathers. I cut, inked and embossed vellum but also made some blue to highlight the vellum. I created wrinkle free distress card, CC1, using the same background inks to make the feathers.

I made a seagull using Tim’s Caged Bird die, I cut him from white card then inked with Hickory Smoke and Ground Expresso to get the gull colour.
I cropped the photo to fit my tag and made Arabella the focal point with a thinlets die circle. The silk ribbon was coloured with the same DI. I added the new plane charm because Arabella was so excited to have flown to LA. I coloured the plane with Faded Jeans alcohol ink.
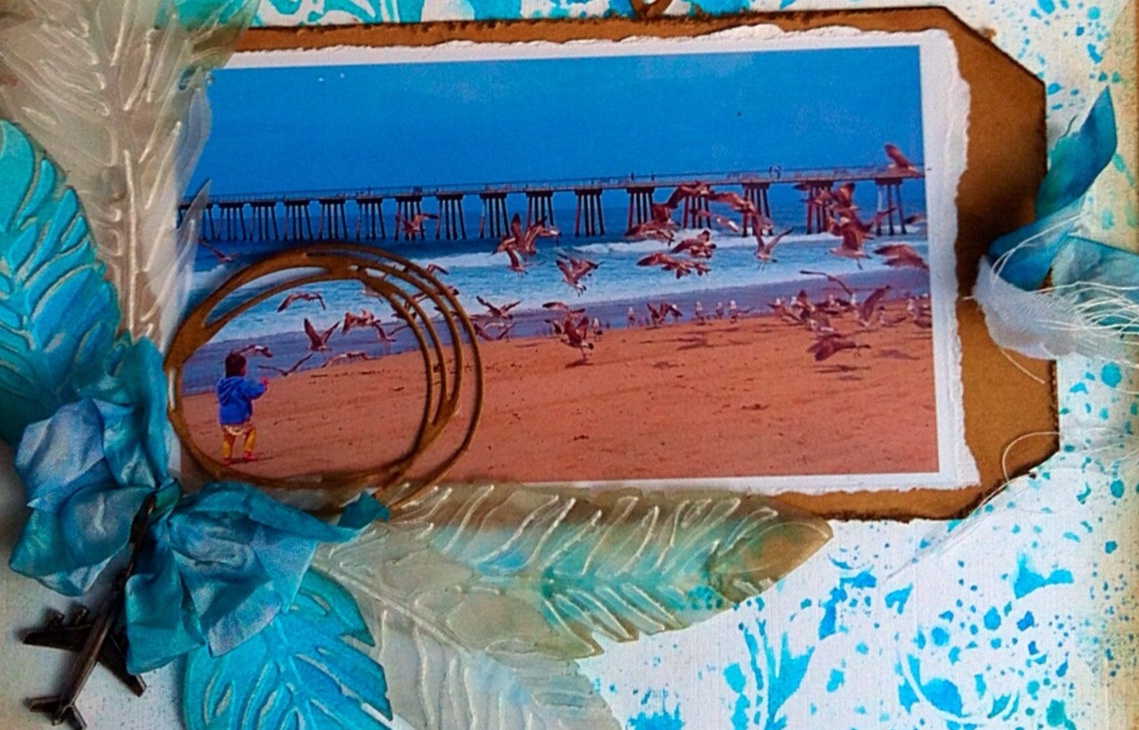
The title lettering was a very old Cricut alphabet die from my stash!
This was such a fun page to make, the Folio is filling up nicely,
Hugs
Jan x
]]>
Hi Everyone
This is the summer challenge from Our Creative Corner–
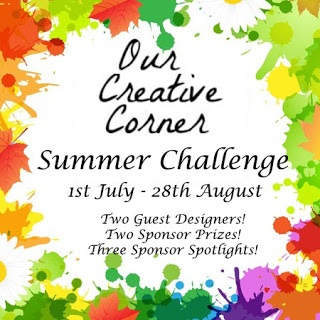
We want you to grab any inspiration you like from these wonderfully exotic photographs…
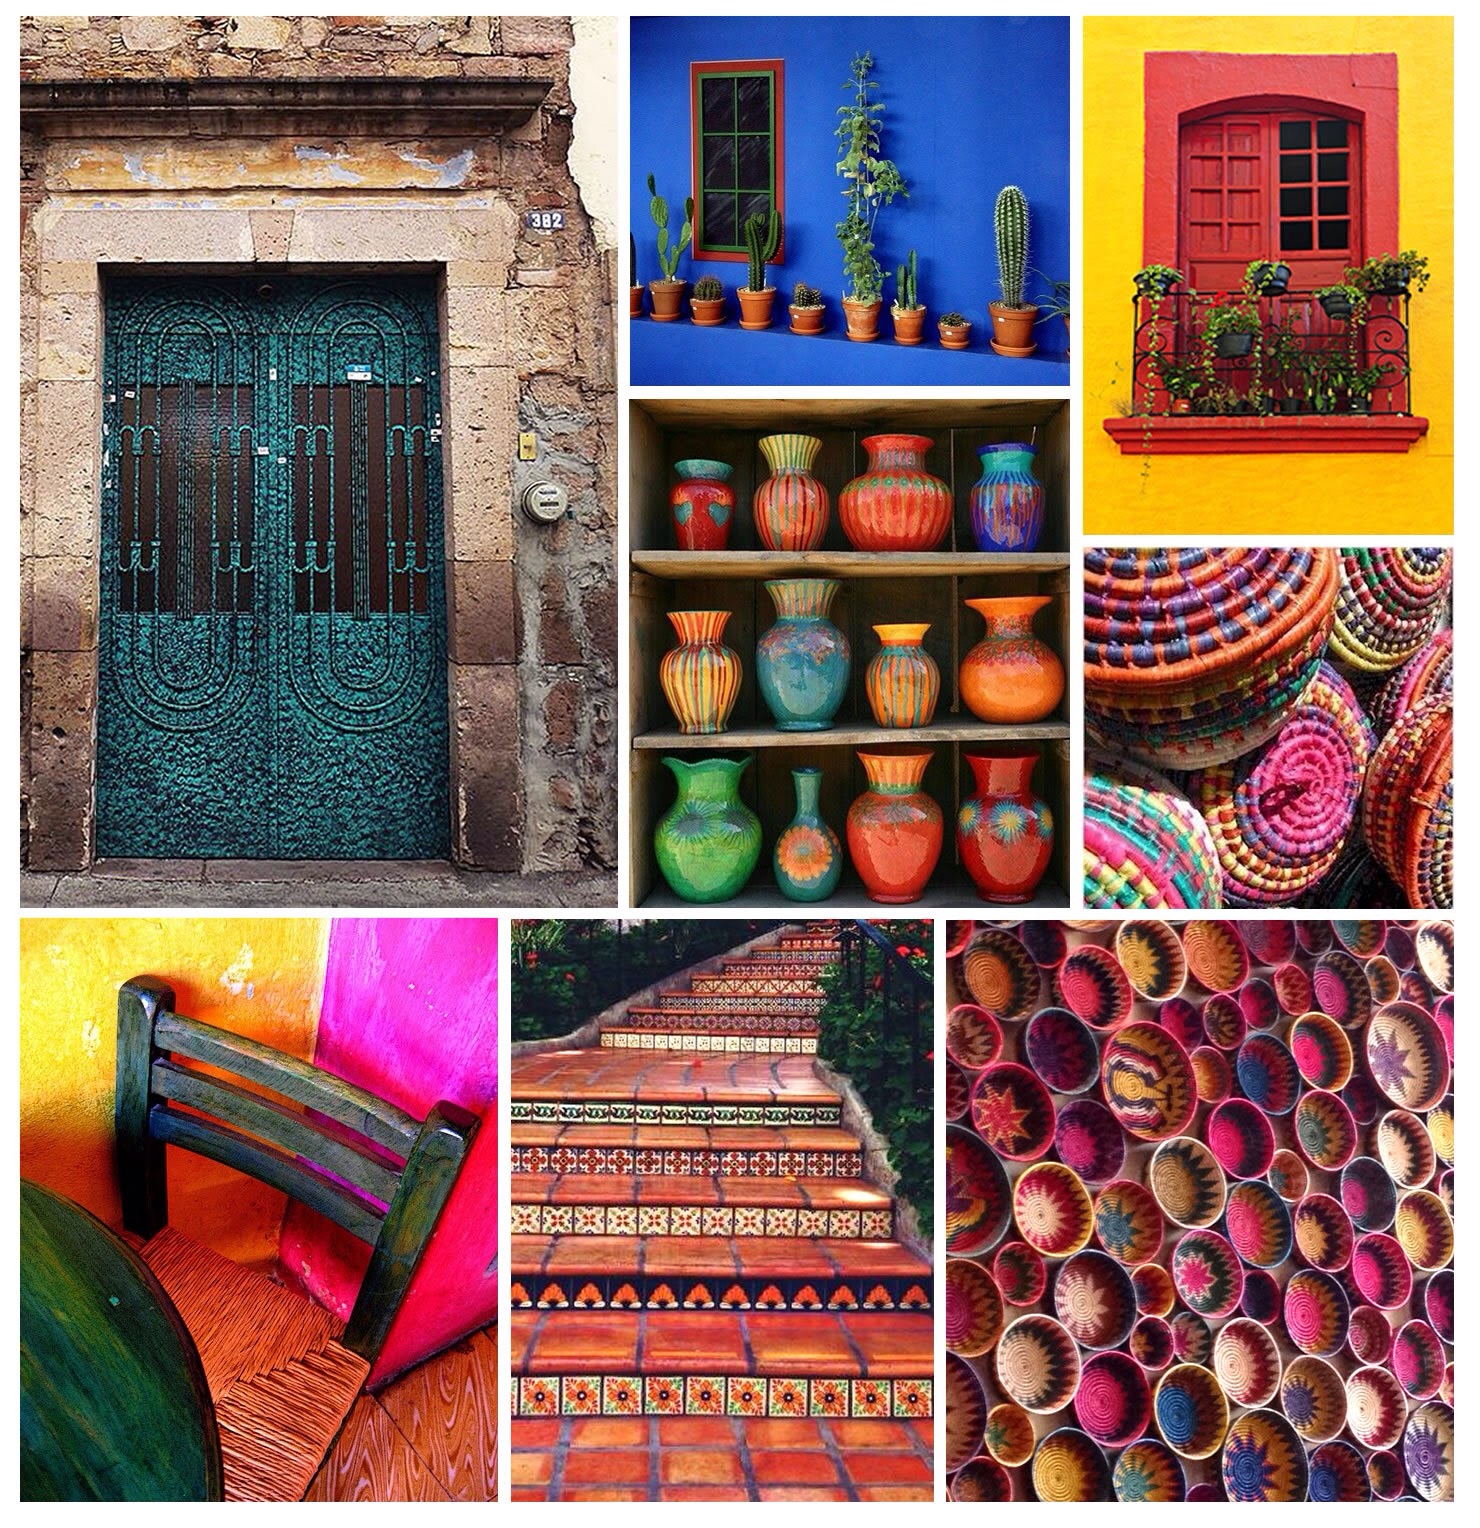
Go for colours, shapes, textures, objects or style – There is certainly plenty of inspiration to choose from here in this selection of glorious, vivid, colourful photographs.
Join us in the summer holiday mood….!!!
I was inspired by the cacti on the mood board when I found this photo if my husband at the Grand Canyon, Nevada. We had an amazing helicopter ride right down into the canyon and this was the champagne stop!
There were lots of cacti and lizards to snap, the colour of the sky is awesome and matched his tshirt.
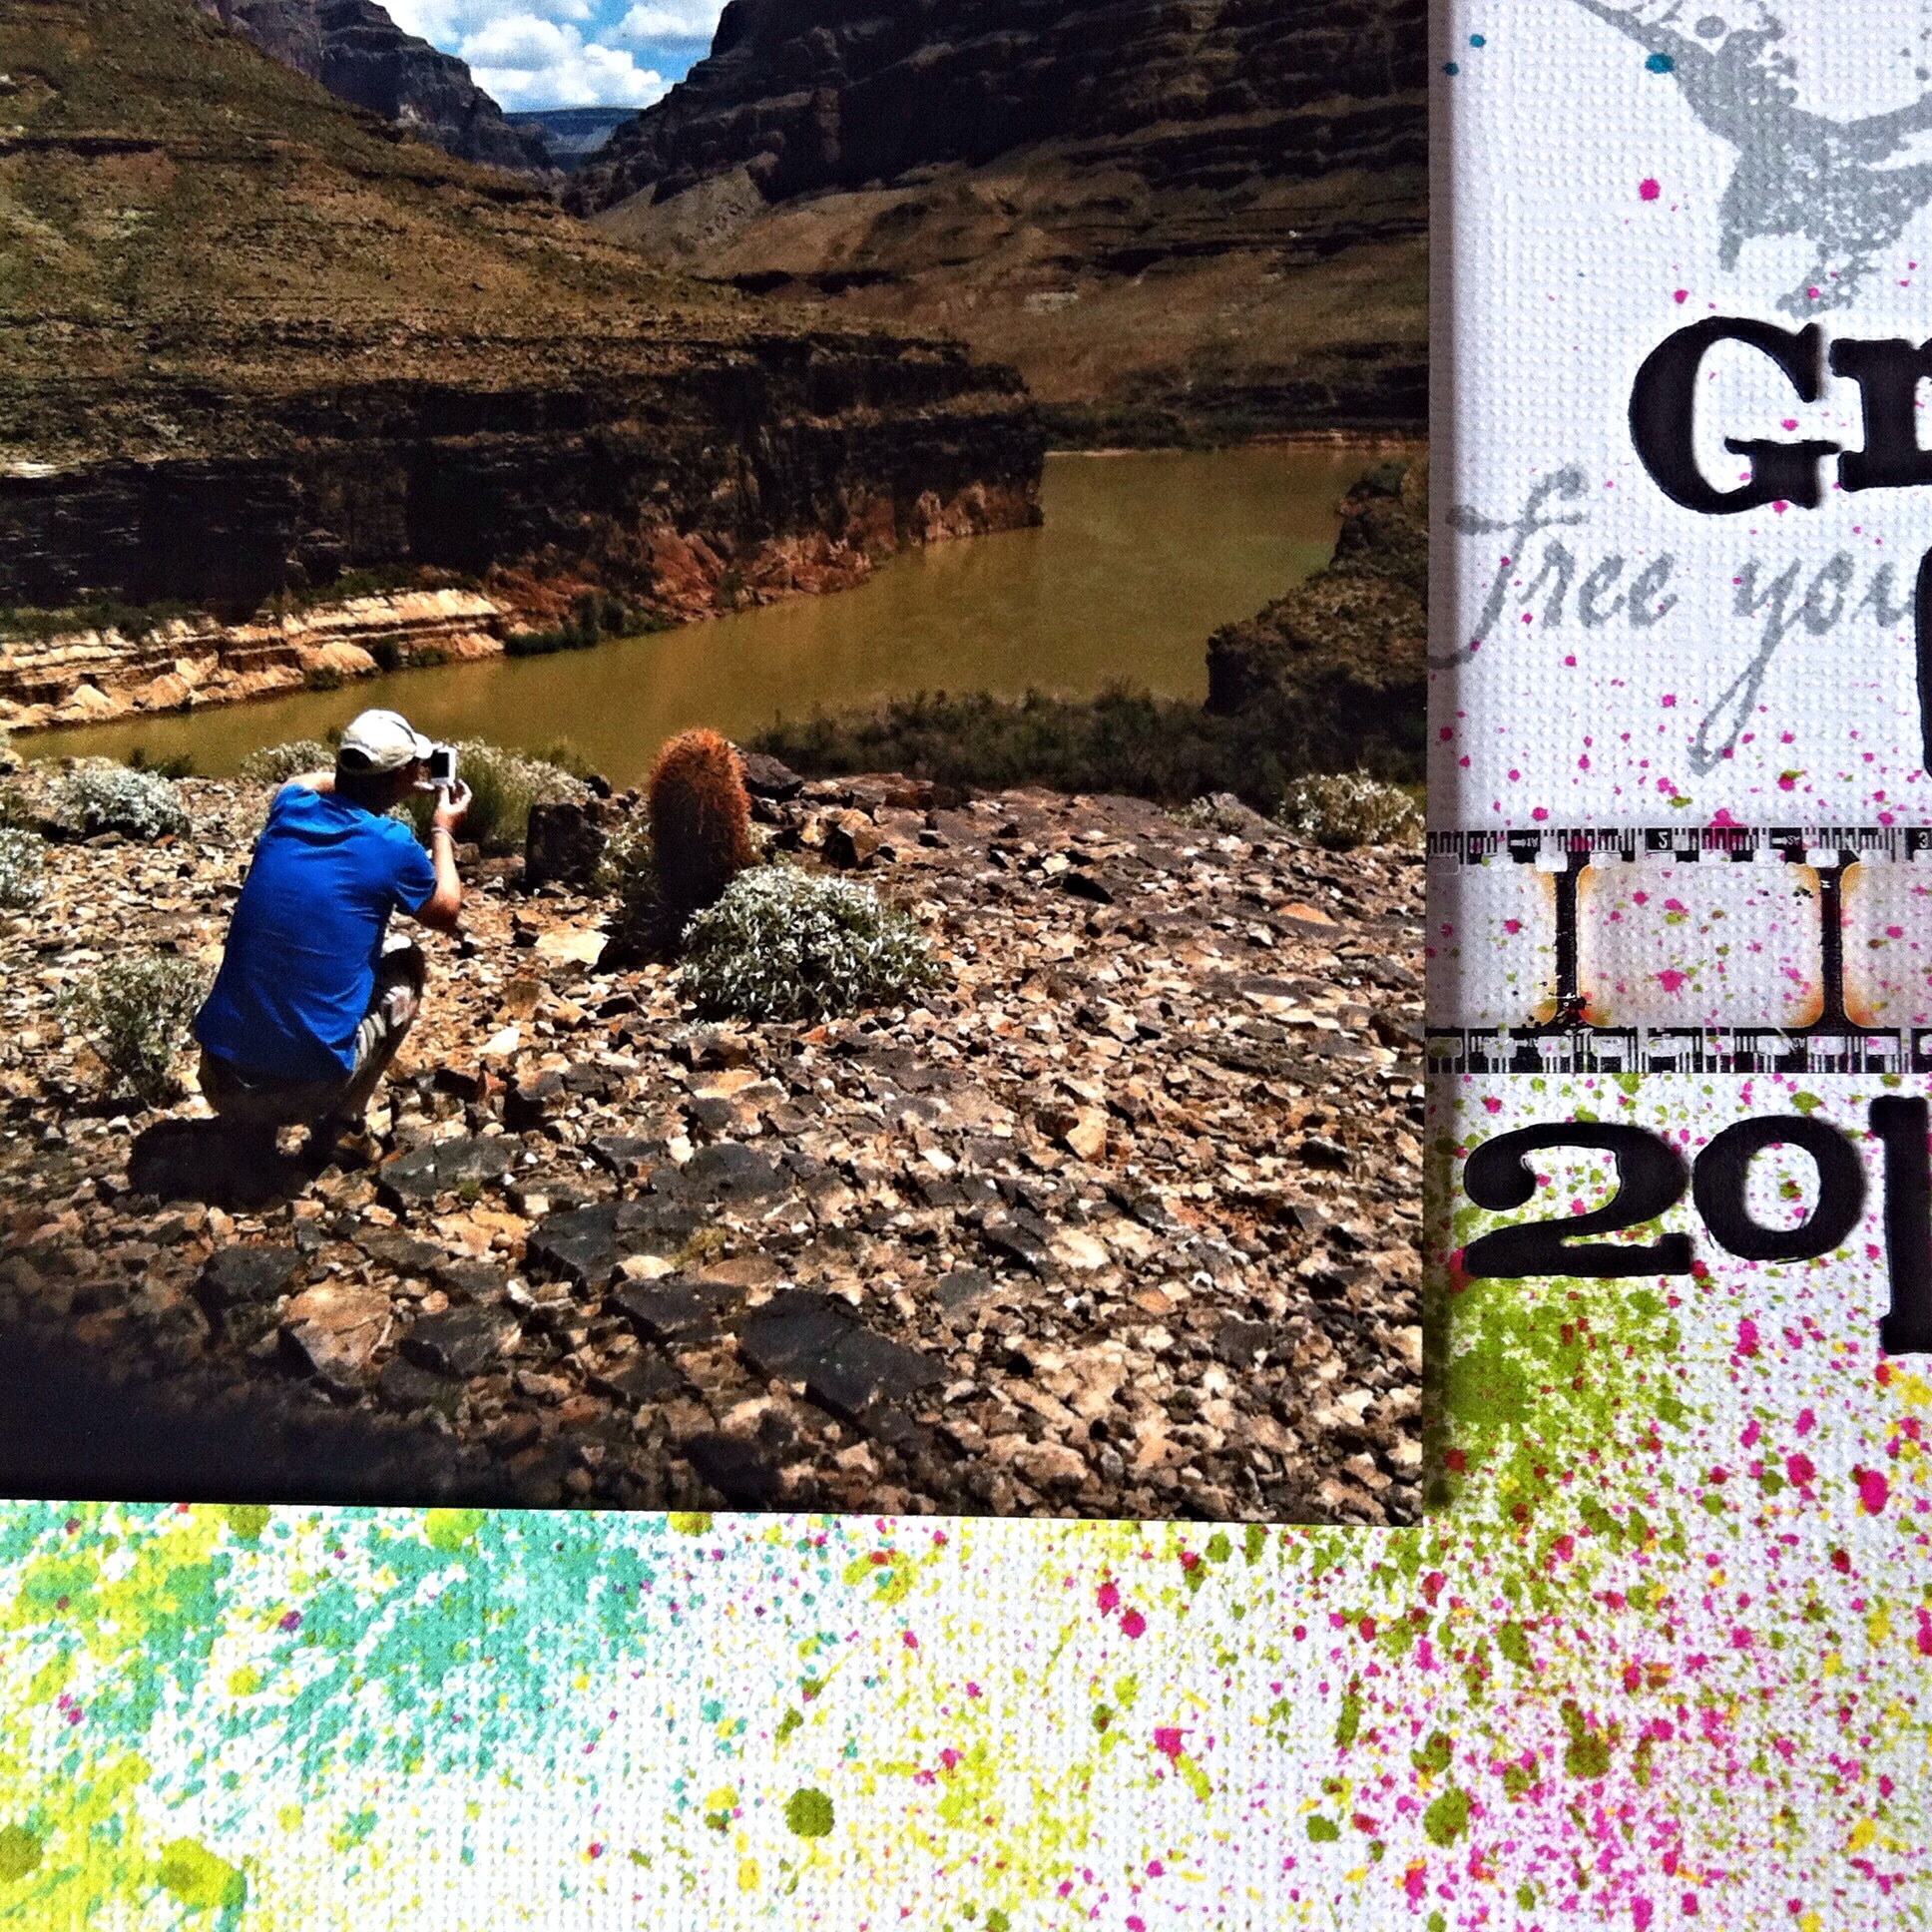
I chose a white, linen effect 12×12 paper. Then out came my Dylusions sprays. However the spray was too harsh, I was looking for a more splattered, delicate effect. I tried blowing blobs of ink through a straw but I wasn’t happy with that. At that point I discovered I could blow the ink off the end of the tube straight onto the paper.
Just the effect I wanted!
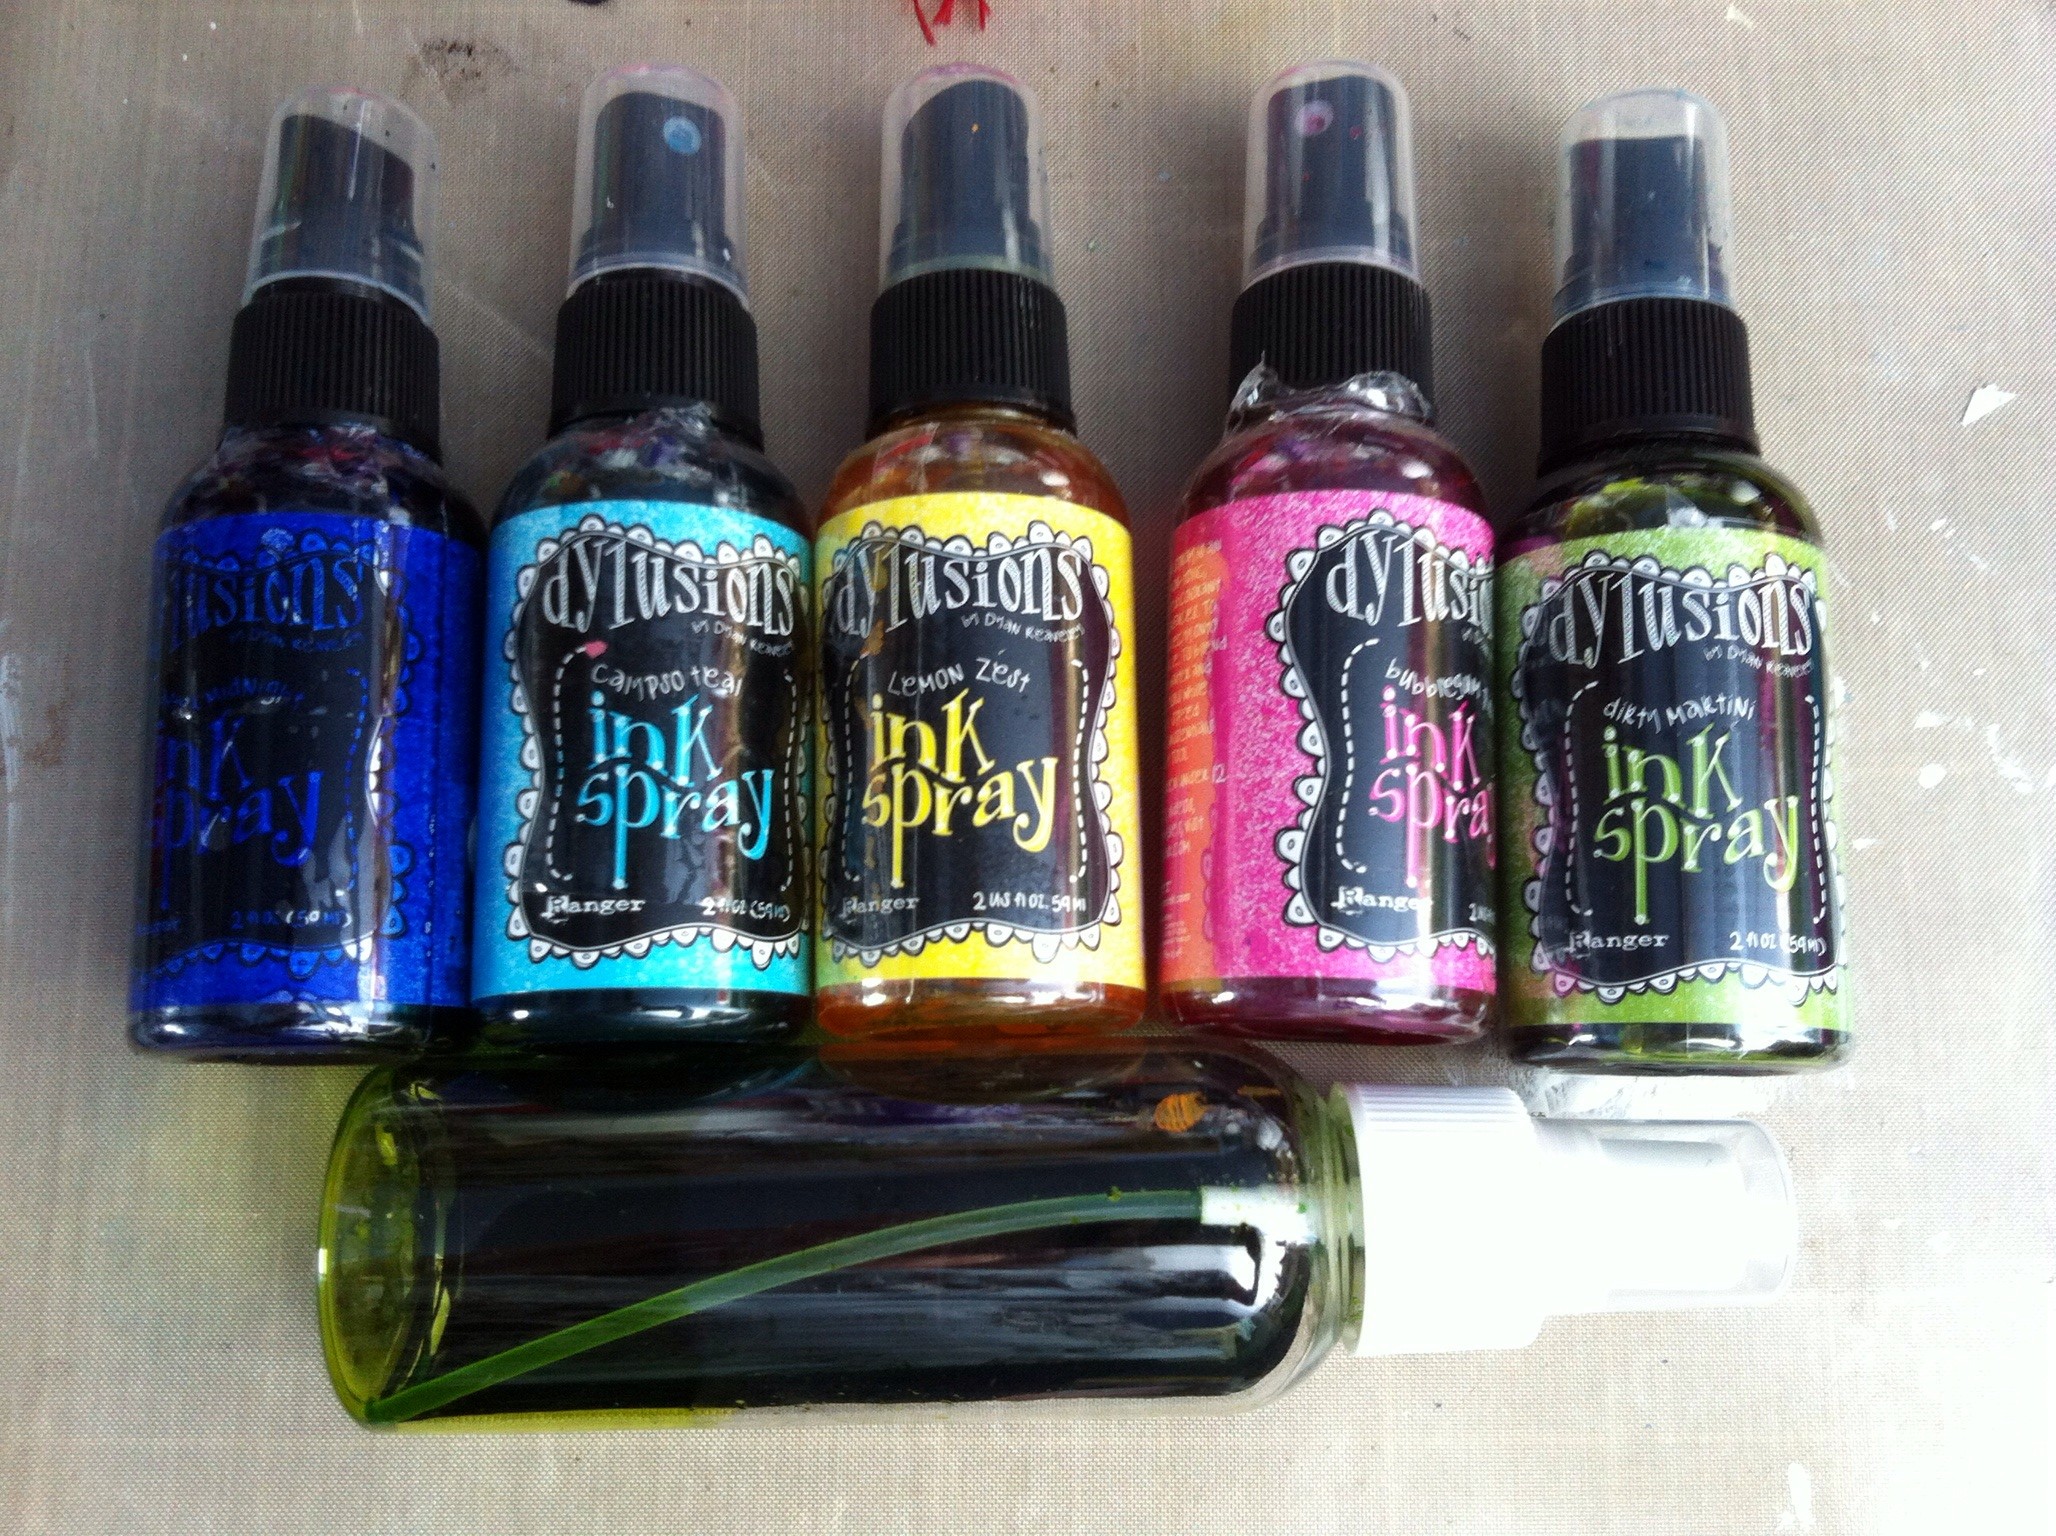
These are the Dylusions colours I used, taken from the mood board and to fit the landscape and vegetation.
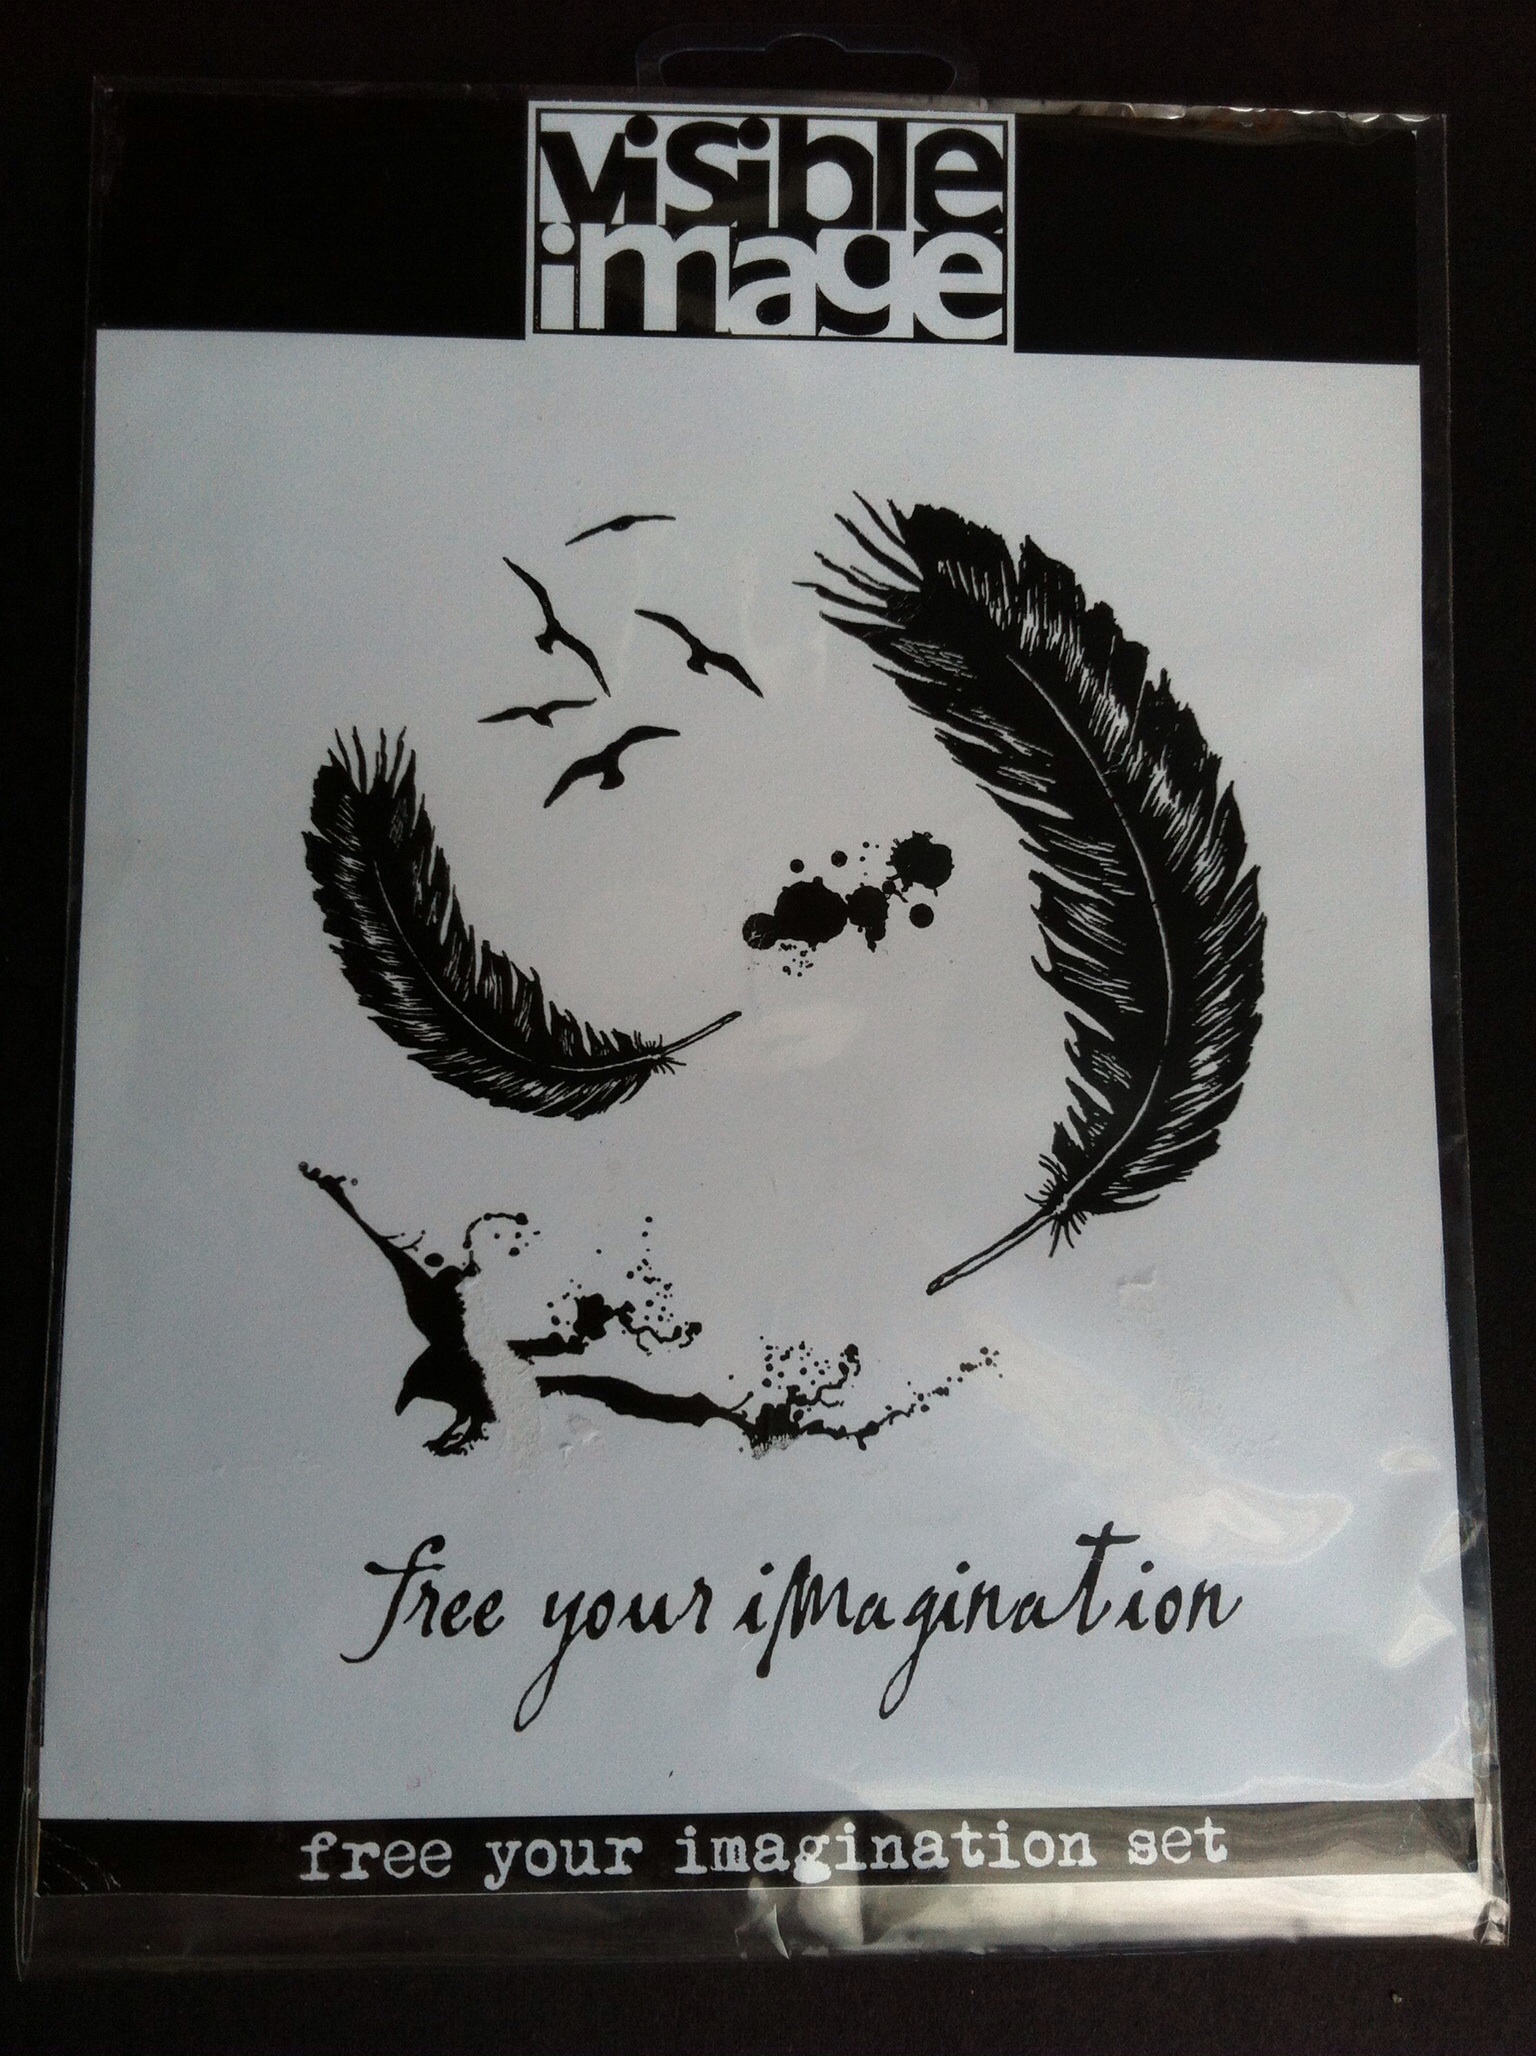
I used Tim’s new Hickory Smoke DI to stamp the landing eagle and the sentiment, I like the faded effect. A strip of film strip ribbon finished the page. (Sorry it’s a bad photo, the stamps are clear and the packaging is old!) The letters were die cut from black card using a TH Bigz die.
I wanted a clean, simple look to make the colours pop off the page.
Now it’s your turn, you have until the end of August to join our challenge! Check out the Design Team inspiration they have created some beautiful items for you to look at.
Our generous sponsors have some great prizes on offer…..

Hugs
Jan x
]]>This is my challenge :
Close your eyes for a few minutes, relax and think about something that makes you smile…………..
It could be a special person, a favourite place, a quote, an incident, the list is endless!
Your June challenge is to create something that will make us smile, it could be a scrapbook or journal page, a canvas, a tag, whatever your imagination dictates.
I am intrigued to see what you might make and look forward to viewing your creations.
This is what makes me smile. We were on a family holiday in Spain visiting Bis Abuala in Santiago de la Ribera. It was my Granddaughters first trip and lots of photos were taken. I was just about to snap the shutter when my husband photo bombed. The photo always makes me smile as it was such a happy time.
I decided to create a scrapbook page.
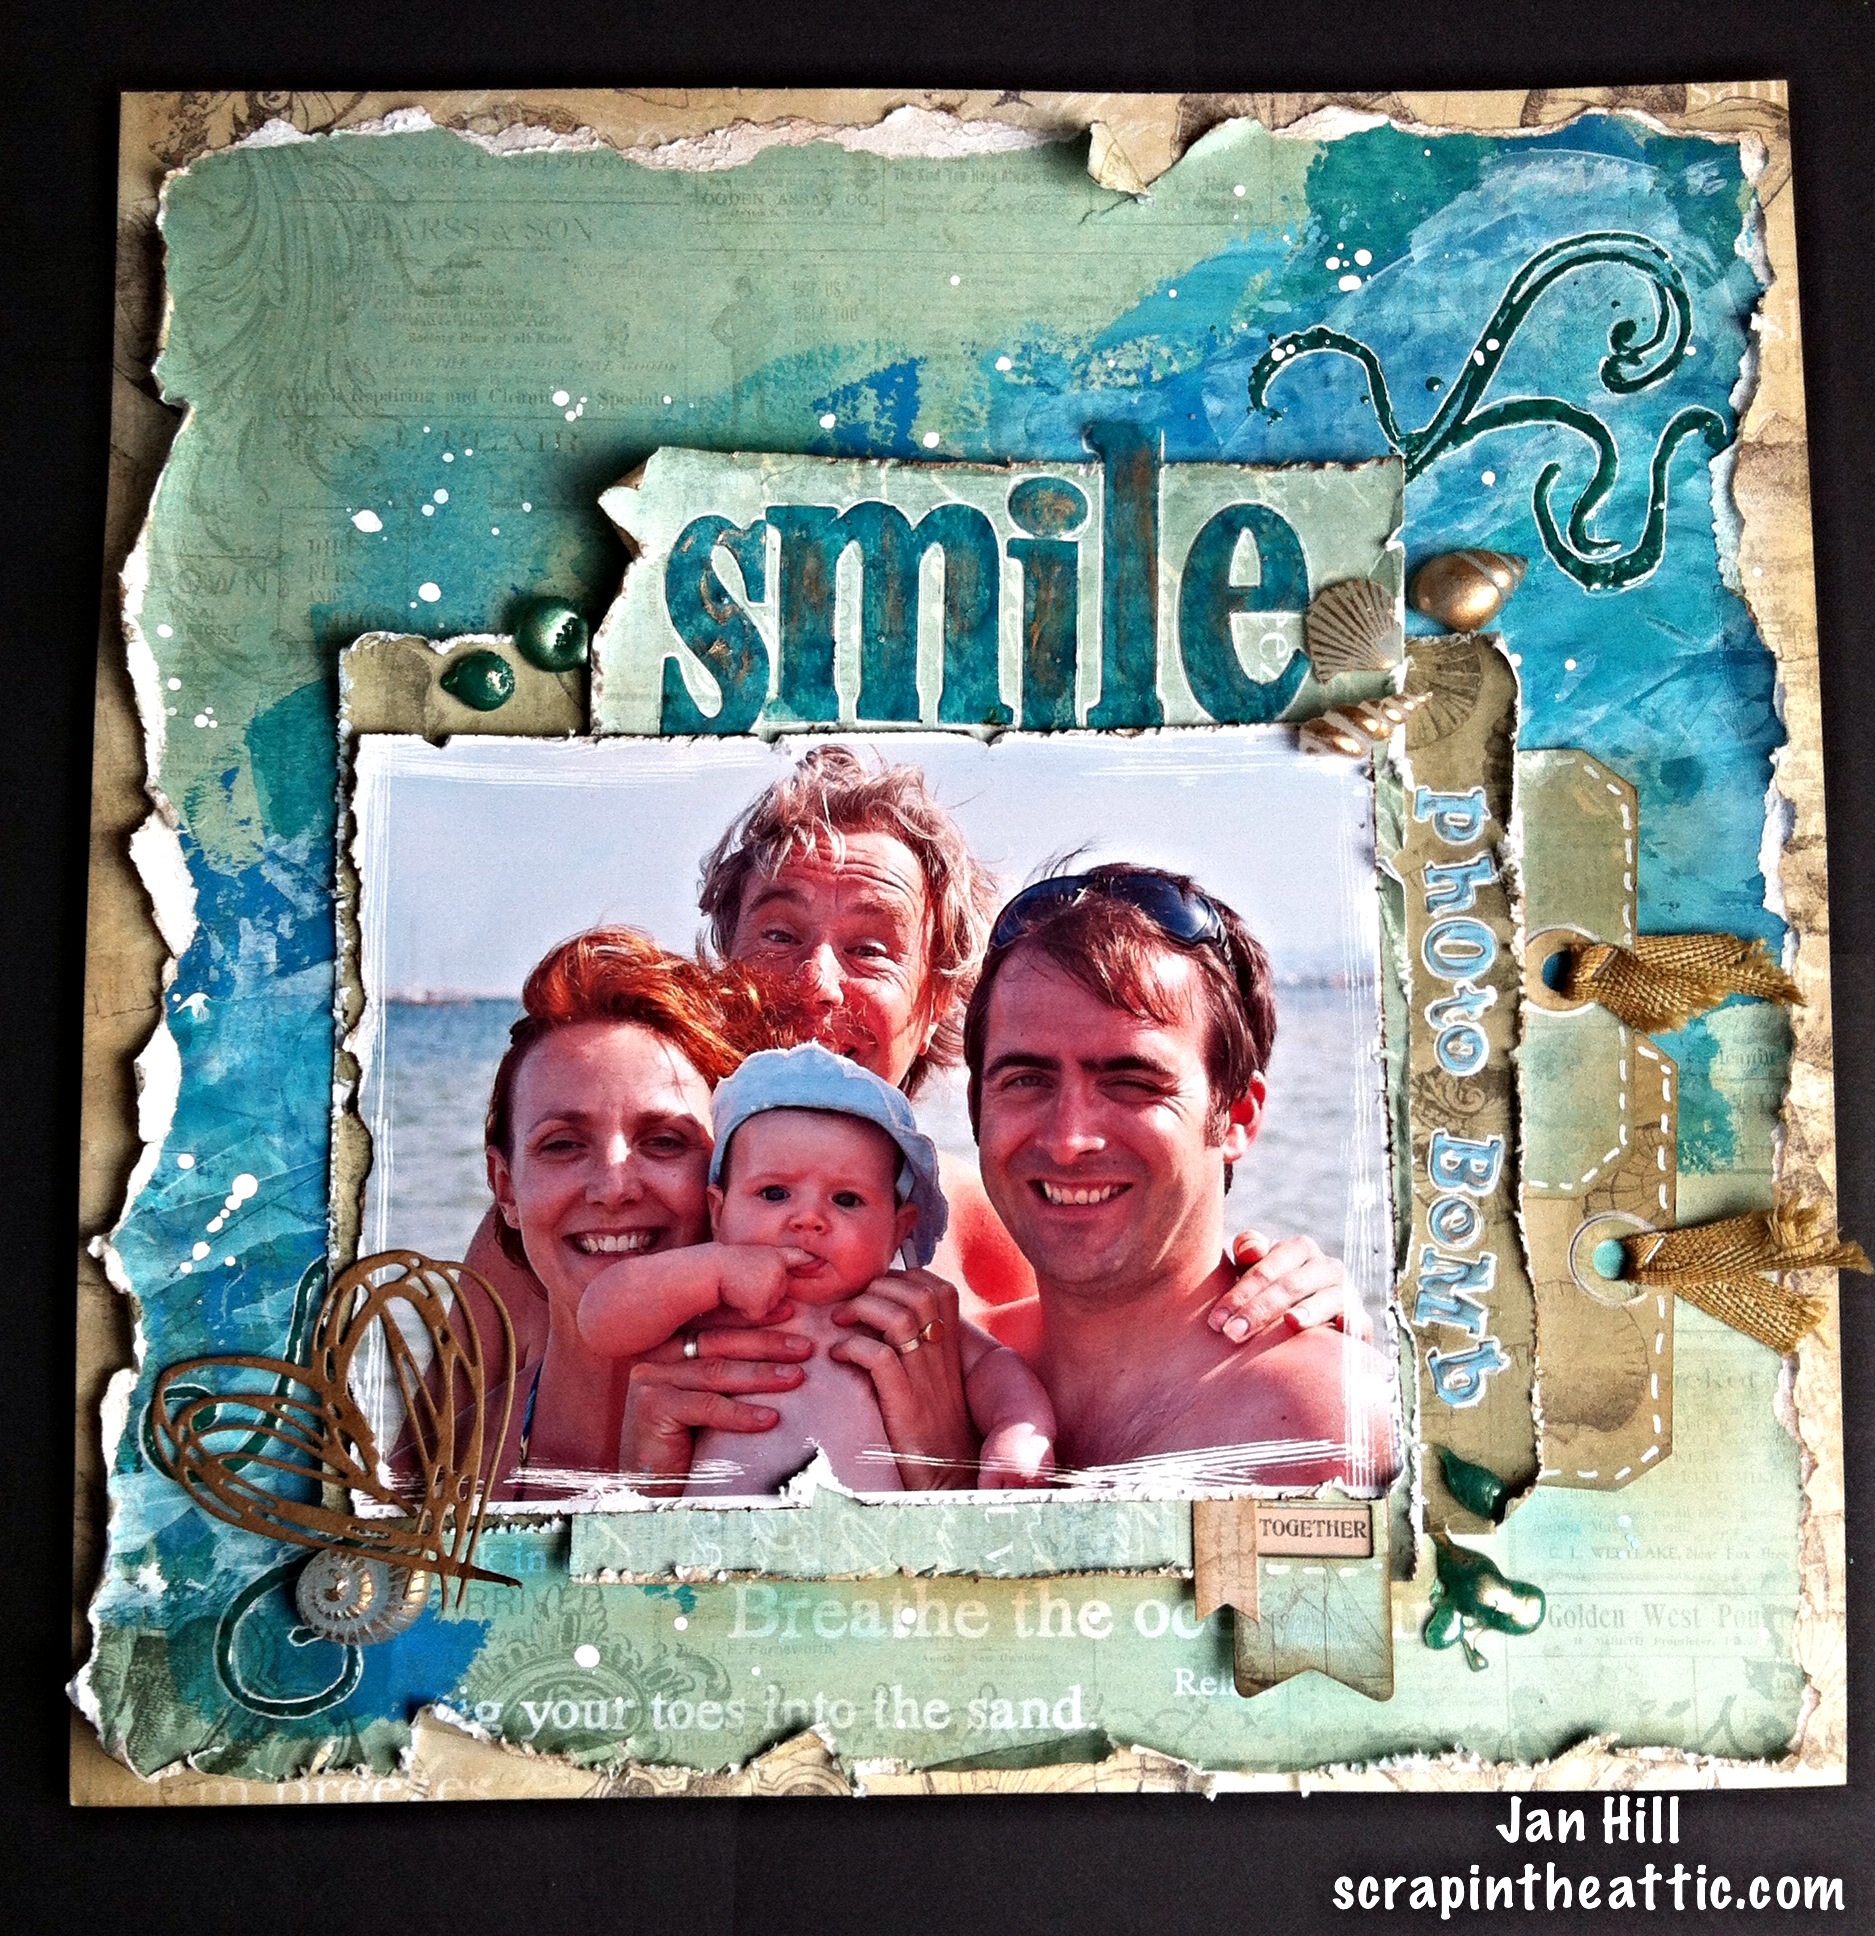
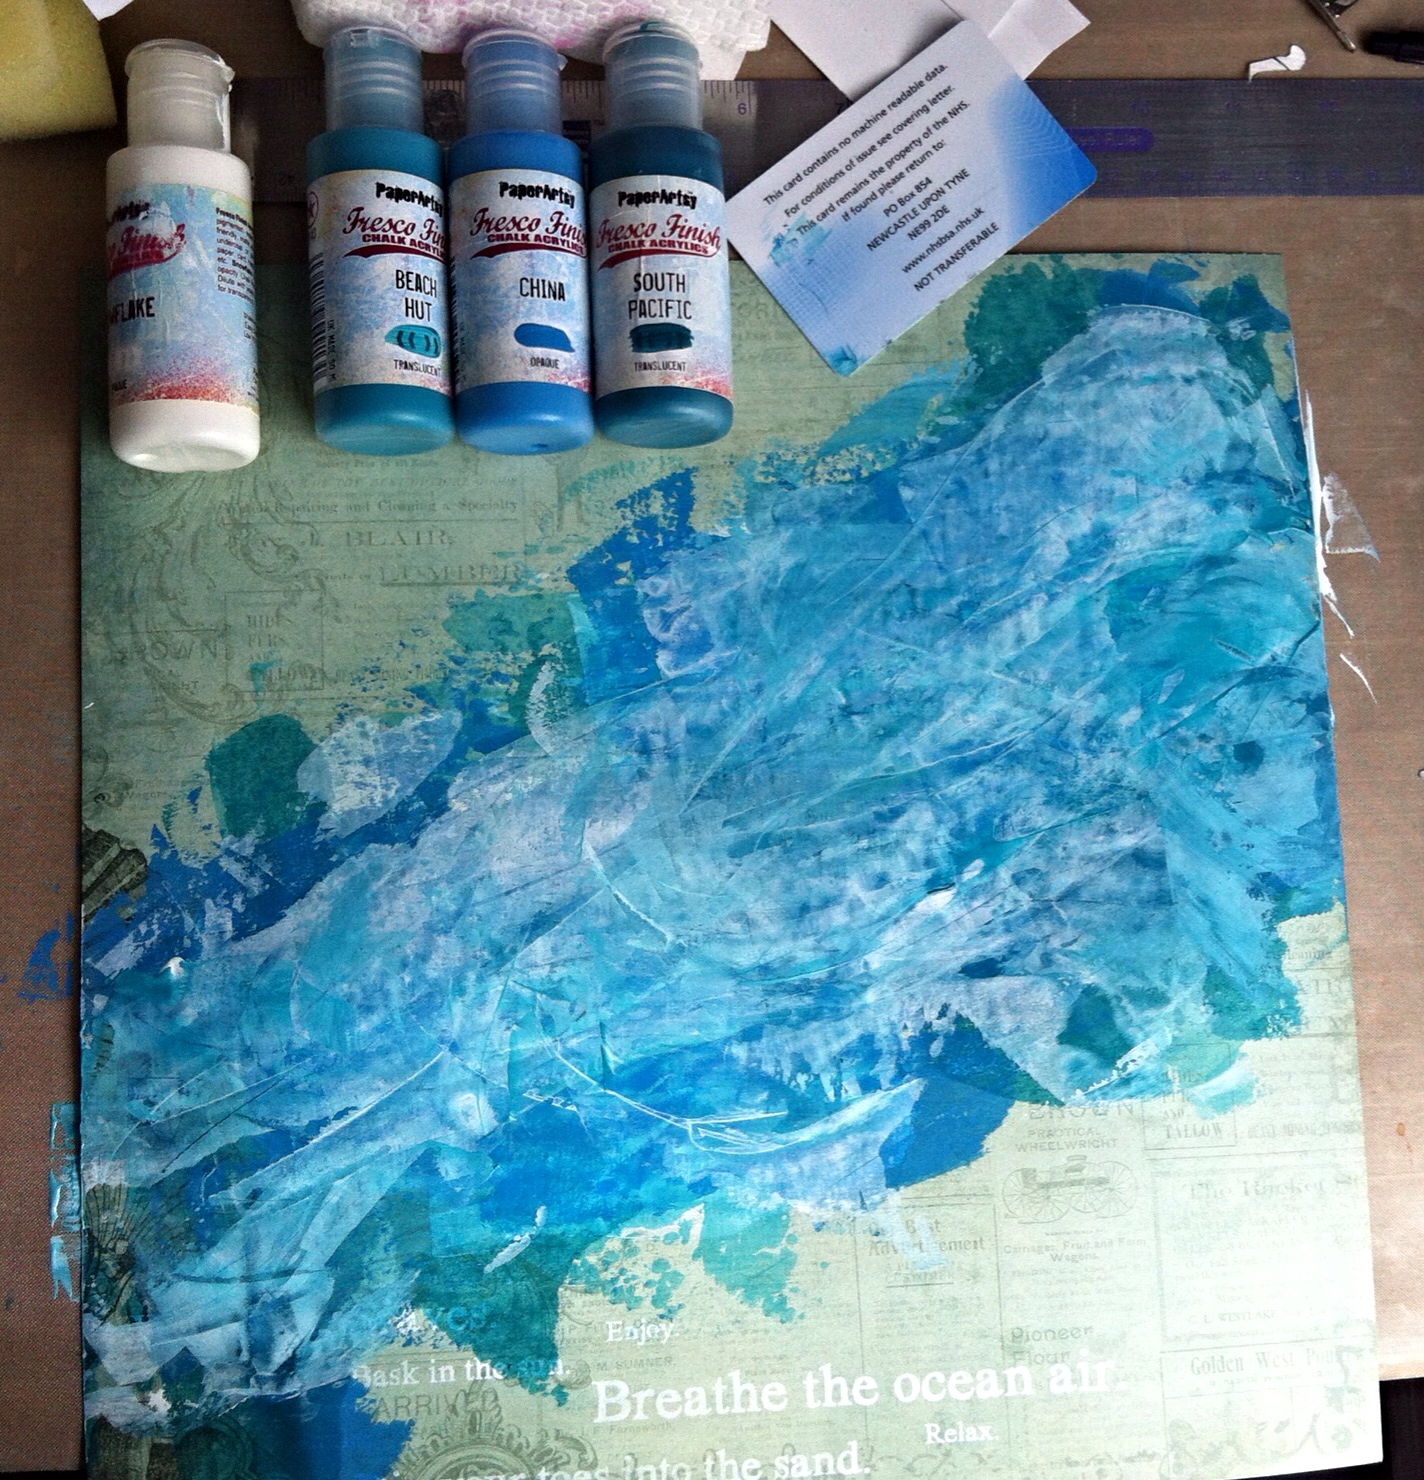
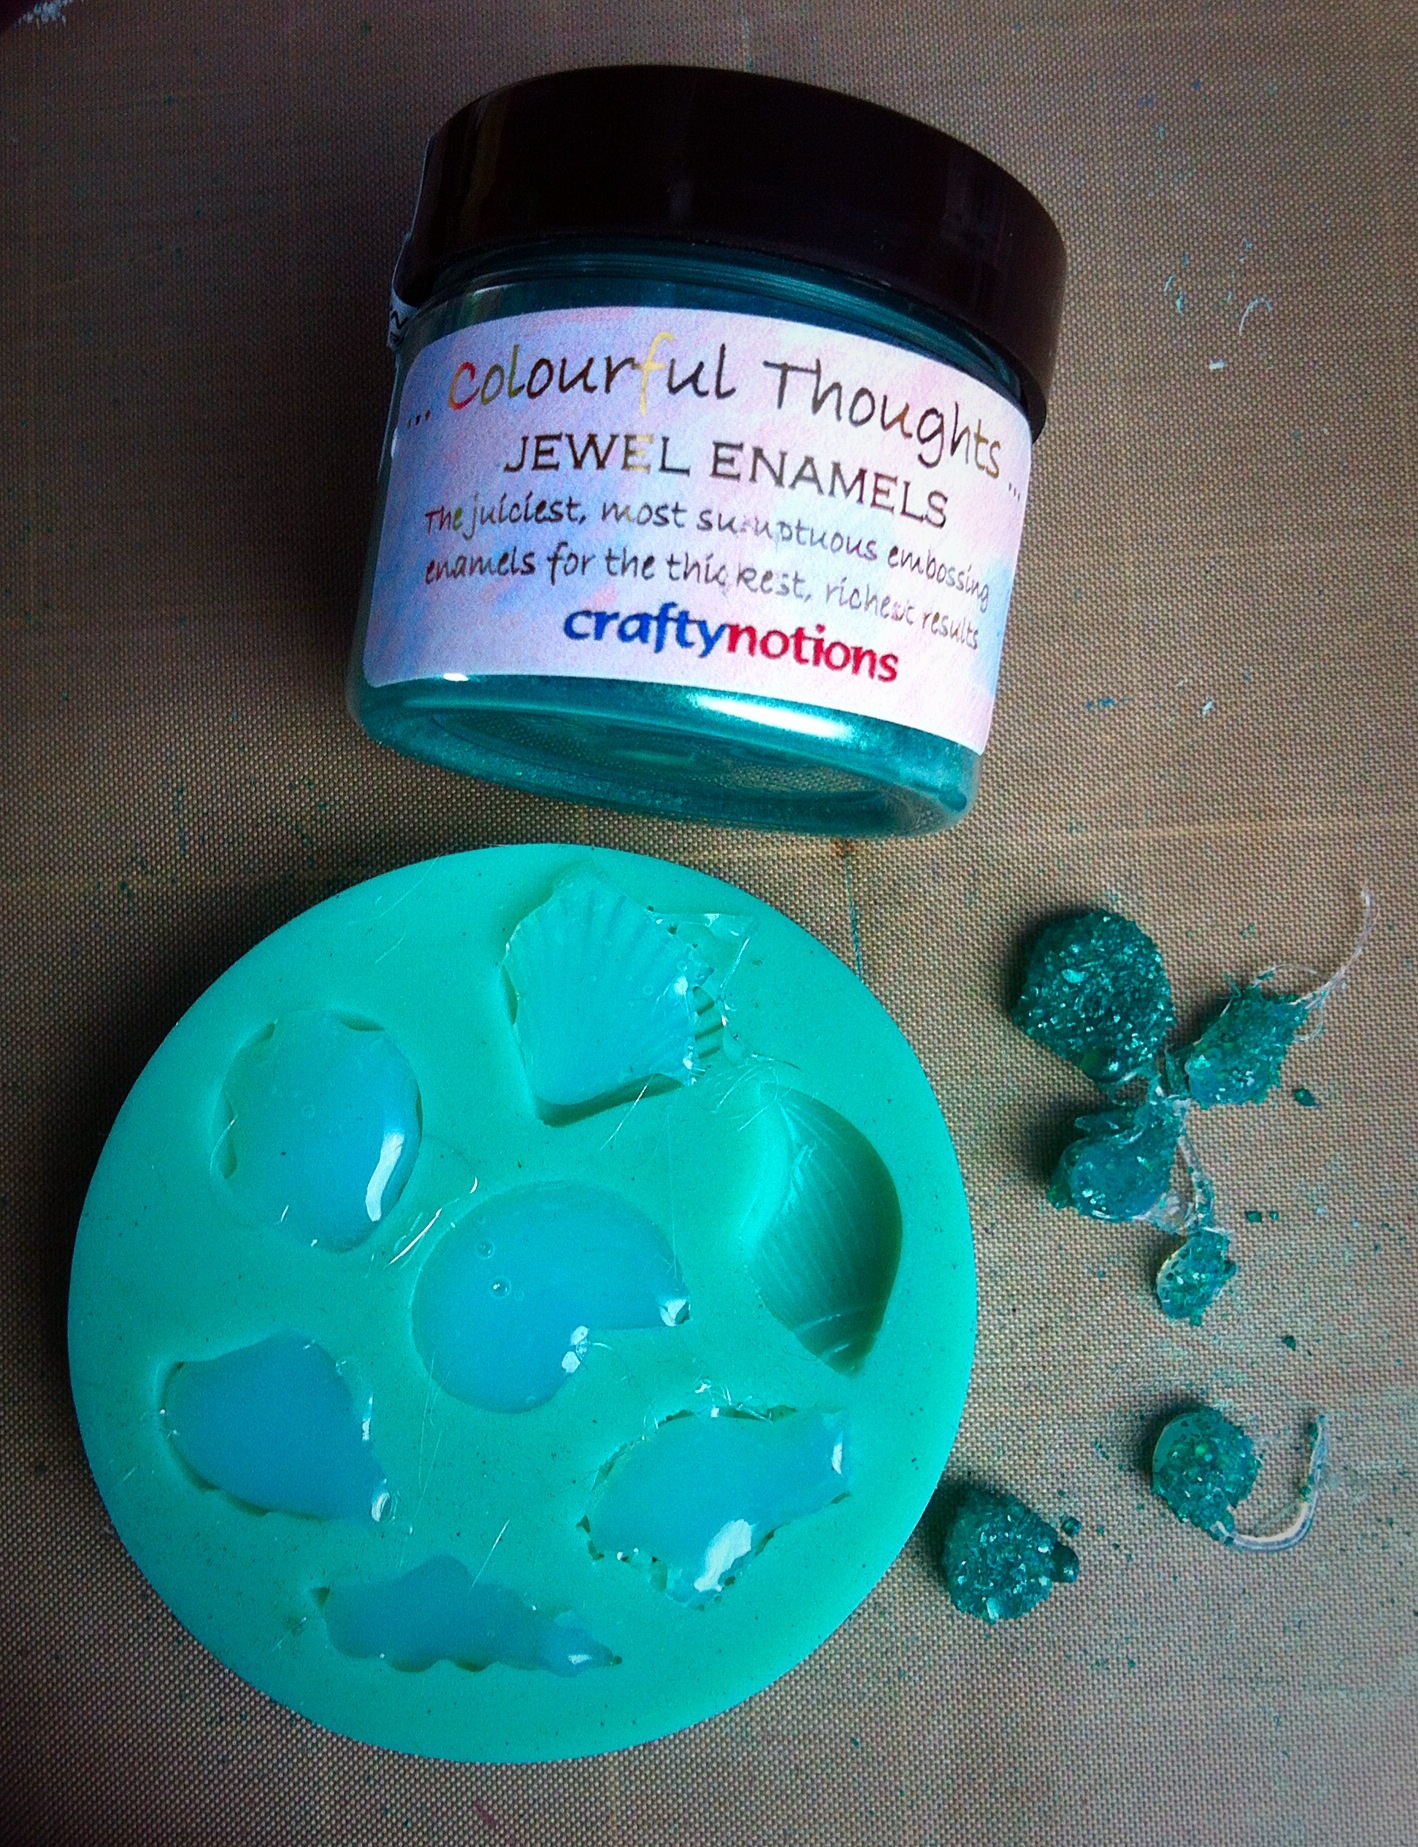
I began with some Prima Seashore papers. I wanted to create the movement of the water so swirled and spread the paint across with an old credit card. I used a selection of chalky paints, some opaque and some translucent to create depth and layers. Later I drew swirls with an embossing ink pen and heated jewelled enamel to made wave like flourishes.
The photo was scratched and distressed with a Prima tool.
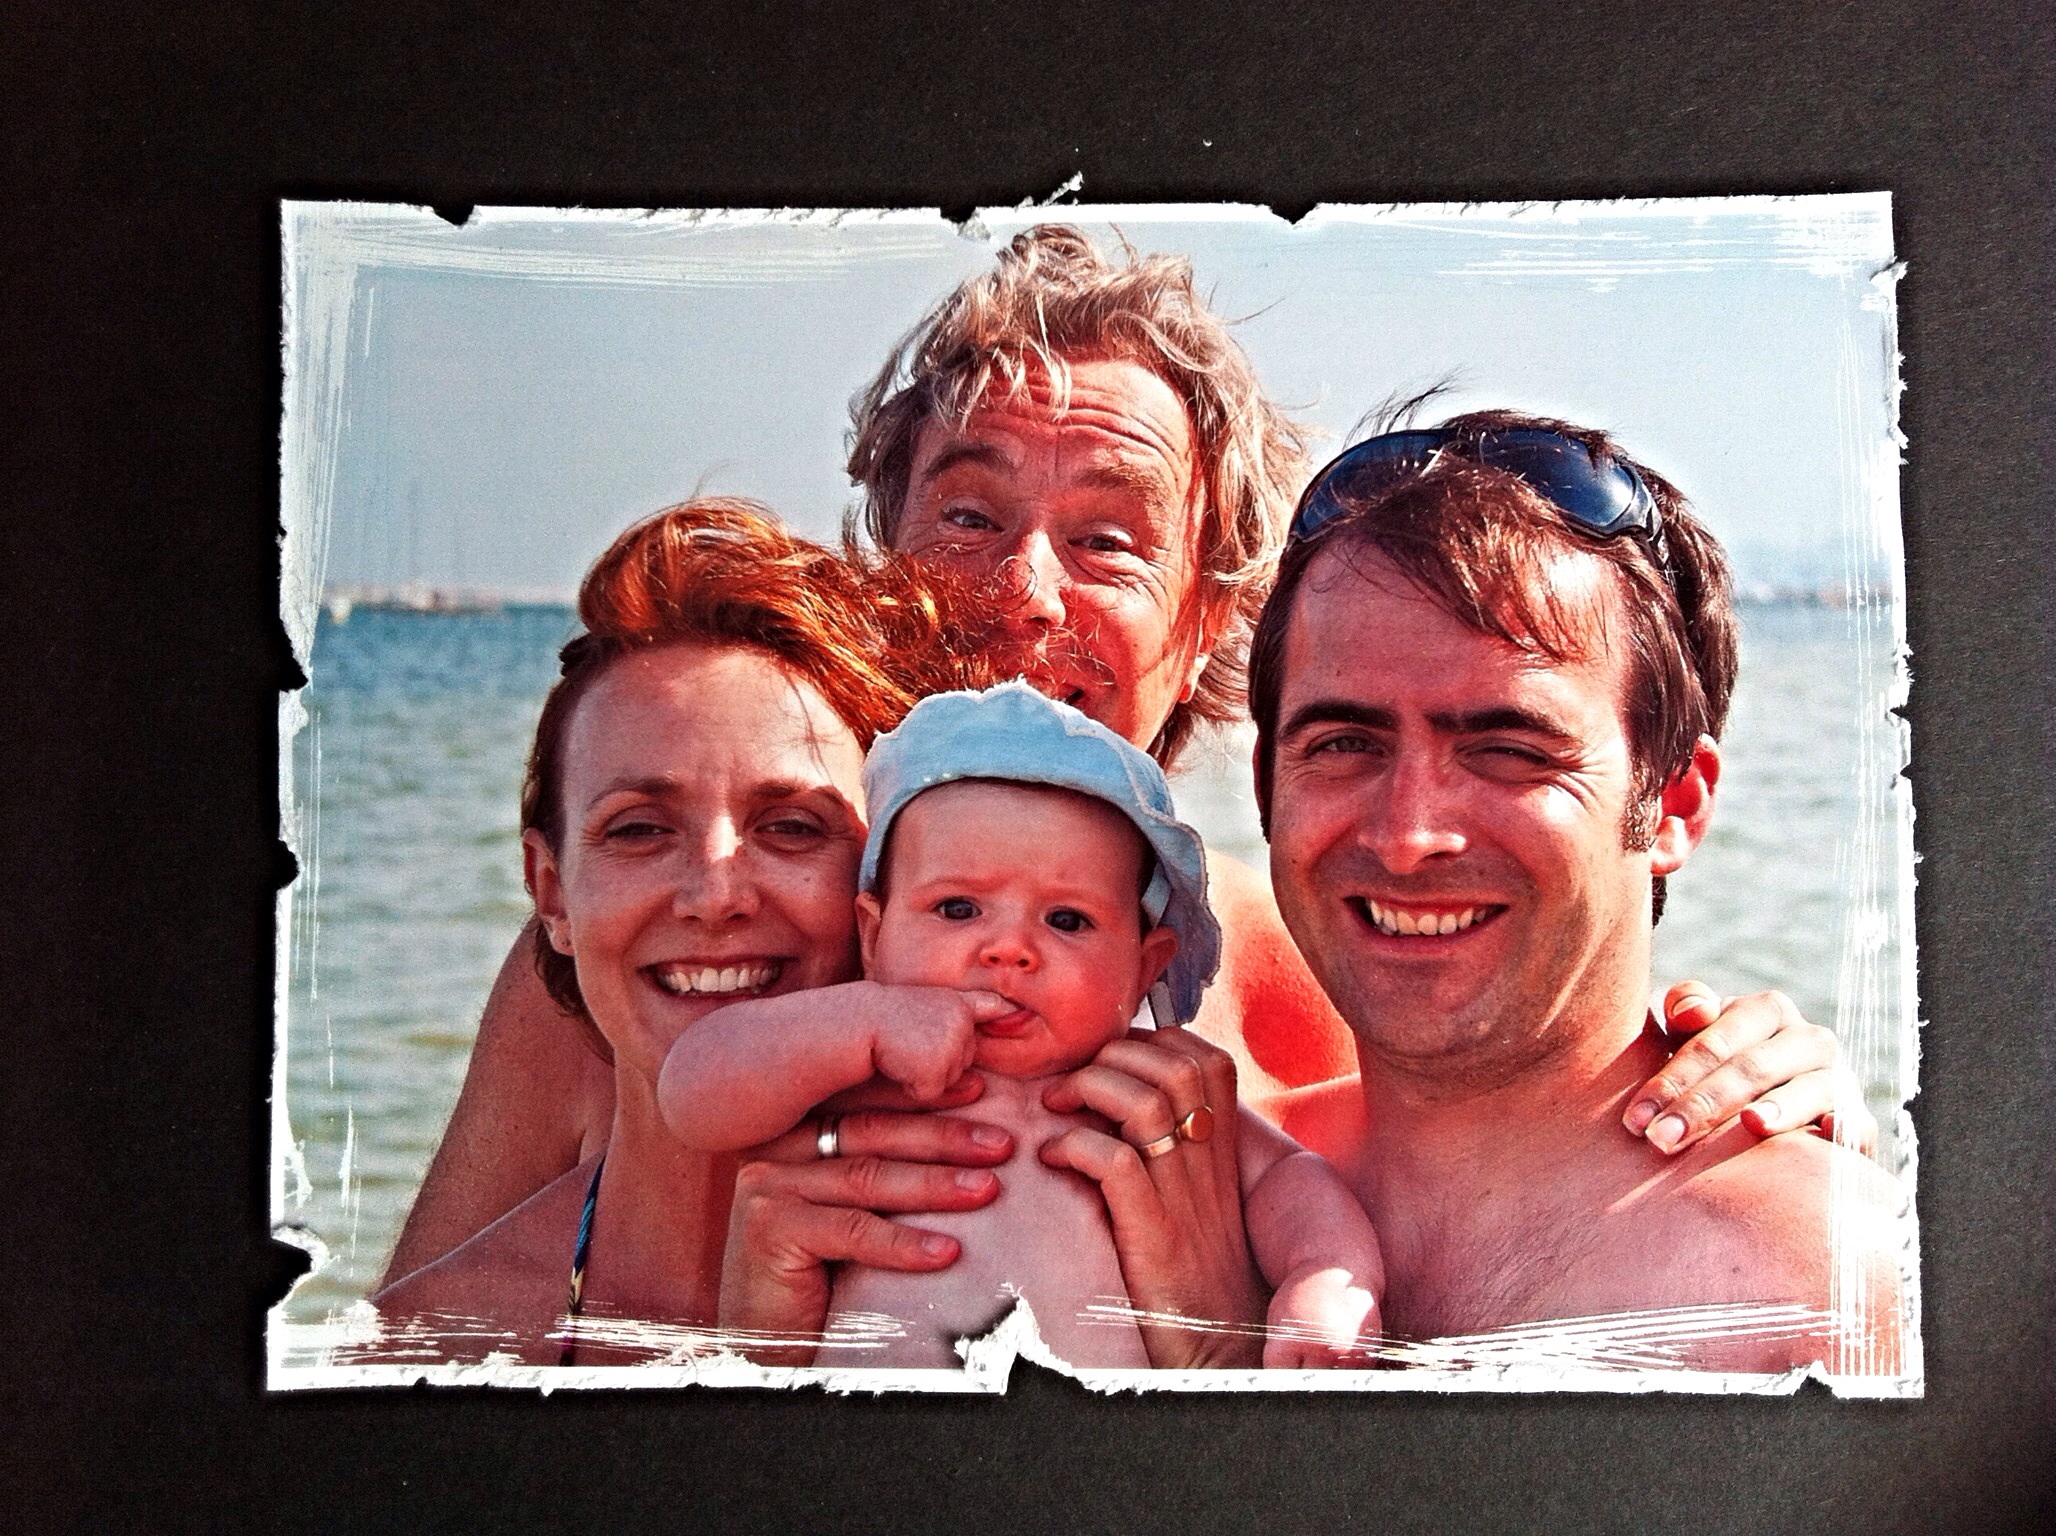
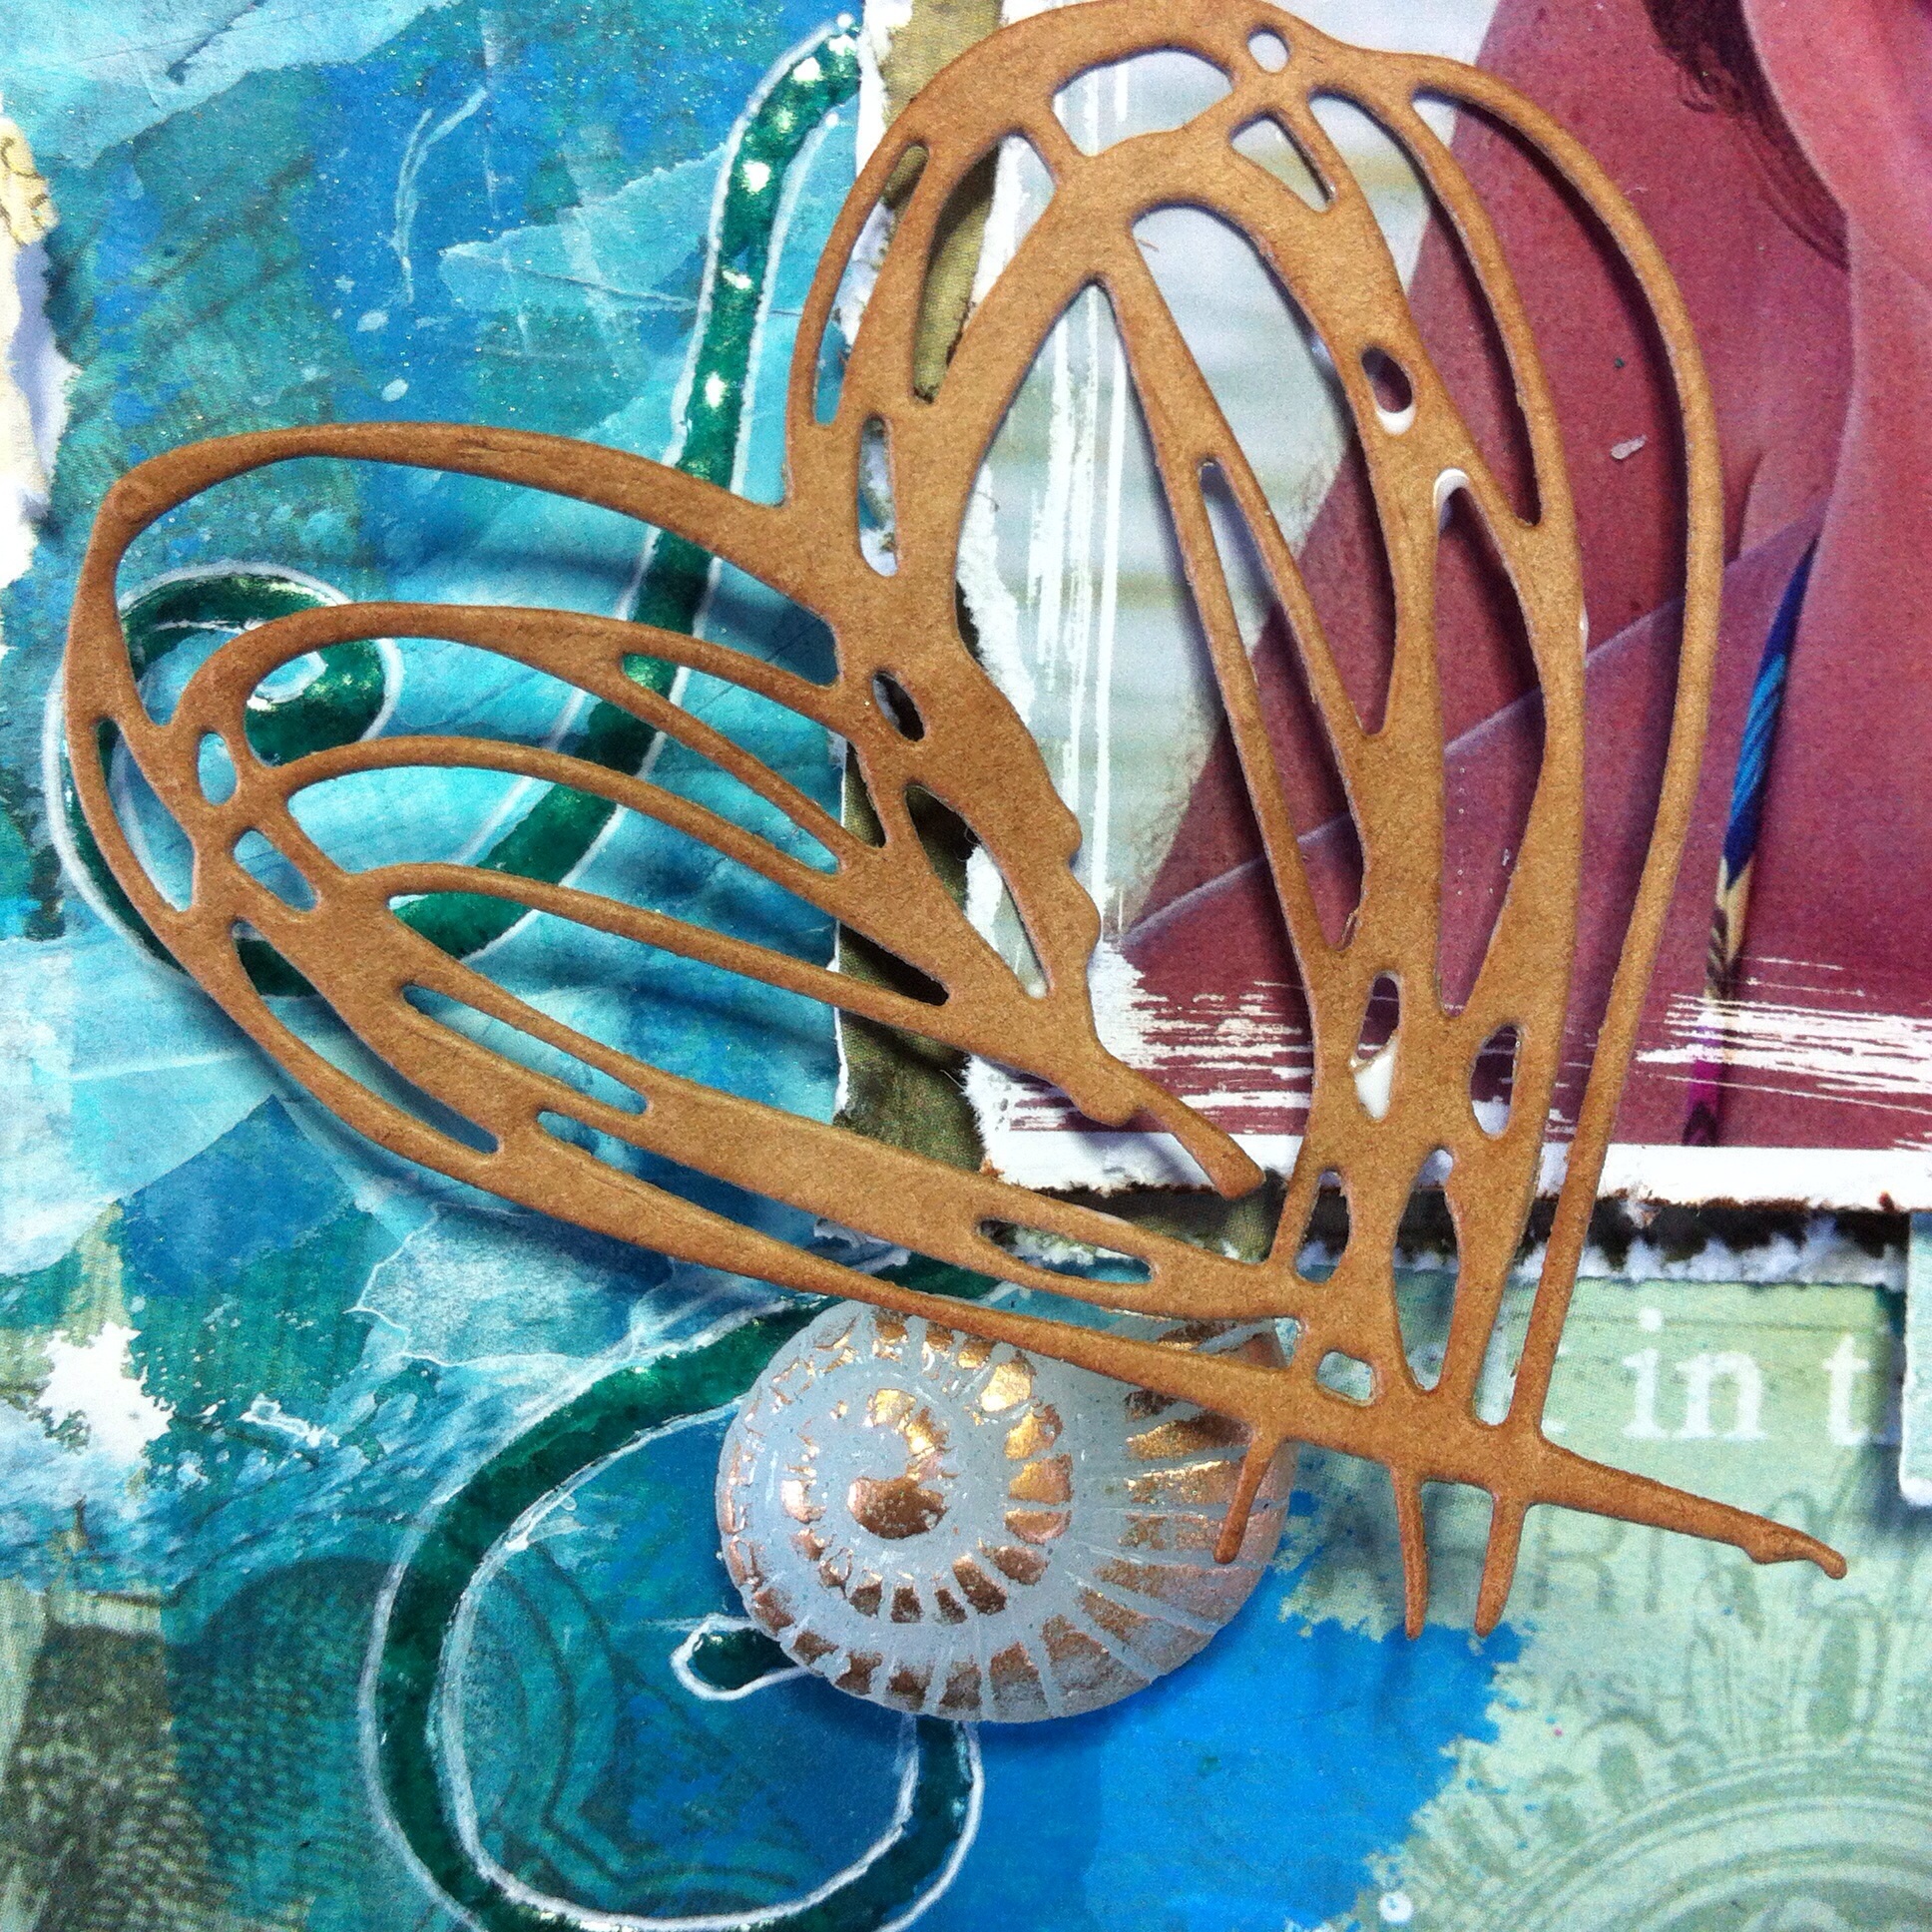
I needed some shells and sea glass as embellishments. I used hot glue in cake decorating moulds for the shells. The sea glass was blobs of hot glue covered in the enamel and heated with a heat gun to a smooth finish. I really liked the look! They were all given the Treasure Gold treatment with Renaissance.
The large letters were frosted plastic I found in my stash. They were painted on the back with the same paints I used for the sea and had Treasure Gold on the front. The small letters were with the Prima Seashore collection, outlined in white pen then highlighted with glossy accents.
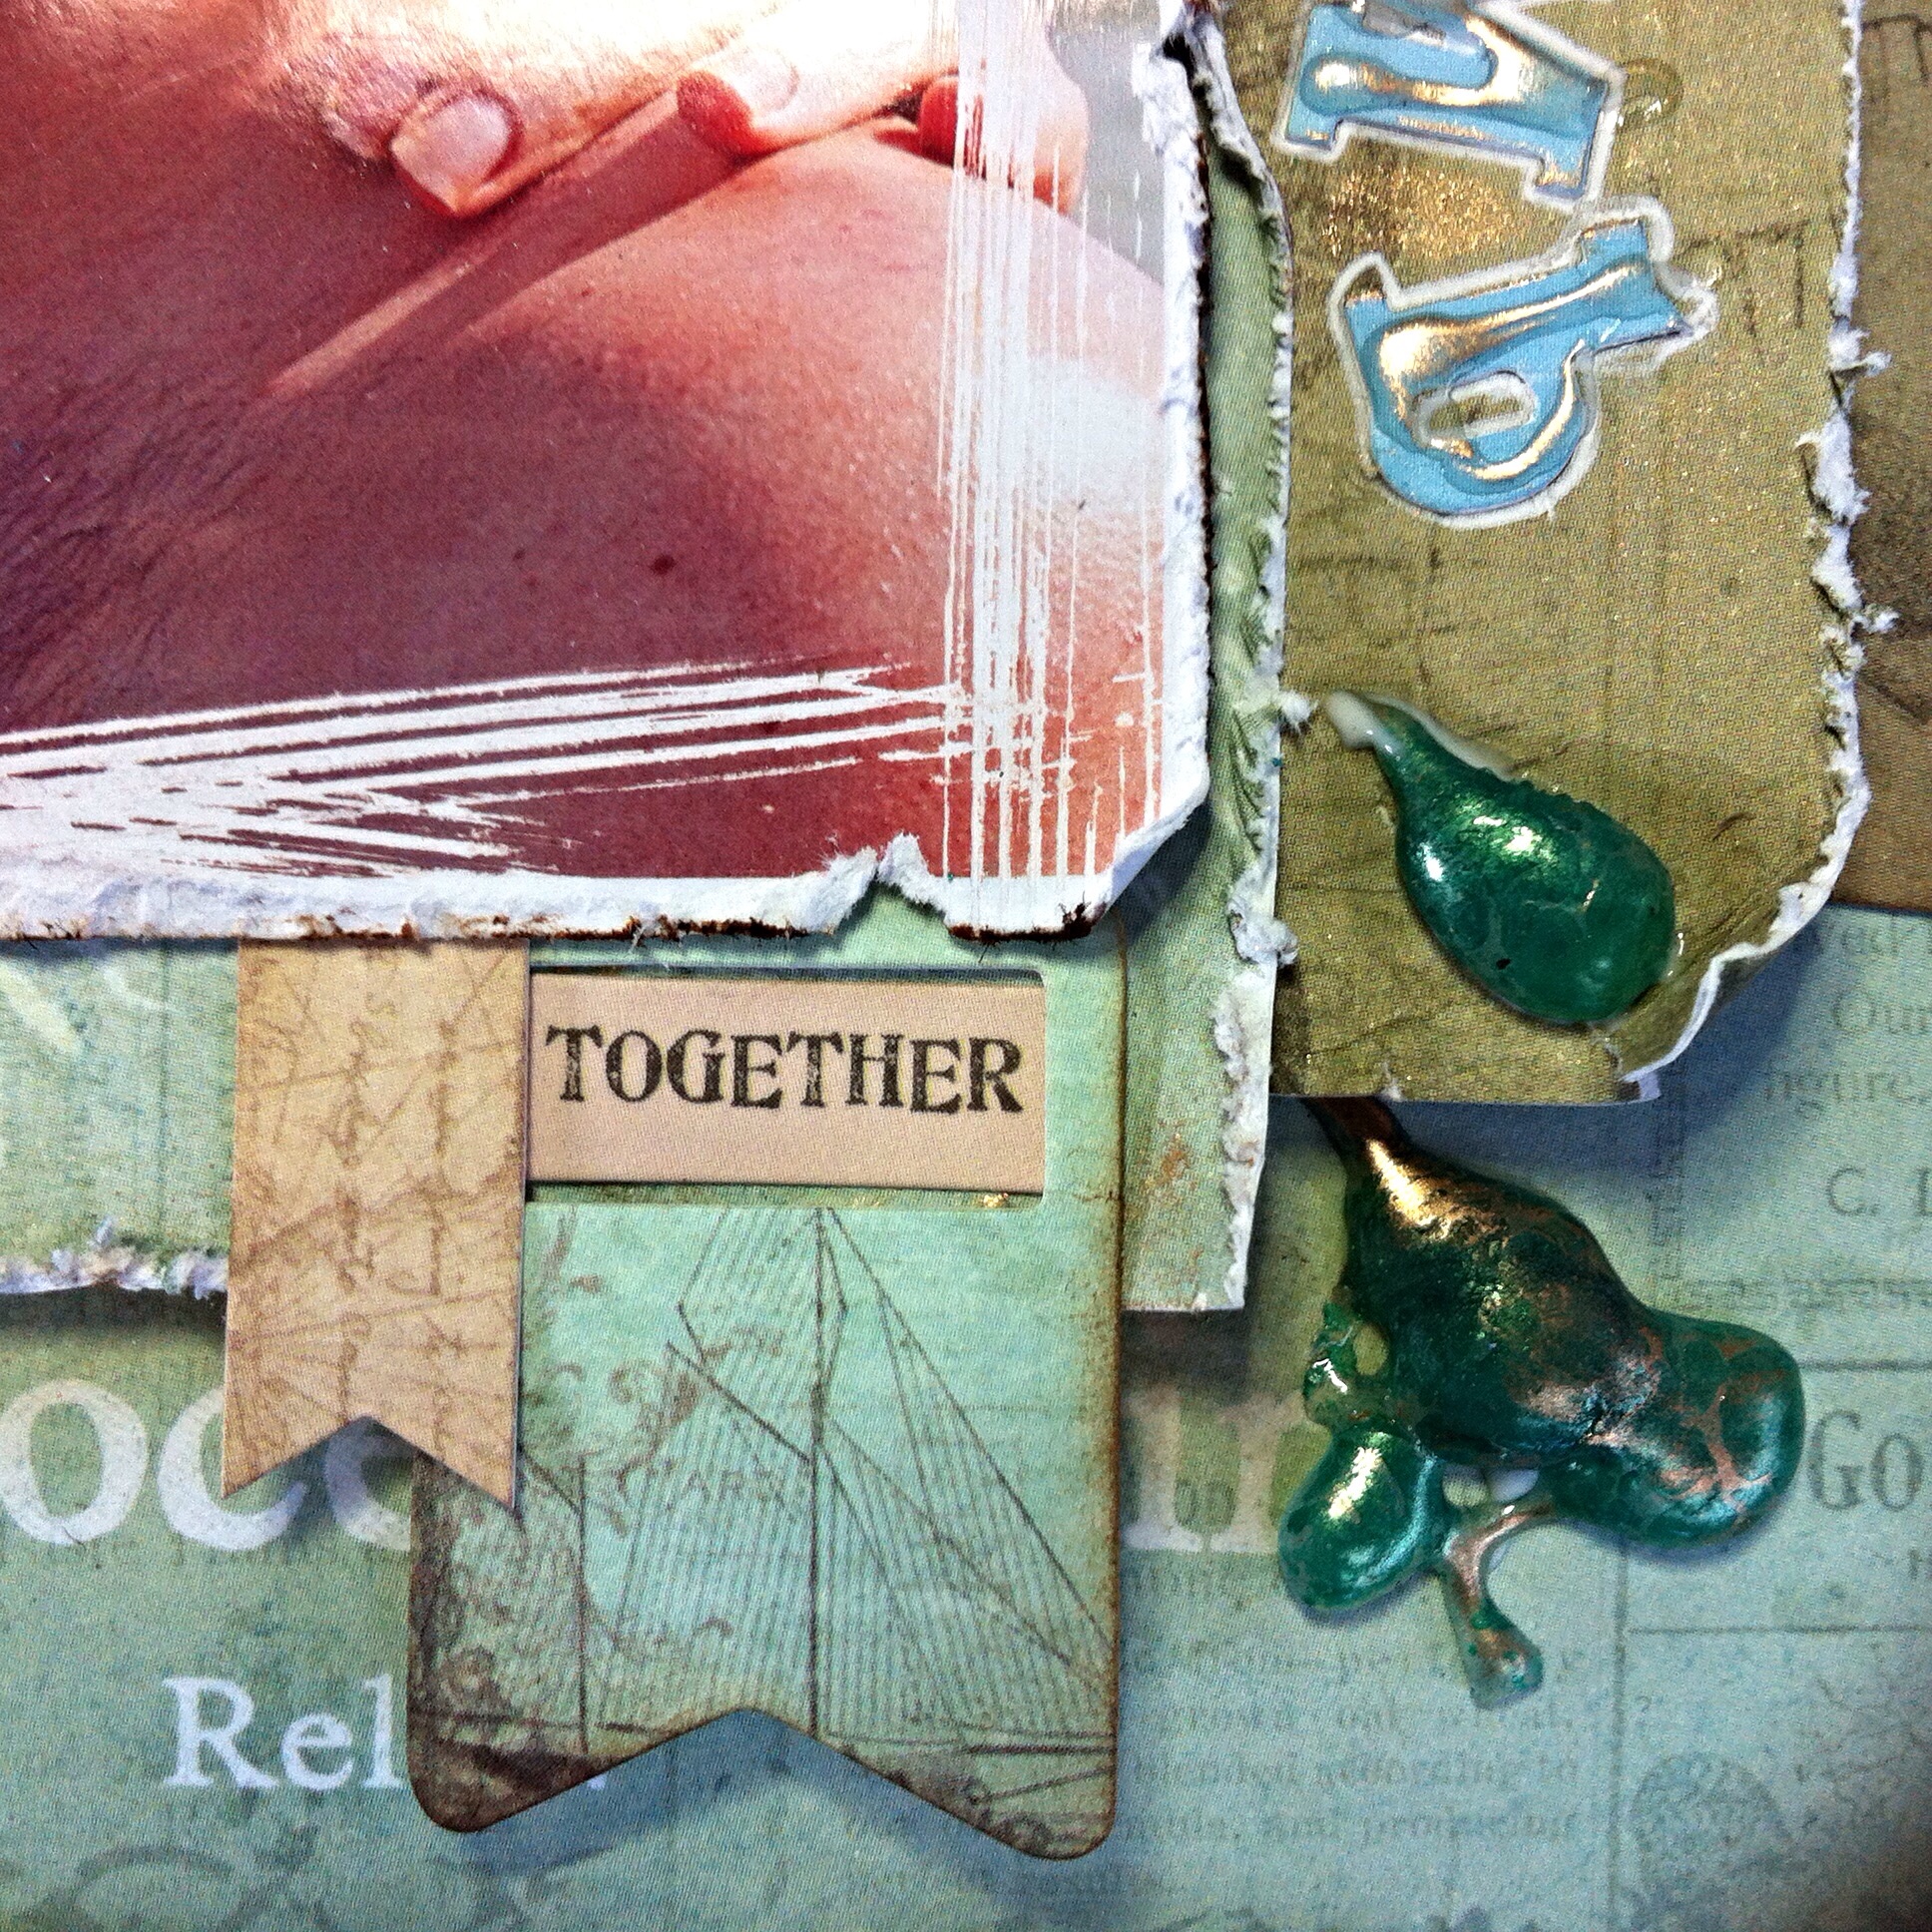
I added a TH Thinlets heart die cut from Kraft card, two tags cut from the same papers and small banners with TH “Together” small talk sticker.
When I put the page together the sea was too straight so I added some Mermaid Lagoon DI ( such a great name) and a few splashes of white. I outlined the letters and tags with white pen.
The Design Team have created some great inspiration for you, please visit their blogs and leave them your thoughts.
Our sponsor this month is Tando Creative, their chipboard is legendary for crafters! I hope you win a prize for your creation.
![]()
Good Luck and happy crafting
Hugs
Jan x
]]>
Wow, had a great weekend! Scrapped with friends on Friday then visited Daisy and Jewels in Exhall on Saturday.
We watched some interesting demos from Pauline Wheeler and Hels Sheridan.
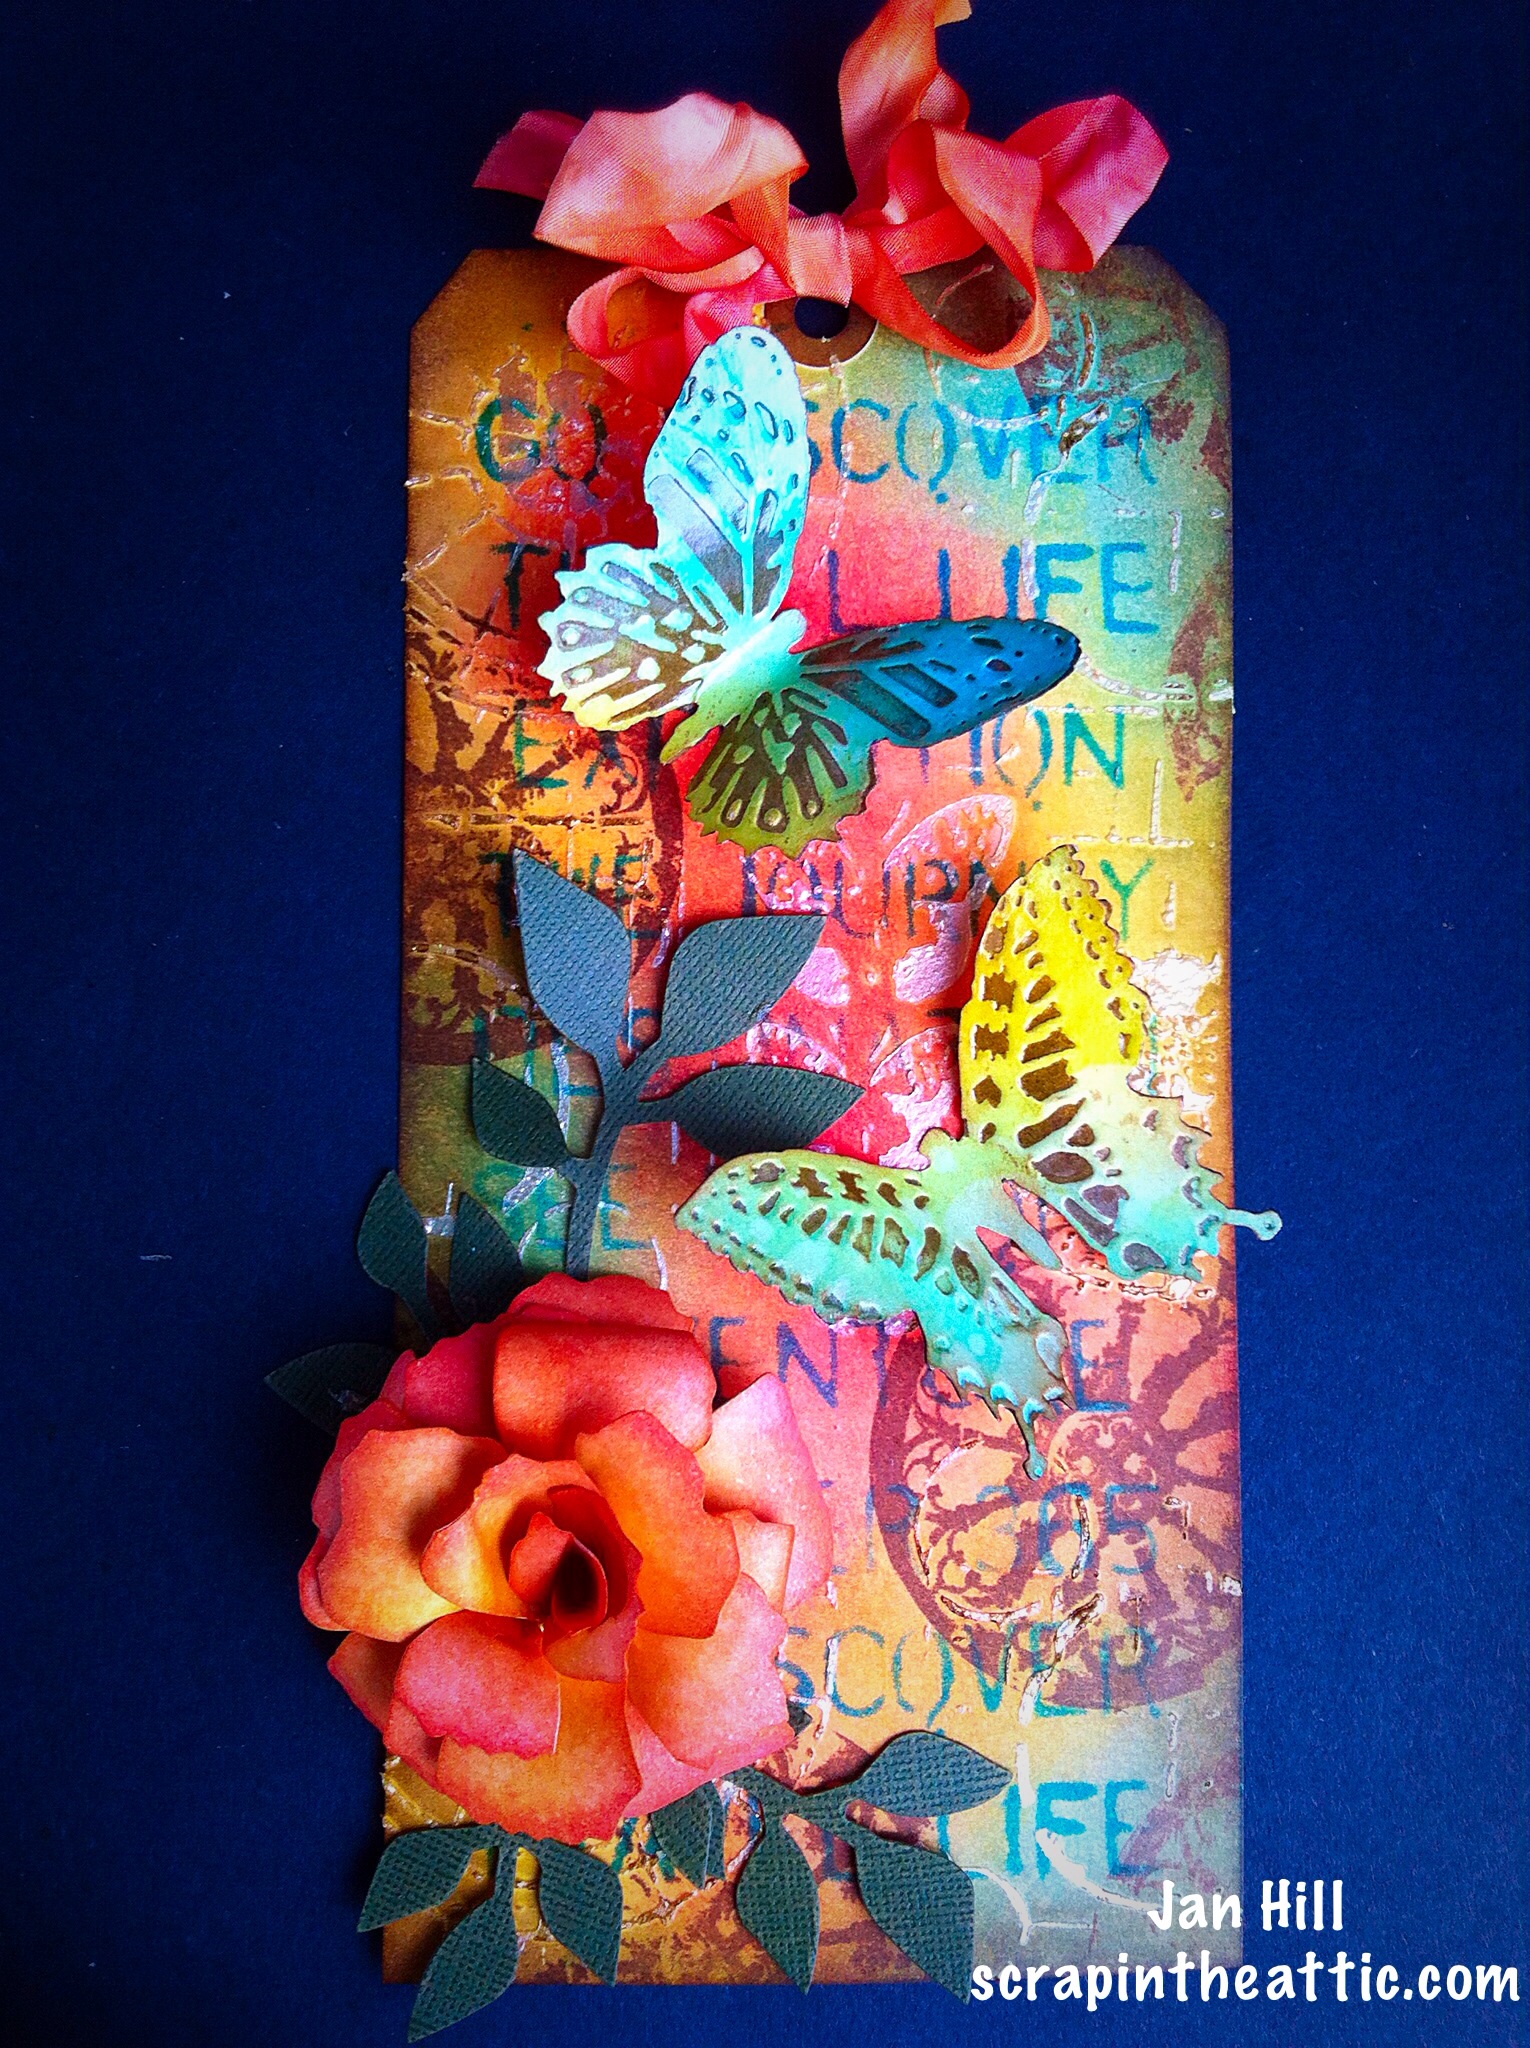
I have always loved Hels roses and she did a demo of how to make them in detail. It is also on her blog.
The rose on the tag is made from the demo, second attempt!
Thanks Hels, I wanted to enter your Sunday Stampers as the butterflies are friends!
Hugs
Jan x
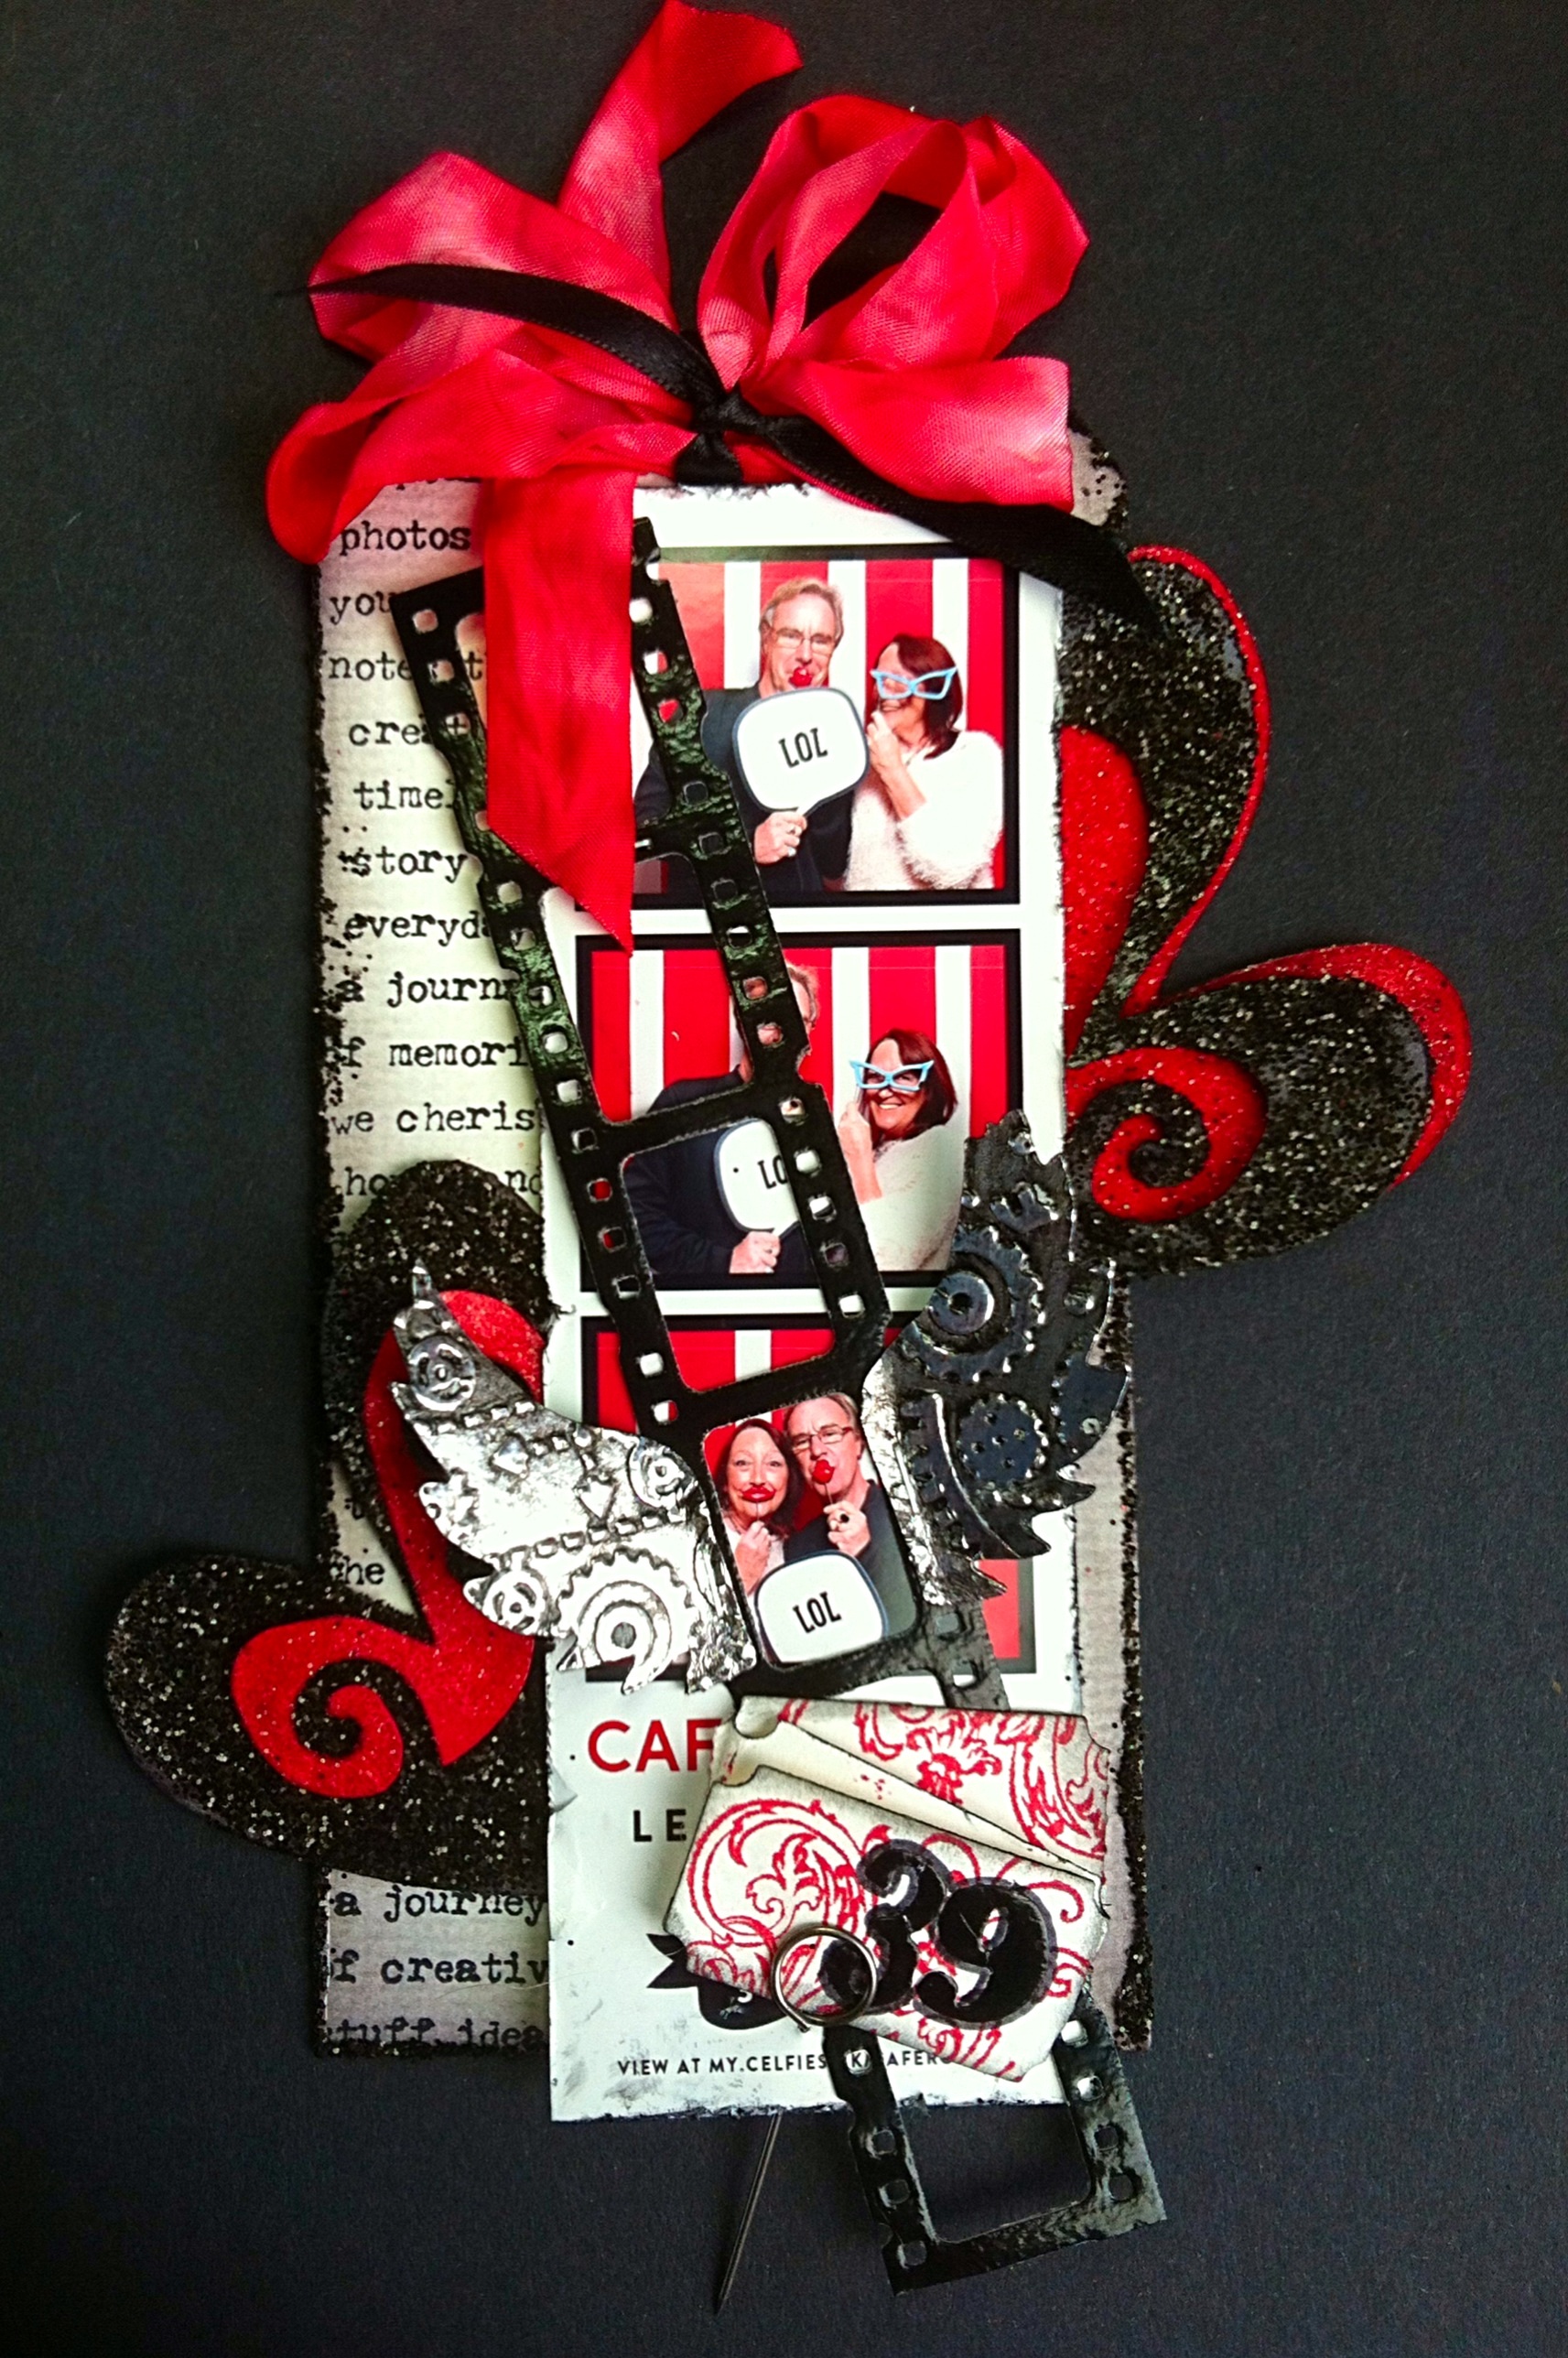
I was excited to see the latest challenge at A Vintage Journey, “Love is in the Air” set by Astrid. There are some amazing creations made by the Design Team.
We had been invited to an opening night at a local restaurant and had taken these fun photos in the Photo Booth. I wanted to scrap them for a while but nothing seemed to fit until I saw the challenge.
I thought I would stick to the colours, red, white and black on the photo. I cut a tag from watercolour card and used a long thin stamp from Tim’s ‘Stuff to Say’. I glittered the edges of the tag with black (Yes it went everywhere!)

I die cut the heart from Tim’s Heart Wings, then inked and glittered with rock candy on the red and black glitter on the black heart. The wings were cut from plumbers tape, embossed with cogs then painted black.
I used Mini Filmstrip and Mini Tickets die with shiny black card for the film strip and watercolour paper for the tickets. I was inspired by Jennie’s Destination Inspiration: Just the Ticket. I added a shiny black card 39.
The wings represent me and my husband flying into our 39th year of marriage!
I finished the tag with a floppy bow ribbon dyed with Festive Berries and tied with a piece of narrow black ribbon. I mounted the photo on foam strip to raise it and so I could tuck the hearts underneath.
What a mess left on my craft sheet, glitter, ink, glossy accents everywhere – I really enjoyed making the tag!
Please leave a comment, I do appreciate your thoughts.
Jan x
]]>