Daisy’s Stencil Drawers

Posted on

I love this stencil drawer from Daisy’s. The mdf fits together easily, the drawers have letters to match. I used Daisy’s glue and painted the edges black when it was dry.

I wanted to show my new Tim Holtz paper pad, the 8×8 inch was perfect to fit on the sides and top. I inked the edges with Vintage Photo DI.
The drawers were strips from the same collection. There are mdf drawer pulls but I wanted to use ribbon because it showed off the papers. I poked a hole through where the mdf should slot in and threaded to ribbon, knotting it at the back.
The draws are perfect for stencil storage.

Hope you enjoy creating yours!
Hugs
Jan x


Daisy’s Fairy Wishes

Posted on

I really enjoyed making this little fairy mobile.

I was just nspired by a small piece of driftwood I found on Brighton Beach.

I cut a piece of corrugated card smaller than the wood and broke the driftwood into pieces to glue on being able to slot the mdf shapes between.

I used alcohol ink pens to colour the mdf. The star was then dipped into embossing powder, heated then glittered with TH glass glitter.

The fairy had silver power embossed on her hair, gold over the wing and clear tinsel on her dress. The blue on the mushroom was embossed to link with her dress. She also has red embossed lips to match the toadstool.

I added moss and paper roses to fill the gaps.

I had send florist wire to curve the shape, adding loops for the hanging wire and star.

The final touch was 3 D snow!

Hope you enjoy, I am inspired to make some Christmas wreaths a similar way!

Hugs

Jan x


Daisy’s at Hochanda

Posted on

So excited to have my samples on the November show on Thursday, 3 pm and 7 pm. The theme is Fairies!

I really enjoyed making this cupboard with two shelves inside. The front is hinged to open.

i played with the new Daisy stencils, moon and stars using silver paint, Crackle paste and Pearlescent Texture Paste.

the frame was covered in embossed silver duck tape.

The mdf fairy was coloured with alcohol pens and sari silk on her dress.

A close up of the stencilling.

I painted with metallics the cute nightlight holders. I know who wants these for Christmas!

enjoy the show x


Steampunk Clock

Posted on


I was so excited to get this mdf clock from Daisy’s.  Perfect for my craftroom.

Steampunk was the obvious choice for a theme. I wanted to create an idea of movement with the cogs so the idea of a dripping tap evolved. The water changed colour due to alchemy!

I brayered the clock face with Titan Buff, Prussian Blue, Paynes Grey and Quin Gold DecoArt fluid acrylics.

I used archival black to stamp Crackle. I heat embossed Andy Skinner numbers and works using Tarnished Silver powder.

The centre was made with embossed duct tape and black paint. The cogs and arrows had rust treatment. The pipe and funnel were distressed with white and burnt umber paints to look like chipped old paintwork.

The water is crushed glass.

Phew!

Daisy’s now has a fan club, check it out on face book. Please apply to join, it’s a closed group for sharing our projects.

I hope you like it

Jan x


Daisy’s at Hochanda!

Posted on

Lots of great goodies! Daisy’s will be on Hochanda on Wednesday, two shows with Jo Austin at 3 pm and 7pm.

Here are some of my samples

I used the new flower stencils on this mdf kit to create fun coasters and holder. I used DecoArt fluid acrylics brayered onto the wood, then stamped and stencilled on top.

This versatile mdf frame was assembled then painted. I used pearlescent texture paste through the daisy stencil and added a half pearl to the flower before the paste dried.

I hope you watch the show and enjoy seeing all the DT beautiful projects.

hugs

Jan x


Tim House

Posted on

I wanted to use the Daisys mdf house kit with my favourite TH papers. My new paperdoll cutouts, embossing folders, stamps AND Distress Oxide Inks!


I used the Oxides to paint the stamps with a waterbrush.

I love my little house, just need to fill it with Tim things!

Jan x


Steampunk Shadow Box

Posted on

I was so excited to get the MDF kit from Daisy’s that was my own design. Amazing from paper to 3D, thank you Kerry and Wendy!

The kit was how I imagined it, with depth and layers to play with.

I had Steampunk in mind and covered the back with G45 Steampunk Debutante paper with Glossy Accents to highlight the wings.

The middle layer had the rust treatment on the cogs. DecoArt sand texture then layers of Paynes Grey, Quin Gold, Oxide Yellow and Blue Hue.


The inner sides and middle layer were stamped straight onto the MDF, I love the burn marks from the cutting process!

The dress form had a coat of Translucent white paint then the same stamp. I cut lace and bits from my stash to create a bodice.

When the box was assembled, tab and slot with Daisy’s MDF glue I added ephemera to enhance the scene.

I painted the edges black and covered them with the roses paper from the same collection. The corner edges were sanded and inked.

This was such a fun project, I hope you like it.

hugs

Jan x


Little Filigree Shelf

Posted on

This little shelf unit was fun to make. The mdf pieces slot together easily and using Daisy’s Glue they are firm.

I had made lots of Gelli plate mono prints on white tissue paper and used these to collage onto the shelves before assembling the unit. Heavy gel stuck the pieces, the tissue edges became invisible and allowed the golden glow from the mdf to add to the colour.

I added stamping with Andy Skinner numbers and a swirl stamp to enhance the filigree.

The sides and back were painted Matt black.

Its a great size to hold my growing collection of passport journals!

hugs

Jan x


Florence and her Chairs

Posted on

Florence loves chairs, she will spend lots of time trying out each one. When her sister had a birthday party in the garden Florence had the choice of 20 children’s chairs. She was in her element! These were her favourite three.

I began using India Ink and writing her name with the bottle dropper in each of the tree colours. I chose colours to correspond to the chairs. I let the colours dry a little then washed Irredescent medium across, this gives a wash of colour but you can still see the letters underneath. I dribbled colours on top.

The Tando hearts were heat embossed with Tarnished Silver powder. I stencilled the text with black archival ink and stamped ribbon strips using Paperartsy stamp.

The central photo was mounted on black painted greyboard. I handwrote around the edges with a white Posca pen. I made a puddle and added bottle top prints and splashes.


Hope you can see the concentration on her face deciding which chair to sit in!

Jan x


Daisy’s at Hochanda!

Posted on

Wow, DaisyJewel and Crafts is featuring at Hochanda on Monday June 26th at 10 am. As part of the DT we have all been busy making samples of the Beside the Sea Collection of MDF and stamps.

Here are my samples

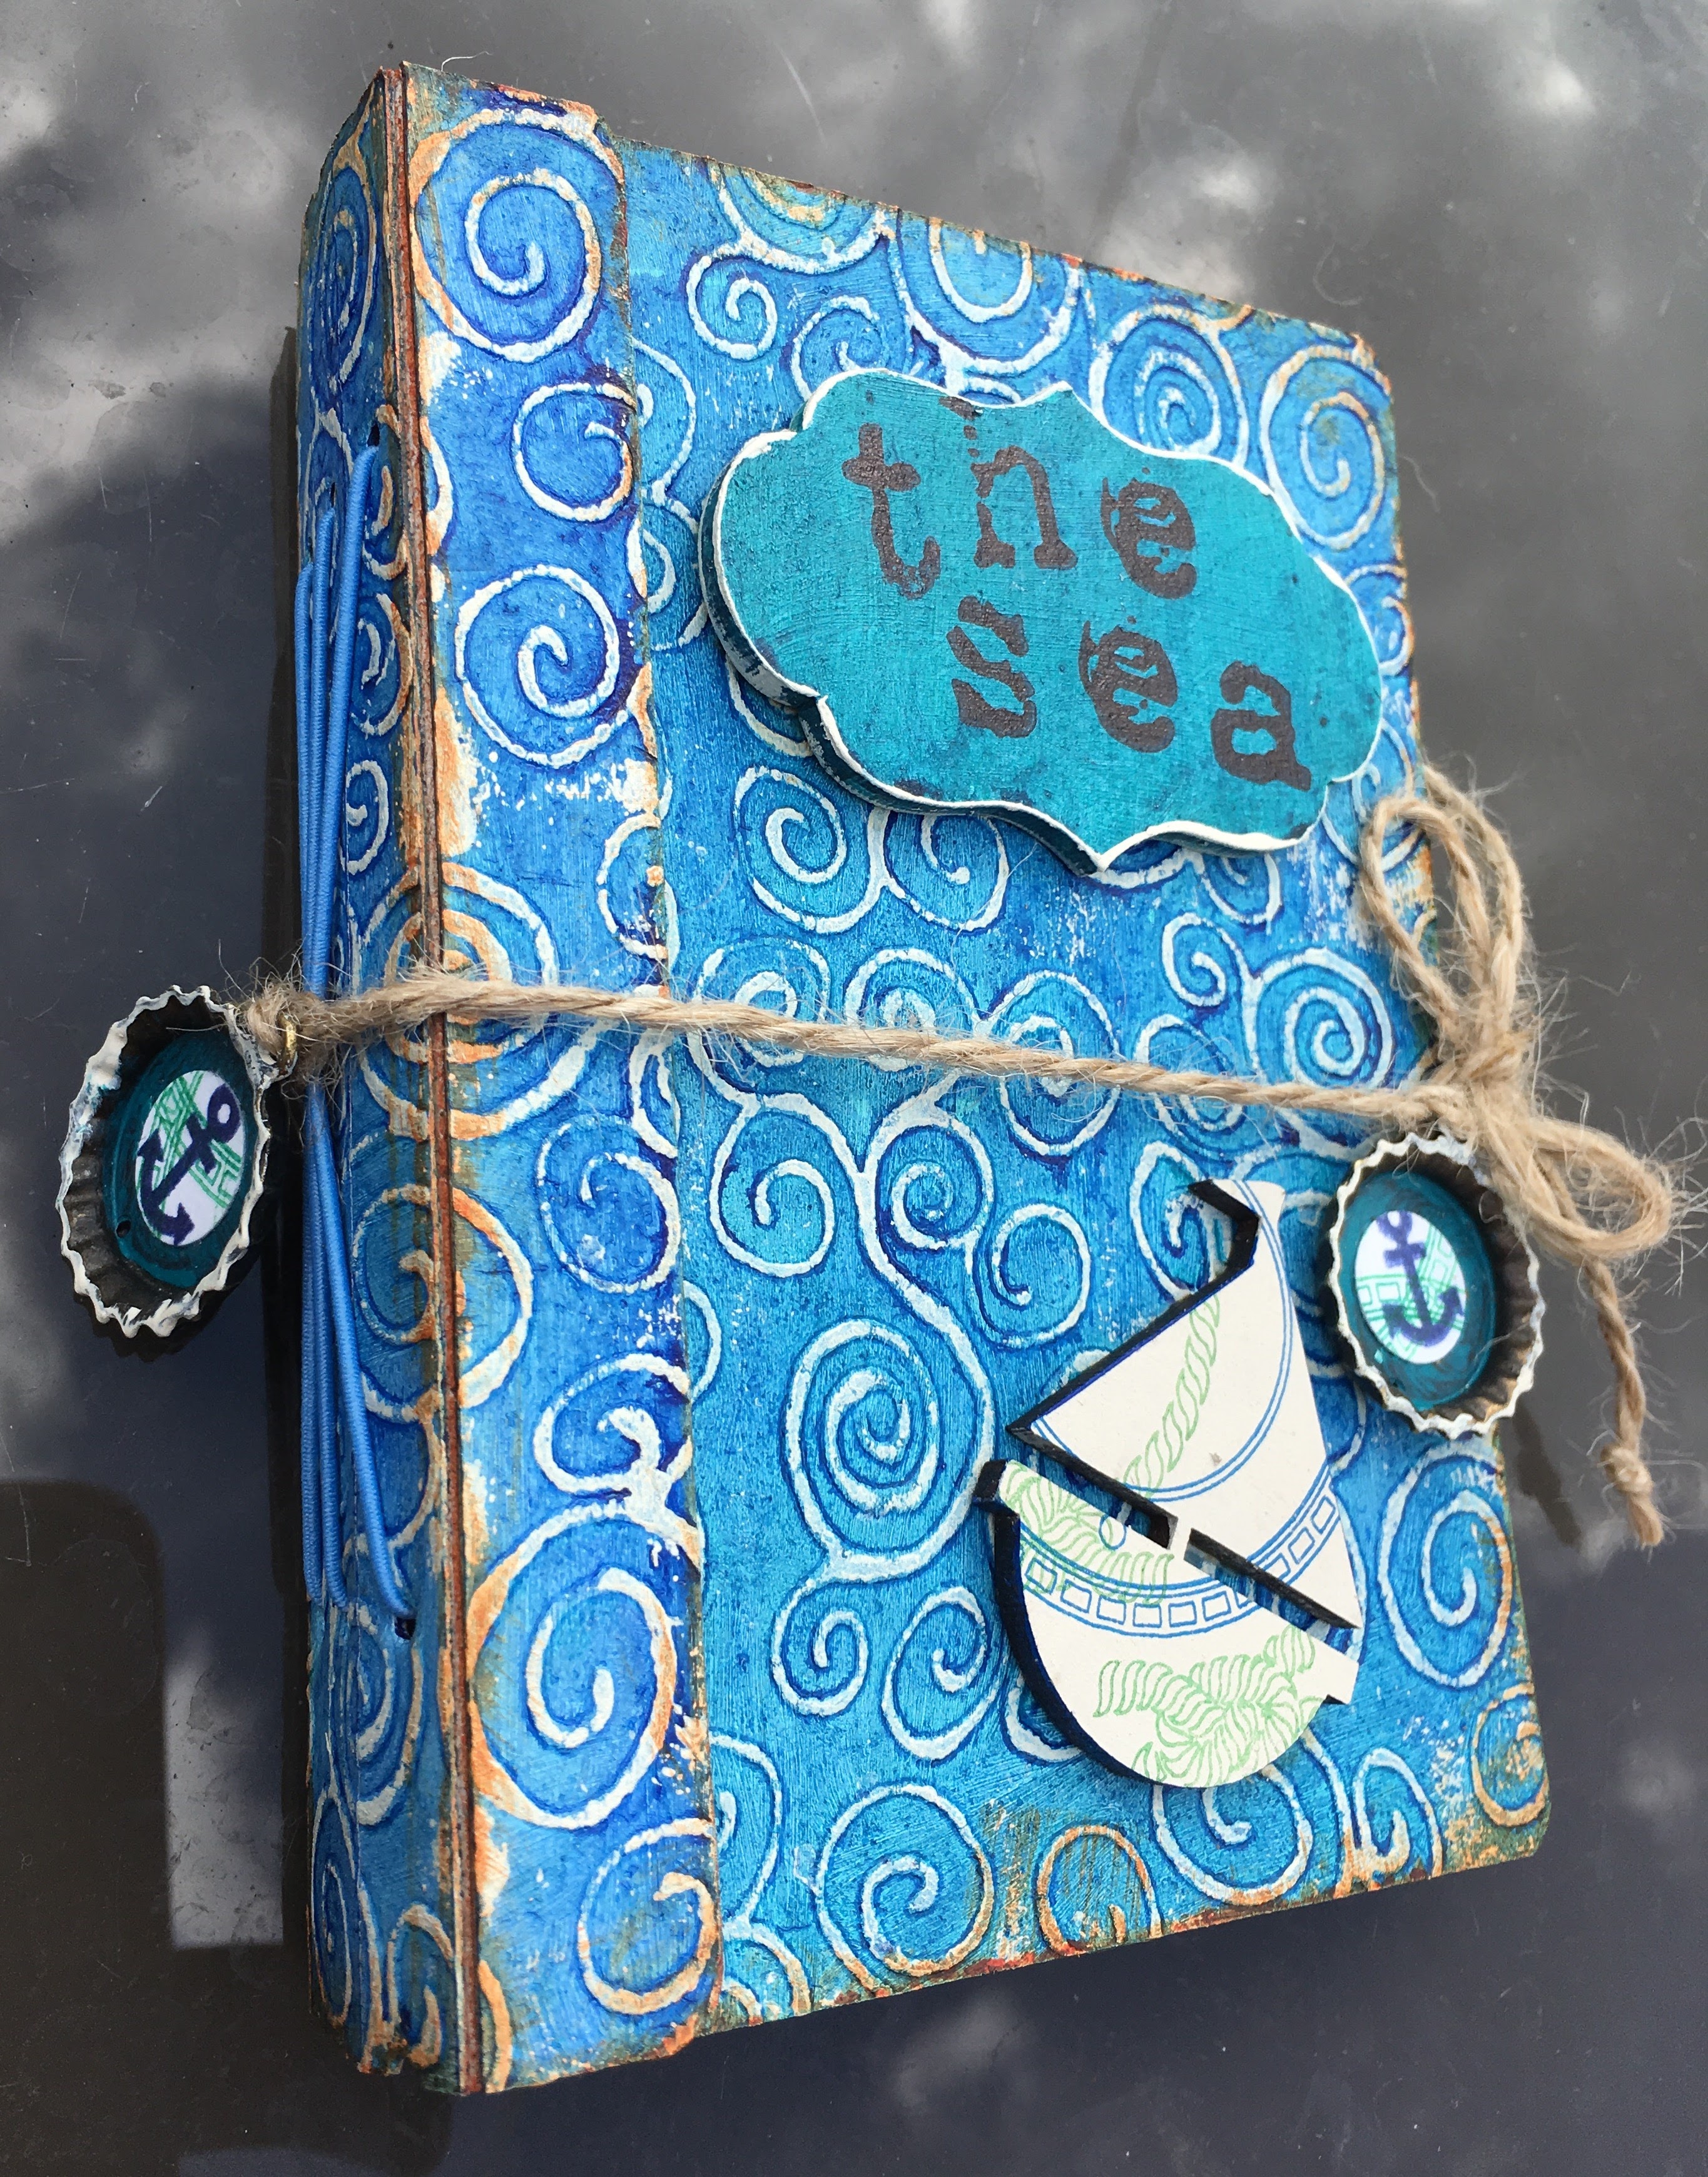
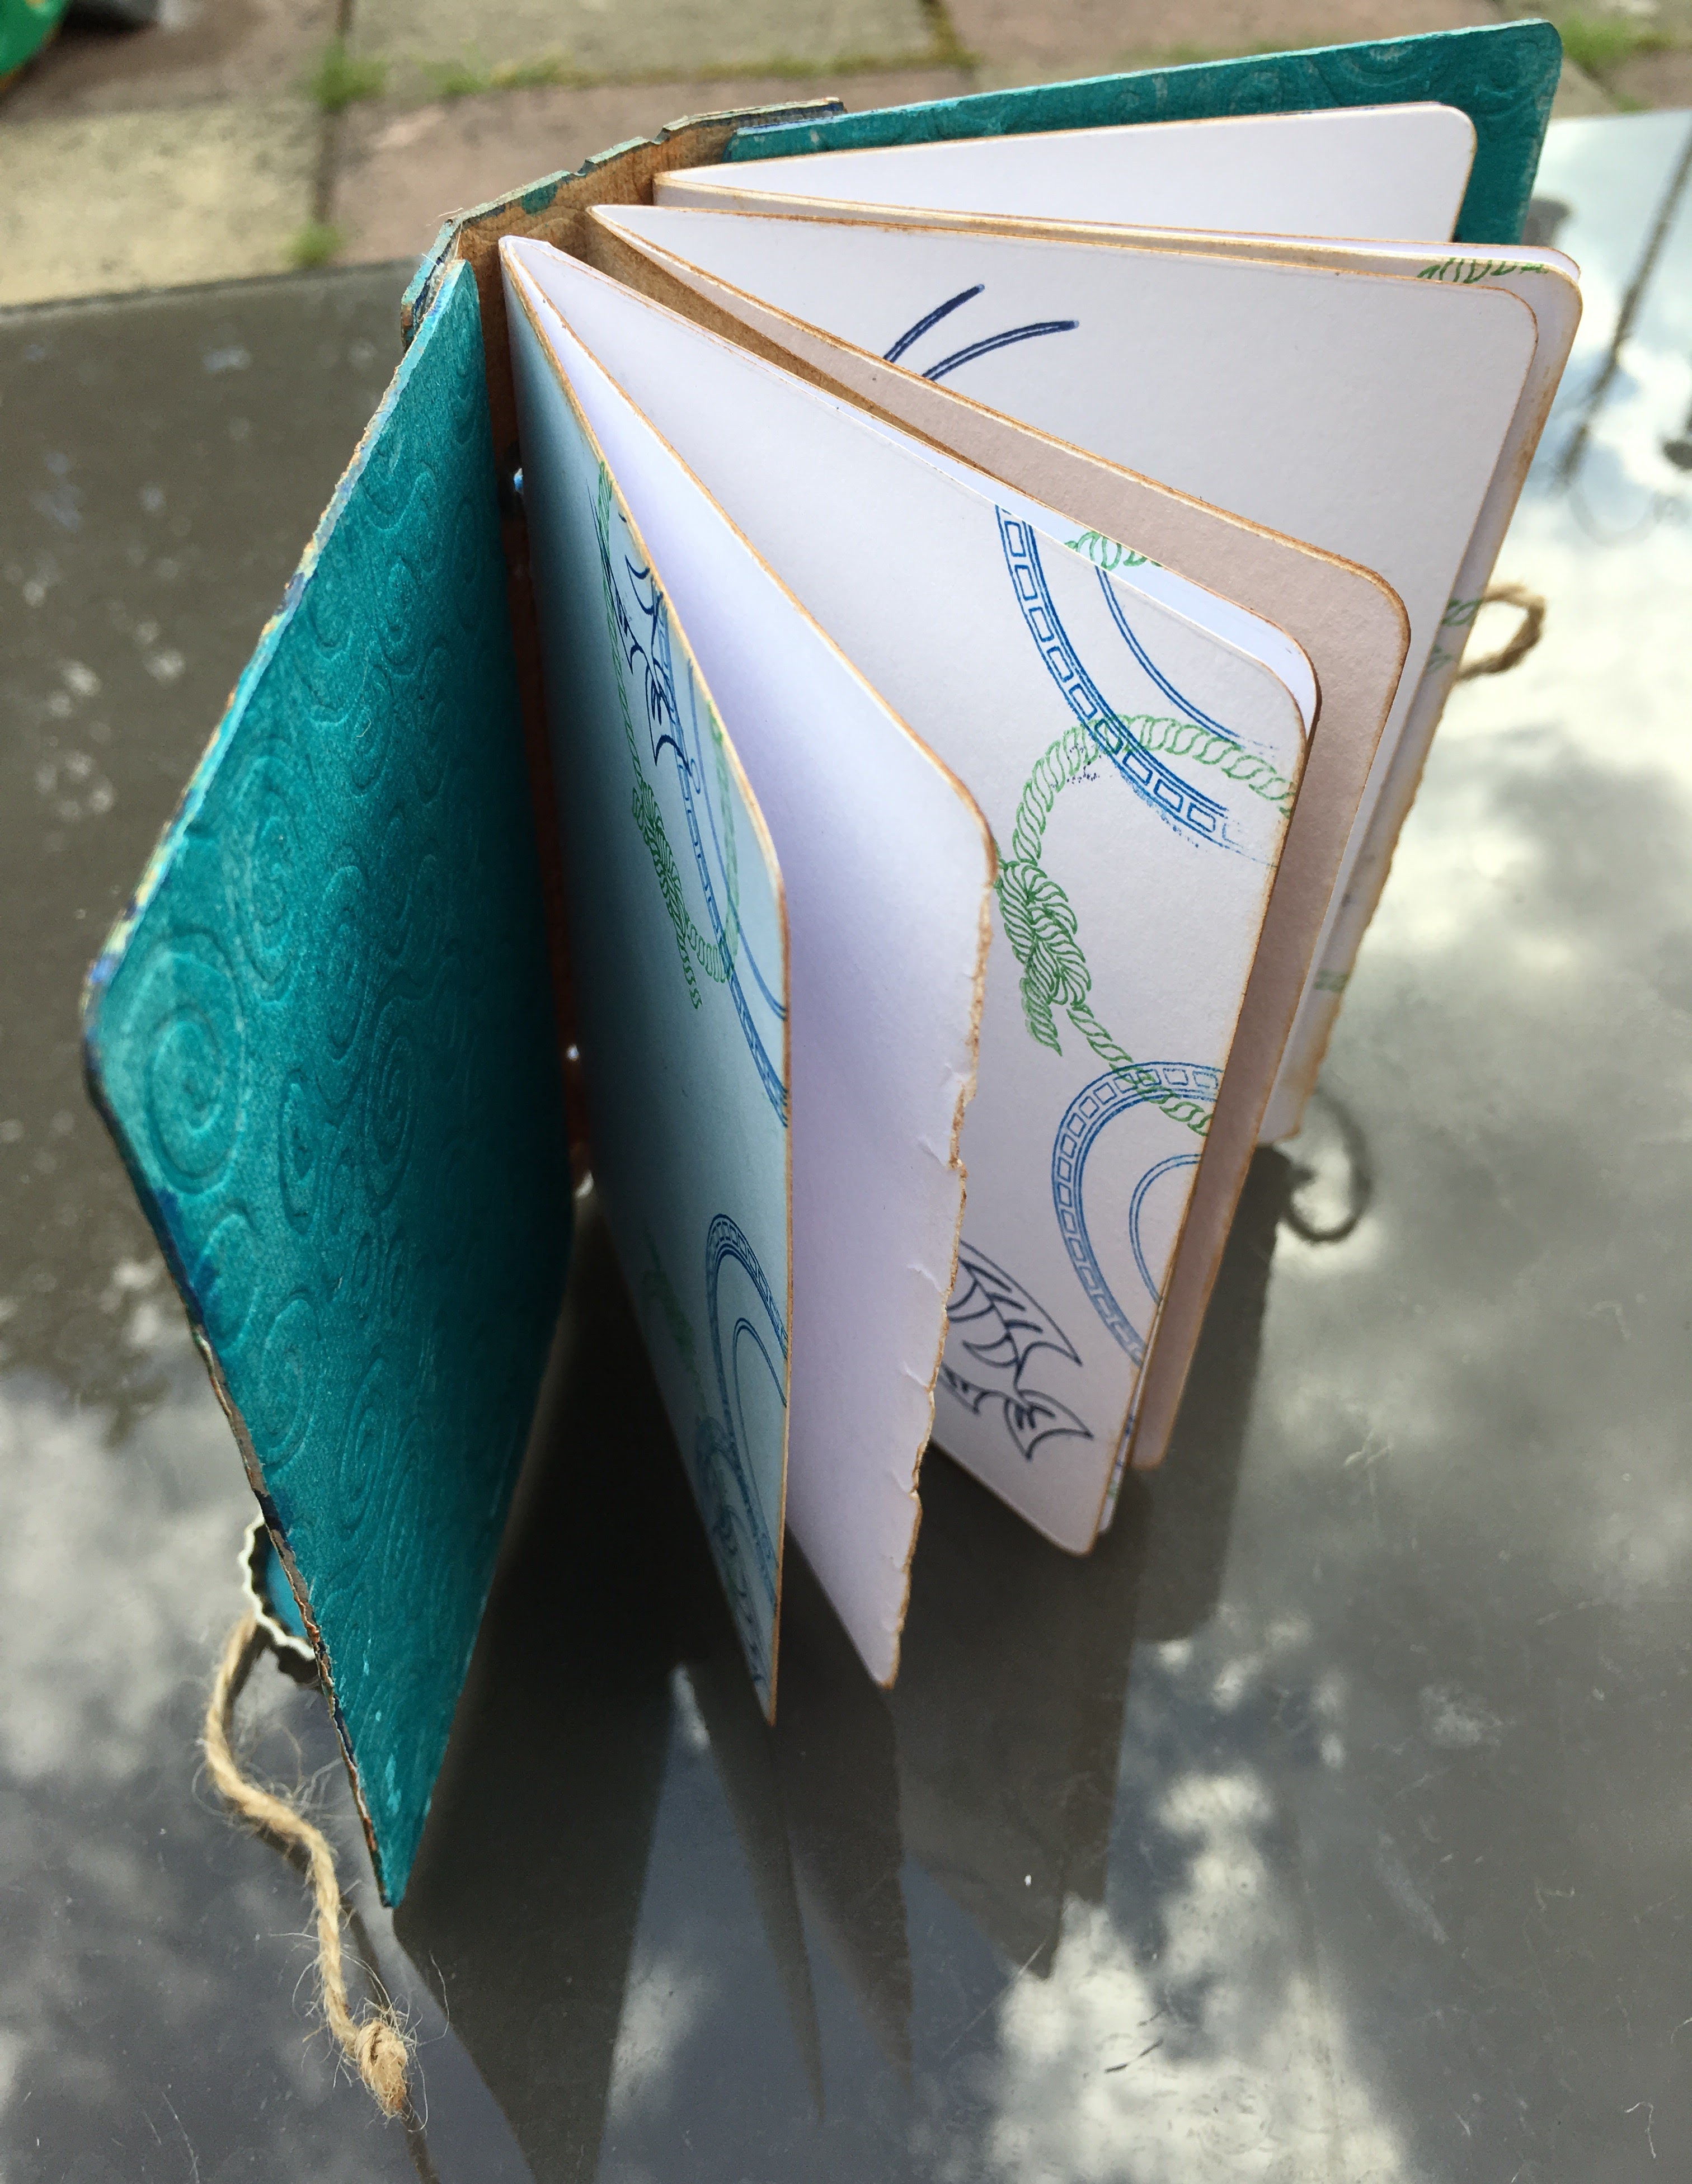
I made a passport journal using Eileen Hull Sizzix die. I used TH grungeboard for the covers, painted with DecoArt fluid acrylics. The MDF boat was painted then stamped. The title MDF shape was painted then the title stamped over. The charms are from Daisy’s, I stamped on paper then punched a circle to fit. I used the stamps from the range to decorate the pages.

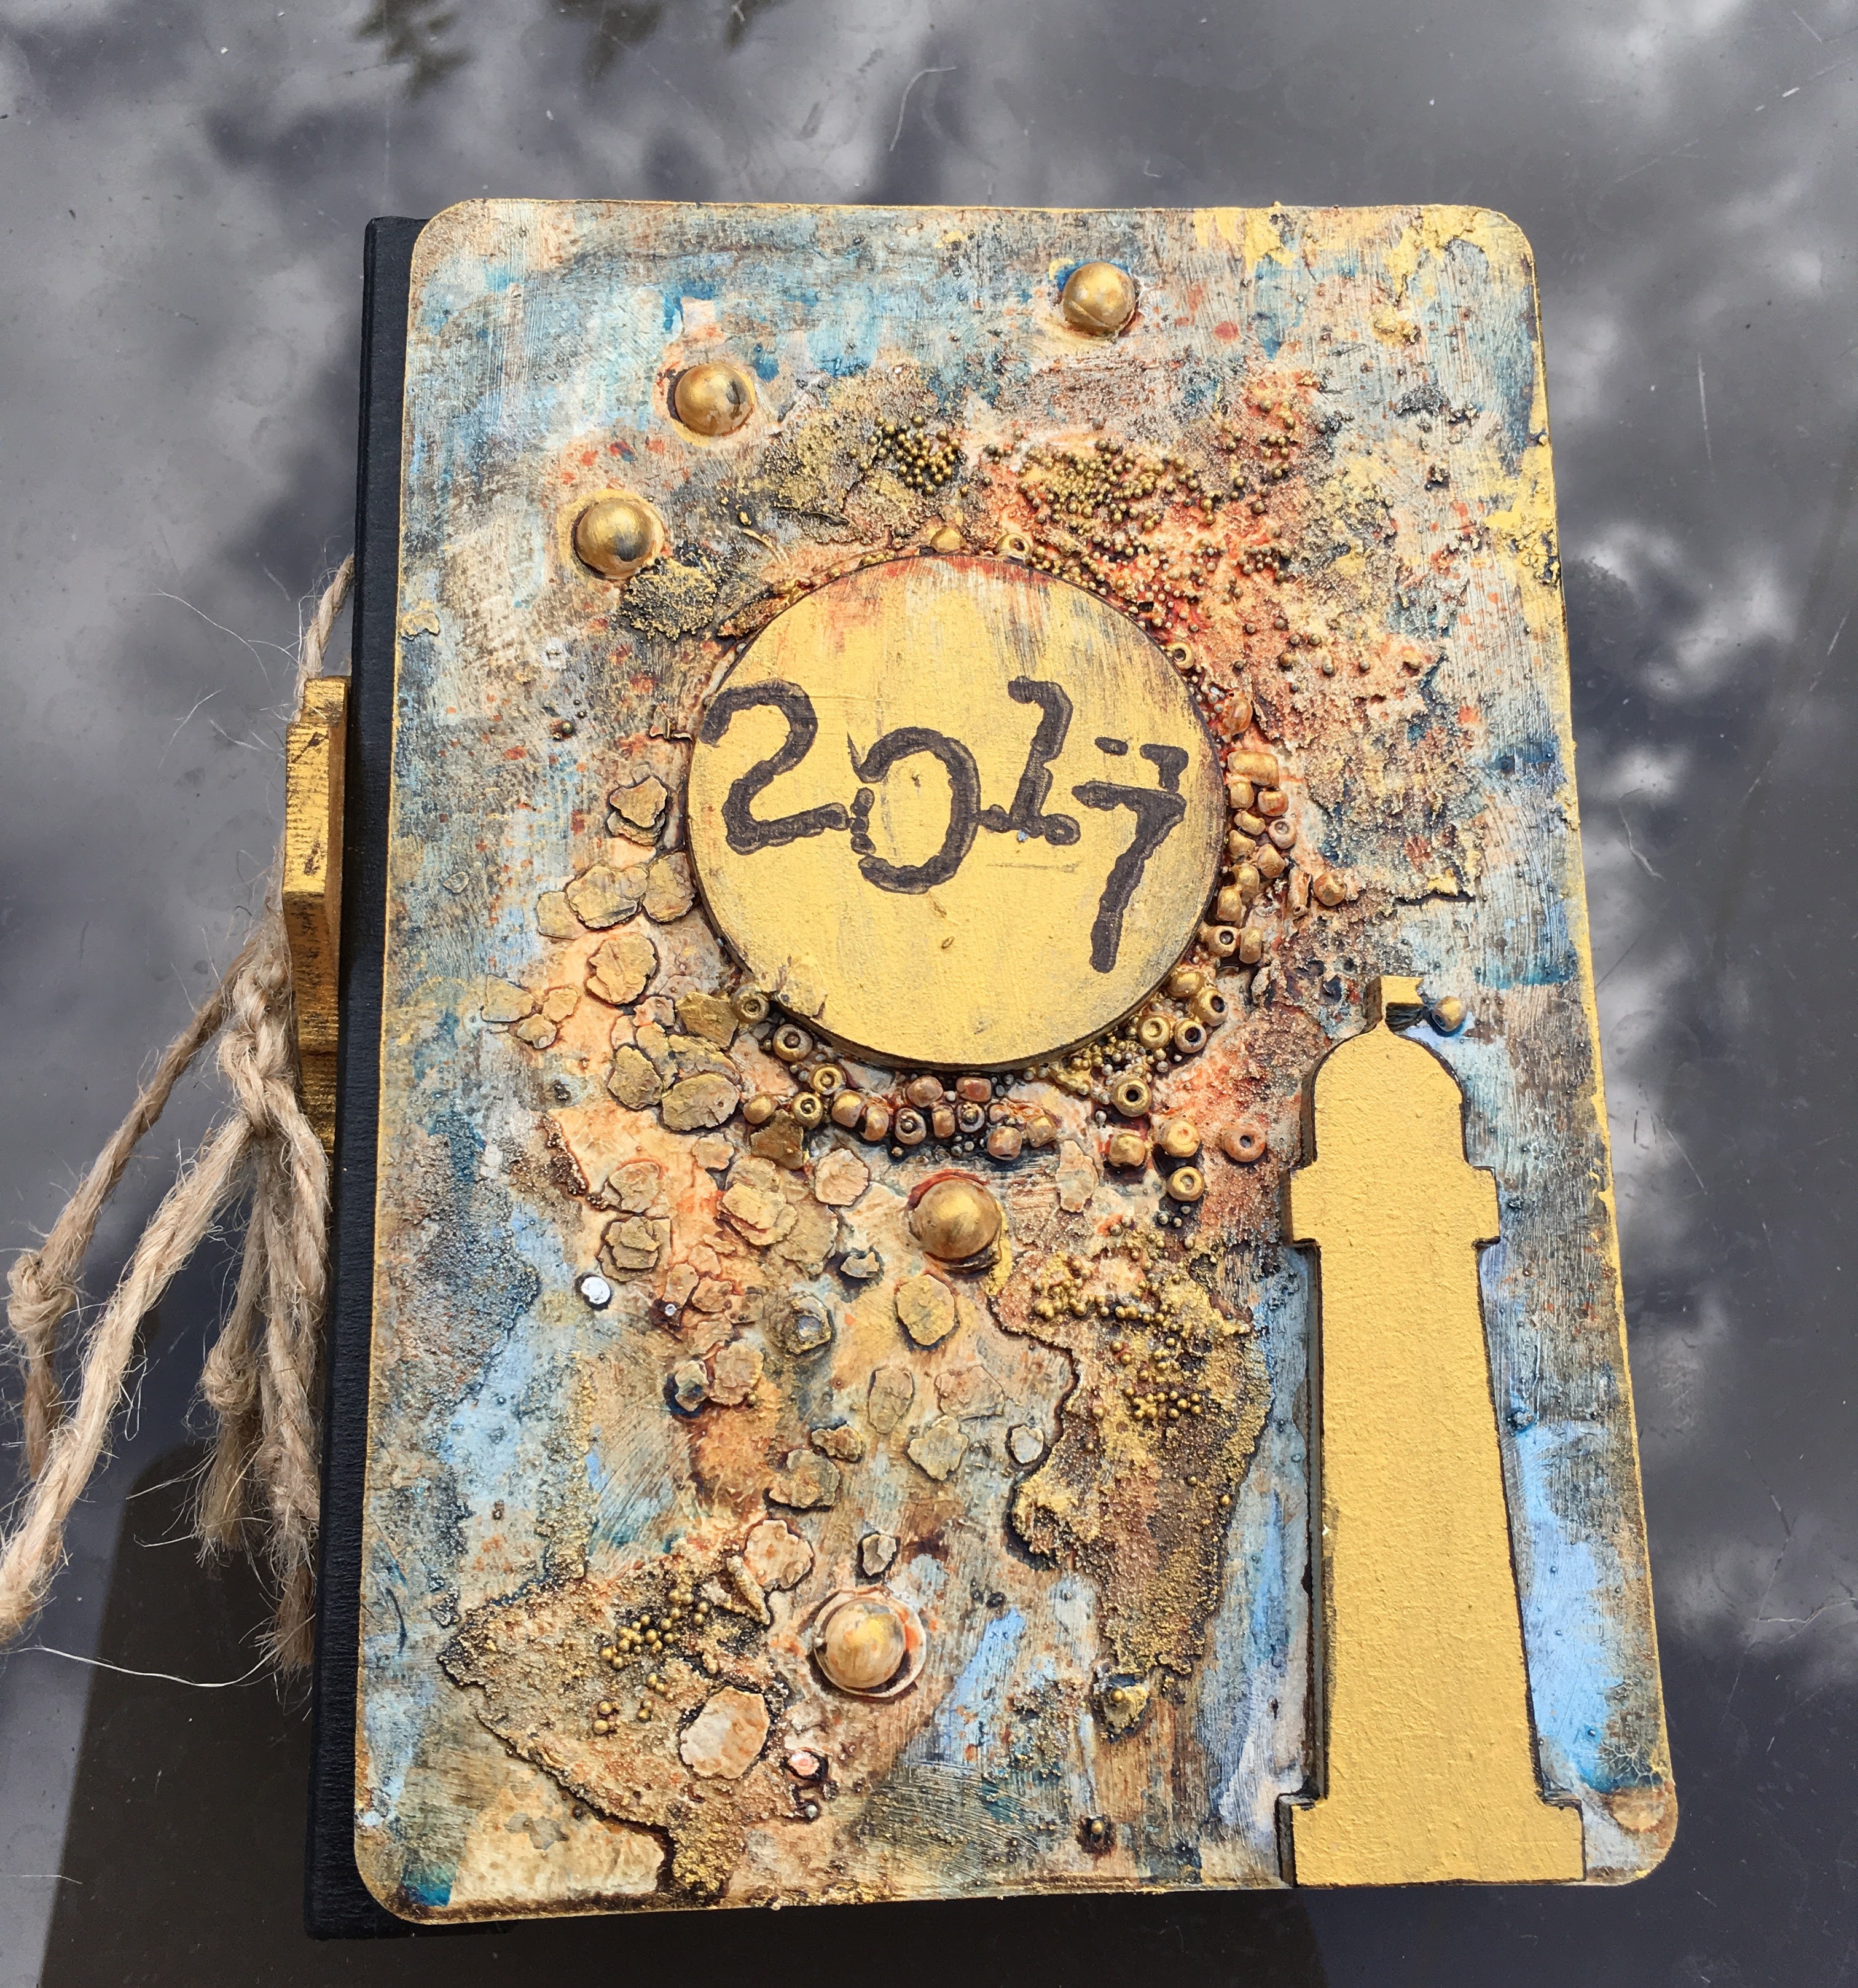
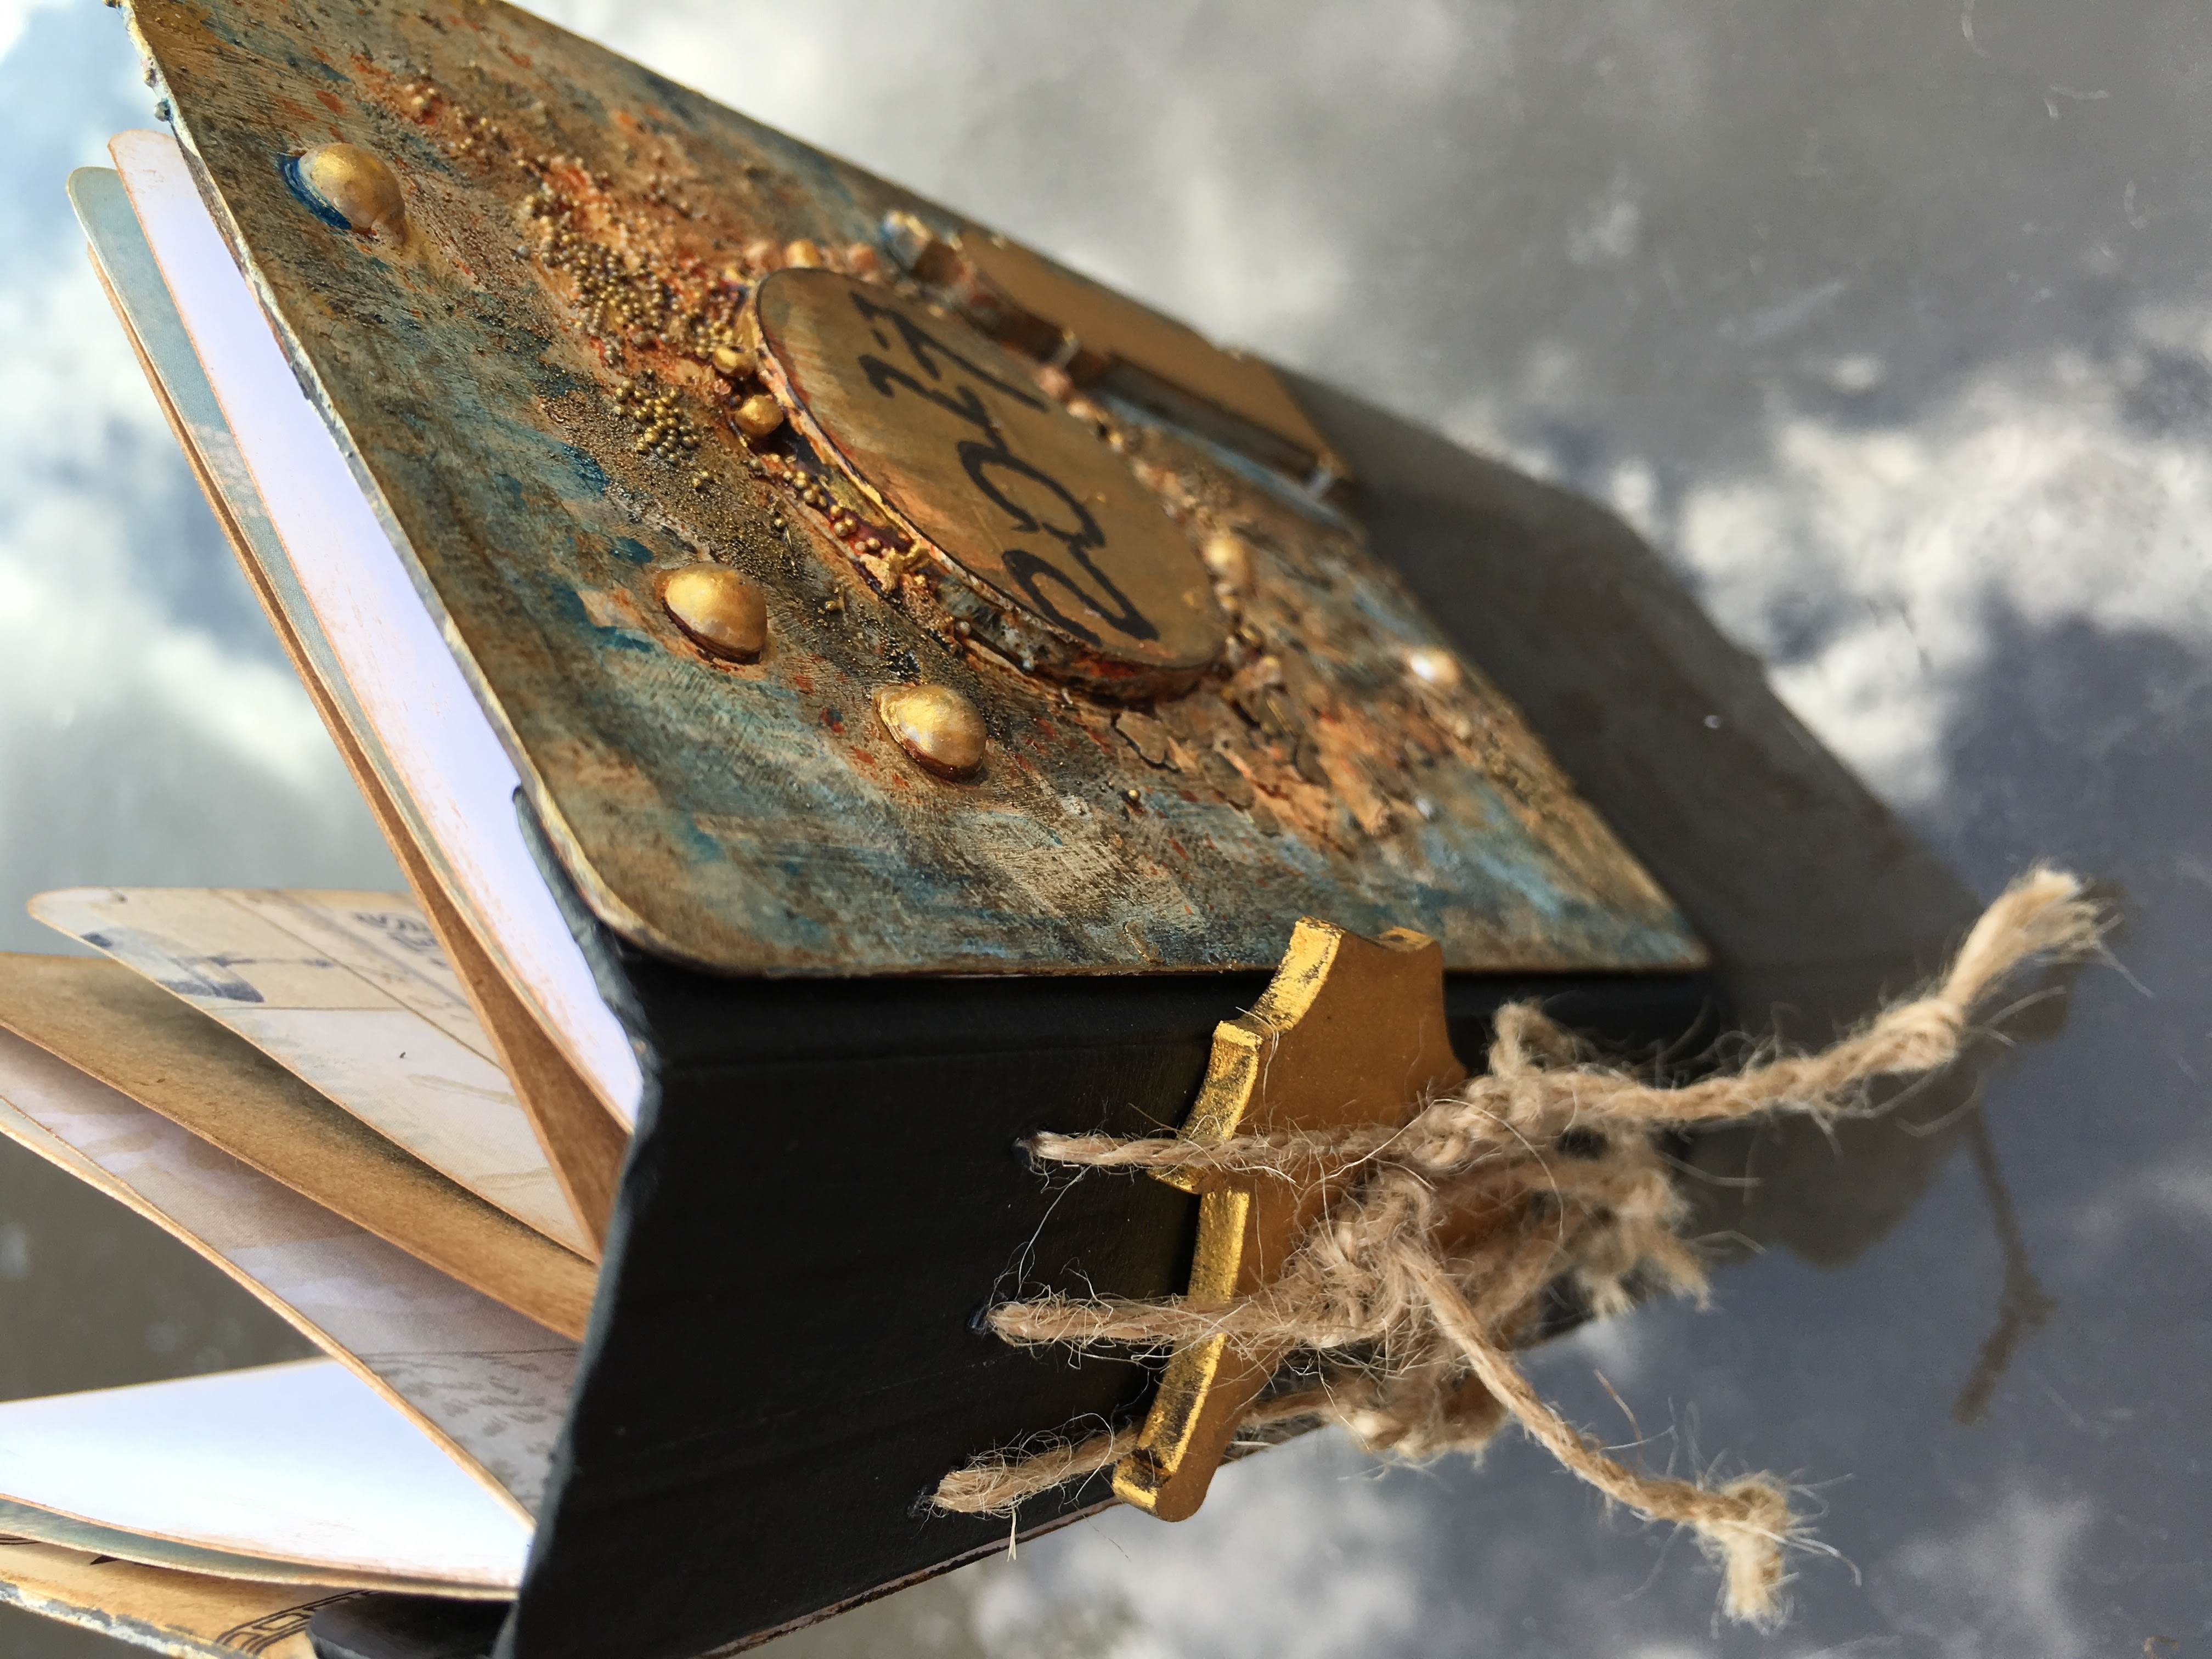
The second passport journal was made from greyboard. The MDF lighthouse, seahorse and circle were painted gold. The cover was painted and embossed with beads, mica flakes and pearls. It was sprayed and dry brushed.

The pages were made from a variety of different papers and again stamped with the Beside the Sea collection.

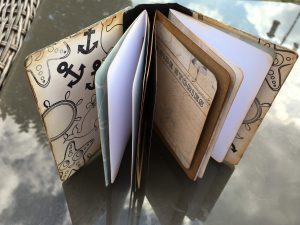
The seahorse was entangled in the strings from the signatures.

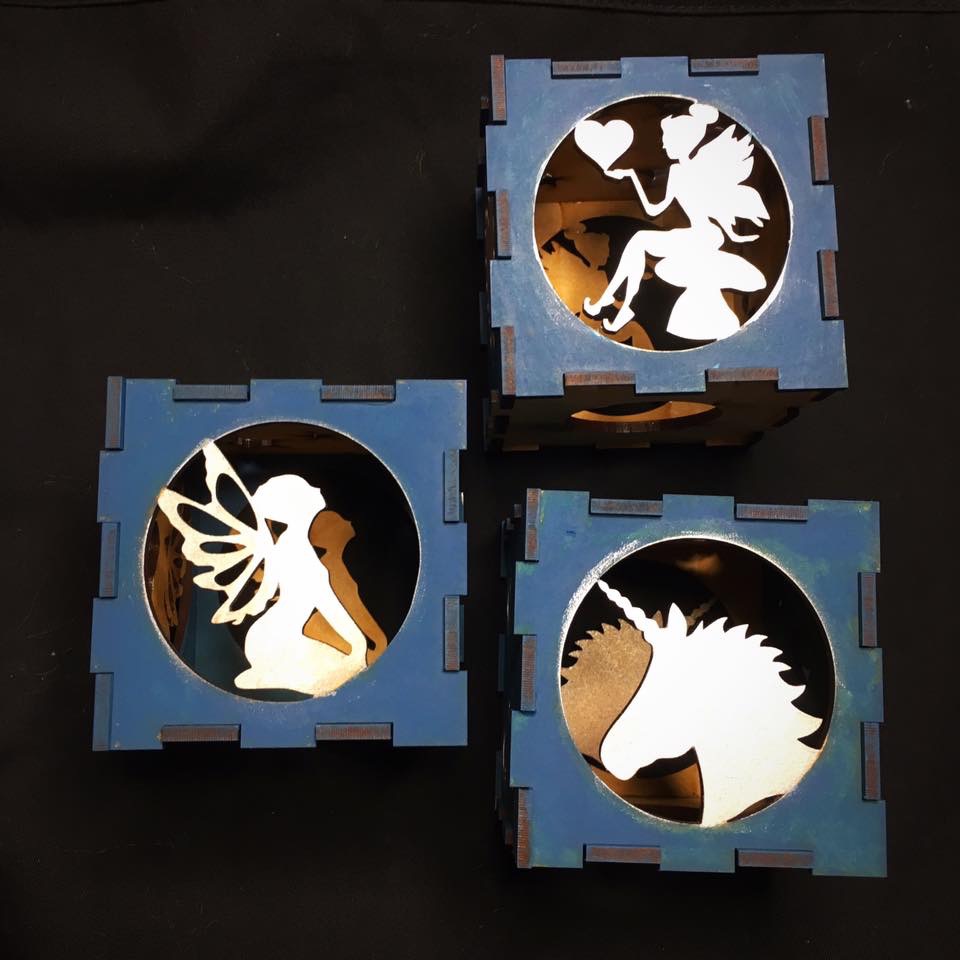
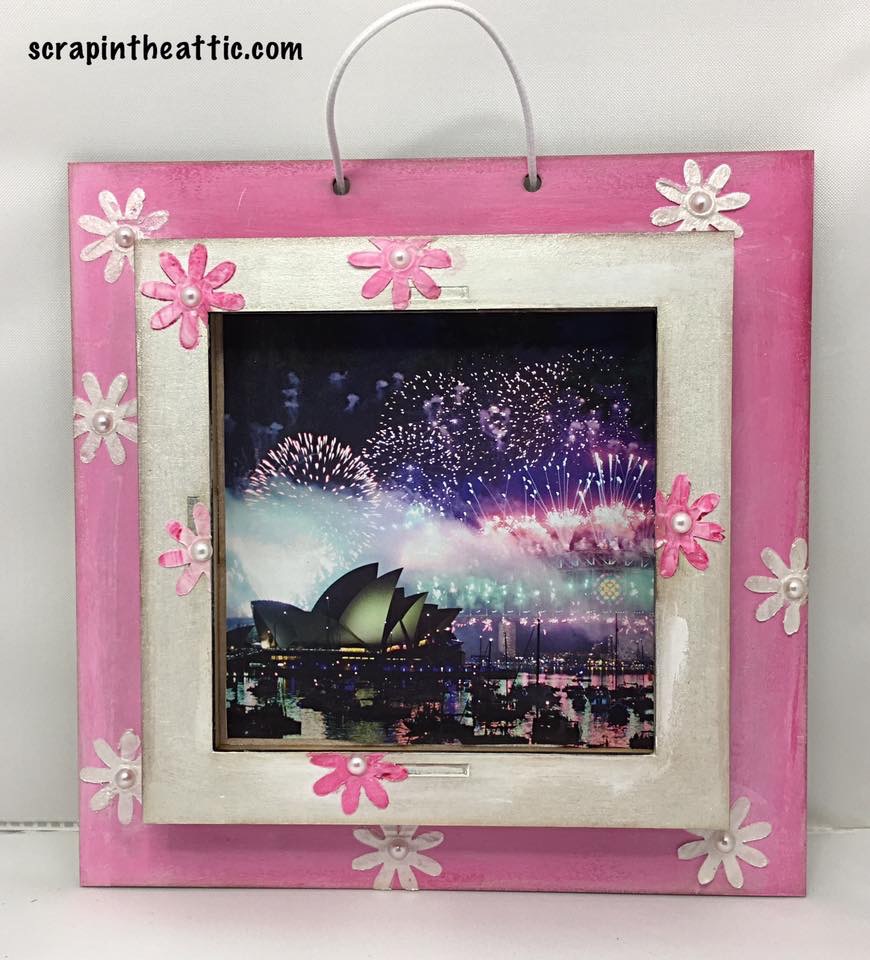
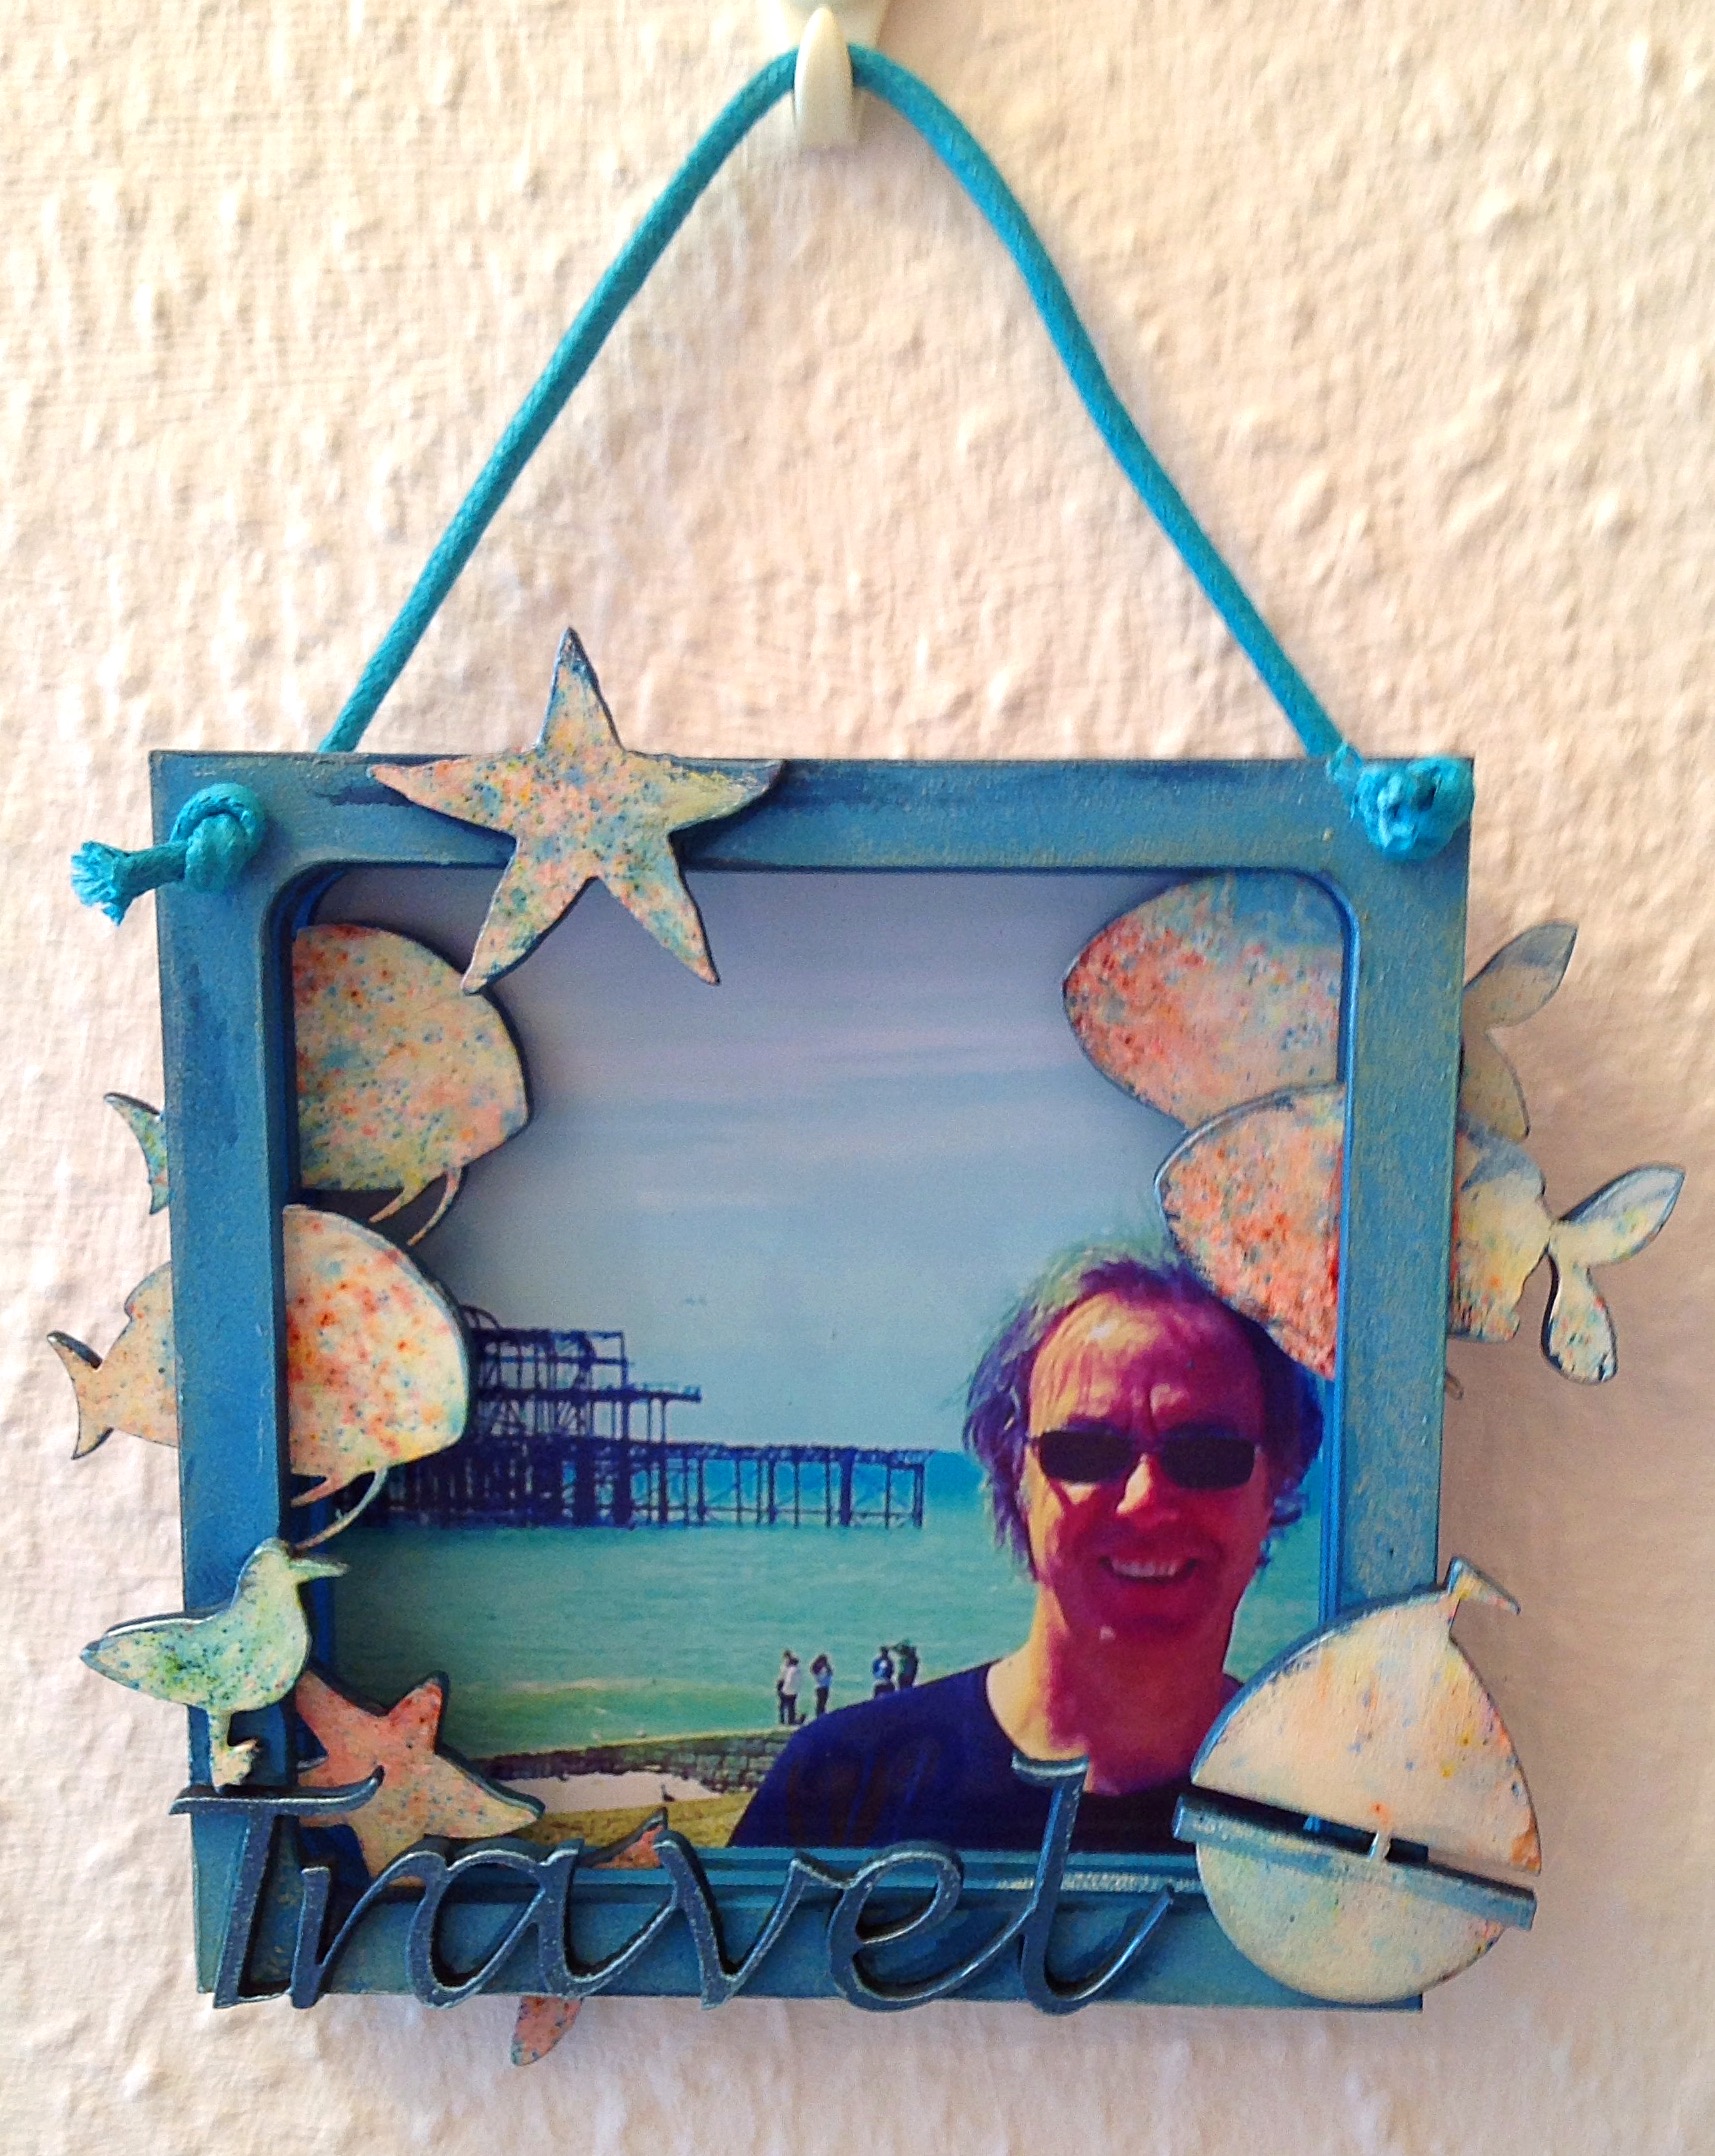
I made a photo frame using 3 MDF frames and inserted sea creatures coloured with Colourburst powders. The title Travel is MDF, painted and dry brushed. The frames were painted, crackled and Antique Creamed using DecoArt products.

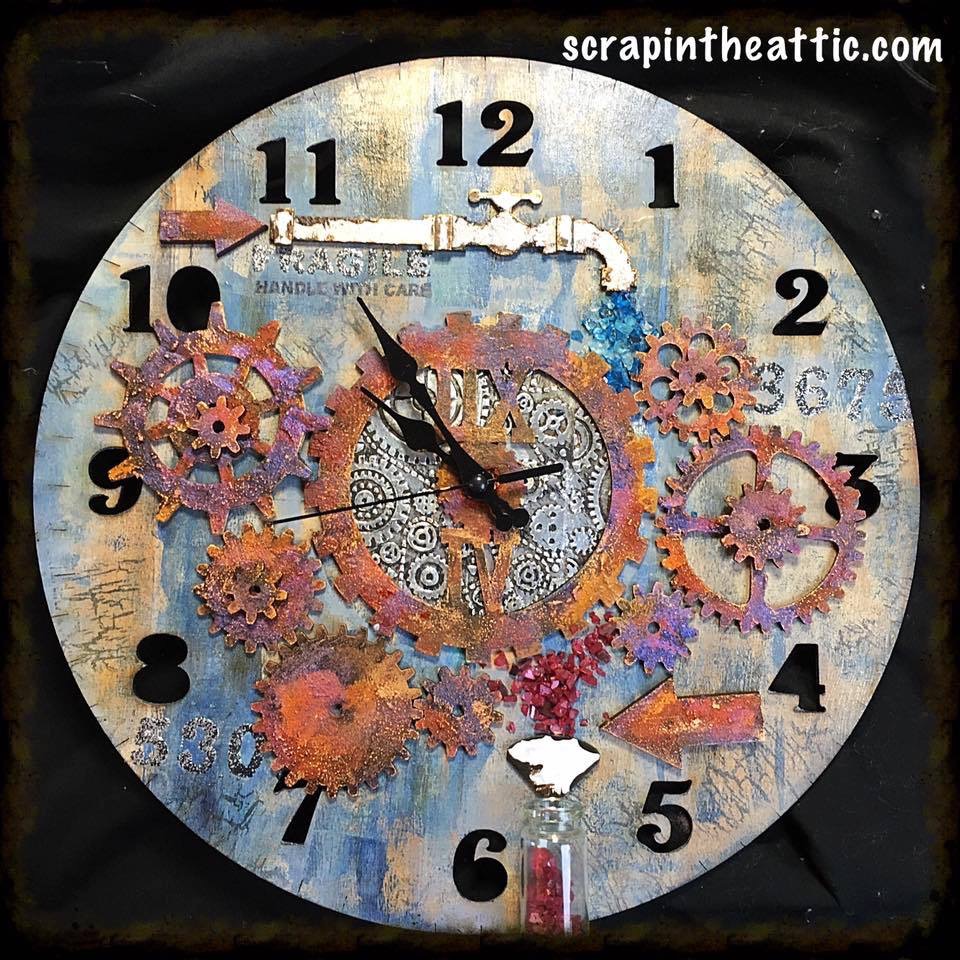
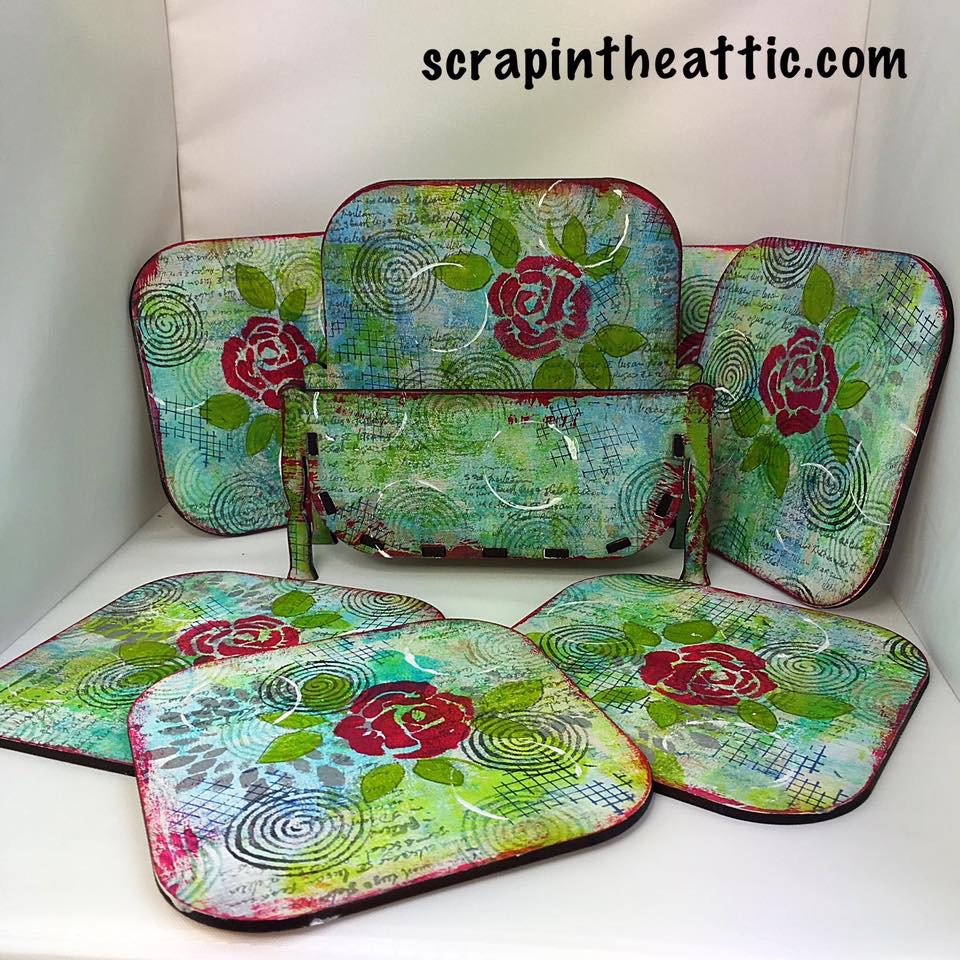
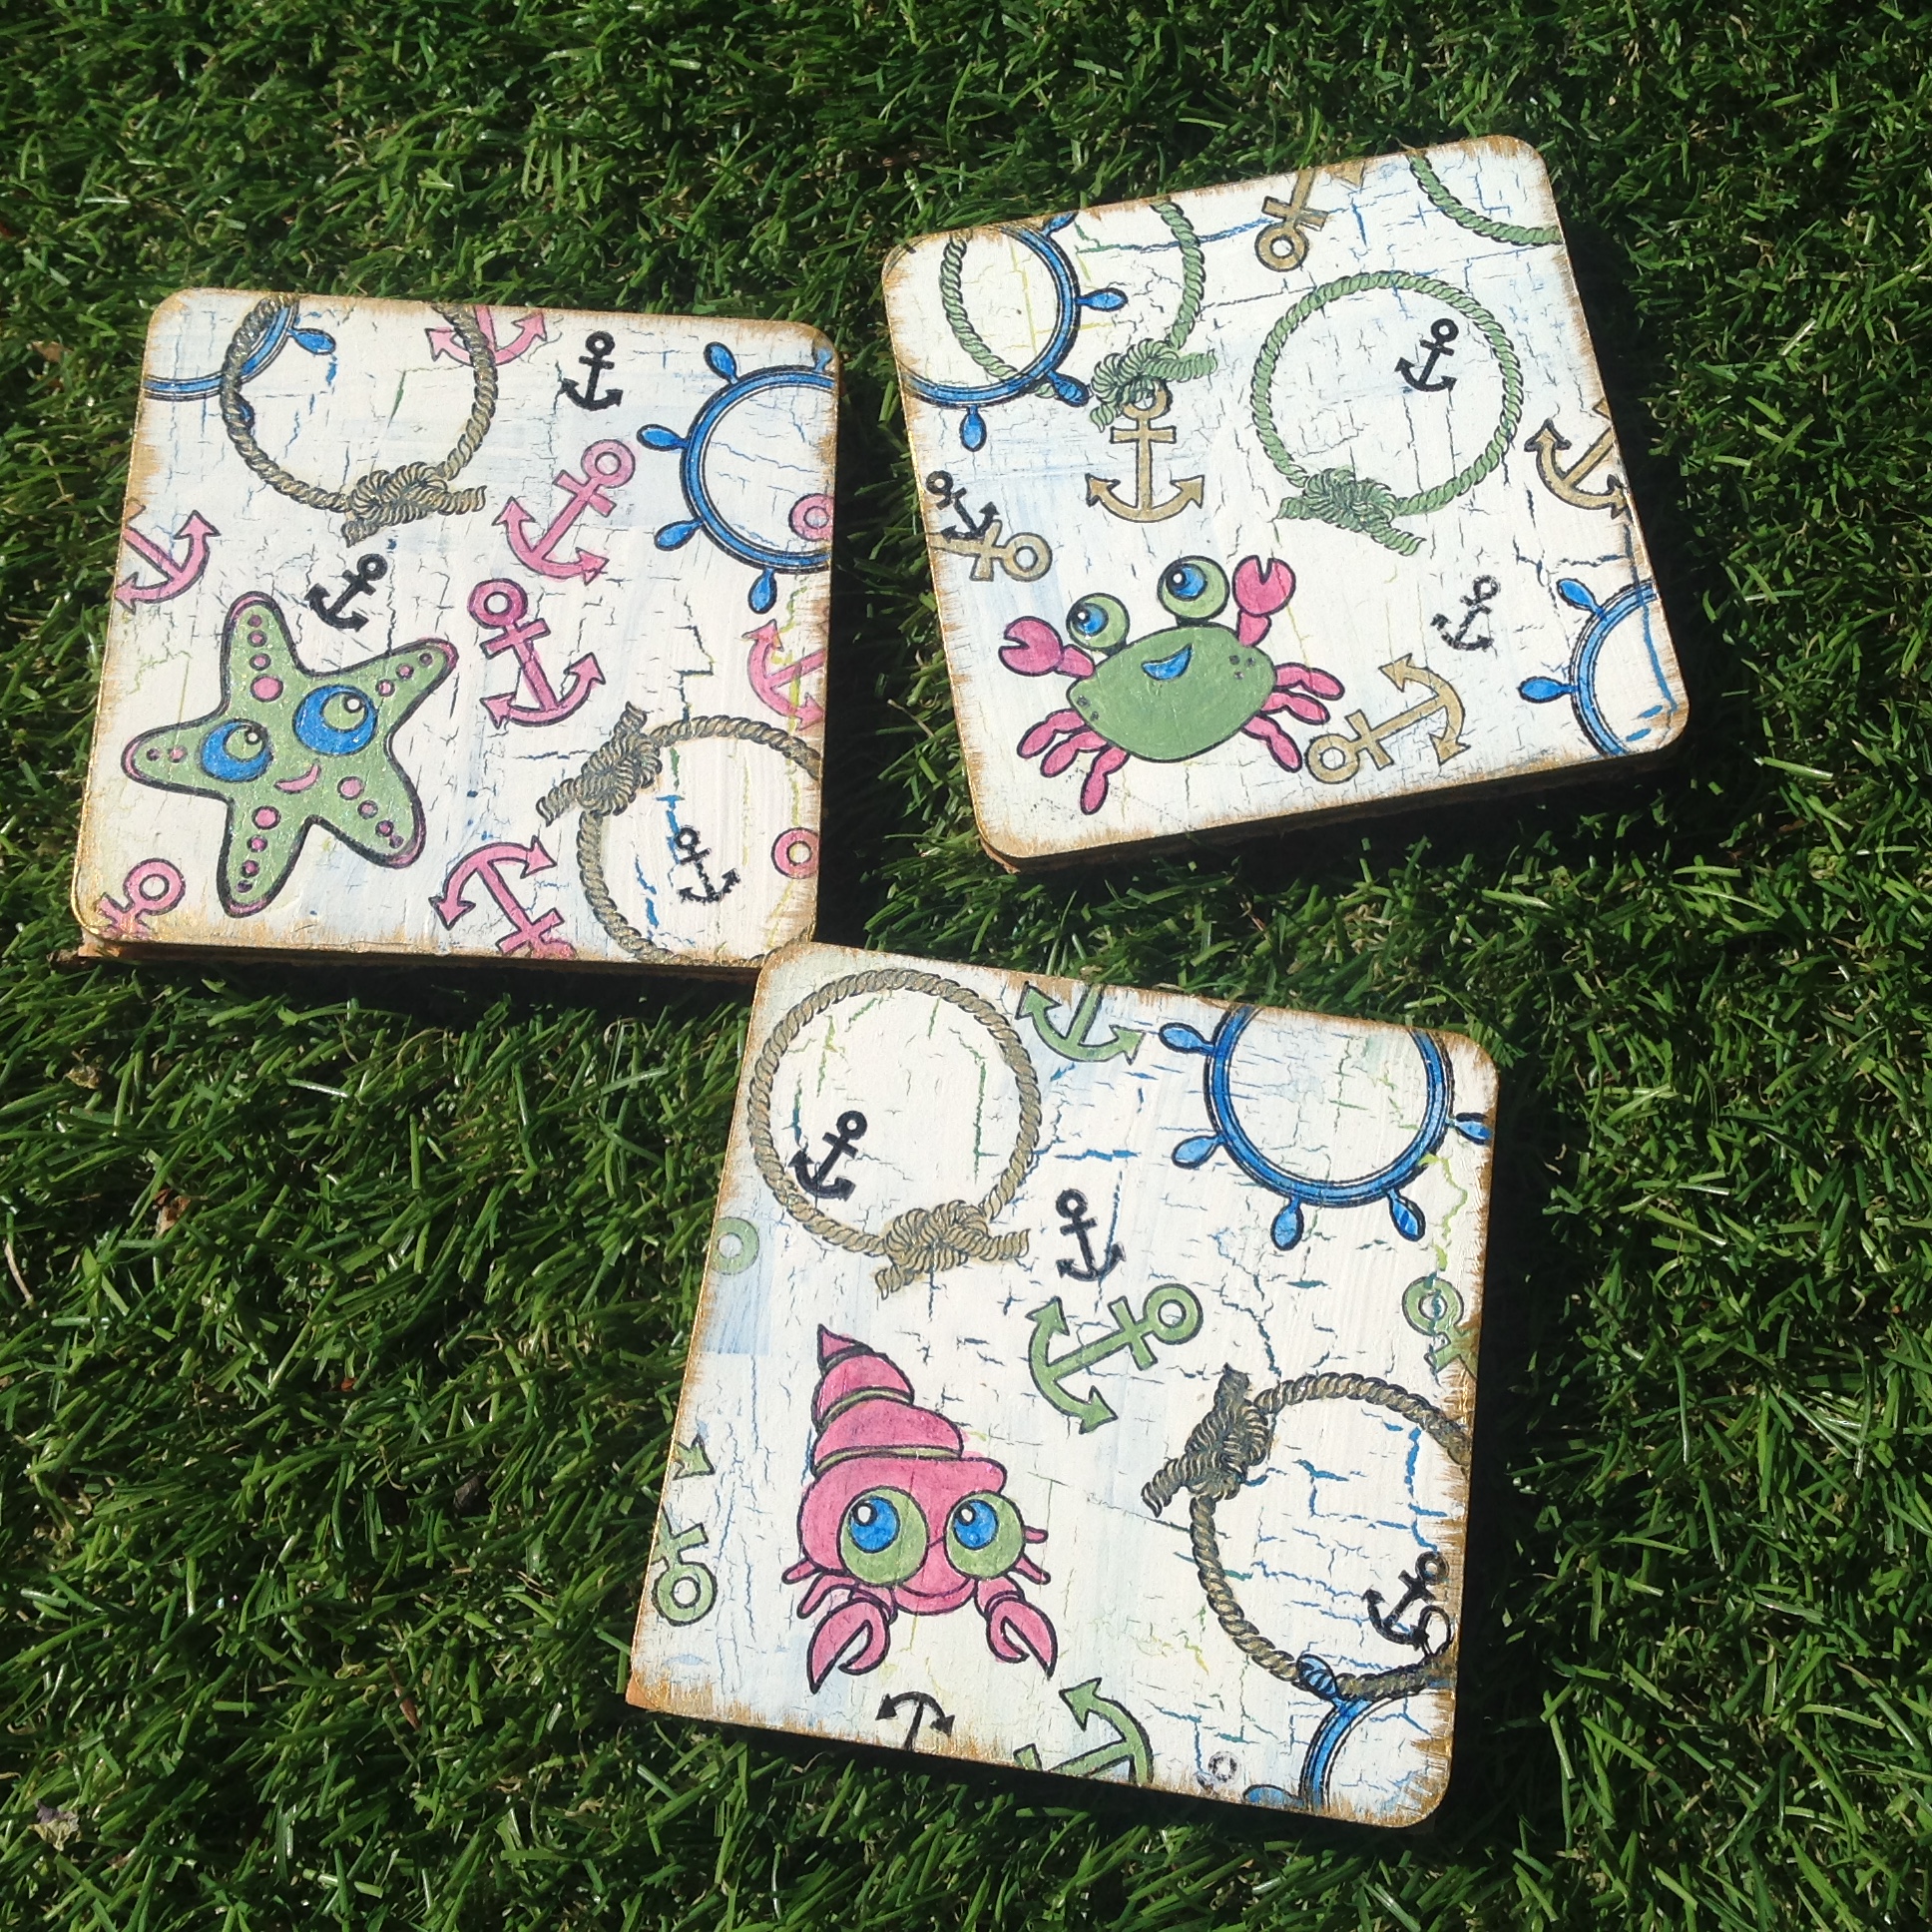
The coasters were made from the inserts from the frames above! They were painted, crackled and then stamped with Archival Inks. The shapes were painted with metallic paint, I varnished them with Softtouch. The backs were covered with black felt.


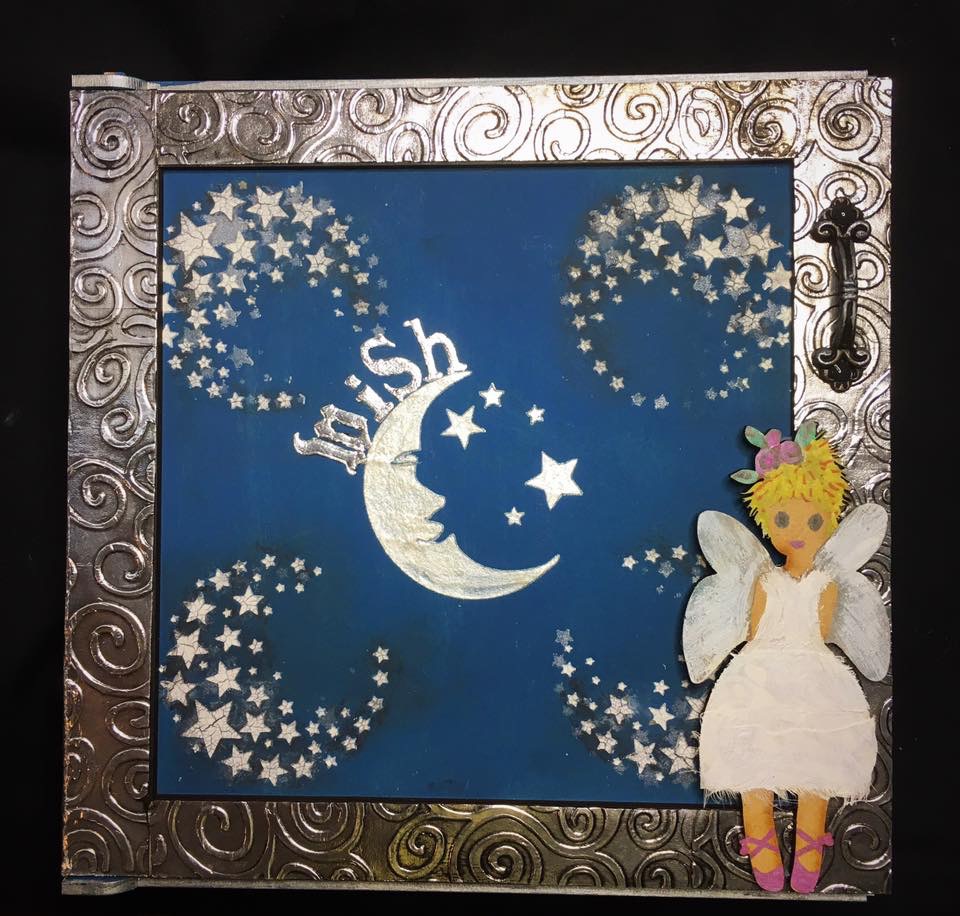
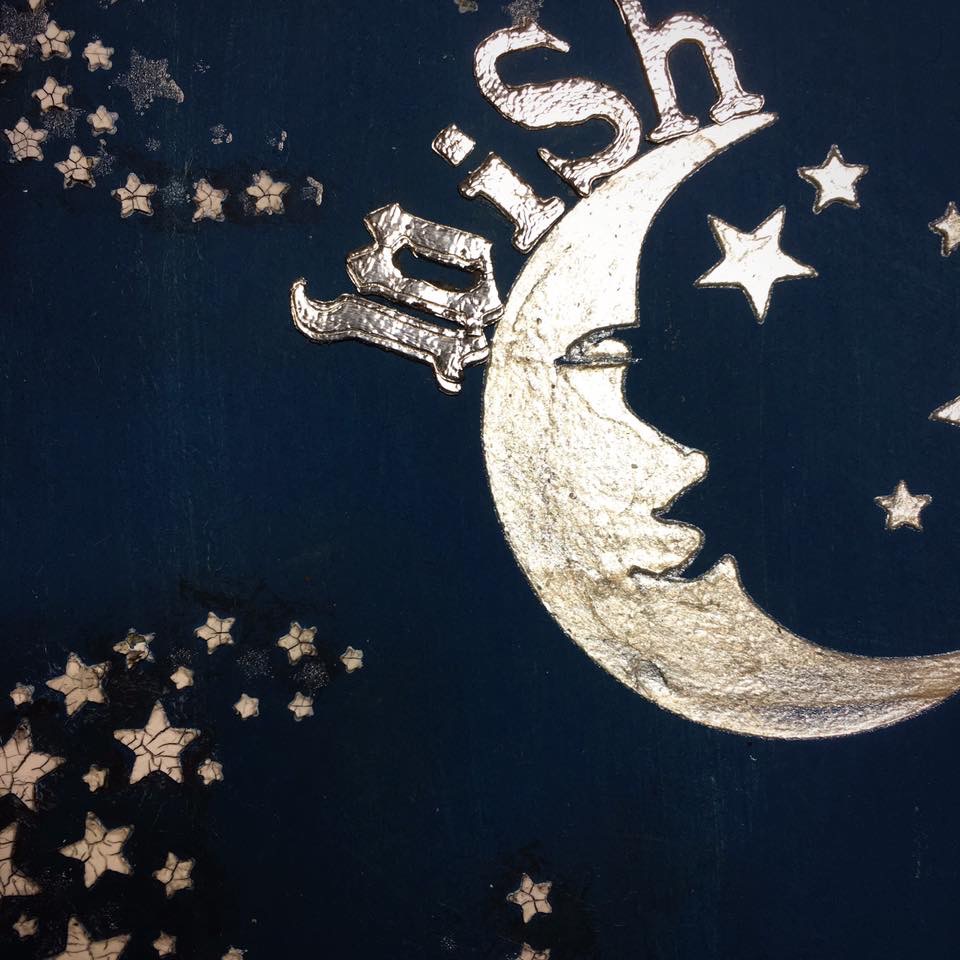
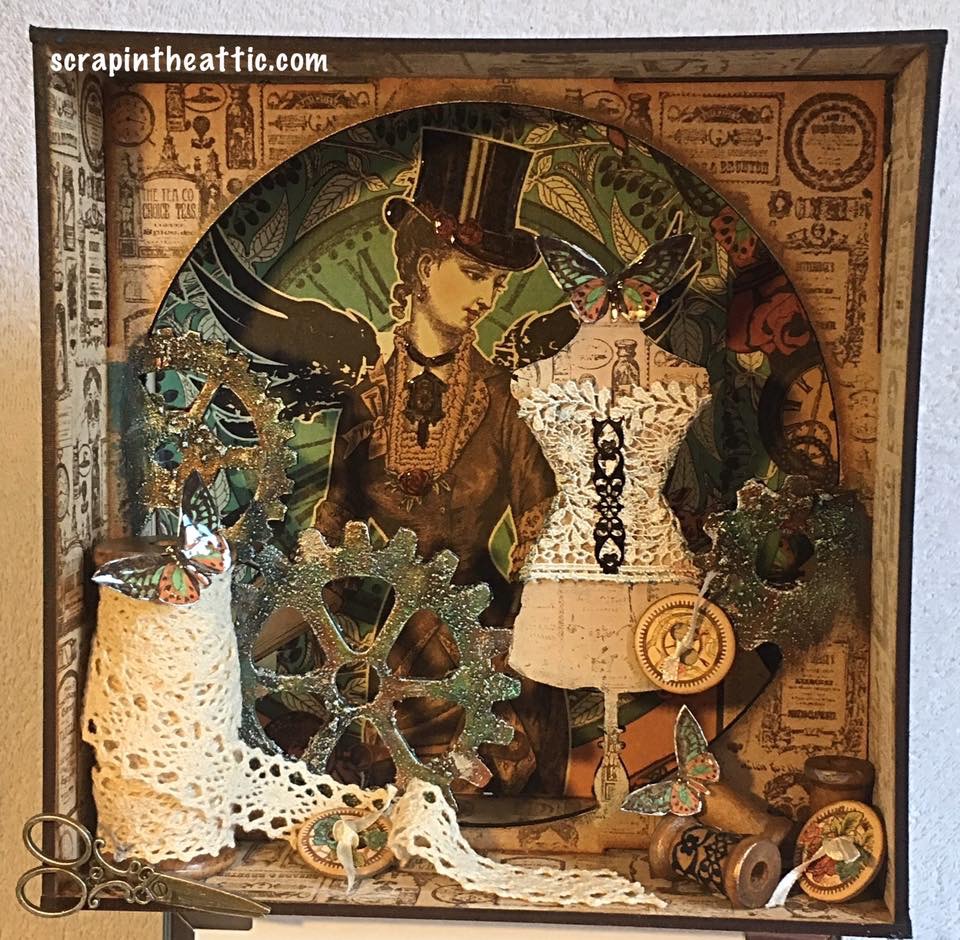
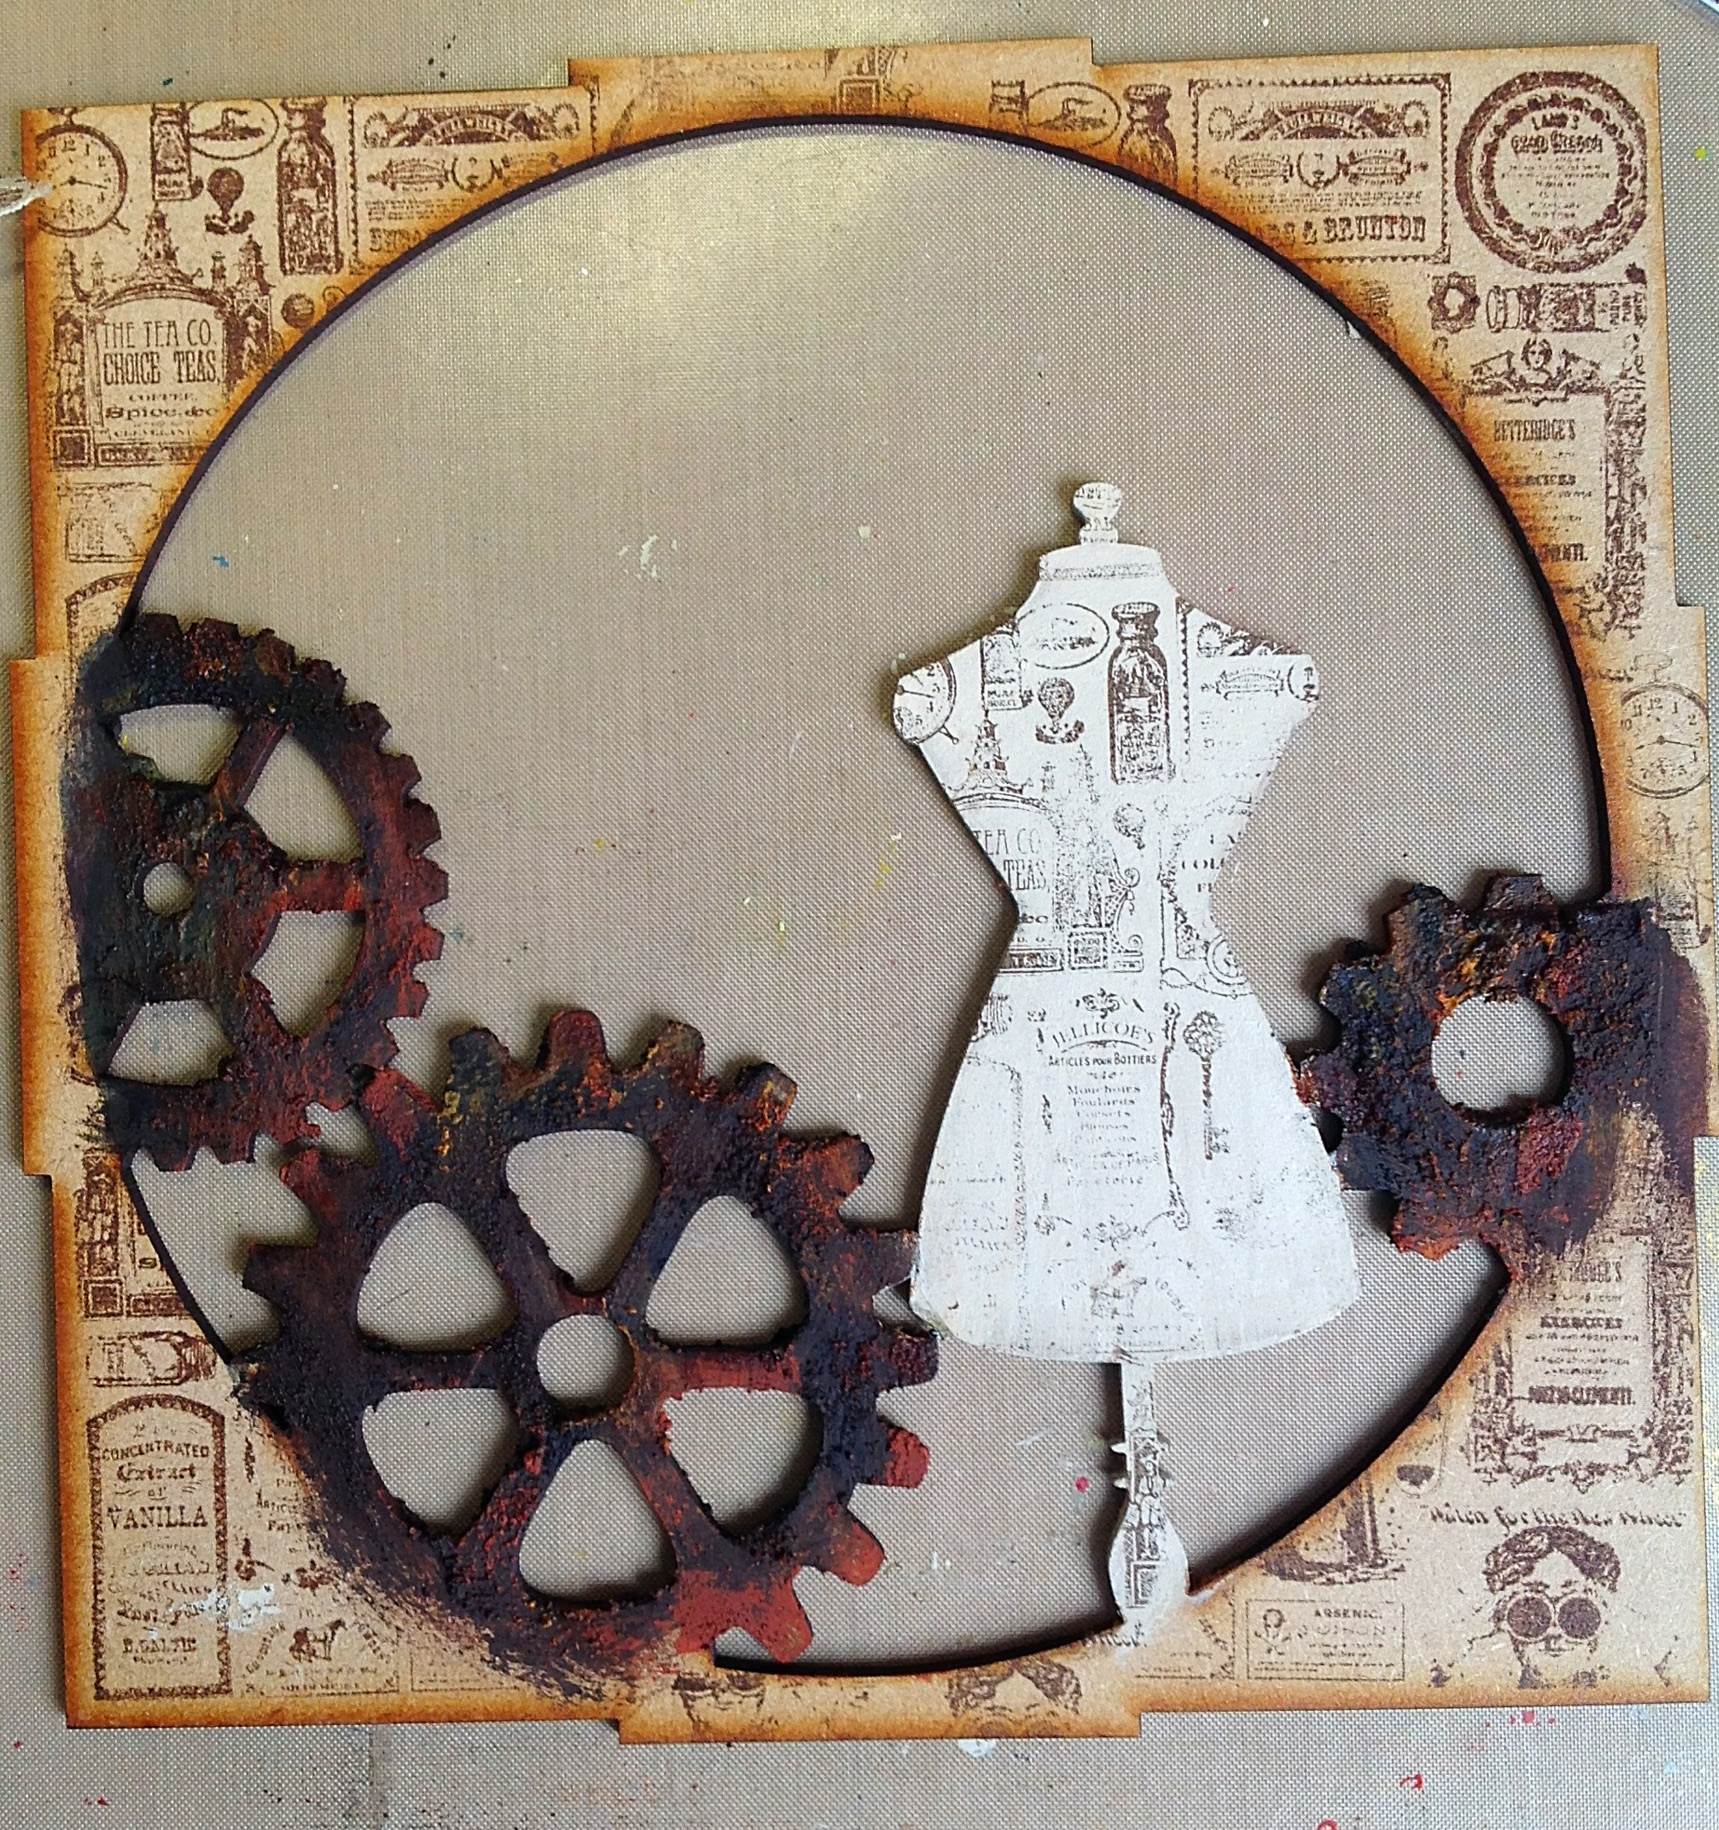
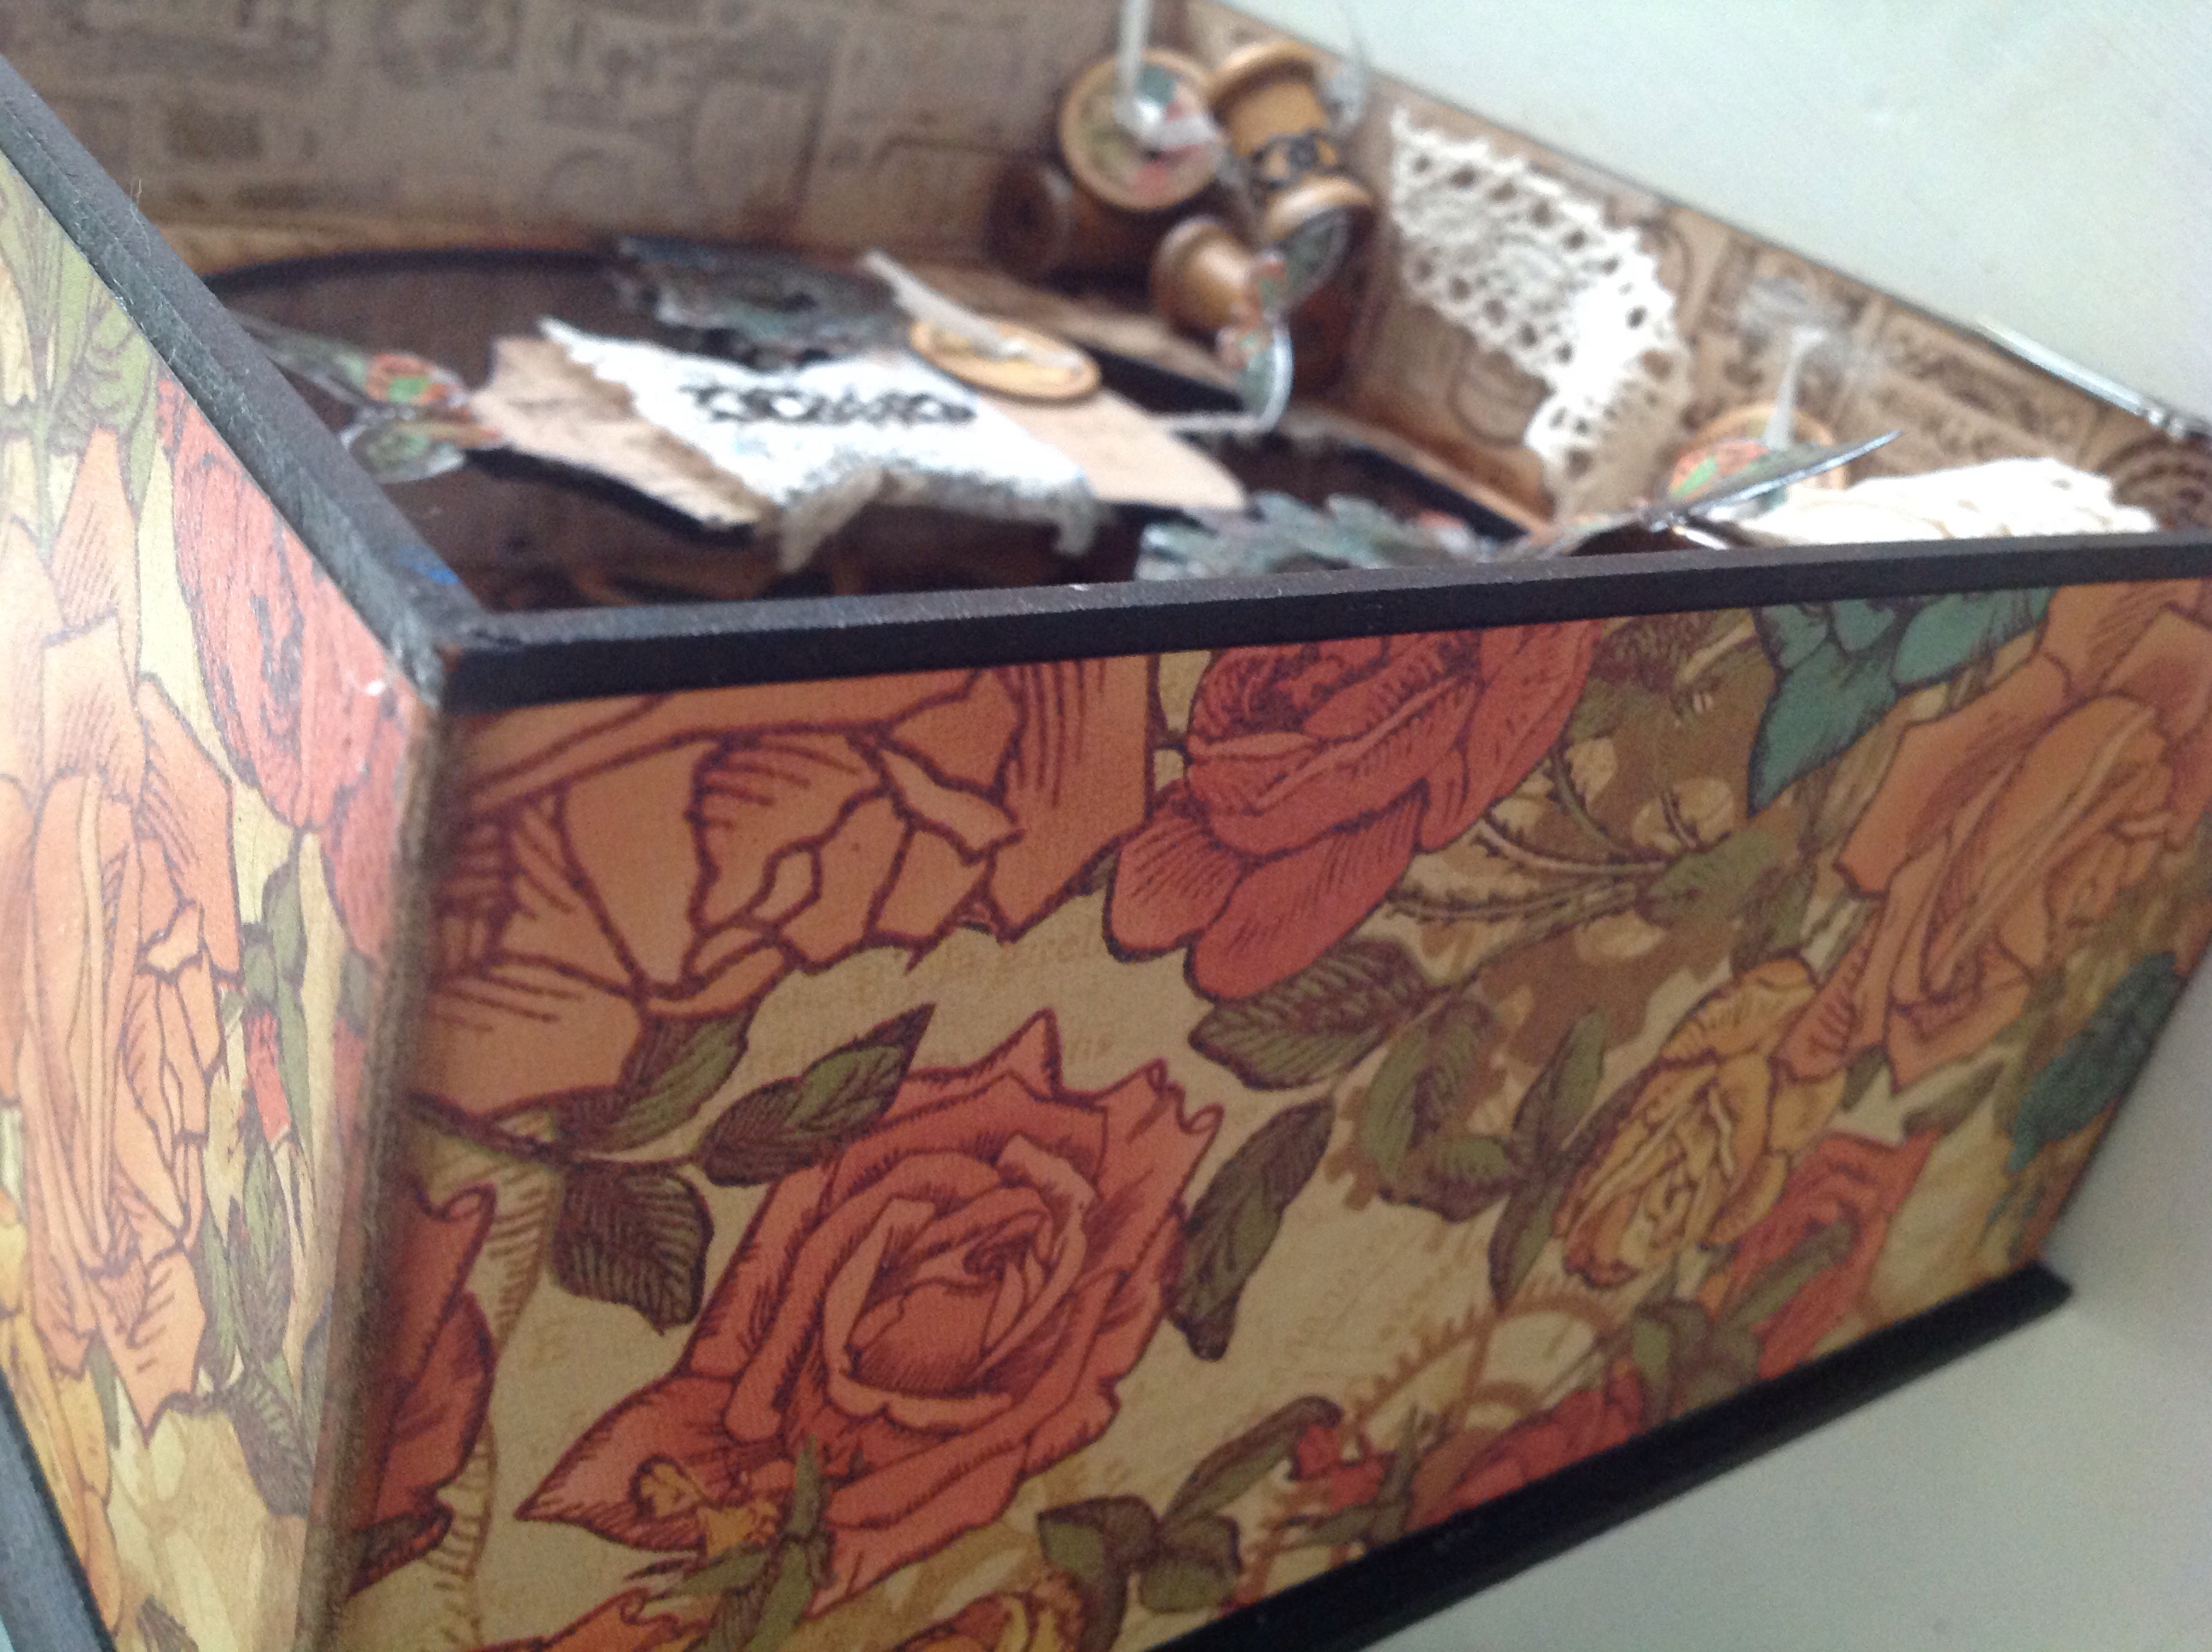
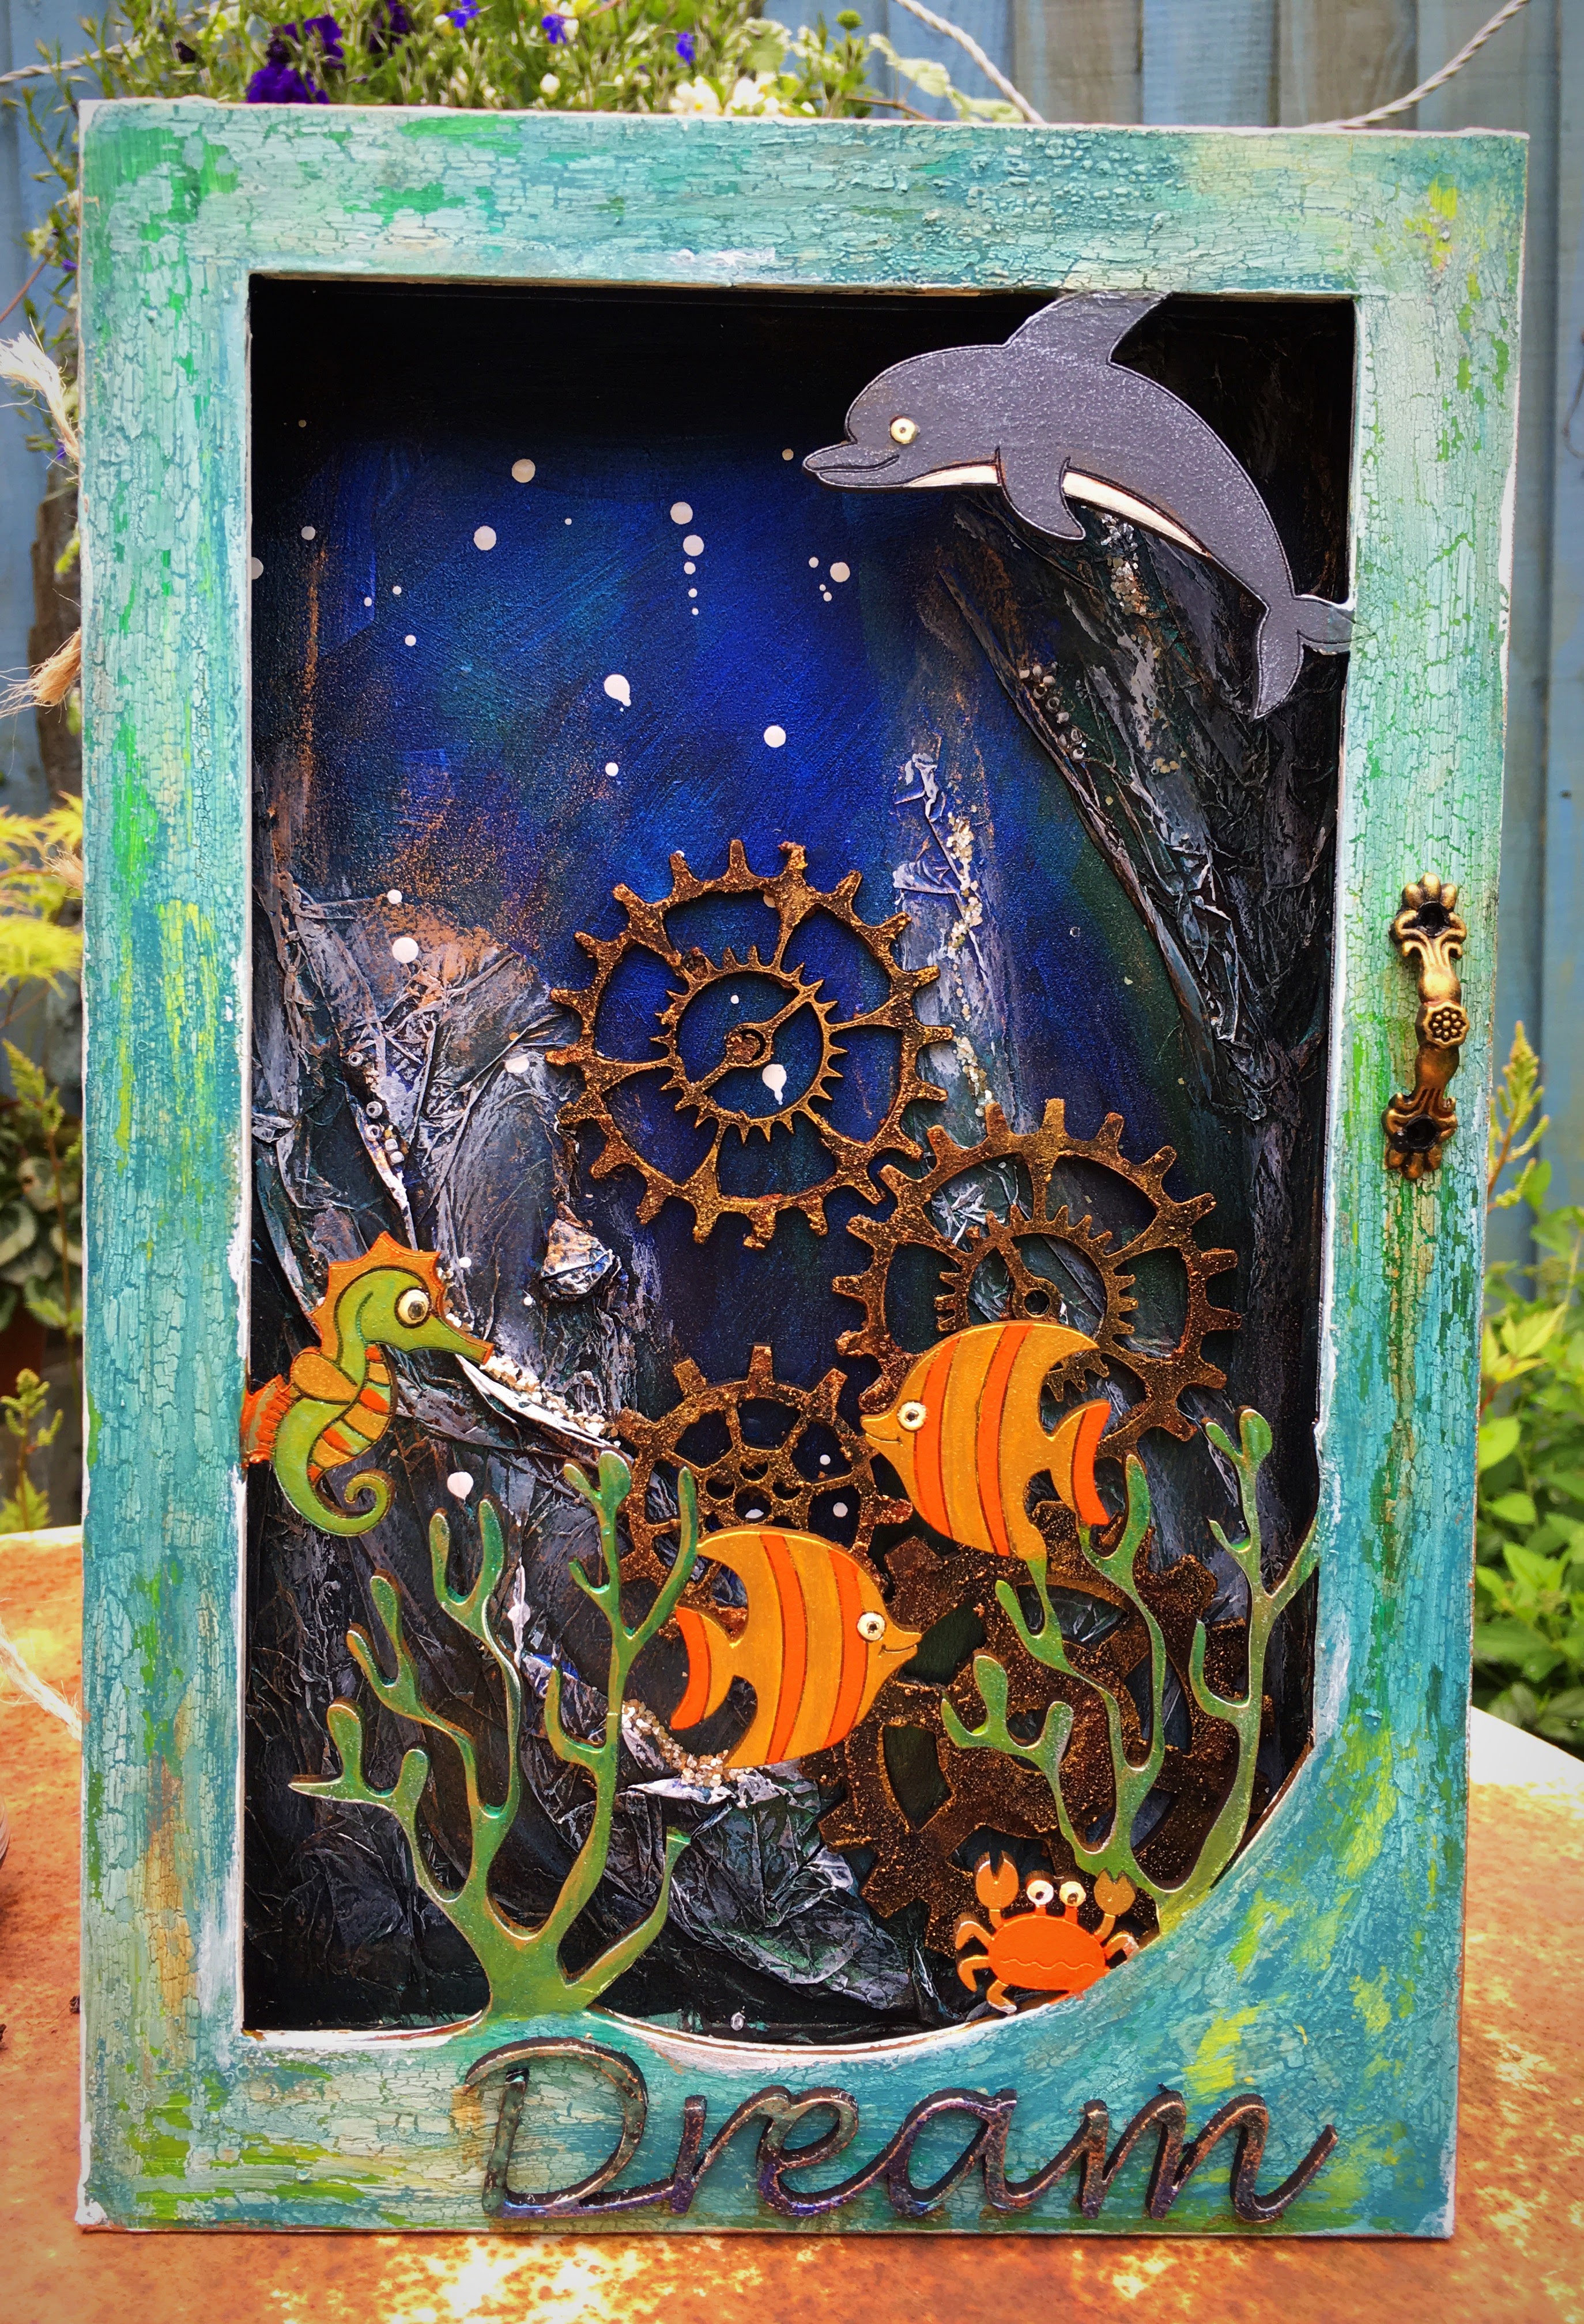
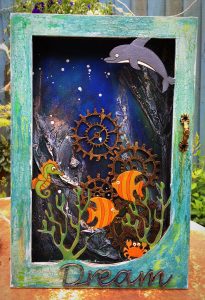
The Sea Box was fun to make! The frame was painted, crackled and Antique Creamed. The MDF title was painted and drybrushed, the handle was added and rusted. The Sea creatures were all painted with acrylics and the eyes Glossy Accented. The inner scene had tissue glued on in seaweed shapes and then painted with Iridescent Paints. The cogs were rusted using Prima products to resemble a shipwreck. The box was painted and the inner covered is scrapbook under the sea papers. The box was tied on using rough string.

I hope you see my samples on Hochanda!

Hugs

Jan x