National Scrapbooking Day!

Posted on

Over at Jones the DT decided to join in the fun and create scrap pages to celebrate National Scrapbooking Day!

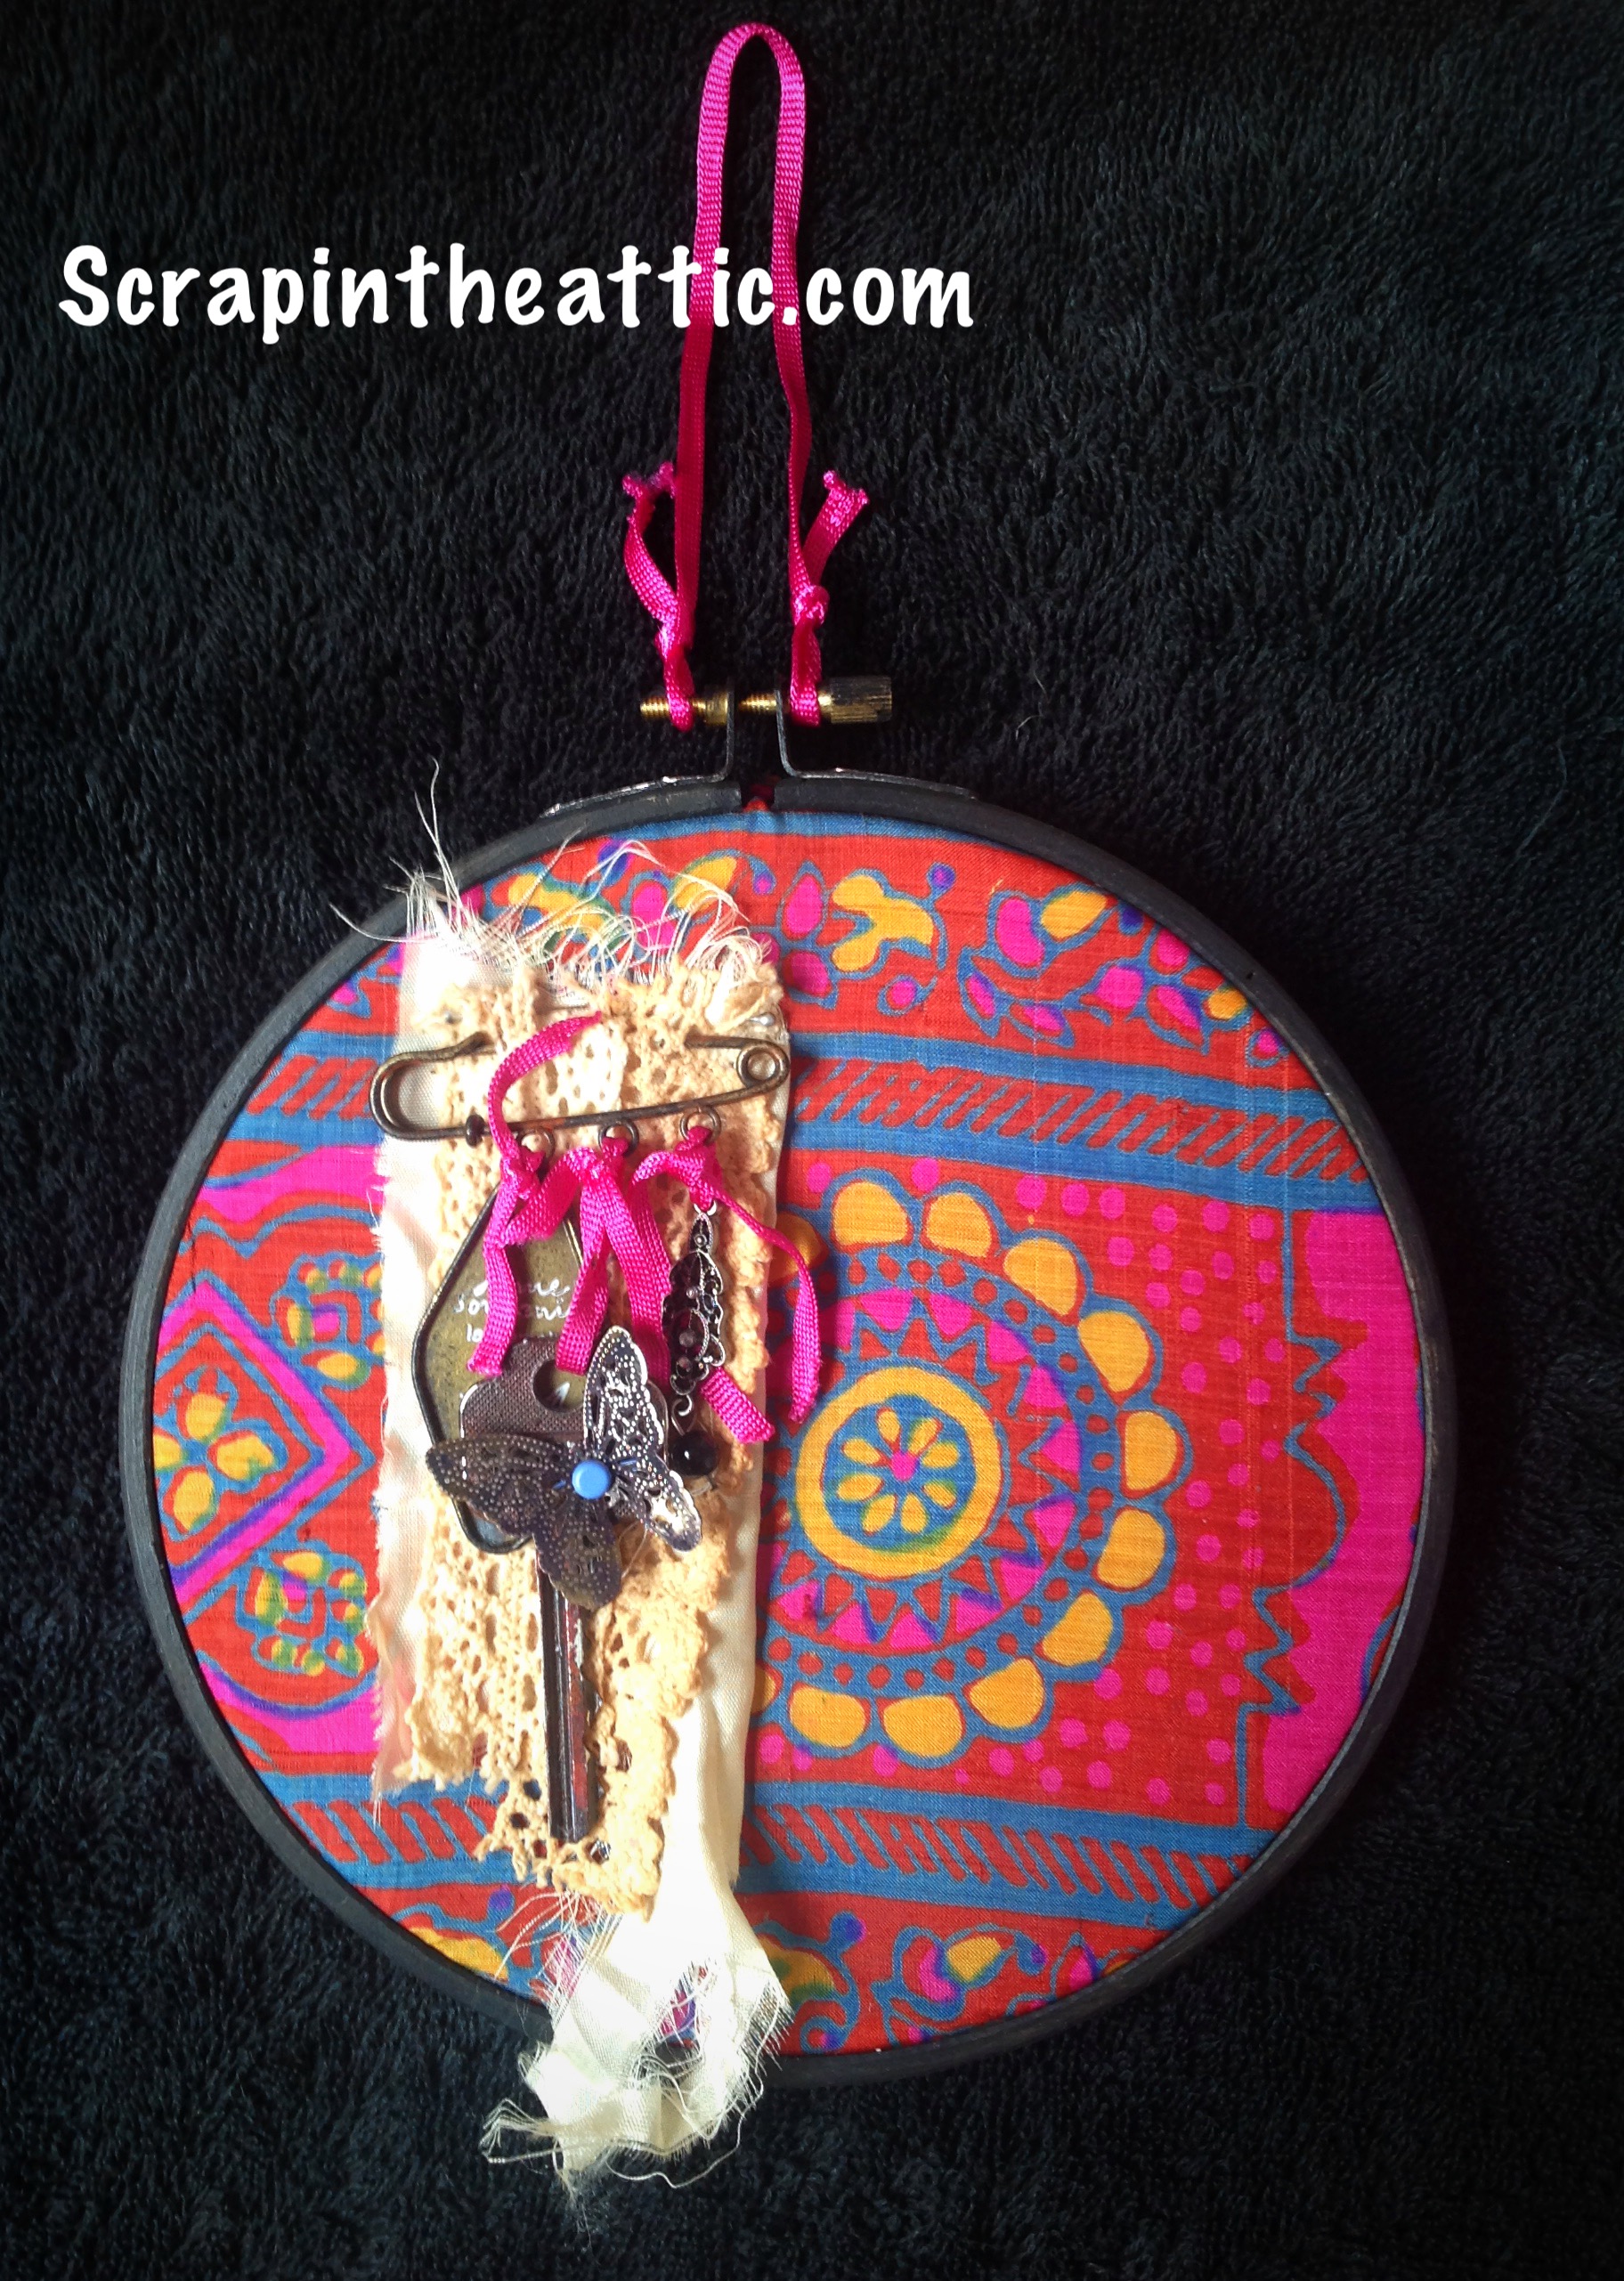
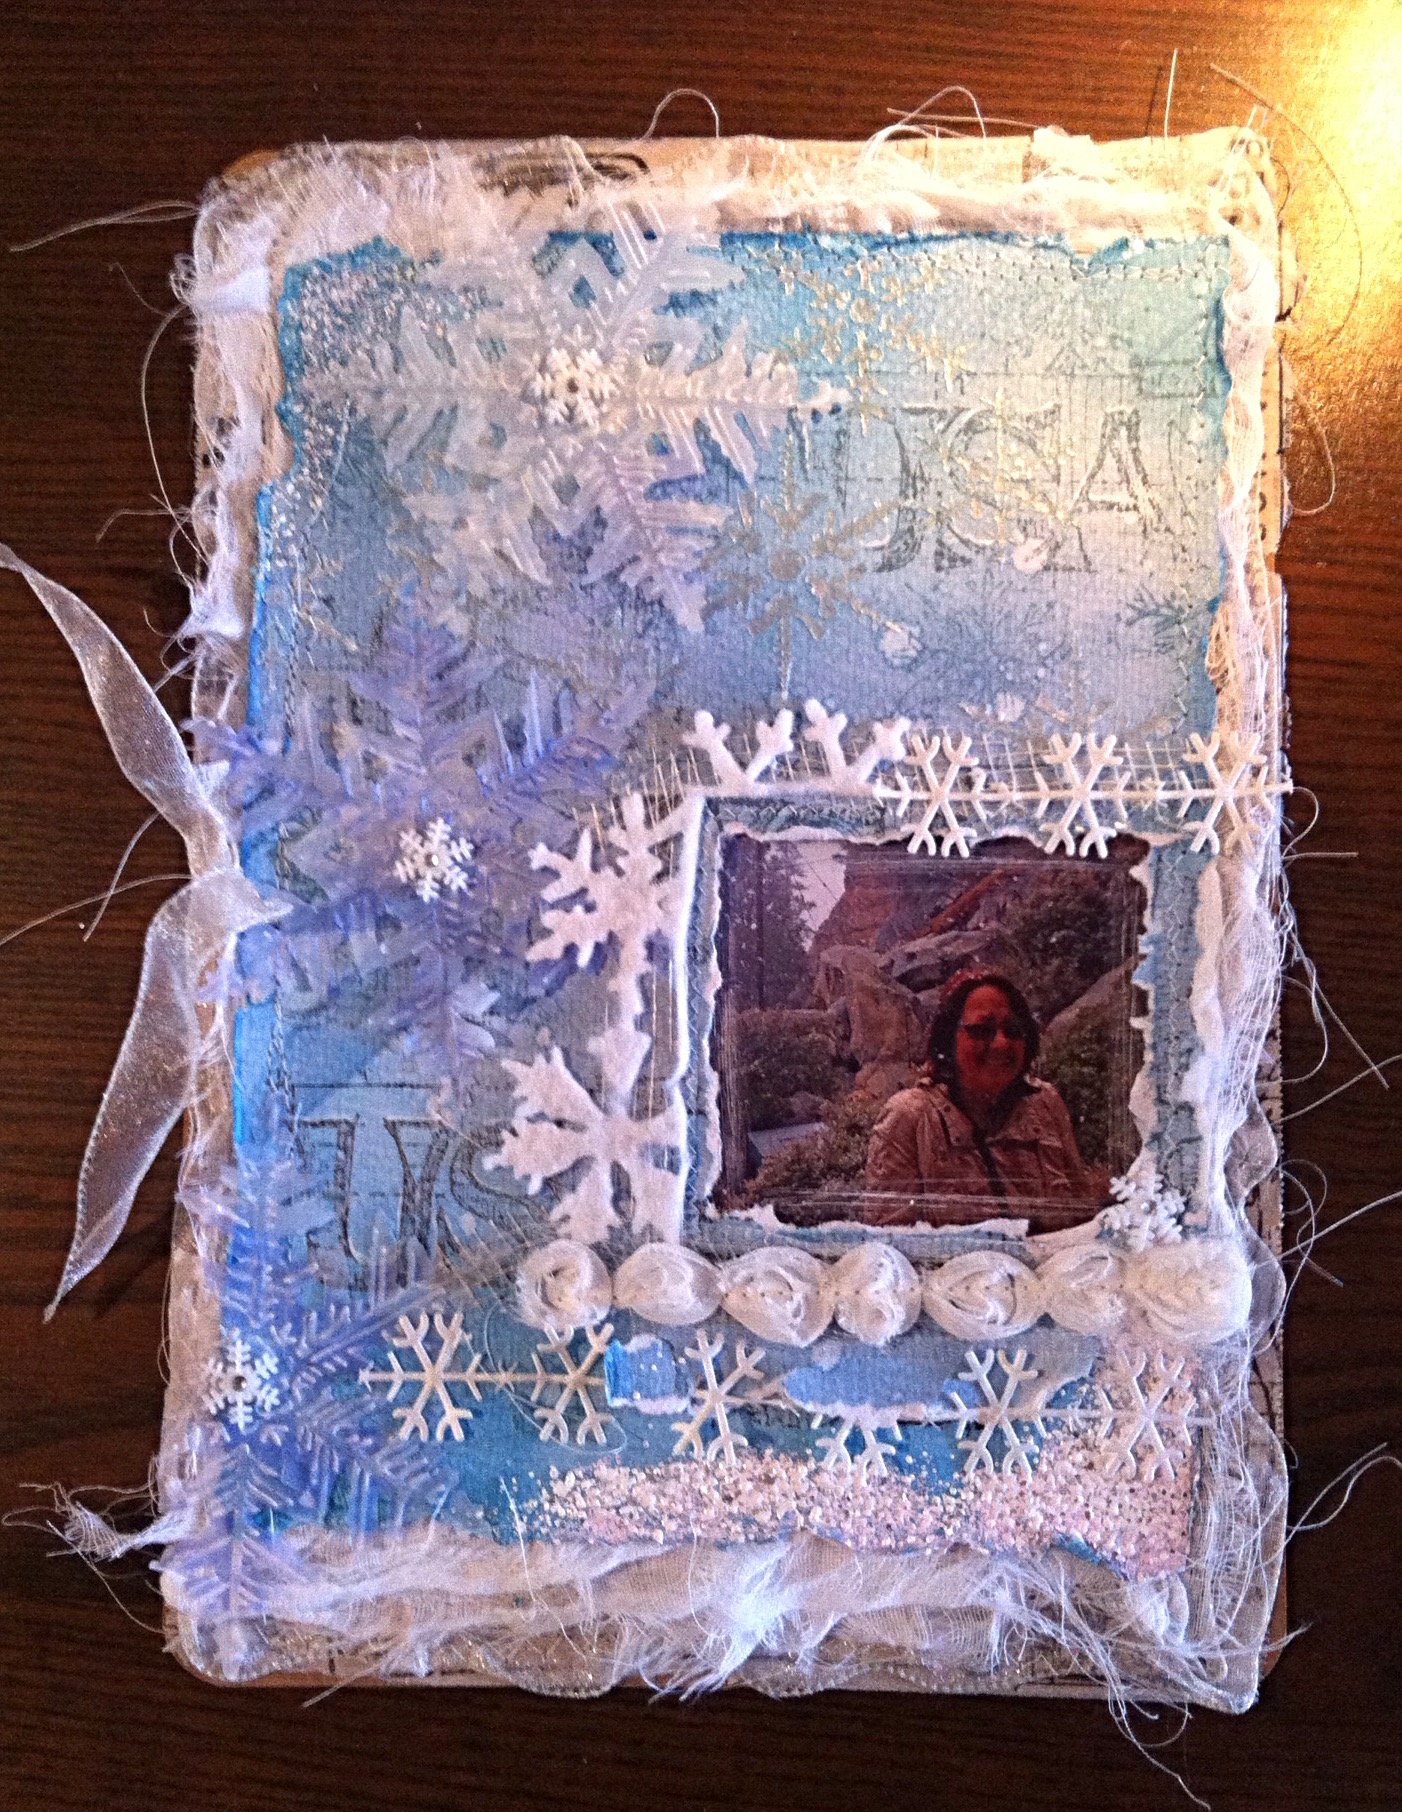
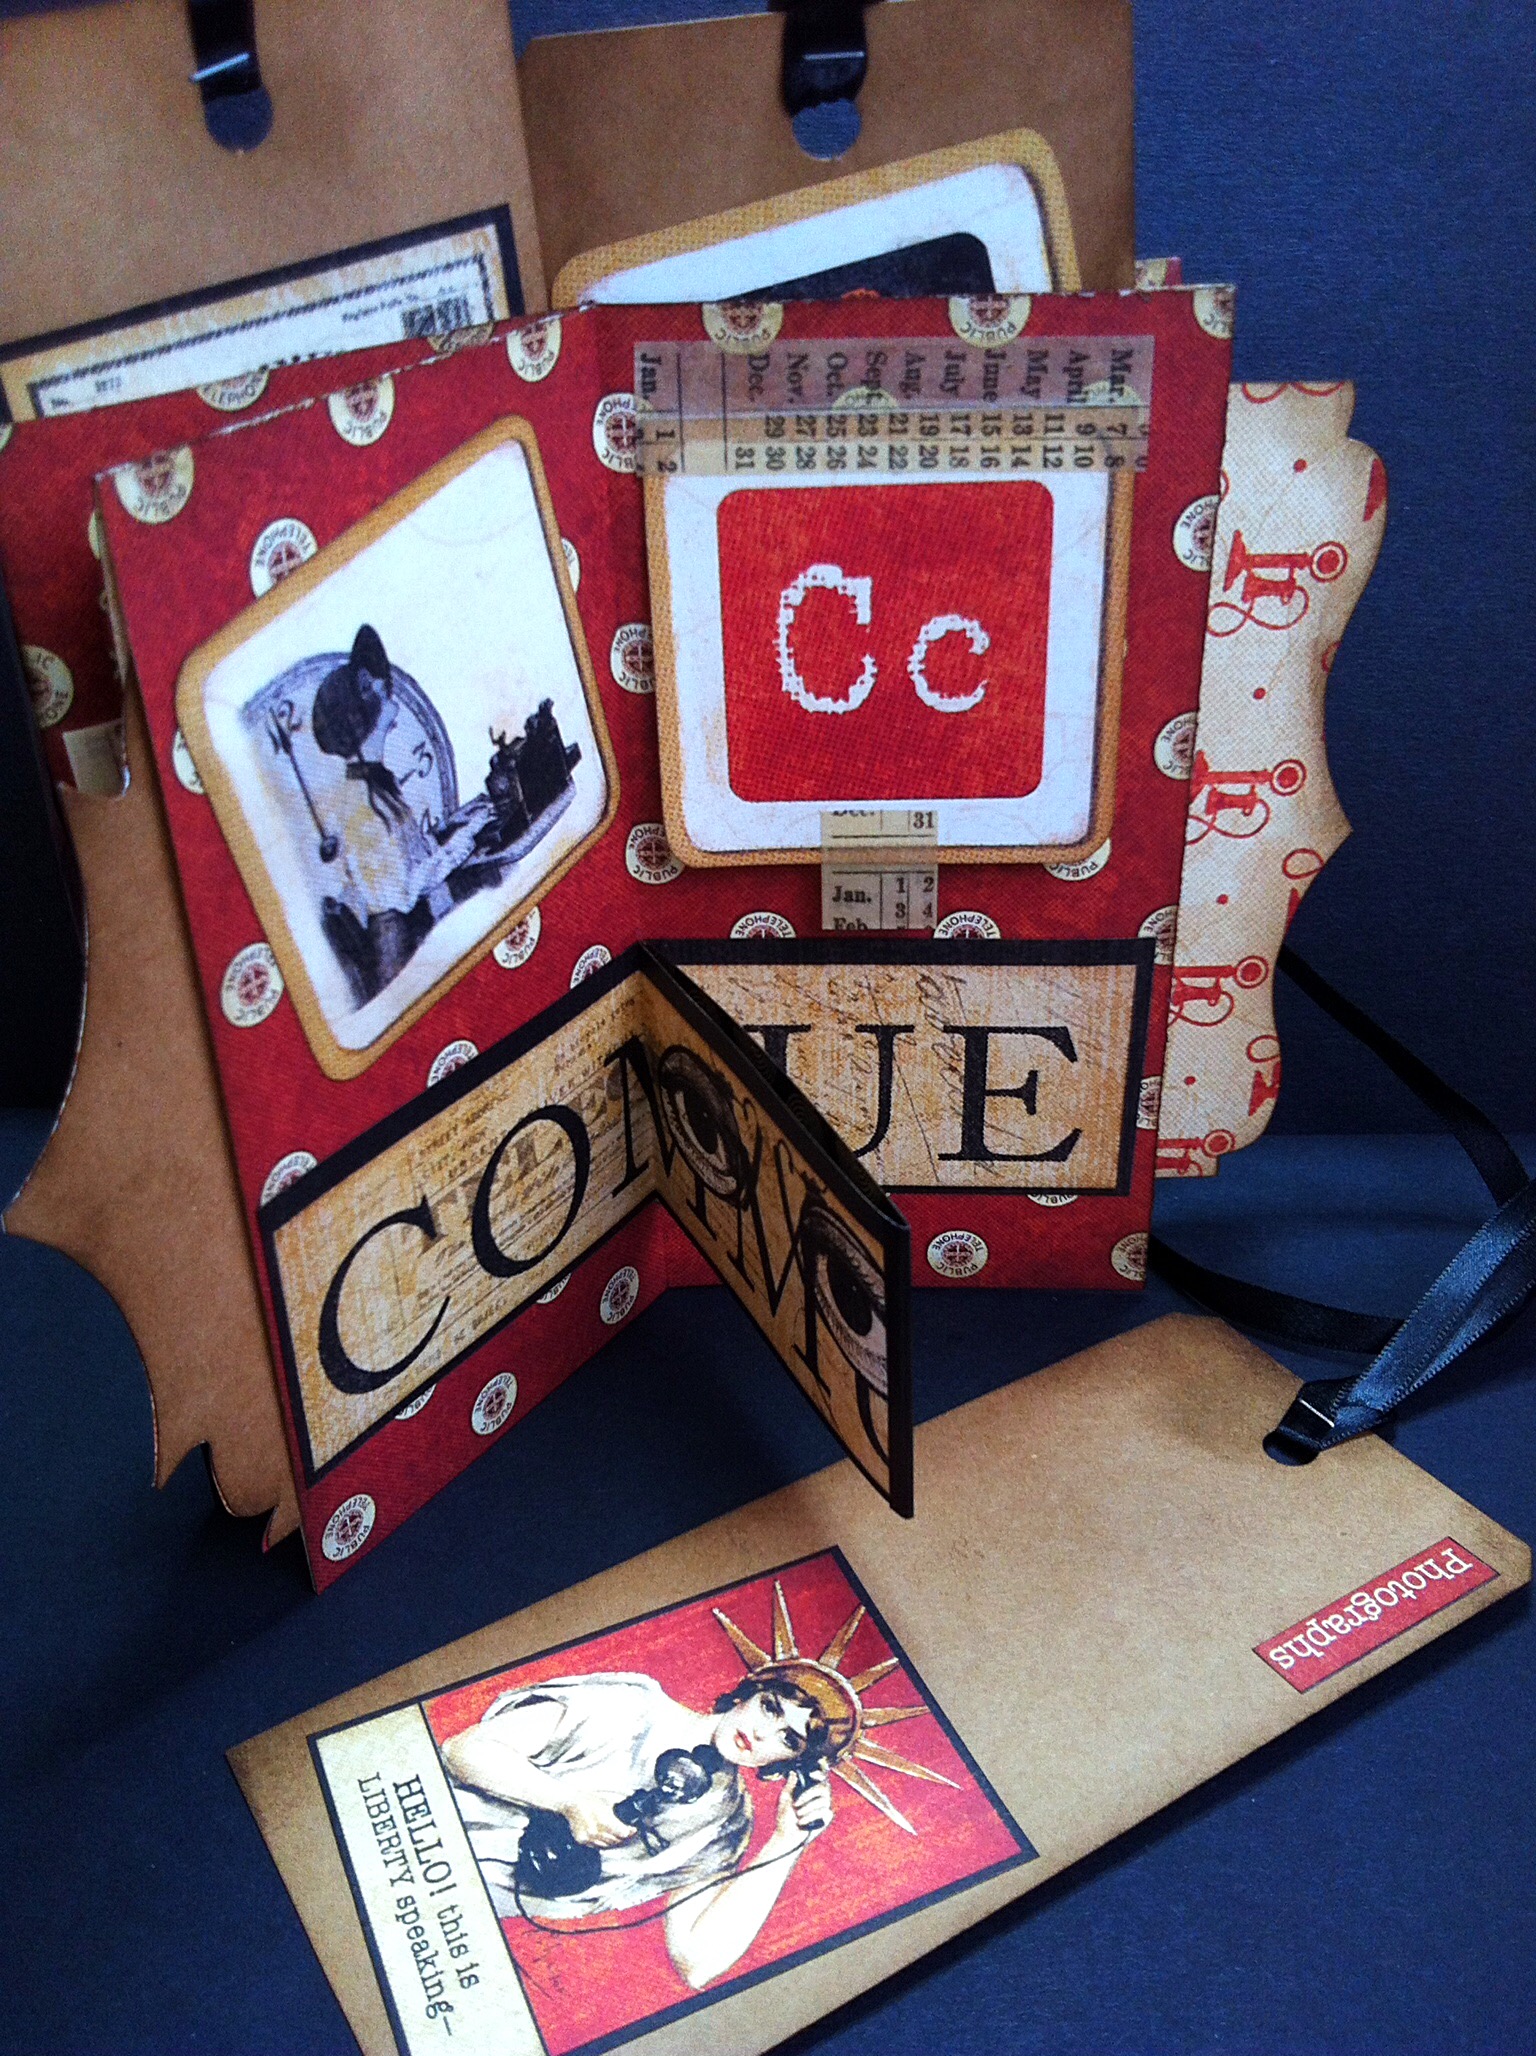
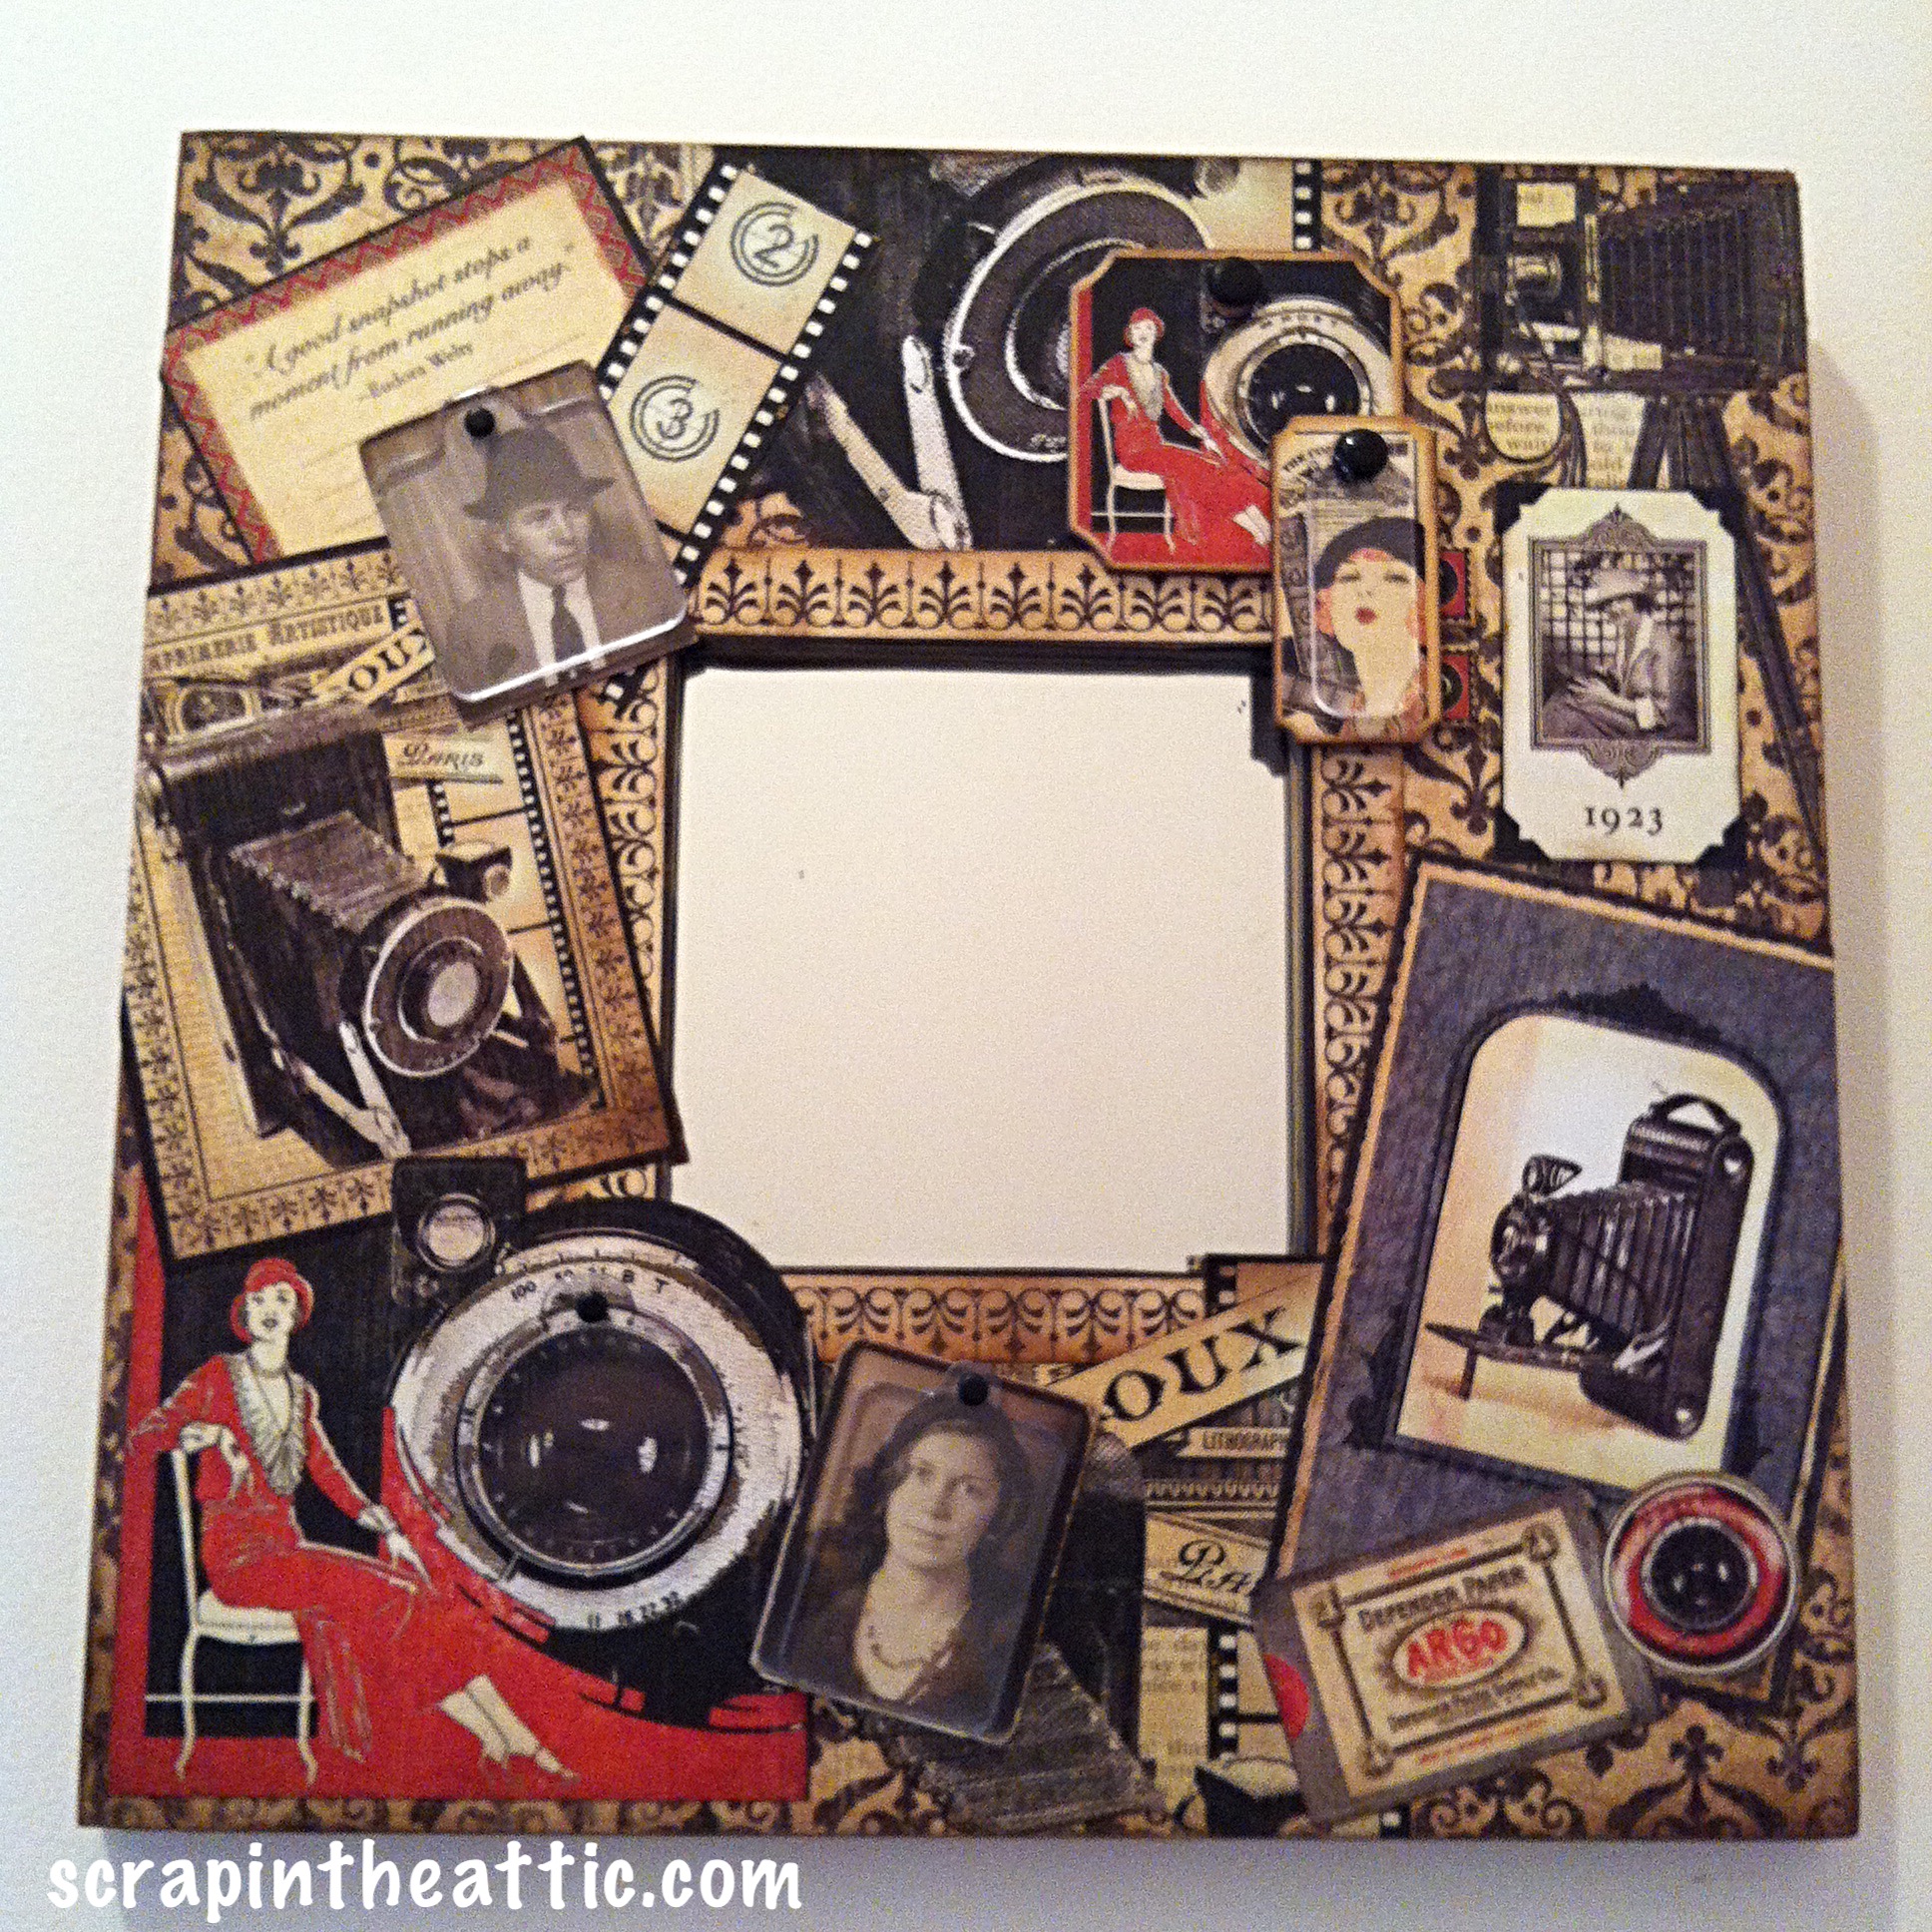
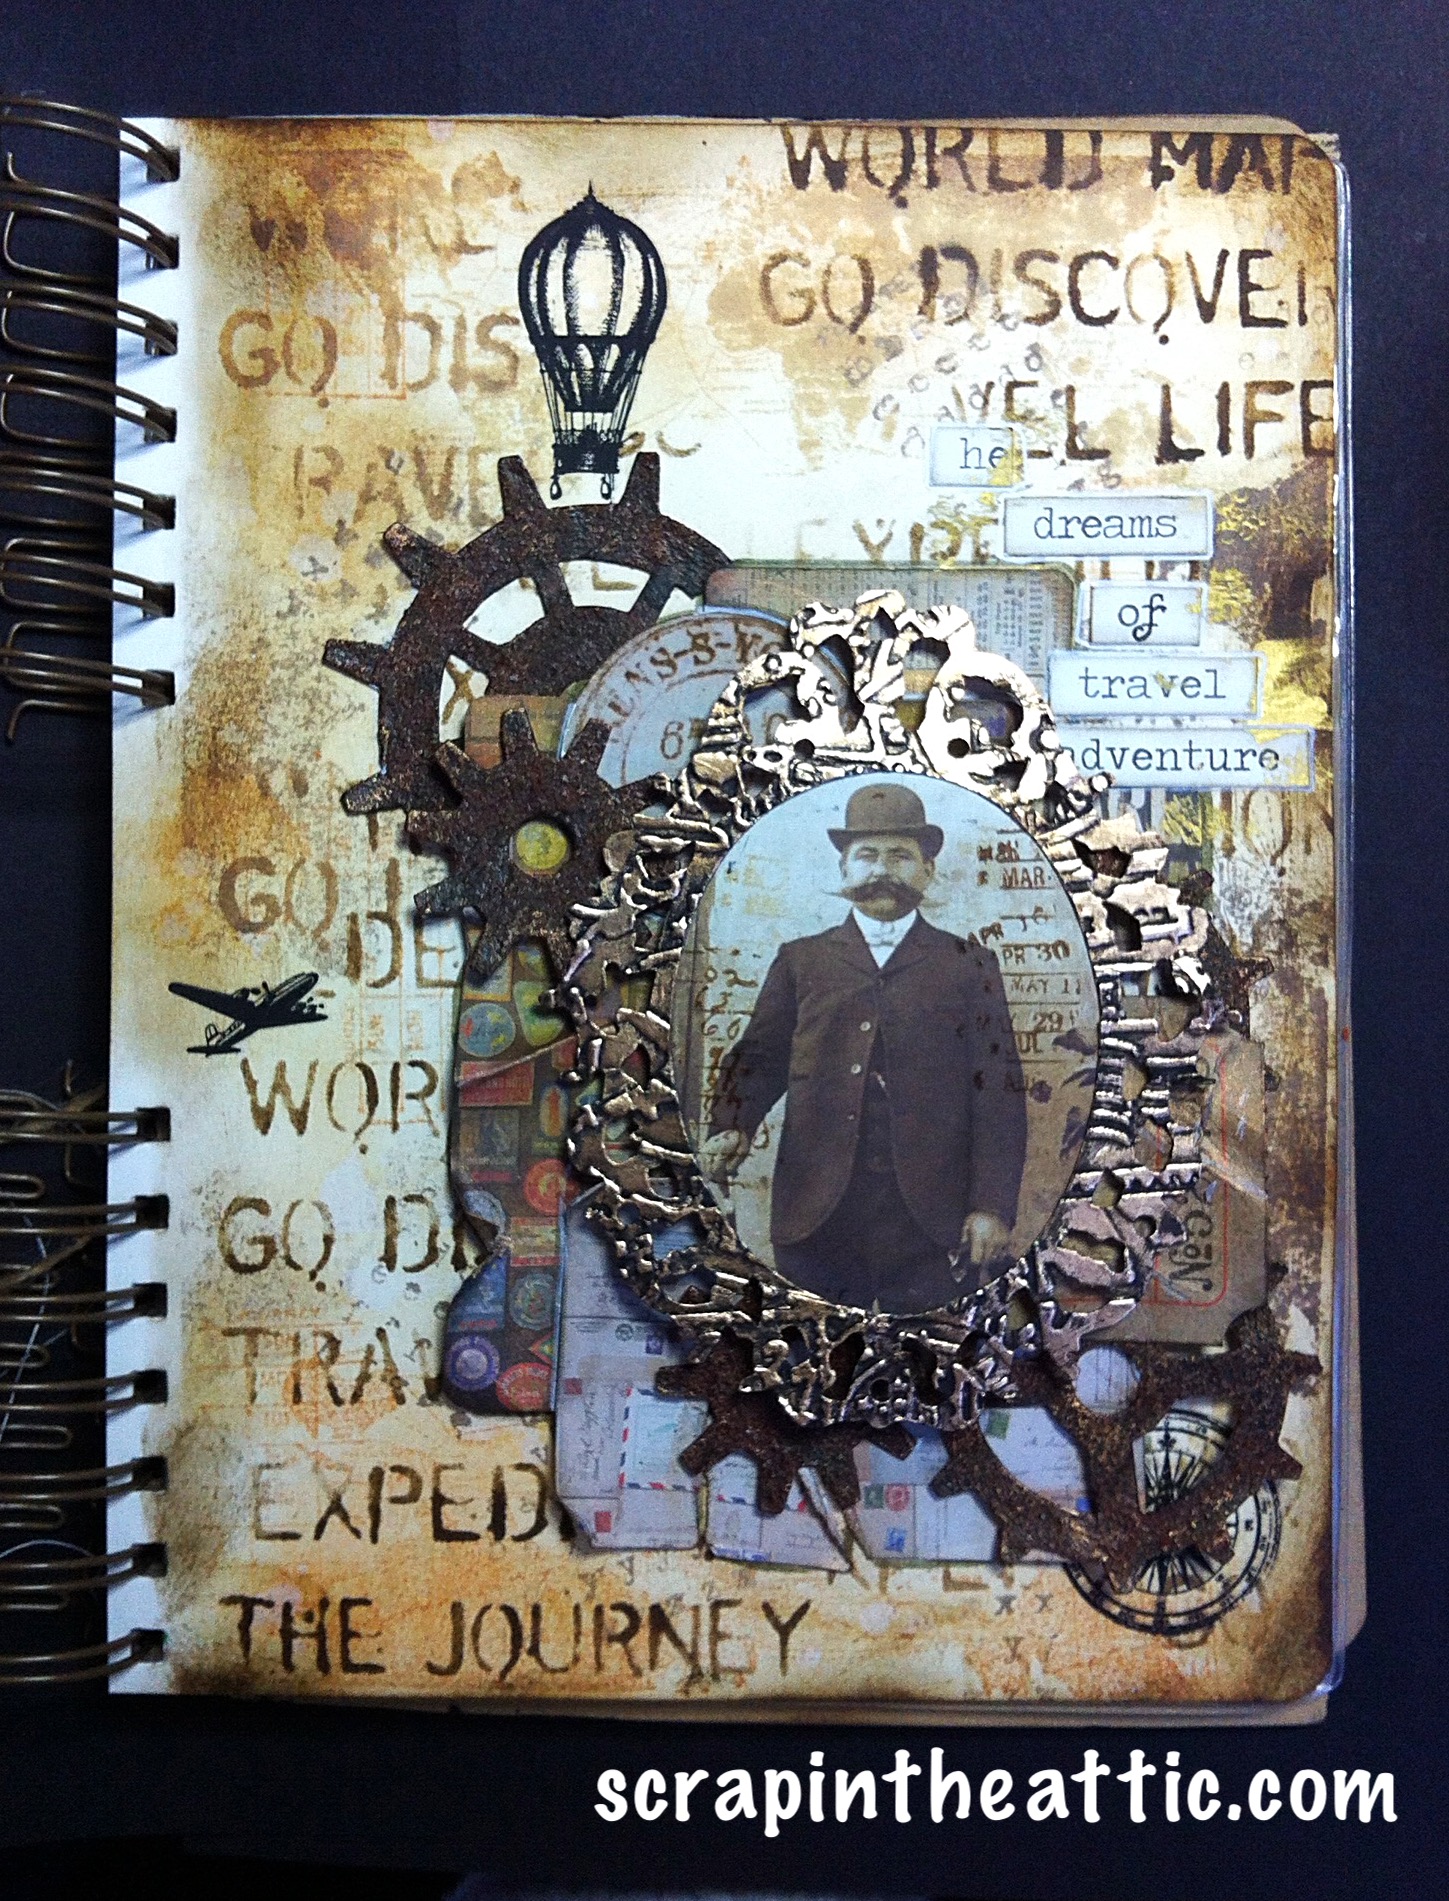
I created a fun page using G45 papers from Beneath the Sea papers, I love the steampunk influences.

Nat scrap


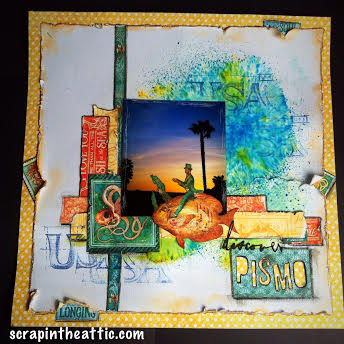
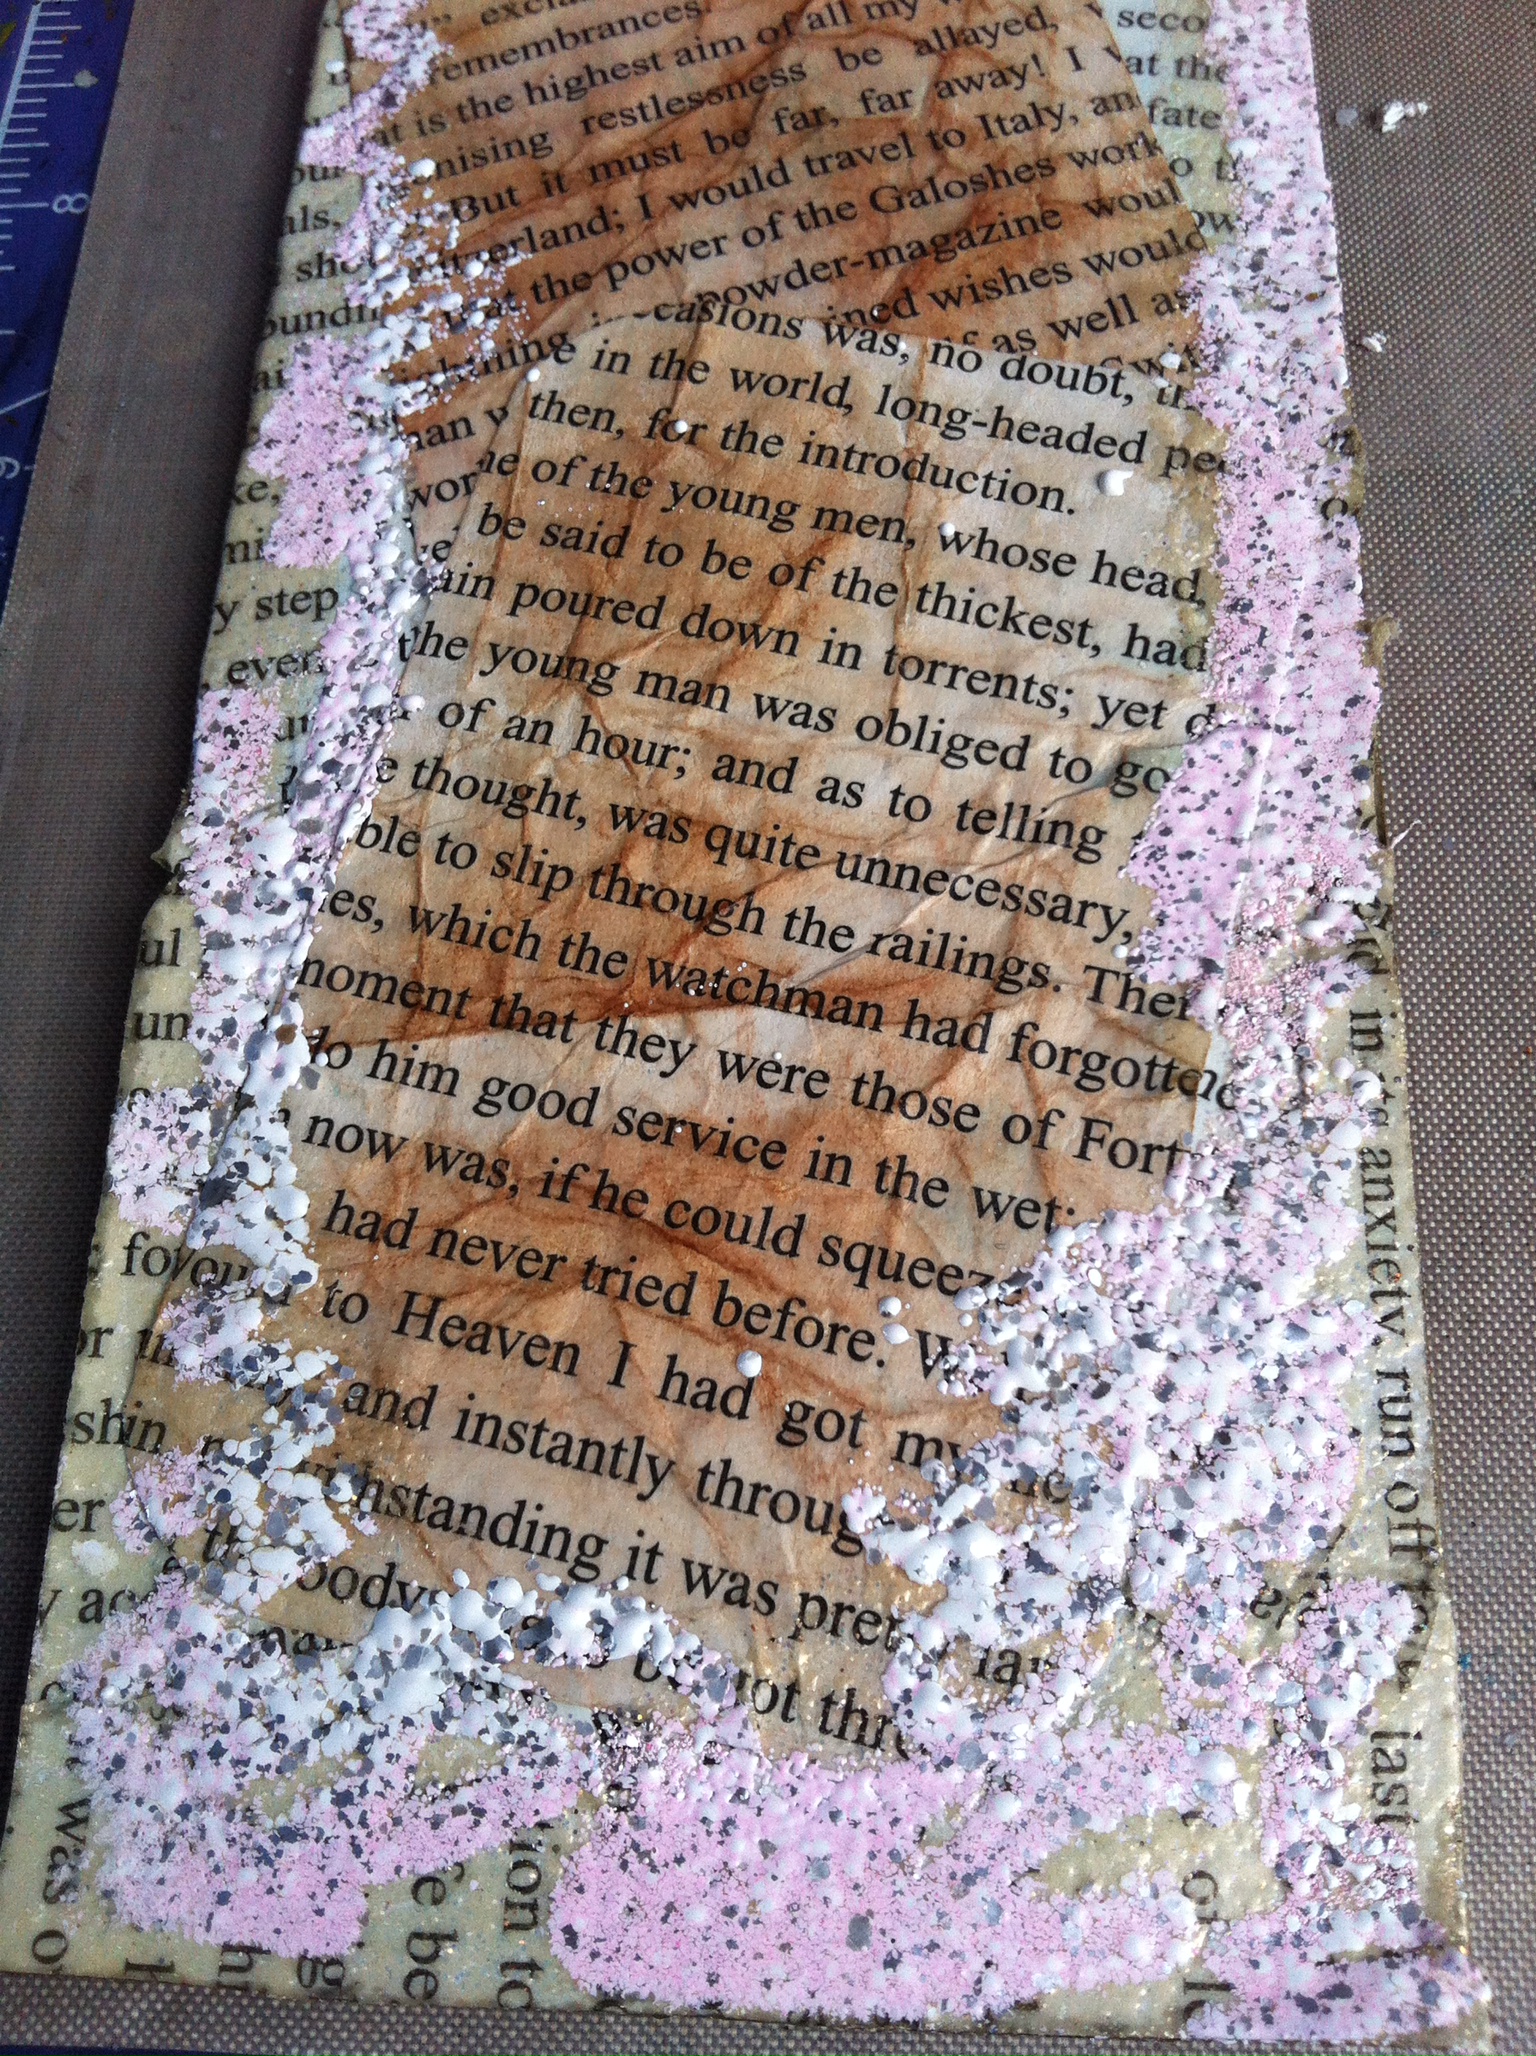
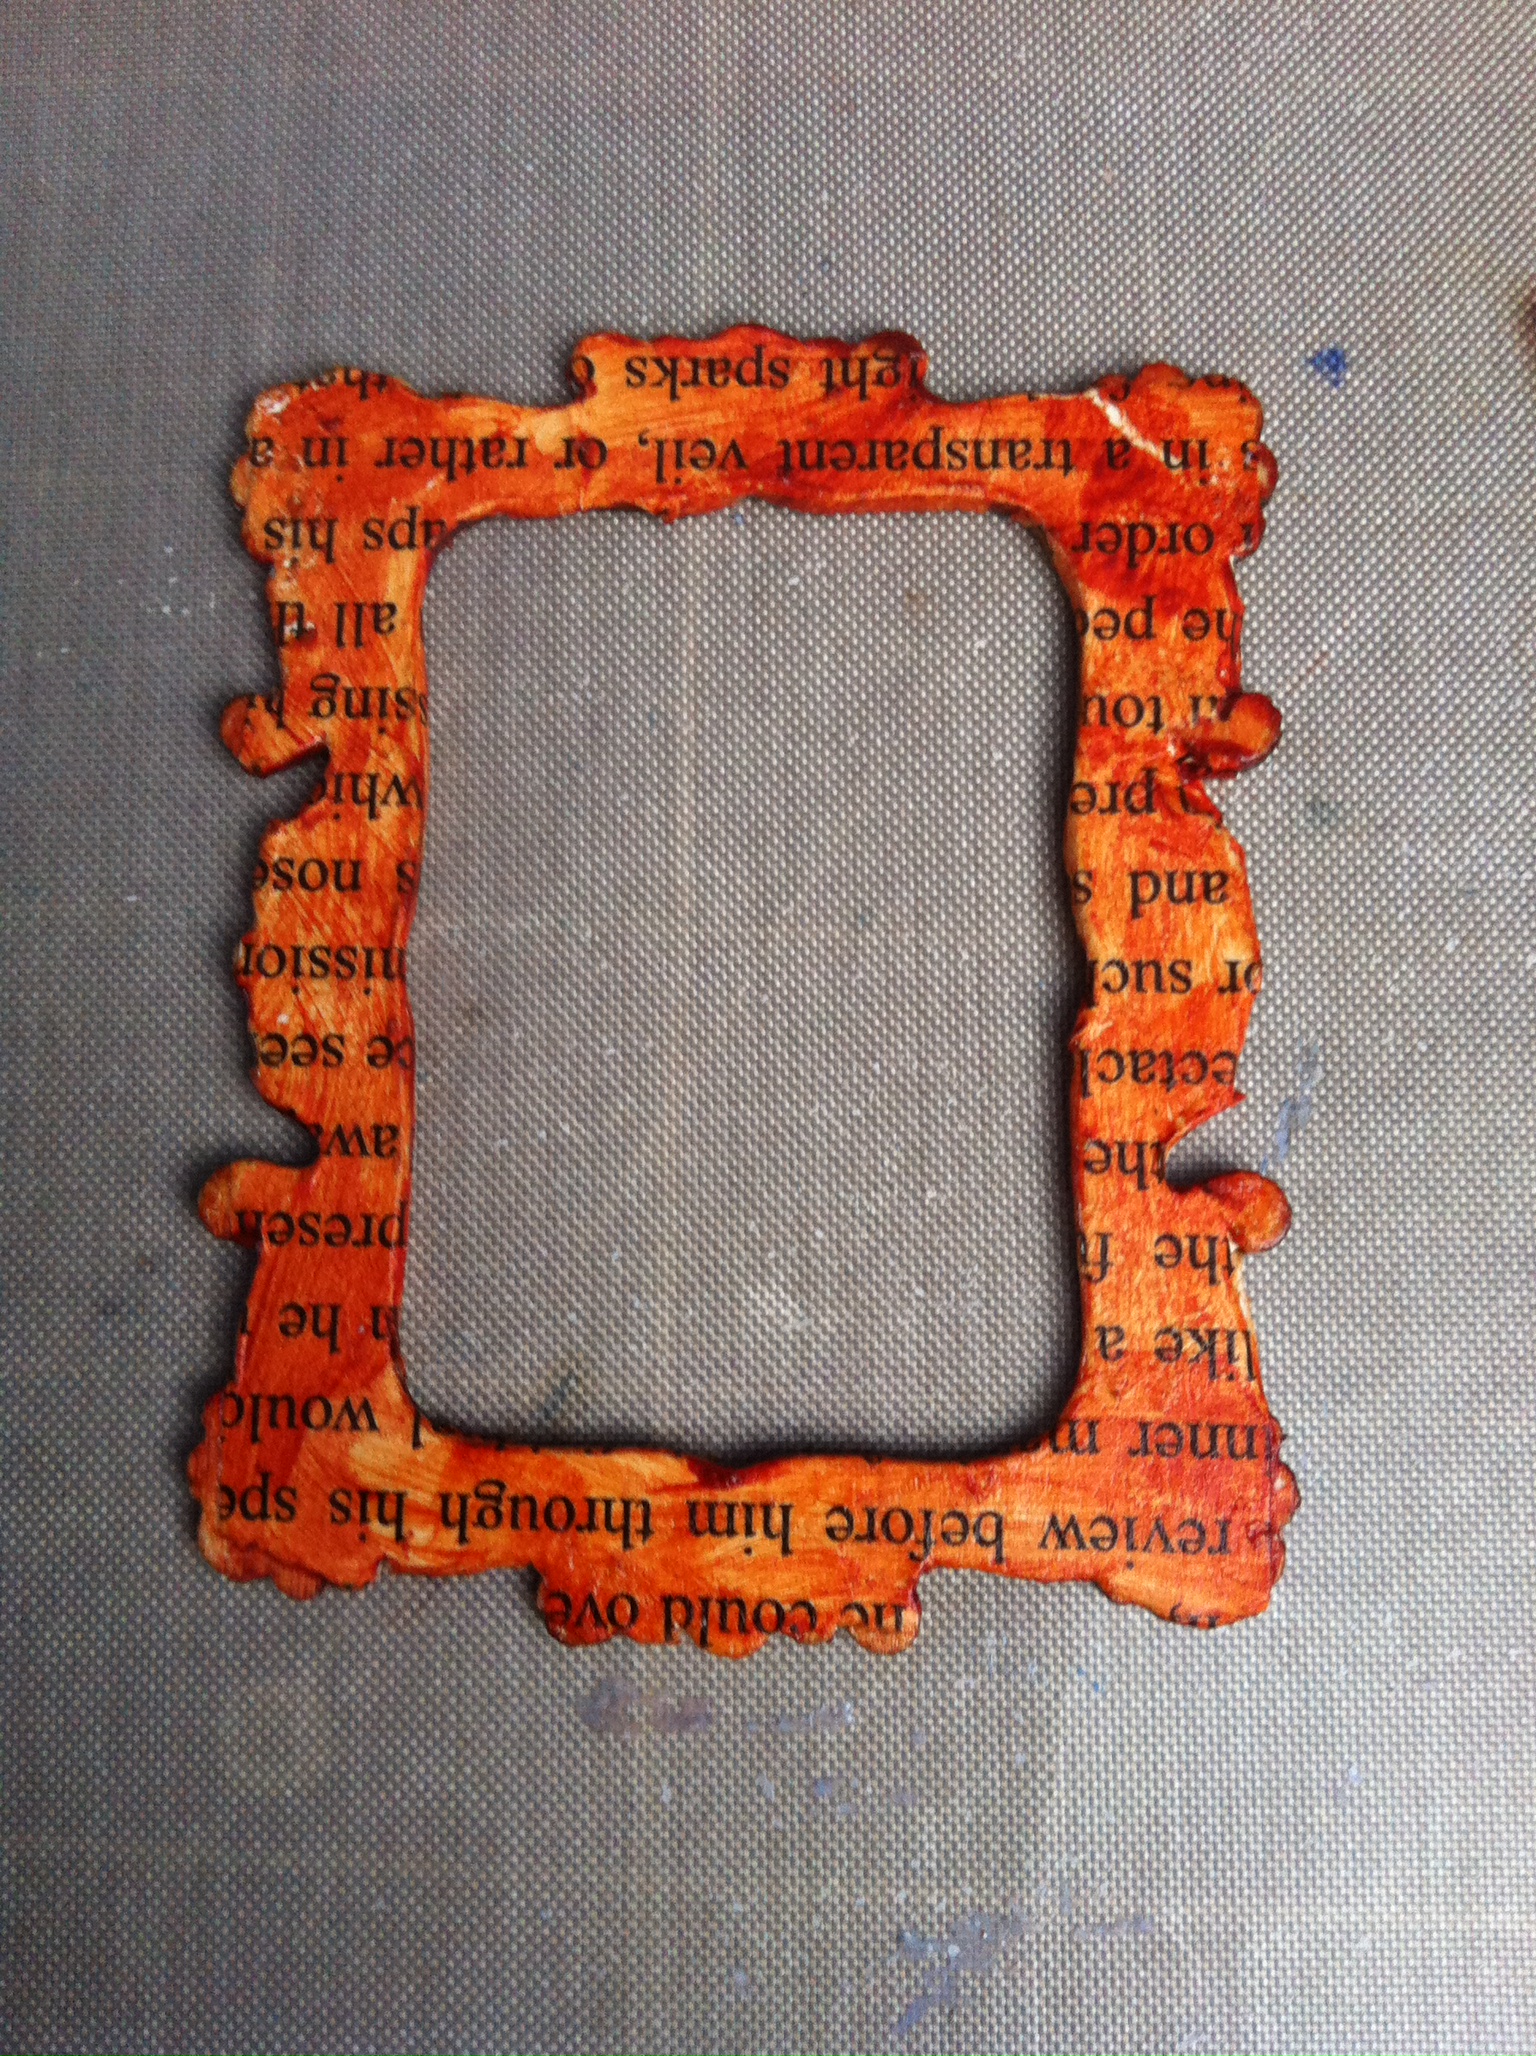
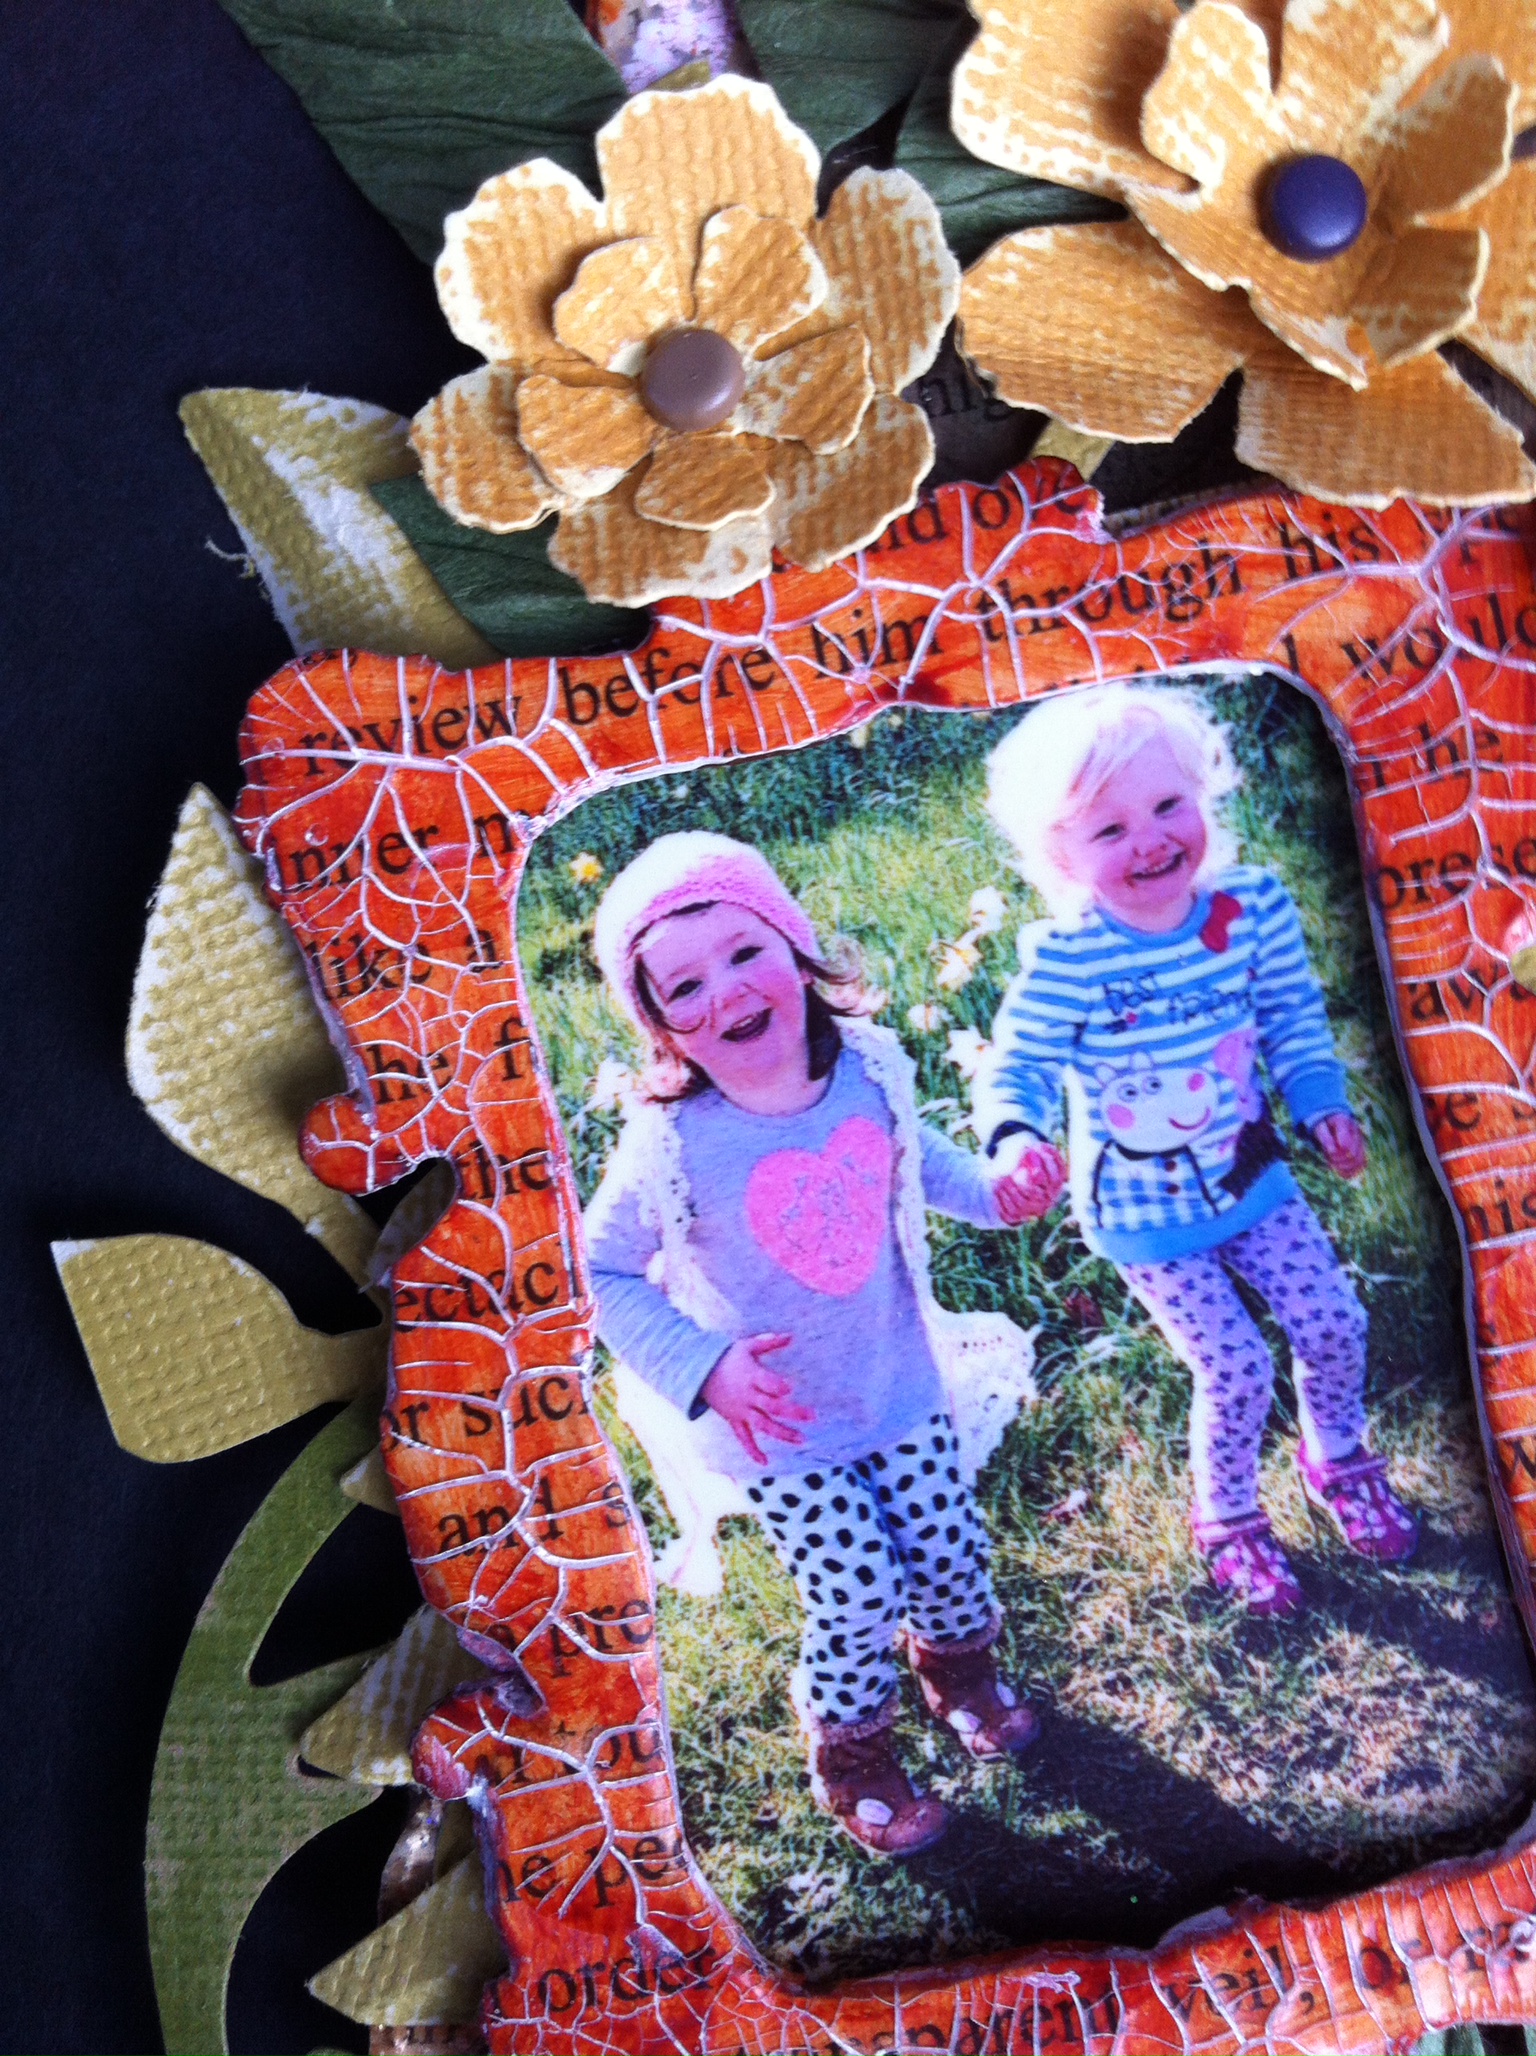
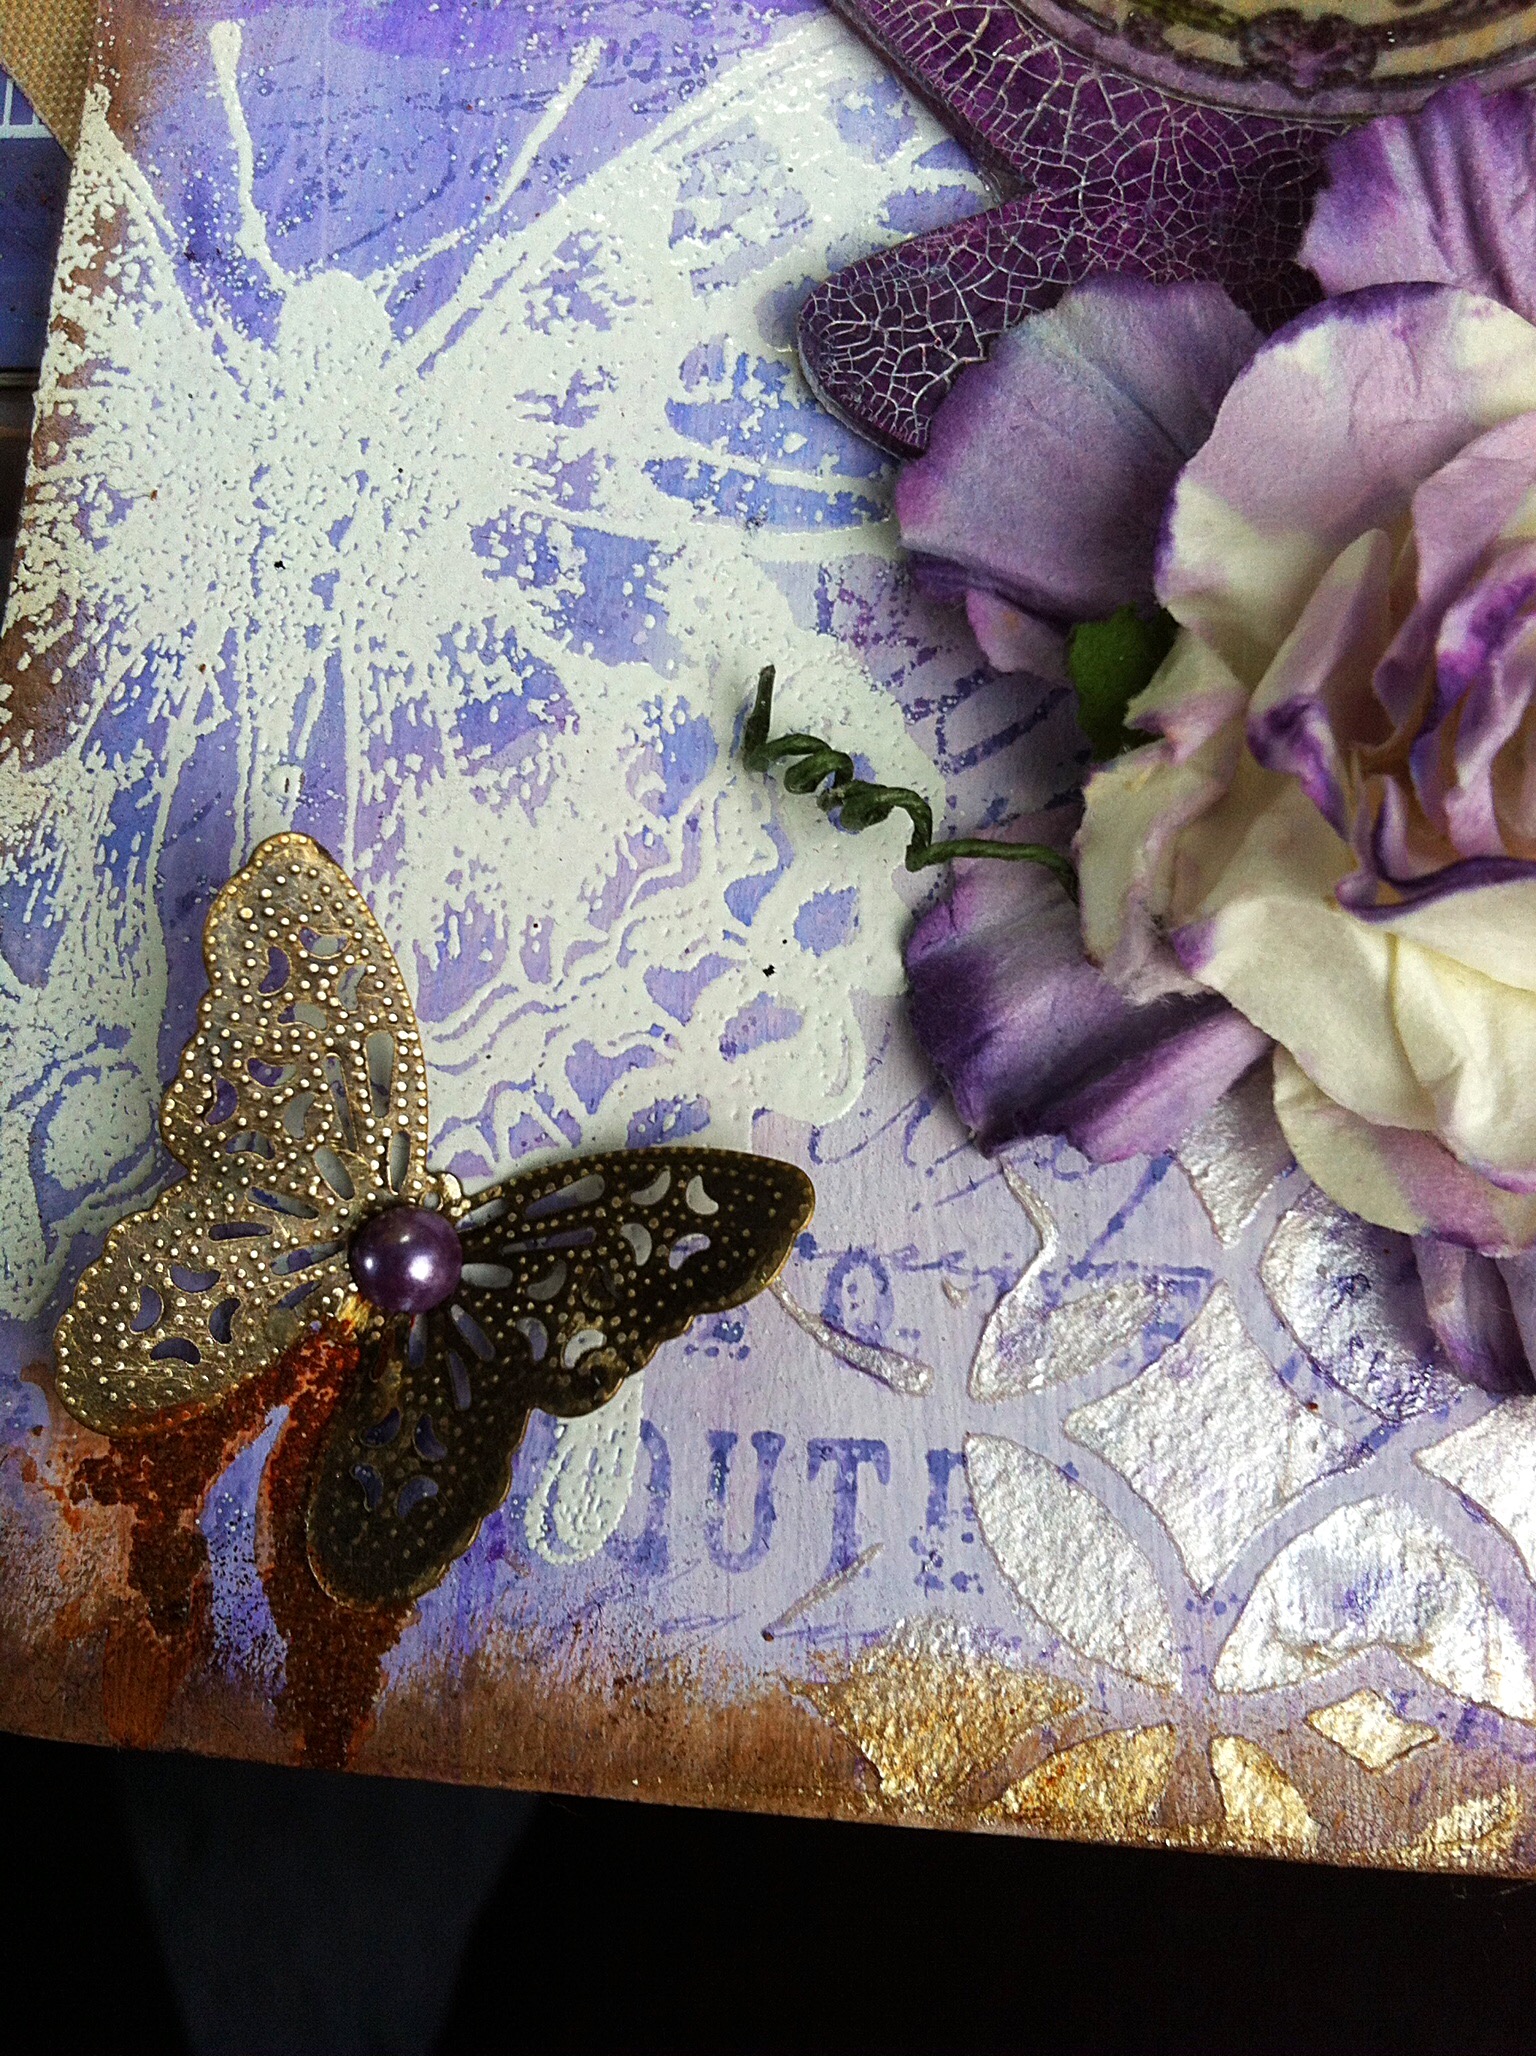
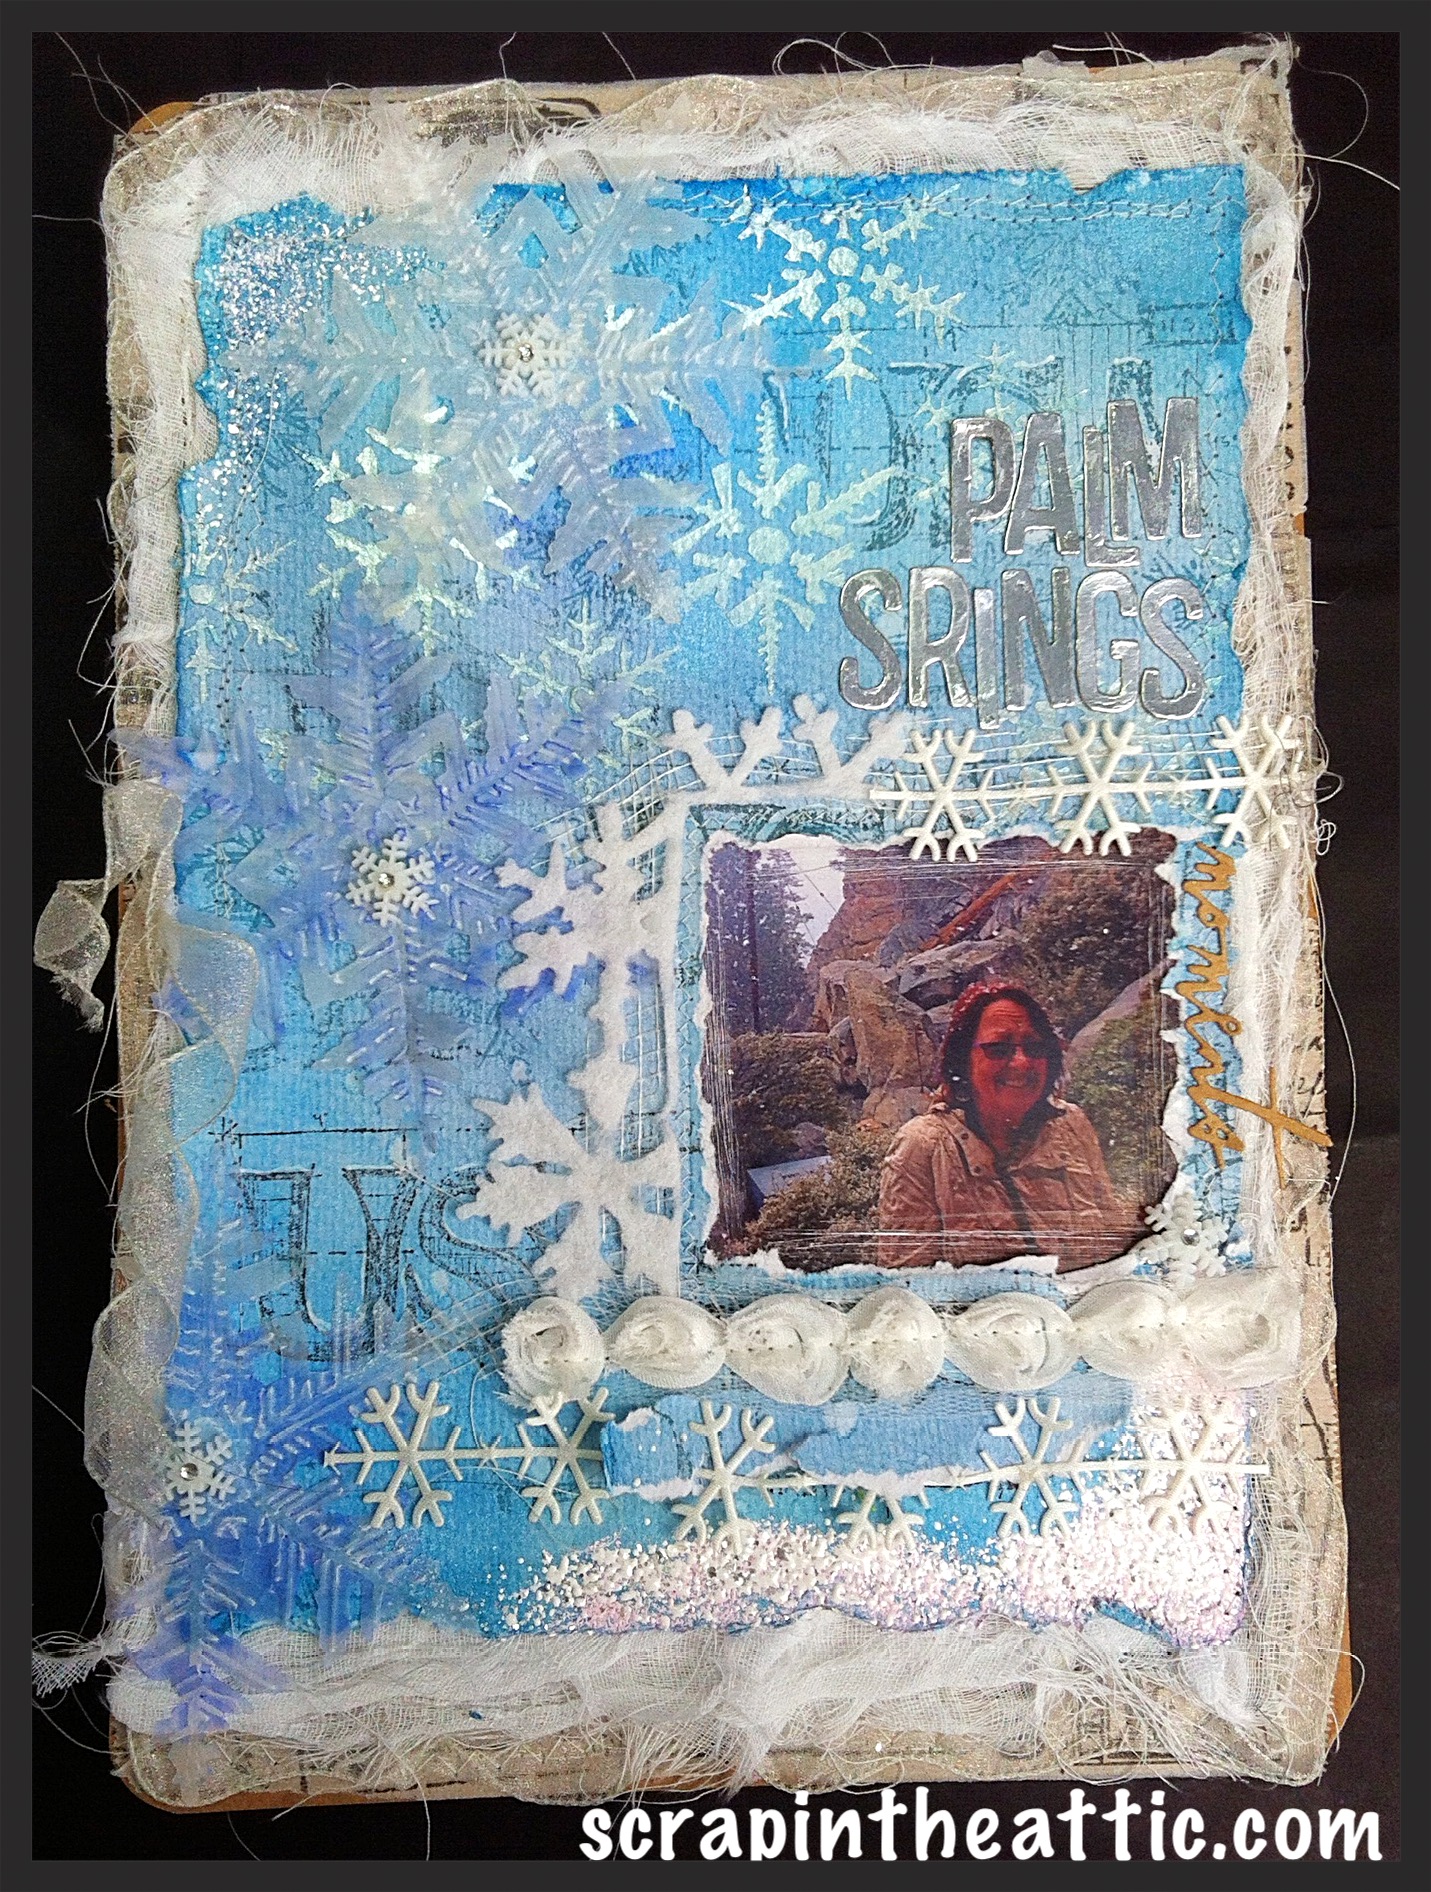
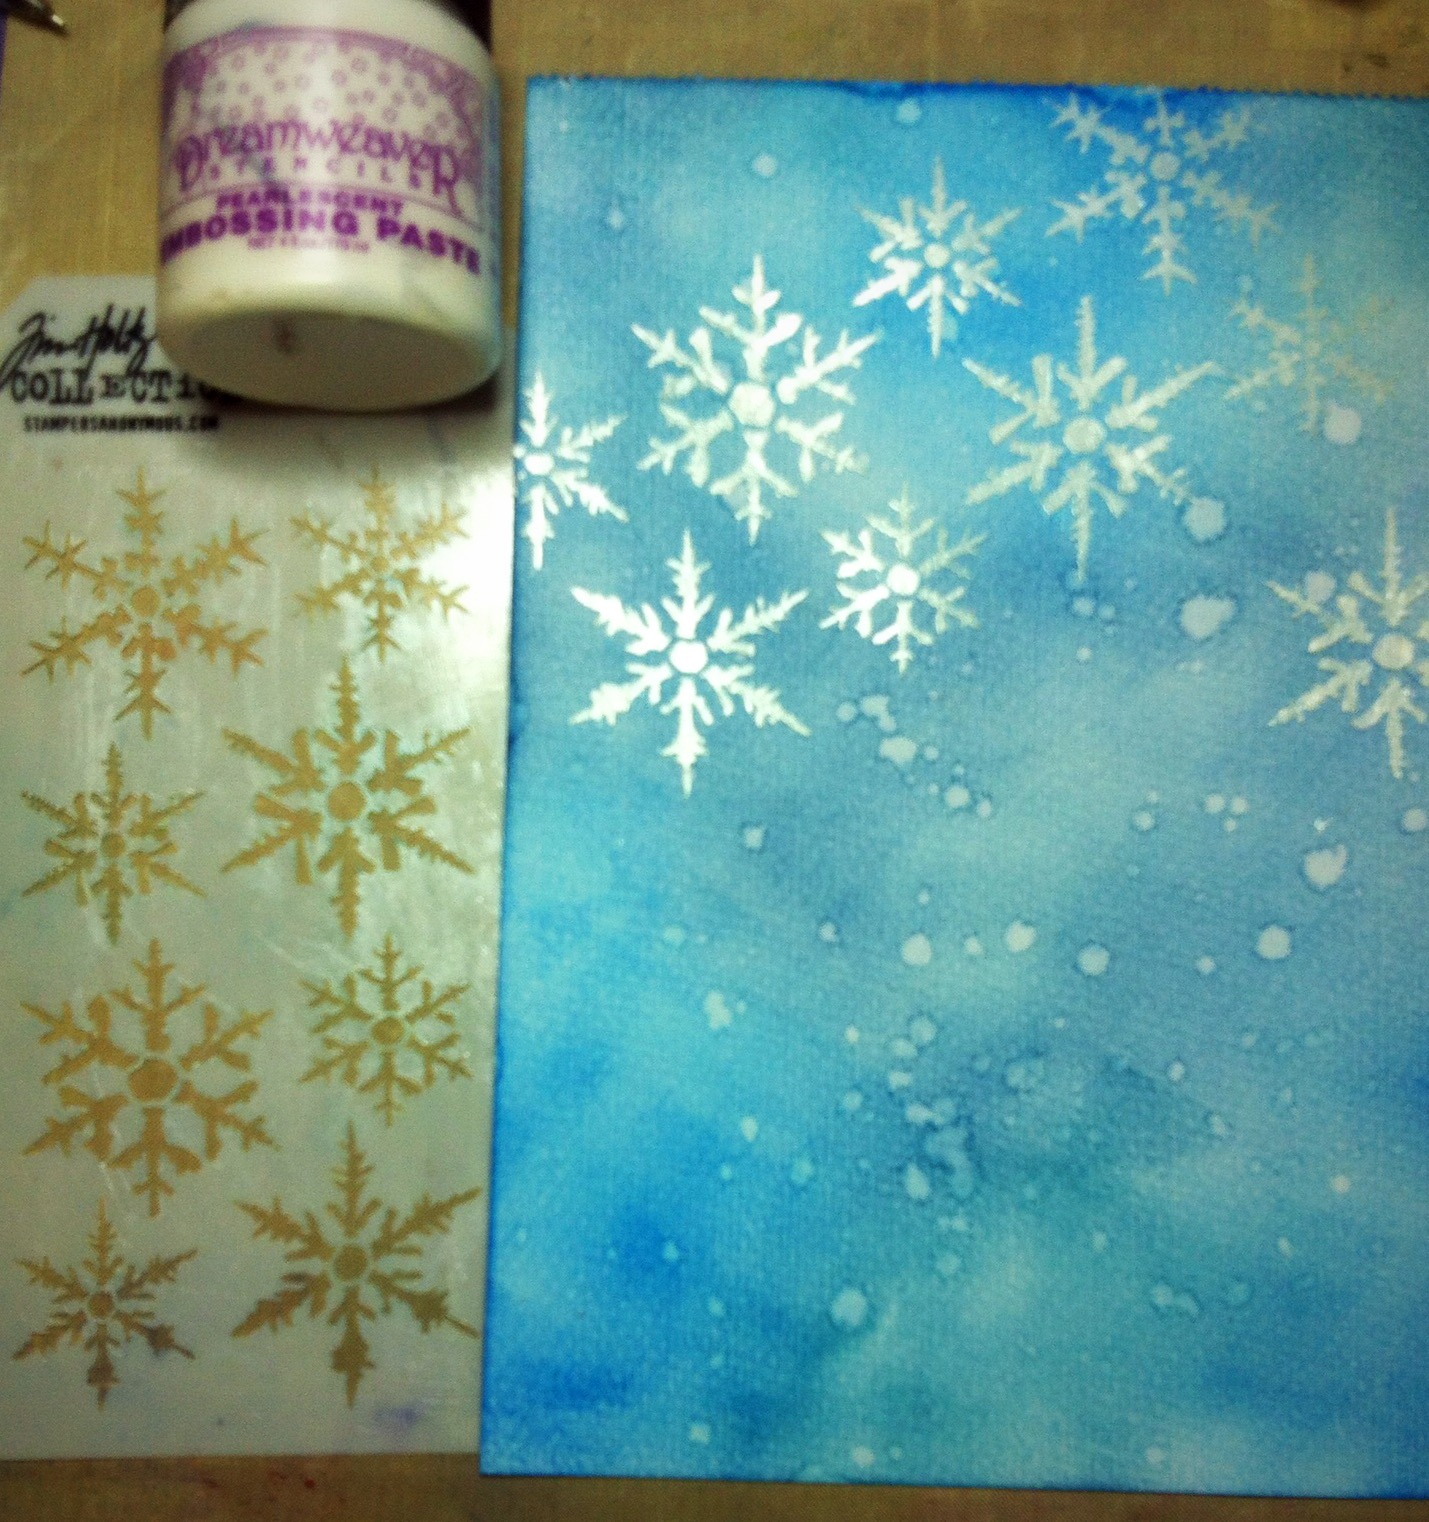
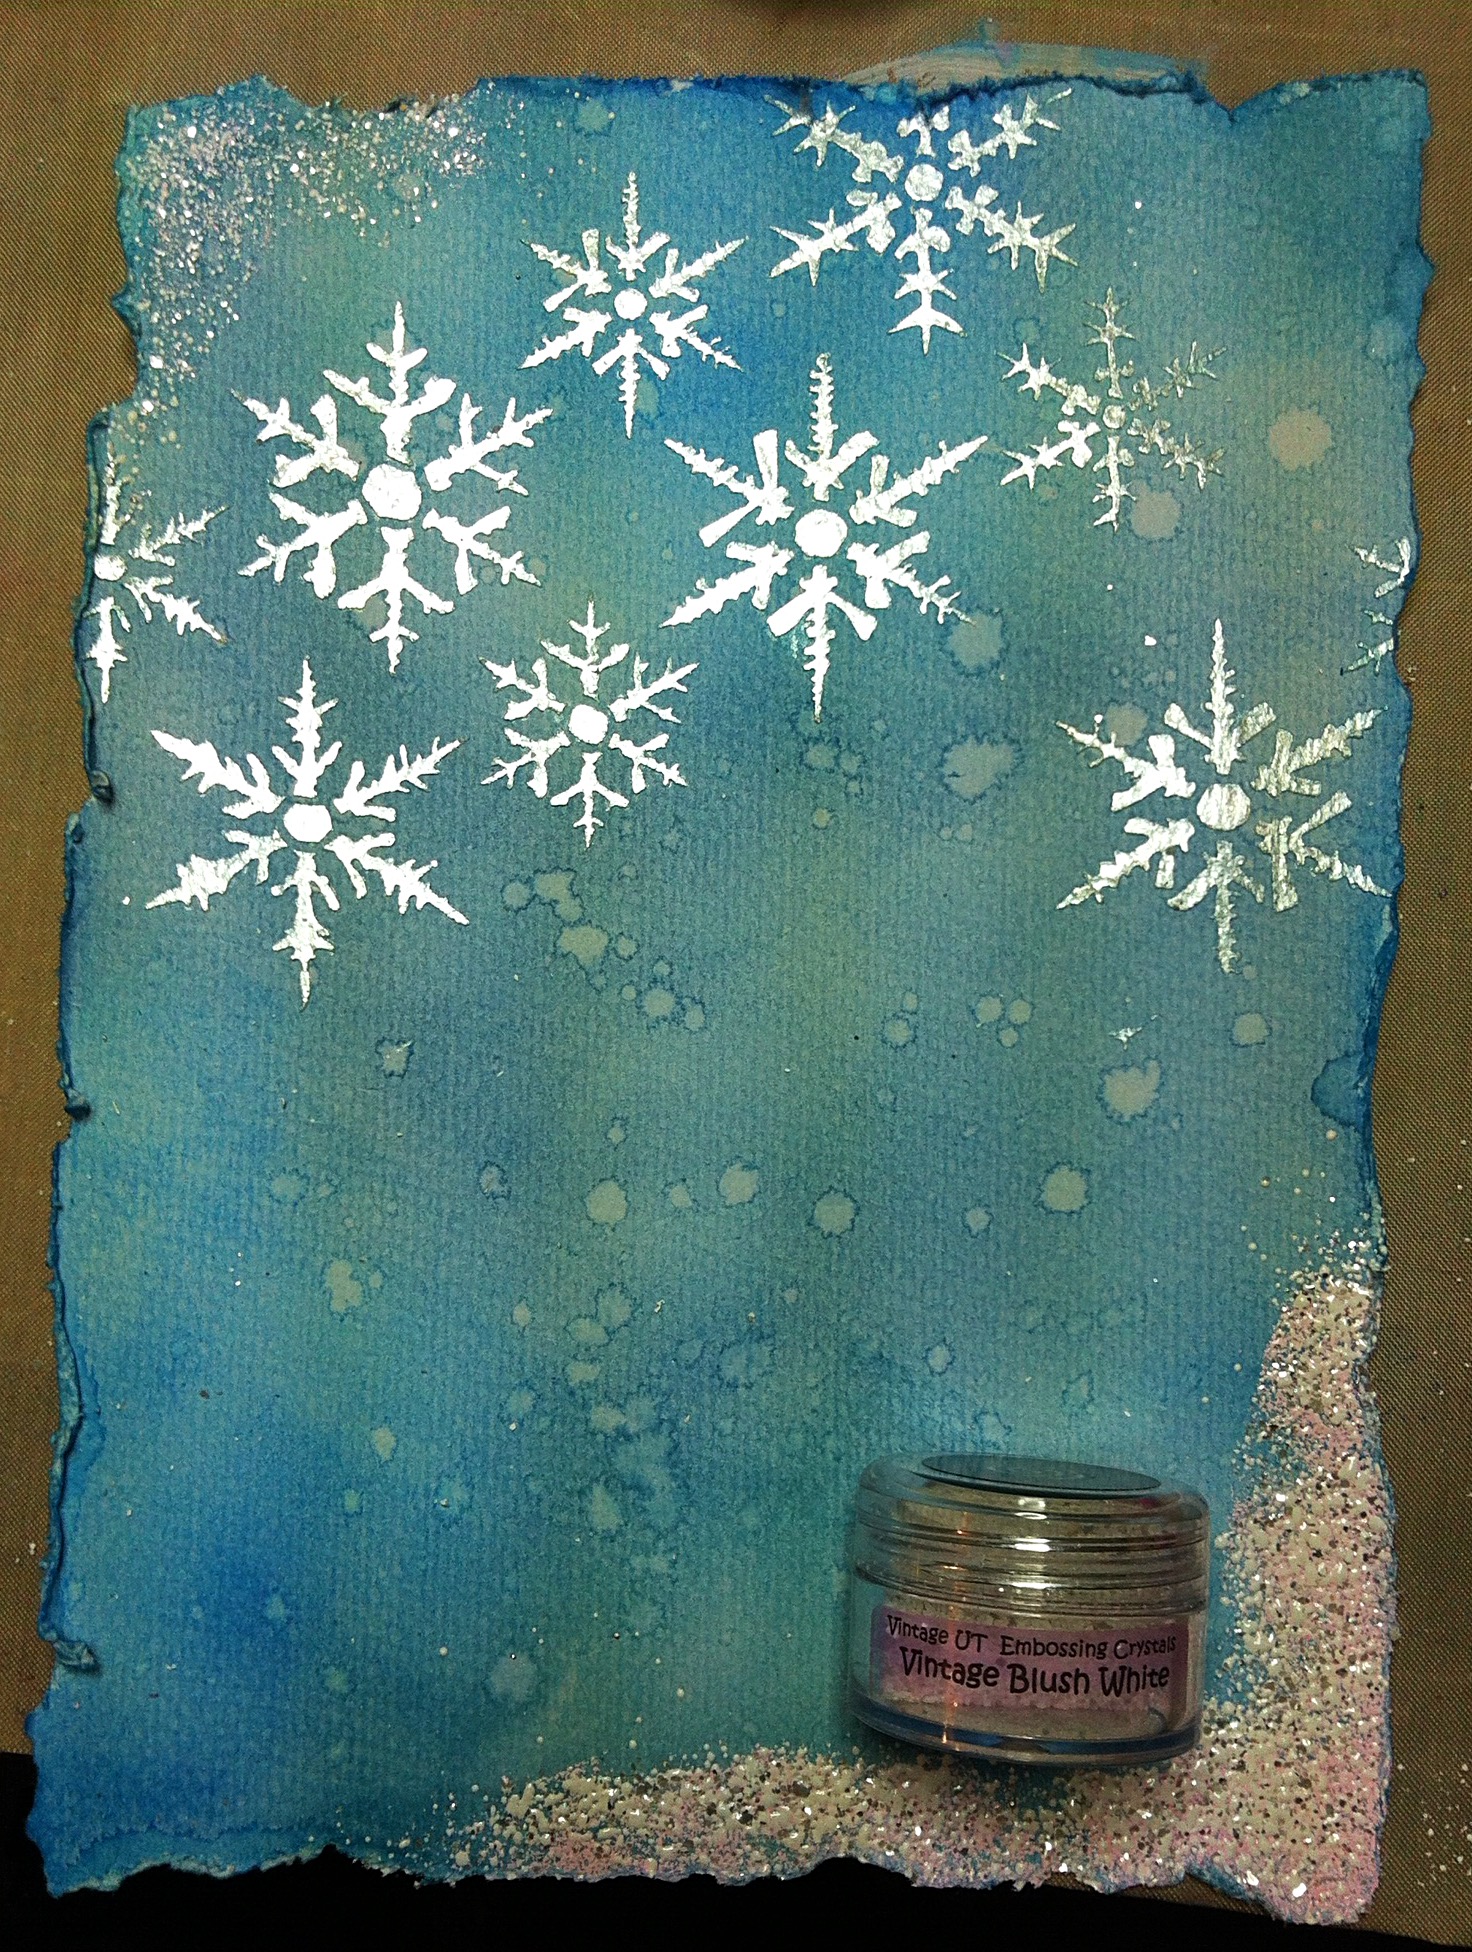
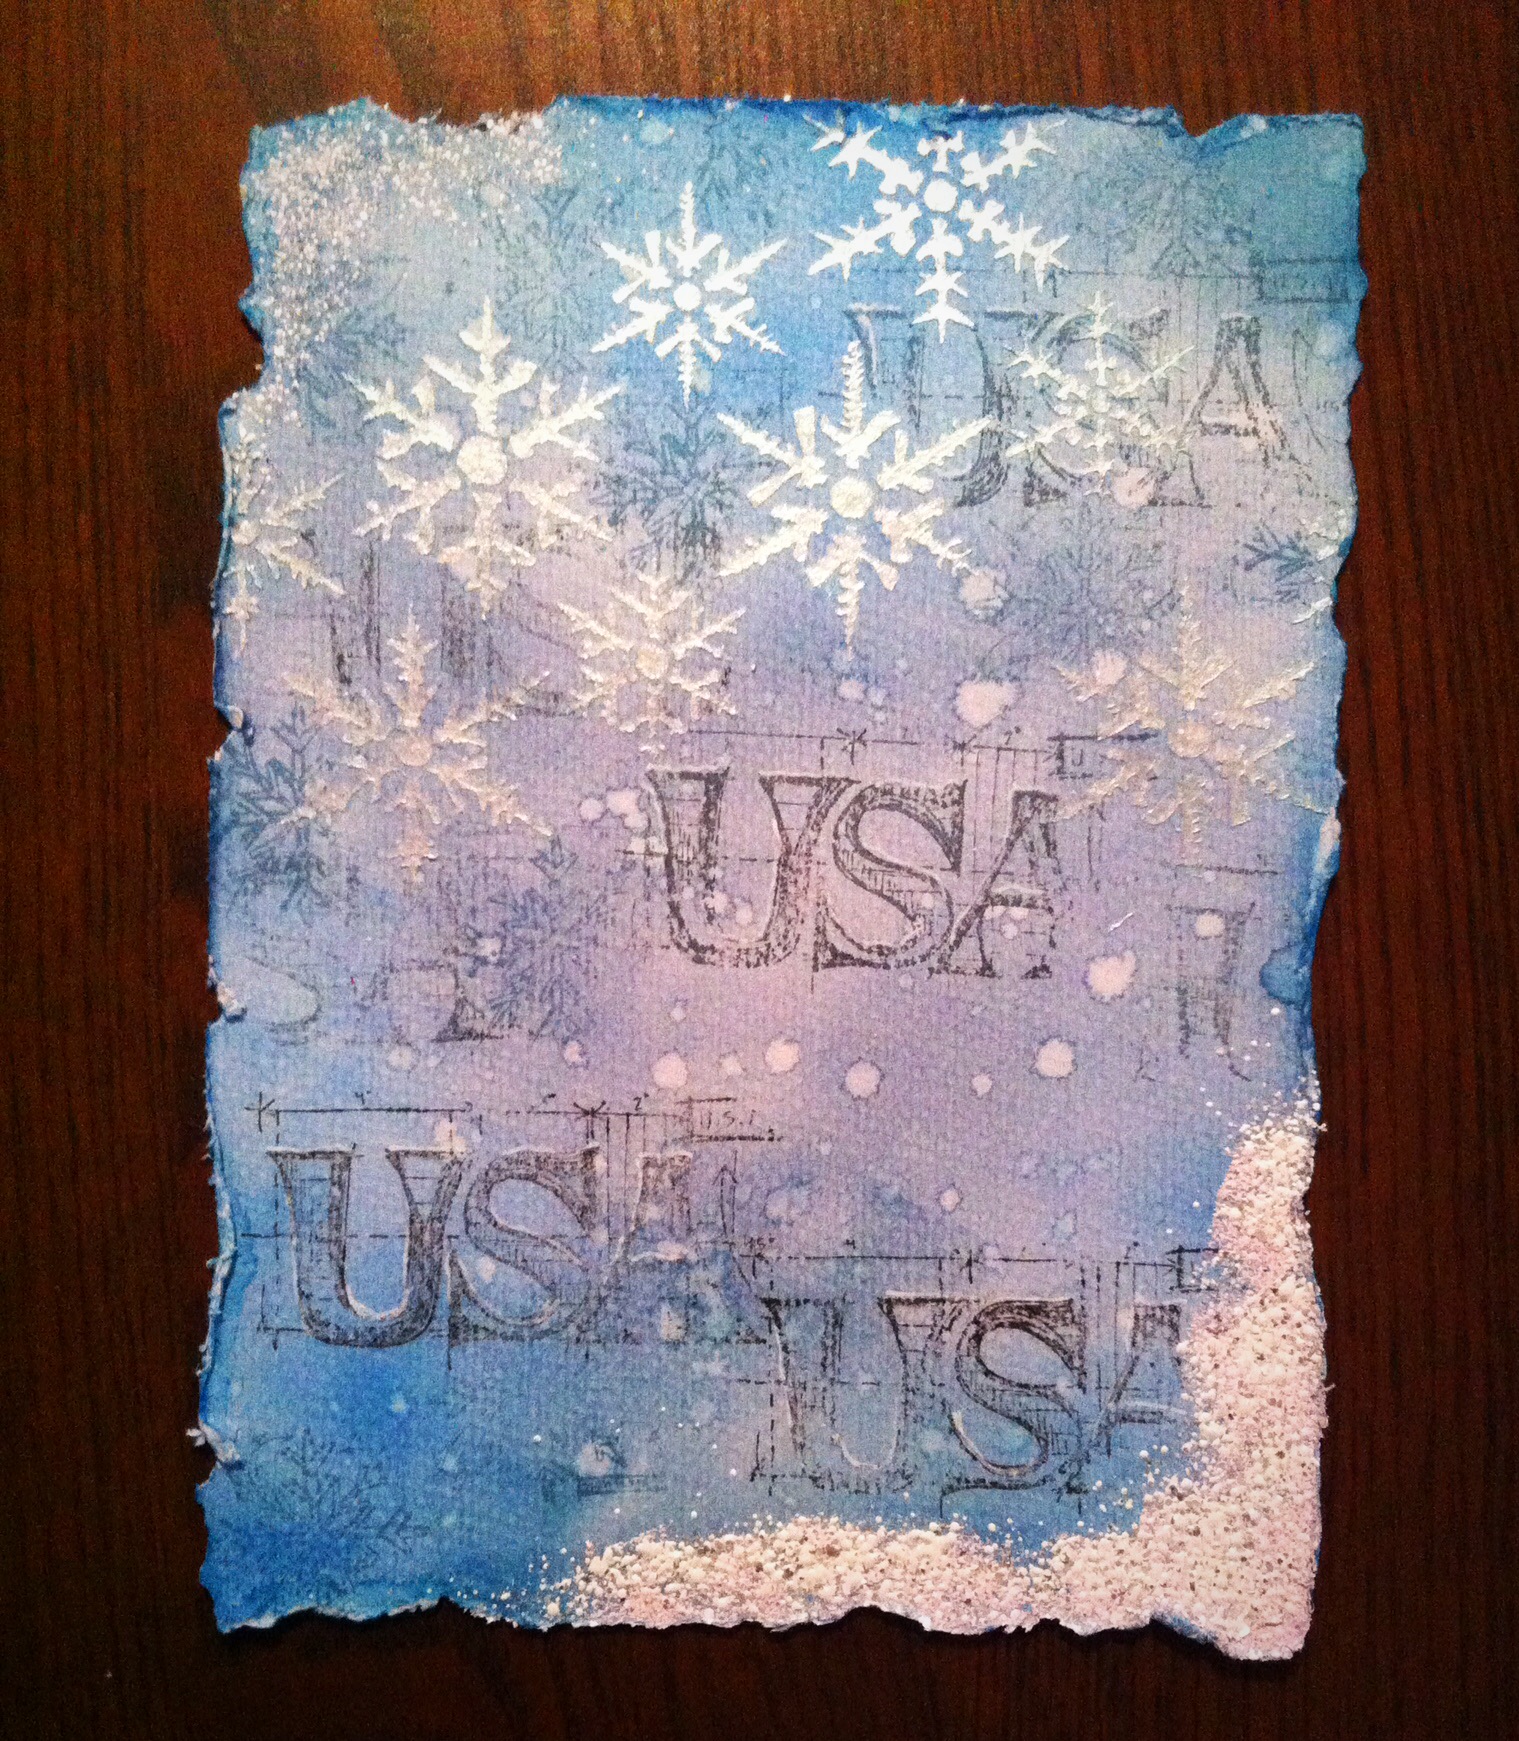
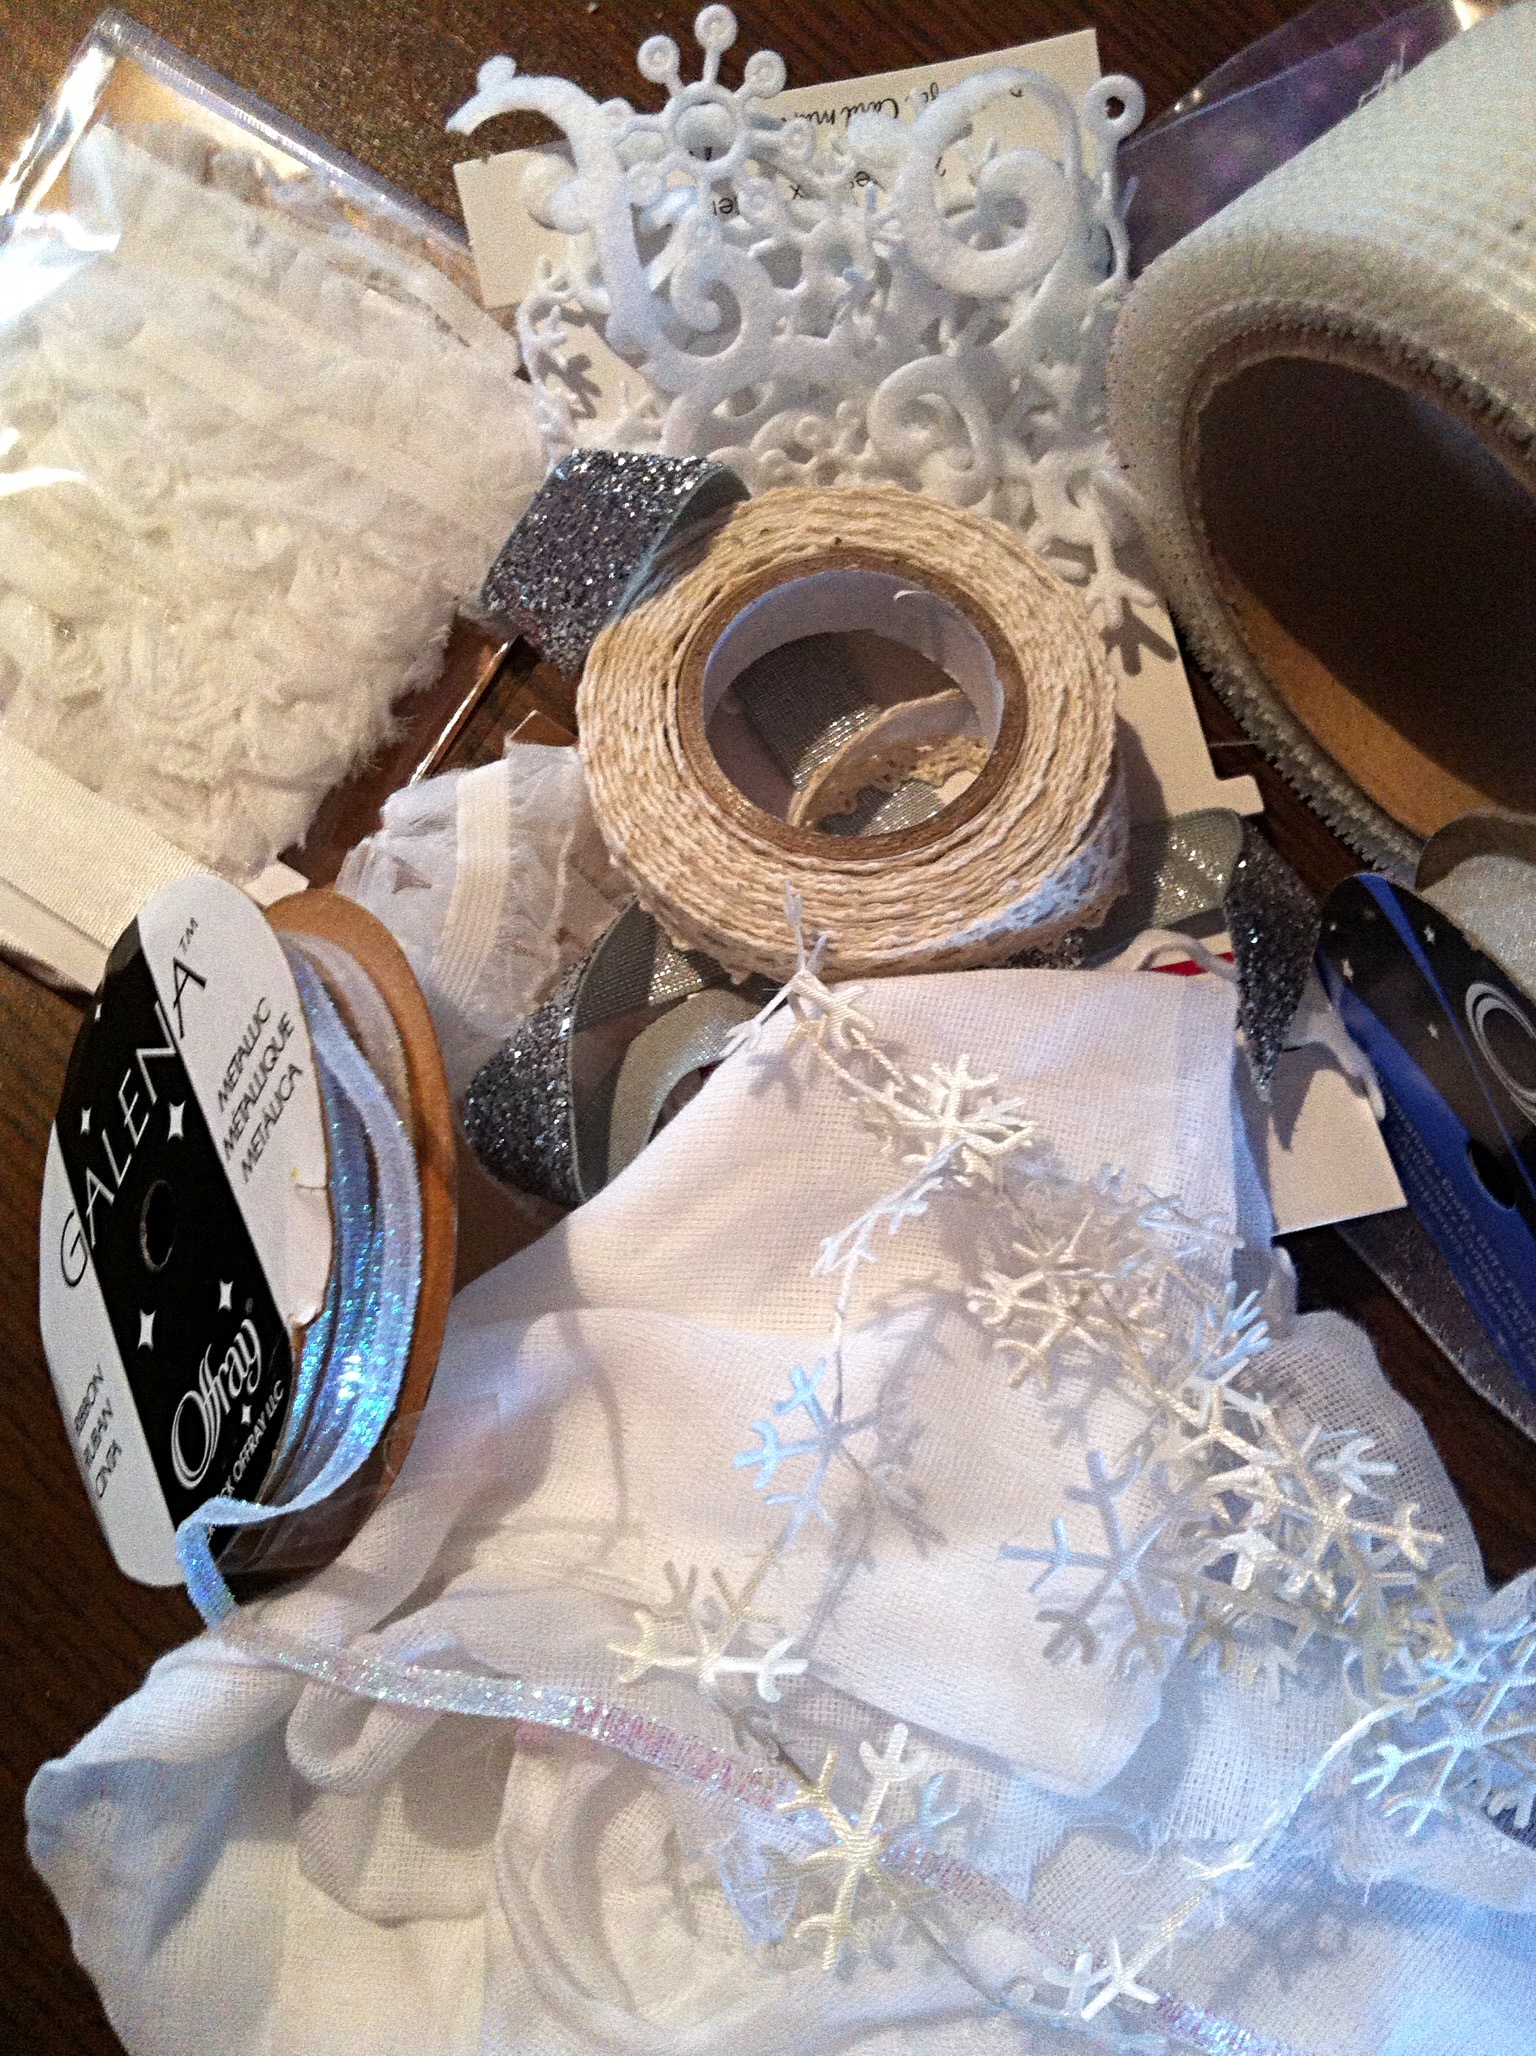
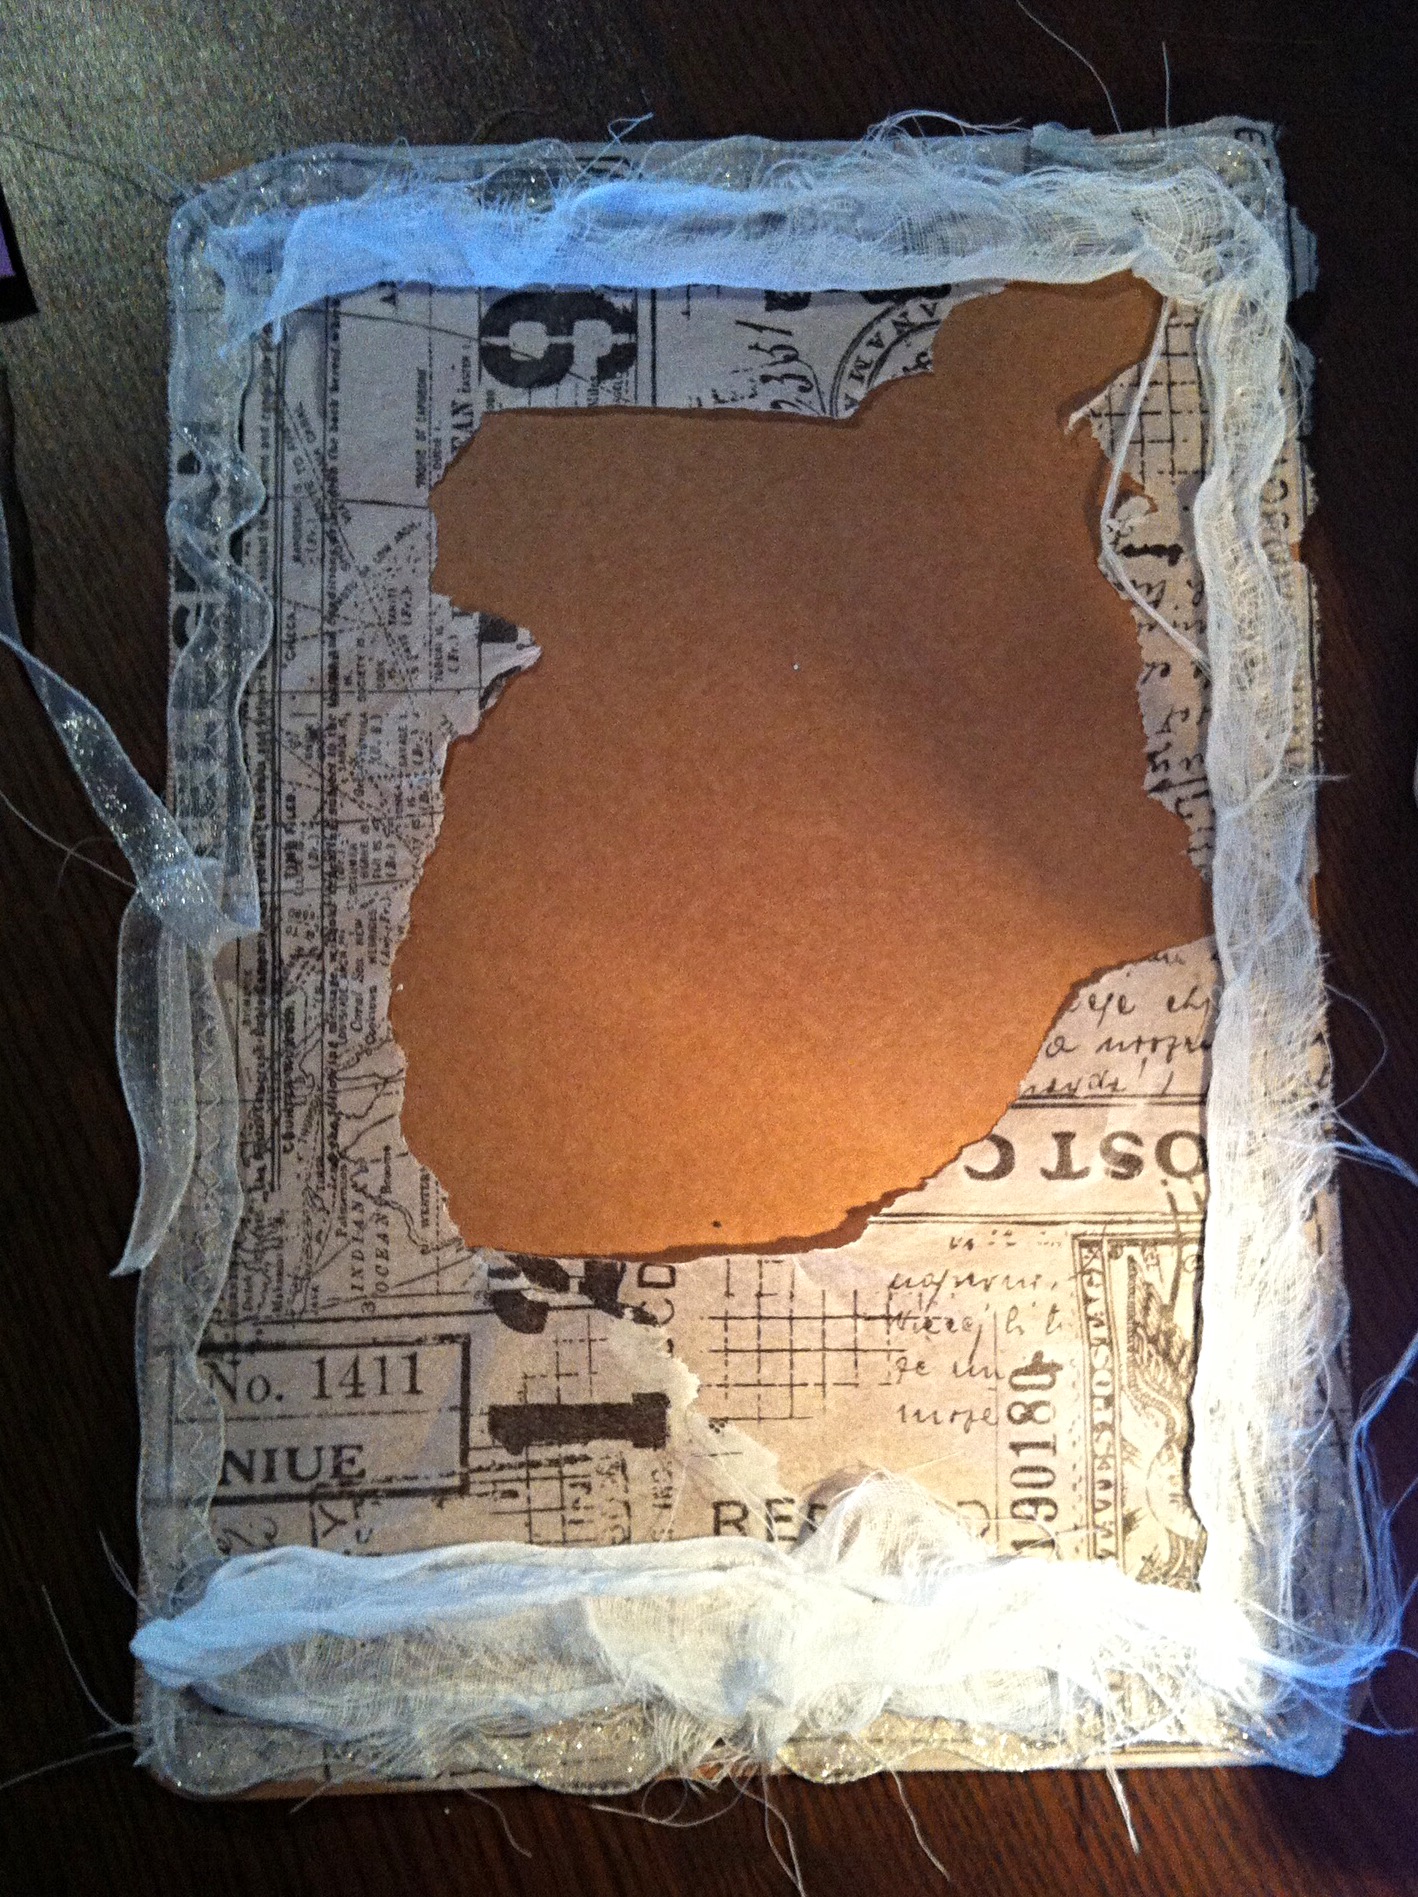
I had this sunset photo from our visit to Pismo Beach, California last year but wanted to create something more quirky. The background is fun with Brushos and waterspray, beware they get evrywhere! The rest is made from scraps I had from other projects.

Welcome… to our Scraptacular Celebration of UK Scrapbooking!
It’s (Inter) National Scrapbook Day today and Jones Crafts are celebrating in style!
We want you to get your scrap on today and join in with our Scraptacular Virtual Crop.
We want you to scraplift one of the Design Team layouts on this post.
Pop a photograph of your layout in the comments on this pinned post and share your scraplift with us.
Visit the Design Team blogs to leave a comment and you could be in with a chance of winning a Scraptacular prize! £50 worth of Scrapbooking materials from our leading Scrapbooking companies
Check out each image for blog details.
On Saturday May 14th, we will select a layout that we think is quite simply Scraptacular and that layout will be featured on the Jones Crafts Facebook page and the scrapper will win an amazing prize.
So what are you waiting for?
Ready, steady, scrap!
And don’t forget to be Scraptacular! 

Hugs Jan x


Hit the Books

Posted on

image

Welcome to the new challenge at Our Creative Corner, the very talented Jennie is Challenge Host for May. She has chosen….

Hit the Books

Jennie said “I adore old book paper and old books and I am always glad to be able to breath new life into a dilapidated book which most people would consider throwing out!”

For your projects this month we would like to see you searching through your stash for old book paper or books and create a project with what you find. You might want to use papers within your project or you might want to breath new life into an old book by altering it in some way. I hope I have chosen a challenge theme with huge scope for projects small or large.

Whatever you make let us see you give those old book papers or books centre stage!

I decided to create a Spring Tag to show this fun photo of my Granddaughter and her little friend. I chose an old book of fairy tales to use as the background on the tag and the frame.

image

 I really enjoyed collating the tag using Frantage and embossing powders heated on top of Versamark. The blush colour matched the girls clothes.

image

The frame was covered in more book pages then painted with Decoart Quin Gold, I love the translucency of this paint. I gave it a coat of Crackle Glaze when it was dry. White Antiquing cream really highlighted the cracks in the final step. I rubbed some Quin Gold around the edges of the tag with my finger.

image

The flowers and leaves were dye cut from Tims Flower Garland and Garden Greens. I chose yellow flowers to reflect the daffodils in the photo. I used Distress Coordination paper which was sanded at the edges.
Raffia wraps and metal word tags finished the piece, it was a messy but fun project!
our sponsors are
 
The winner this month will receive a huge bundle of goodies from our generous sponsor!
I am looking forward to seeing what you can do with old books.
I love the Spring feel of the little photo and will enter the challenge “Spring is in the Air” over at A Vintage Journey. Check out the DT beautiful work there.
hugs
Jan X


Gypsy Fayre

Posted on

image

Hi Everyone,

Candice is our challenge host at Our Creative Corner this month. I love her vibrant work and she has reflected that in her theme….

Look at those colours!

Candice says

“Blessed are the gypsies. The makers of music, artists, writers, dreamers of dreams, wanderers and vagabonds, children and misfits: for they teach us to see the world through beautiful eyes

 This month’s challenge invites you to let us see your gypsy nature.

 Gypsies are wanderers, purveyors of exquisite things, mysterious things, free-spirited bohemians curating the beauty of life and sharing the wonders with you as the travel along.
 So for the challenge let your creativity run wild and free like a gypsy

I want you to create interesting items you might imagine finding at a traditional Gypsy Fayre”

You may create whatever your gypsy heart desires, but it must….

contain at least 3 colours from the featured colour palette

or 

  show us how your project is inspired by this gorgeous ode to the gypsy soul!

So craft with the soul of a gypsy and share the wonder with us.
Create little trinkets or curious items that could be found at a Gypsy Fair

I began by trying to imagine what an old fashioned gypsy might have in her caravan, I discounted making wooden pegs!! I thought she might have a collection of colourful fabrics, metal charms and useful bits and bobs.


I read somewhere that Romany Gypsies originated in India and travelled over Europe, so I began with a piece of sari silk. Luckily I had a piece that had some of the lovely colours in the palette.

I backed it with white felt to show the colours off and mounted it in an embroidery hoop the gypsy might have salvaged. I painted the hoop black.

image

The lace and muslin were soaked in tea overnight, love that subtle colour! The charms were attached to a safety pin, they had been treated with Distress Crayon, Treasure Gold and Quin Gold paint. I added ribbon to make a wall hanging.

I hope it sells at the Gysy Fayre!

The sponsor this month is Tando Creative, and one lucky person will win a prize!

I hope you are inspired to create a trinket for our challenge,
hugs
Jan x

A Vintage Journey Doorhanger

Posted on


image

Welcome to my blog,

I decided to travel with A Vintage Journey on their new challenge.

I had to use grey board ( Doorhanger and perfume bottle), metal ( butterfly and charm), lilac/ purple colour and rust technique ( Distress Vintage Photo embossing Powder and Quin Gold Decoart paint).

When I read that lilac and purple were the colours to use I remembered old perfume bottles smelling of lavender belonging to my Nana, so that became my inspiration.

I really enjoyed creating the background. I started with white gesso then shades of purple paint which were then script stamped. I added White heat embossed butterflies and pearlescent texture paste through stencils. Mostly Tim products!

image

The perfume bottle had a coat of gesso then purple paint. When it was dry I covered it with Decoart Crackle Glaze then Antiquing cream in white to highlight the cracks. I had some perfume bottle stamps which I heat embossed onto tracing paper and coloured with spectrum noir pens.


image

The ribbon and flowers were dyed with DI, wilted violet and Dusty Concord. The metal butterfly and charm had treasure gold rubbed on and then pearls added.

The rust was created with Vintage Photo embossing powder heated then diluted Quin Gold dripped on top to run down. Very satisfying process!!!

hugs

Jan x


Going Rustic

Posted on

image


The return of the Challenge

We are taking a trip down memory lane at Our Creative Corner for this challenge!

I would like you to re-visit a challenge that has been featured at OCC

(Your creation has to be from one of the challenges featured here)

Please state what challenge you chose

 So click the link – reacquaint yourself with the rules of the challenge you want to do and have fun!

Our Creative Corner

I had this lovely photo taken last year of the four generations of females in our family and wanted a lovely frame to suit the background of the picture.

 So I chose Rustic from Oct 14! I used a £1 cardboard frame which I painted with Decoart products.

image

I put blobs of paint at the top of the frame and scraped them down using an old credit card. I used TH script stamp and a splatter stamp with translucent ink over the top.

image

image

To create the rusted wrought iron gate effect I mixed Paynes Grey with sand texture paste and scraped it through a flourish stencil. when it dried I dabbed Qincorine Gold on top. Gorgeous!

image

I hope you are inspired to join our challenge, great choice, check out our lovely DT projects.

Our sponsor for this month is

Artistic Outpost will be donating a $15.00 gift certificate to their online sister-store Our Daily Bread Designs, where Artistic Outpost resides, to our randomly drawn participant. 

Good Luck everyone, I look forward to seeing your projects.

Hugs

Jan x


Darkroom Door Sponsor Spotlight

Posted on

image

I am so excited to share my Sponsor Spotlight with you!

I made a cushion using the amazing Darkroom Door stamps. It started out by stamping onto strips of fabric and ended up as a cushion!

image

The stamps are so detailed and printed beautifully onto calico.

I used the Seaside collection.

Check out how I created the cushion at Our Creative Corner.

There is still time to enter my challenge, Sew and Sew, over on the blog, you could win some of these great stamps.

Hugs

Jan x

image


Sew and Sew

Posted on

This month at Our Creative Corner it is my challenge for you!
I have really enjoyed being part of the DT and the exciting bit of choosing a theme for February –
Sew and Sew

Fabrics, wool, threads, lace – this months challenge is all about texture, layers and loveliness!
What scraps have you got hidden away? Any snippets of favourite clothes you can’t bare to part with?  Anything sewing related can be used in your piece. You could use stitches or sewing machines or fake stitches, it’s your decision. Don’t forget to get out your sewing themed stamps and dies.

Have fun and create something!

image

I created a page for my neglected Folio about our travels in America. We visited Palm Springs in California and went up the Arial Tramway from the dessert into a blizzard! We were dressed for the heat and blue skies not for cold and snow, we laughed so much, it was a memorable day. I enjoyed using my sewing stash and scrapbook embellishments with my sewing machine to make a snowy page.

This is what I did…..

I used watercolour paper to blend blue Distress Inks and then splattered water cover to make a mottled effect.

image

I used a Layering Stencil with Pearlescent Texture Paste to add snowflakes.

image

I smudged embossing ink onto opposite corners and added thick powder and heat embossed to create a layer of “snow”.

image

I stamped snowflakes and USA from Tim Holtz Blueprint collection using Hickory Smoke DI.

image

My favourite die cut and texture folder came out to make vellum snowflakes to layer on top.

image

Out came the sewing stash including ribbons and lace.

image

I used Kraft card as the page for my Folio. TH tissue paper then layers of ribbon and frayed muslin were sewn on using a sewing machine. I used straight stitch and zig zag for variety.

image

I painted a square with water onto the watercolour paper and carefully tore a frame out for my photo. I scratched the photo to add to the snowy effect. The lace and roses I had chosen were stitched around the frame and plastic Paperchase snowflakes added to the die cuts.


image

Finally the title was glued on to finish. I used Alphanumerical thinlet die with TH metallic coordinations paper and kraft card for the moments sentiment on the side.

I really enjoyed using the lace and fabric to create so many layers of texture, I hope you are inspired to join in the challenge. There are great prizes to be won from our fabulous sponsor…

Darkroom Door is sponsoring one Rubber Stamp Set, valued at $31.95 AUD, to our randomly drawn winner.
 Hugs

Jan x


Graphic 45 Communique

Posted on


image

I made some cards and a tag for Jones to use as samples at the trade show. All the projects used Communique papers.

image


image


I enjoyed creating a mini album/ address book from one sheet of 12×12 paper and then filling the pages with hidden pockets and tags.

image

image


I hope you like them, please leave me a message, I do appreciate your thoughts
X


Communique Mirror for Jones

Posted on

image

I was really excited to receive the new Graphic 45 Communique papers and wanted to make something special with them. I covered a cheap IKEA mirror, £1.50 when I bought it!
I covered the wood in paper and made a frame from strips for the mirror. Then the fun began, making a collage of camera and photo related images.
I finished off with some of Tims Found Relatives and added fragments. I used a fragment as a lens for the larger image.
Hope you enjoy looking, here are close ups of the corners.

image

image

image

image
Hugs
Jan x


Vintage Traveller

Posted on

image

I spent a lovely time up in the attic today playing in my journal. I created a page using blended Distress Ink,( Antique Linen, Tea Dye and Vintage Photo)spritzed water. I stamped with the same inks using Tim’s anonymous set .
Layering stencil added another interesting element using Ground Expresso, with remnant rubs continuing the travel theme.
The gentleman I like to think was a self made man who dreams of travelling,he is waiting for his luggage to arrive. I created some layers with Tims pocket pages, stickers, die cut rusted cogs. I die cut the frame from Tim’s metallic paper, used a travel texture fade and gave it the industrial treatment. A few Chit chat stickers made the title.

I decided to enter the fun challenge at A Vintage Journey, check out their DT work, its amazing!

Hugs

Jan x