What makes you smile?

Posted on

Welcome to my first time as Challenge Host at Our Creative Corner!

This is my challenge :

Close your eyes for a few minutes, relax and think about something that makes you smile…………..
It could be a special person, a favourite place, a quote, an incident, the list is endless!

Your June challenge is to create something that will make us smile, it could be a scrapbook or journal page, a canvas, a tag, whatever your imagination dictates.

I am intrigued to see what you might make and look forward to viewing your creations.

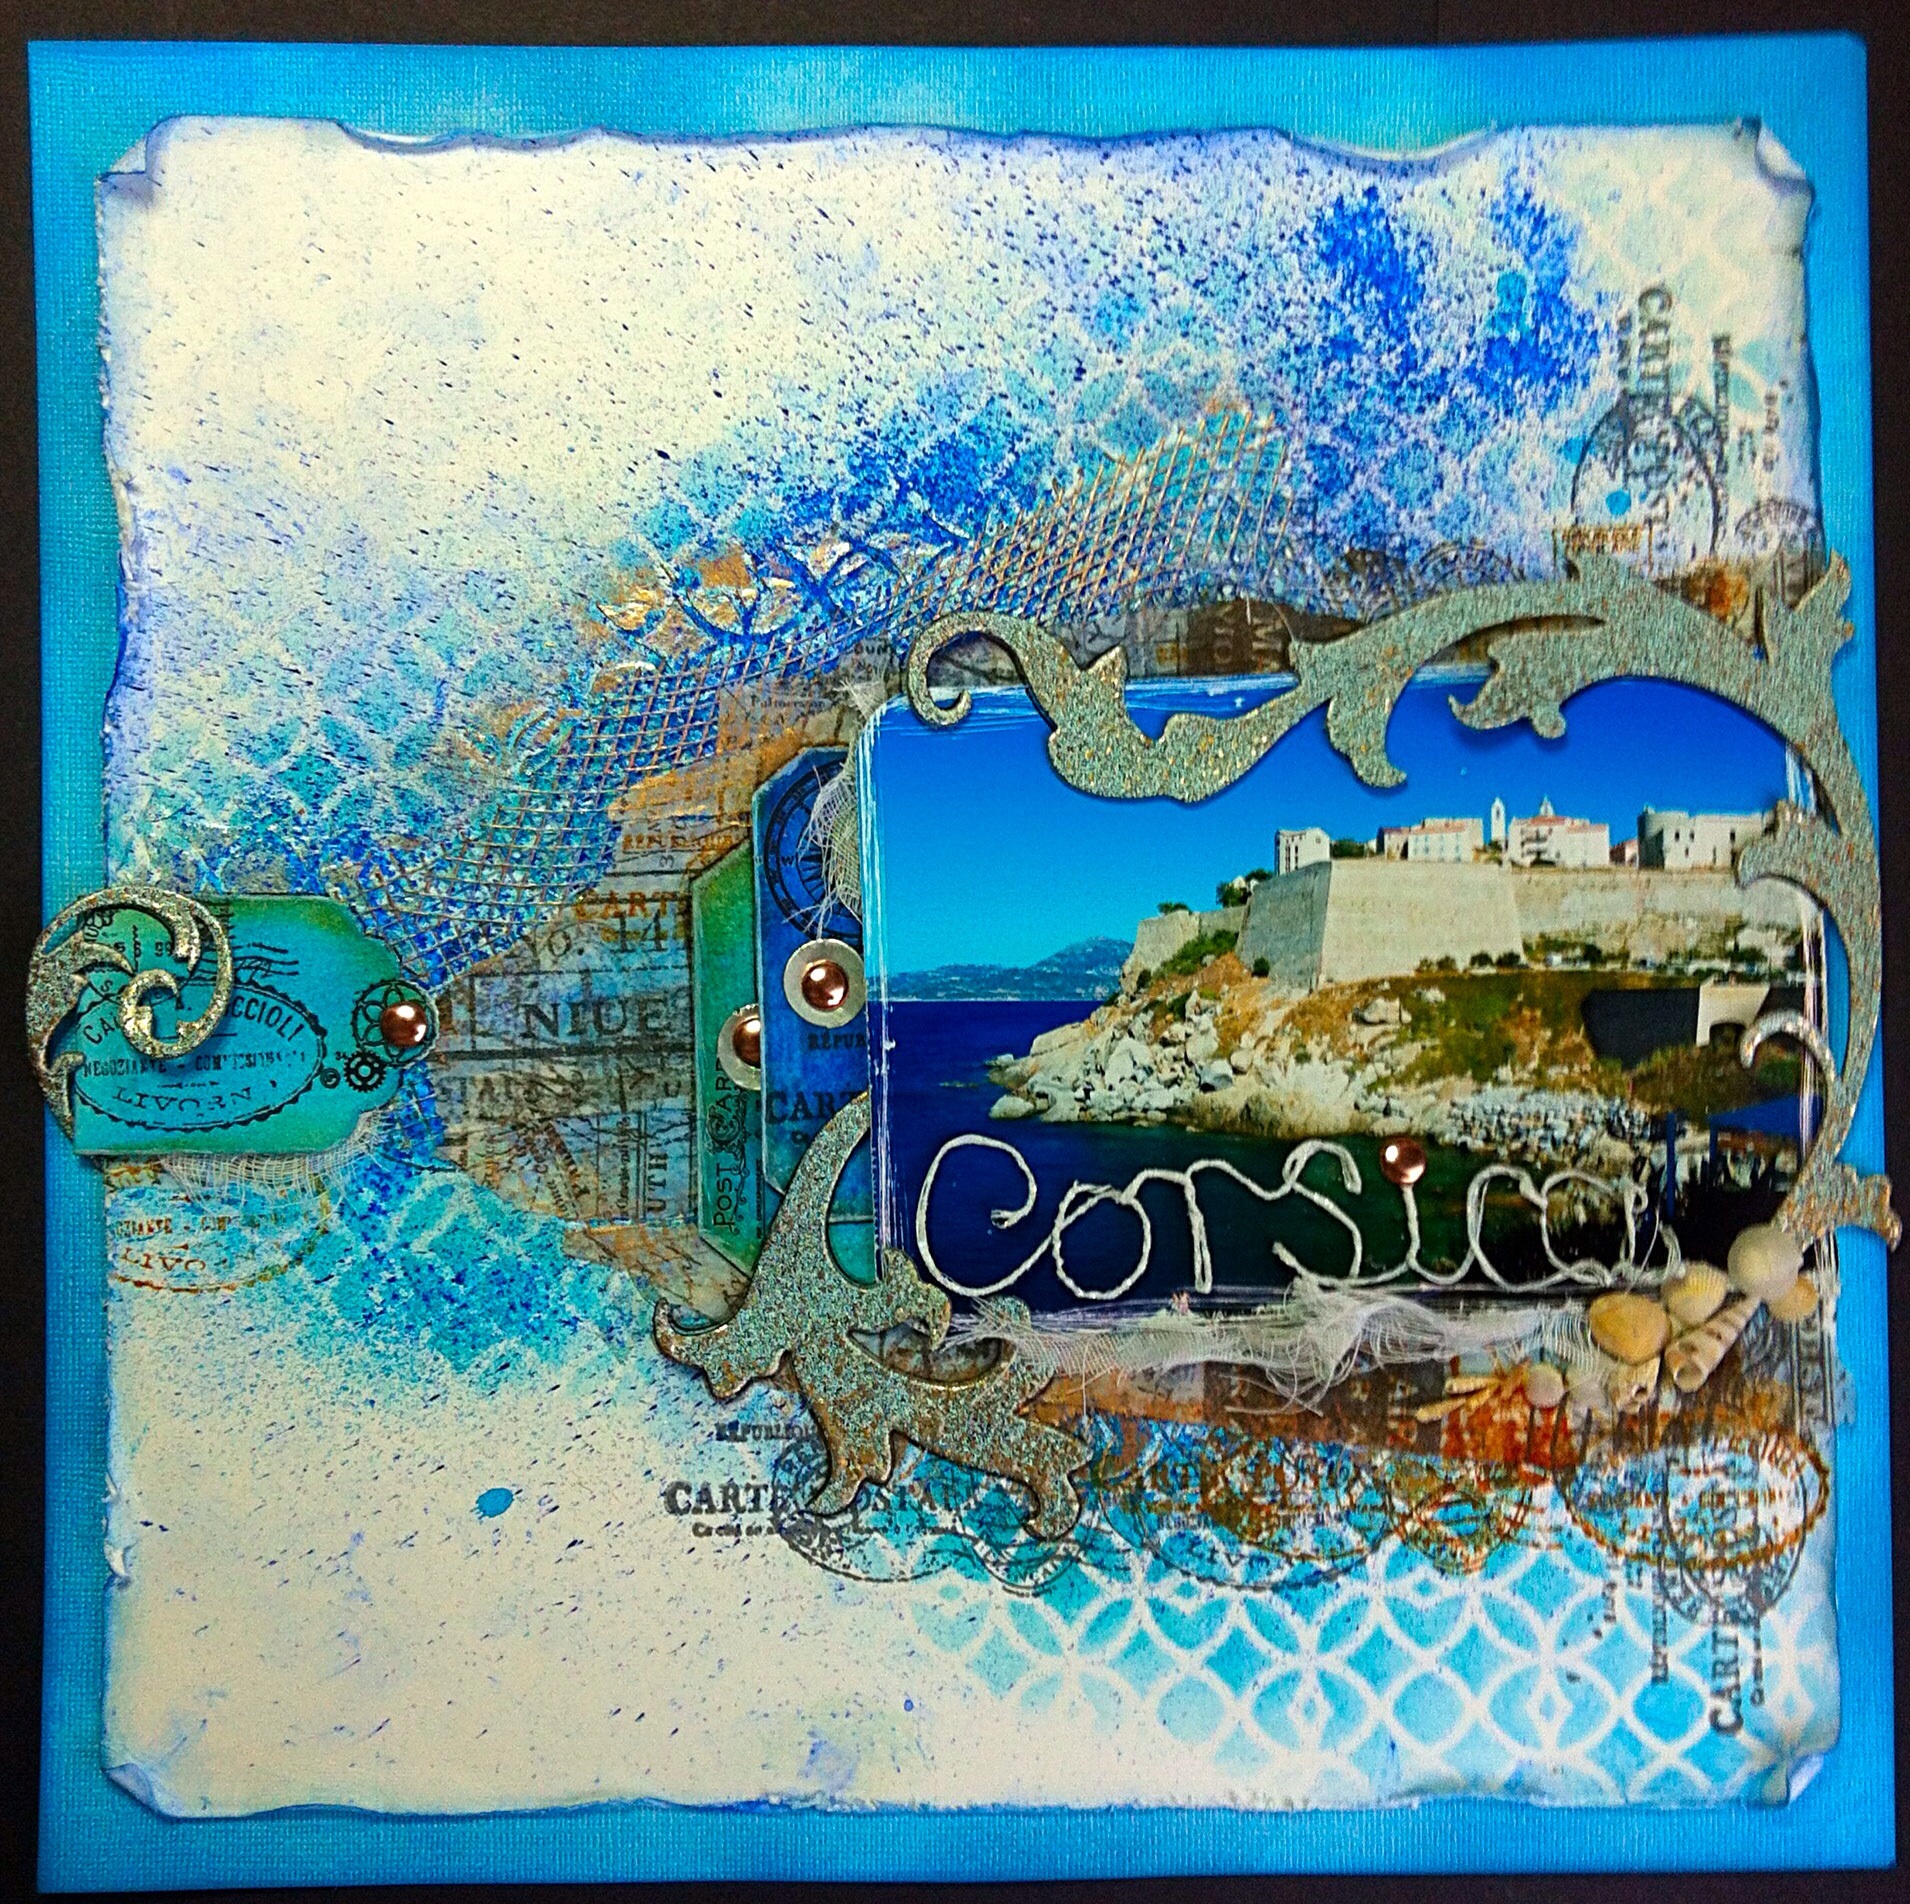
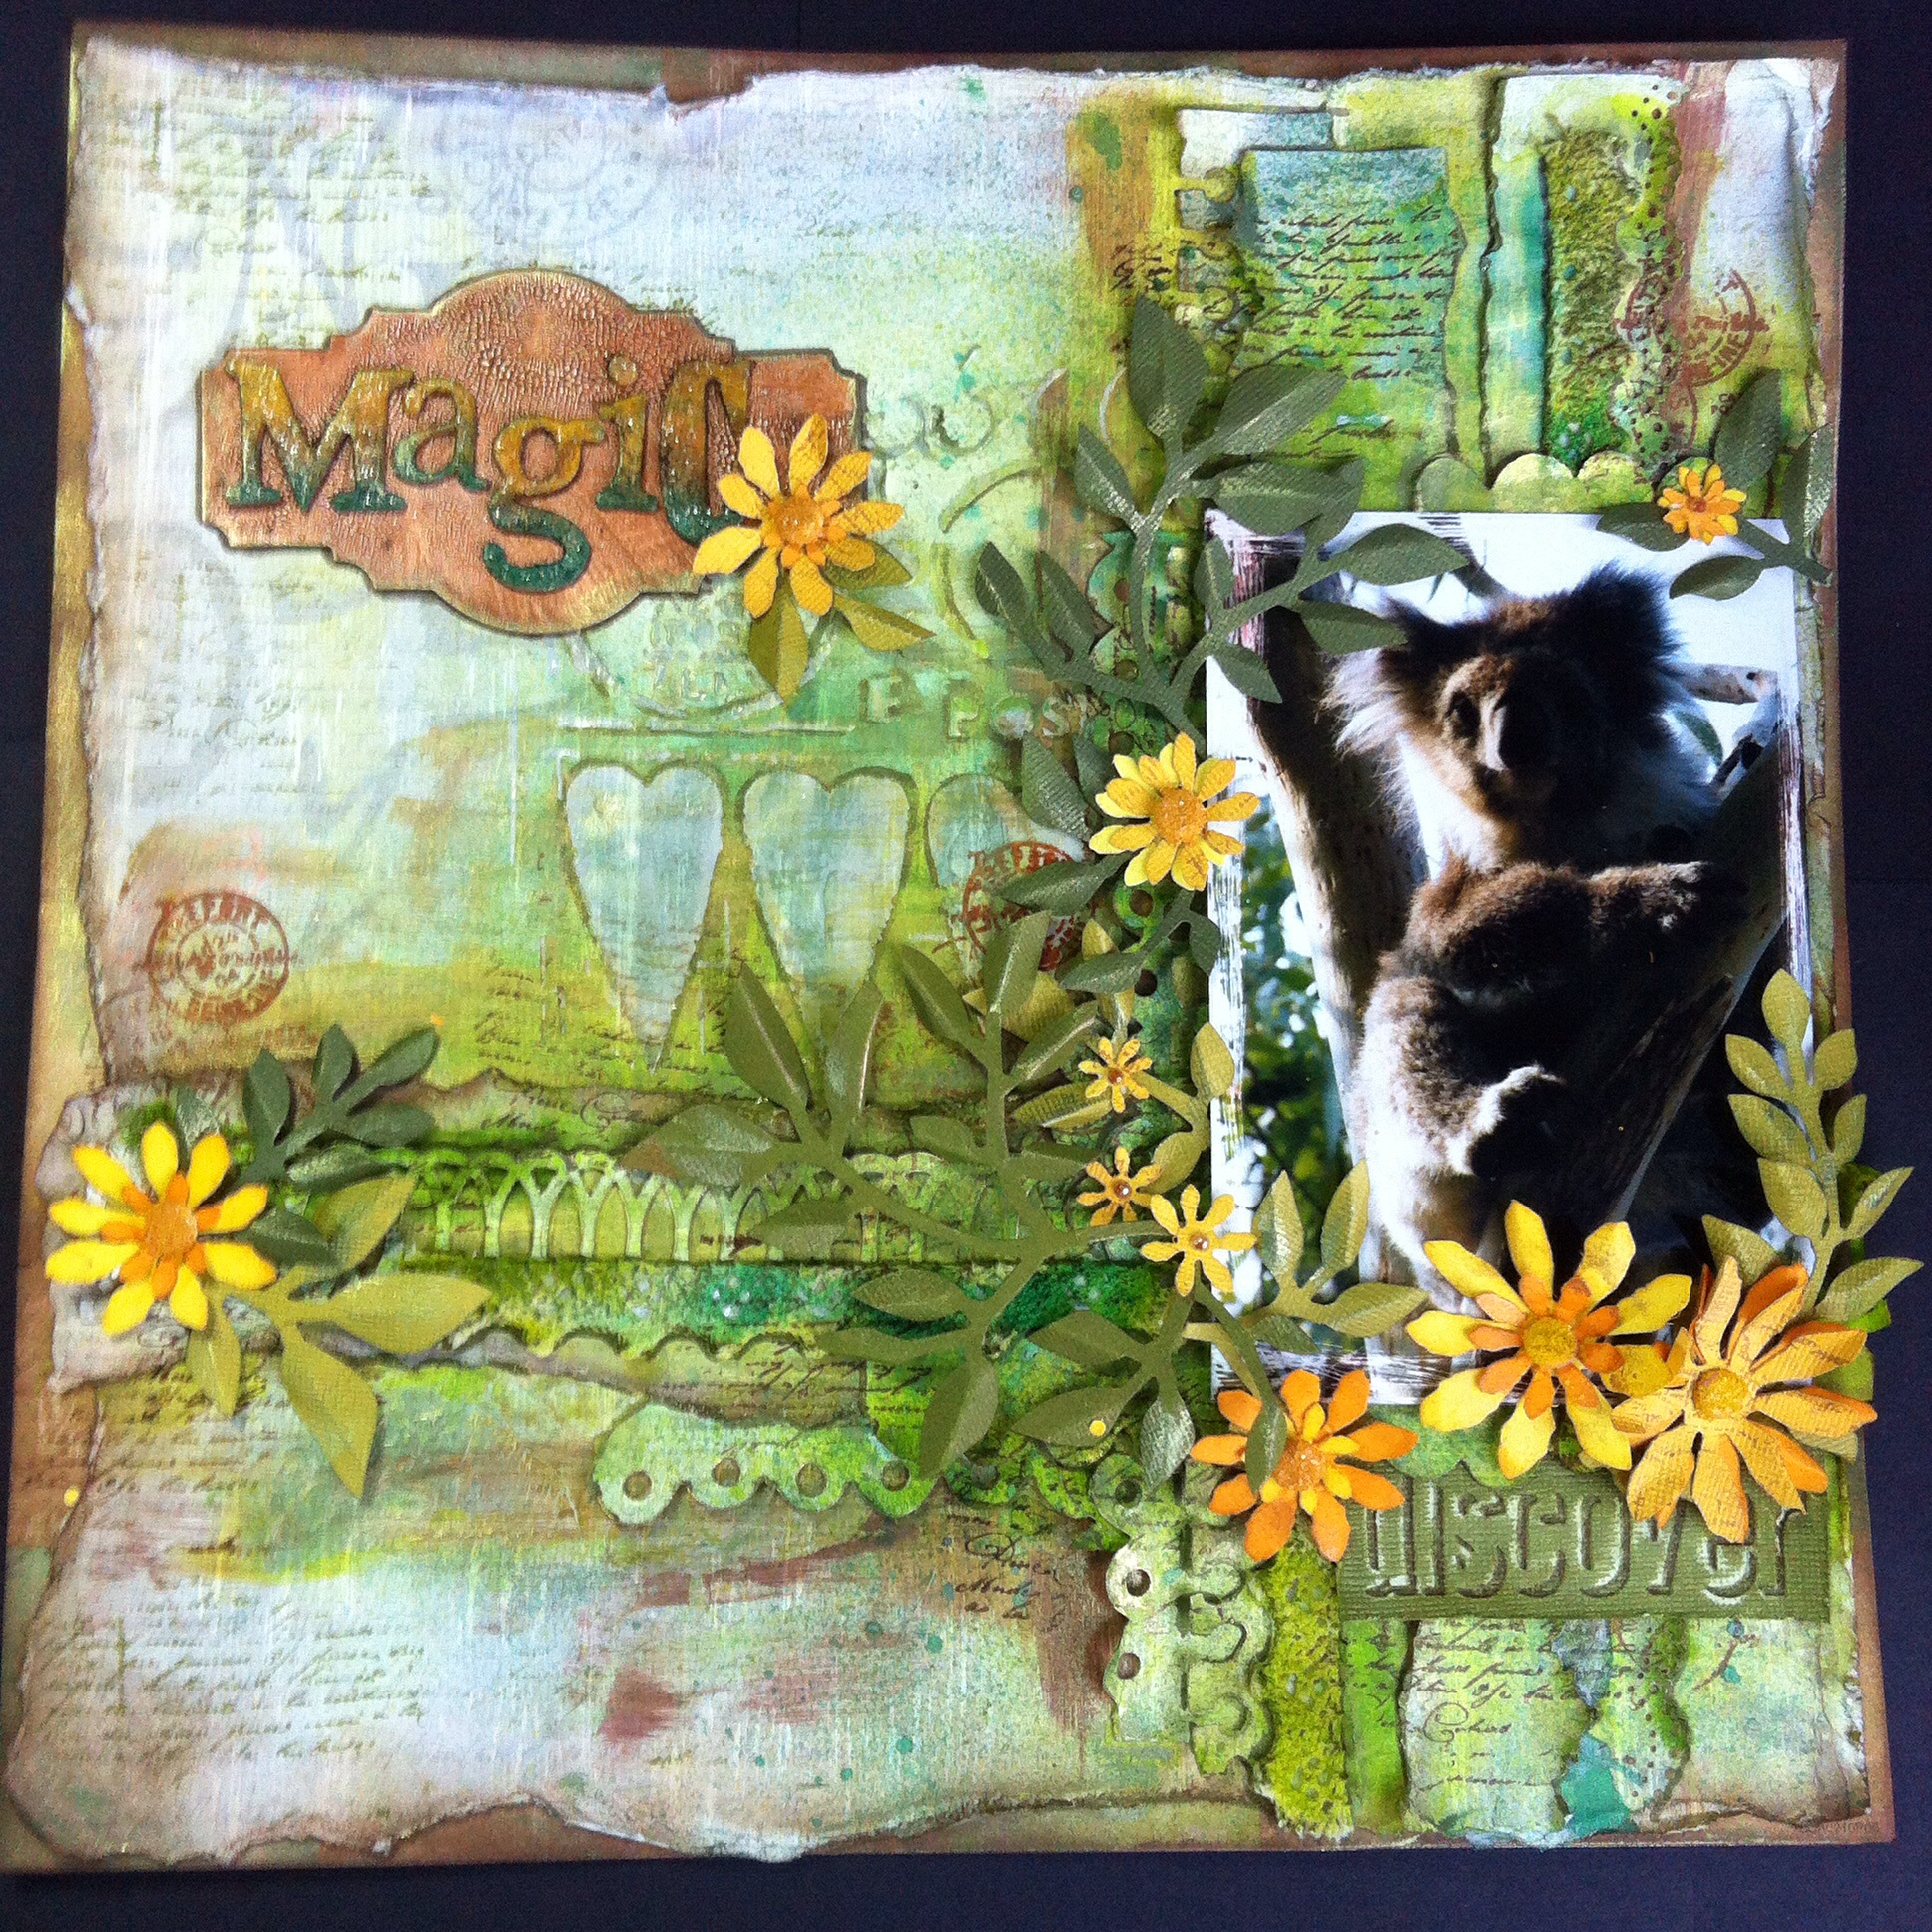
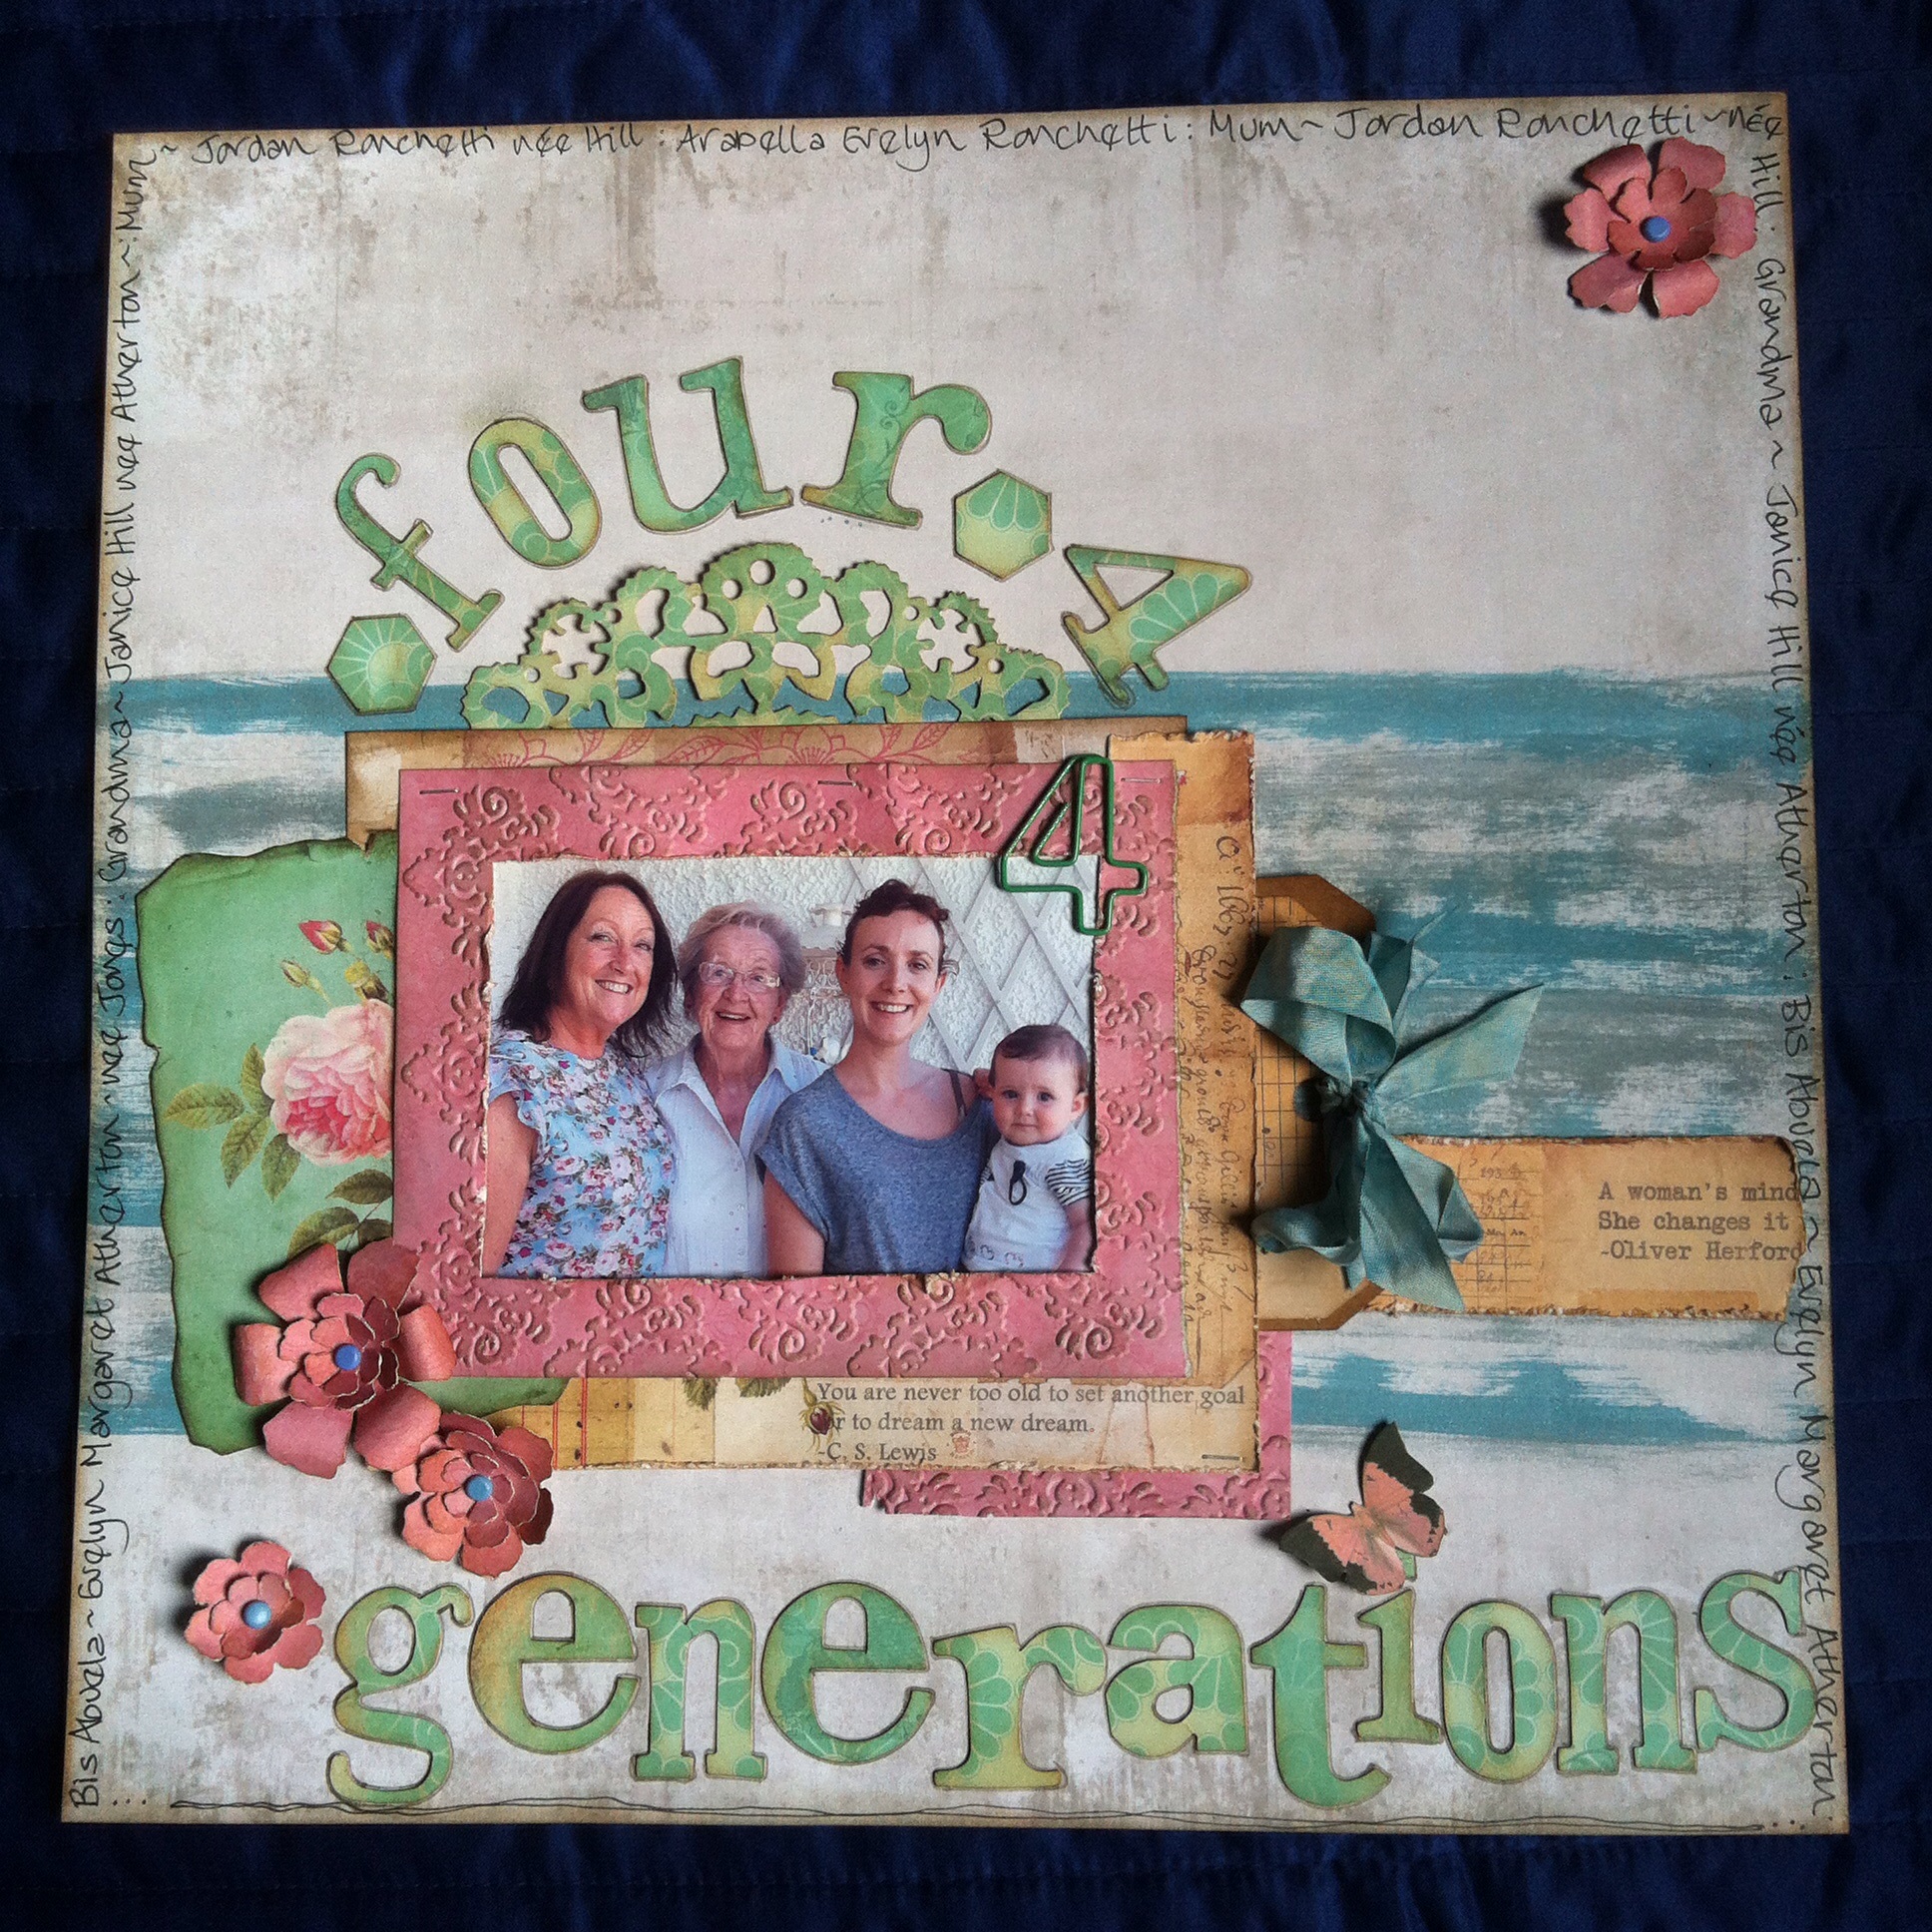
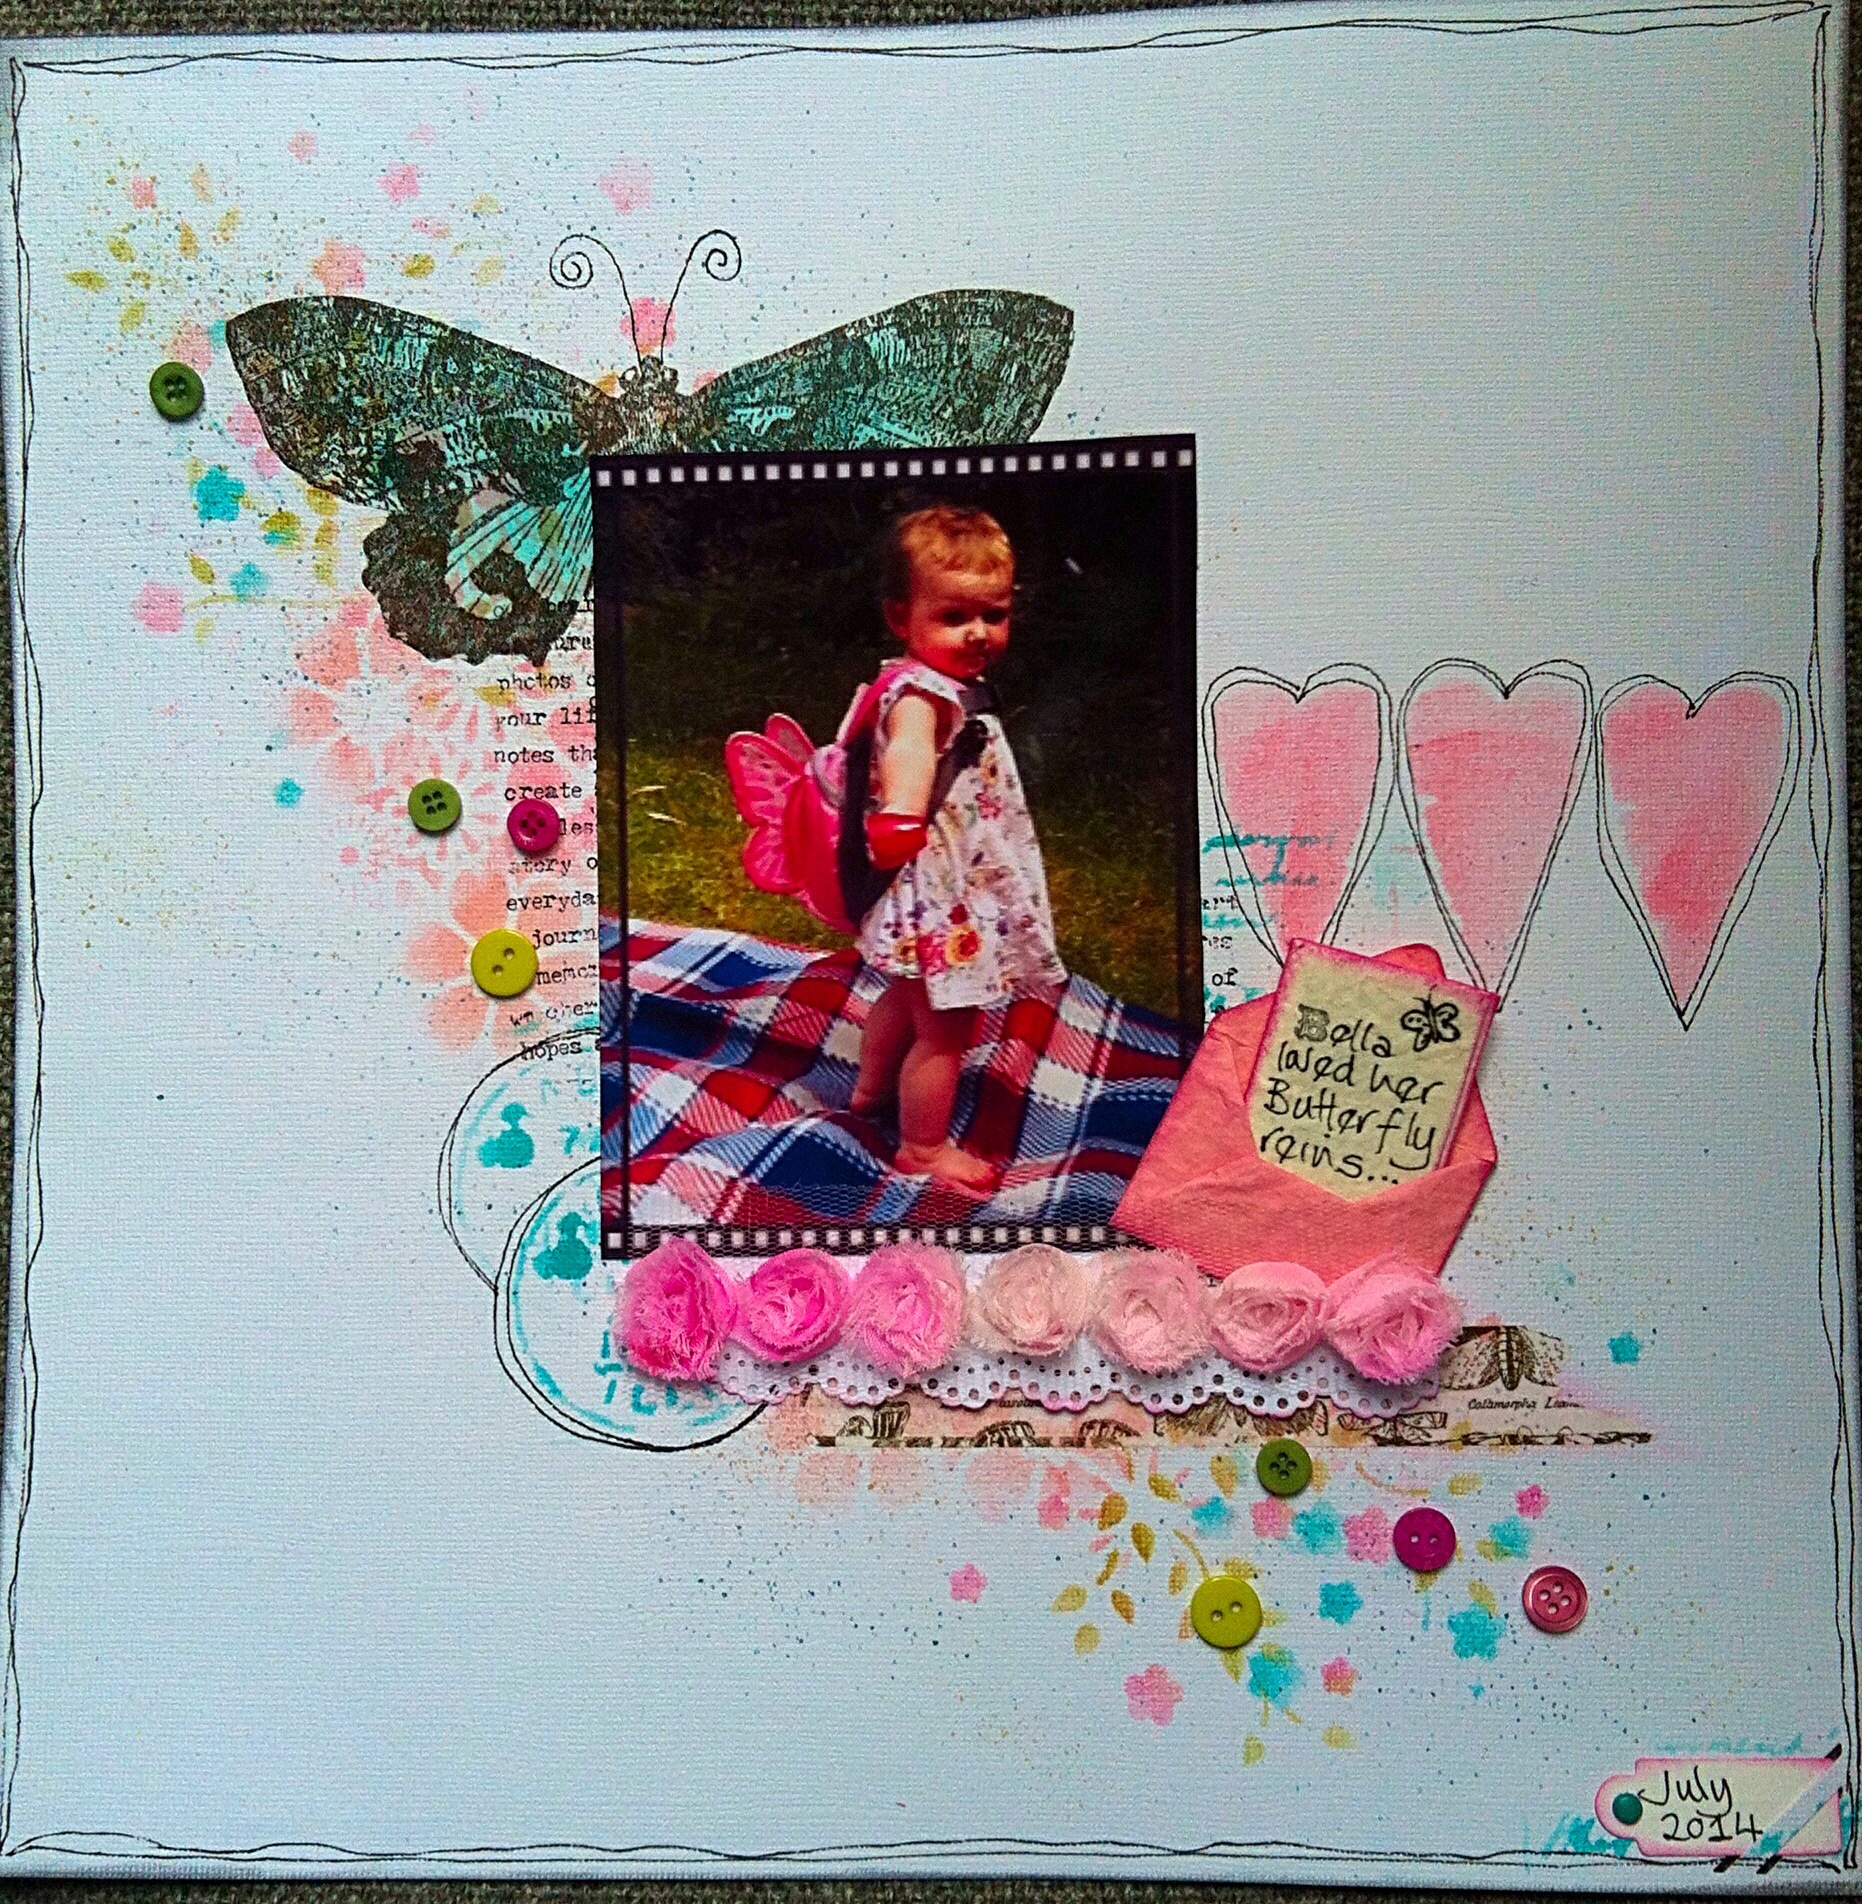
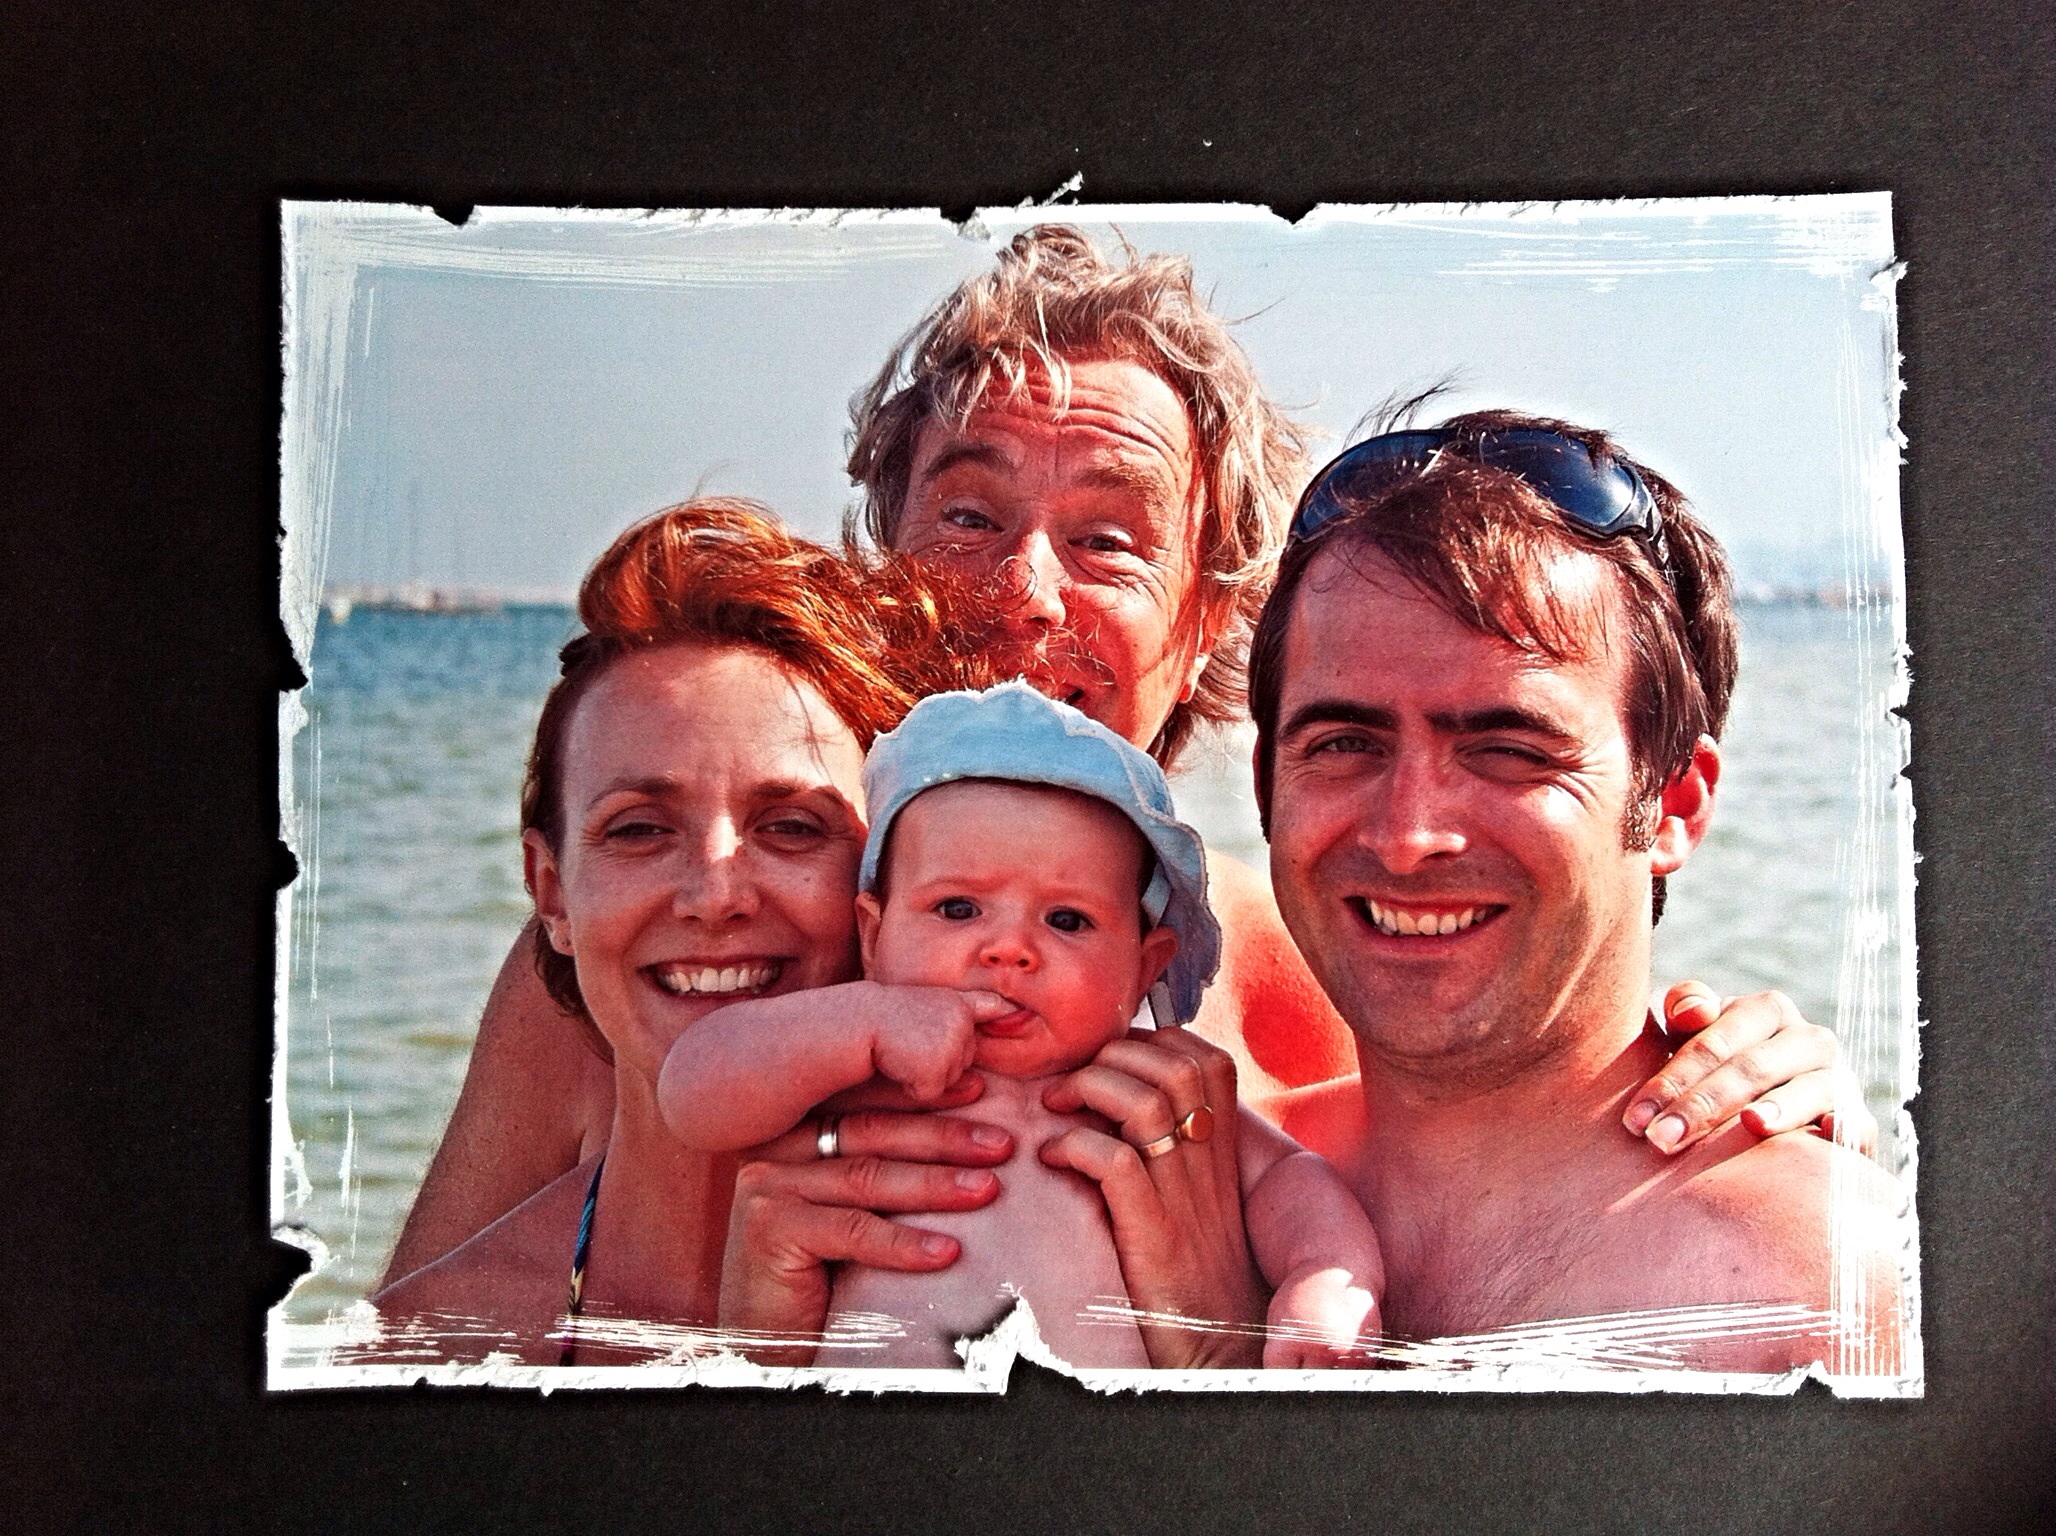
 This is what makes me smile. We were on a family holiday in Spain visiting Bis Abuala in Santiago de la Ribera. It was my Granddaughters first trip and lots of photos were taken. I was just about to snap the shutter when my husband photo bombed. The photo always makes me smile as it was such a happy time.

I decided to create a scrapbook page.

image


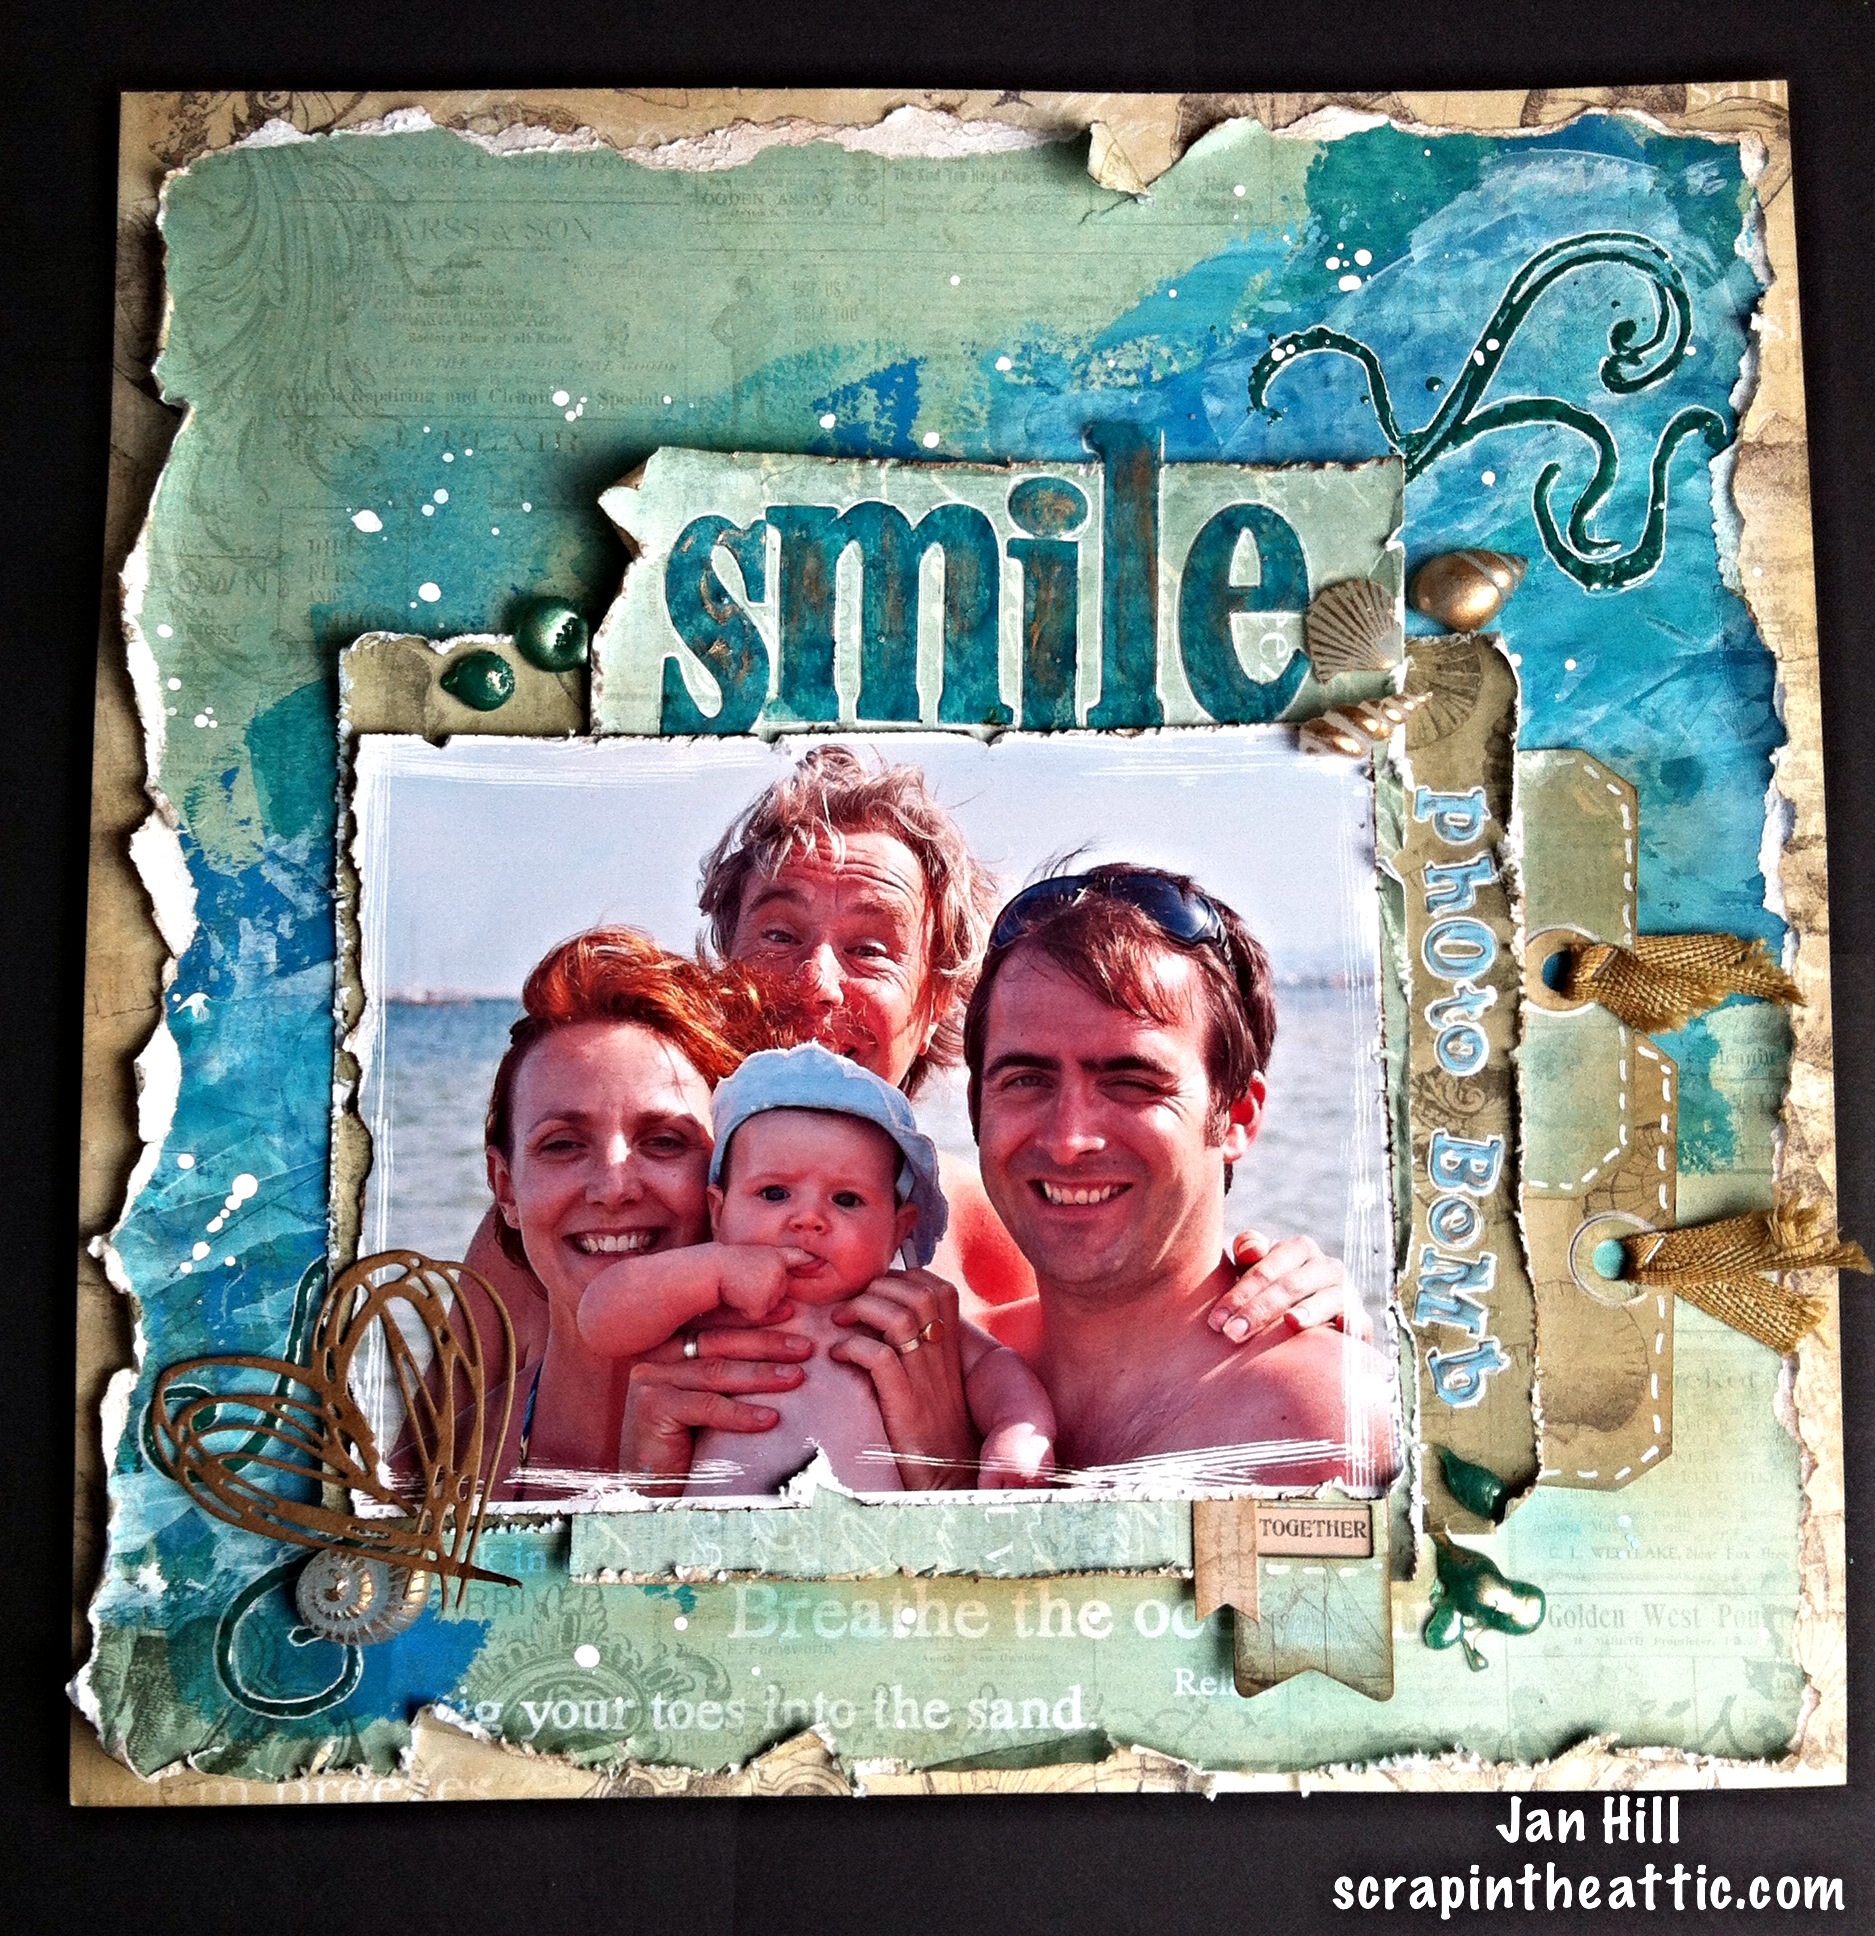
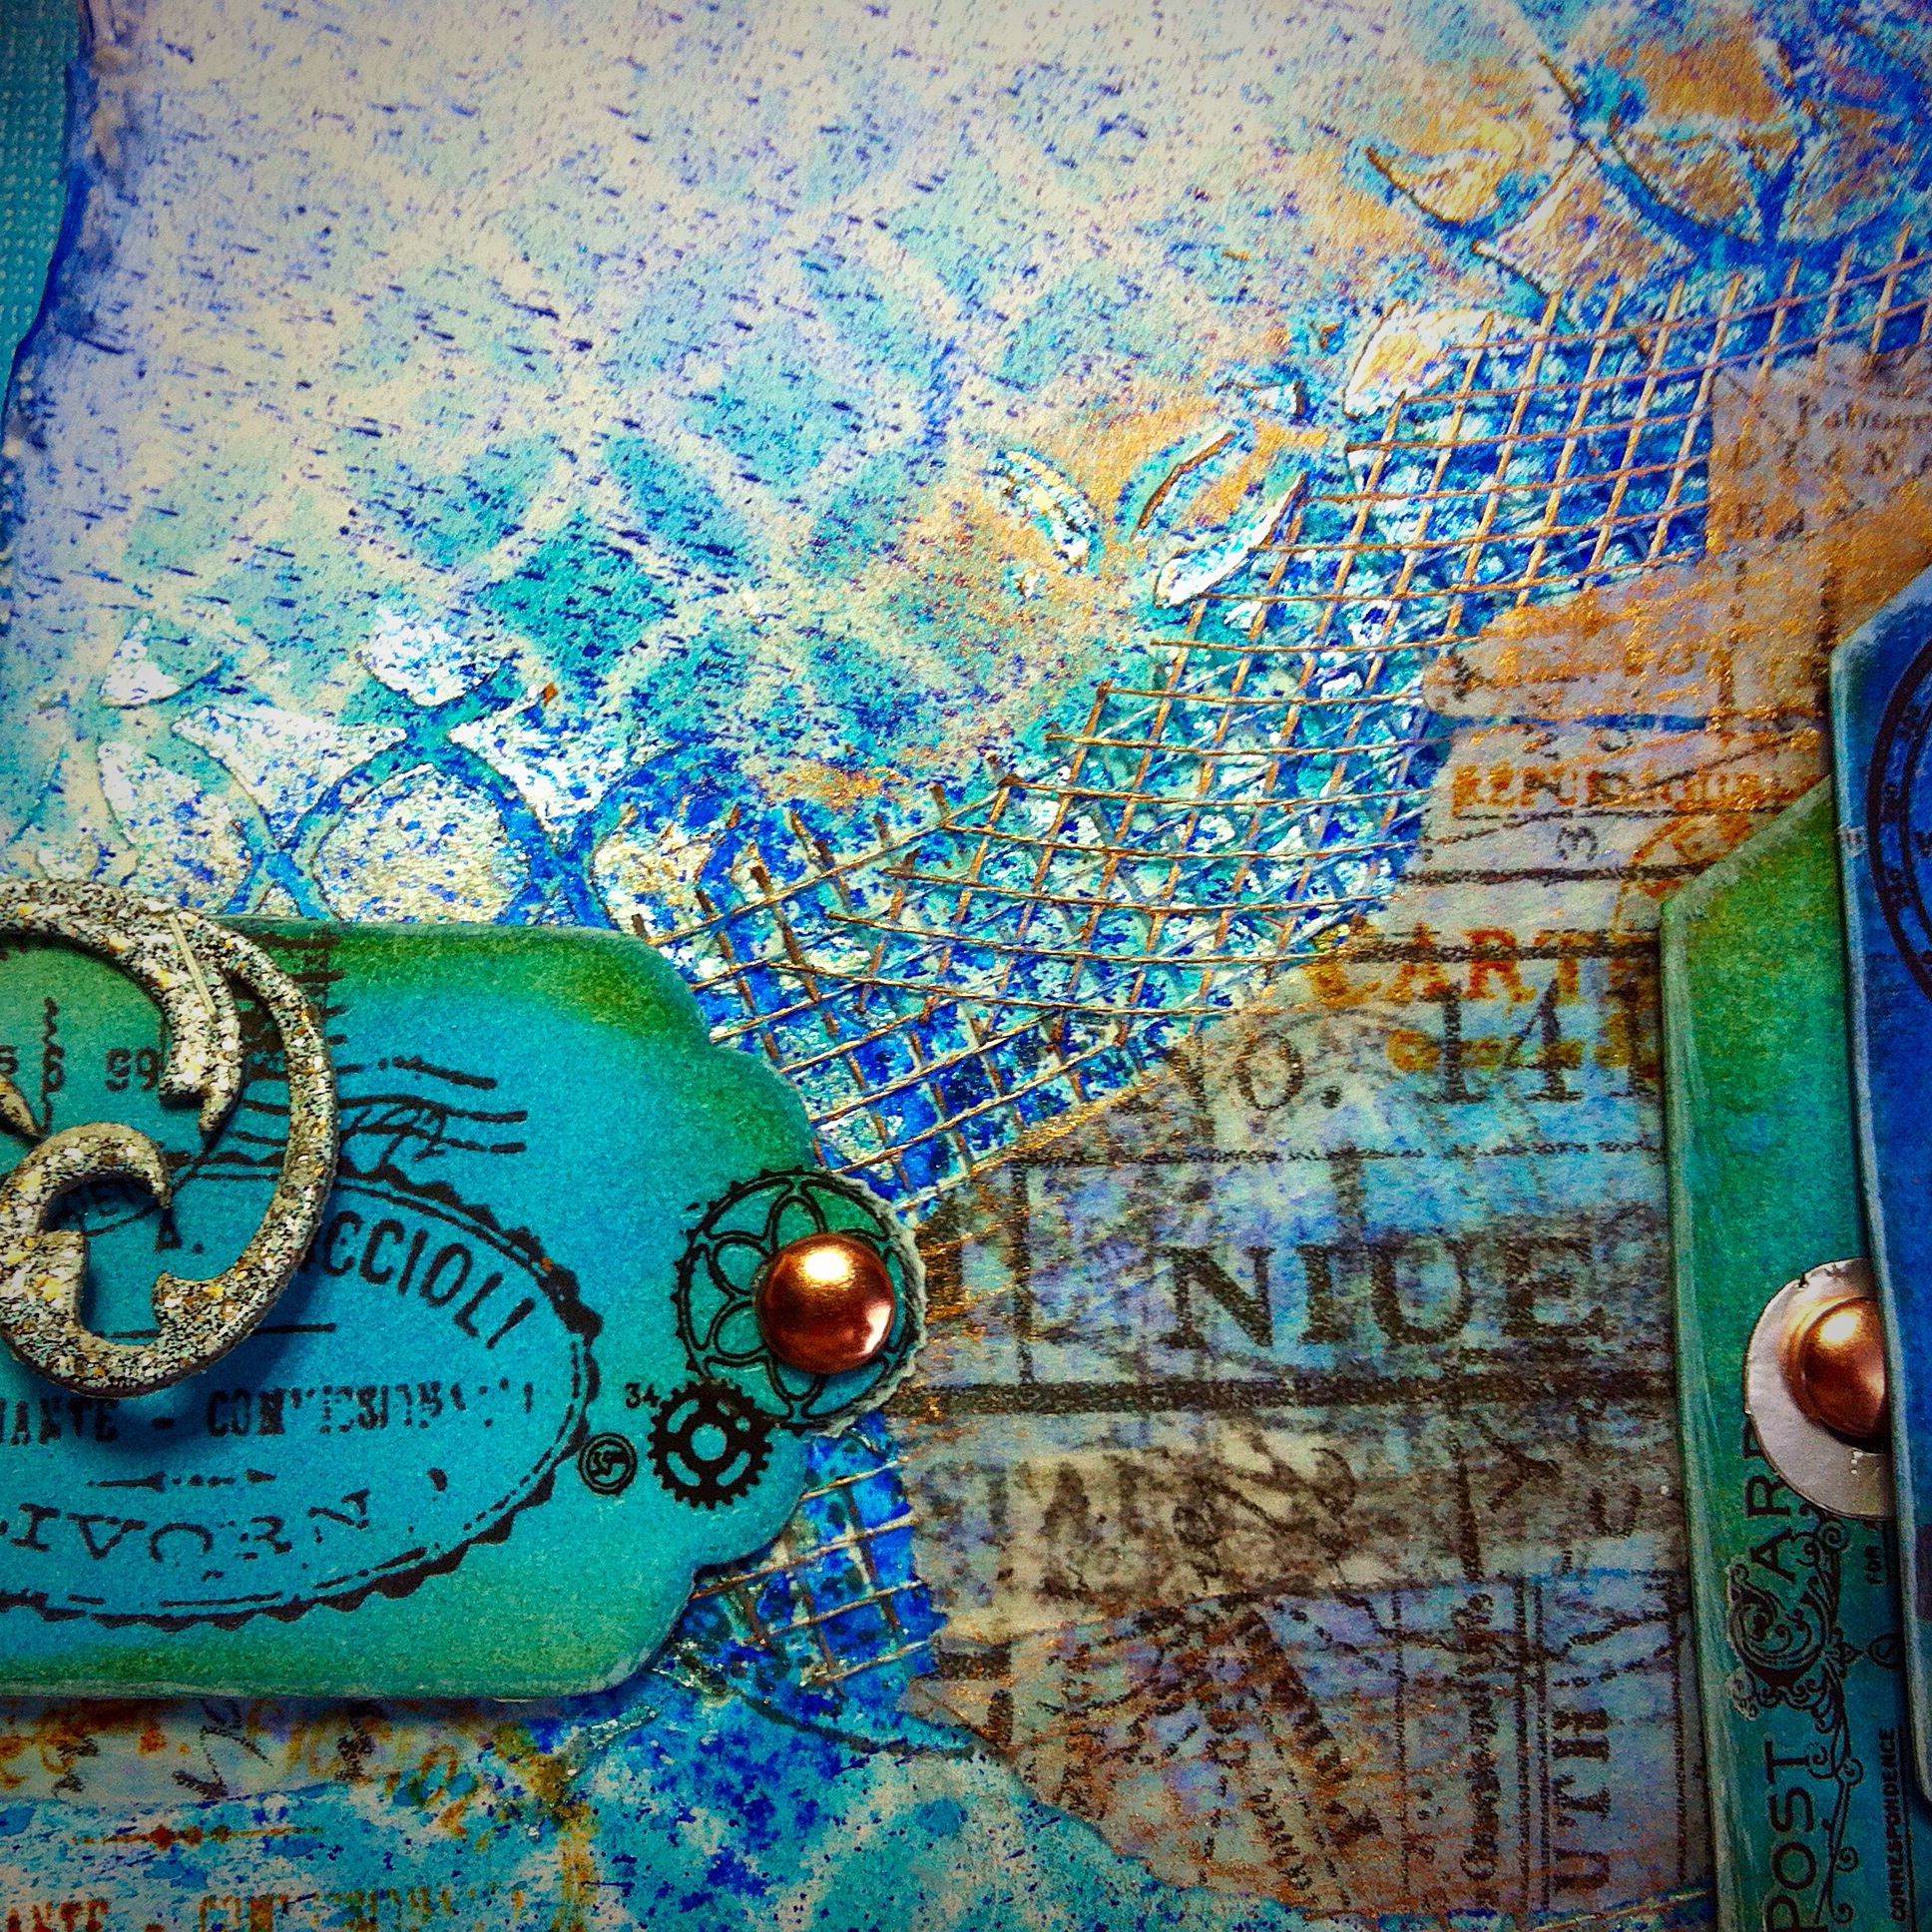
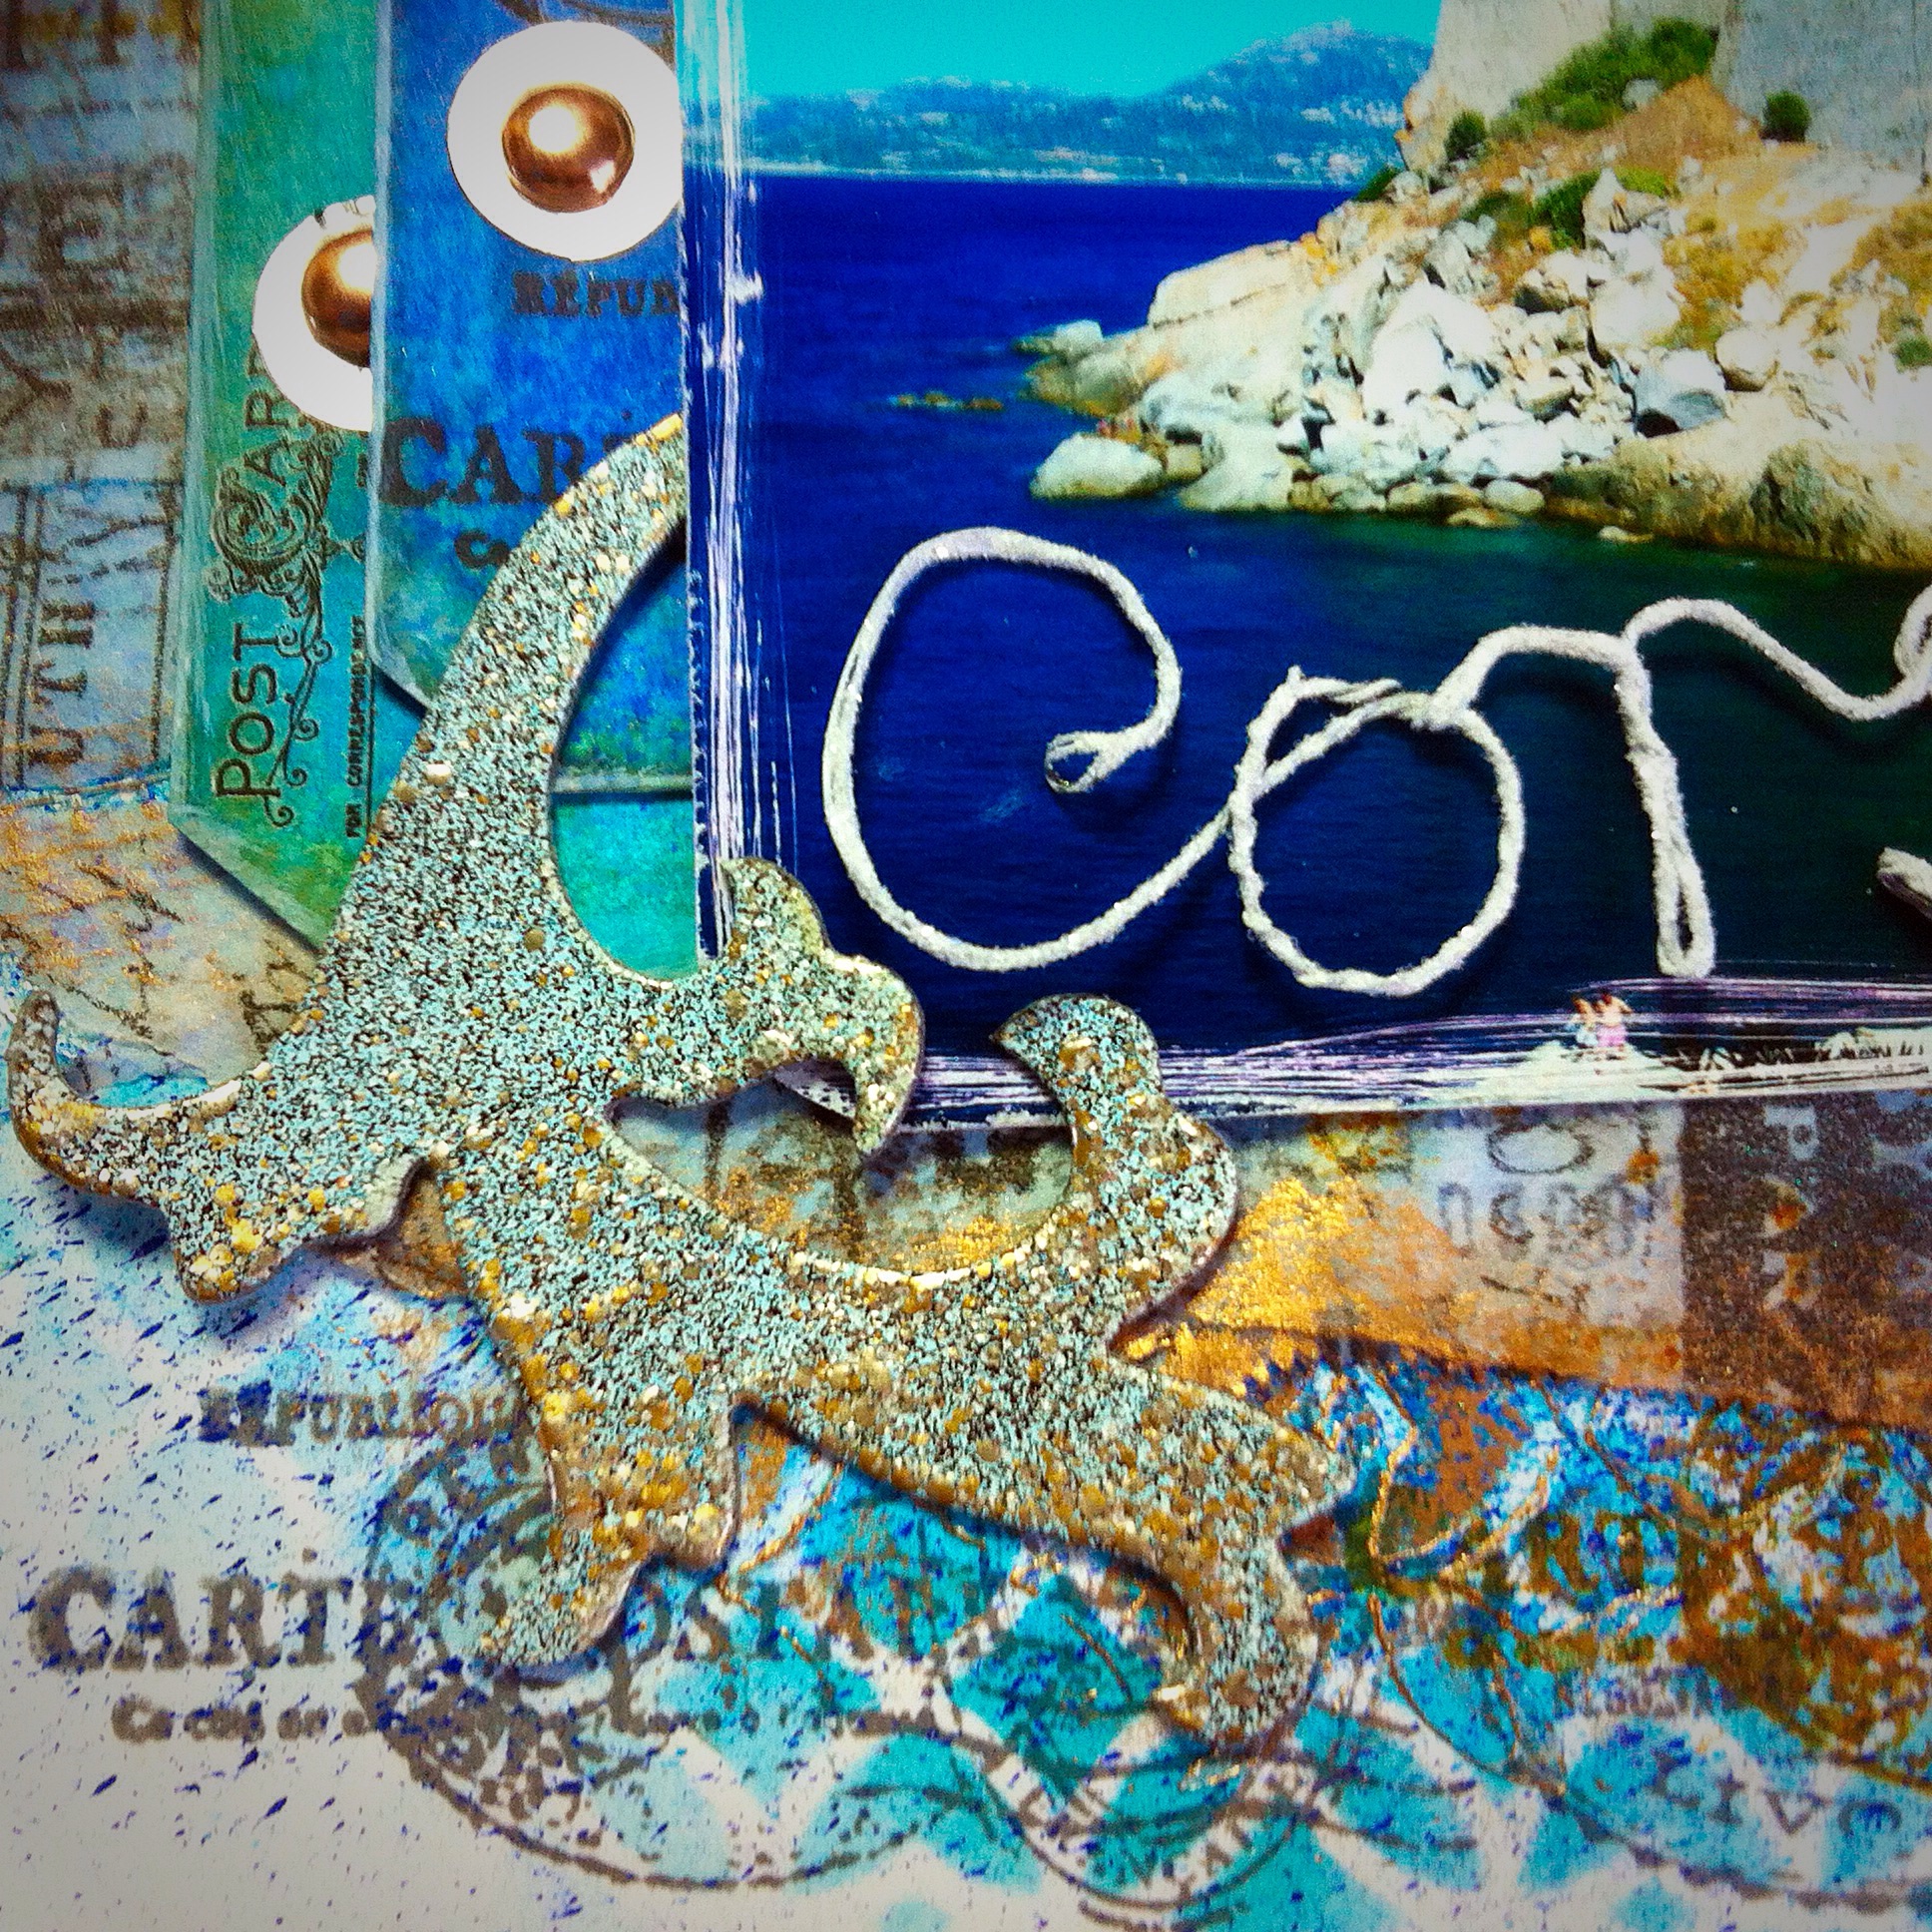
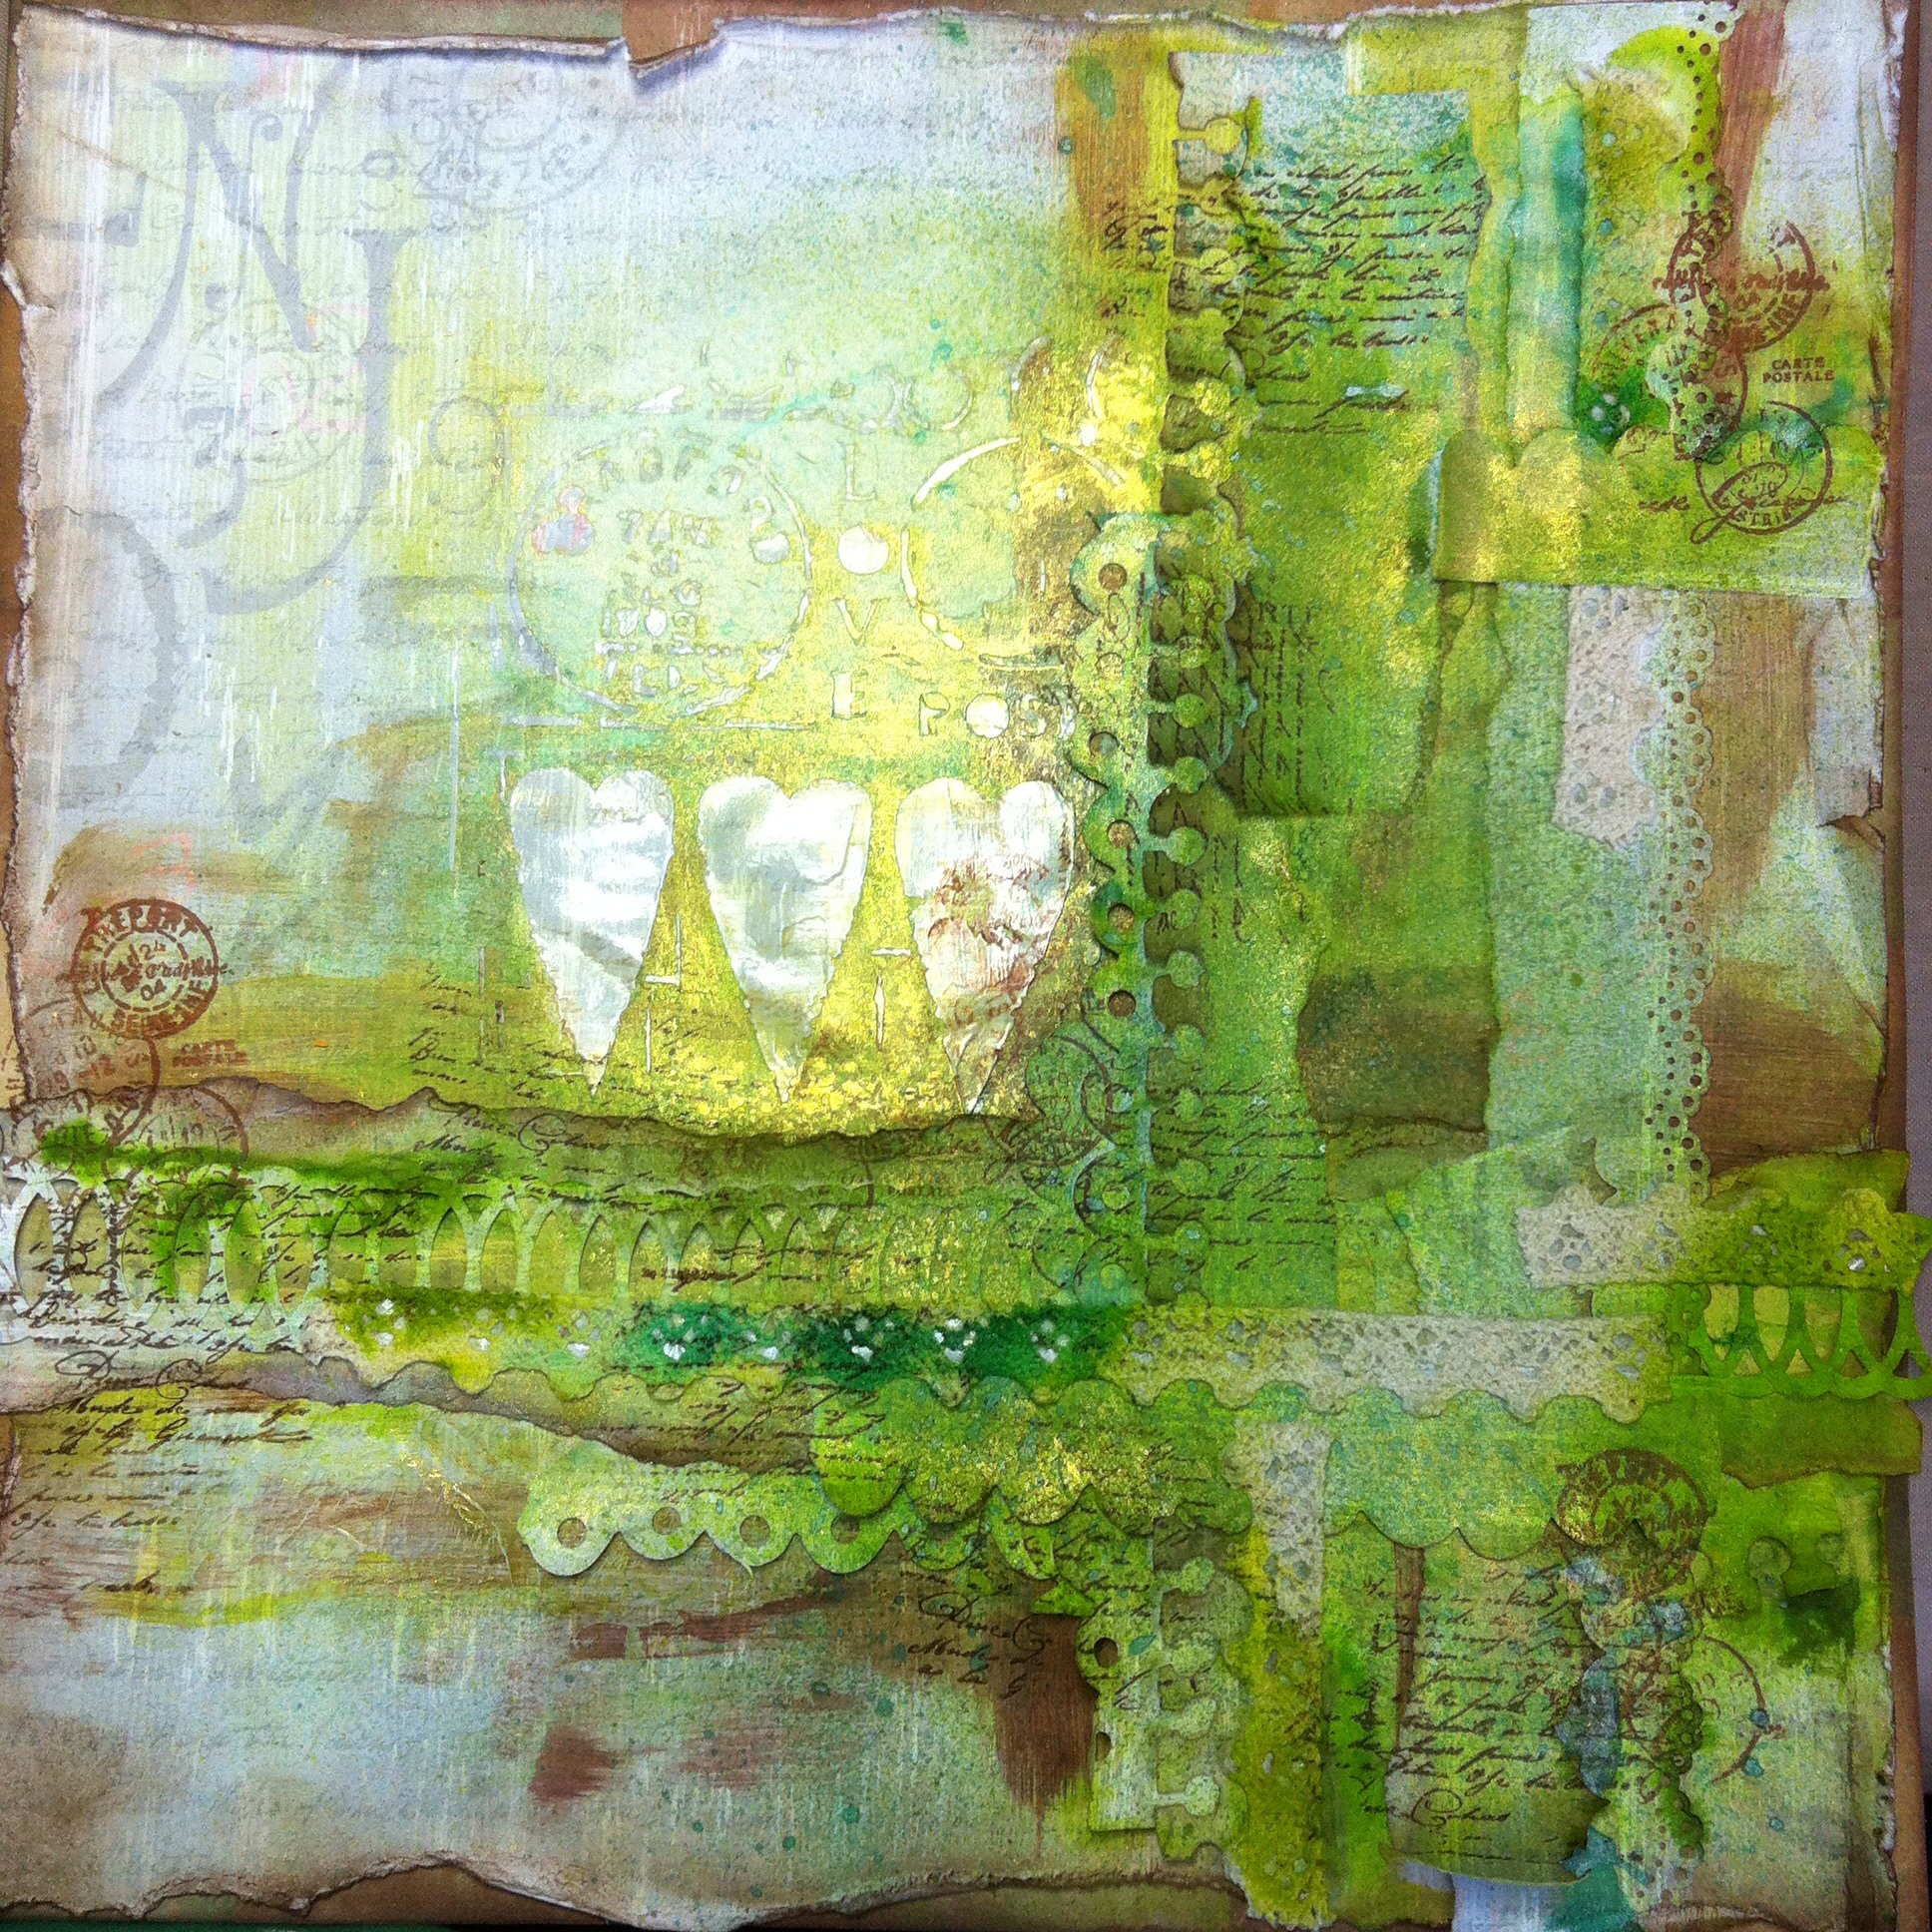
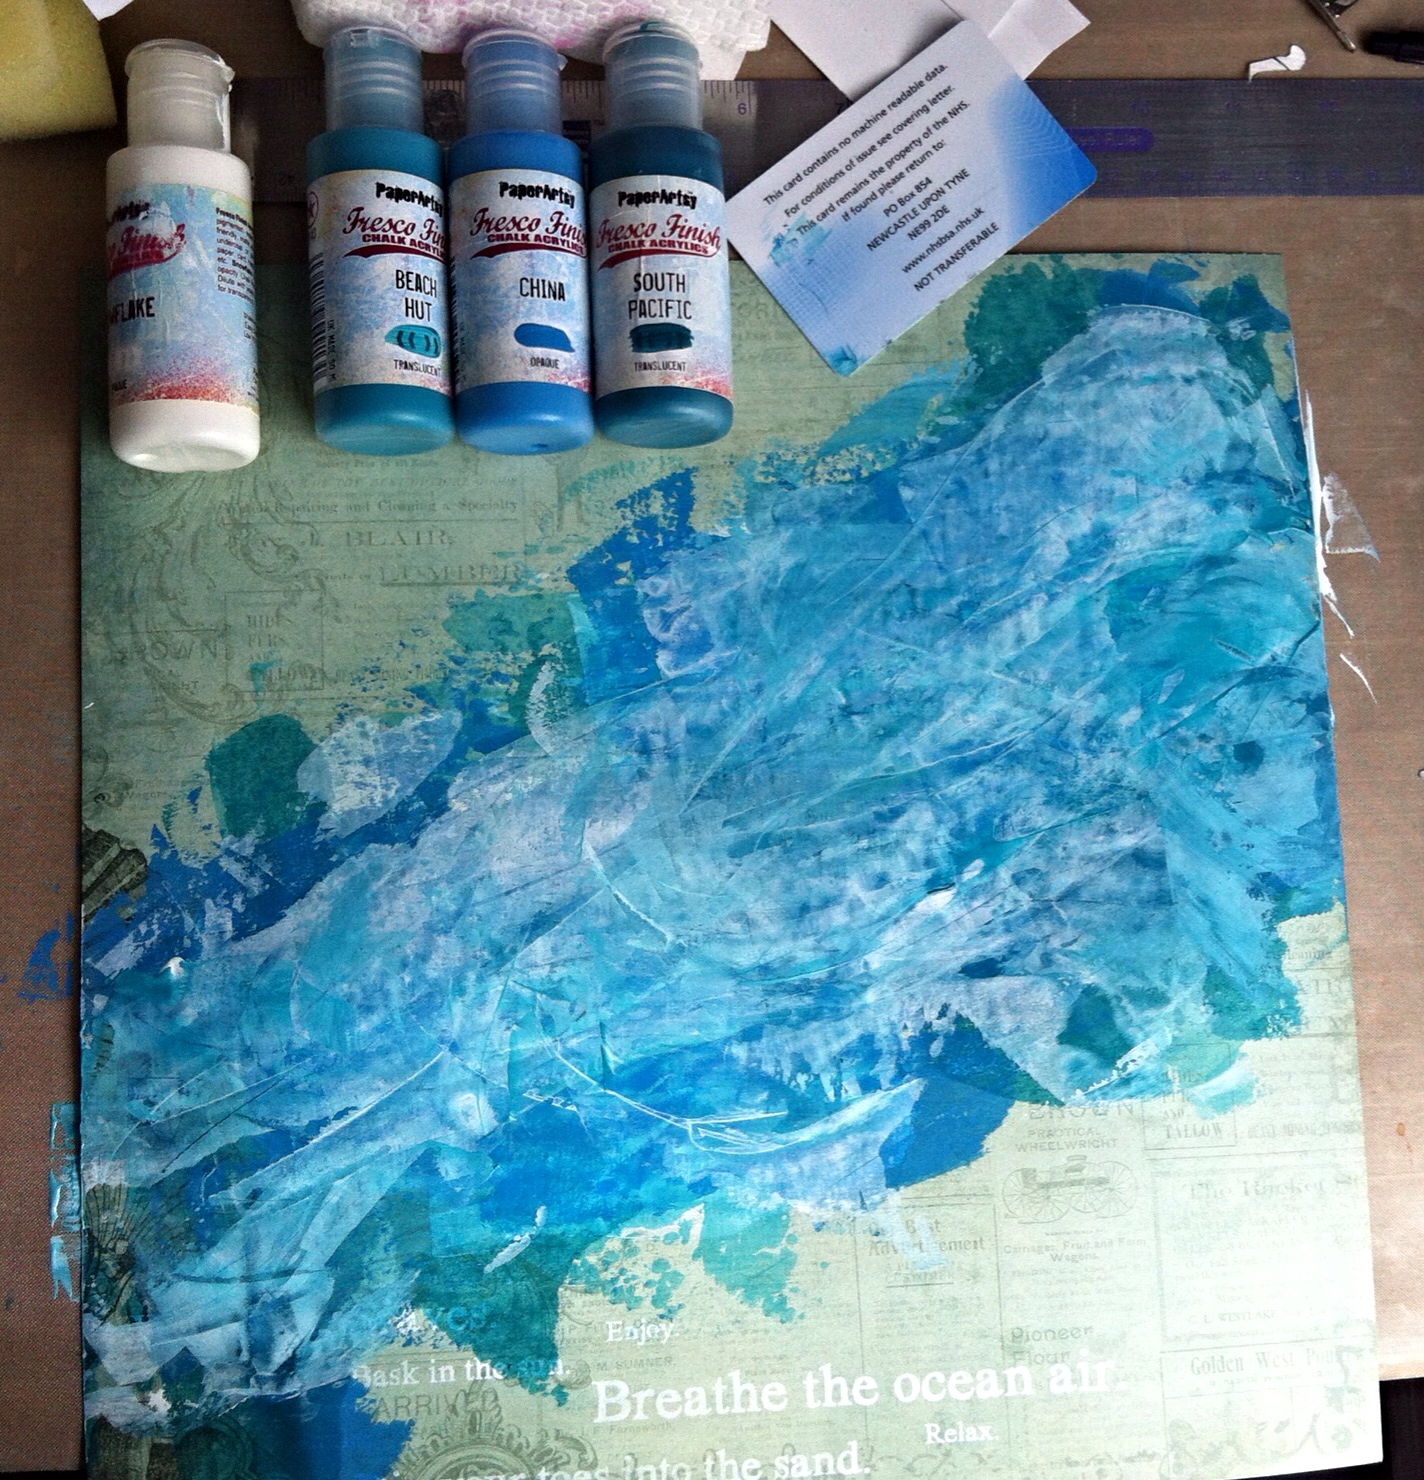
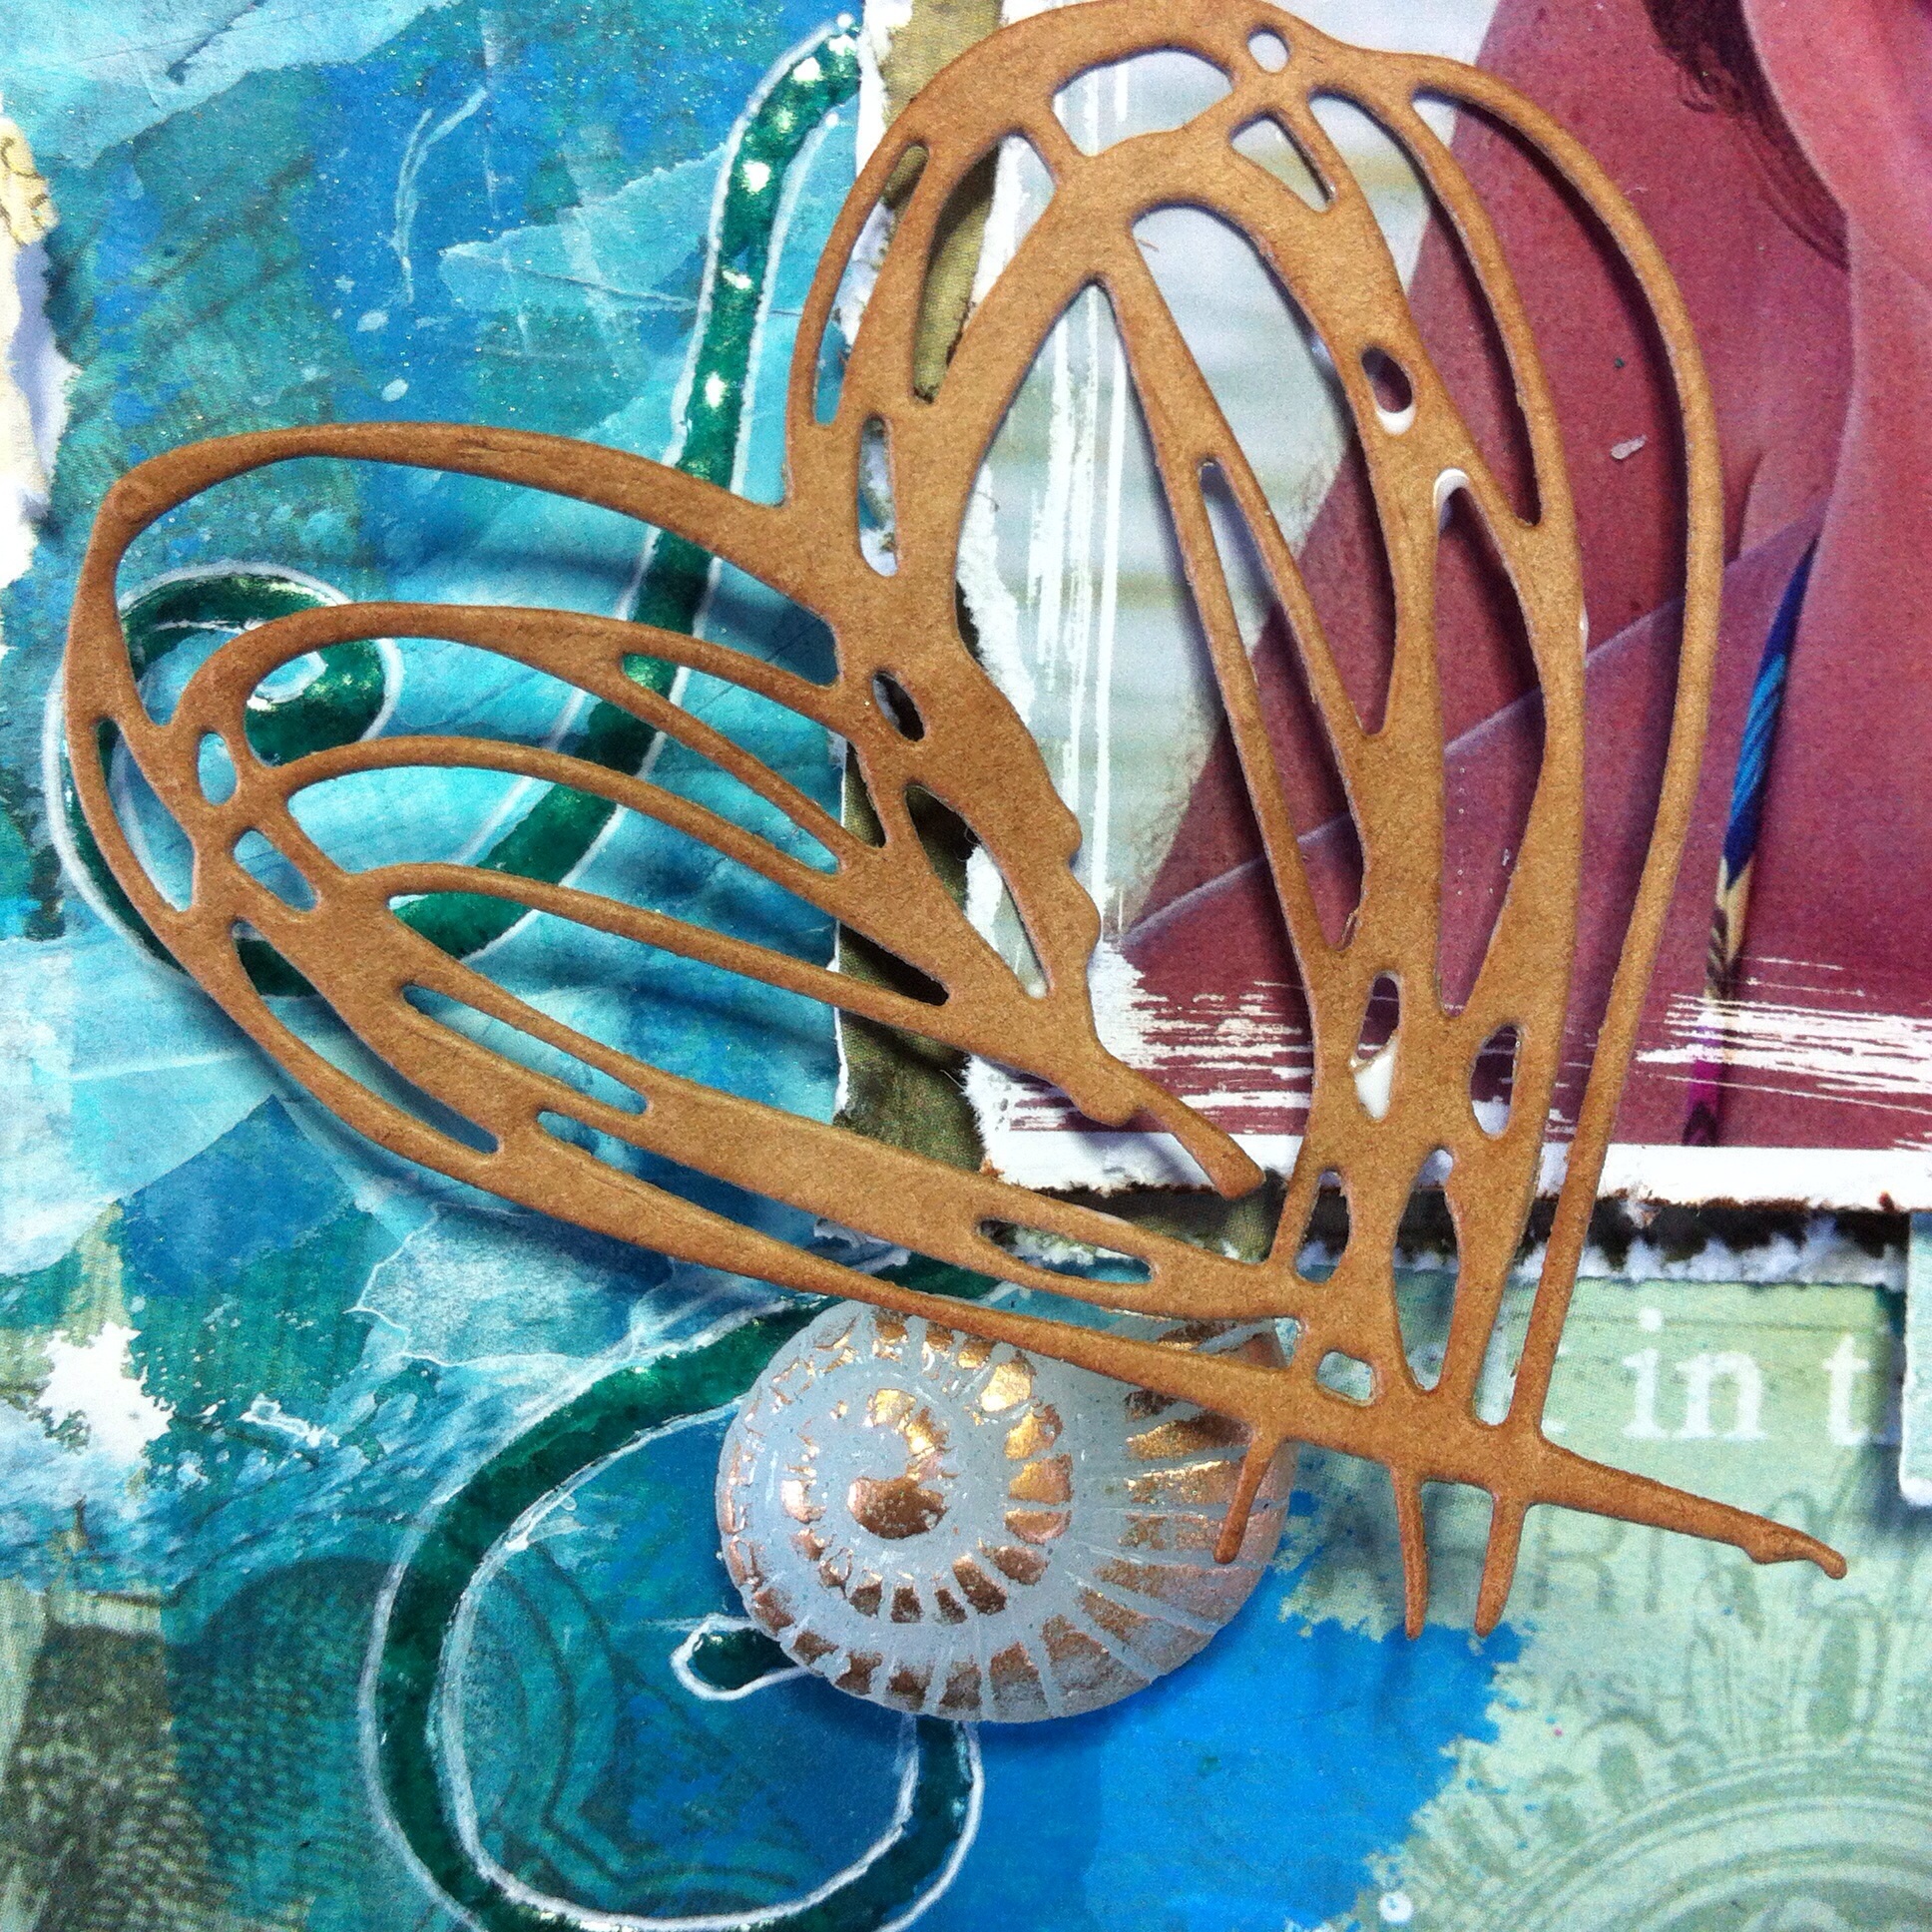
I began with some Prima Seashore papers. I wanted to create the movement of the water so swirled and spread the paint across with an old credit card. I used a selection of chalky paints, some opaque and some translucent to create depth and layers. Later I drew swirls with an embossing ink pen and heated jewelled enamel to made wave like flourishes.
image

The photo was scratched and distressed with a Prima tool.
image

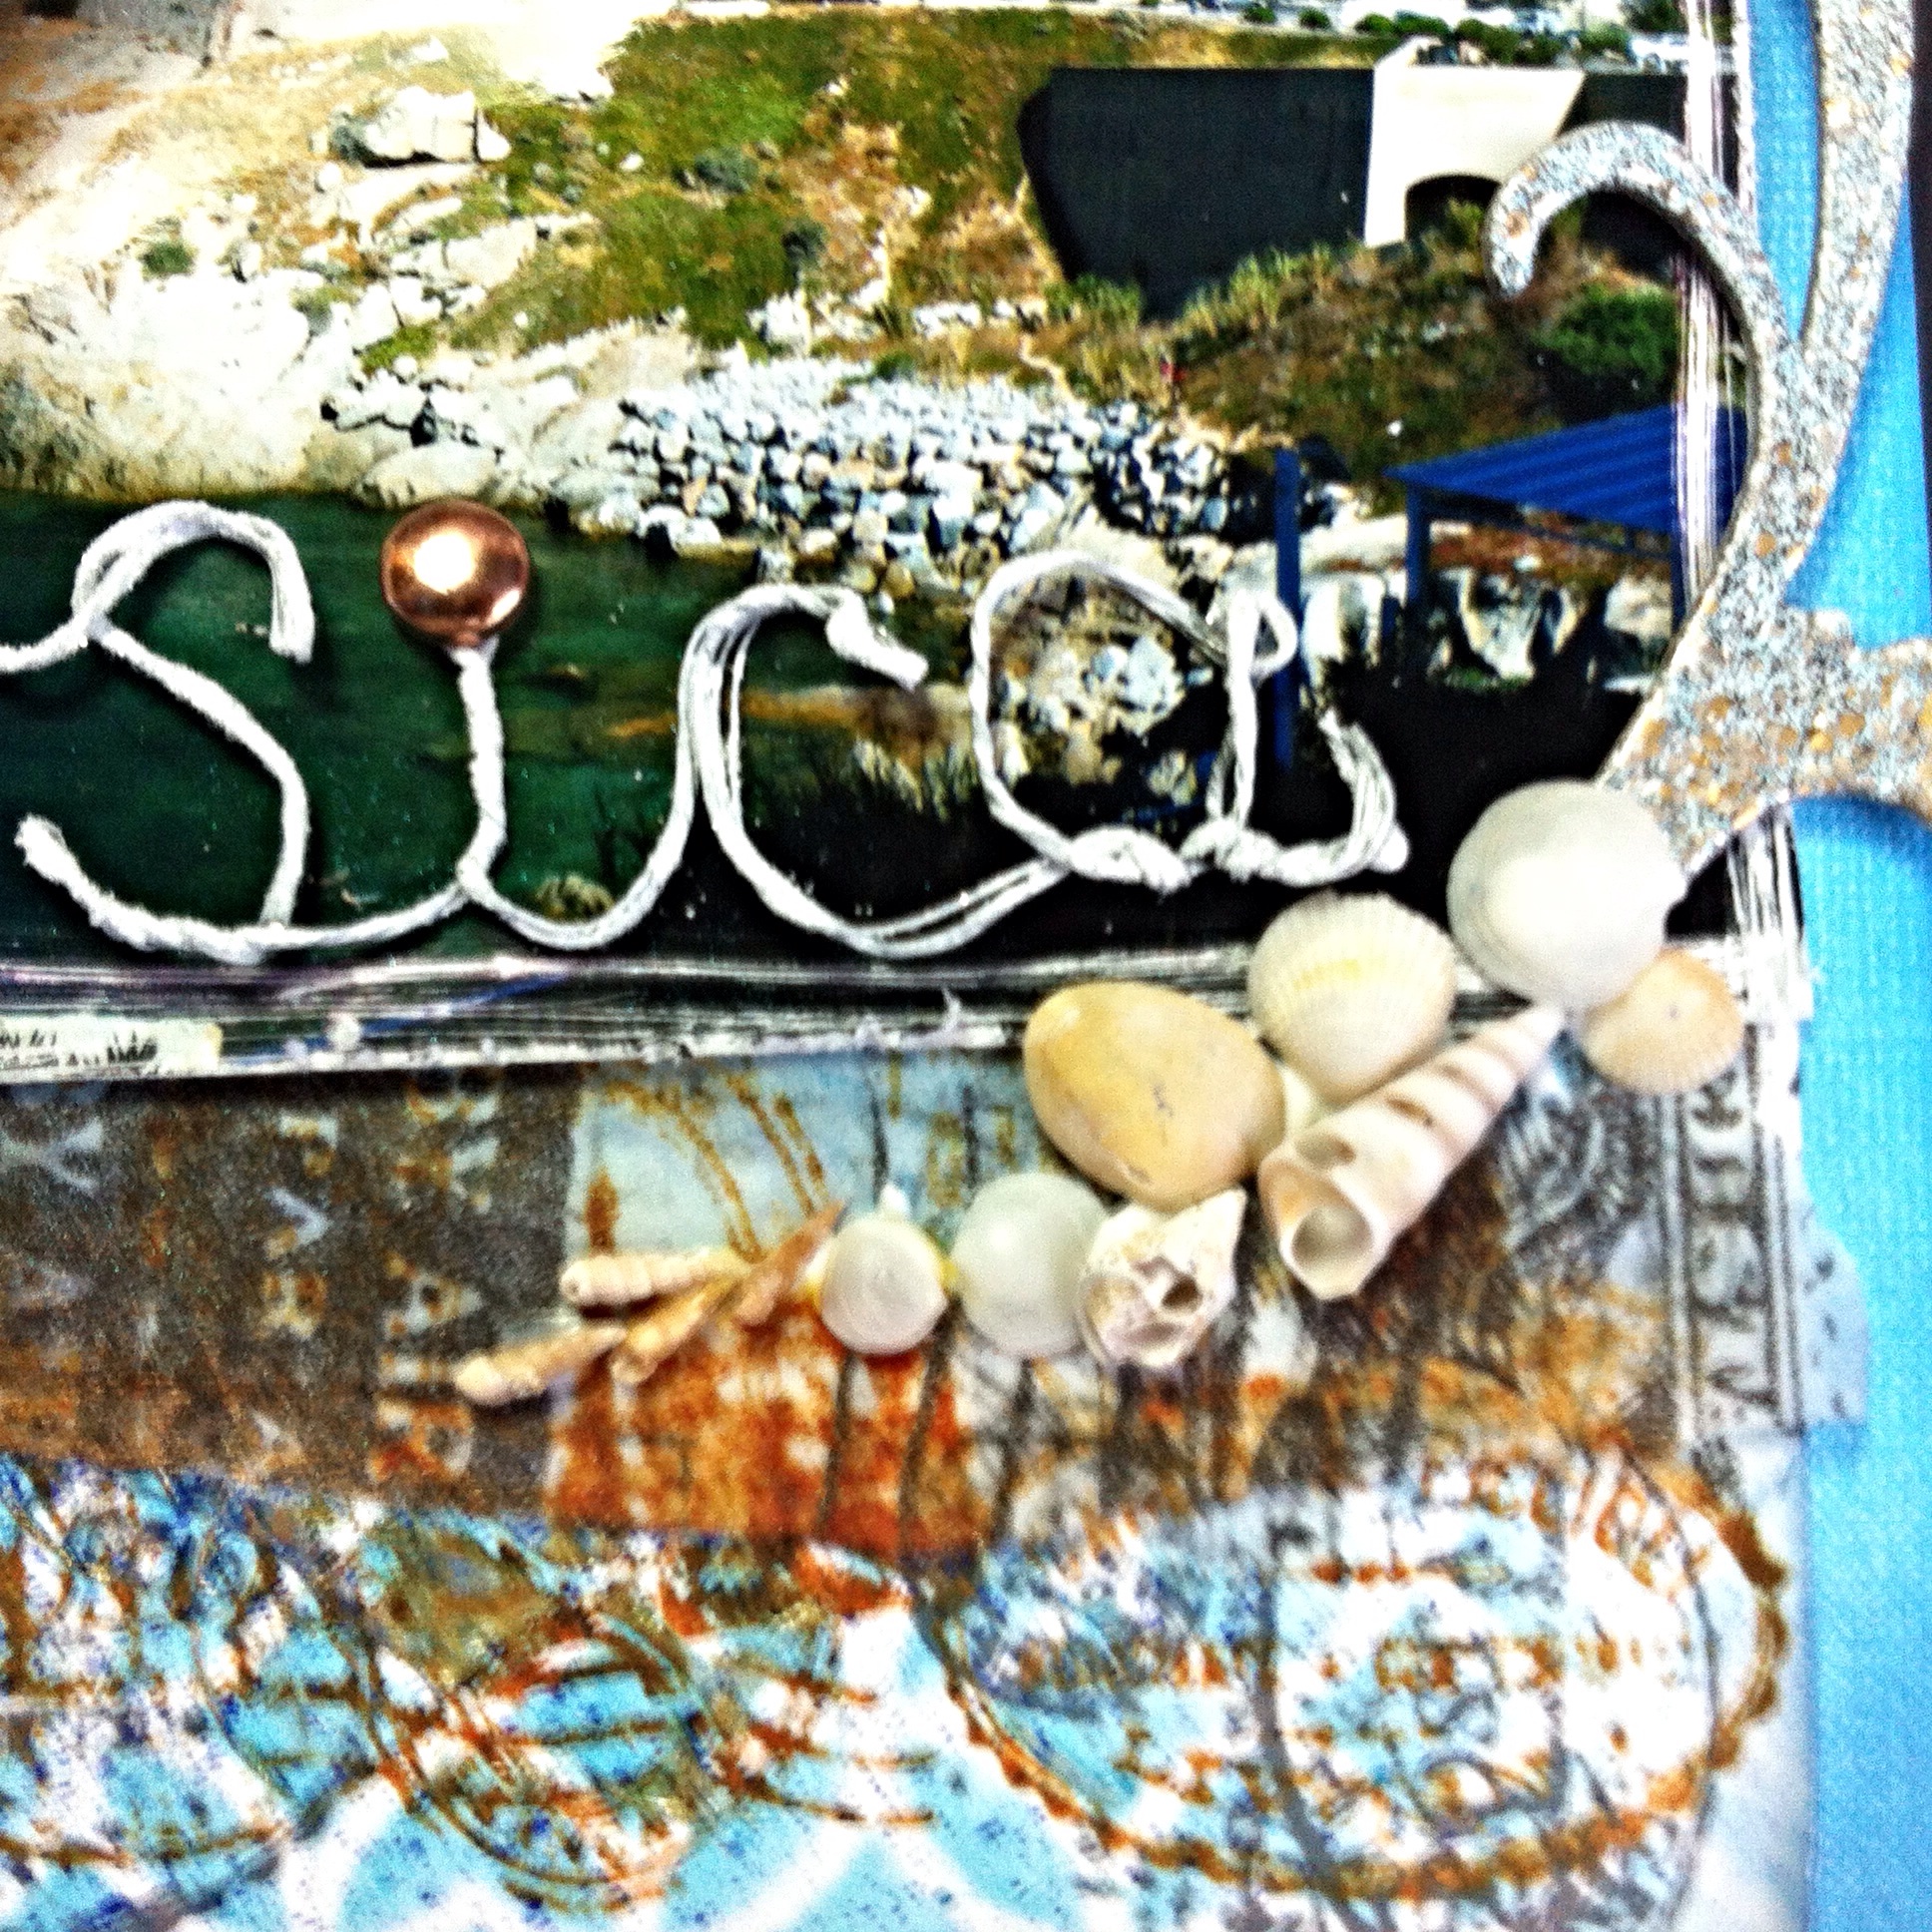
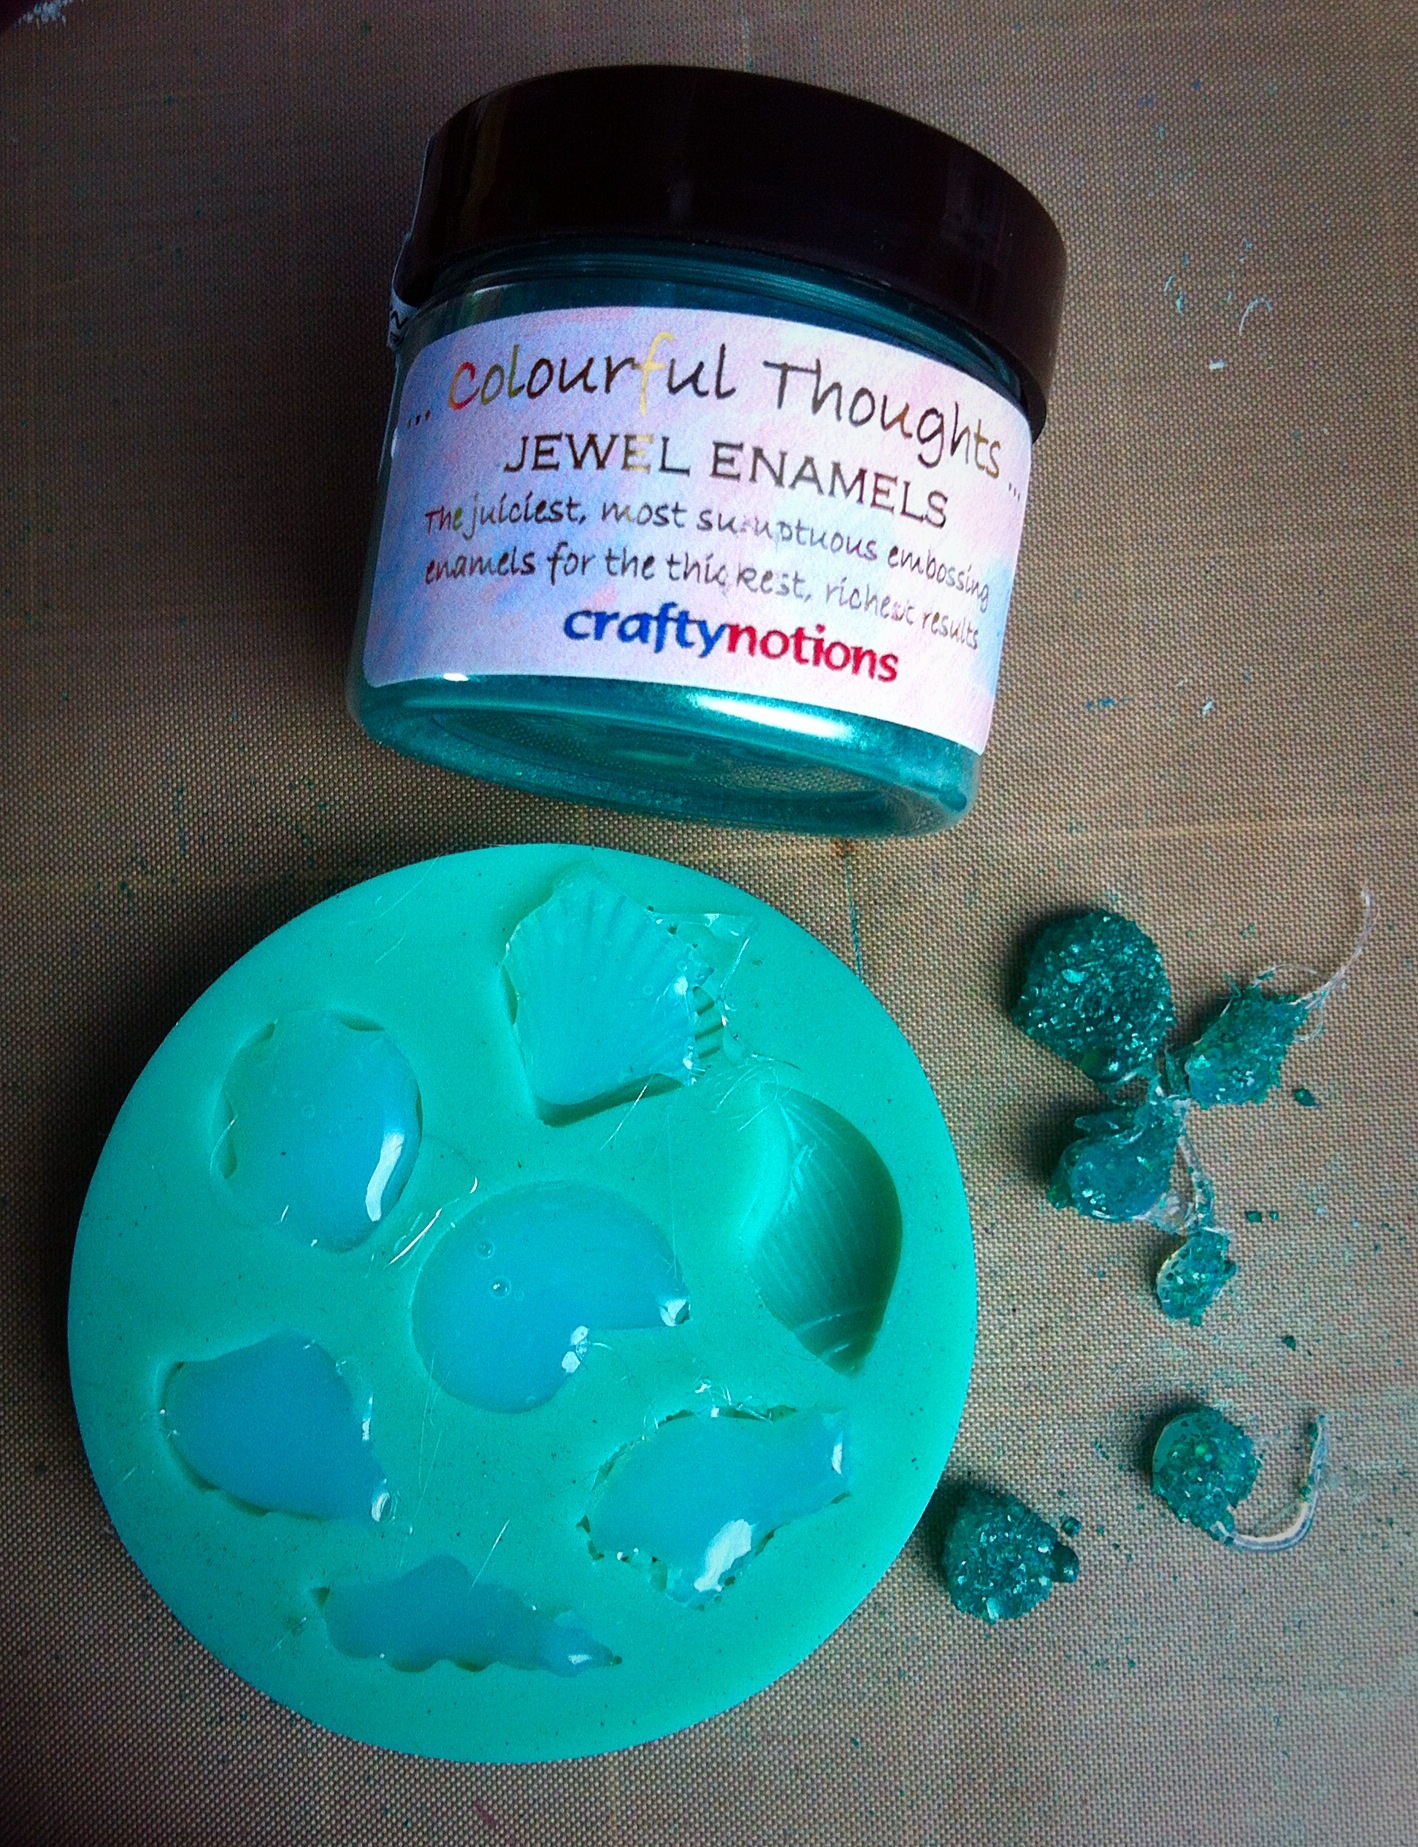
I needed some shells and sea glass as embellishments. I used hot glue in cake decorating moulds for the shells. The sea glass was blobs of hot glue covered in the enamel and heated with a heat gun to a smooth finish. I really liked the look! They were all given the Treasure Gold treatment with Renaissance.
image

The large letters were frosted plastic I found in my stash. They were painted on the back with the same paints I used for the sea and had Treasure Gold on the front. The small letters were with the Prima Seashore collection, outlined in white pen then highlighted with glossy accents.
image

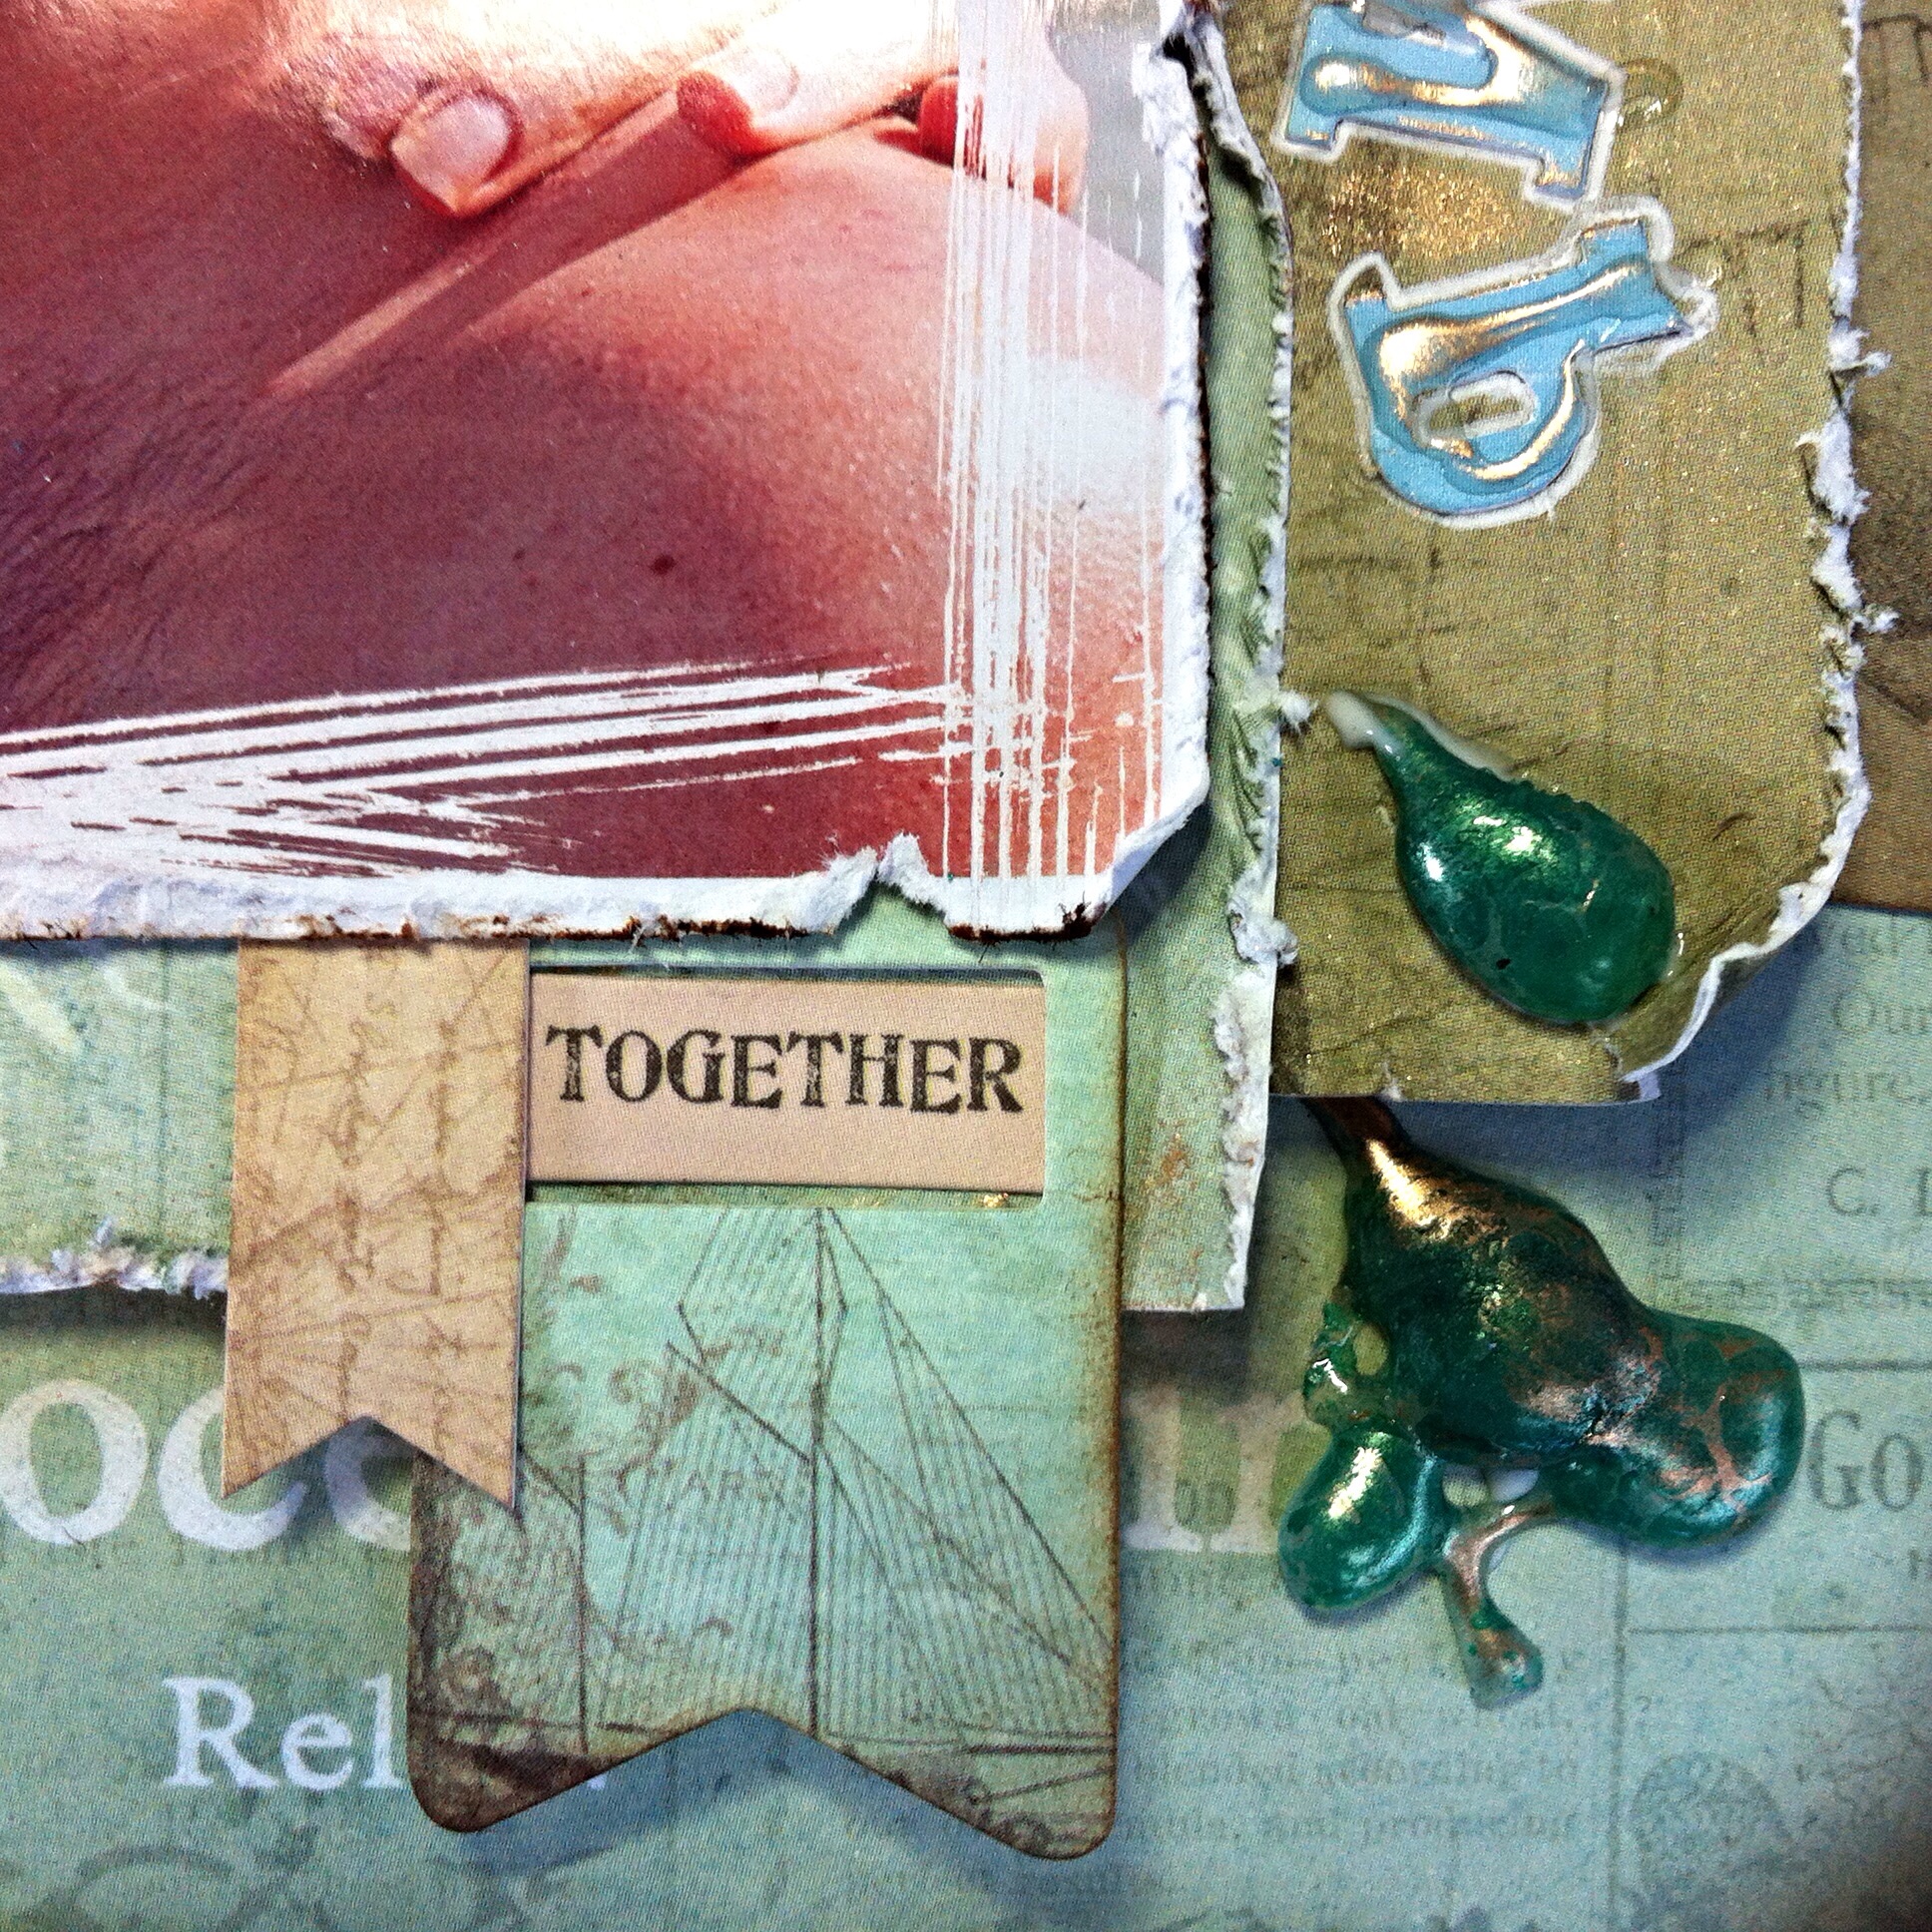
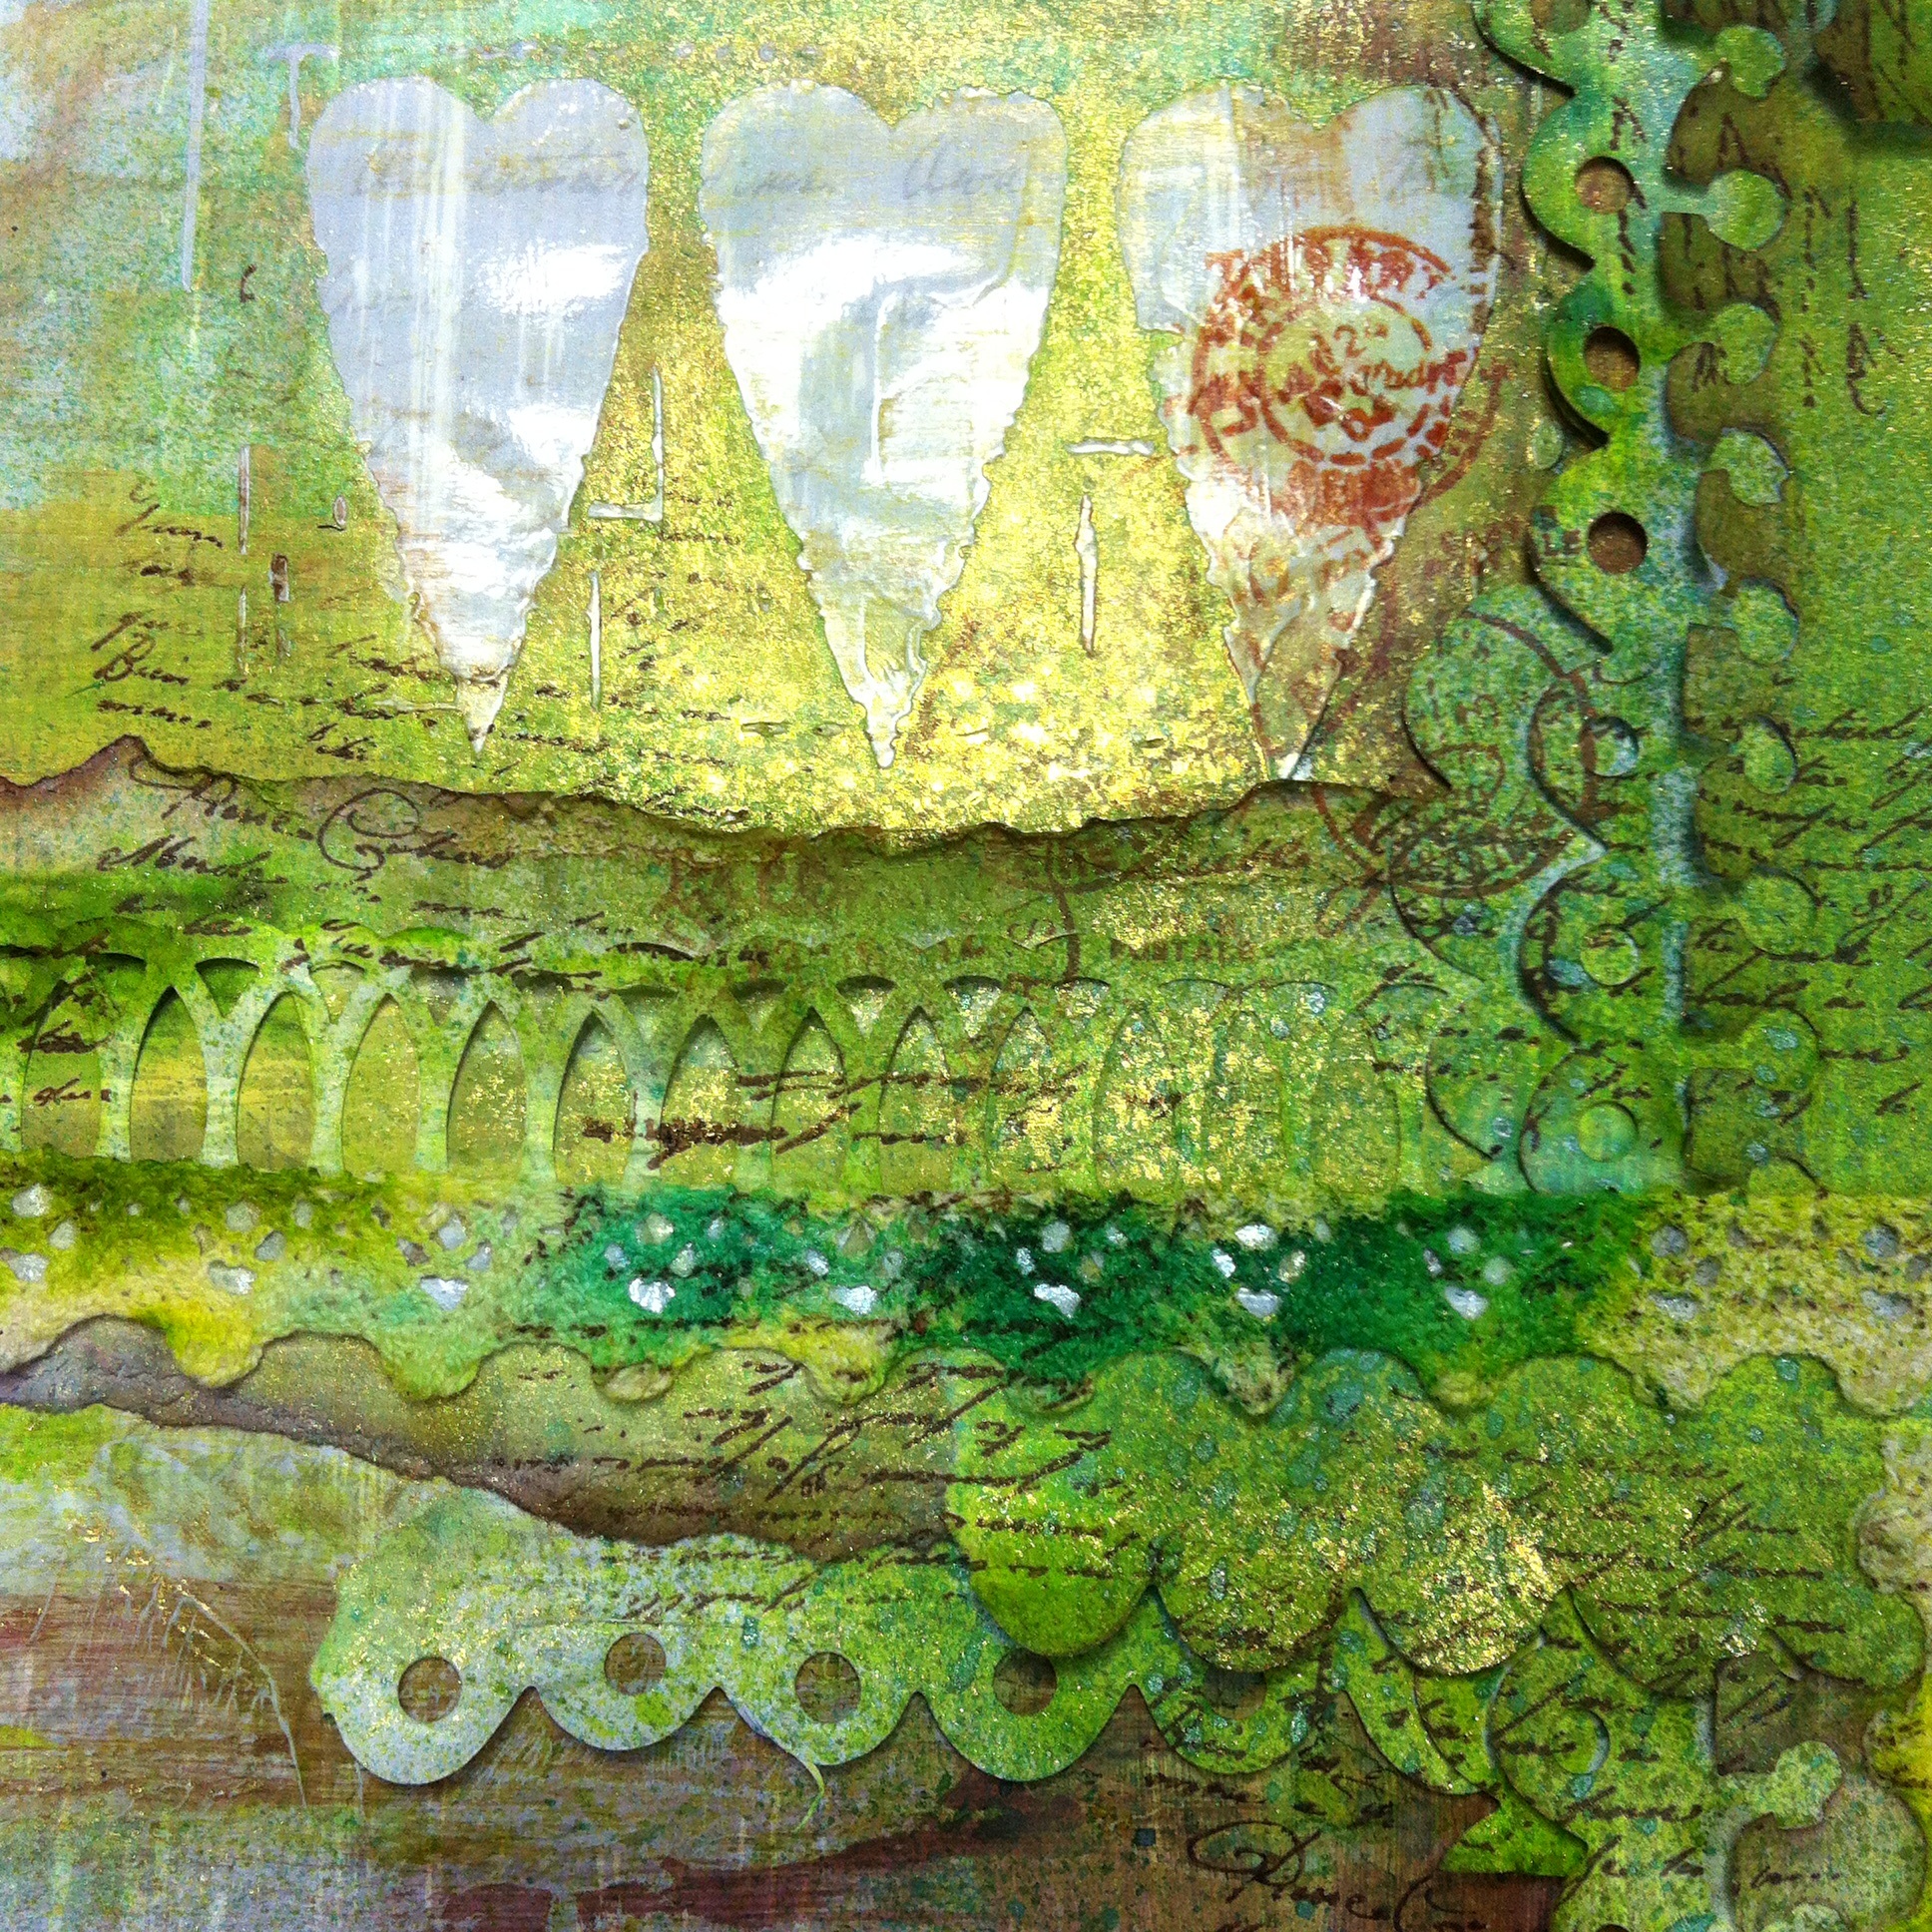
I added a TH Thinlets heart die cut from Kraft card, two tags cut from the same papers and small banners with TH “Together” small talk sticker.
image


When I put the page together the sea was too straight so I added some Mermaid Lagoon DI ( such a great name) and a few splashes of white. I outlined the letters and tags with white pen.

The Design Team have created some great inspiration for you, please visit their blogs and leave them  your thoughts.

Our sponsor this month is Tando Creative, their chipboard is legendary for crafters! I hope you win a prize for your creation.

Good Luck and happy crafting

Hugs

Jan x


Roses and friends

Posted on

image

Wow, had a great weekend! Scrapped with friends on Friday then visited Daisy and Jewels in Exhall on Saturday.
We watched some interesting demos from Pauline Wheeler and Hels Sheridan.

I have always loved Hels roses and she did a demo of how to make them in detail. It is also on her blog.

The rose on the tag is made from the demo, second attempt!
Thanks Hels, I wanted to enter your Sunday Stampers as the butterflies are friends!
Hugs
Jan x


Love is in the Air

Posted on

image

I was excited to see the latest challenge at A Vintage Journey, “Love is in the Air” set by Astrid. There are some amazing creations made by the Design Team.

We had been invited to an opening night at a local restaurant and had taken these fun photos in the Photo Booth. I wanted to scrap them for a while but nothing seemed to fit until I saw the challenge.

I thought I would stick to the colours, red, white and black on the photo. I cut a tag from watercolour card and used a long thin stamp from Tim’s ‘Stuff to Say’. I glittered the edges of the tag with black (Yes it went everywhere!)

image

I die cut the heart from Tim’s Heart Wings, then inked and glittered with rock candy on the red and black glitter on the black heart. The wings were cut from plumbers tape, embossed with cogs then painted black.

I used Mini Filmstrip and Mini Tickets die with shiny black card for the film strip and watercolour paper for the tickets. I was inspired by Jennie’s Destination Inspiration: Just the Ticket. I added a shiny black card 39.

The wings represent me and my husband flying into our 39th year of marriage!

I finished the tag with a floppy bow ribbon dyed with Festive Berries and tied with a piece of narrow black ribbon. I mounted the photo on foam strip to raise it and so I could tuck the hearts underneath.

What a mess left on my craft sheet, glitter, ink, glossy accents everywhere – I really enjoyed making the tag!

Please leave a comment, I do appreciate your thoughts.

Jan x


Pocket Pages

Posted on

imageI have had some of Tim  pocket pages in my stash and not used them, so I was pleased to see the new challenge on Linda Ledbetter’s blog. The challenge is to follow Tim’s instructions on page 36 in Compendium of Curiosities 3.

(The pockets do not photograph well, sorry for the poor quality!)

image

The front pages opened out

image

The back of the pages with photos and tabs.

image

The background paper I inked, stamped, stencilled and added tissue tape.

image

More detail of the back page.


The challenge is sponsored by The Funkie Junkie Boutique, there is a great prize!
Hope you enjoyed looking at my creation, I have used lots of Tim Holtz products and techniques.


OCC Design Team

Posted on

image

Hi Everyone,

I am so excited to announce that I have been invited to be a member of the Our Creative Corner Design Team!
This is my introductory scrapbook page.

I chose a photo of Calvi, on the beautiful island of Corsica, my favourite place.

I layered Tim Holtz lattice stencil using inks, sprays and pastes for the background. I added a touch of Treasure Gold to the paste when it was dry. I also used some self adhesive plumbers mesh which stretches and adds an interesting texture. I used black Archival ink to stamp a postal collage randomly on the background building up a triangle where the photo was going to be placed.
Layers of tissue wrap went under the photo then I inked tags to match the fabulous colours of the sea. I stamped some rust coloured images to link the colour of the roofs in the Citadel. 

I heat embossed grunge board flourishes with thick tarnished aqua powder and tucked them behind.                                               I added some tiny shells       ( collected from Calvi)  and scraps of muslin underneath the photo to simulate the beach.

It was difficult to decide how to put the title in the space. I created “Corsica” from twisted wire then painted it white. The lovely copper brads linked the roofs and the stamping.

I scratched the edges of the photo to create a contrast before I glued it in place.

The final piece looks very vibrant and I think reflects the beauty of the place.

I hope you like it too, please leave me a comment, I do appreciate it x


Adventures with Koalas in Australia

Posted on

Koala in Cape Otway

We had such a magical experience when we discovered Koalas in the Otway Forest, Great Ocean Road, in Australia. We were so keen to see wild Koalas in their natural moderate rainforest habitat we took several detours off the road. Then we spotted one high up in the Gum Tree eating Eucalyptus leaves. Once we recognised where they liked to hang out we found some near the ground and actually stroked one. It’s fur was so soft, we felt privileged to be there. The animals are so beautiful.

I wanted to make a scrapbook page to reflect our experience.

I used several On The Edge Tim dies (Torn Notebook, scallops, Ornate) to cut long strips of paper and arranged them on top of two 12×12 papers to add strength. I used Paperartsy paints, Lin Brown Limited Edition ( I won those Close upon a Finnibair Workshop in Middlesborough) to make a bold layer to put the strips on. My favourite stencil was used to create resist using 3D Glossy Gel with some background stamping. I added some lace for texture then sprayed Dylusions and Ranger inks.

The flowers and leaves were die cut from Tattered Flowers and Greenery with cor’dinations papers.

I wanted a special title so used Tim Holtz Coloured Crackle technique from p53 of CC3. You will have to use your own copy for details because I am entering the challenge, hosted by Linda Ledbetter and sponsored by Funkie Junkie. The DT have gone to town with Coloured Crackle!Coloured Crackle


The letters were crackled, then covered in Tim’s rock candy glitter. ( I glittered the brads for the flowers to match.)

I was pleased with the background crackles.

I am joining in with the Magic Challenge at Our Creative Corner, there are some amazing scrapbook pages by the DT.

Please leave me a comment, I do appreciate reading them.


Four Generations – Jones Crafts project 2

Posted on

Four GenerationsWe only manage to get together a couple of times a year and so try and get photos of “The Girls Together.” As my Mum lives in Spain she is known as Bis Abuela (Great Grandmother), I am Grandma, Jordan, my daughter, is Mum to my beautiful Grandaughter, Arabella.
I used some lovely Marion Smith papers from the “Motley” collection. I swiped DI inks in Weathered Wood and China Blue across the background paper, “Scarlet”,then built up layers using Collage, Off the wall, Darling and Carmie.
I liked the vintage rose image as we are all English Roses! I used Tim’s dies, on the edge Doily, Flower Garland and Word Play.
This is my scrapbook page for Jones Crafts.


Bella Butterfly

Posted on

Bella Butterfly

Arabella loves her butterfly reins and chooses to wear them all the time. I created a background using stencils and stamps in worn lipstick, peacock feathers and peeled paint distress inks. I added text, spray and tissue tape. The large butterfly was from TH tissue. I added roses which I shaded with Distress ink to match the page, paper lace and buttons. The journalling is in the tiny book I made slipped into an envelope.
It was great fun creating this layout, hope you like it.
I am adding it to CSI case 136 and Craft Hoarders Anonymous challenge. The Challenge 14 is Button it up.


Postcard from Provence

Posted on

Postcard from ProvenceWe enjoyed visiting Provence in France. We went to Avignon and on every corner there were soap shops and souvenir shops selling bags of lavender. The smell was delicious! I decided to create a postcard from Provence for Artful Times challenge.
I inked a lavender stamp with whispers ink, green and purple, stamped then clear heat embossed the image. I stamped around the edge of textured card. I then Distress inked in China Blue in the middle and peeled paint around the edges. I clear embossed ” Provence” in the middle, more DI ink blending then I did the same with “France”. I used Mustard Seed and Vintage Photo to reveal the words.Some of the stuff I used


Postcard from abroad

Posted on

Postcard from ParisWe have just been to France on holiday and stayed at Carcassonne in the South. I collected lots of postcards from the regions we visited and some of the lovely, quaint towns and cities. I thought I would experiment with DI inks and markers on embossing folders to create postcards to use in my scrapbooking. I used my favourite inks, Peacock feathers, Mustard Seed, Picked Raspberry and Salty Ocean. I low lighted in Pumice Stone marker. I wanted to represent the vibrant creative life of Paris. I was quite pleased with this Parisian postcard and will enter to Artful Times challenge.