This months challenge was set by my new Team Mate, Pamellia.
“Christmas wrapping, gift bags, tinsel, ribbon, gift boxes, tissue paper, Christmas crackers, wine boxes, empty gift wrap rolls, Christmas cookie tins, even the images from the fronts of cards I received…you name, I hoard it!
Let’s put those bits to good use this month!”
Wow, this is my first challenge for Our Creative Corner as a member of the design Team!
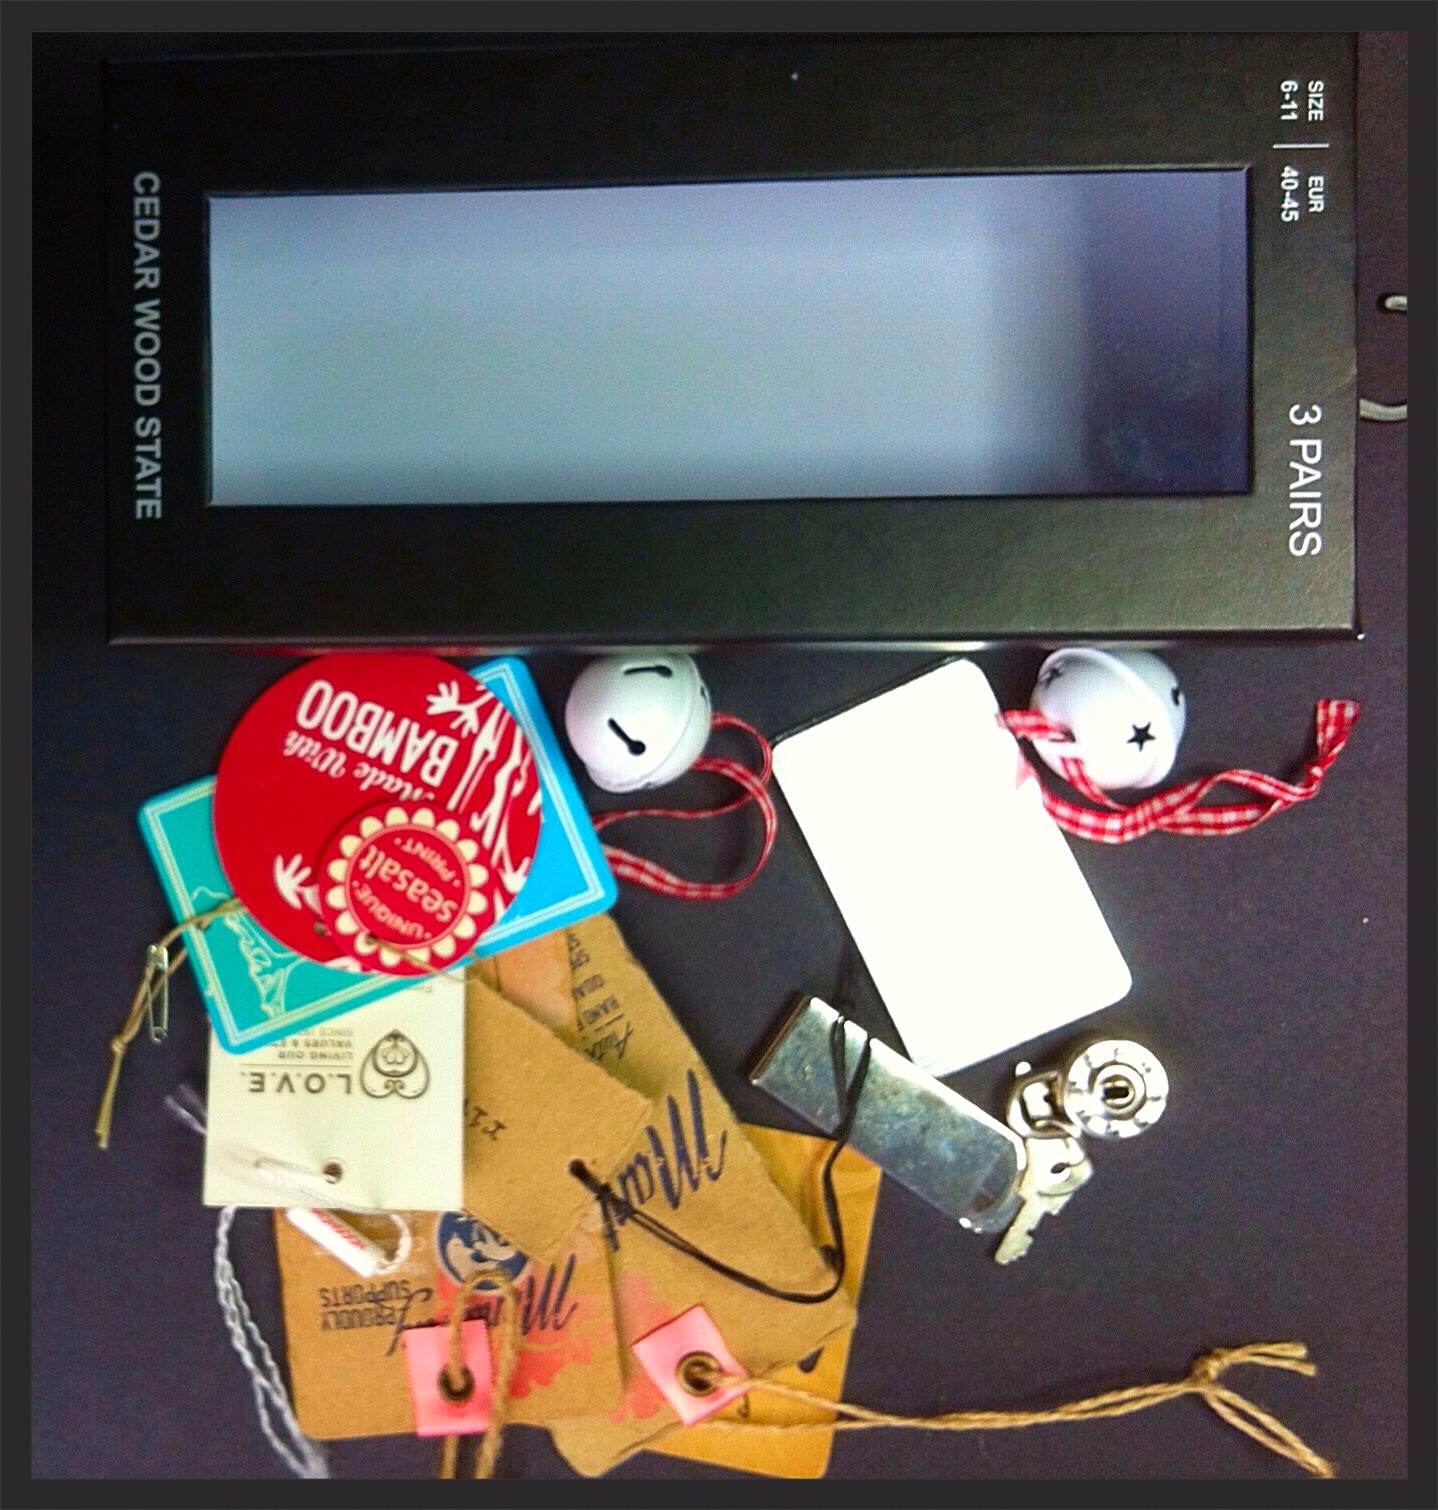
The challenge is to recycle Christmas bits and bobs. I had collected a few things during the celebrations for my stash, a lovely box containing 3 pairs of Christmas socks, a handful of Christmas cracker pressies from my son in law’s posh work celebration ( everyone knows I collect stuff!) and some clothes labels and jingle bells.

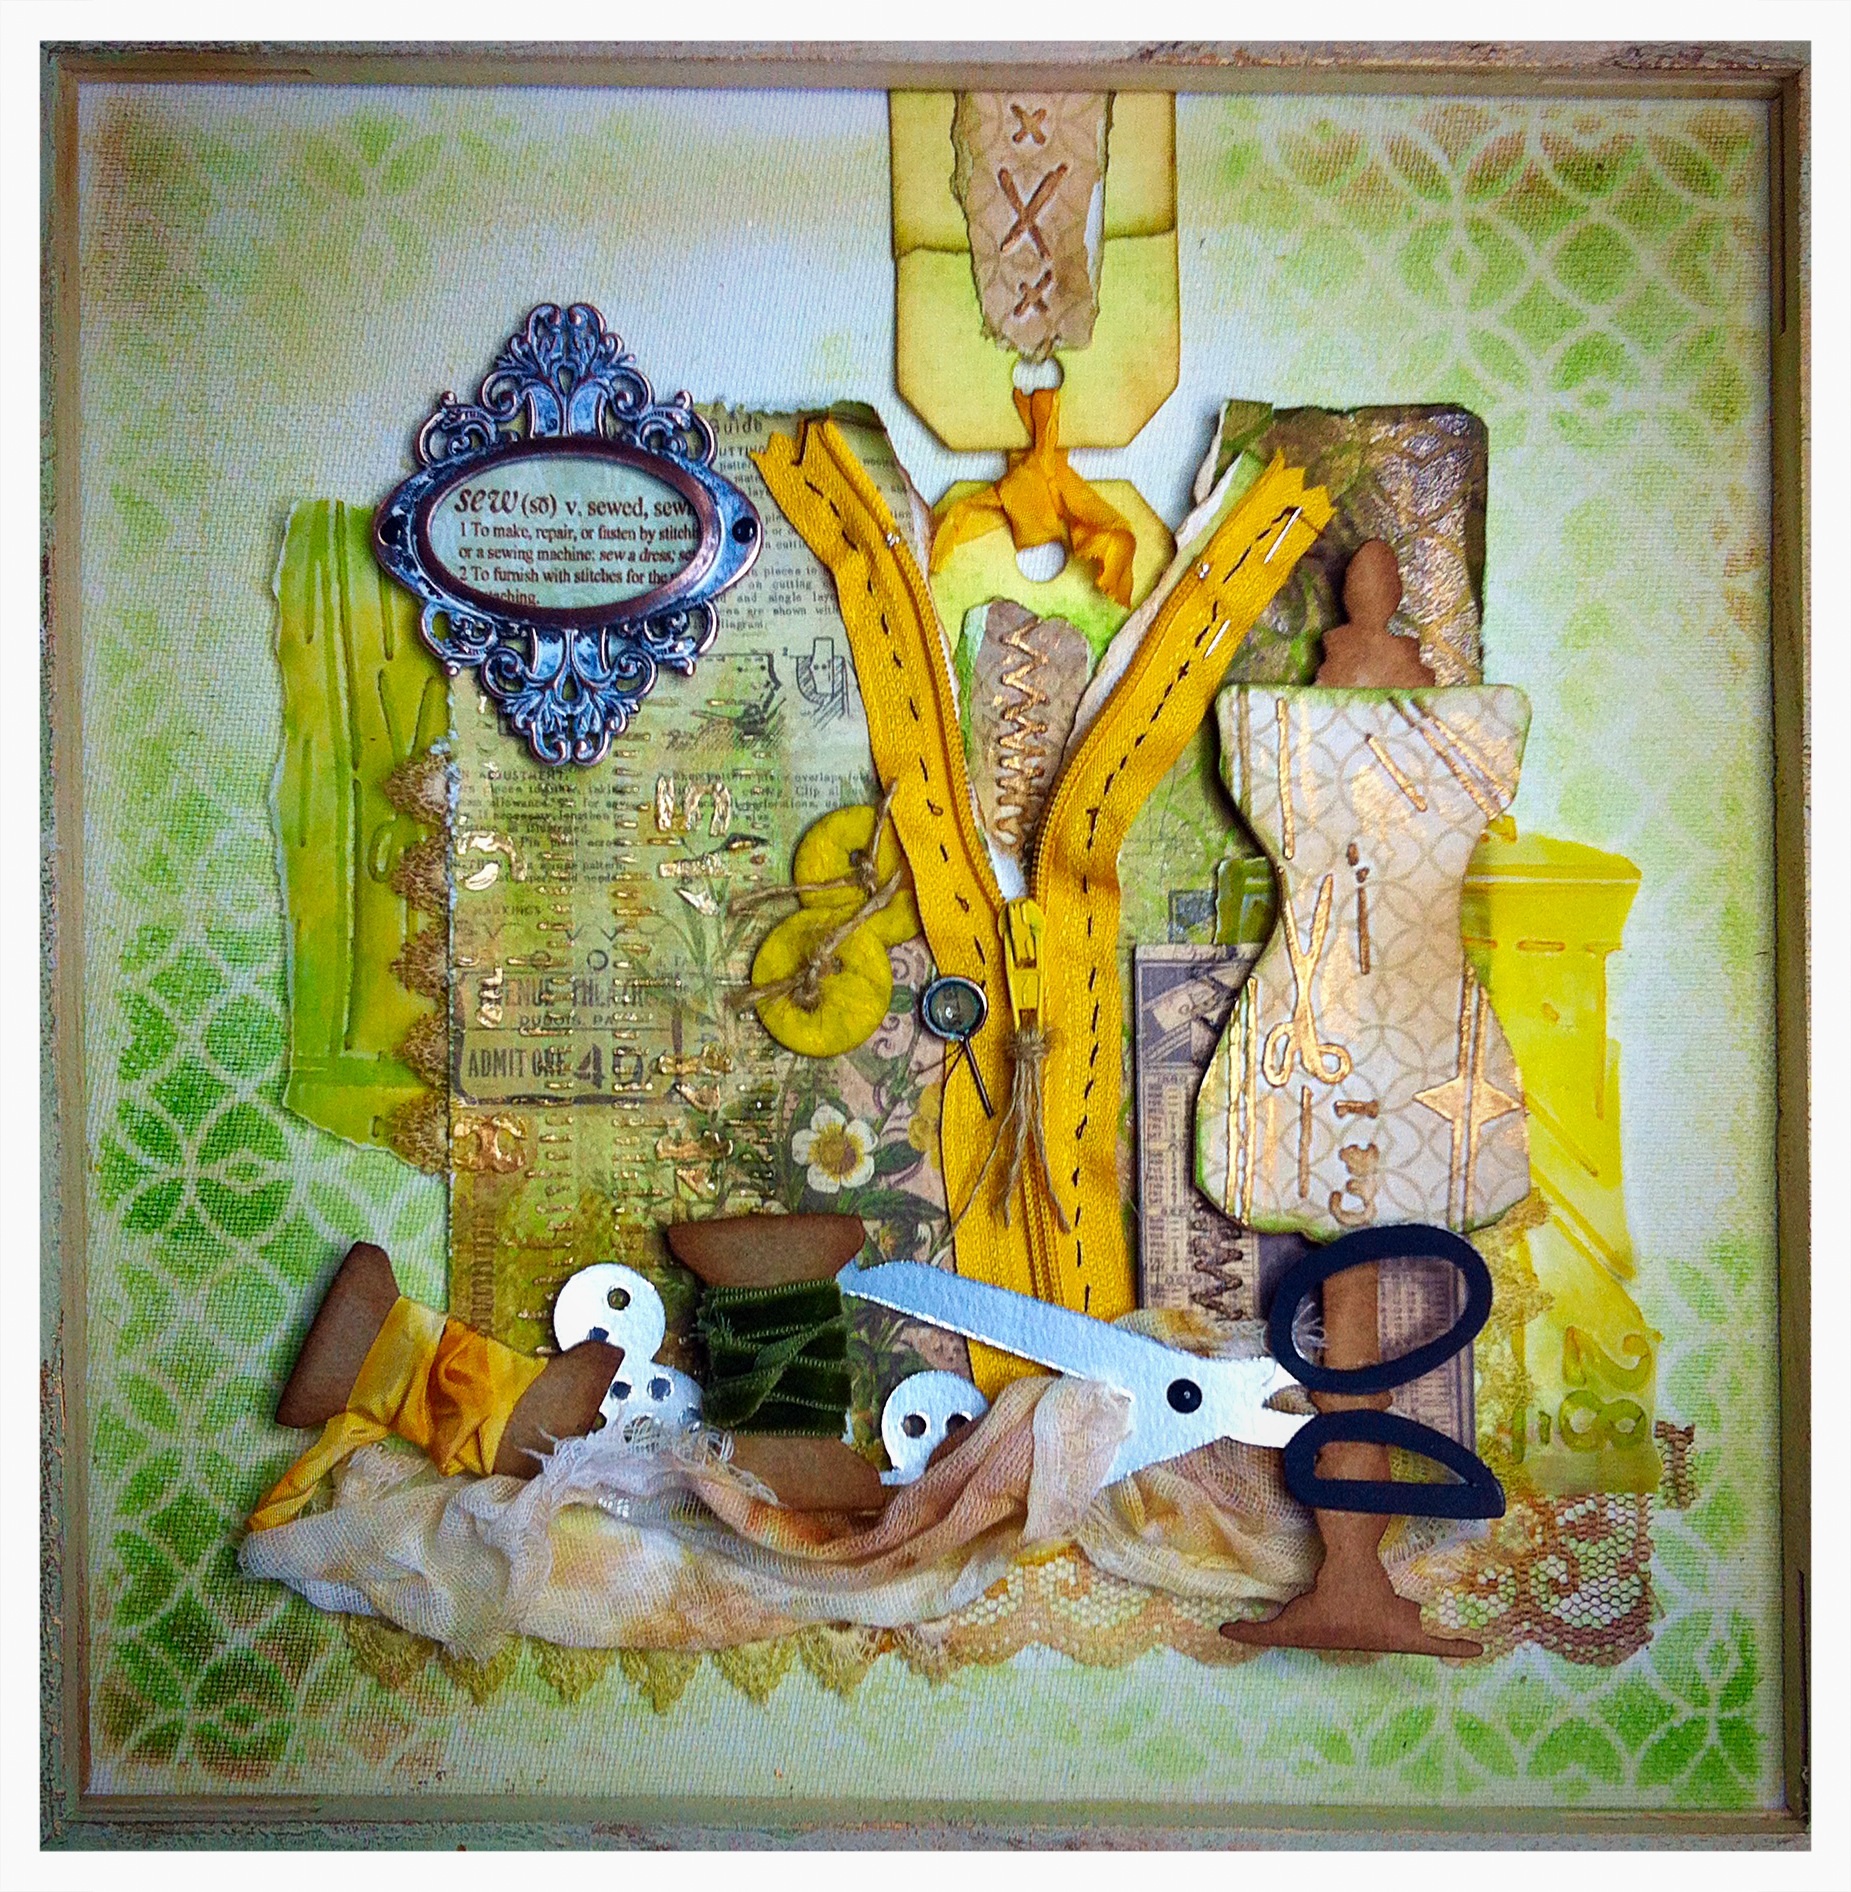
I was particularly pleased with the box and cracker stuff as I had thought the box would be great for holding a mini album. The cracker stuff lent itself to embellishments for the album.

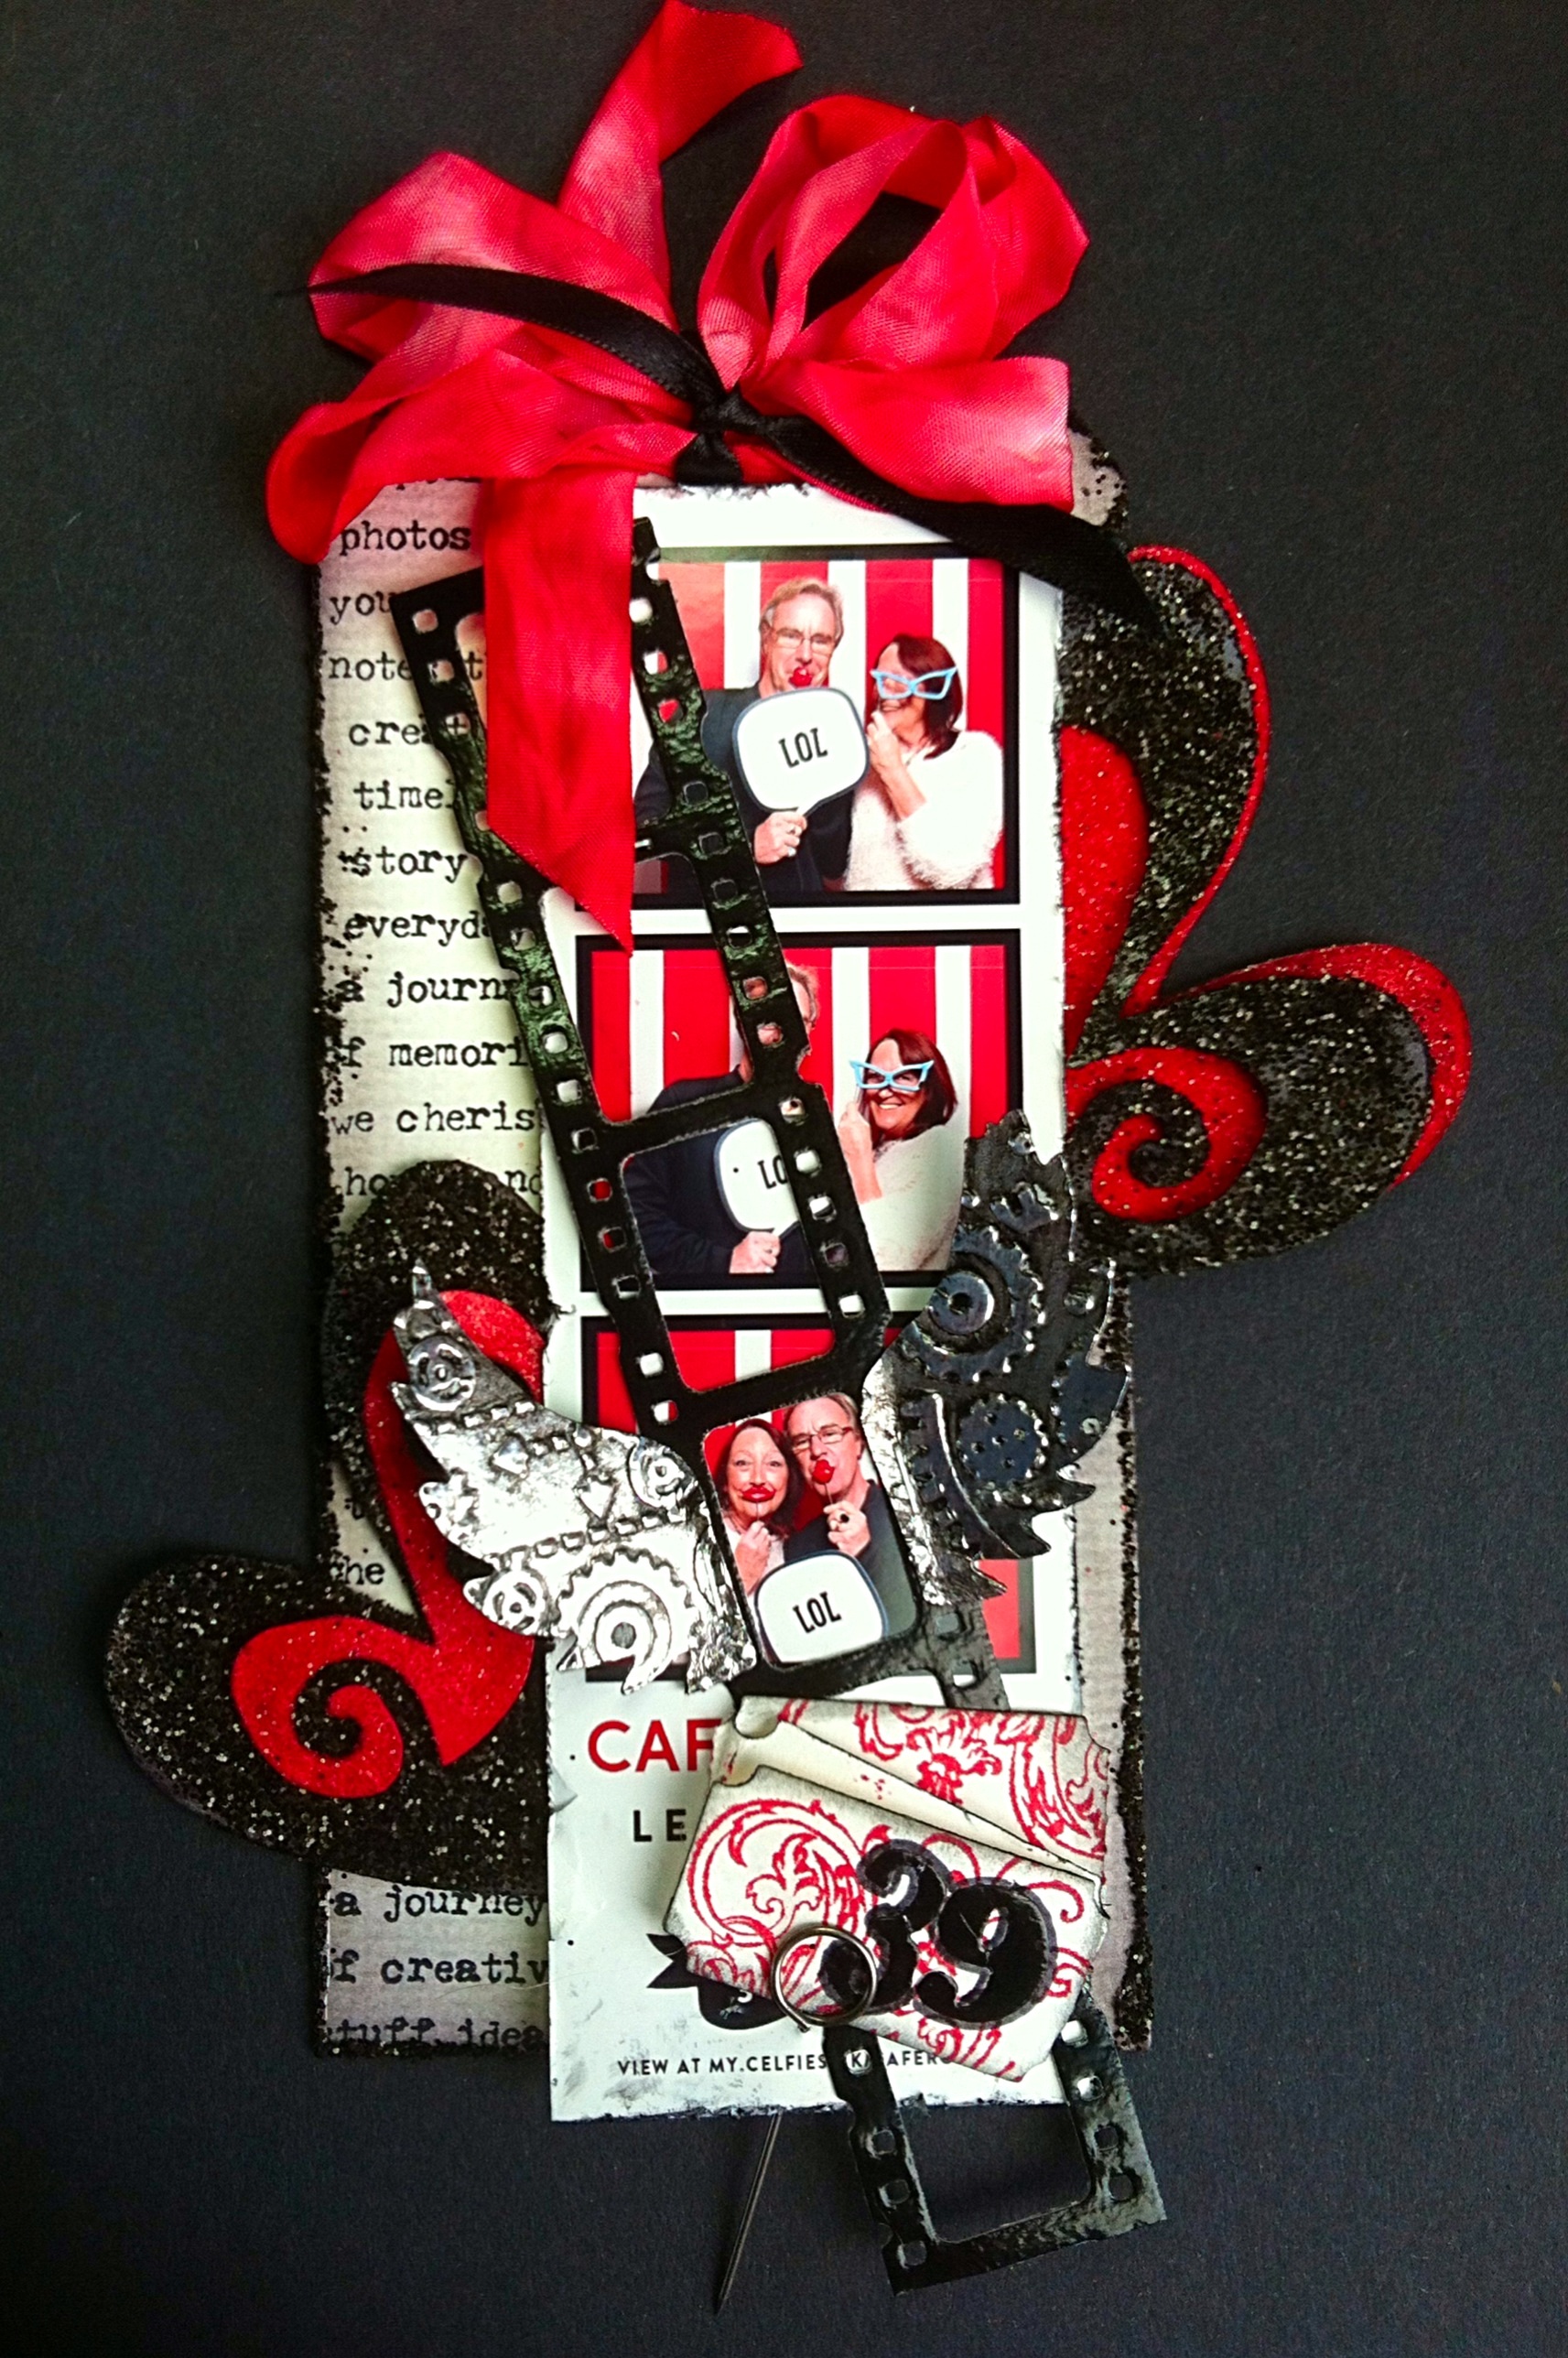
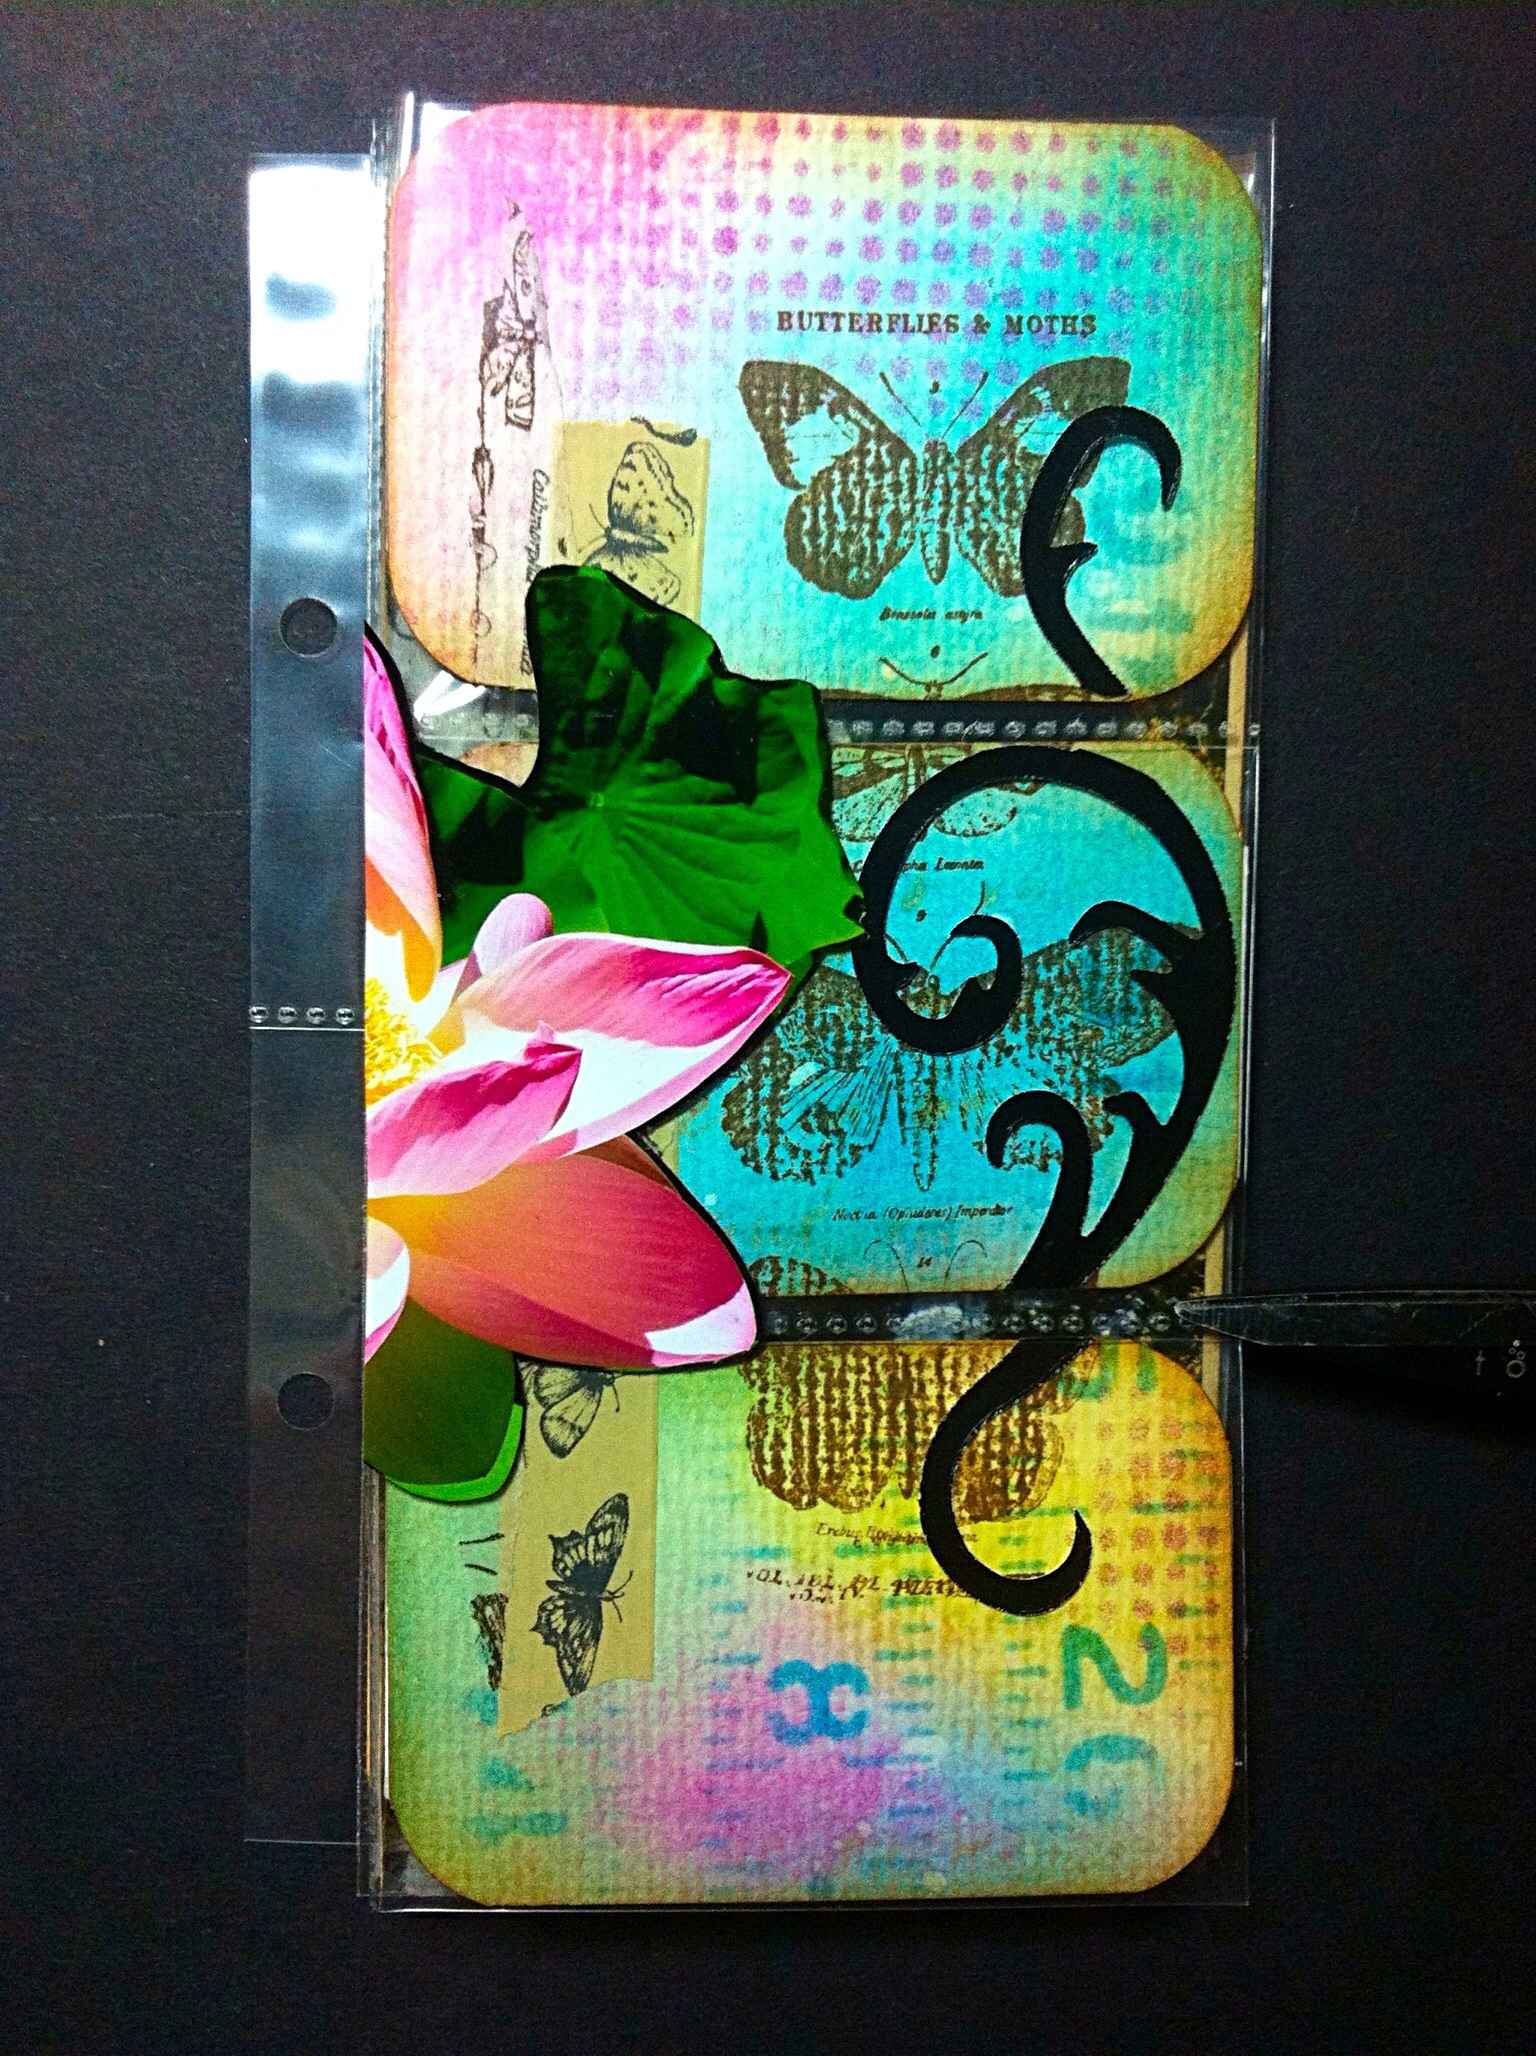
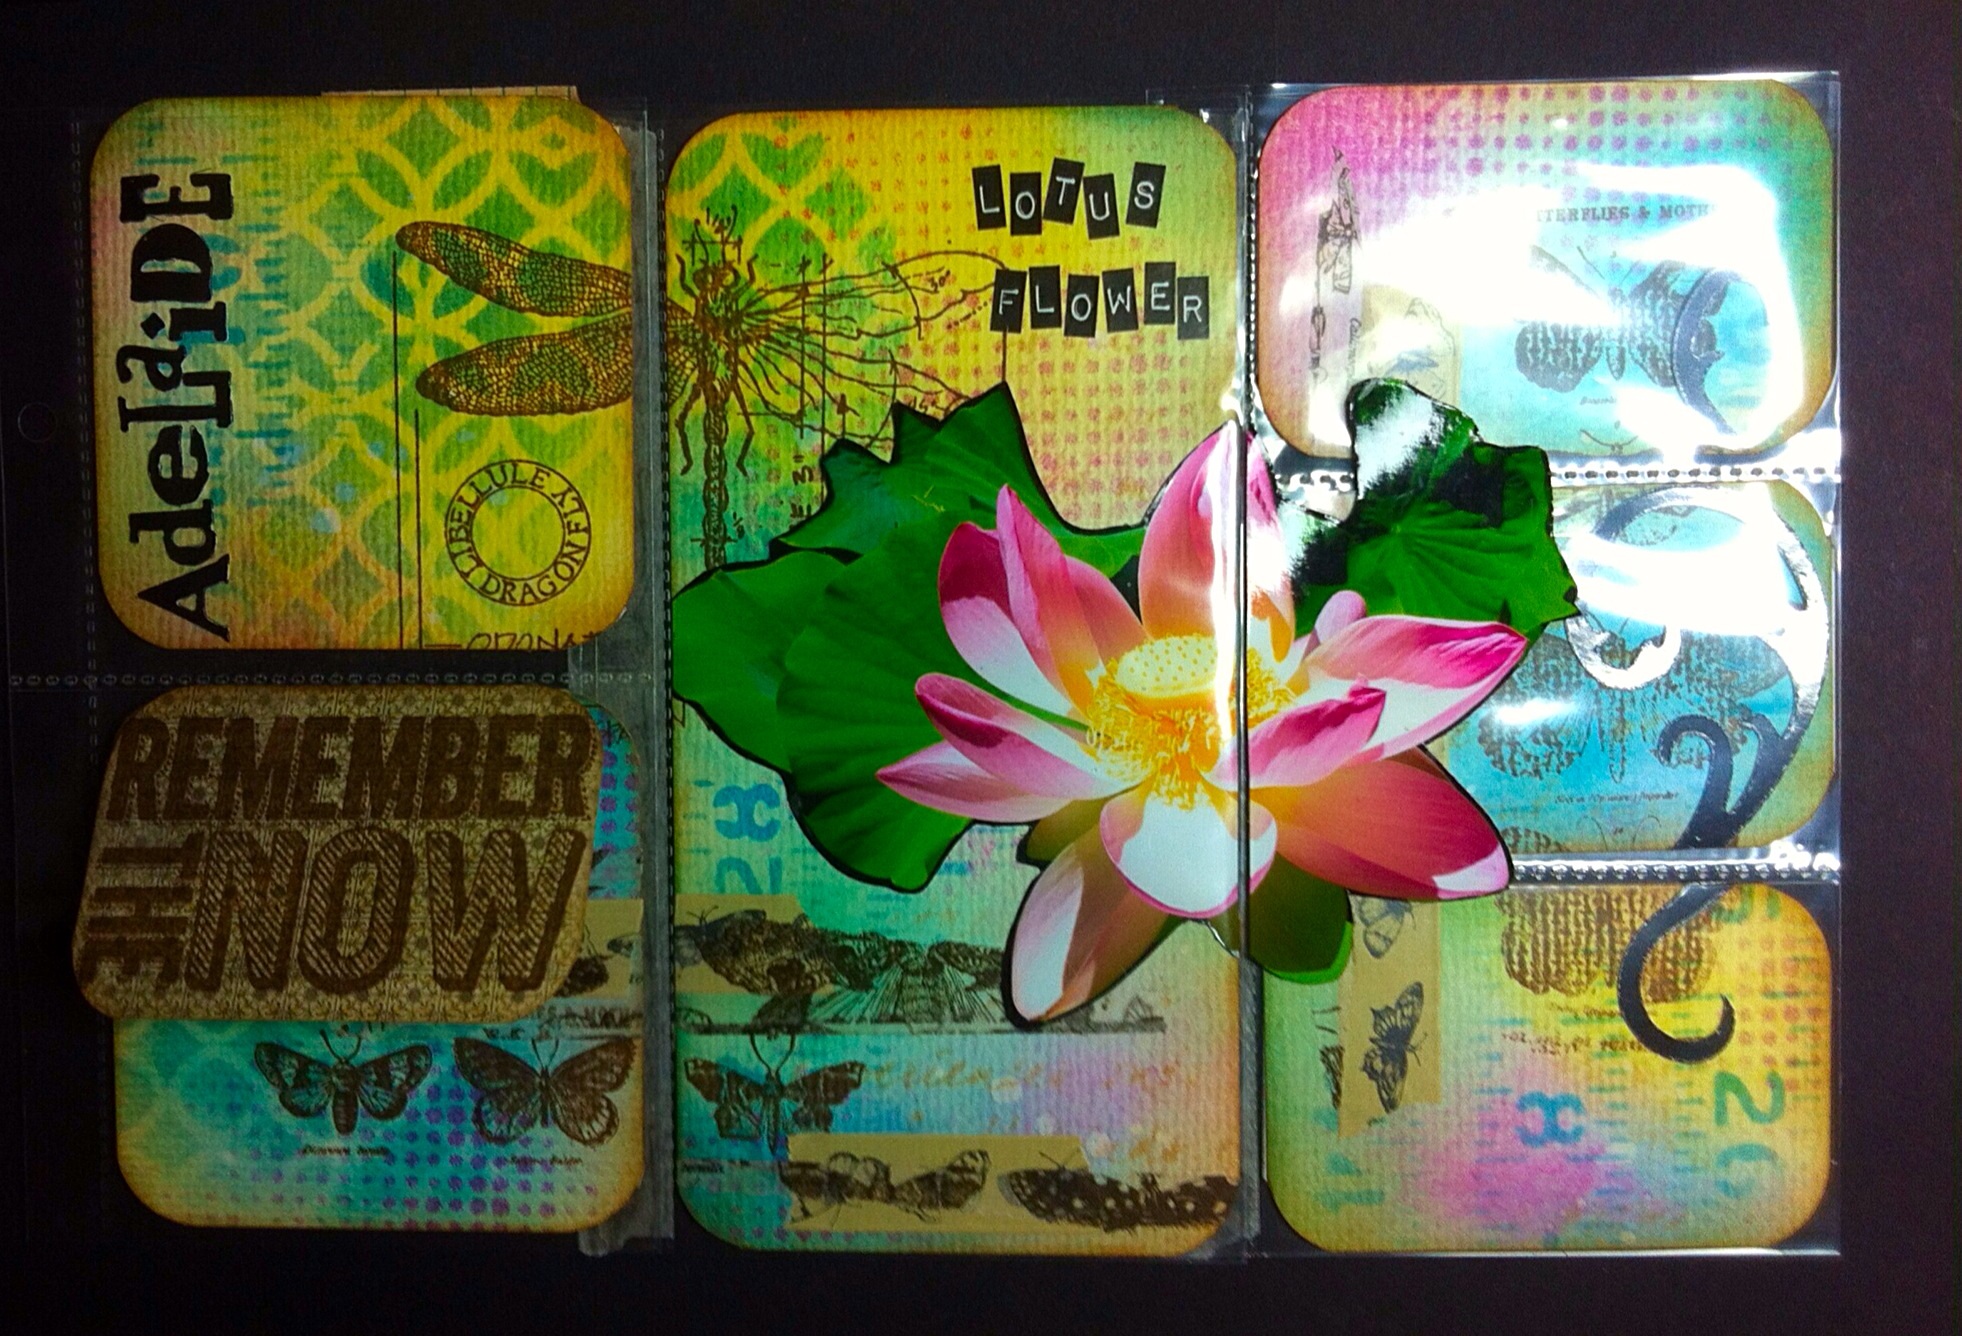
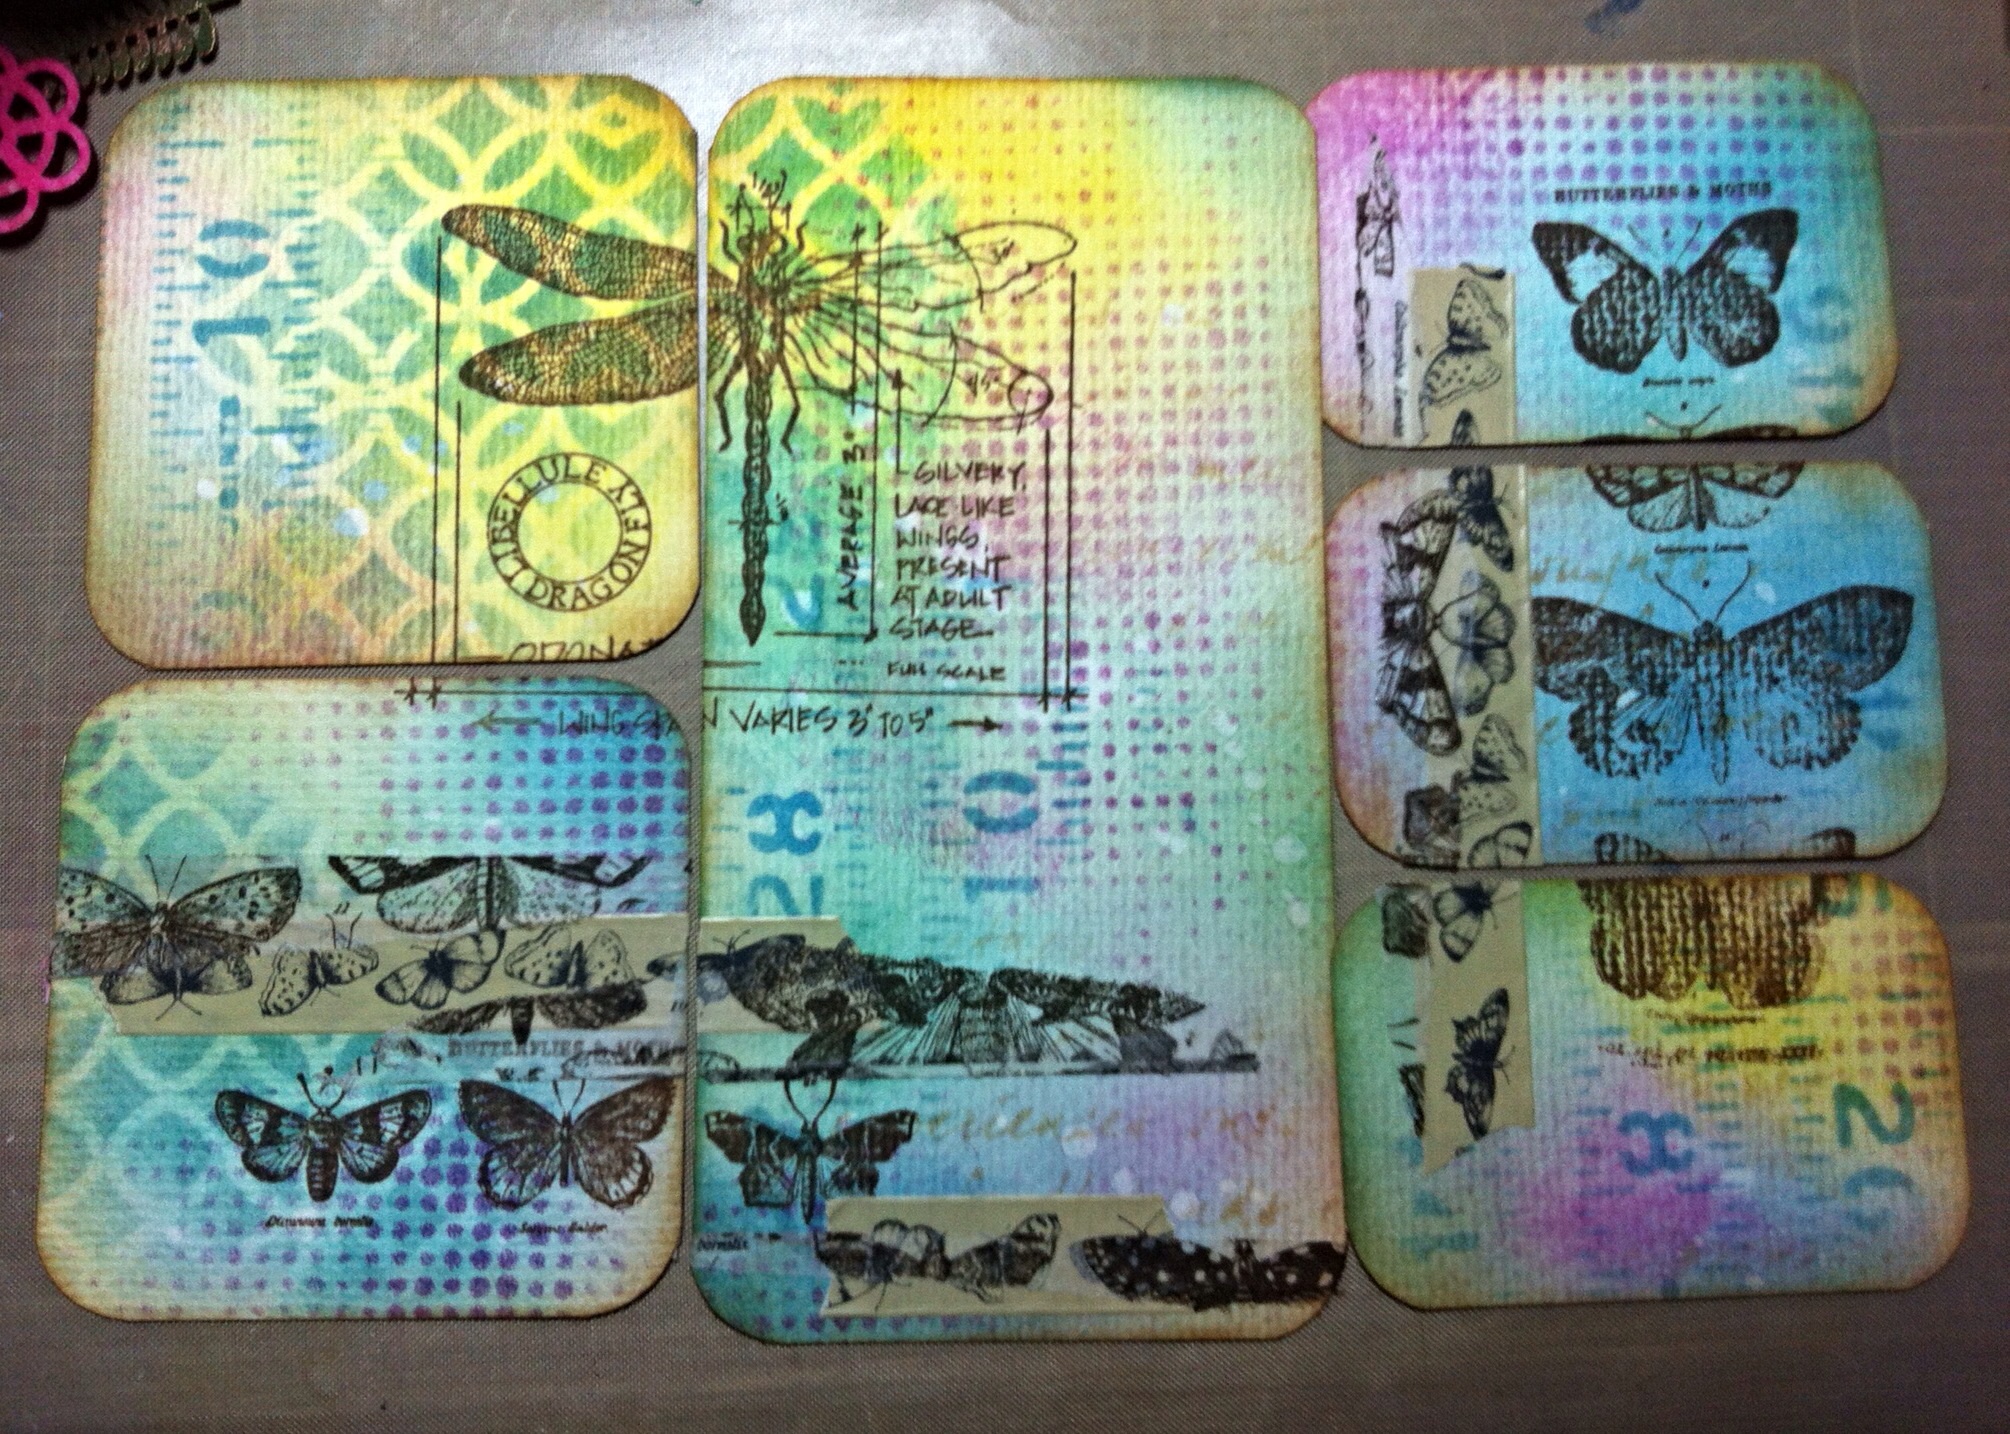
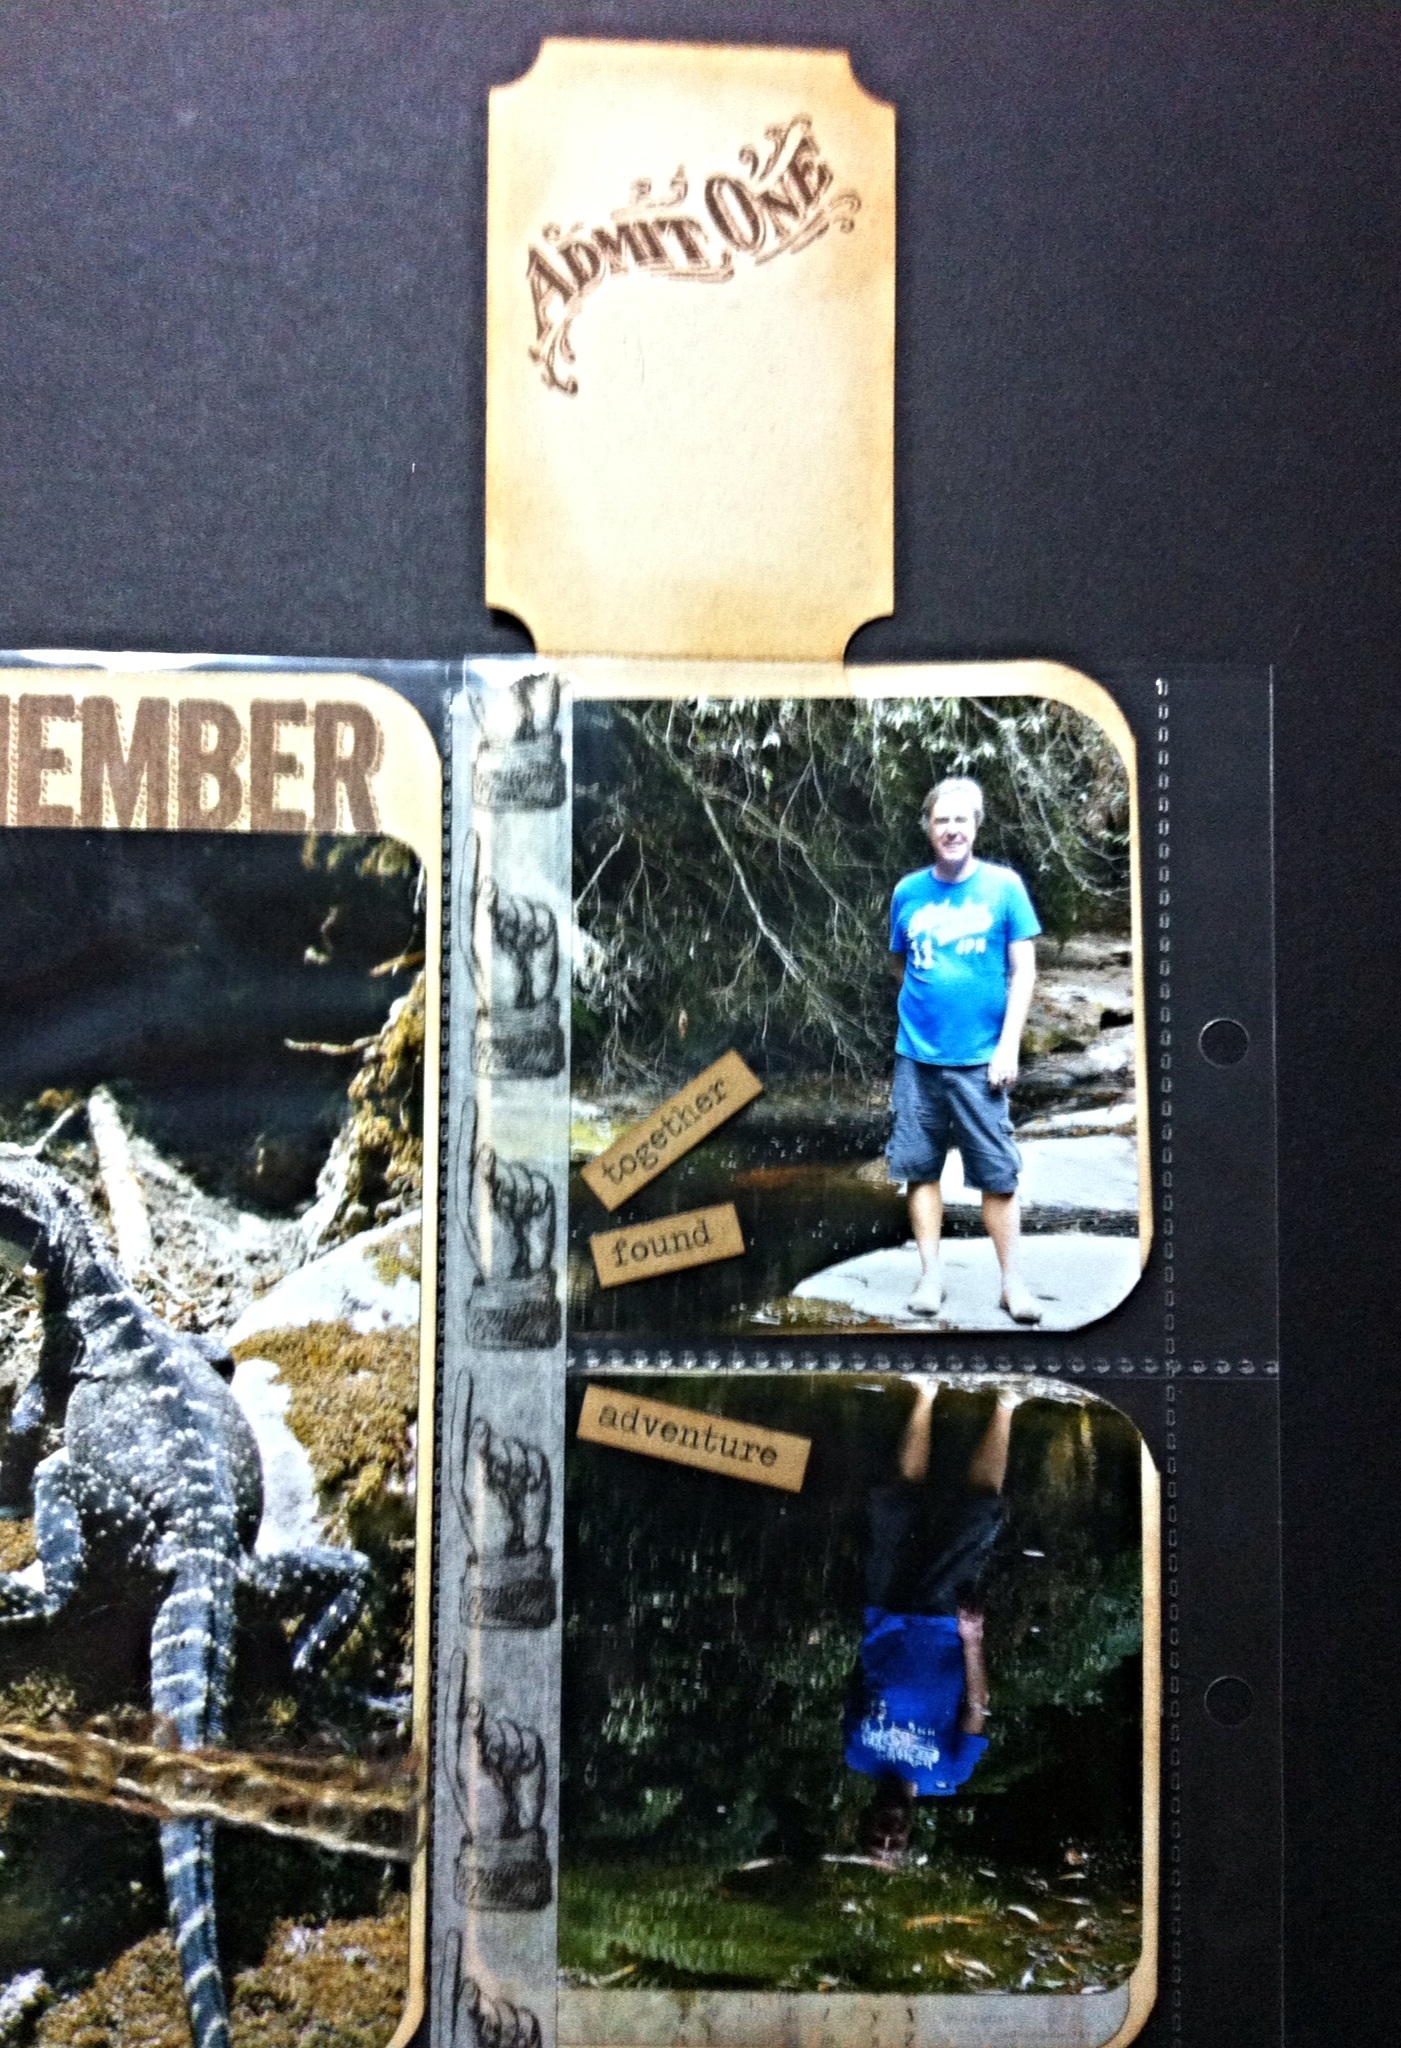
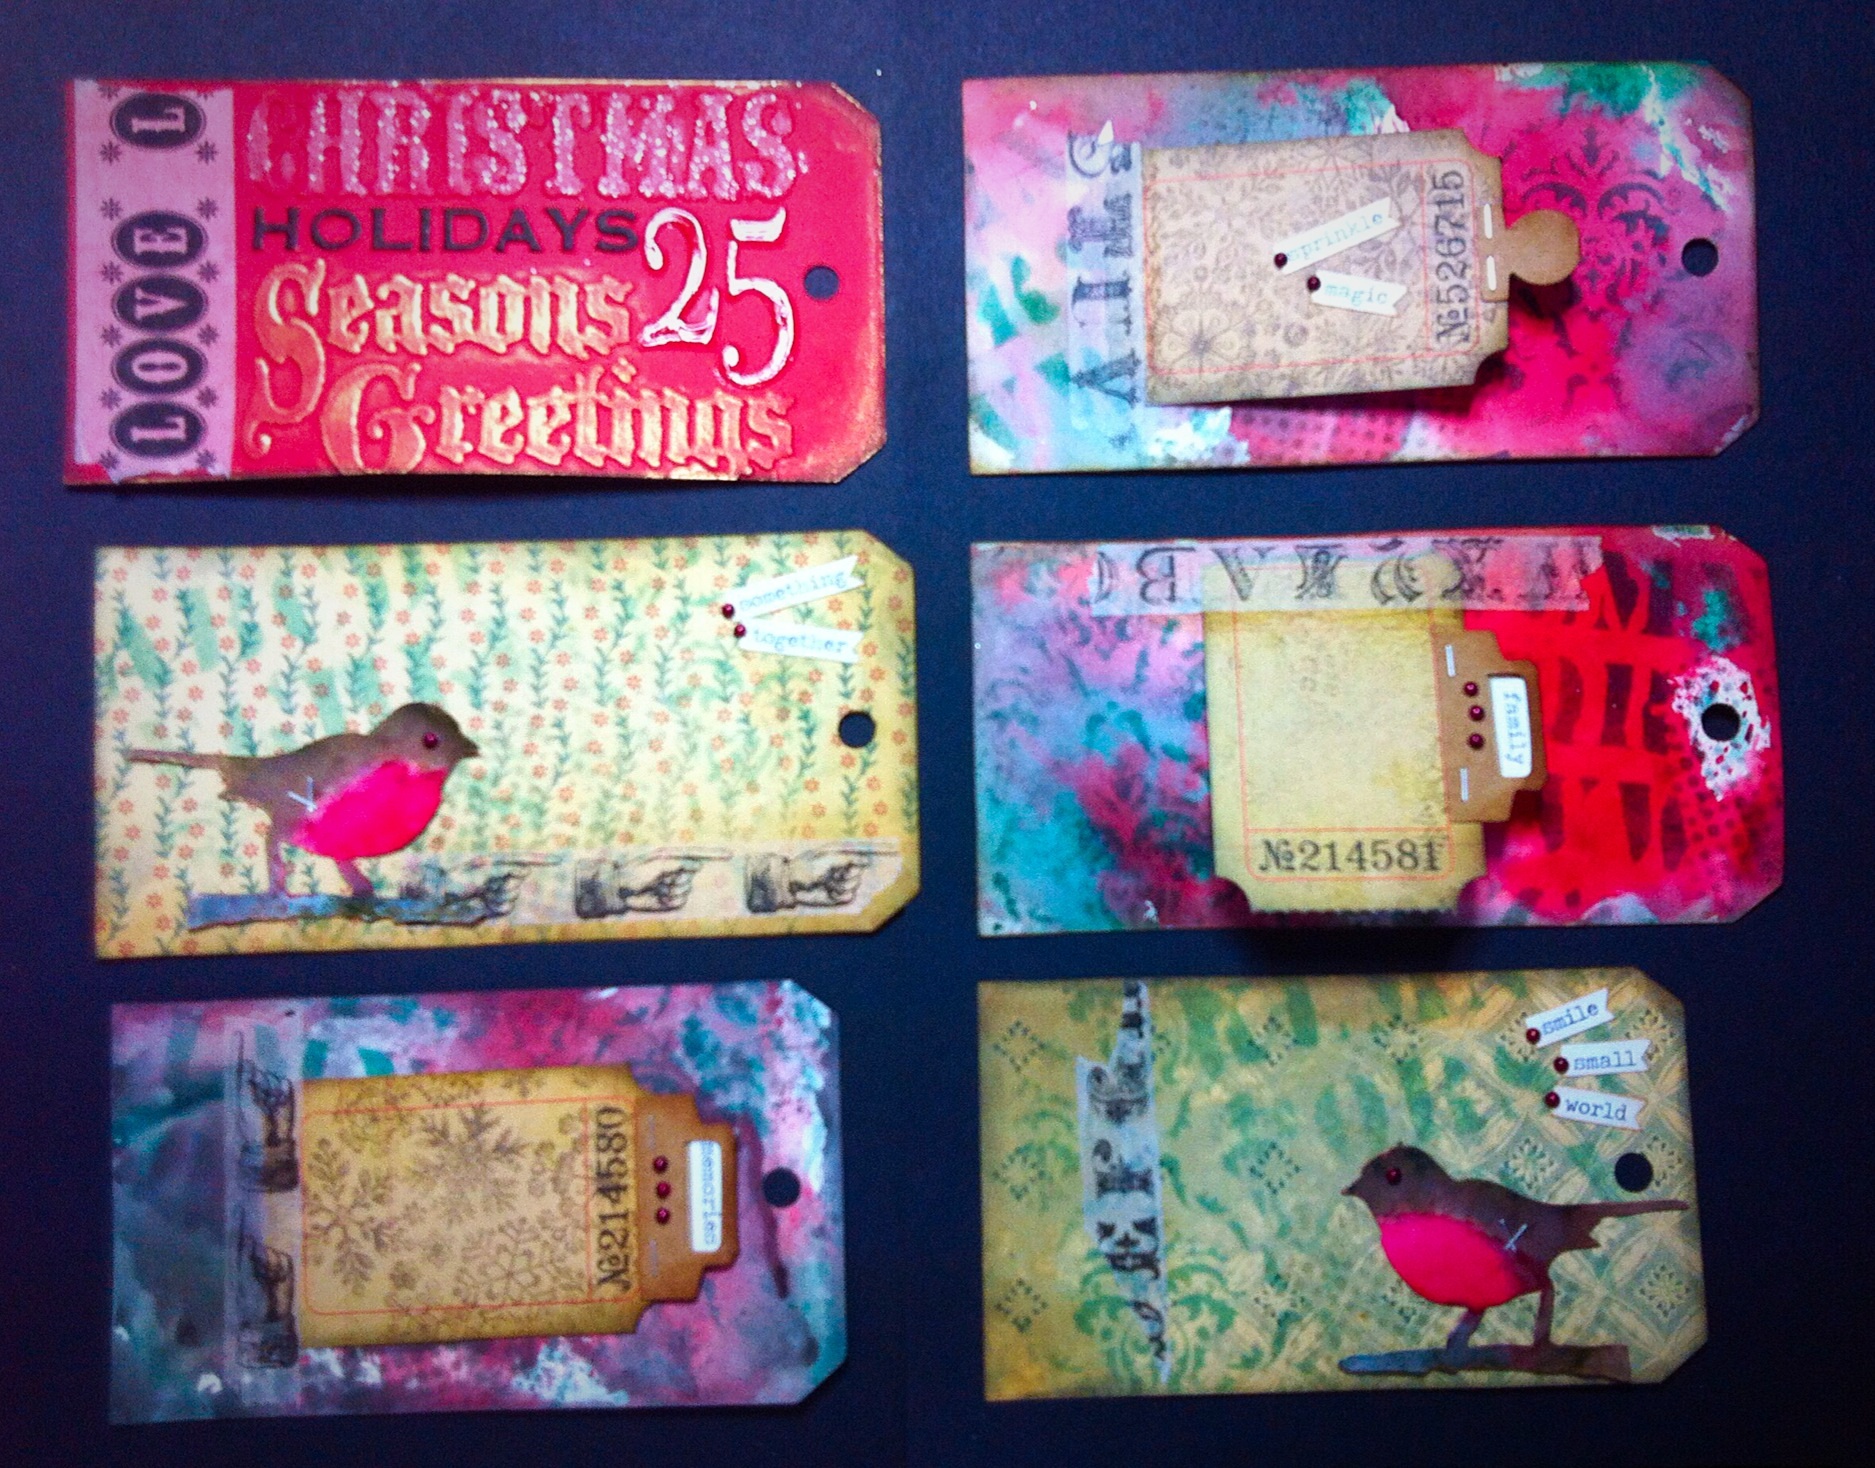
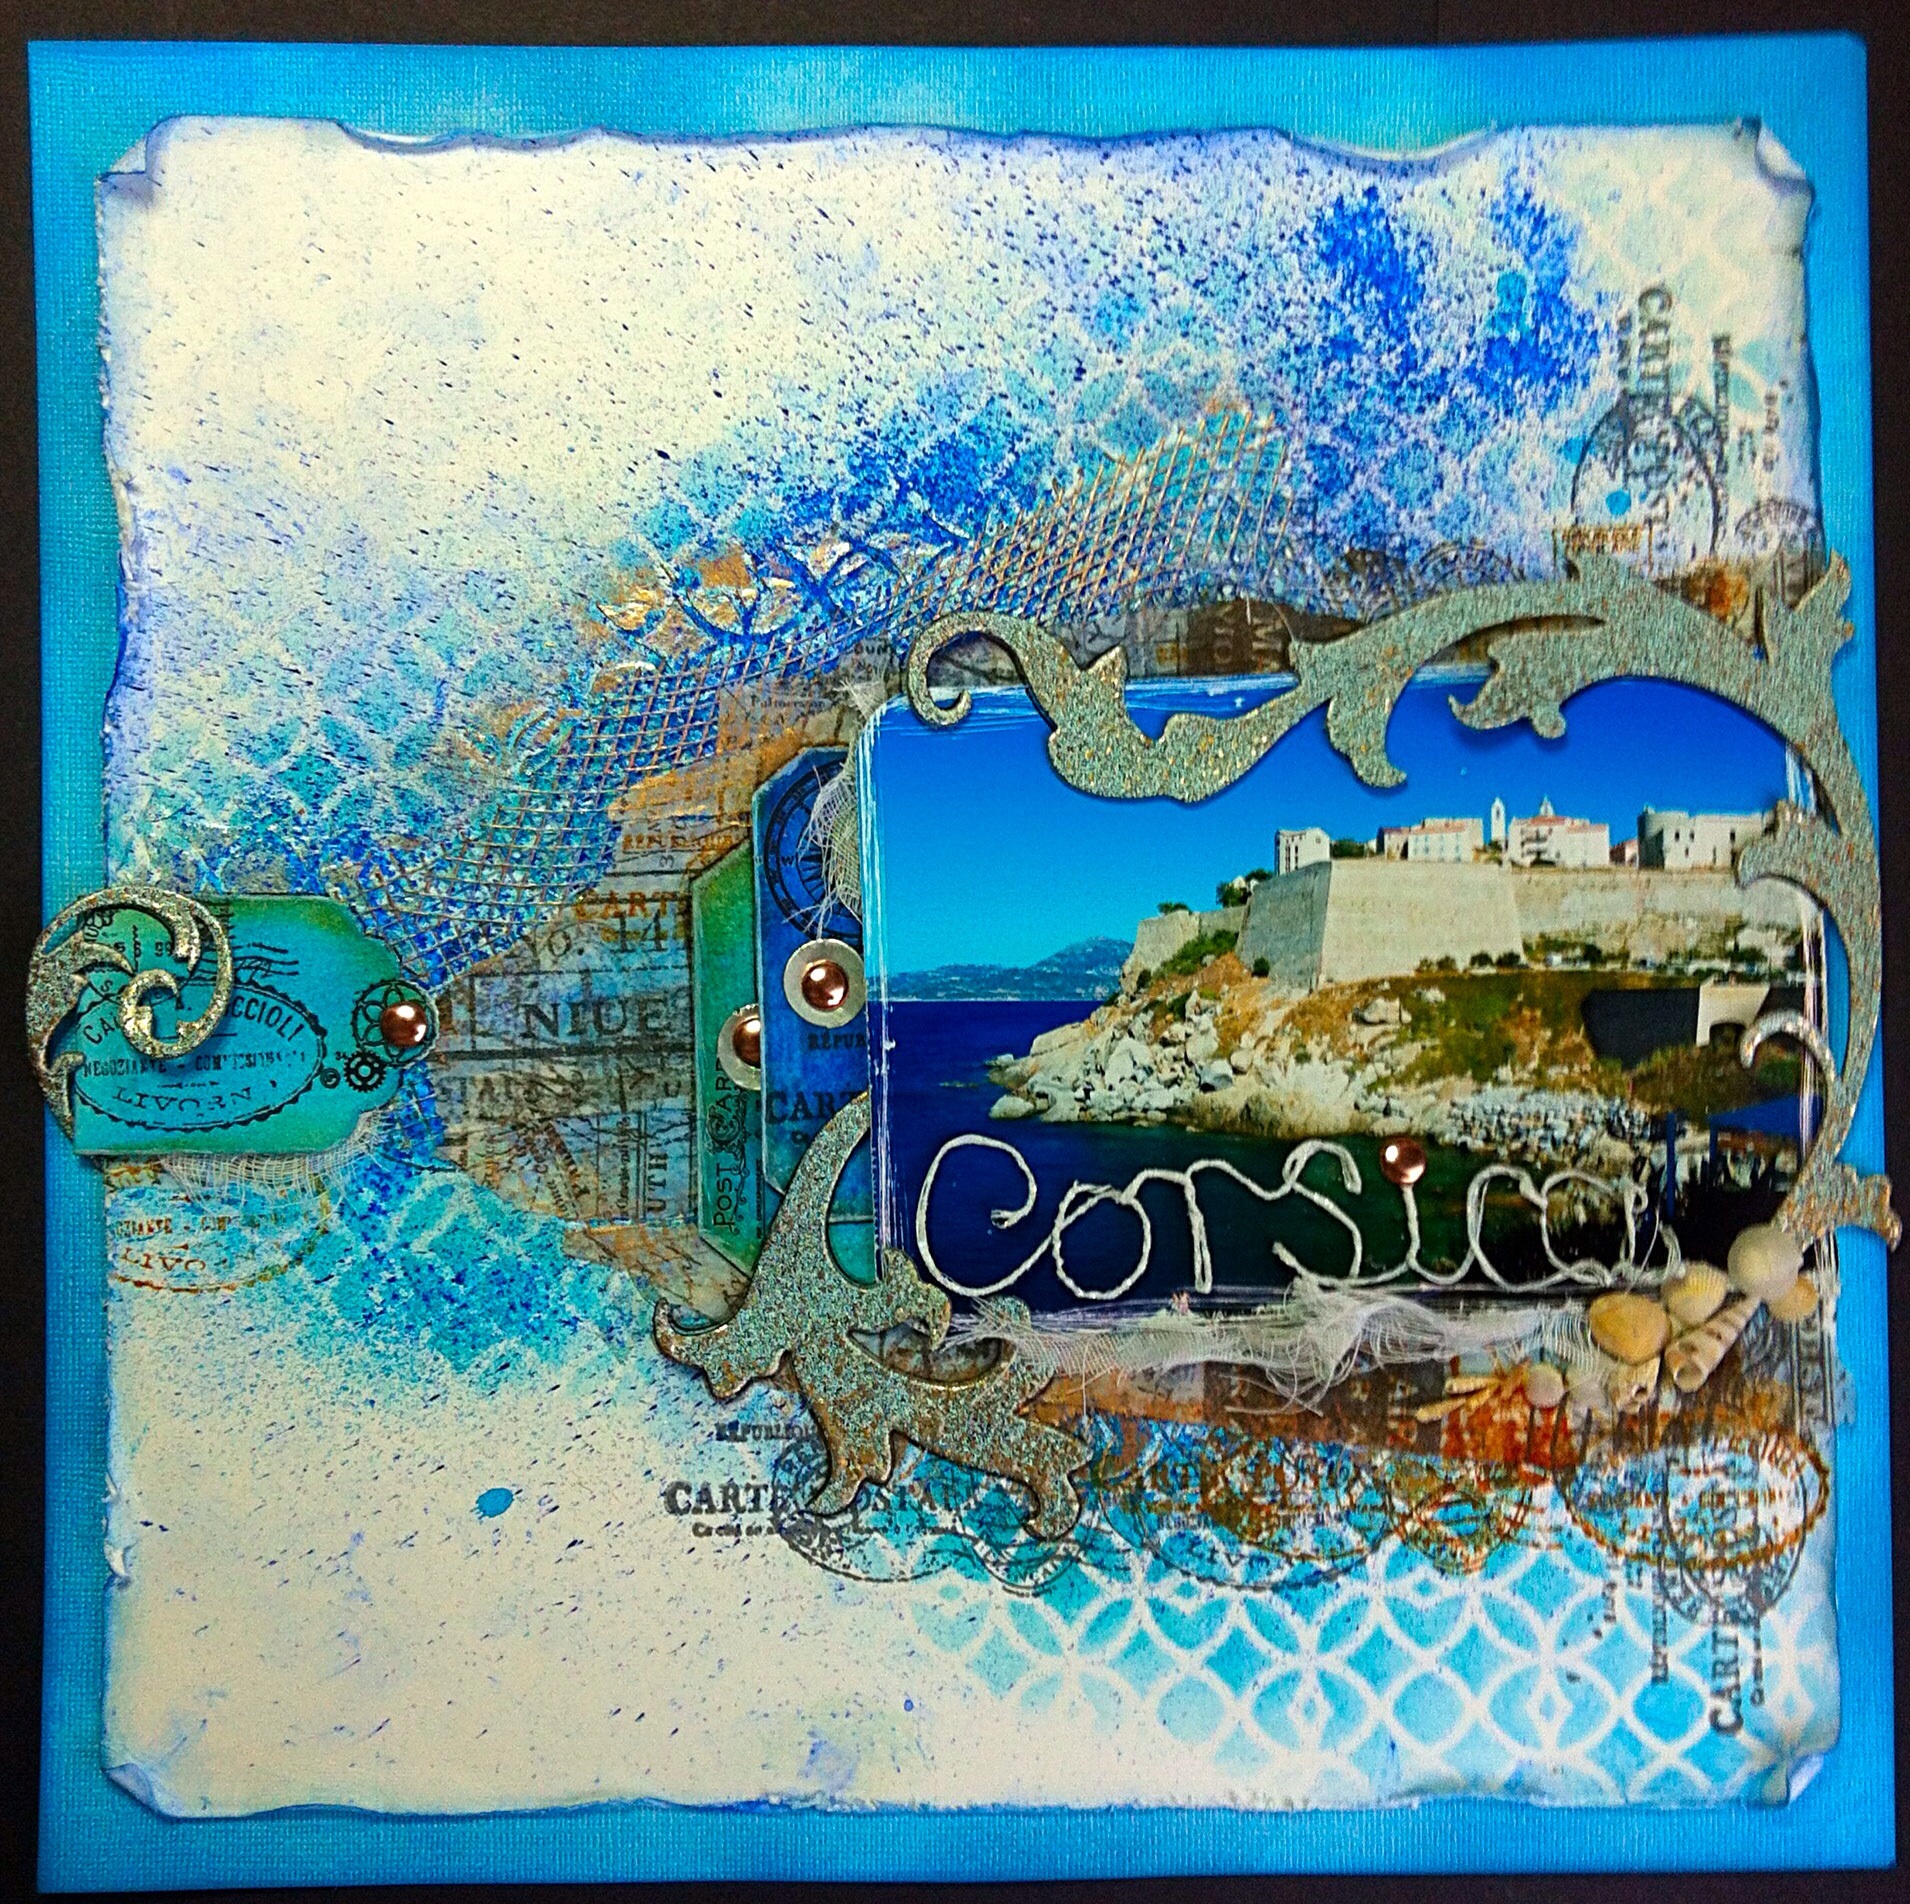
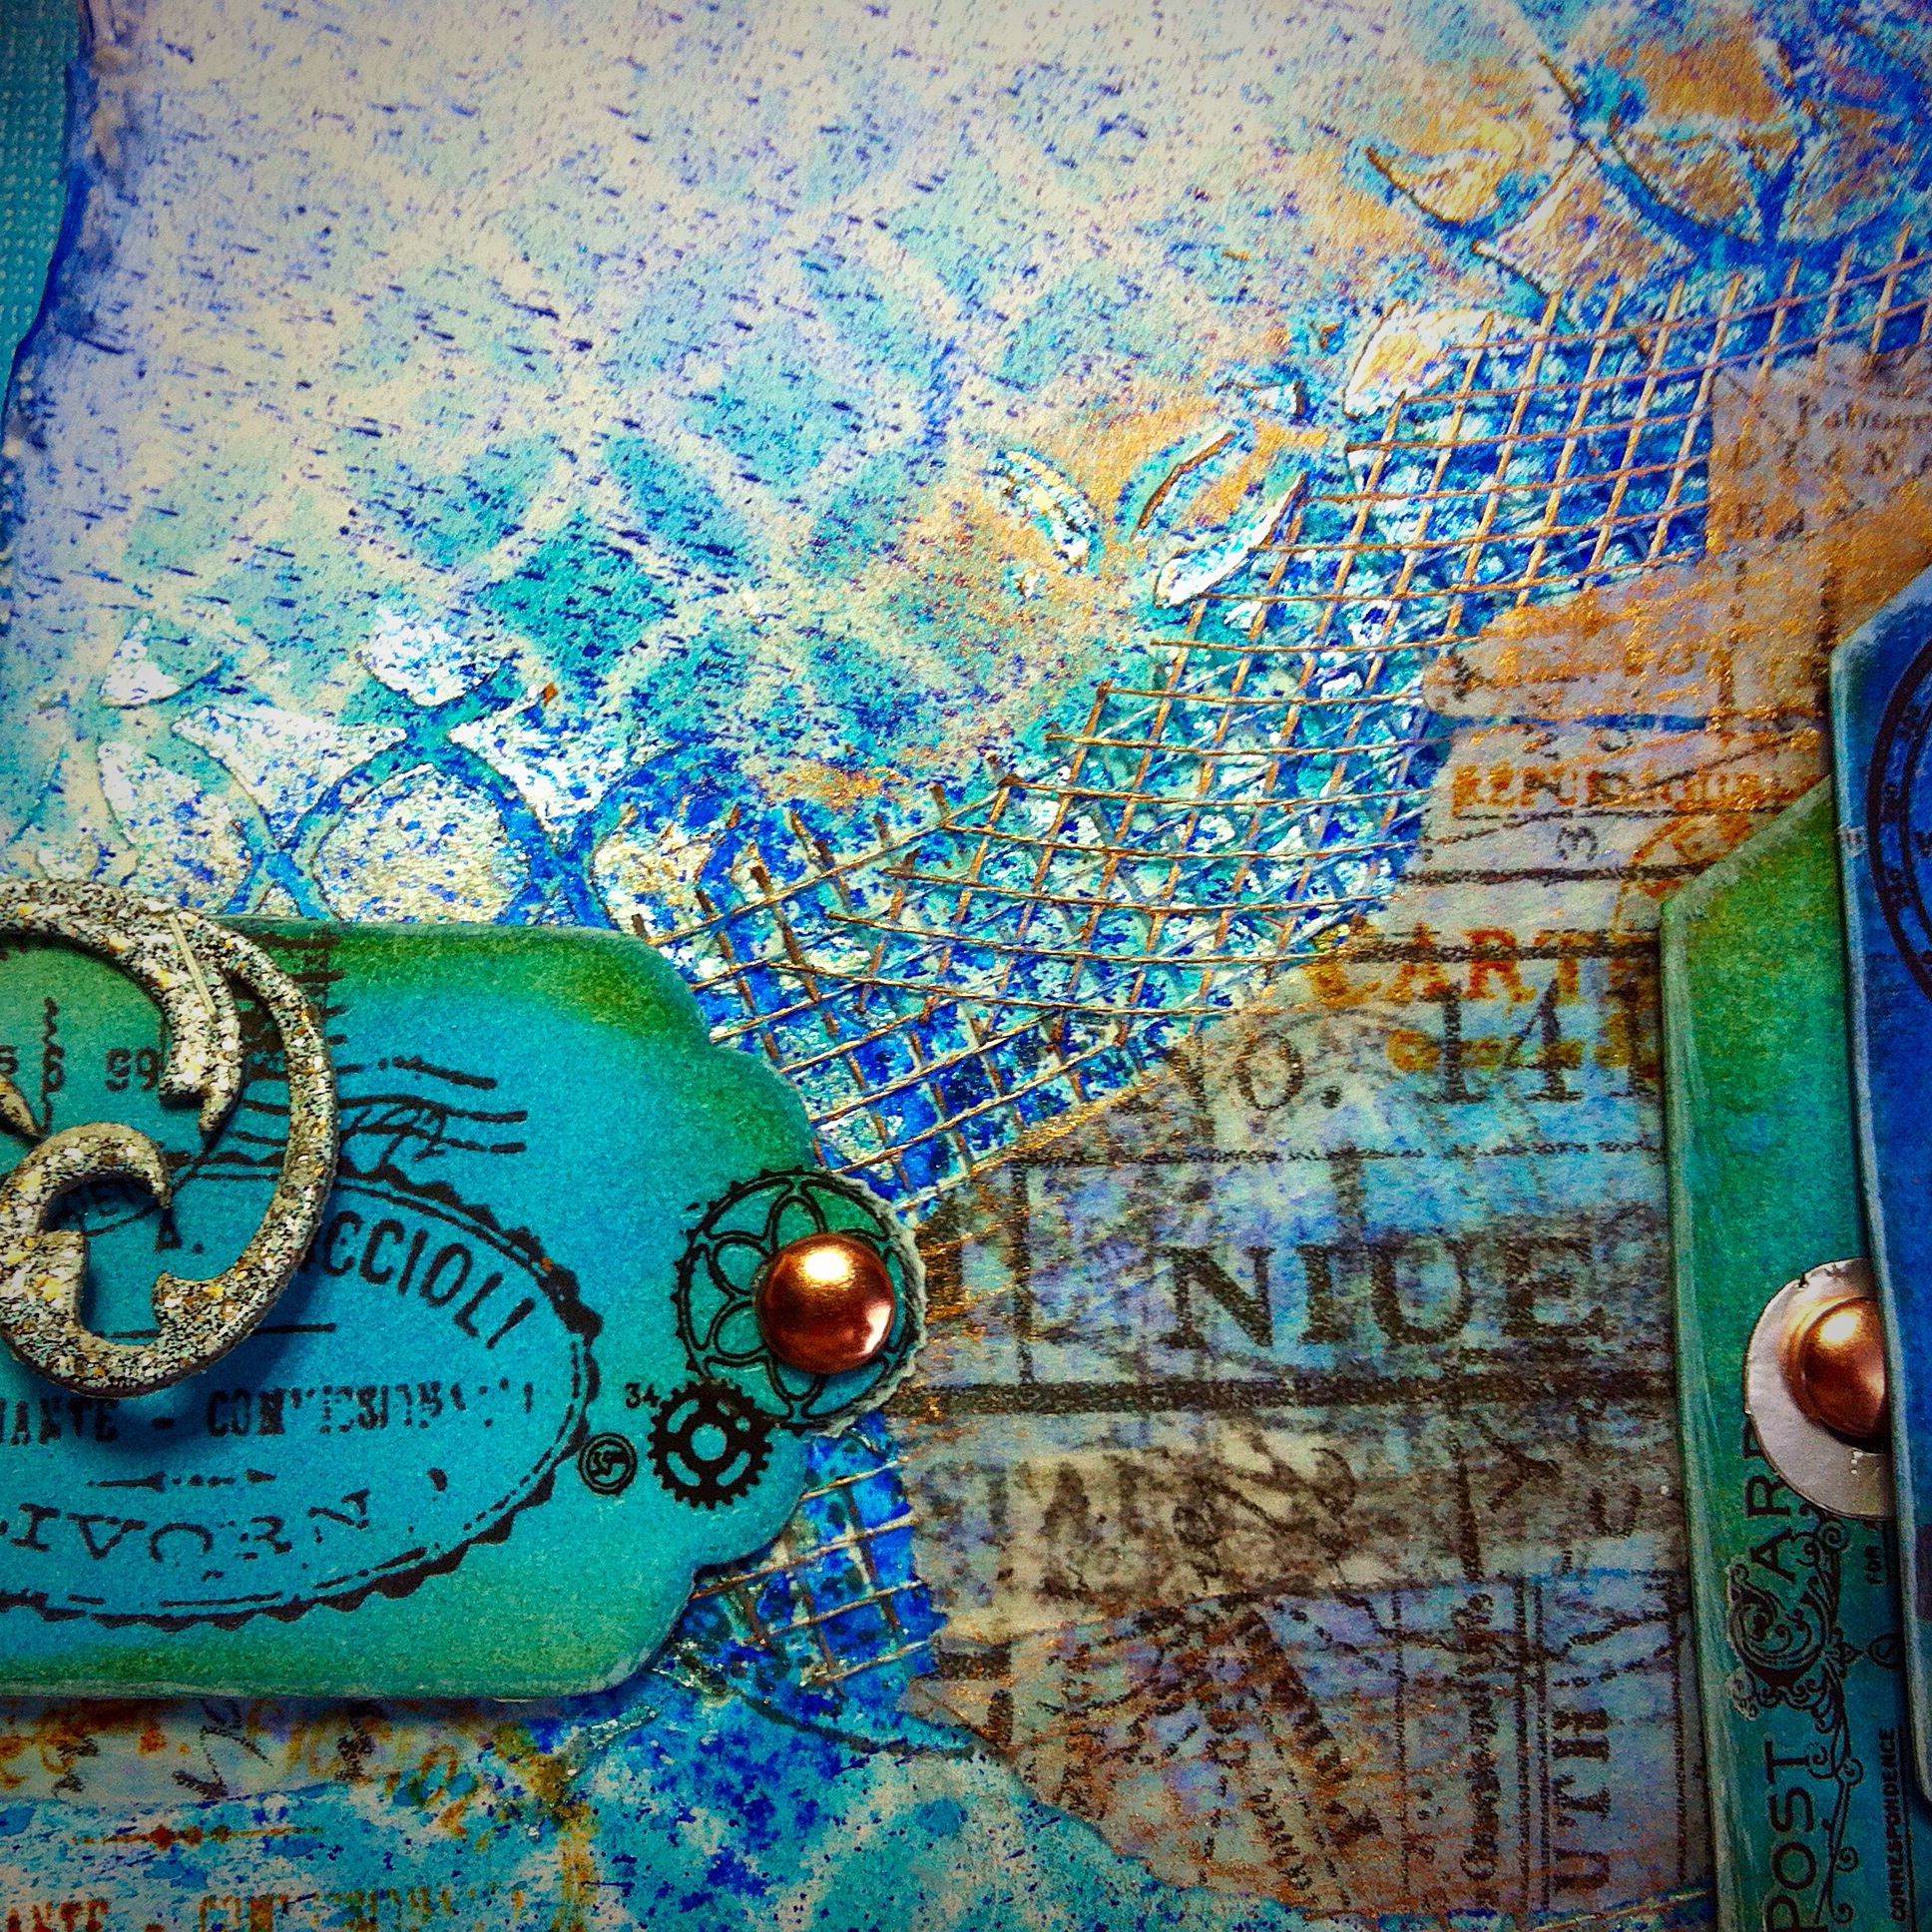
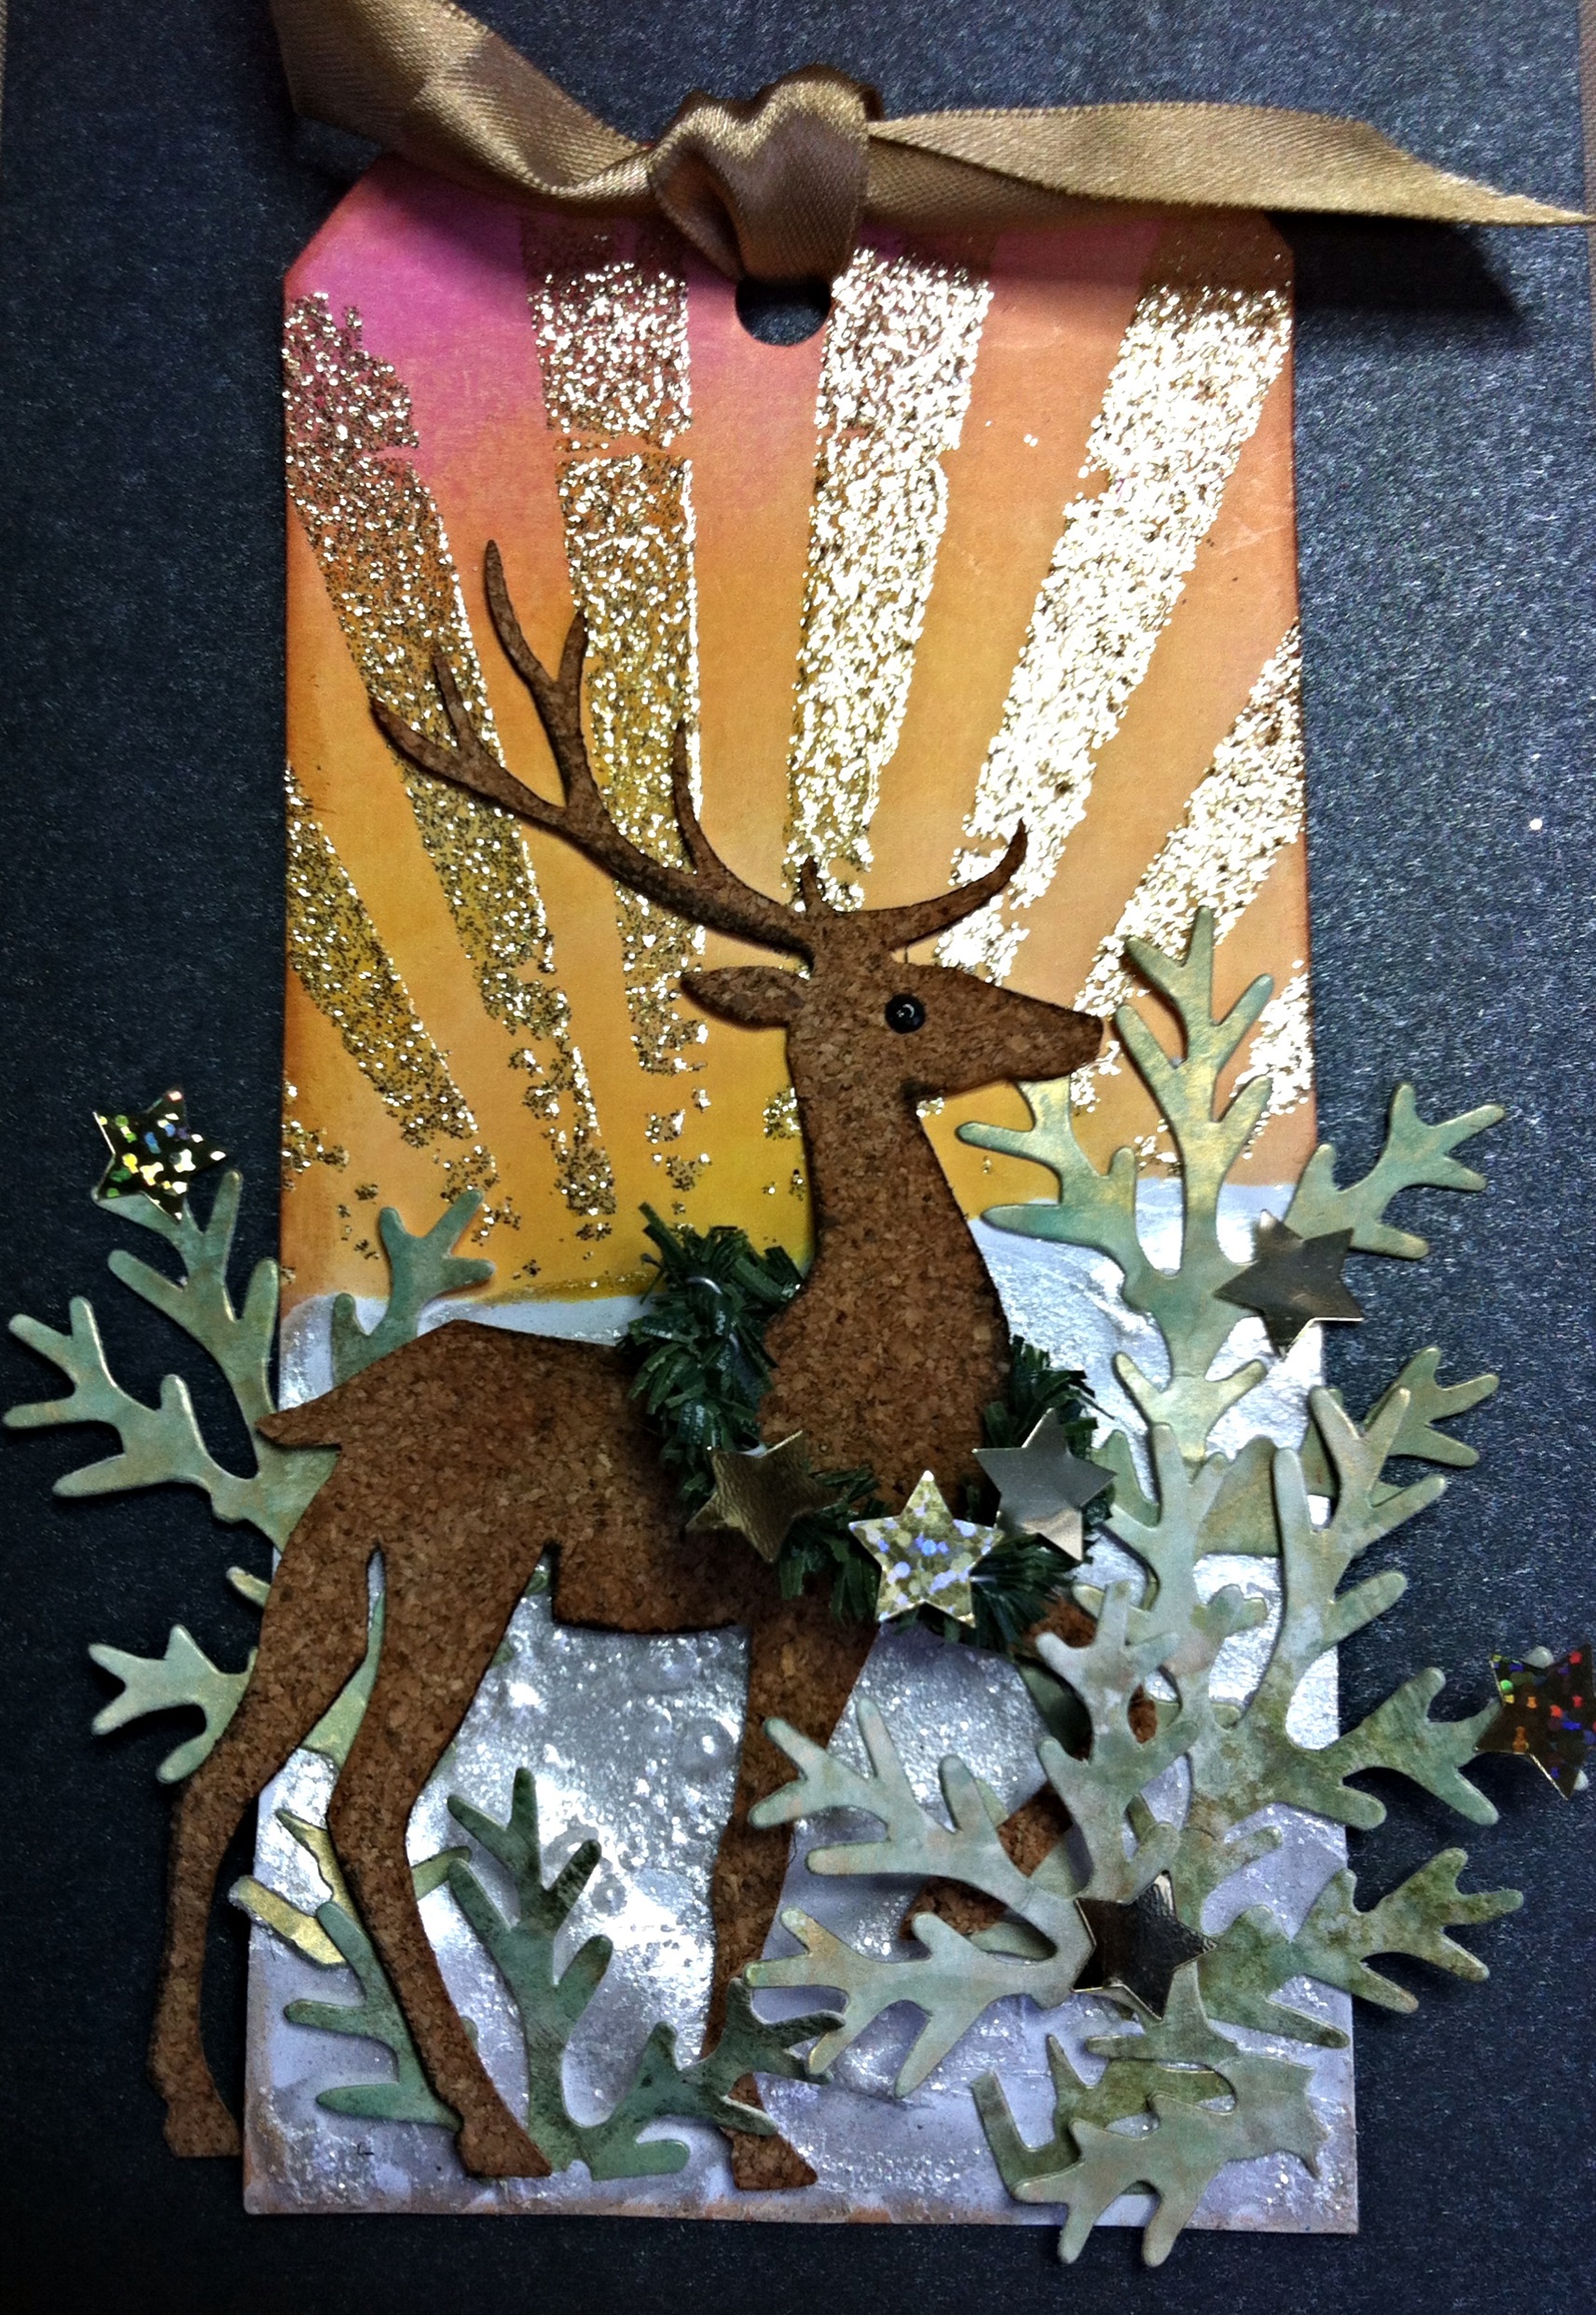
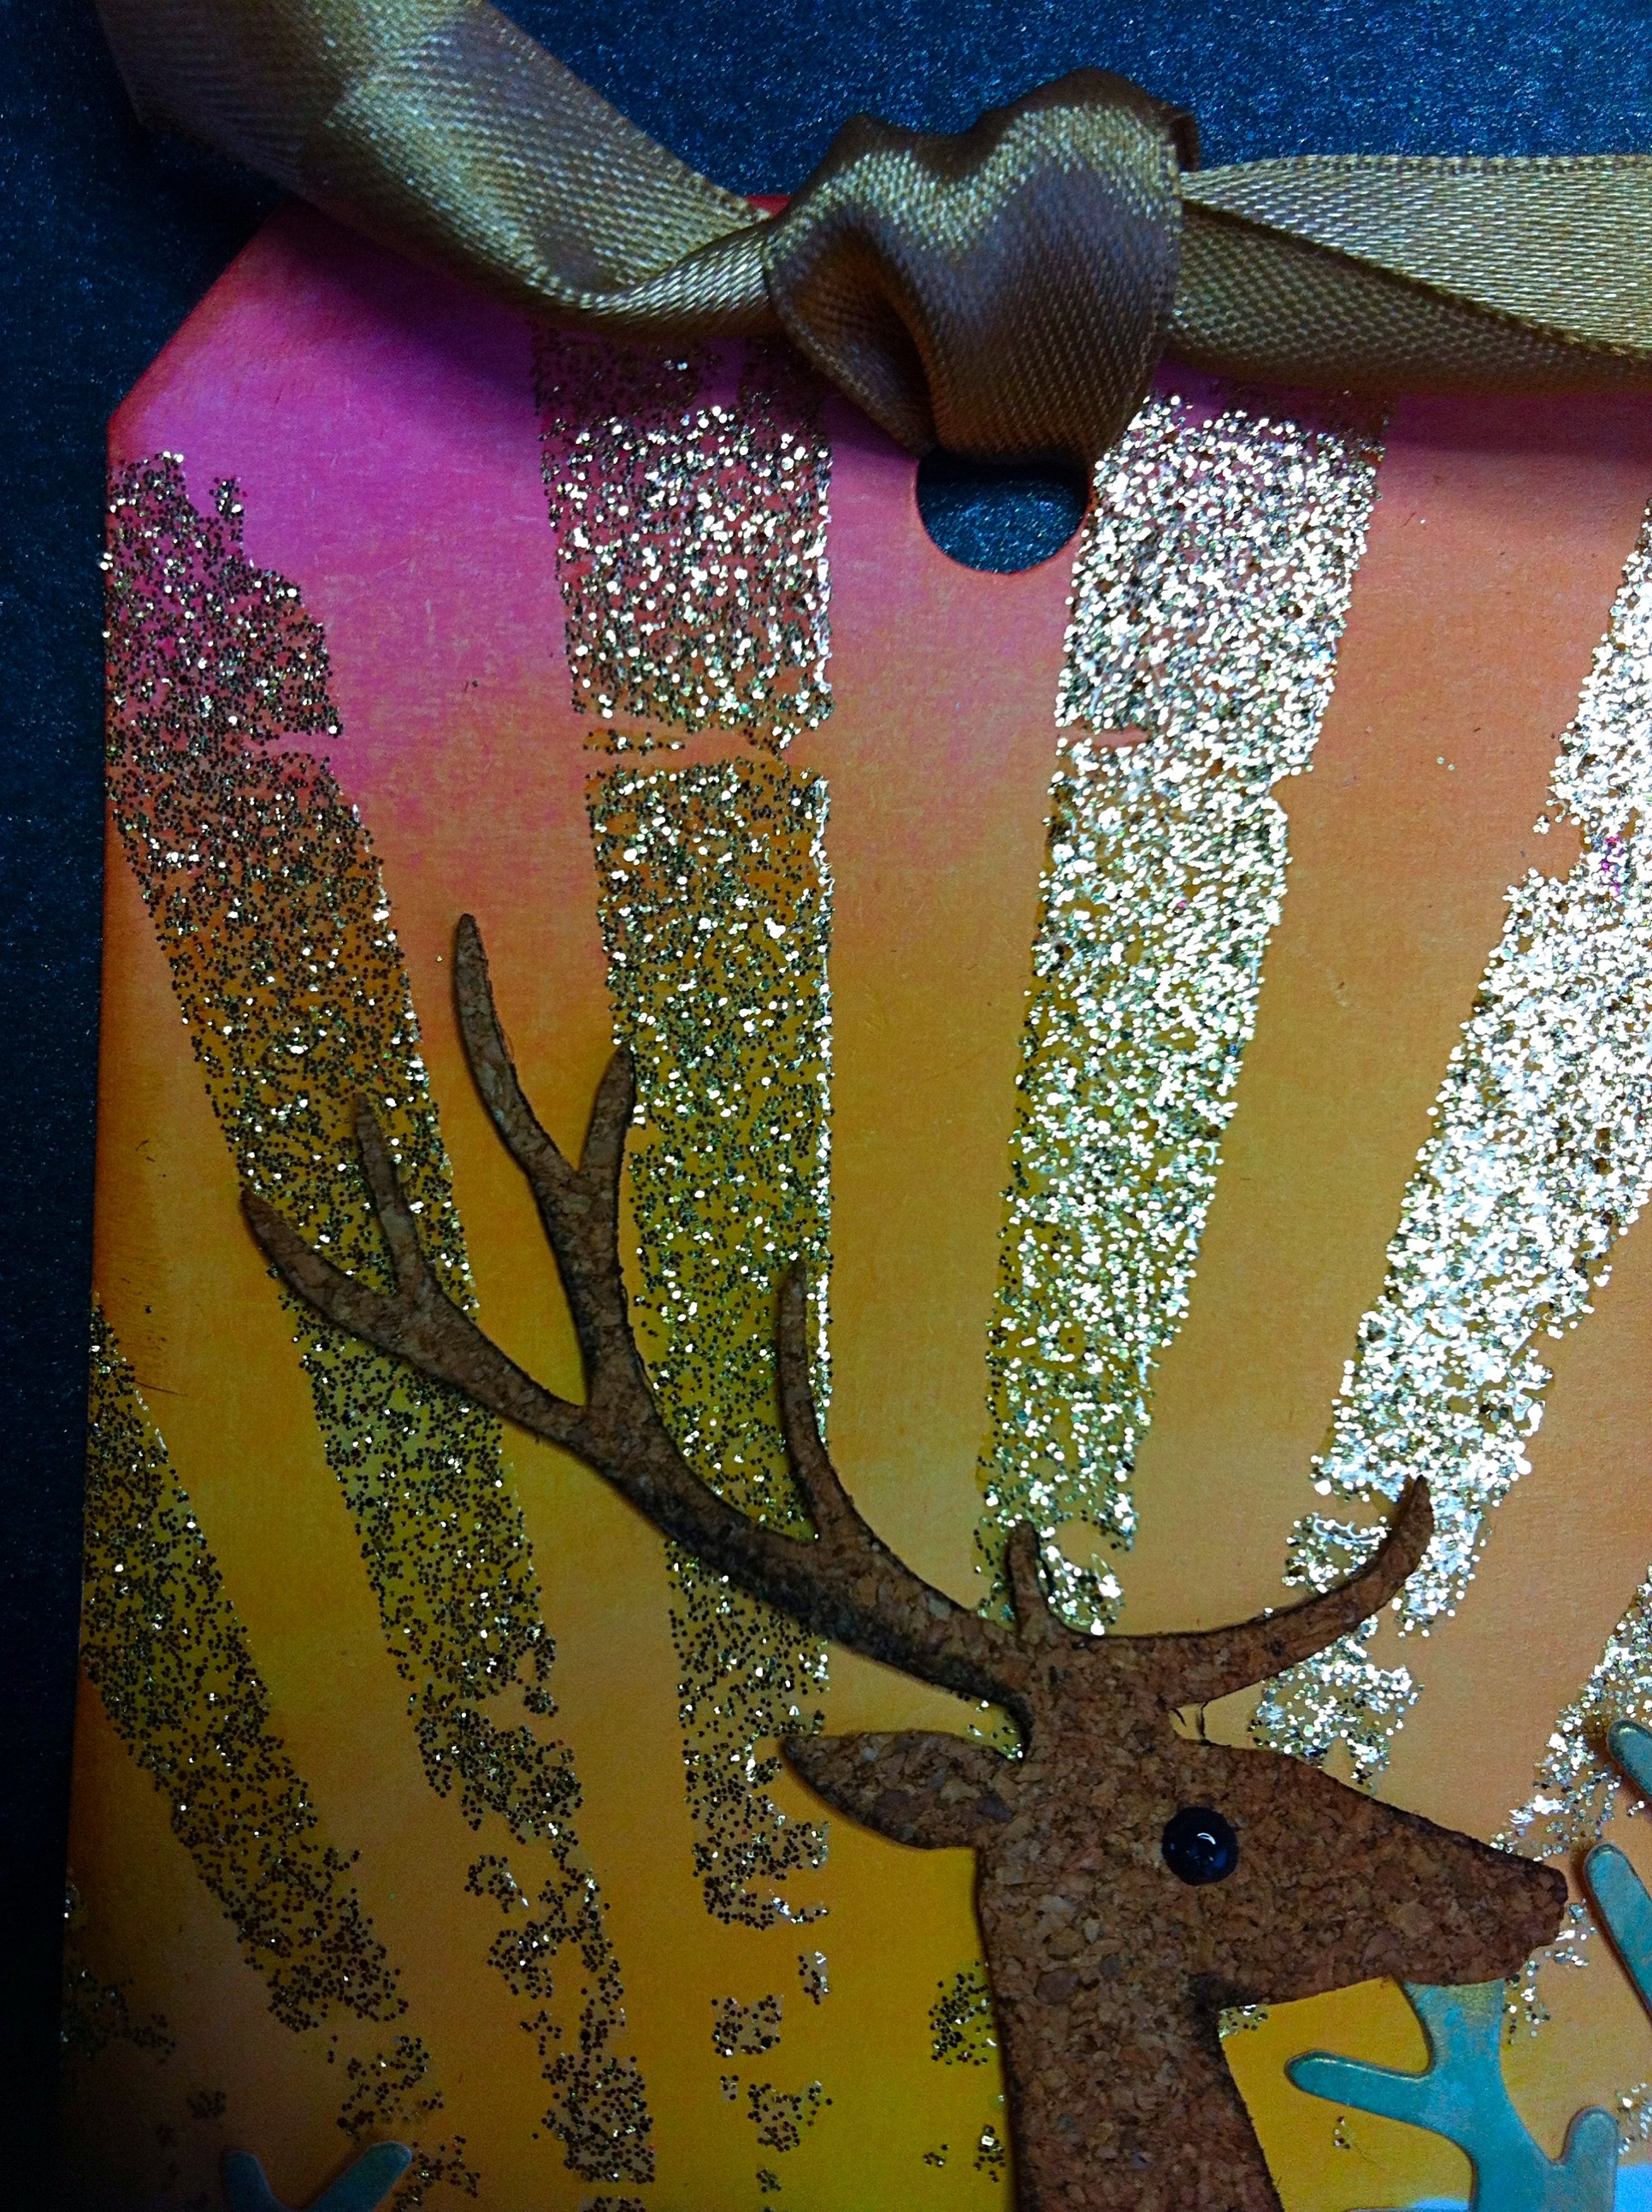
I die cut tags from Tim Holtz die then used distress paint and inks in seasonal colours to make wrinkle free distress effects. I used journal tickets to make pockets with tissue tape to fit small photos underneath. The robins were die cut in gloss paper then coloured with alcohol inks in traditional colours to complete the Christmas theme.

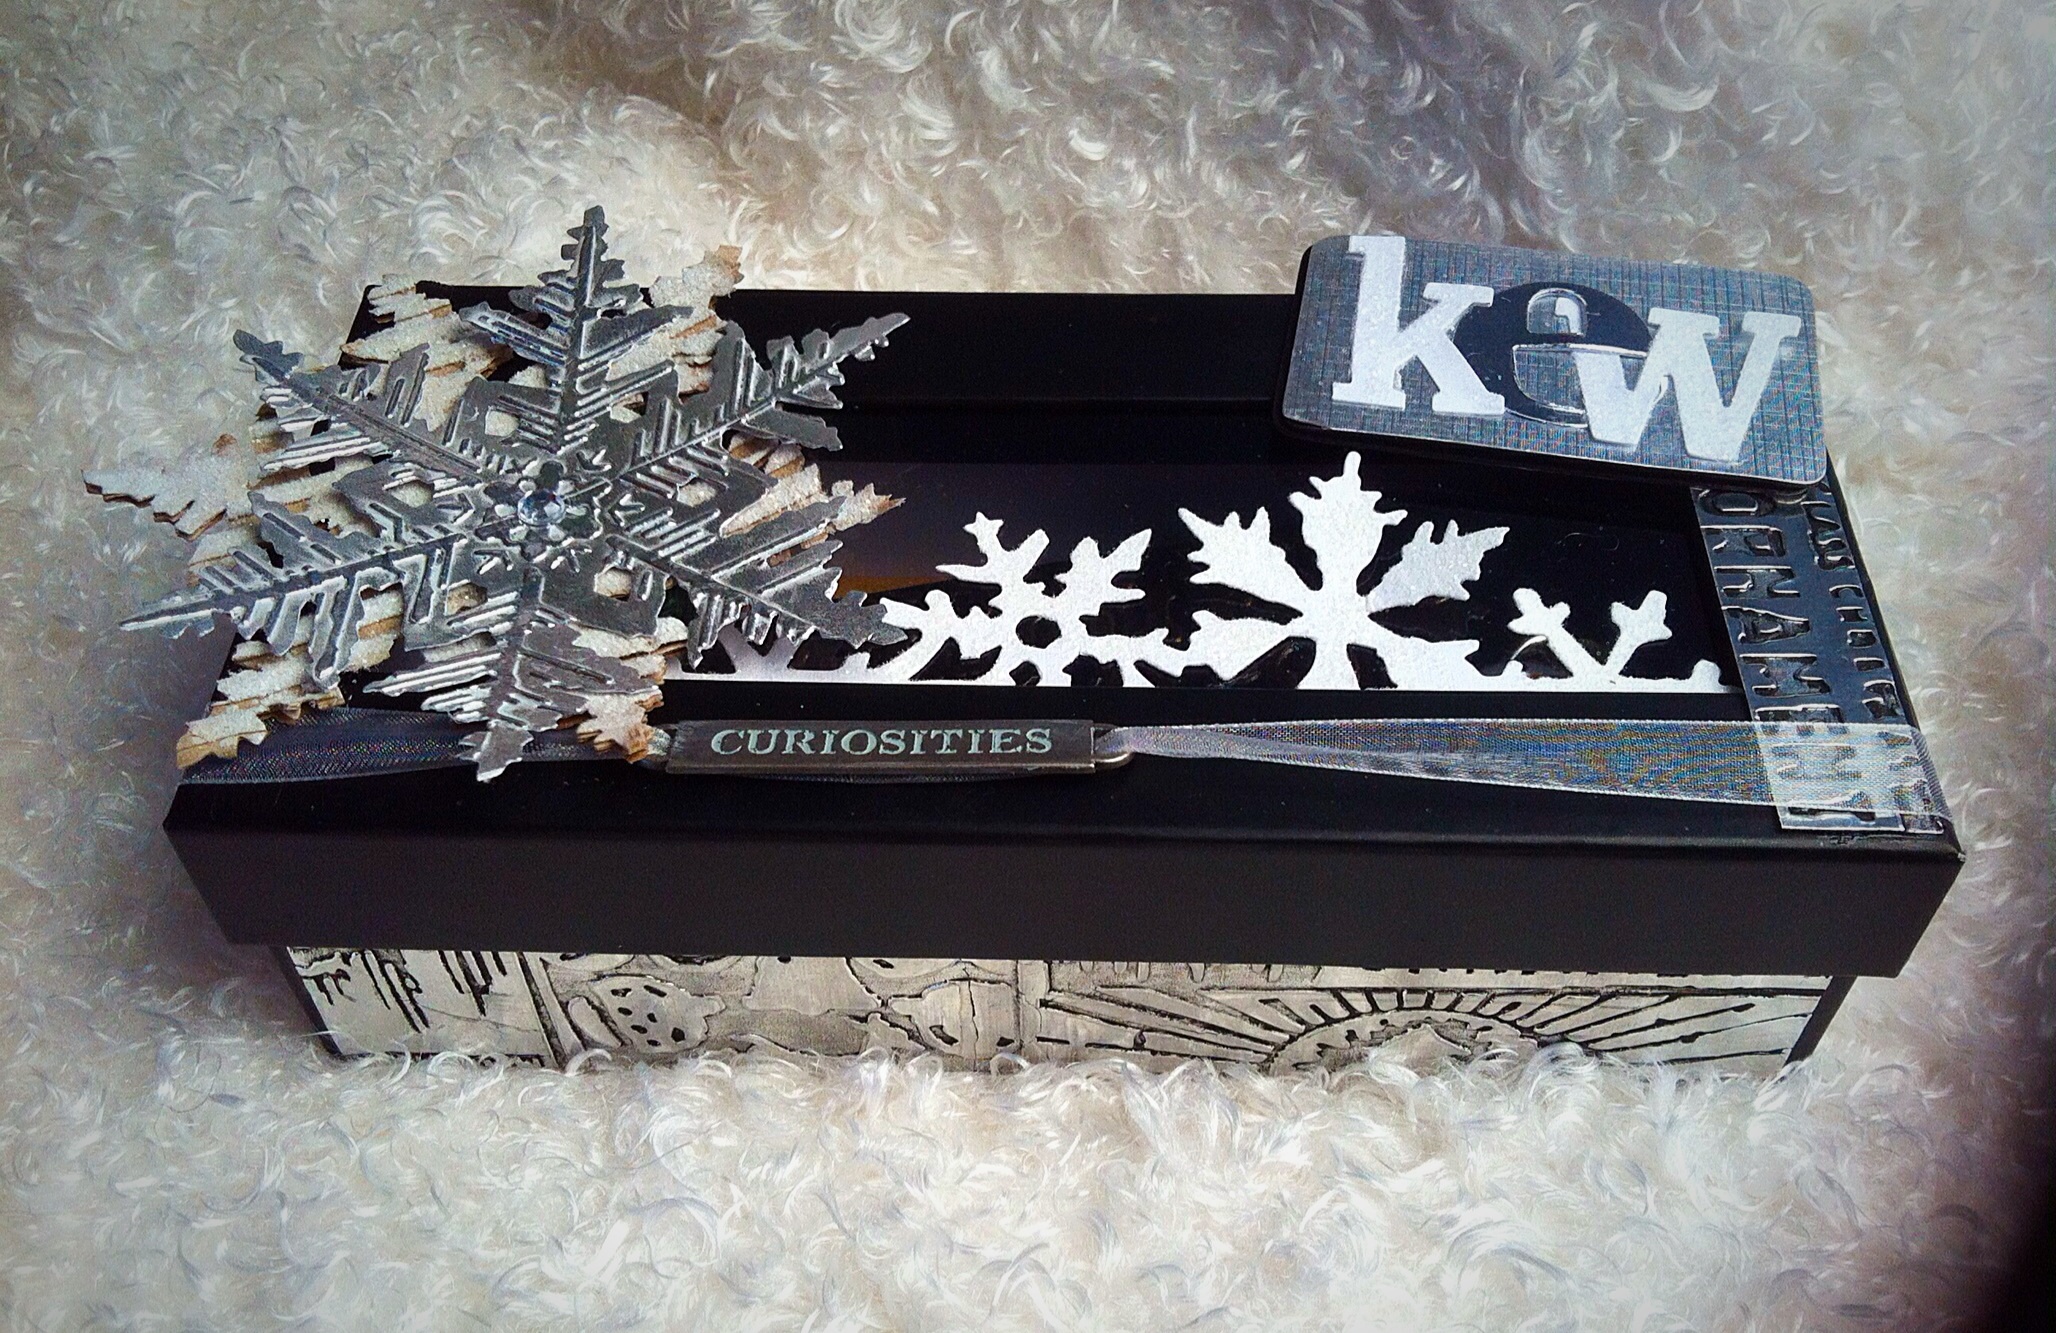
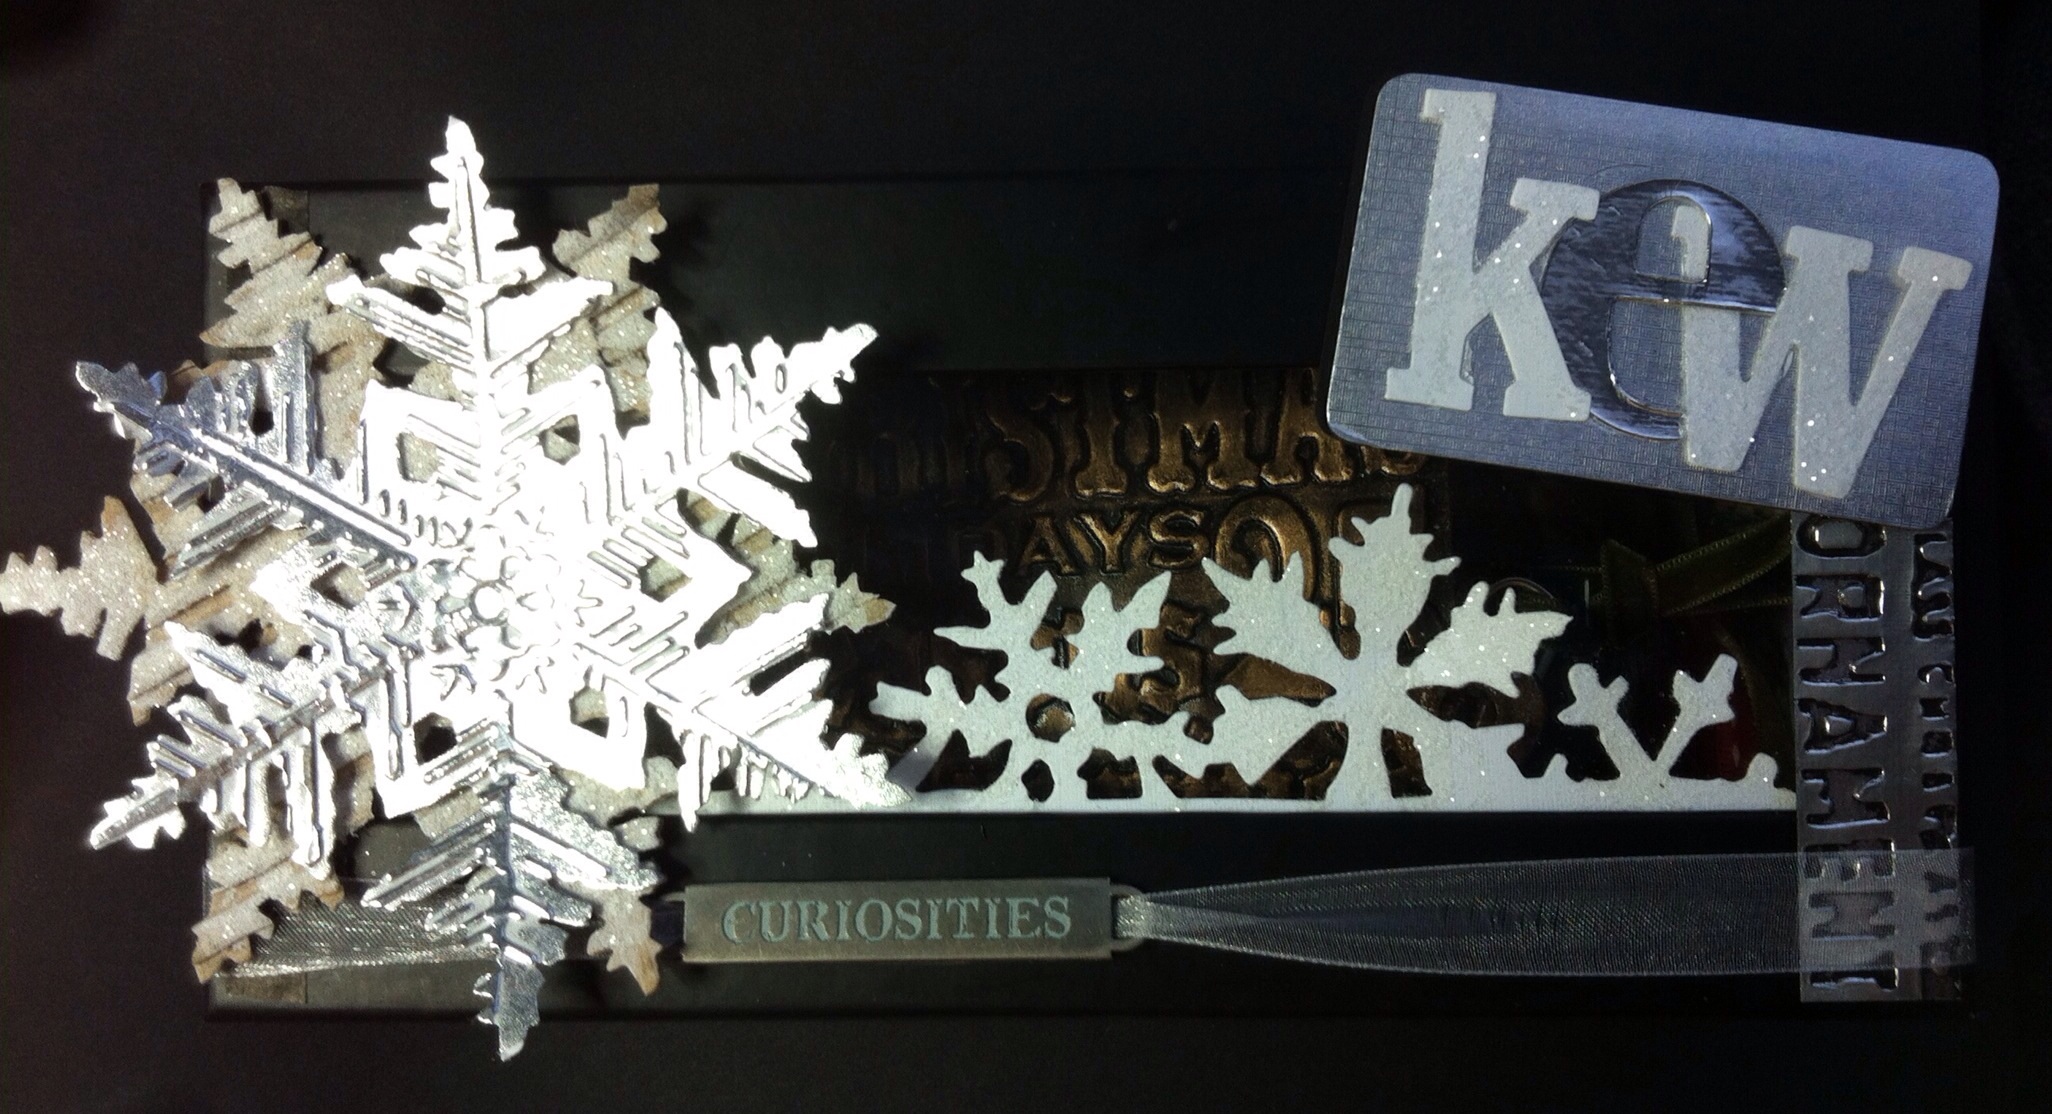
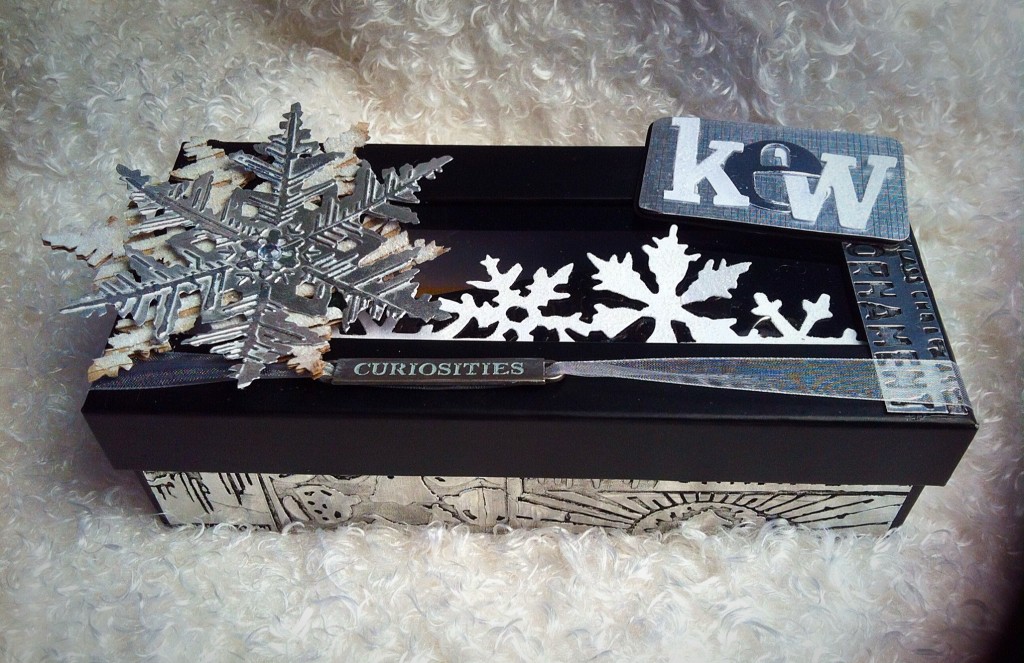
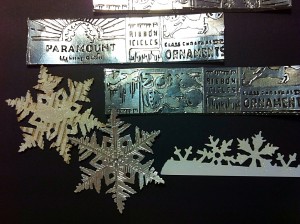
I am a great fan of silver plumbers tape, no idea what they use it for, but it is self adhesive, sticks beautifully to thin card and loves being dry embossed ( AND its very cheap!) I used a TH Christmas embossing folder, painted black paint over, then wiped off the paint when it had slightly dried to leave black in the recesses. I cut pieces to fit the 4 box sides. I die cut a TH snowflake from recycled corrugated card, ripped the smooth top off and glittered it. I also die cut a snowflake from plumbers tape on thin card and then embossed it with the corresponding folder. I had Snow Flurries on the edge die, so cut that from white card and glittered it with rock candy.
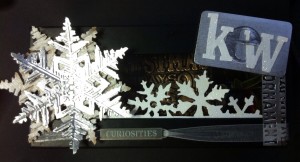
This is how I assembled the box. The snowflakes fitted on top of each other, the flurries slotted into the clear plastic in the frame. I added a piece of the silver emboss to cover the script on the box then added the ribbon and a TH metal embellishment that fitted.
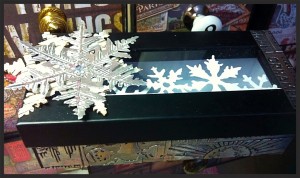
Here is a view of the box side with the metal embossed card in place.
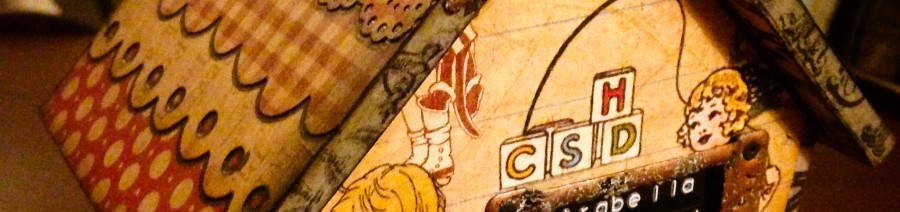
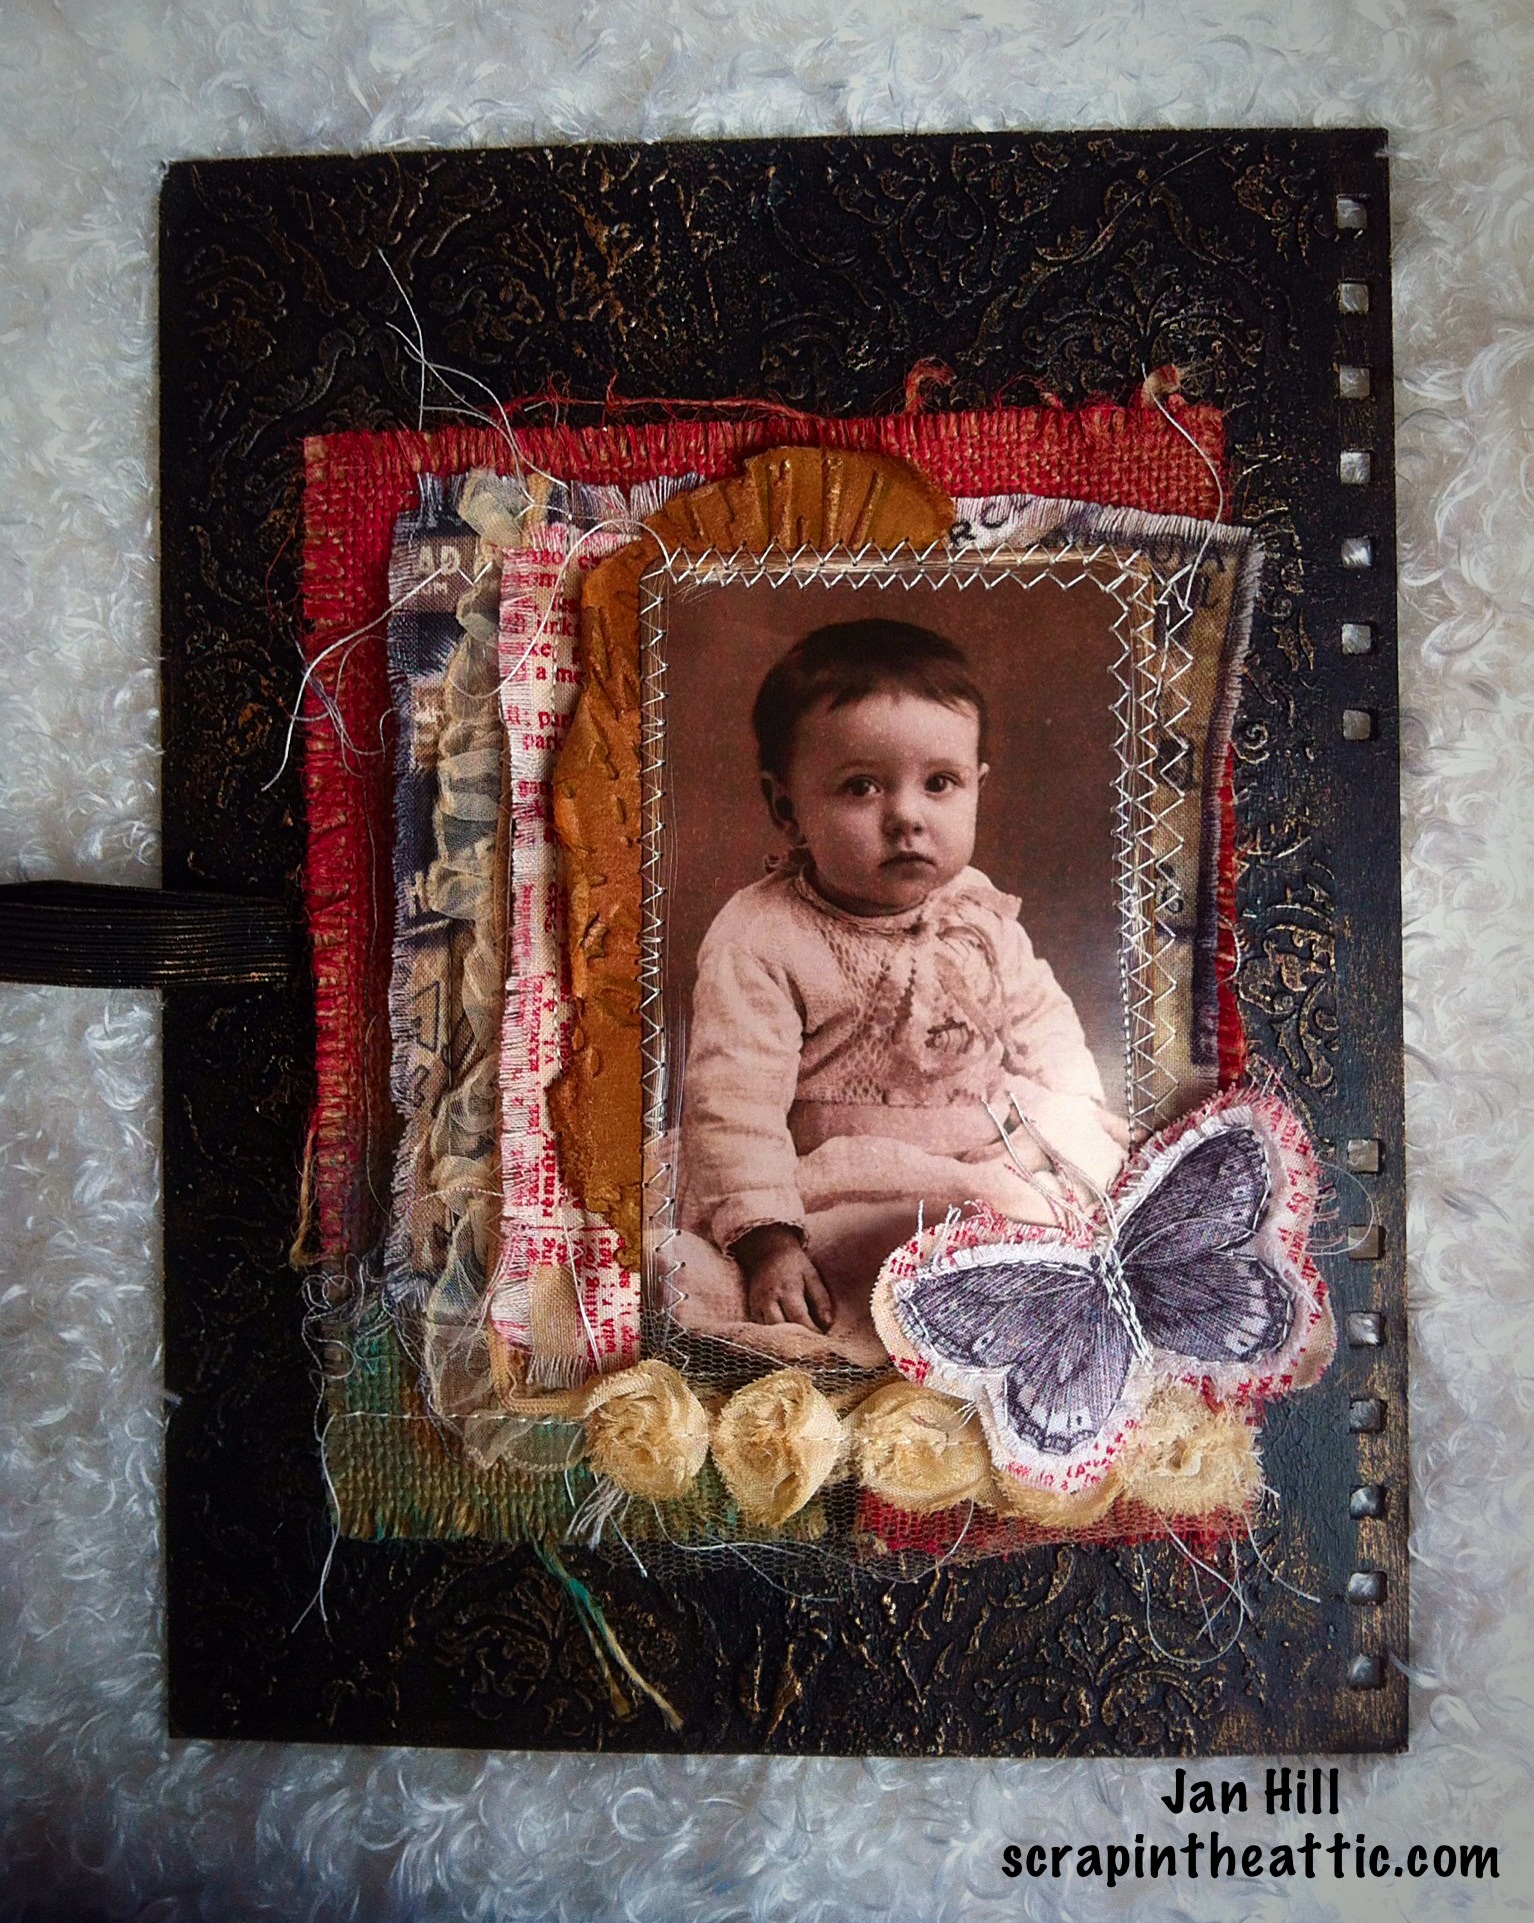
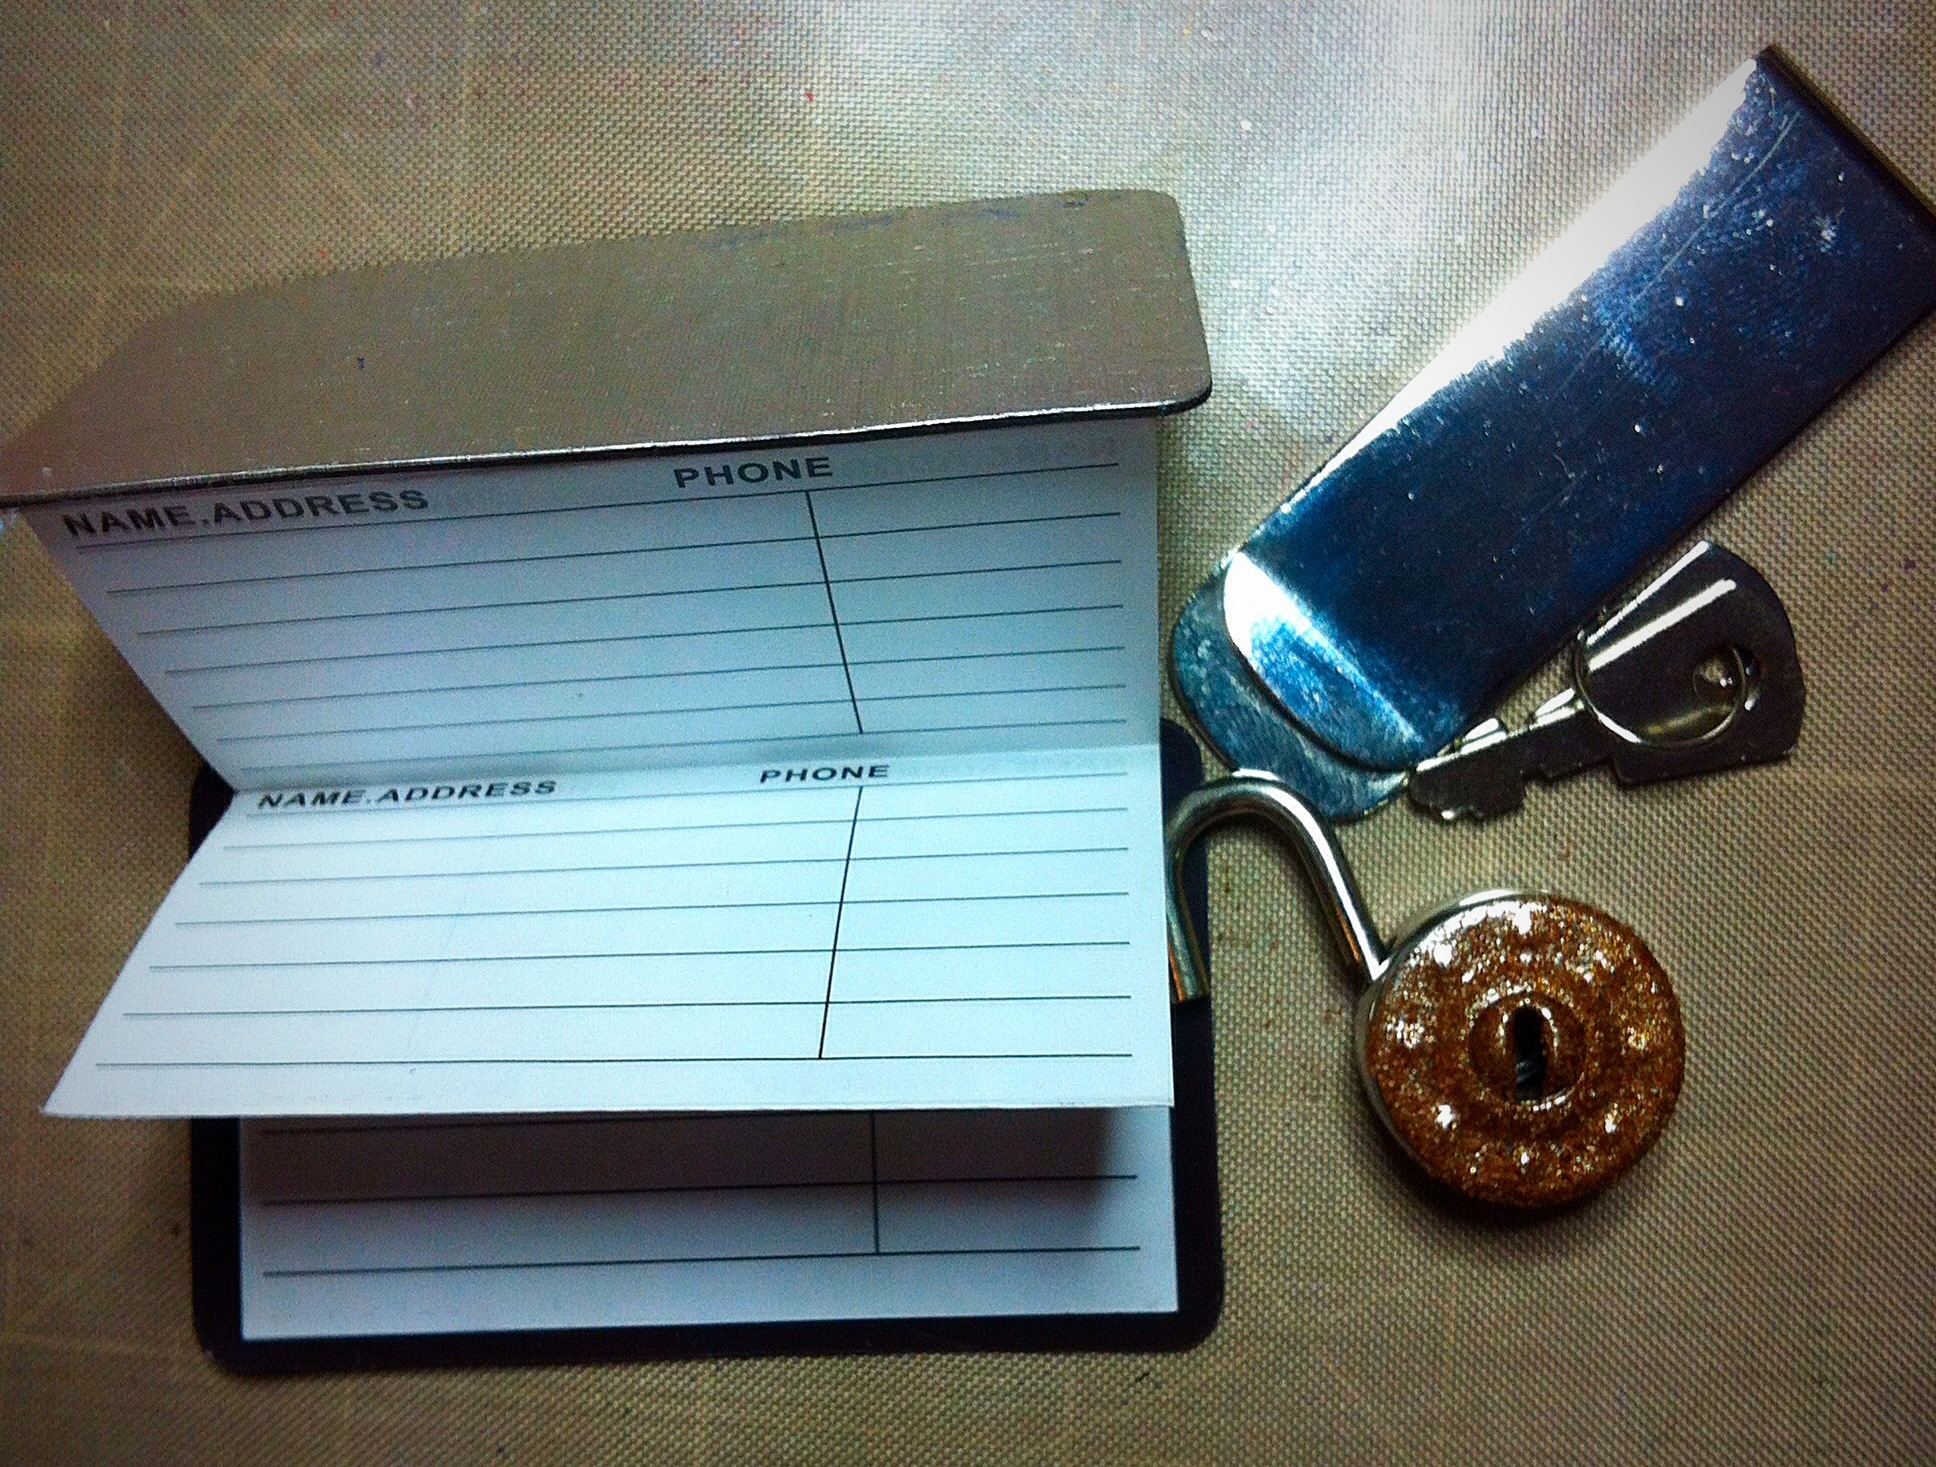
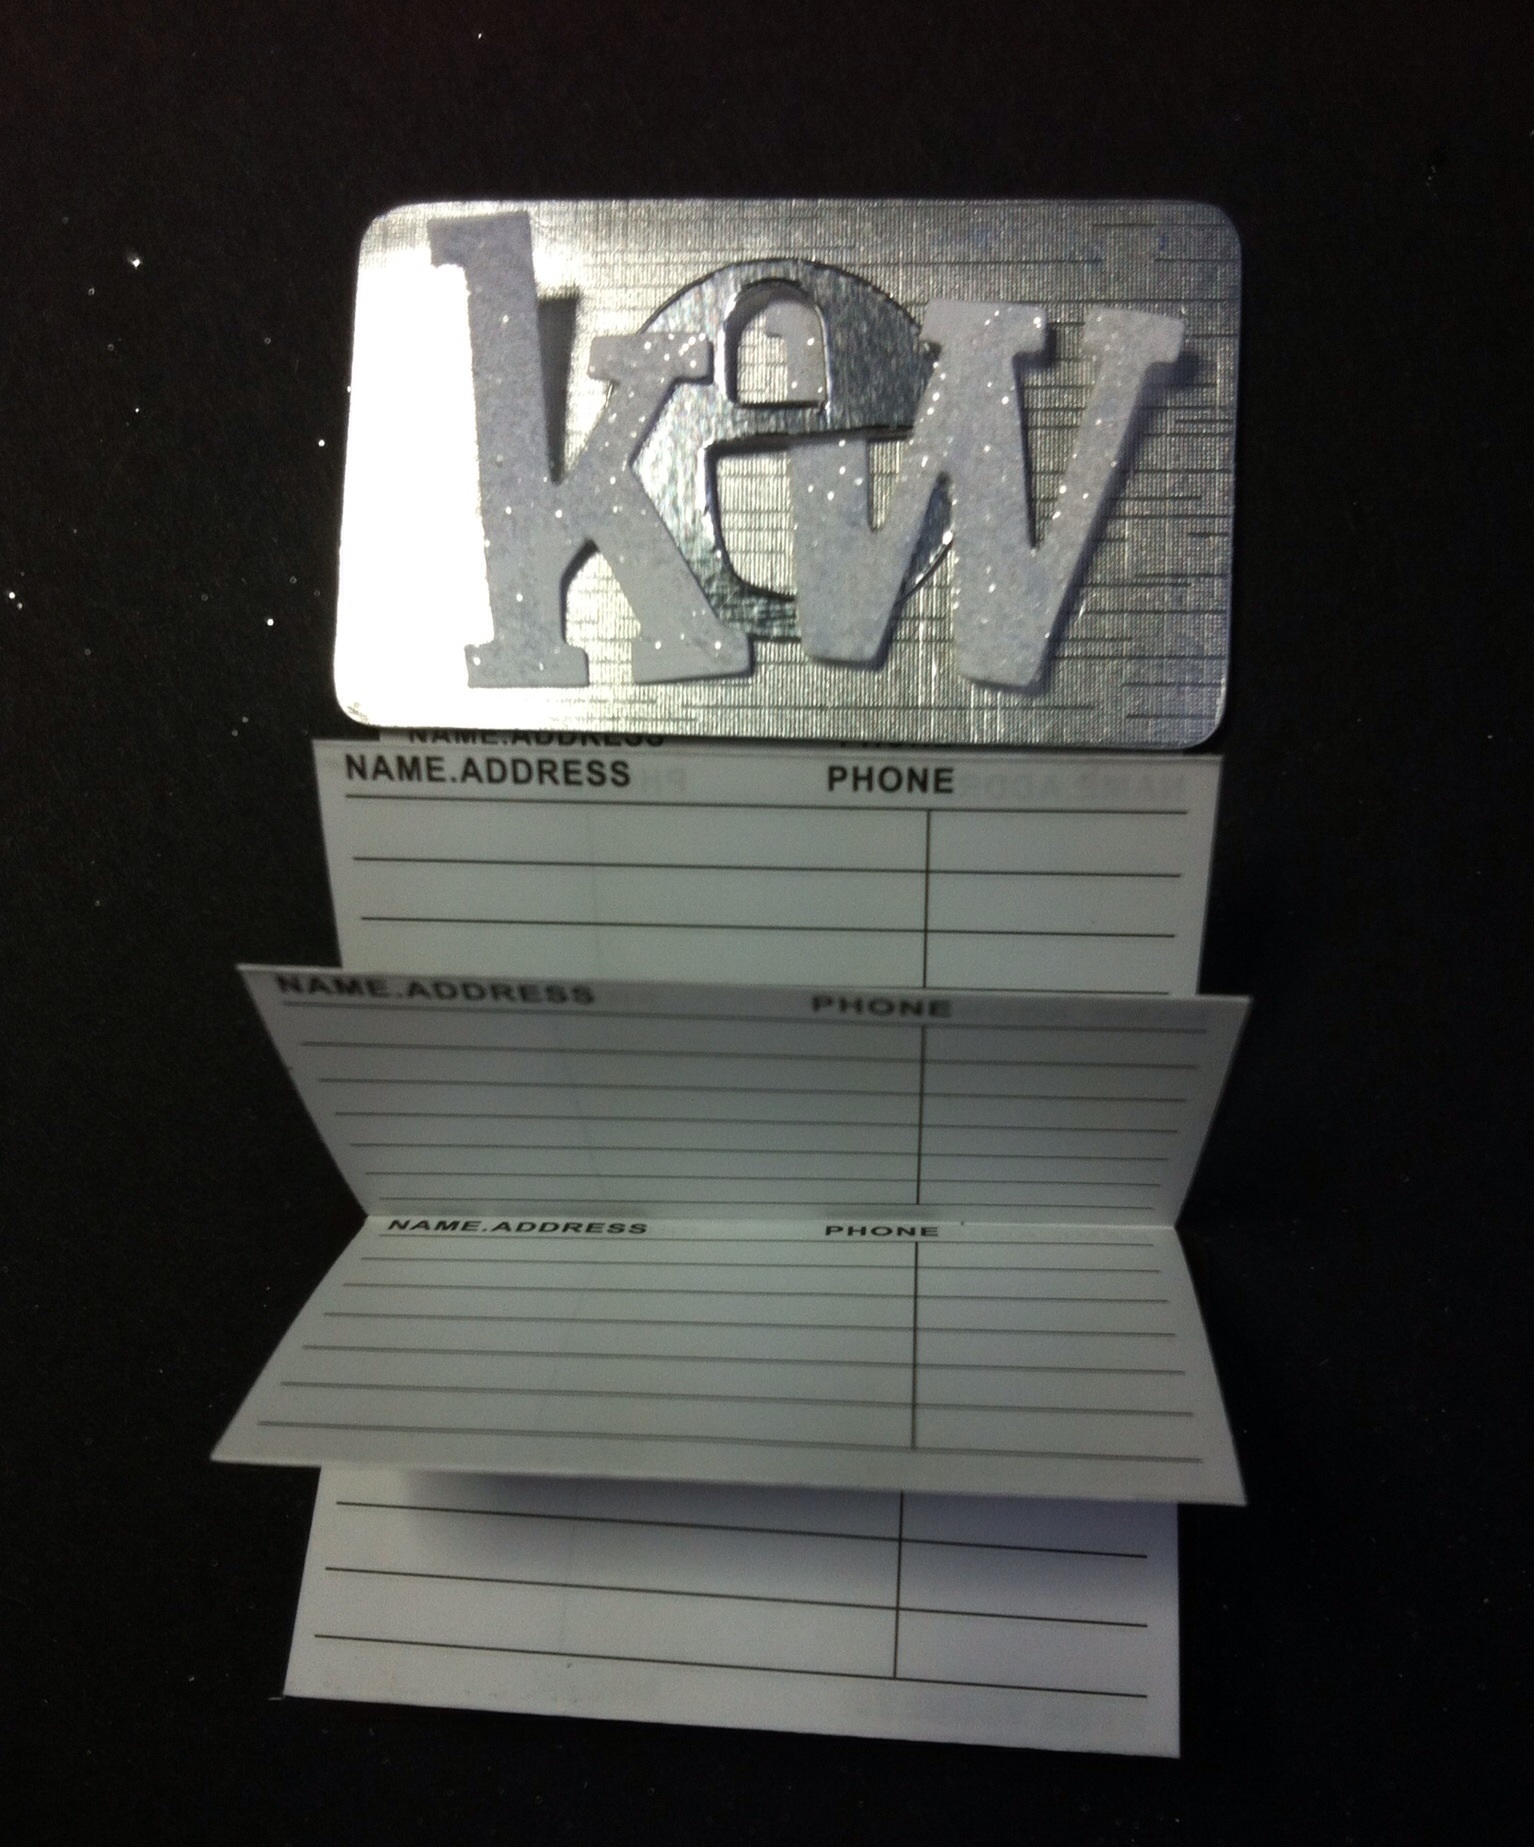
We had a fantastic visit to Kew Gardens at Christmas and had some lovely photos, so that inspired the title and the theme for the mini album. The title is die cut and glittered then mounted on the magnetic address book. I thought we could write the names and addresses of the friends we visited with on the pages.
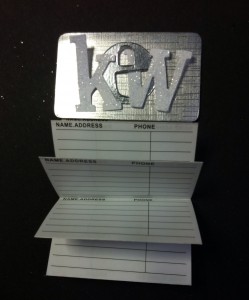
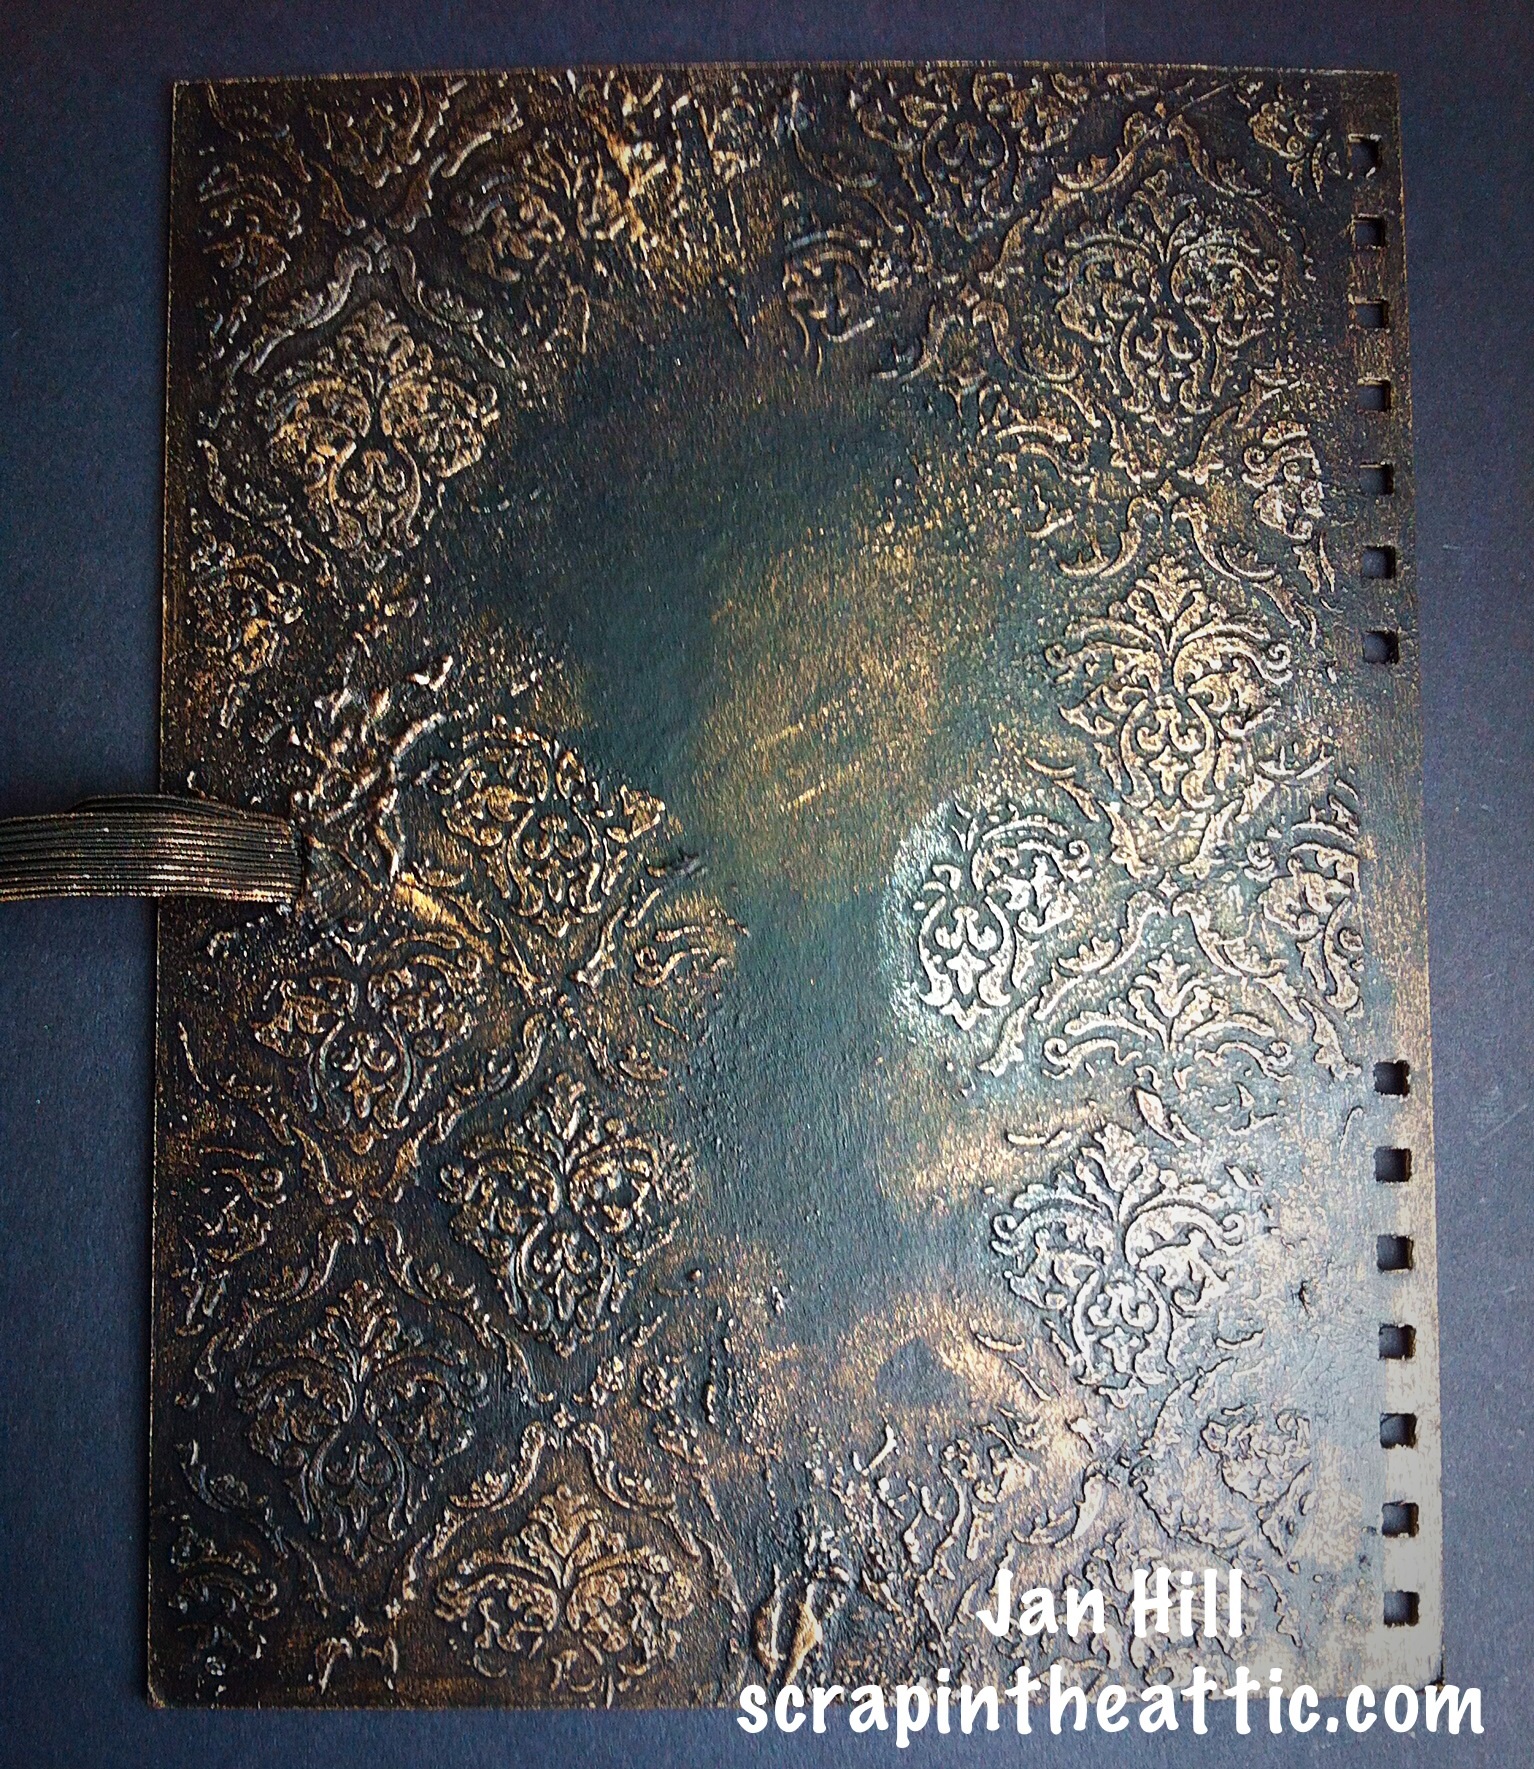
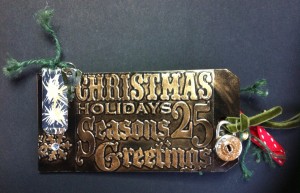
I assembeled the mini pages, but the original red front cover did not work. I die cut a black tag, dry embossed with the TH holiday holder then used Treasure Gold to highlight the letters. (I hope you agree it looks much better.) I coloured the clip and keys with alcohol ink, rusted the lock with embossing powder and added ribbon and string to each tag page.
I am pleased with how the piece turned out, I didn’t use the clothes tags as they didn’t fit but are saved in my stash for next time. The jingle bells were too big and bulky but will be saved!
I hope you enjoy making a mini album to keep your memories too. I get a good feeling recycling discarded bits and bobs.
Our Creative Corner is sponsored by Nice Crane Designs. You could be the lucky Random.org winner who will win a gorgeous selection of treats from our Sponsor this month Nicecrane Designs.
Happy New Year!
Jan x