Roses and friends

Posted on

image

Wow, had a great weekend! Scrapped with friends on Friday then visited Daisy and Jewels in Exhall on Saturday.
We watched some interesting demos from Pauline Wheeler and Hels Sheridan.

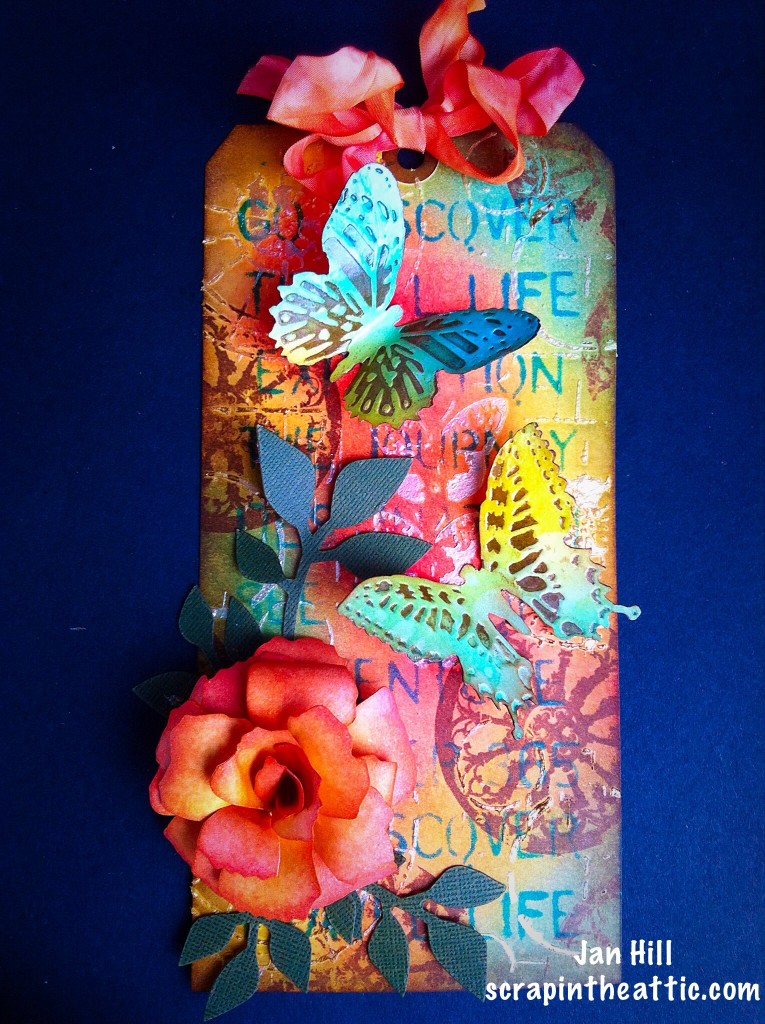
I have always loved Hels roses and she did a demo of how to make them in detail. It is also on her blog.

The rose on the tag is made from the demo, second attempt!
Thanks Hels, I wanted to enter your Sunday Stampers as the butterflies are friends!
Hugs
Jan x


Ruby Wedding Card

Posted on

image

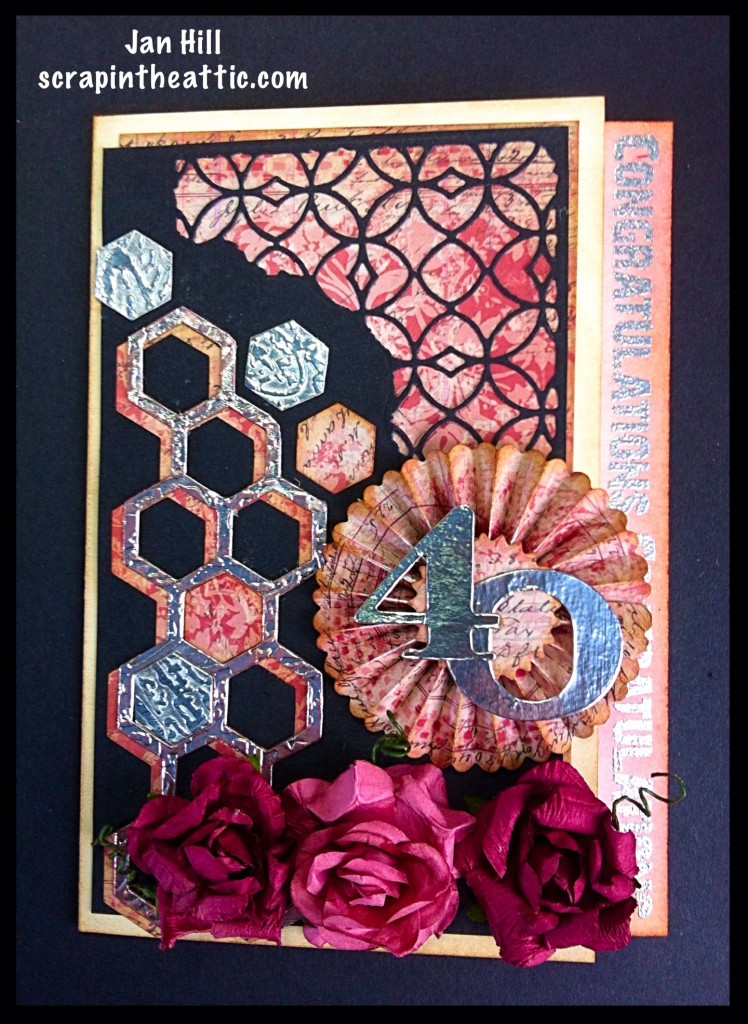
I made a card for my lovely friend Carol and her husband Graham to celebrate their Ruby Wedding Anniversay, Congratulations!

I used lots of Tim dies, thinlets, rosette, frameworks honeycomb and the word play alphabet.
I concentrated on the frameworks because I am entering the latest CC3 challenge from Linda Ledbetter. The challenge is from Tim Holtz Compendium of Curiosities Vol 3, page 64. You need to check out this book, Tim has included so many amazing techniques. There are fab prizes for this challenge from Inspiration Emporium!

I decided to try out a drop shadow effect with the frameworks. I cut out the first frame from plumbers tape and used an embossing folder, French Script. The second was cut from a backing paper from my stash.
The thinlets die cut the pattern to reveal the same paper (ruby) underneath and I used it to make the rosette.
The DI was Mahogany, Fired Brick and Victorian Velvet plus Vintage Photo. A Paperartsy stamp, embossed with silver then inked to reveal the letters finished the card off. The paper roses were added to give more dimension and happened to be the right colours!
Hugs
Jan x


Make and use a Masterboard

Posted on

Our theme for this month is to create and use a Masterboard. A masterboard is a large background piece designed to be cut up and used in smaller projects, such as journals, postcards, cards, ATC’s etc. It can be created with any combination of collage, paint, inks, sprays, rubber stamps, stencils.

Our host is Angela, and she will be choosing our Winner and Top 5.

We are thrilled to be sponsored by

WOODWARE CRAFT COLLECTION
With a prize of £12.00 to spend at your favourite Woodware Stockist, either in store or on line.

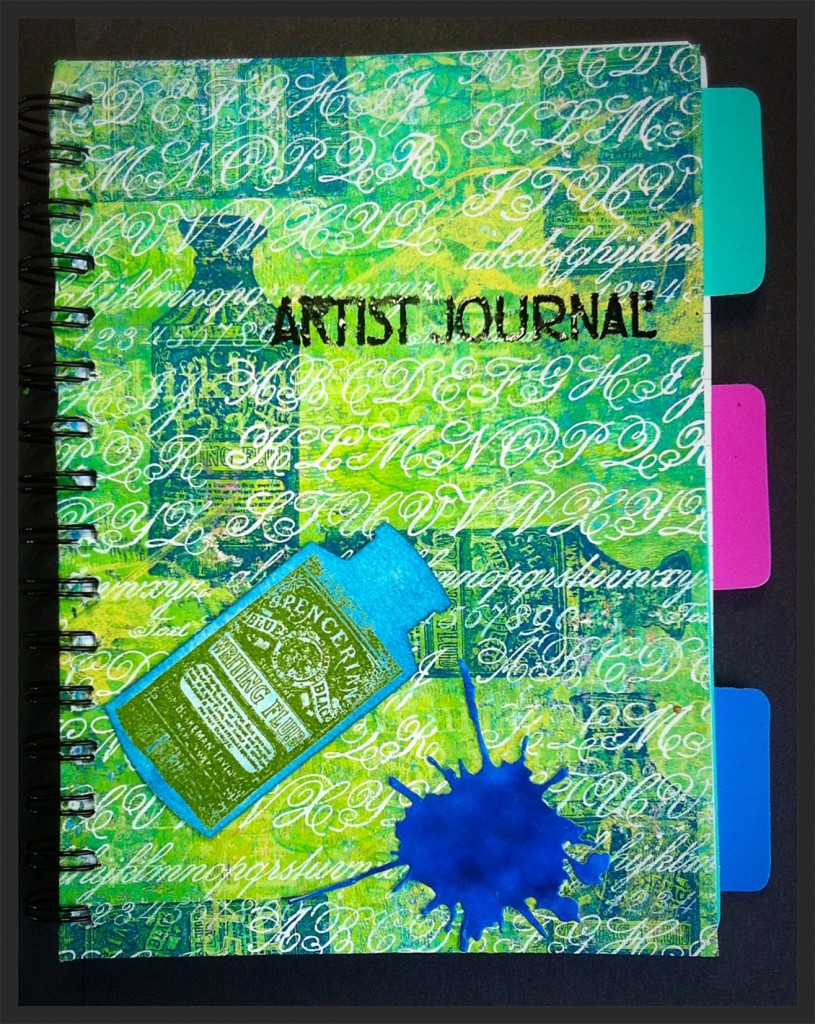
Wow this is my second DT project for The Mirror Crack’d! So exciting, I had a great welcome from the team. I was a bit nervous because previous master boards had ended up a muddy mess. However, I took some tips from Leandra at Paperartsy and used waxed tissue with Paperartsy paints. I am so pleased with the result.  The masterboard I created I used to cover a cheap notebook.
image


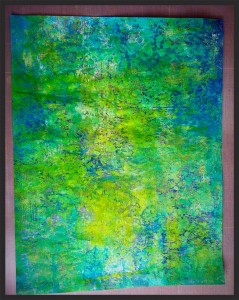
I started with with paint and brayered on shades of colours, opaque then translucent paints.
image

image
I brayered dark, medium and light shades of the same colour to create layers and depth. Then I used TH stamps with the same colour paints on top.

I used blues, greens  and yellow paint.

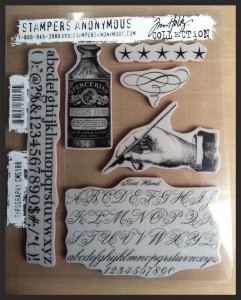
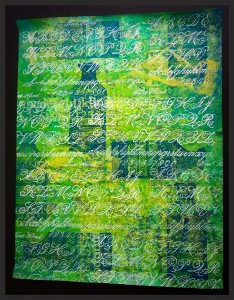
I used all the stamps in the set but finished with the white script over the whole sheet to unify the page.

The wax paper felt substantial with the layers of paint and could be sewn.

I die cut an Apothocary bottle and embossed the stamp over it then inked with blues. The splat was made with blue alcohol inks on shiny card then the shape cut from the TH new thinlets. I thought it was an amusing embellishment! I heat embossed a title with black embossing powder to complete the front.
image

I was pleased with the final board and that I had managed to get some depth and visible layers.

I hope you are inspired to join us The Mirror Crack’d for this challenge. Check out the amazing projects the DT created with their master boards.

Jan x


Colour Your World, April Challenge at OCC

Posted on


Colour Your World

This was such a lovely challenge from Laurie! Spring is such a hopeful time, the colours are bright and fresh but there is still a hint of Winter in the air.

She said:

Here in the United States we are coming into spring – the season when nature comes forth with new life.

Soft green grasses grow in the fields and the trees bloom in glorious colors with the promise of fruit.

Tulips and daffodils emerge from the soil after a long winters nap.

The colors of spring, the sights and sounds of nature at this time of the year renews my soul.

In the spring time the colors of nature are different around the world.

For my challenge this month I want you to

Color Your World

For this challenge create a project with the colors of spring time where you live.

Show us what colors renew your soul, post your creation at Our Creative Corner, I am looking forward to see what you make.

Creative Embellishments are offering a $25 gift certificate to our randomly drawn winner!

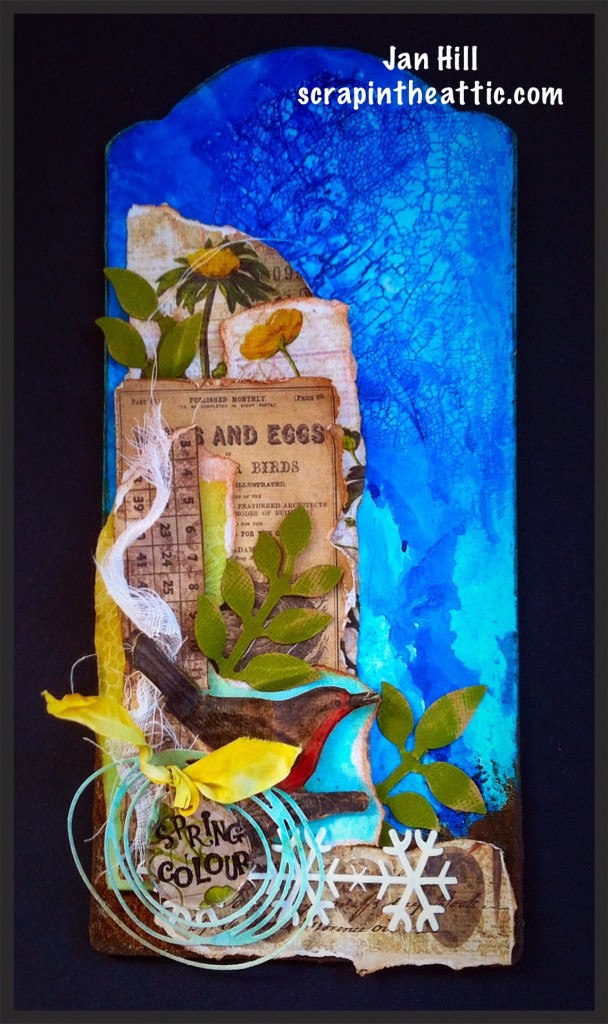
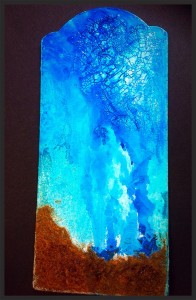
imageI started by creating textures for a bright sparkling sky. I used Texture and Crackle pastes.

The ground had pastes and embossing powders mixed and heated to create soil.

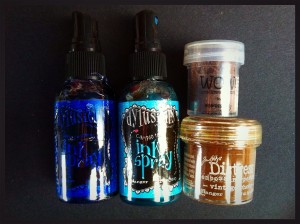
I used Dylusions sprays when the paste was dry. I love the bright sky colours they created.

image


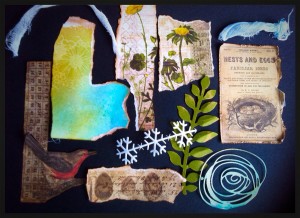
The layers were ripped and torn from TH Wallflower papers. I used Kraft core to die cut the leaves. Inked muslin and scrap papers from my stash were tucked in the layers and I used one of my new thinlets dies to create the swirl. I used snowflake lace for the hint of Winter.

This was the base for the layers.

image
The title was created with Fragment, I stamped some wallflower paper with the words and stuck them on with glossy accents.
I really enjoyed this challenge! Please leave me a comment.
Jan x