Steampunk Debutante G45

Posted on

Wow, I love these papers, so easy to work with!
Here are some designs I made as DT for Jones.

This is a door hanger.
My favourite….

image

I needed a large bag for a workshop I am attending to hold basic equipment and paintbrushes. I recycled an old toiletries bag, laminated the papers, collages and stitched then together.

image


Art Journal Tim style

Posted on

image

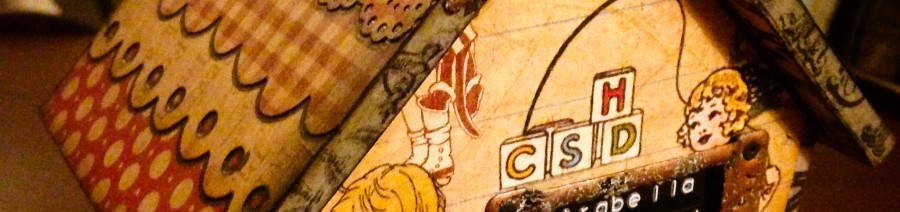
I was soooo excited to be offered the opportunity to be a Guest Designer at A Vintage Journey blog, Tim Holtz inspired???? Perfect for my aspirations …..
Then I found out it was a TH inspired Art Journal page….. HELP!
Way out of my comfort zone!

but Art Journalling is all about experimenting and trying out new stuff?

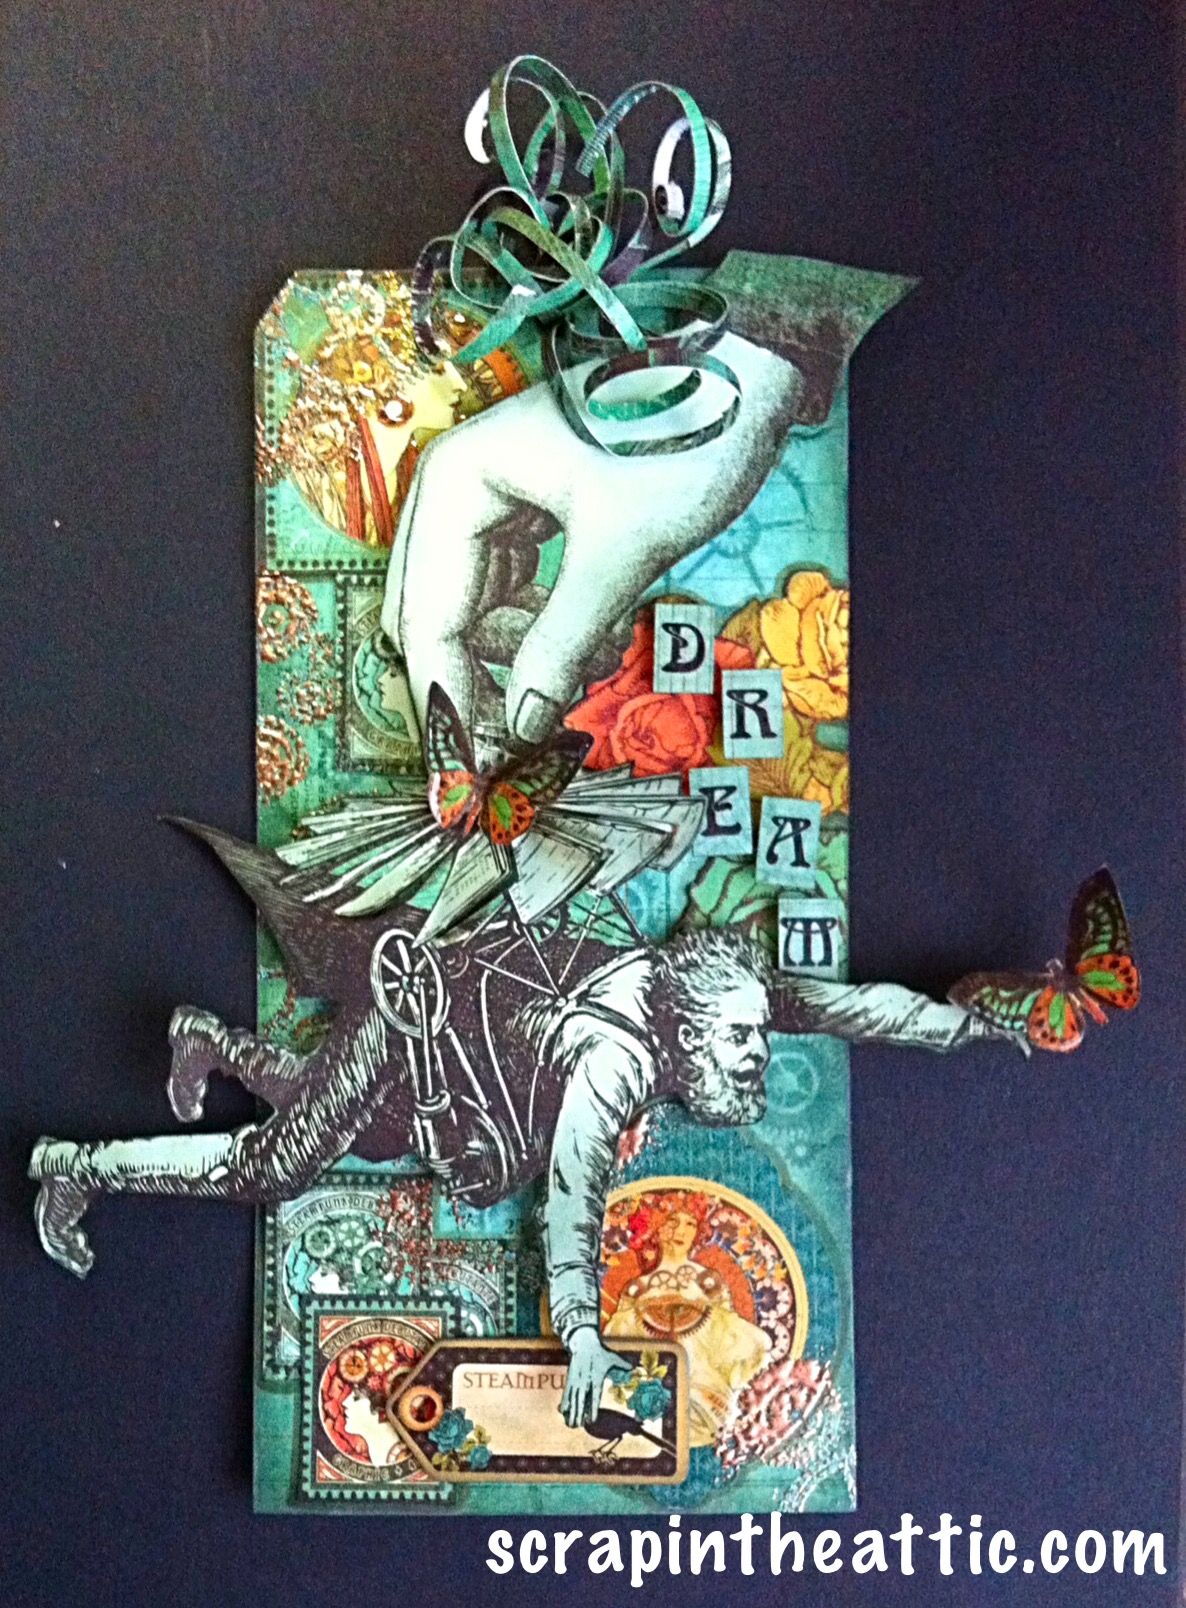
Then after the initial panic I got out my Tim stamps, die cuts etc and the ideas started to flow, hope you like where it took me.

I wanted to explore a new Framelets/Stamp set and Thinlet Words I bought and haven’t really used. I have seen some sculptures using books and found the theme of layering interesting. However, using this theme rather than building up cut through and reveal, delving down into layers.

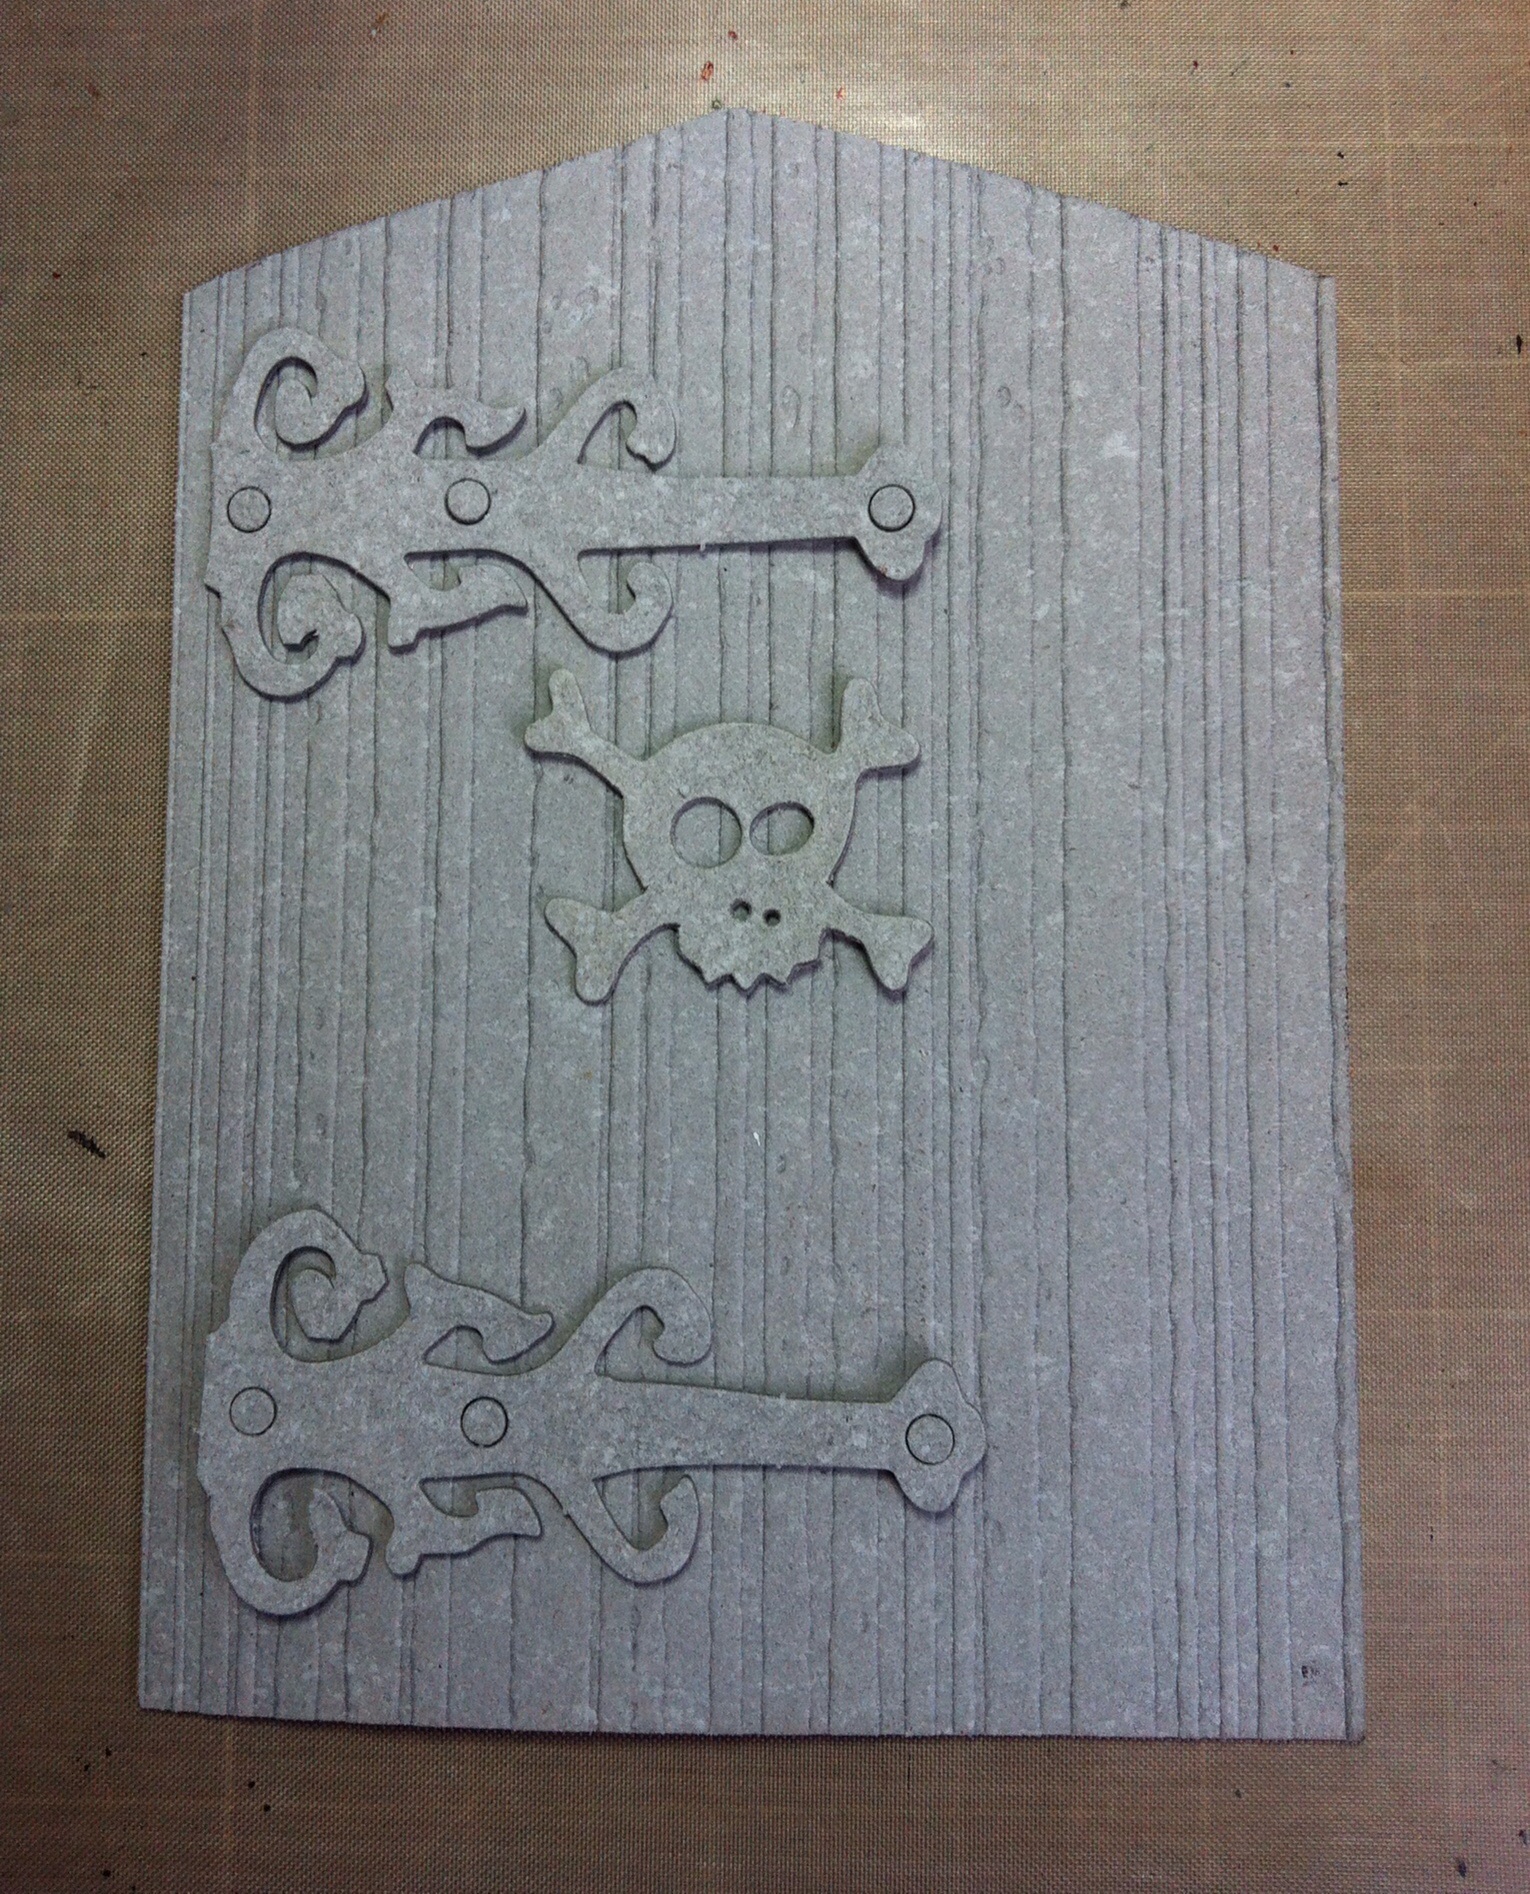
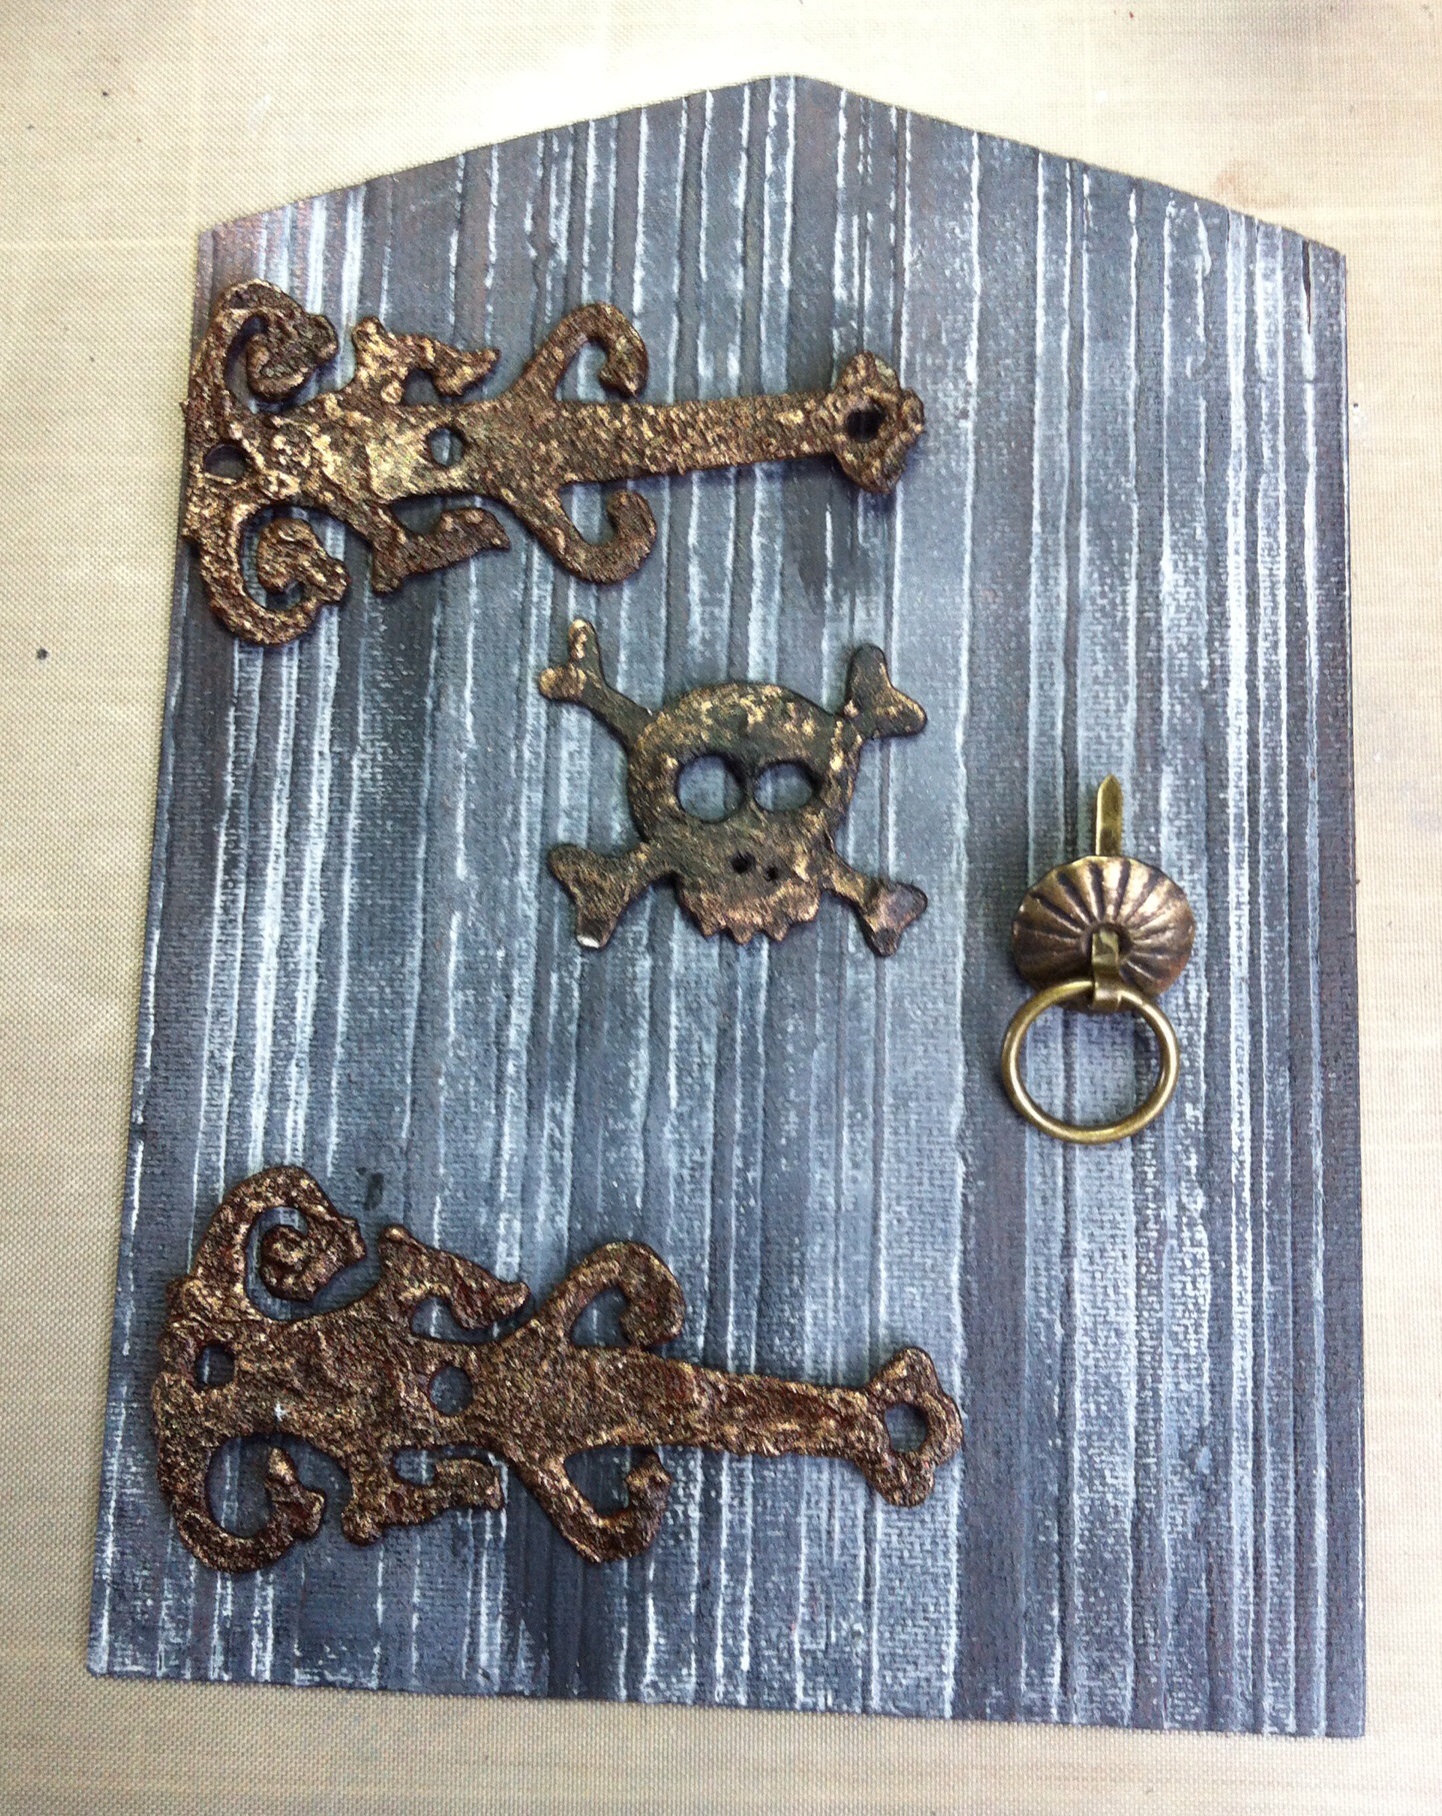
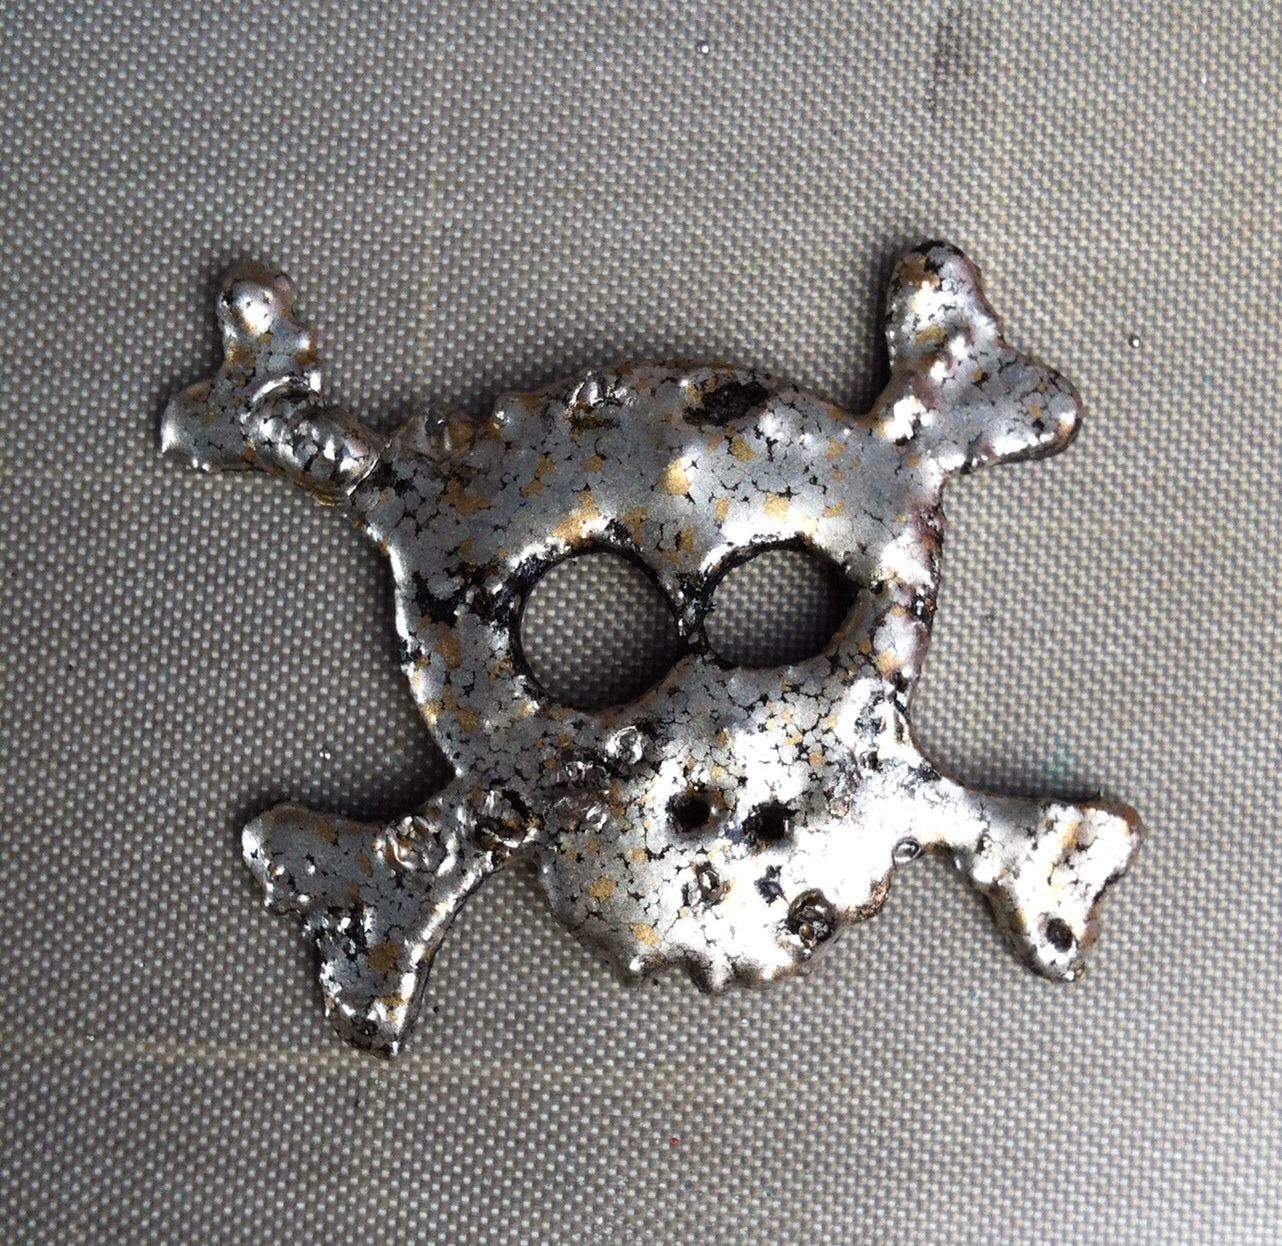
This is what happened, I had to do more planning than I usually do to construct the cut outs:

Once I got out my Tim stamps, DI and die cuts I really enjoyed the challenge, this is what I created:

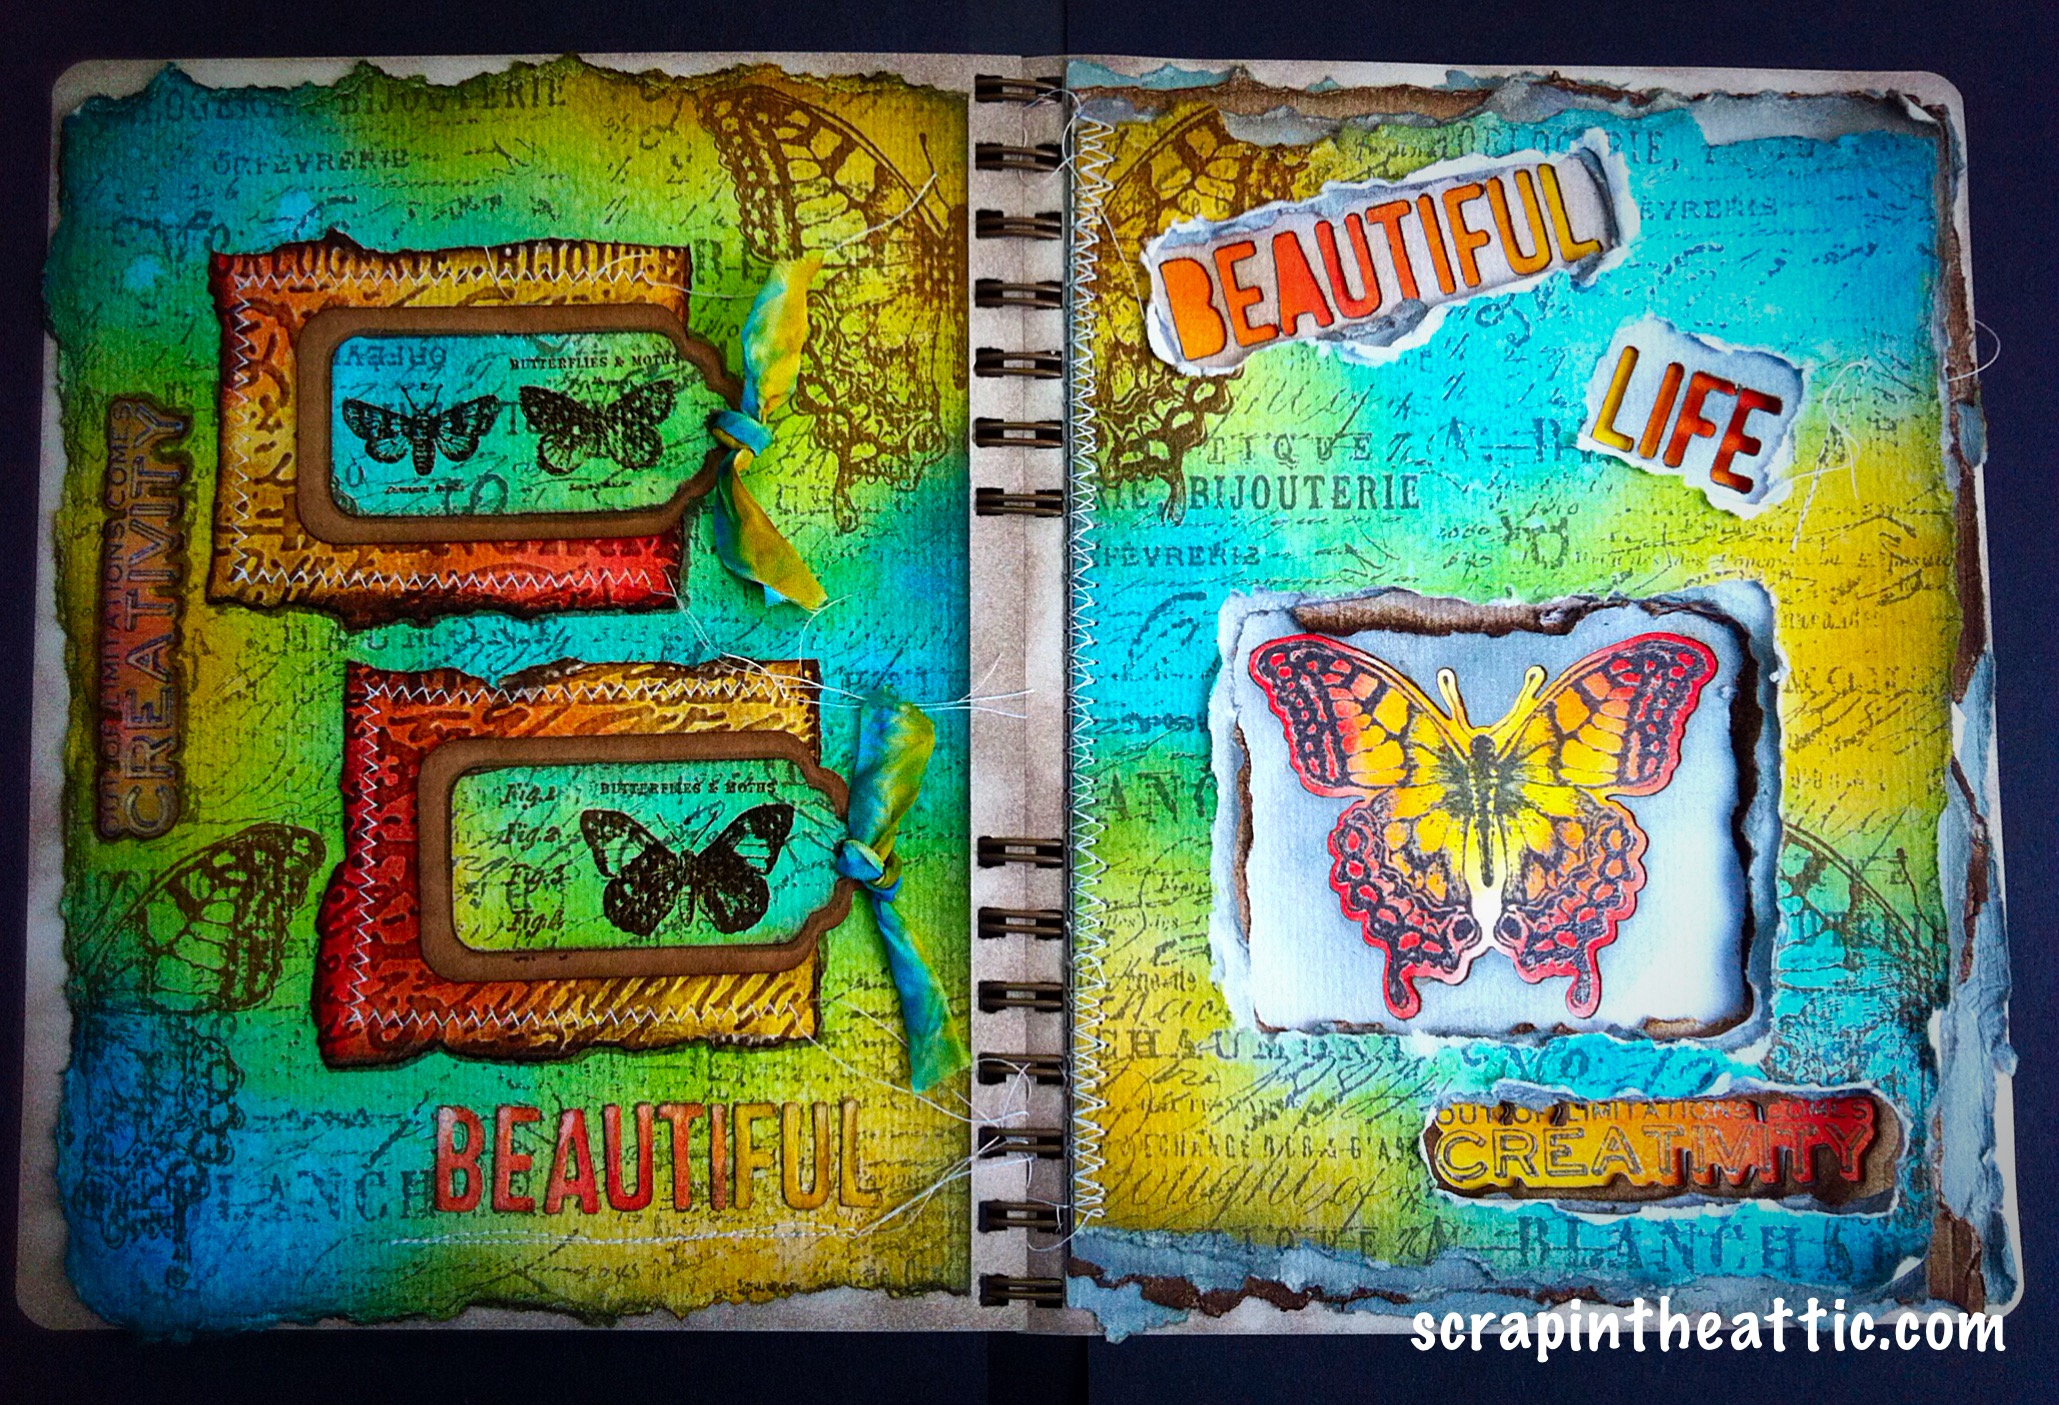
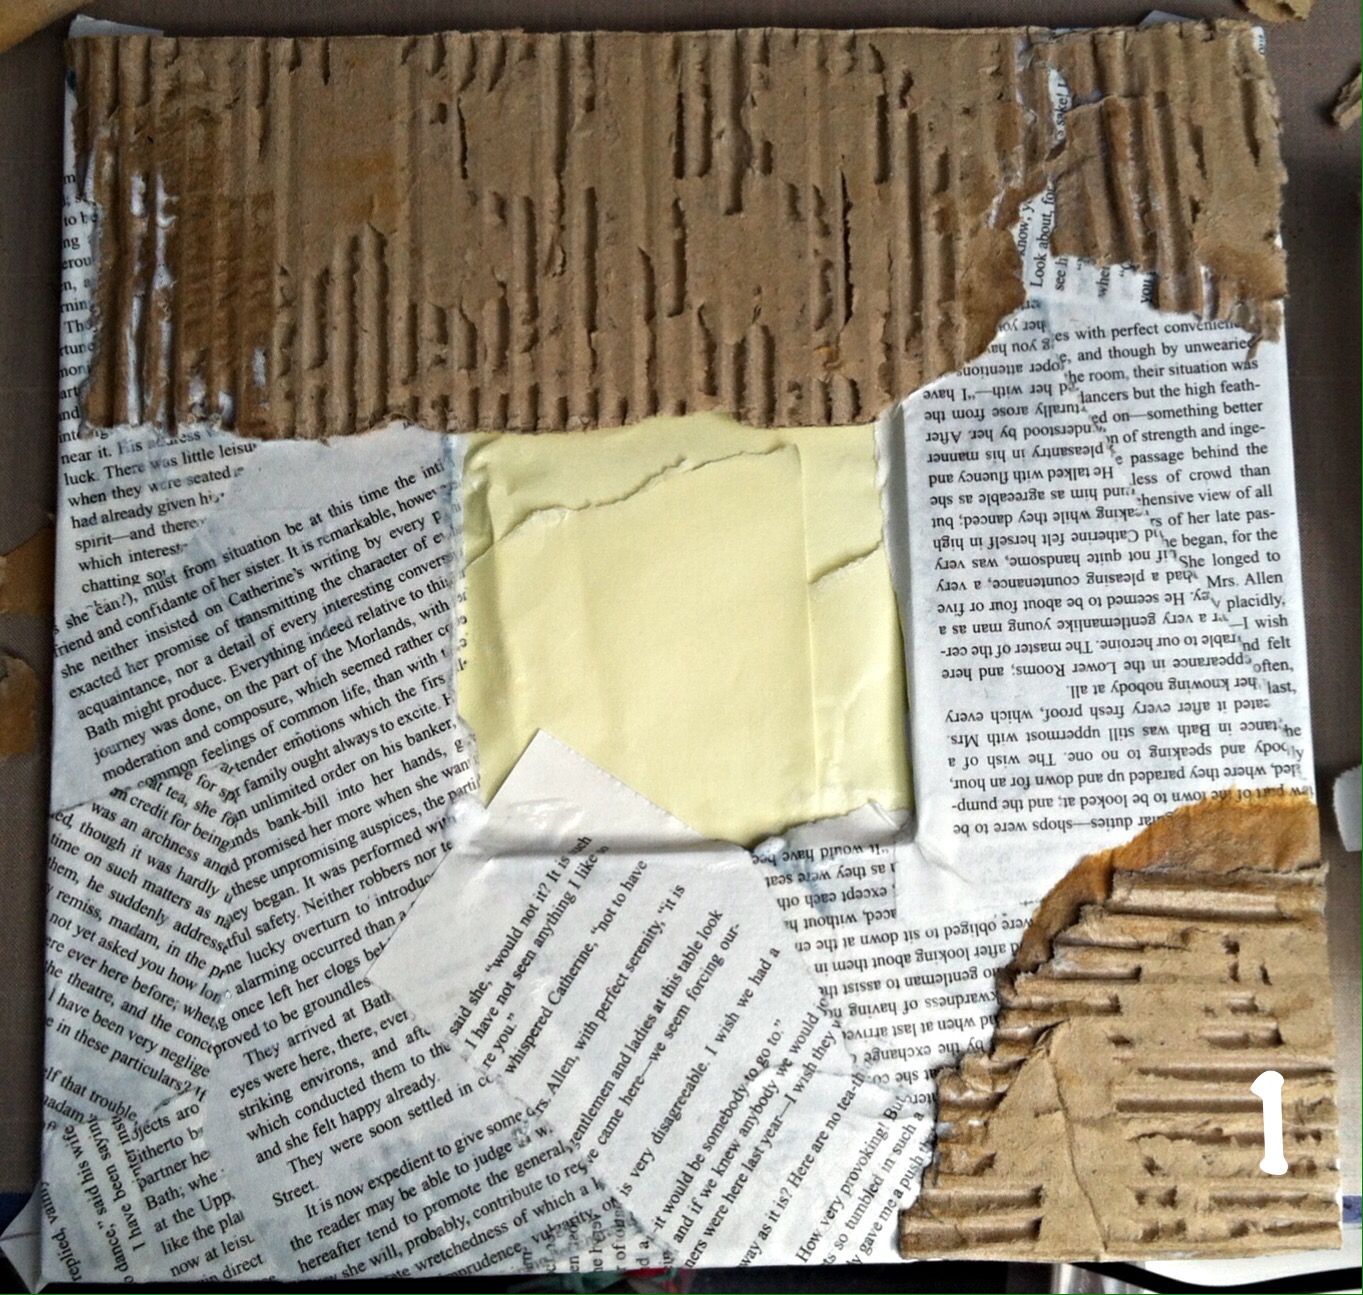
I used watercolour paper to build up 4 layers on the right hand page. I wanted to experiment with the Framelet/stamp and Thinlet sets.

image


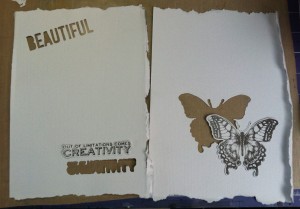
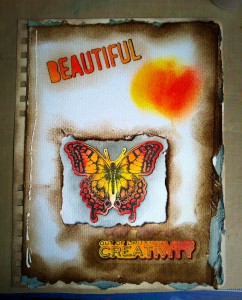
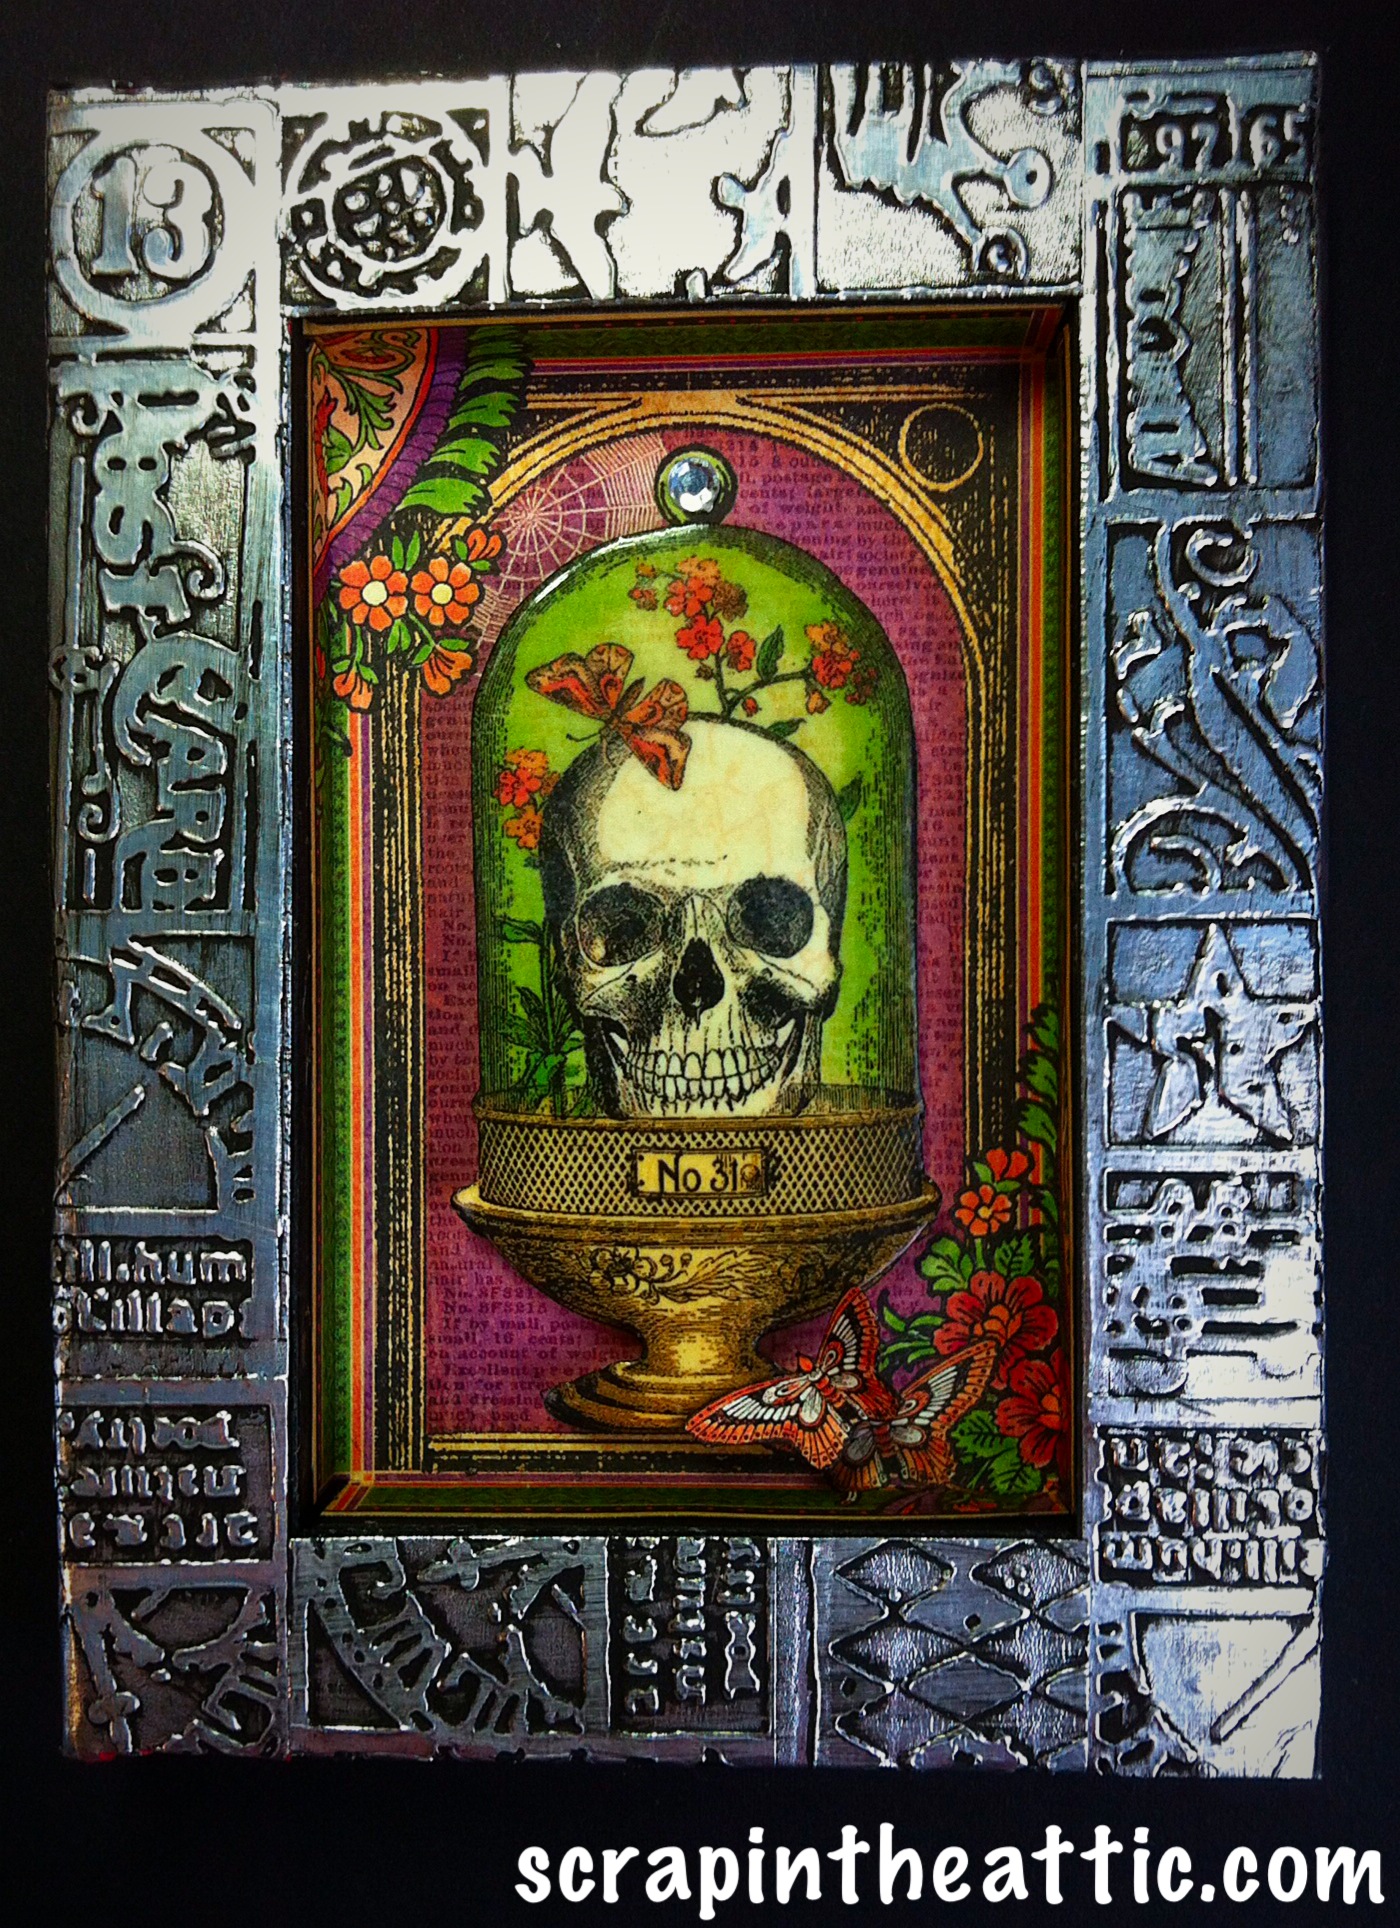
Layer 1  The butterfly and Creativity (600189) were stamped and die cut to reveal the Journal Page. An area top left was DI* ready for layer 2. Hickory Smoke was inked around the edges.

The butterfly and creativity were stamped ( through layer 1) with black Archival, clear heat embossed then inked with DI blend* ( Abandoned Coral, Picked Raspberry, Mustard Seed, Fossilised Amber) on the Journal Page.

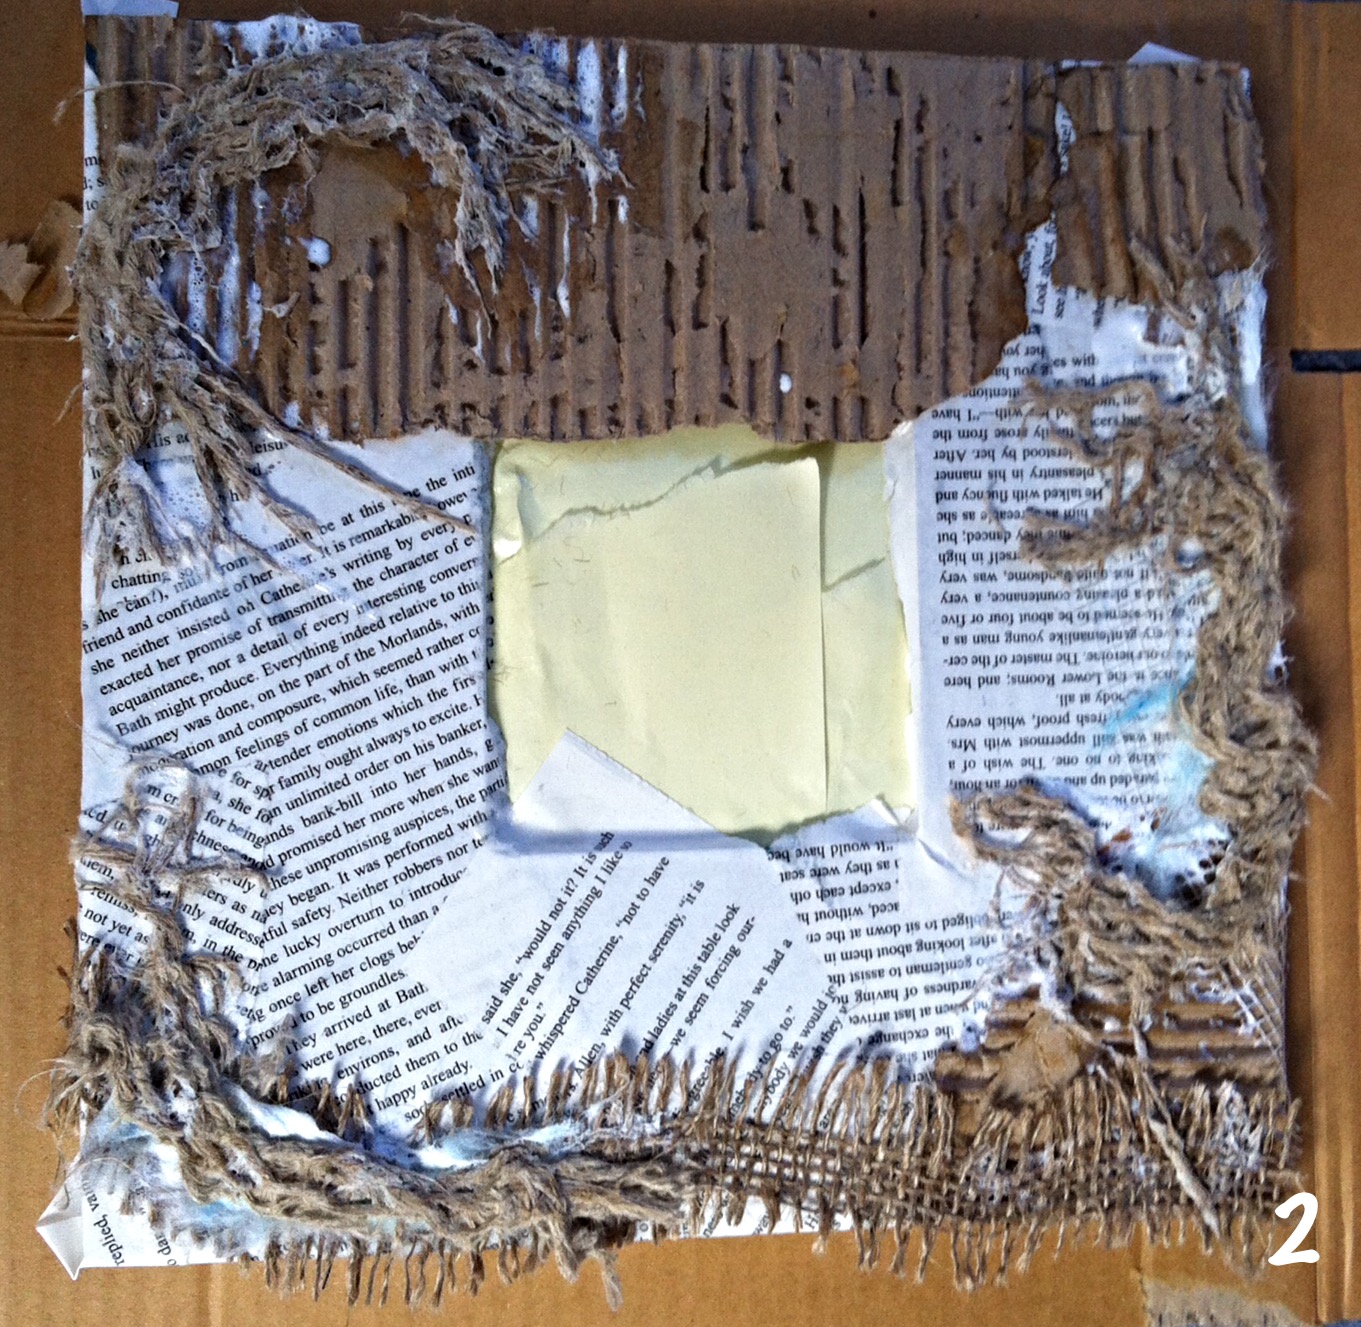
Photo showing layers 1 and 2 in progress.

Layer 2  Creativity and Beautiful (Adventure Thinlet set) were die cut.  Ground Expresso was inked around the edges. An area was inked * for Life in the next layer.

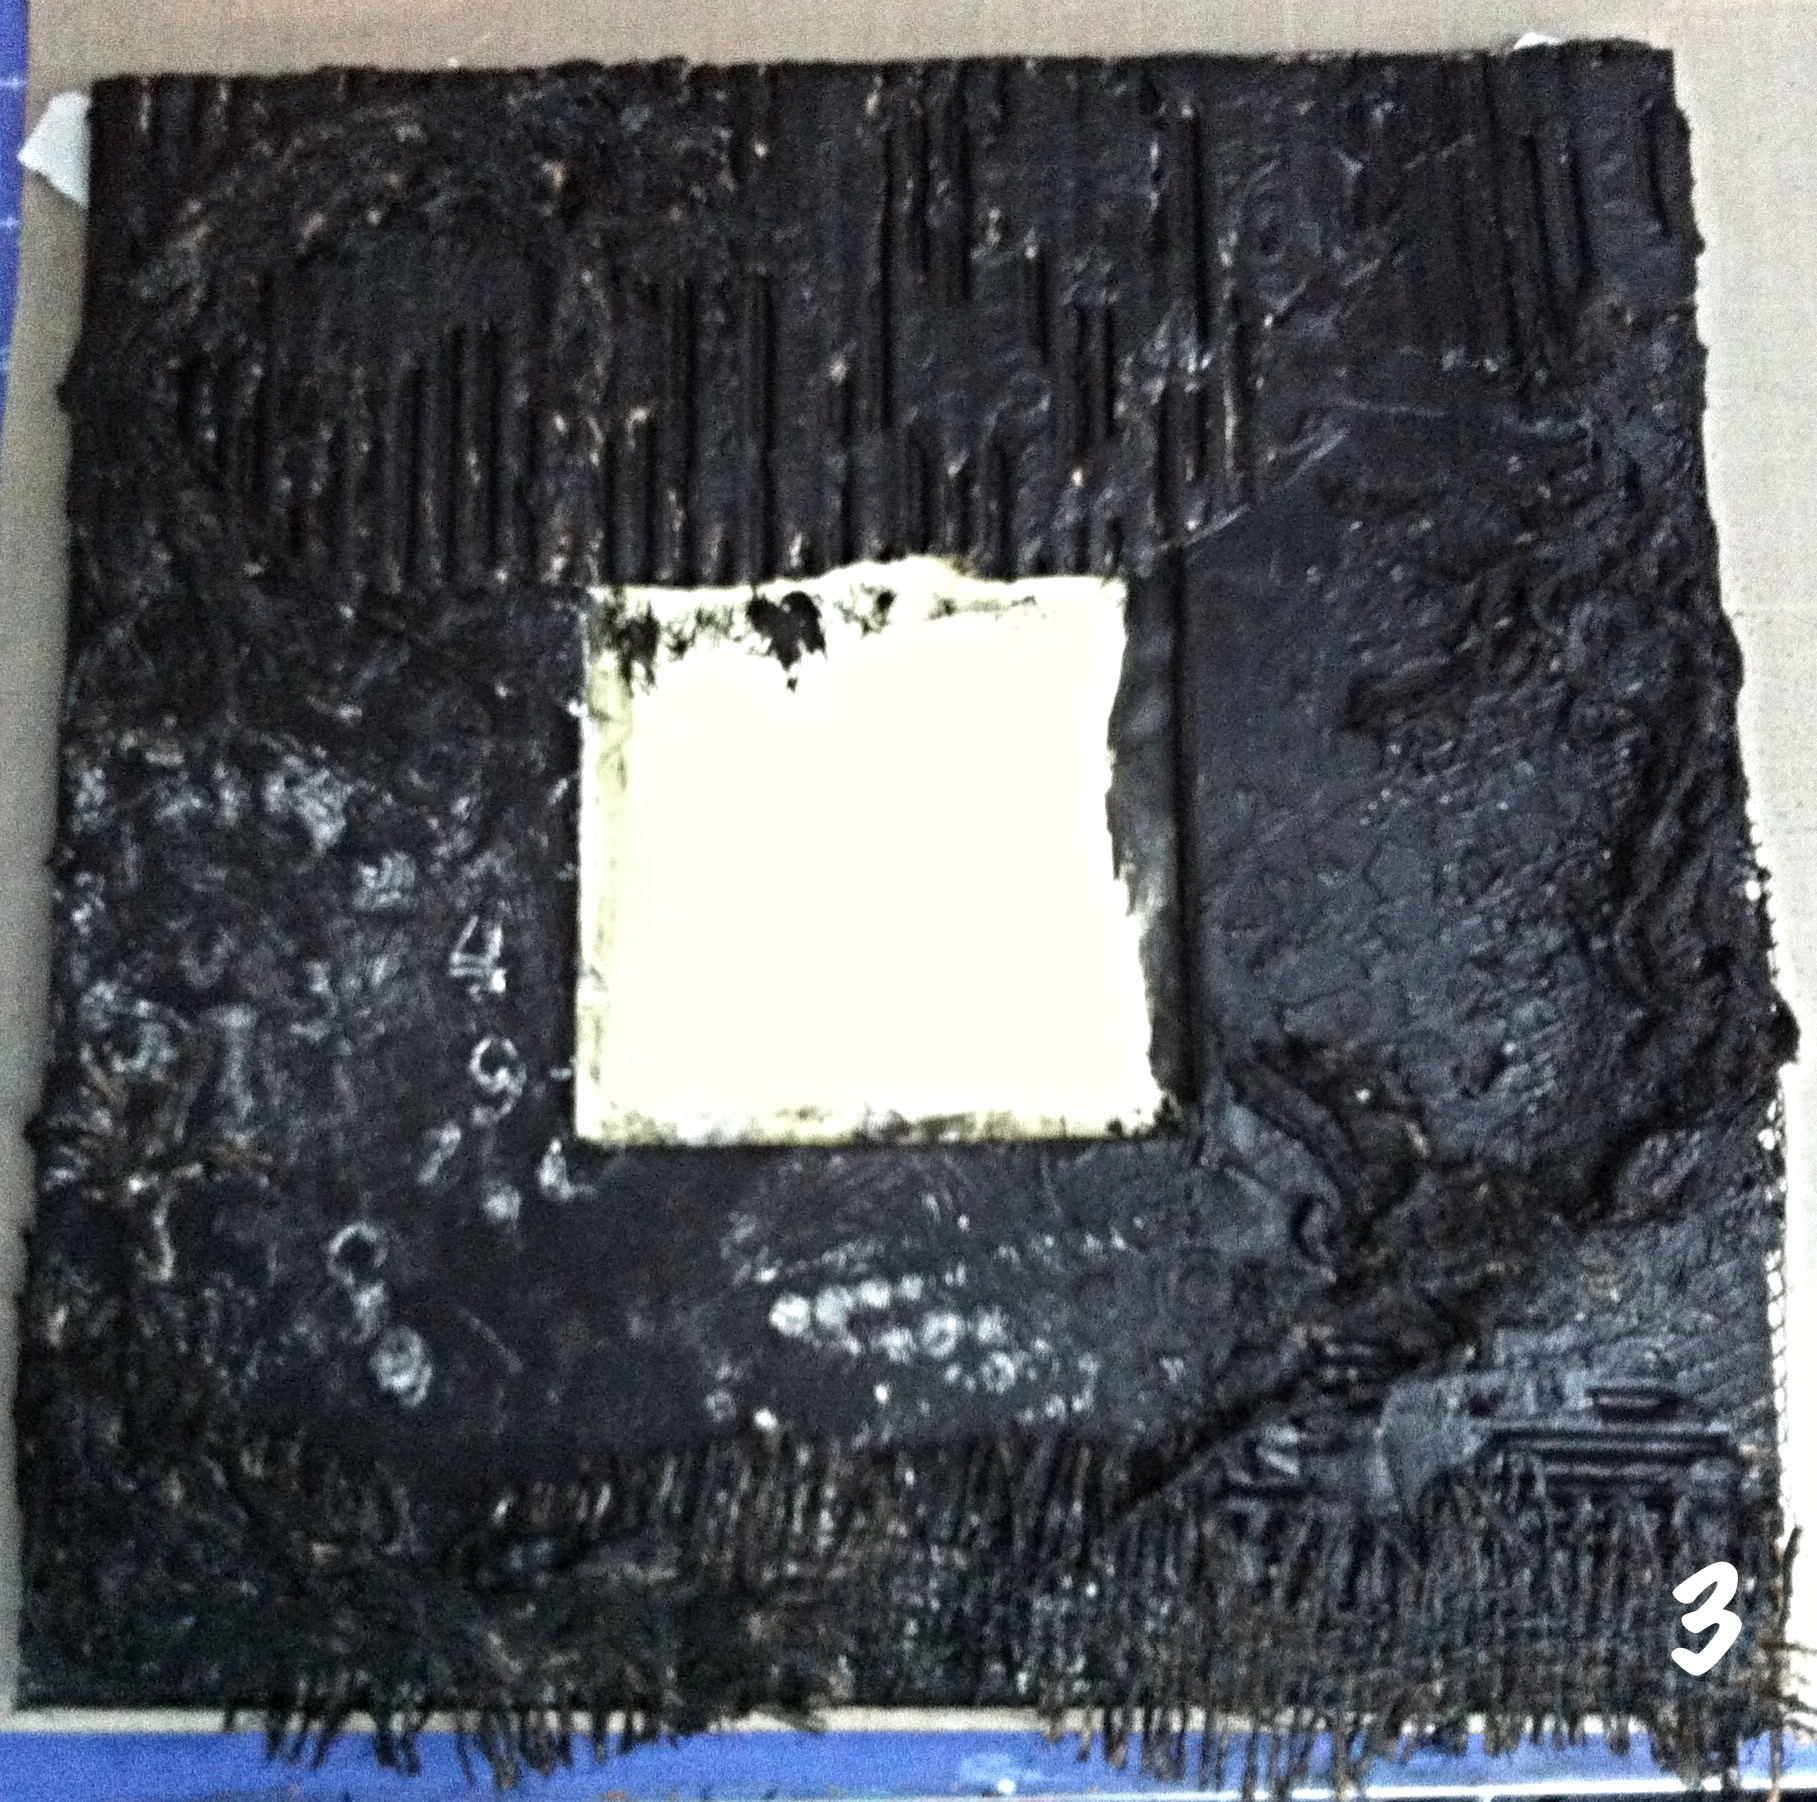
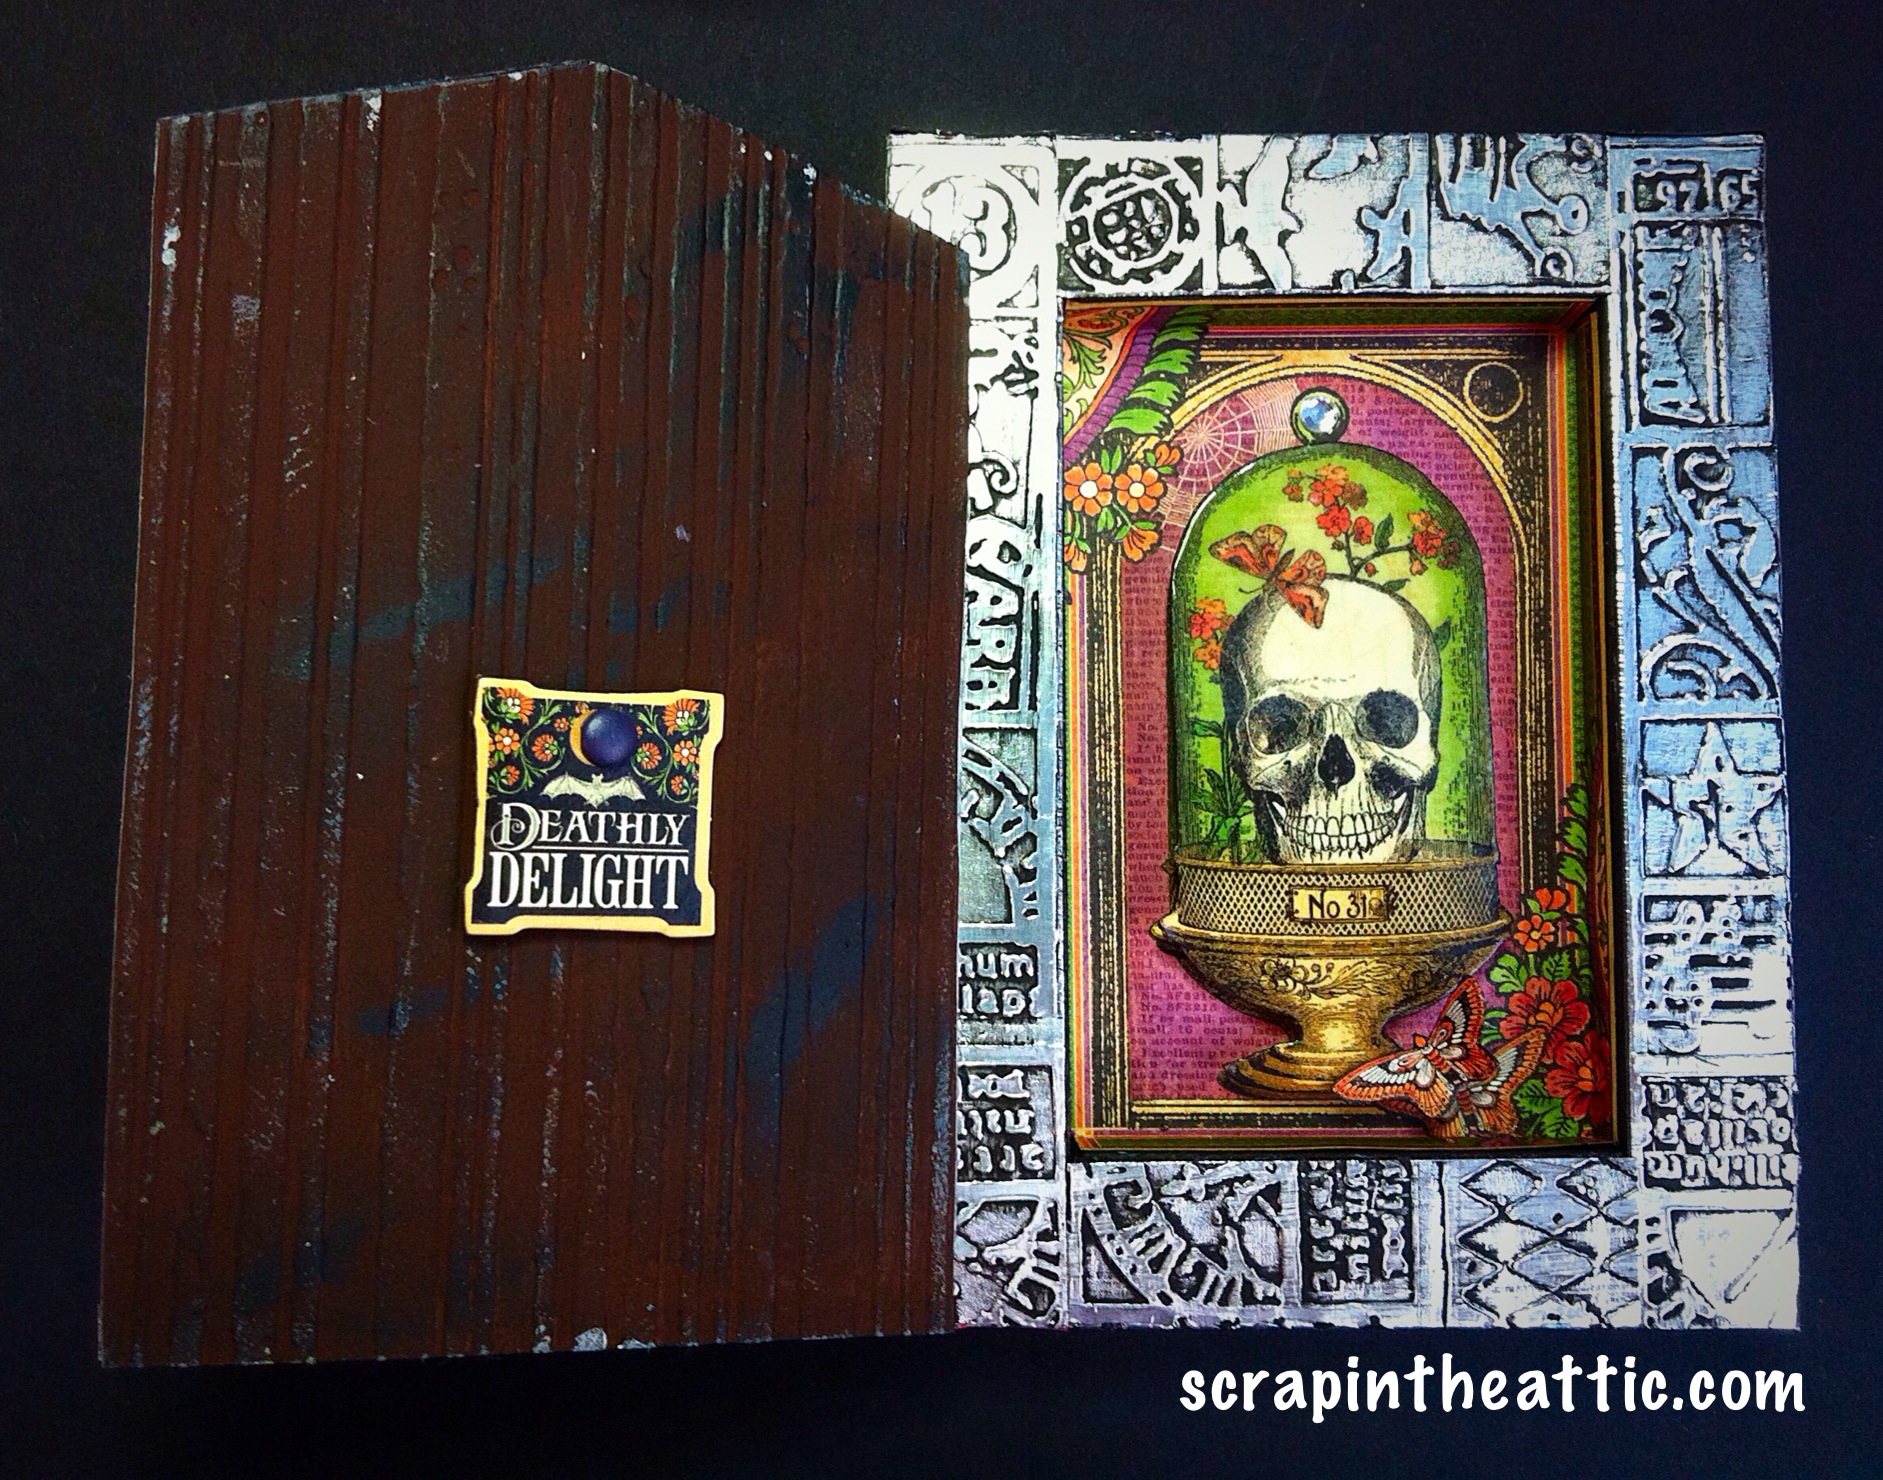
Layer 3   Aperture windows were painted with a waterbrush then gently ripped out (love the textured edge) for the butterfly, creativity and beautiful then Life die cut. Hickory Smoke inked round the edges.

Photo shows layer 3 and masterboard in progress.

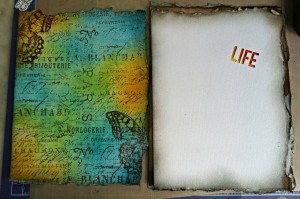
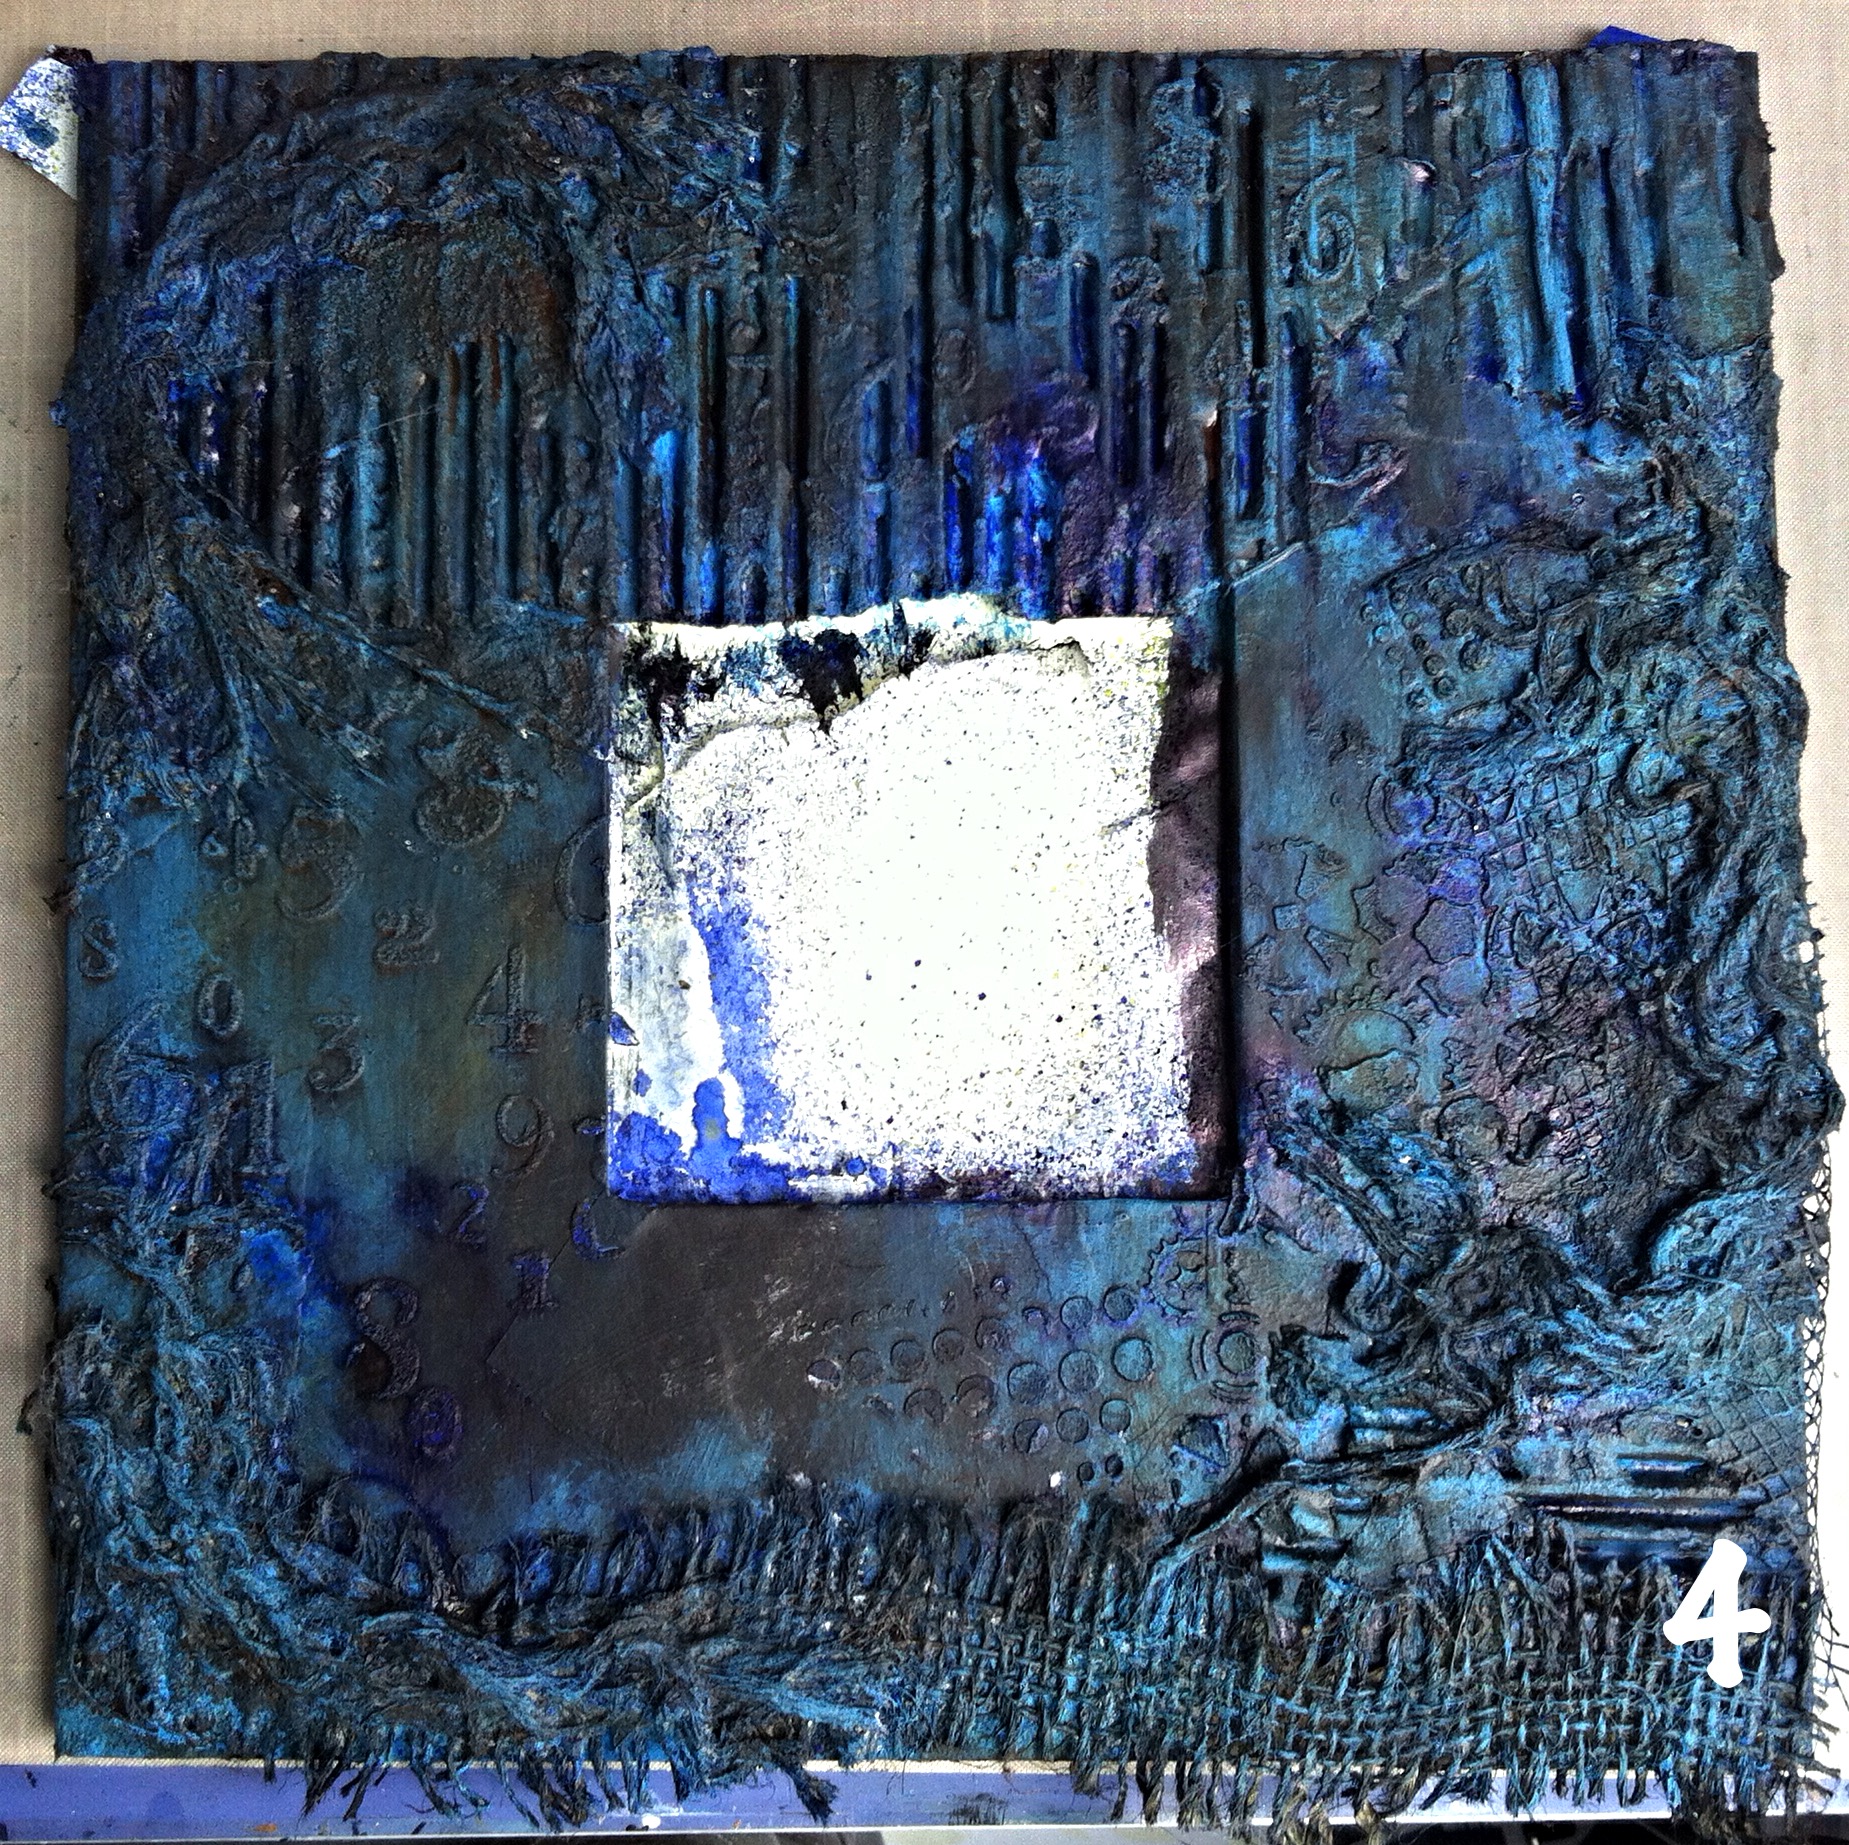
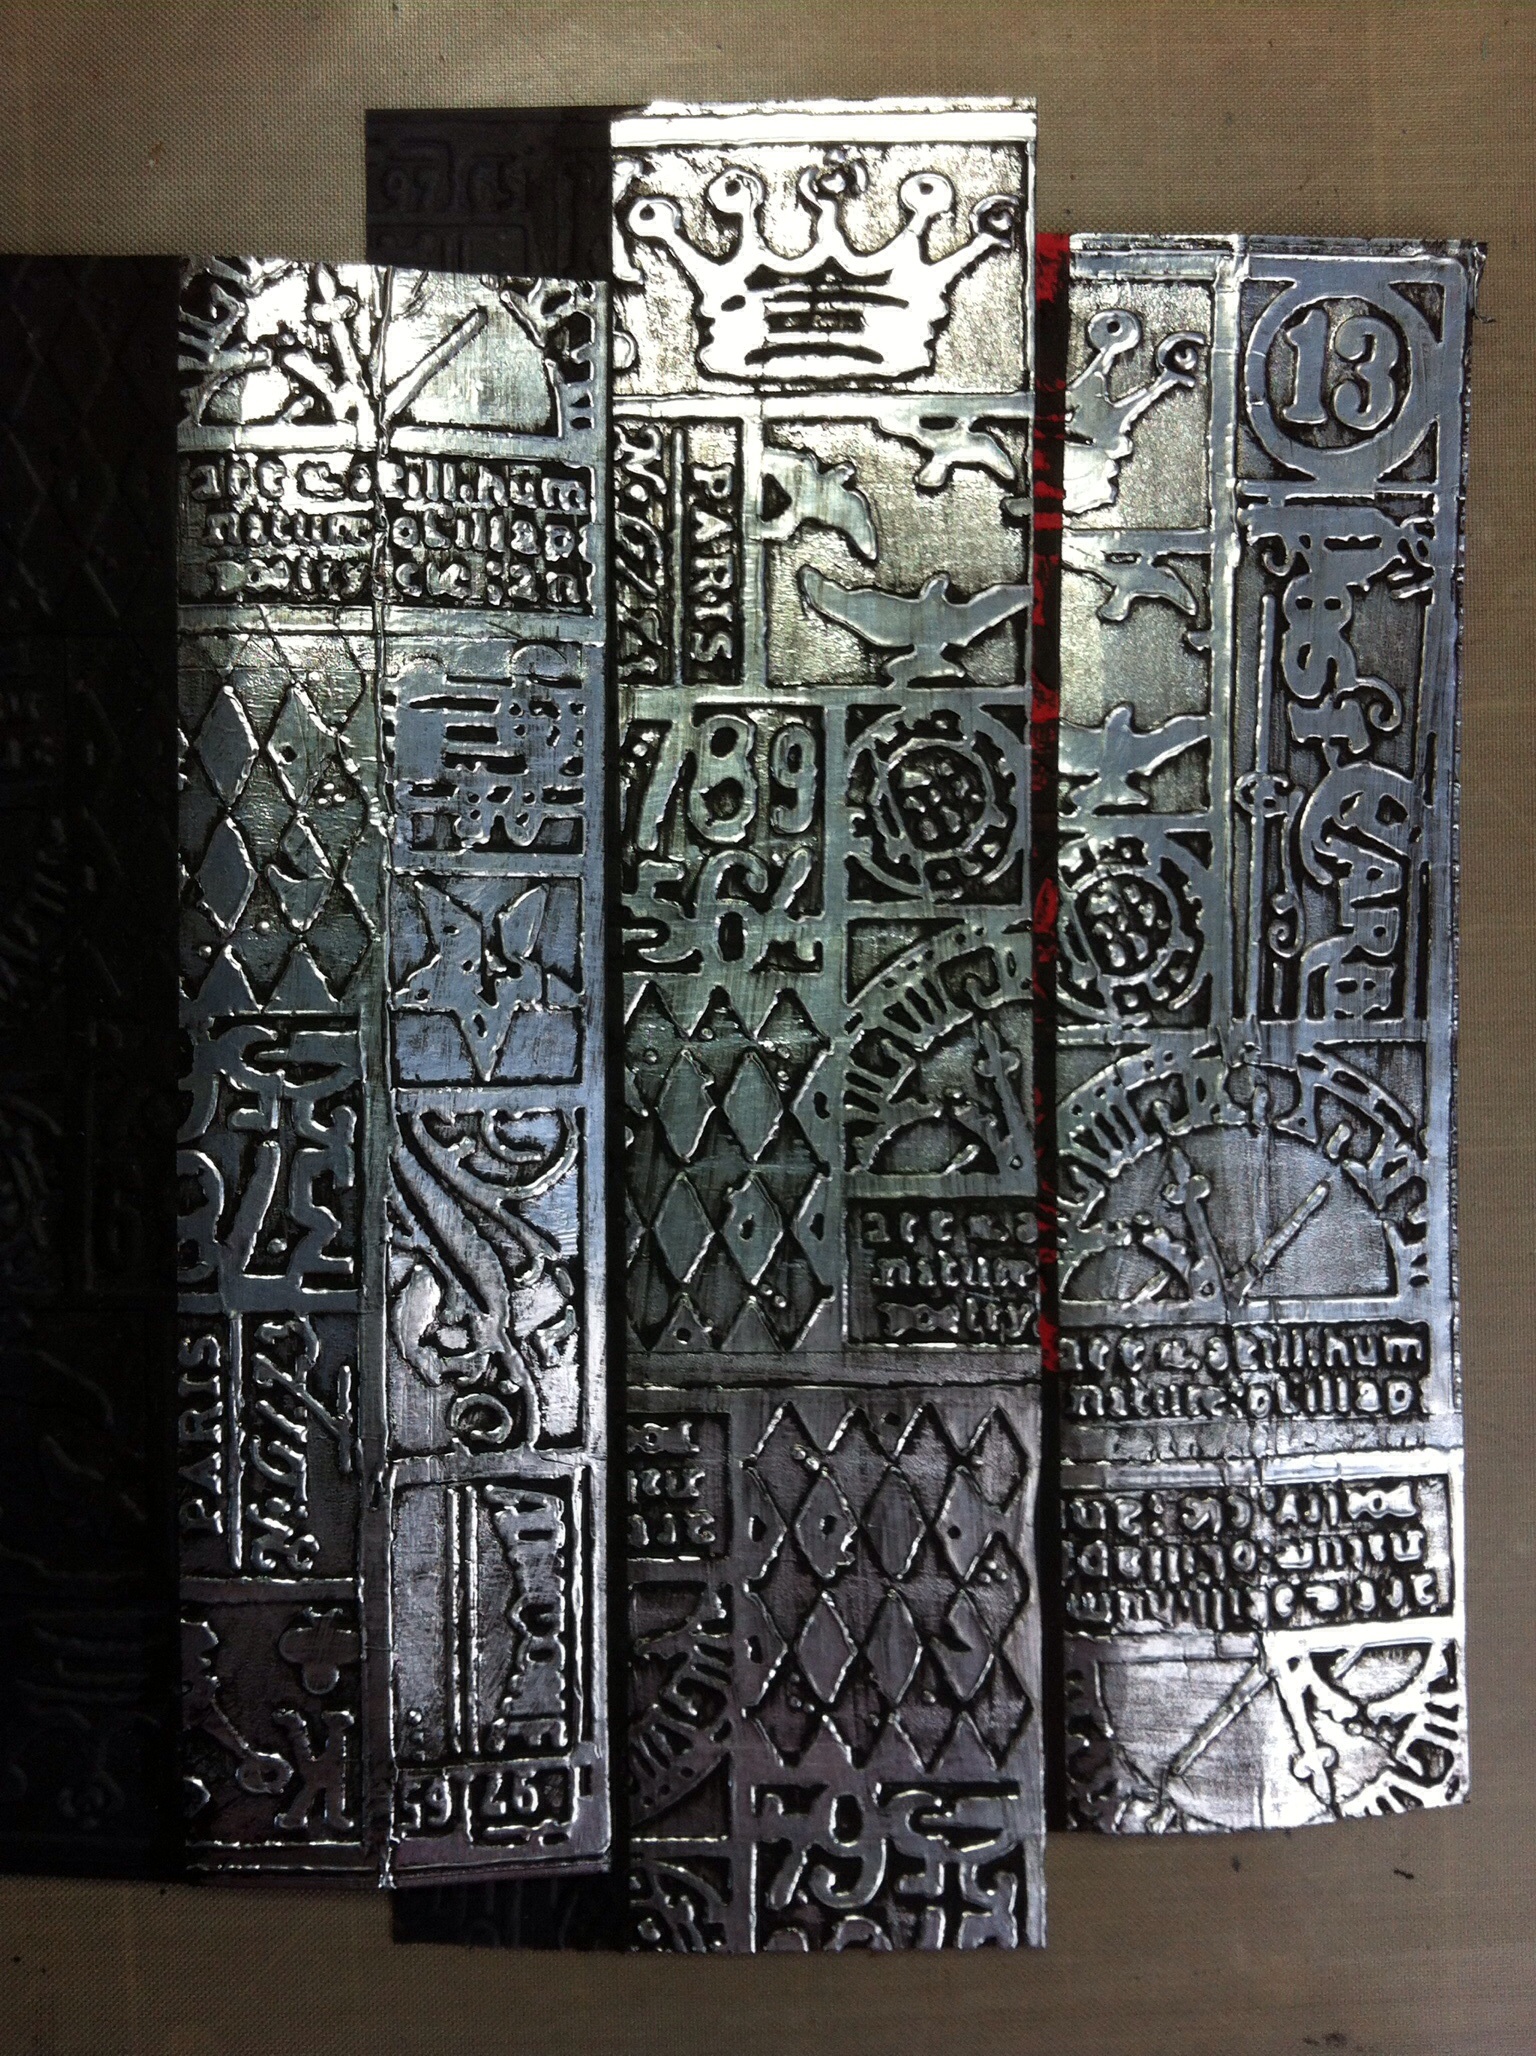
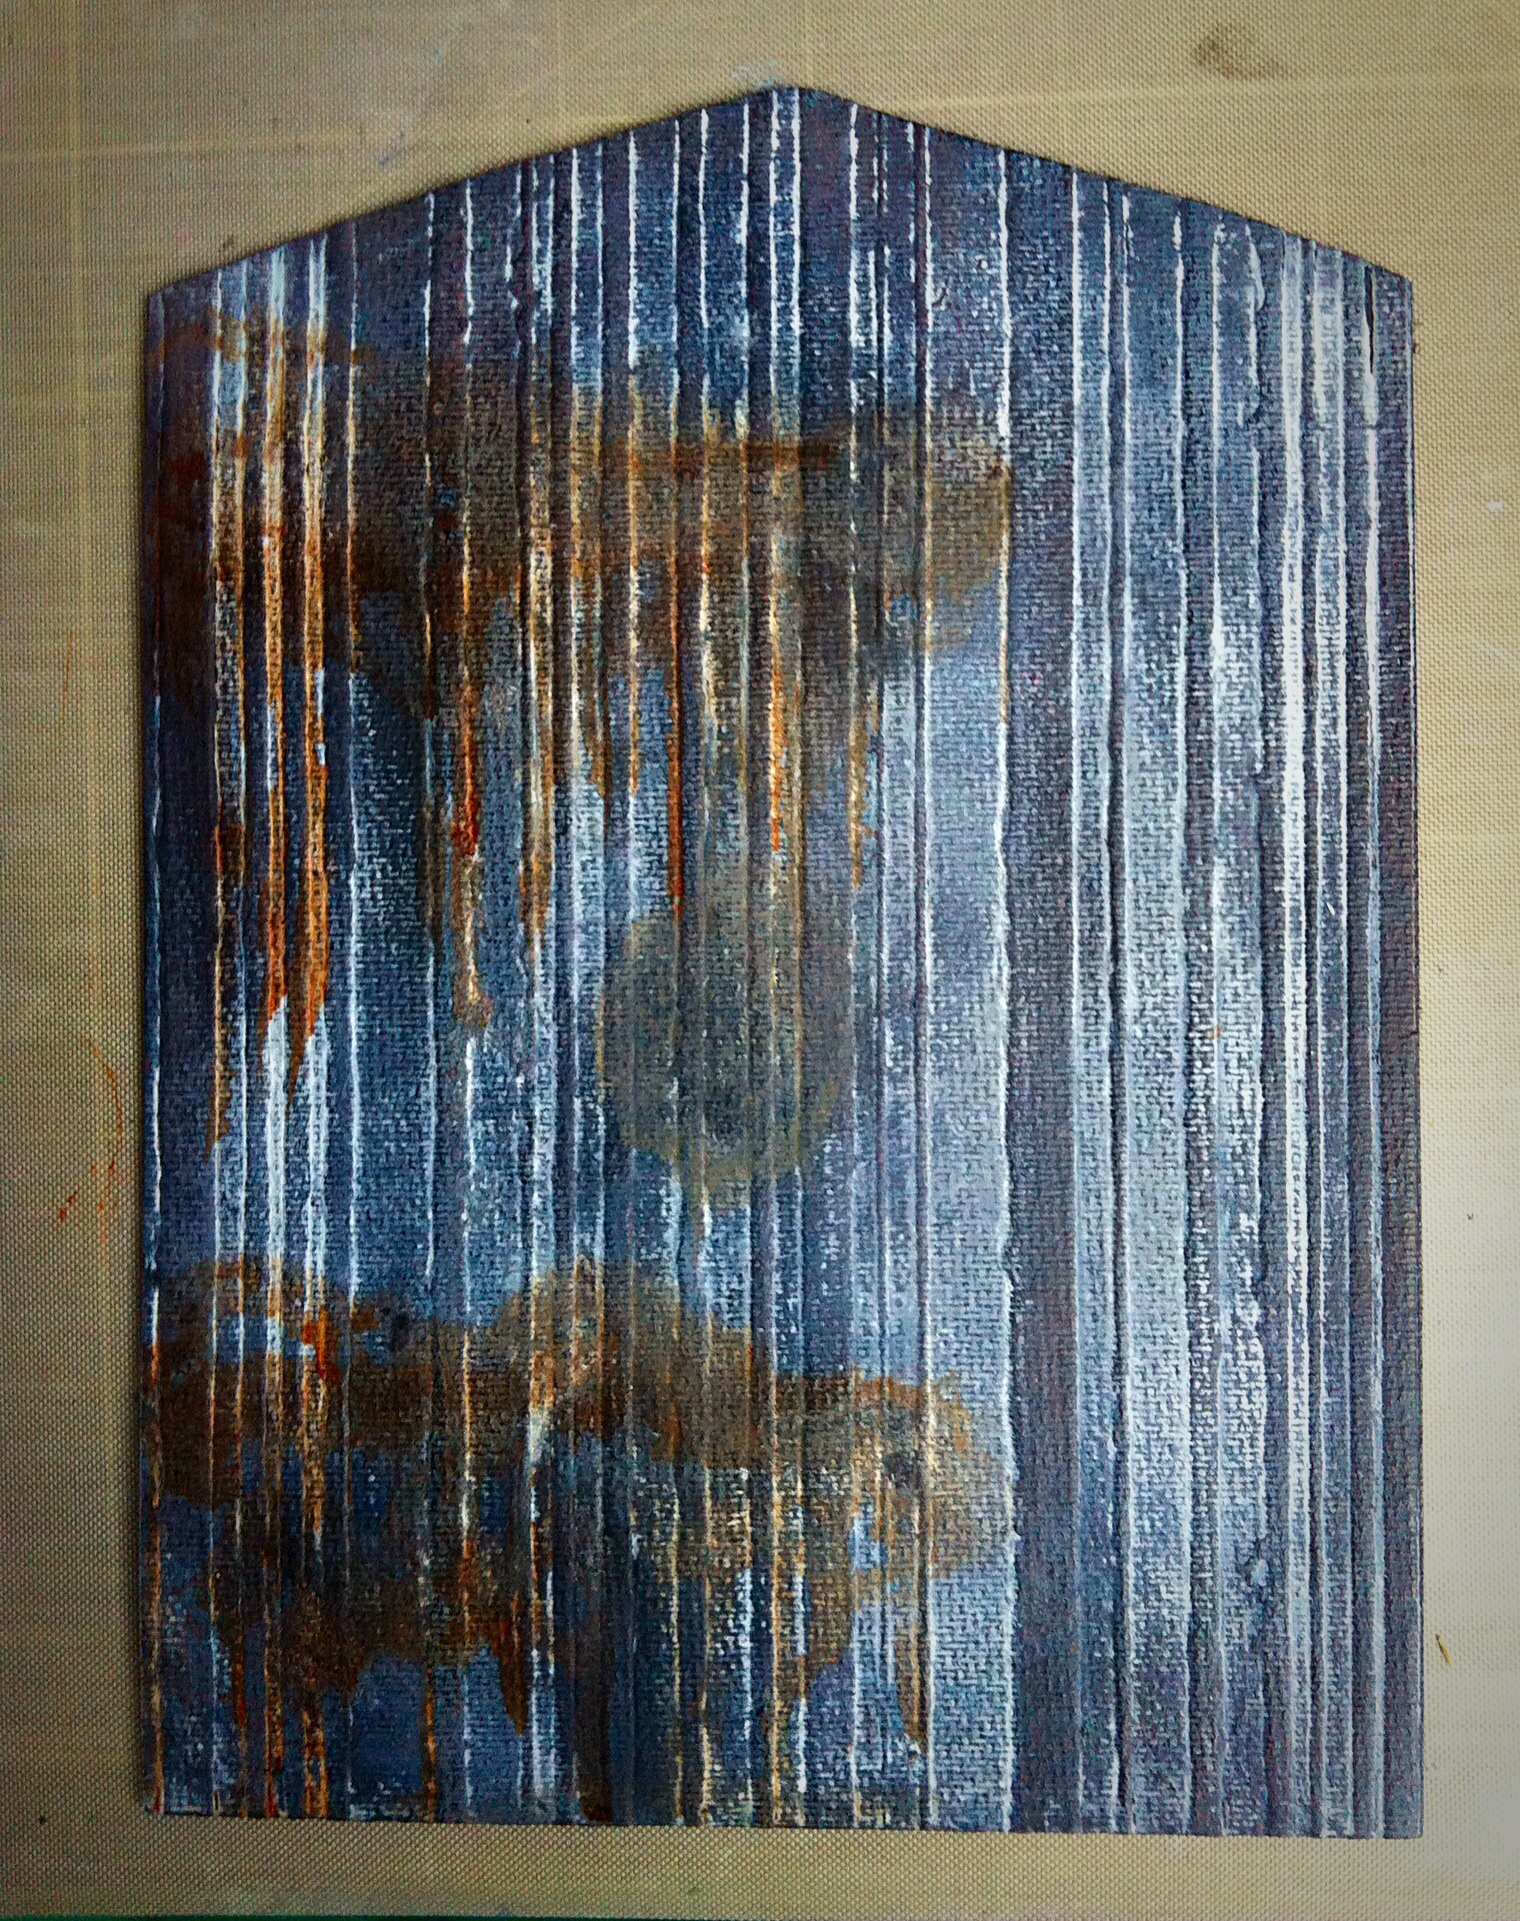
Layer 4  I created a masterboard using DI, (Peacock Feathers, Cracked Pistachio, Fossilized Amber, Mustard Seed and Mermaid Lagoon ) then used Papillon, Perspective and 660189 Framelets with Stamps, inked with Ground Expresso. More apertures were ripped out and the edge ripped and inked with Vintage Photo.

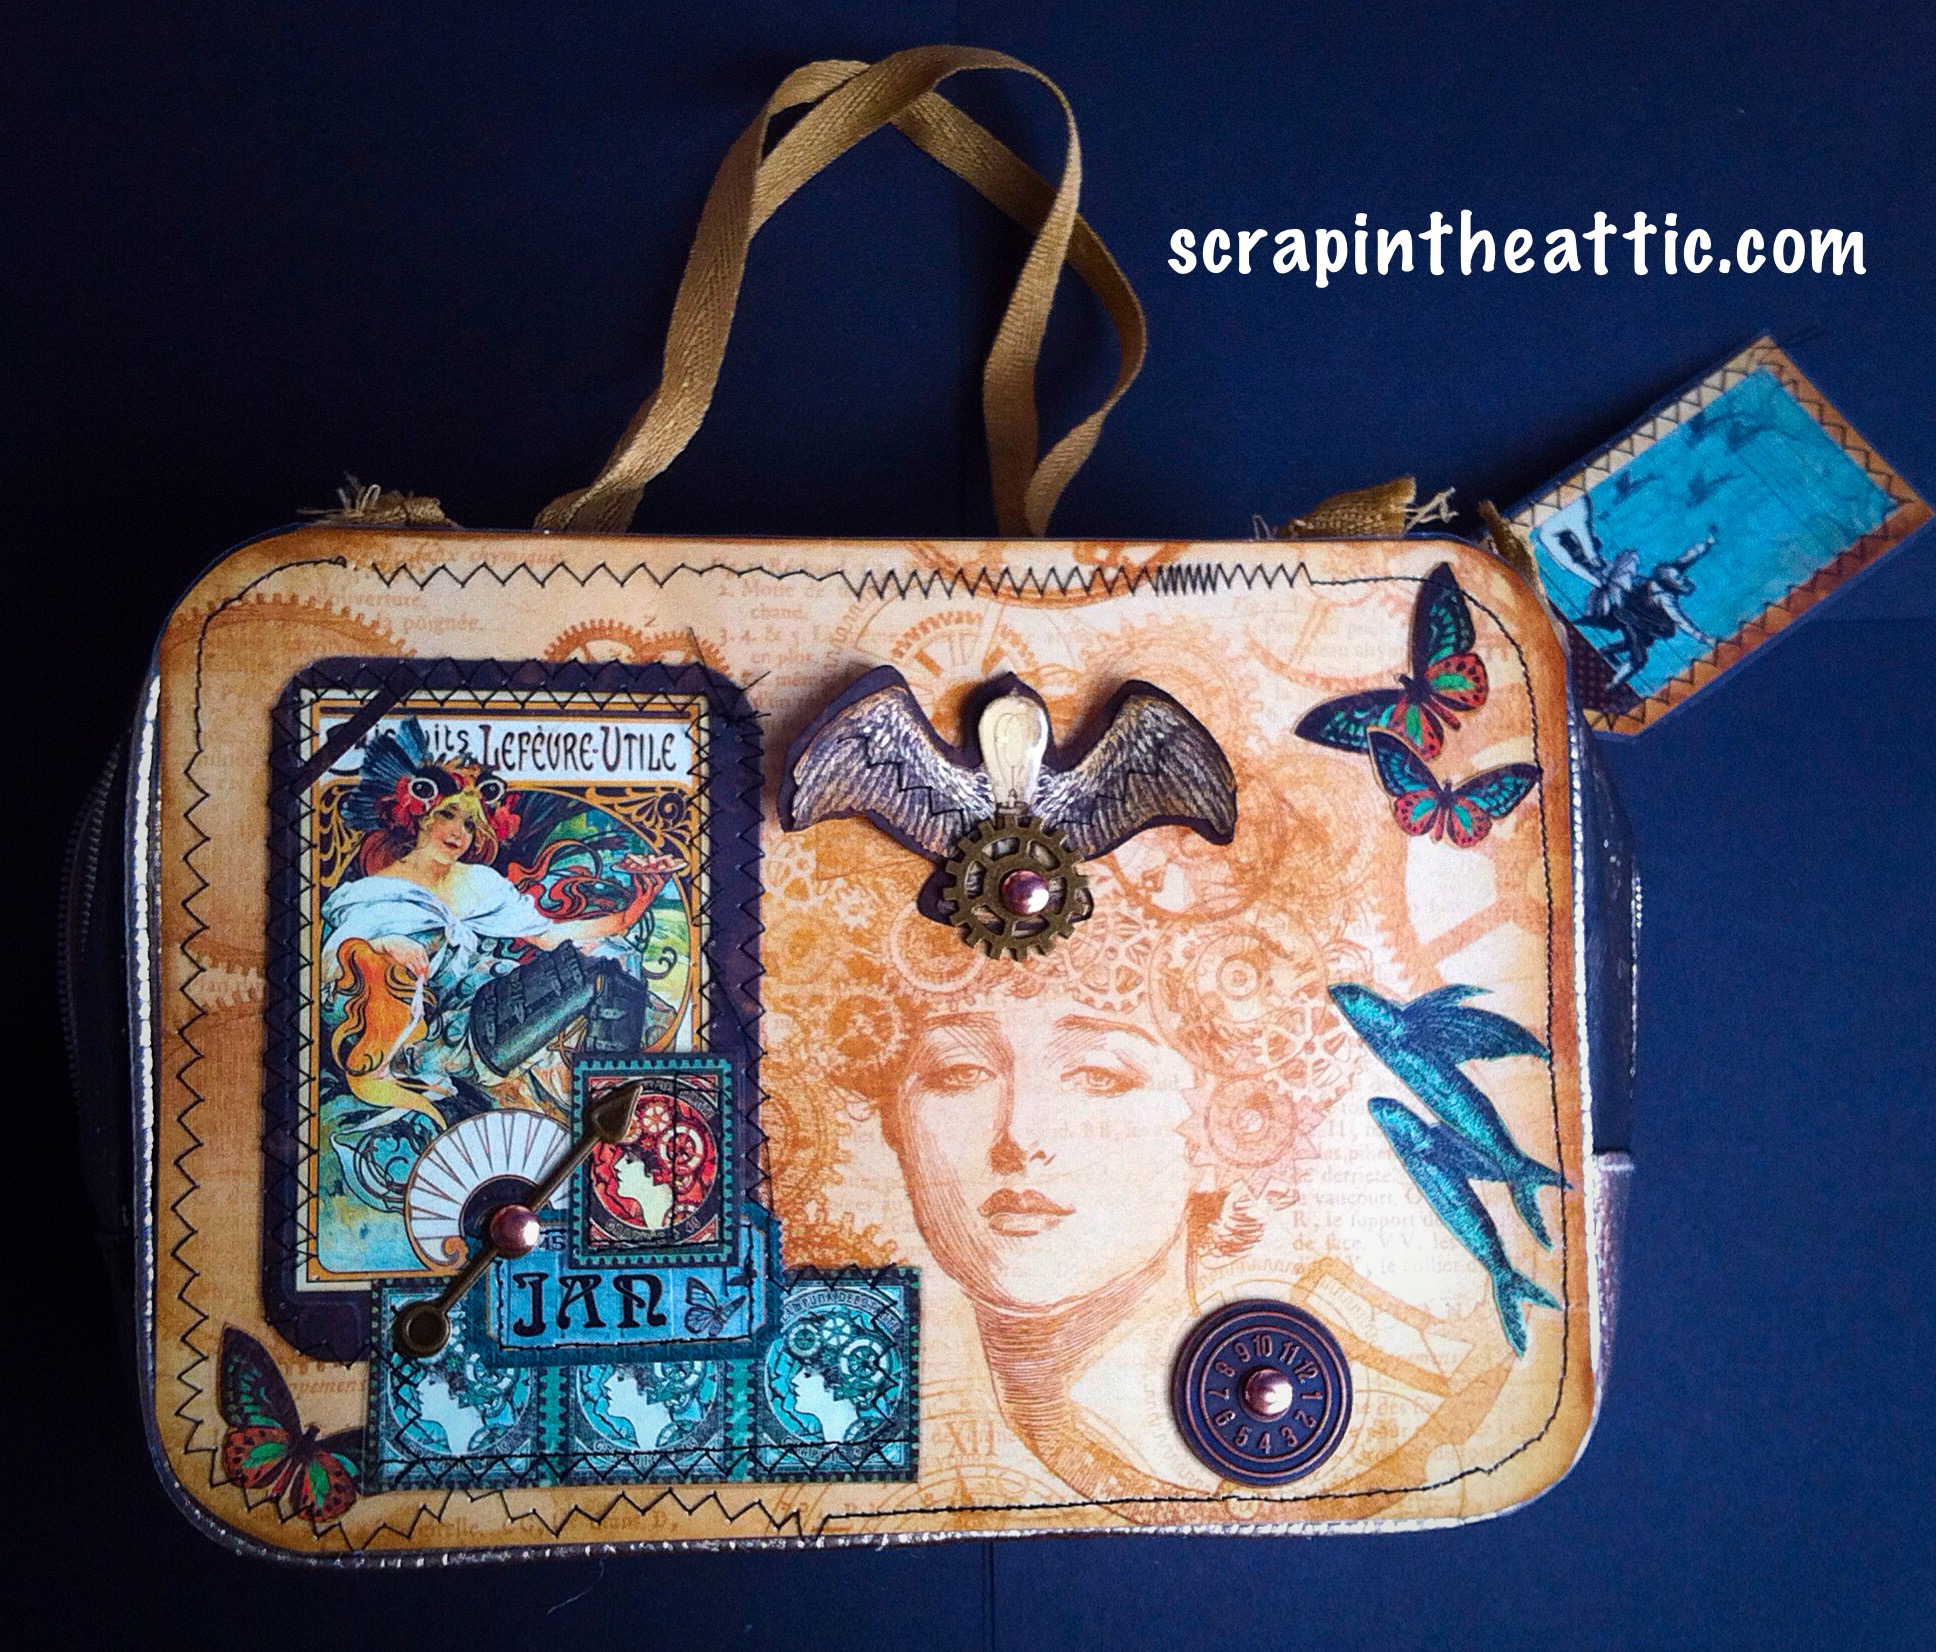
Left Page I used the masterboard then built some layers as contrast. Creativity and beautiful cut outs were inked * and used. I dry embossed ( French Script Texture Fade) on watercolour paper to create 2 pockets. I dry brushed on Vintage Photo to enhance the lettering. The tags, kraft paper and masterboard were stamped with Papillon small butterflies then heat embossed but too pretty to be hidden! I dyed silk ribbon using Distress Markers to match the tags.

I finished by sewing the pockets on the left page and the pages together on the

Phew, complicated but fun to create, hope you enjoy looking at my journal which now has covers and 4 pages!

I hope it inspires you to have a go with your journal, Tim style.

Hugs

Jan x


Wall Hanging

Posted on


Welcome to our October Challenge at The Mirror Crack’d.

Our theme for this month is Wall Hangings.

If you don’t fancy a wall hanging we have a Tic, Tac, Toe board for you to choose from. If you want to do the wall hanging, it’s the centre square, then you do NOT need to do the squares either side of it, unless you fancy challenging yourself even further. Or you could pick any of the lines around the outside and miss out the wall hanging altogether. If you use the Tic, Tac, Toe, please tell us in your post which line you have used.

I decided to use the Tic, Tac, Toe middle line : Time, Wall Hanging, Textures.

image

Every time I look in the mirror I am conscious of Time passing and sooooo many Textures developing!!! I used an IKEA cheap Malmo mirror as the base. I really enjoyed creating this piece, this is how it evolved.

image

I started by covering the mirror with post-its to protect the glass. The frame had book pages and ripped, distressed corrugated card glued on.

image

Now for the fun bit, creating texture. Old washing line, hessian ribbon, sand texture paste and paste through stencils were all added. I used number, cogs and dot stencils on the flat areas.

image

I painted black gesso over everything. Then a range of Paperartsy paints, blues and greens, Decoart Quinodrone Gold, Dylusions sprays in gold, green and blue.
Then I rubbed on Treasure Gold! This was too dark and just looked dirty!
Soooo I rubbed White Gesso over it all with my fingers. The sprays and paints tinted the gesso and happy day, it turned out well.

image

I used metal cogs, numbers, clock faces and flowers, rust painted clock die cuts to continue the Time theme. I made cogs and clocks using my hot glue gun and moulds. These were painted and had the Treasure Gold treatment.

image

image
I hope you like how it turned out!

We are thrilled to be sponsored by

WOODWARE CRAFT COLLECTION

With a prize of £12.00 to spend at your favourite Woodware Stockist, either in store or on line.


Woodware are a Yorkshire based family owned business, as well as distributing Dreamweaver Stencils and Stampendous Stamps we have a wonderful range of stamps designed for us by Francoise Read and Jane Gill. We also scour the world for new and innovative products for the crafty card maker, and have a great range of punches and tools of the trade, to find stockists in your area or to see the range visit the website www.woodware.co.uk

I am looking forward to see how you interpret the challenge,

hugs

jan x


Halloween Horrors

Posted on

The October Challenge at Our Creative Corner…….

photo 2 (6)


Forget cute cats and smiling pumpkins….

we want….

For this Halloween share with us some horror inspired creations that
are sure to send shivers down our spines.

Bring out your most grotesque stamps and embellishments….
….or perhaps take on the challenge of finding a way to transform pretty stamps into something macabre.j
Reach for the grungiest colours and textures….
Come over to the dark side of Halloween

Can you scare us?

I created a doorway opening into a haunted chamber !

photo 1 (6)

I started with a reverse canvas. I used Tim Holtz Industrial technique to dry emboss plumbers tape. ( The tape was stuck onto back card before I began.)Here are the pieces ready to cover the frame. I didn’t need to remove the staples or canvas because the embossed pieces covered it all.

image

I raided my stash of Grunge Board and found a textured piece which resembled wood, a skull and hinges. These would become the door.

image

The door had a coat of black Gesso then dry brushed with white. The hinges were covered in Decoart Sand Texture Paste and then stippled with various rusty colours of acrylic paint. Of course I used my favourite Quinadrone Gold!

image

The skull had several layers of heat embossing powder applied, I used Tarnished Silver. I added some to the hinges too.

image
I used layers of paint to create grungy rust soaked into the wood from the ancient hinges.

image


Inside the room is a shrine of decay. I used Graphic45 Eerie Tale papers to build a collage with layers of the elements, raised with foam dots..

image

The dome has 2 layers of Glossy Accents over it to create a glass effect, unfortunately it doesn’t show on the photos. The back of the door pull was covered with an Eerie Tale chipboard piece.

image

This was a fun project, I hope you enjoyed looking at it. I am looking forward to seeing what you make!
Can you scare us at Our Creative Corner???

There are great prizes from…..

Nicecrane Designs

image

$20 voucher to spend at the Nicecrane Store

Hugs

Jan x