Washi Tape Hanger

Posted on

Well its Spring and time to declutter the attic so I can actually see what is in my stash!
What to do with all those rolls of washi tape? Hidden away in a drawer they never get used.

MDF door hangers! I assembled 3 upside down on a plaque with hanging holes pre drilled. I added mdf stars to fit the night sky theme I had in mind.

I coated the hangers and star with Gold Decoart paint. The hangers then had clear crackle medium applied then finally a coat of …………….. I love watching the crackles develop! The gold really shines through the crackle.

I heat embossed the edges for added texture, I used Tarnished Silver and Spice Mix. I added a gold ribbon to hang it up. I had several rings in my stash, I think they were 7 Gypsies, to hang through the holes, lots of room to add more!

The MDF is available from
Daisy’s and Jewels

Have fun crafting

Jan x


Guest Designer at AVJ

Posted on

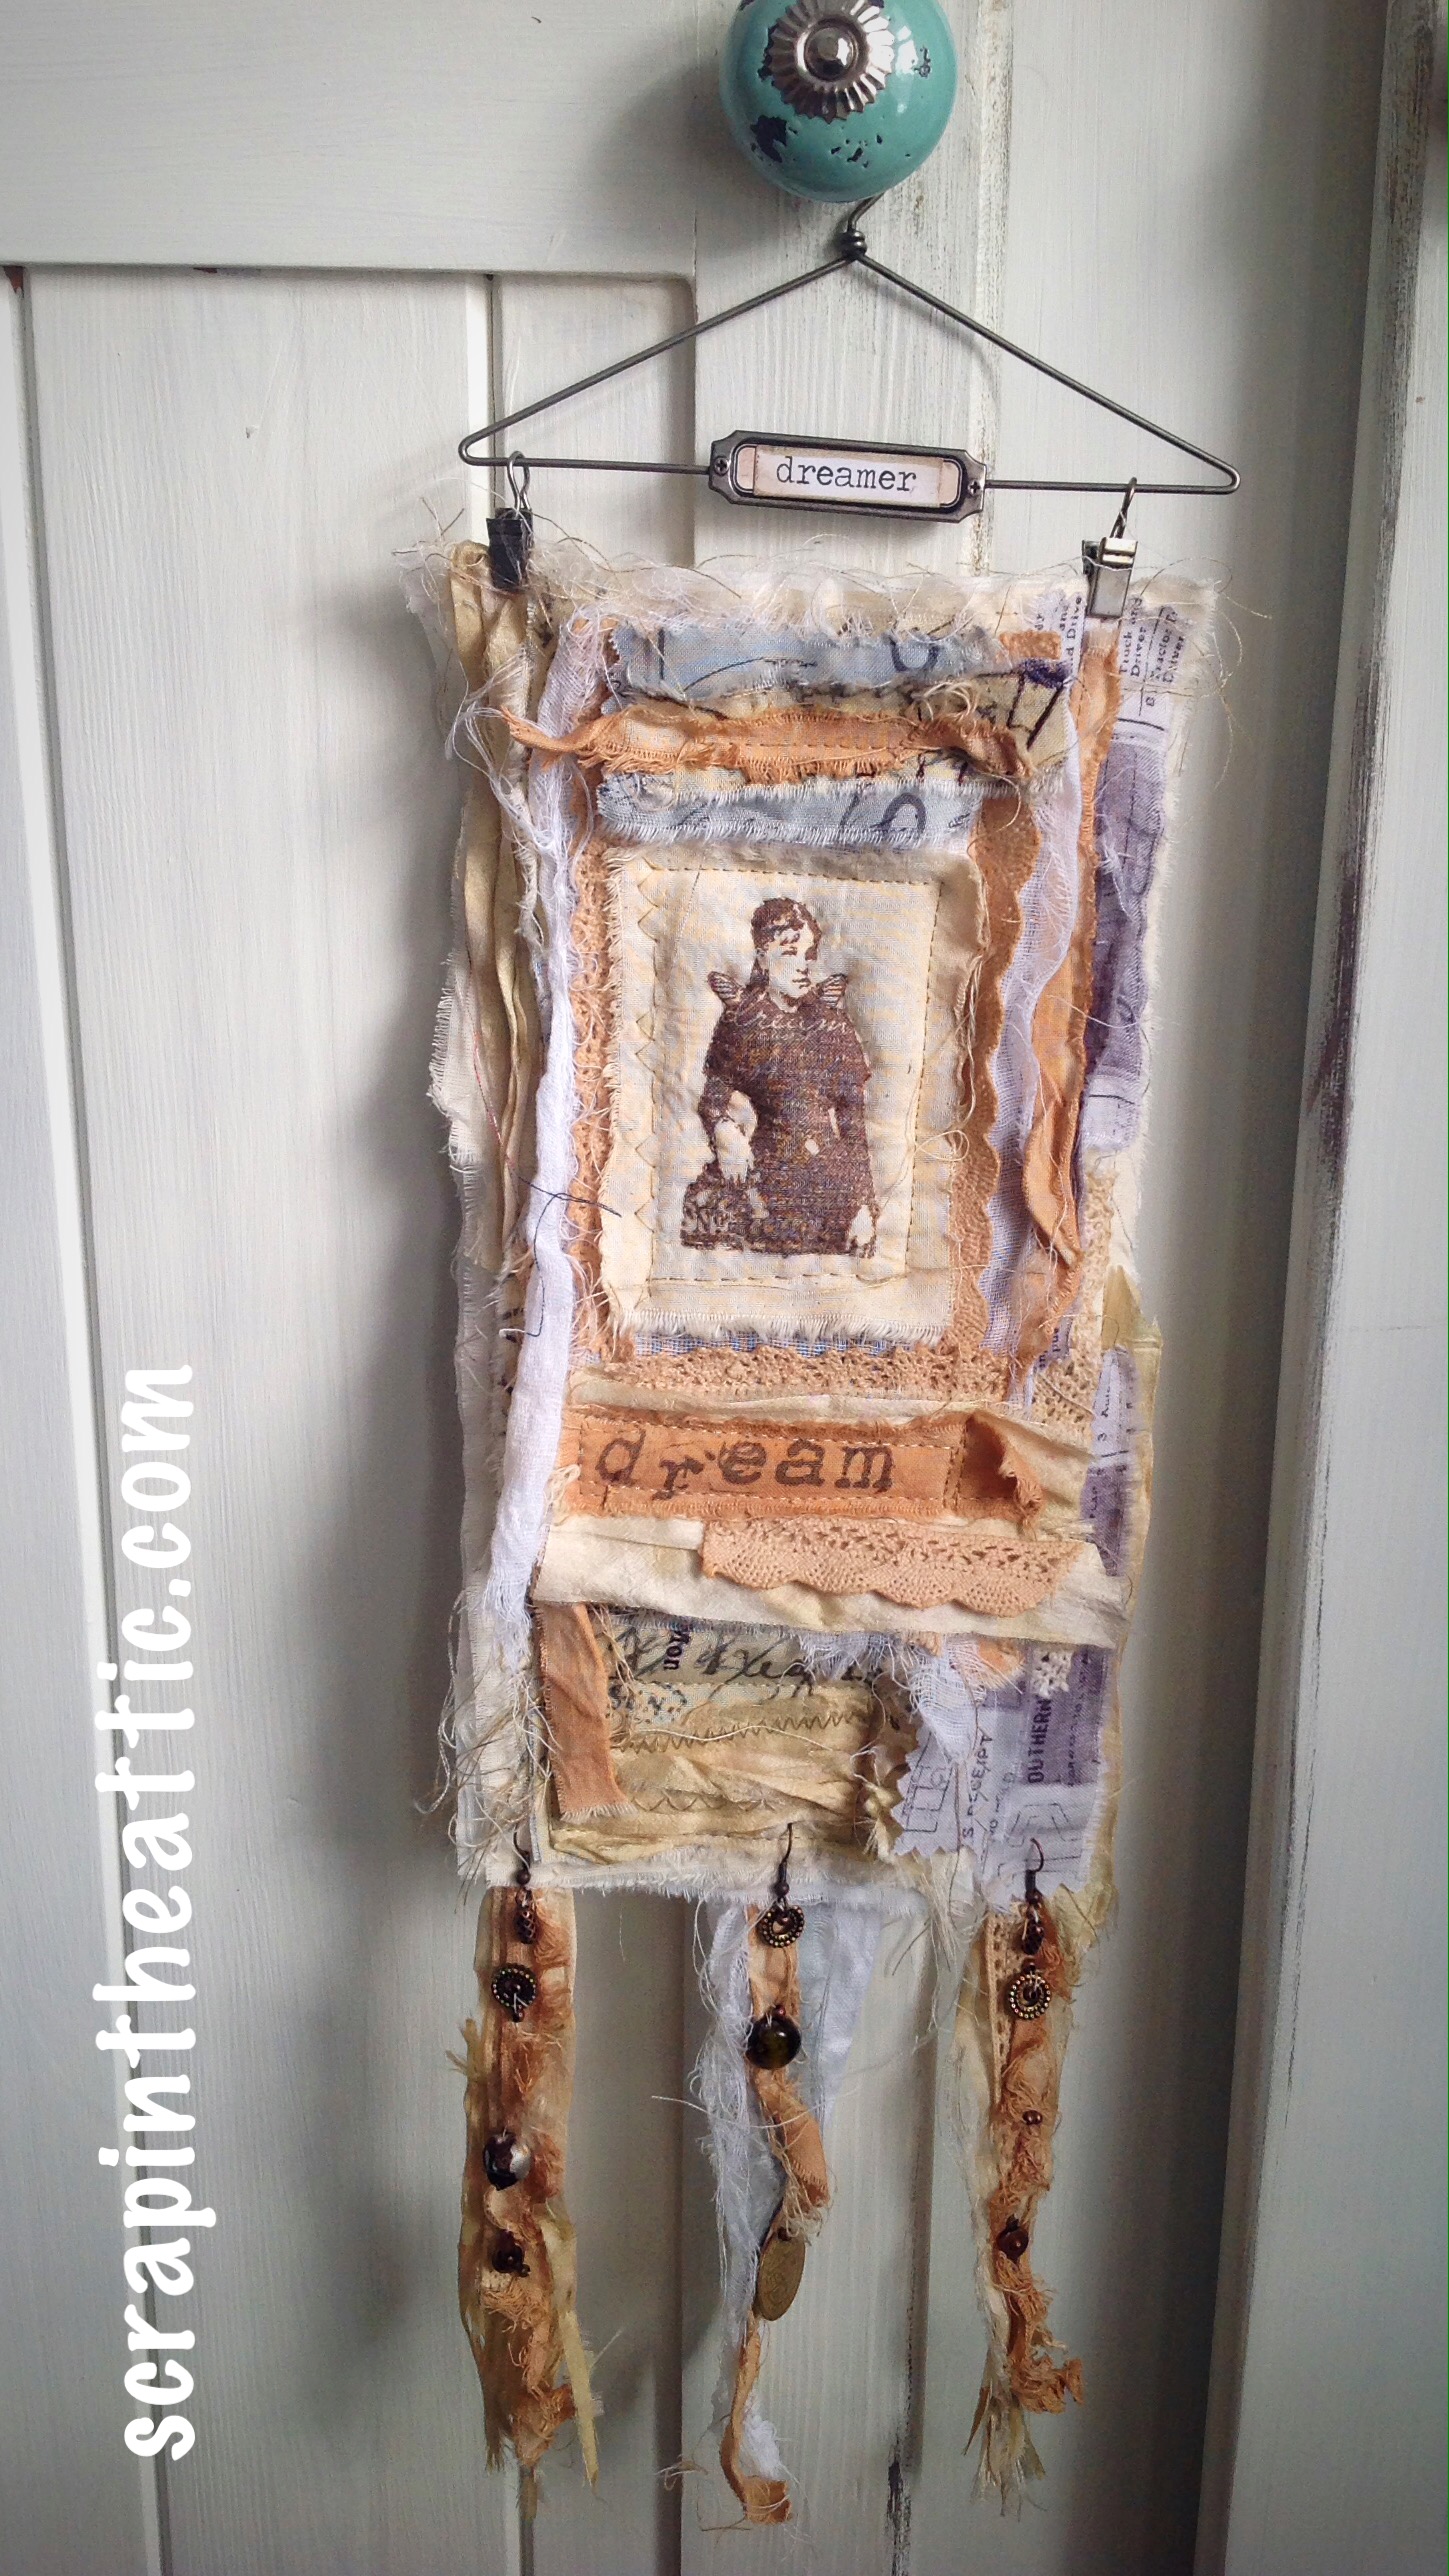
I was so excited to gain a Pinworthy from A Vintage Journey challenge back in  February, for my Dreamer fabric collage. I was asked to be a Guest Designer with the theme “Quotes”, chosen by Jenny.

I have a jar of quotes handy and randomly chose a couple. The one that appealed to me was:
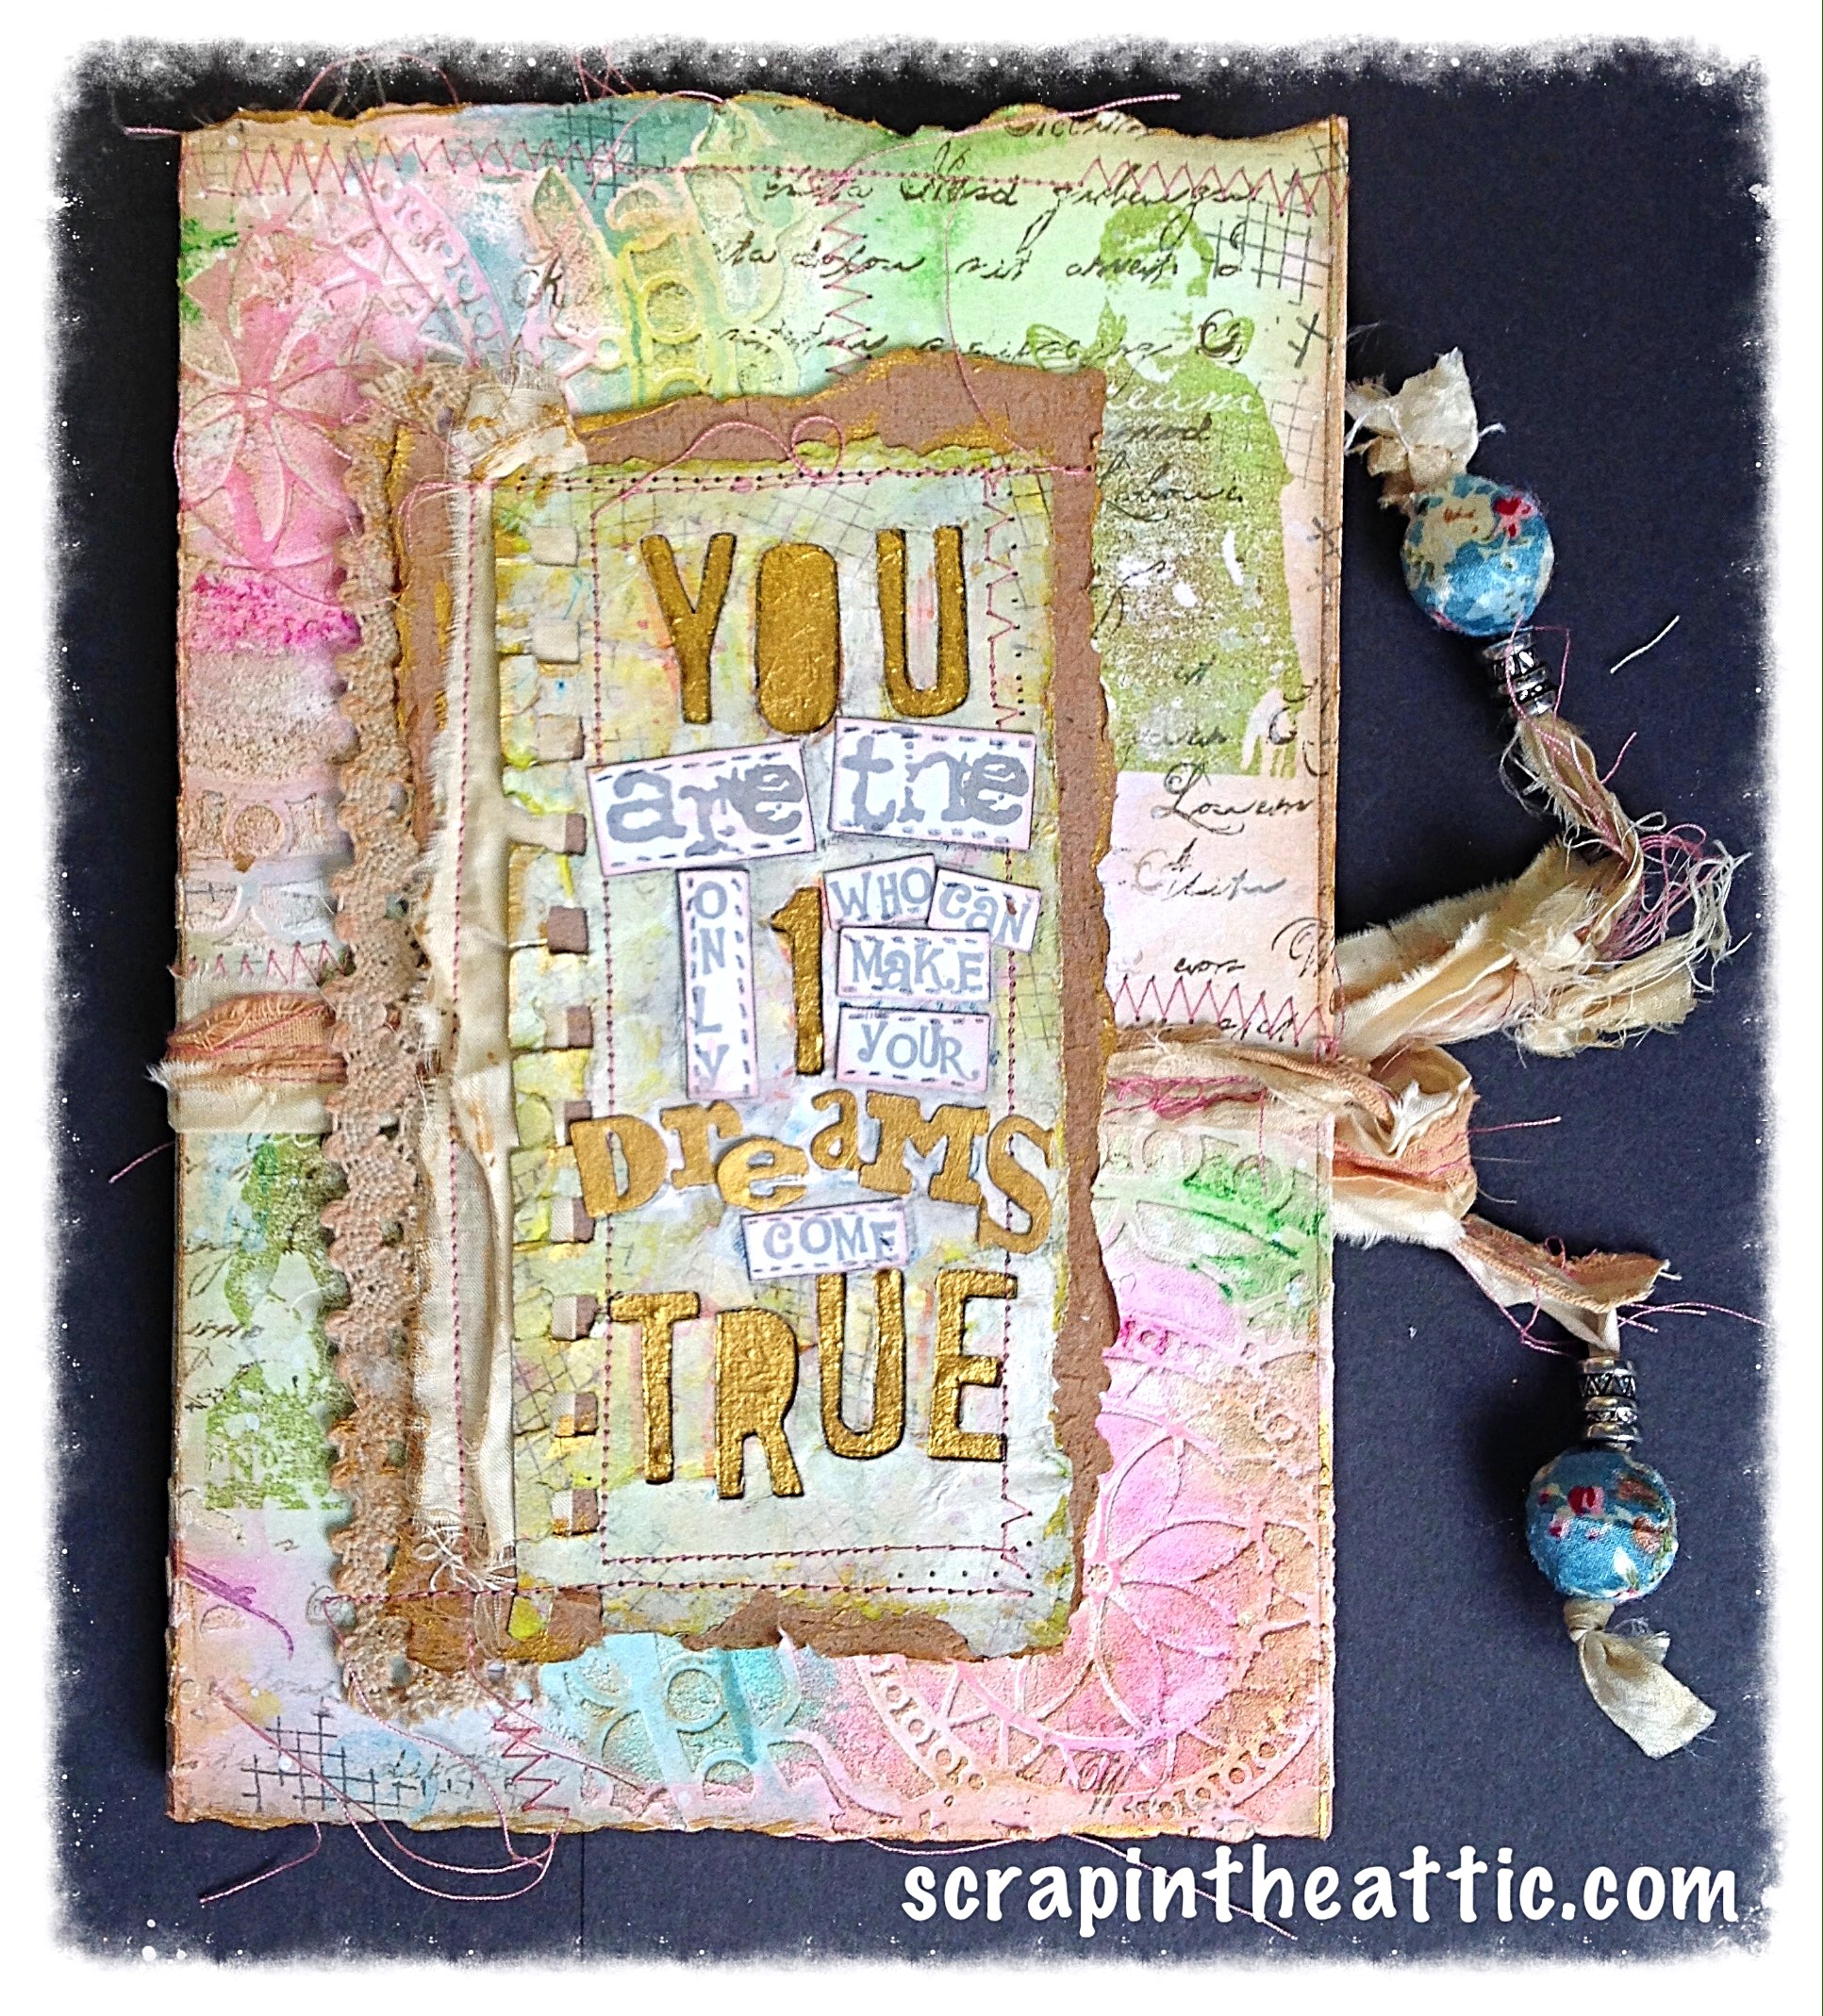
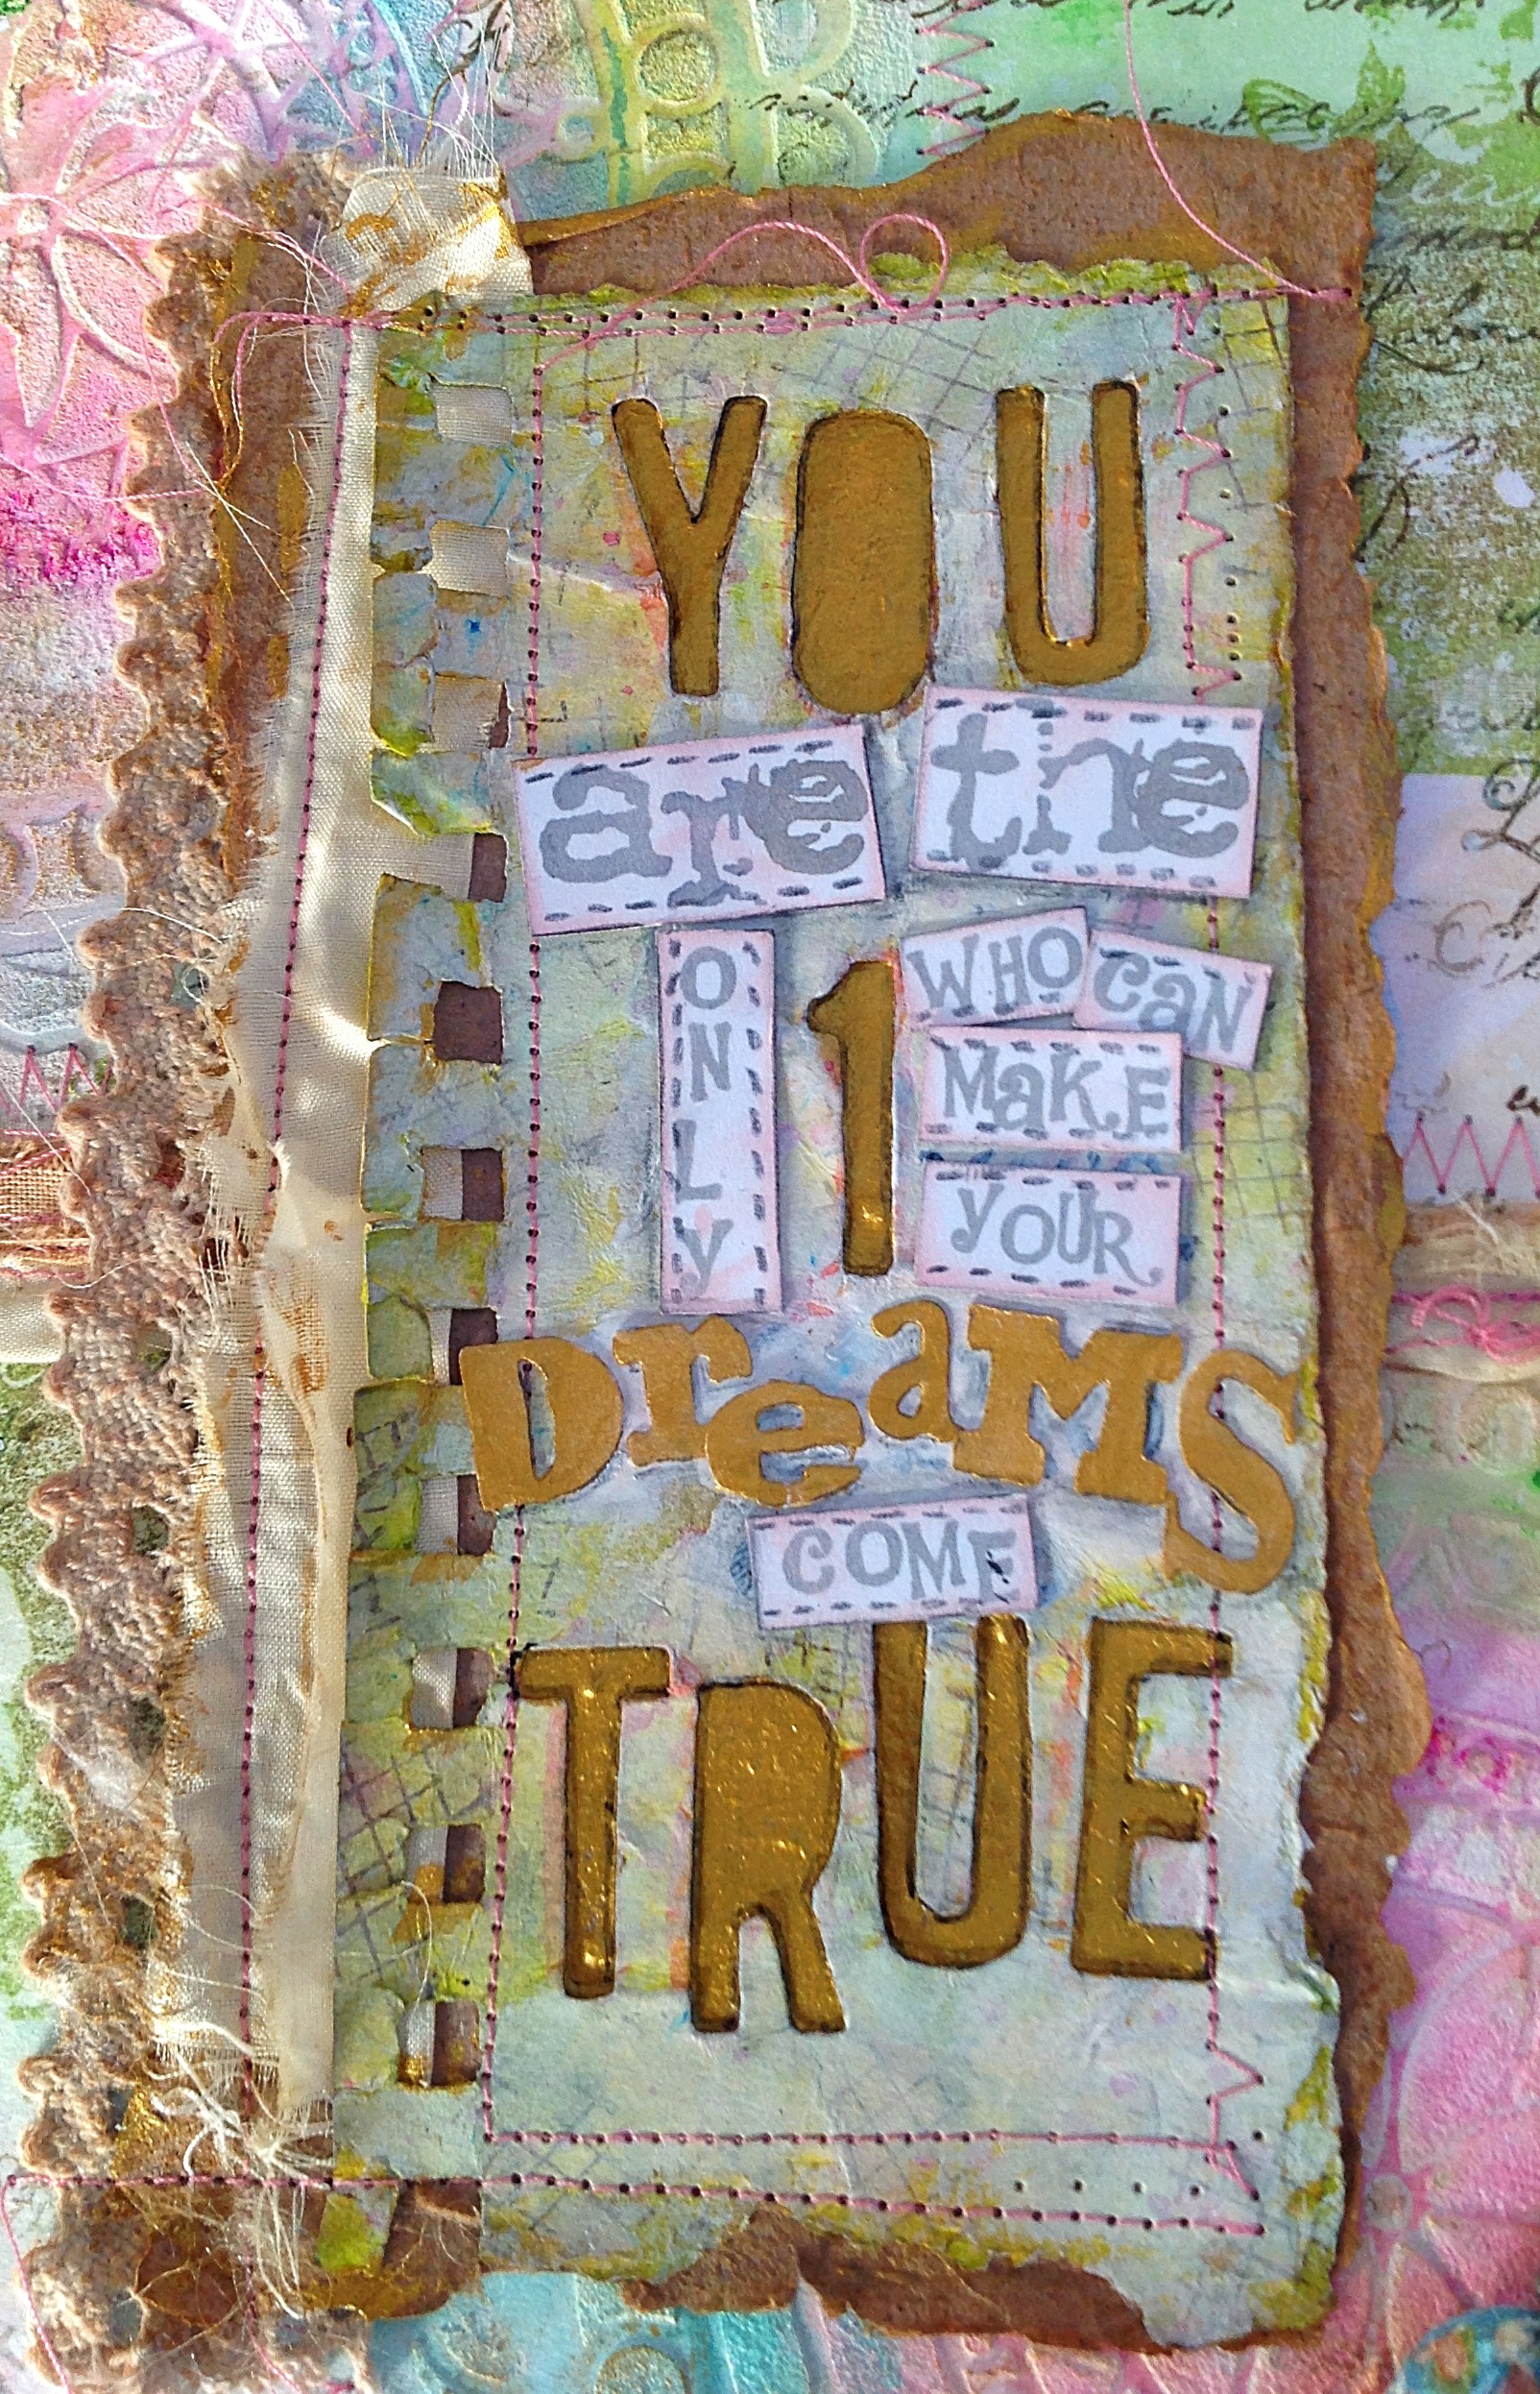
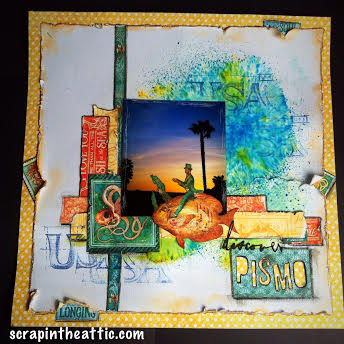
“You are the only one who can make your dreams come true.”

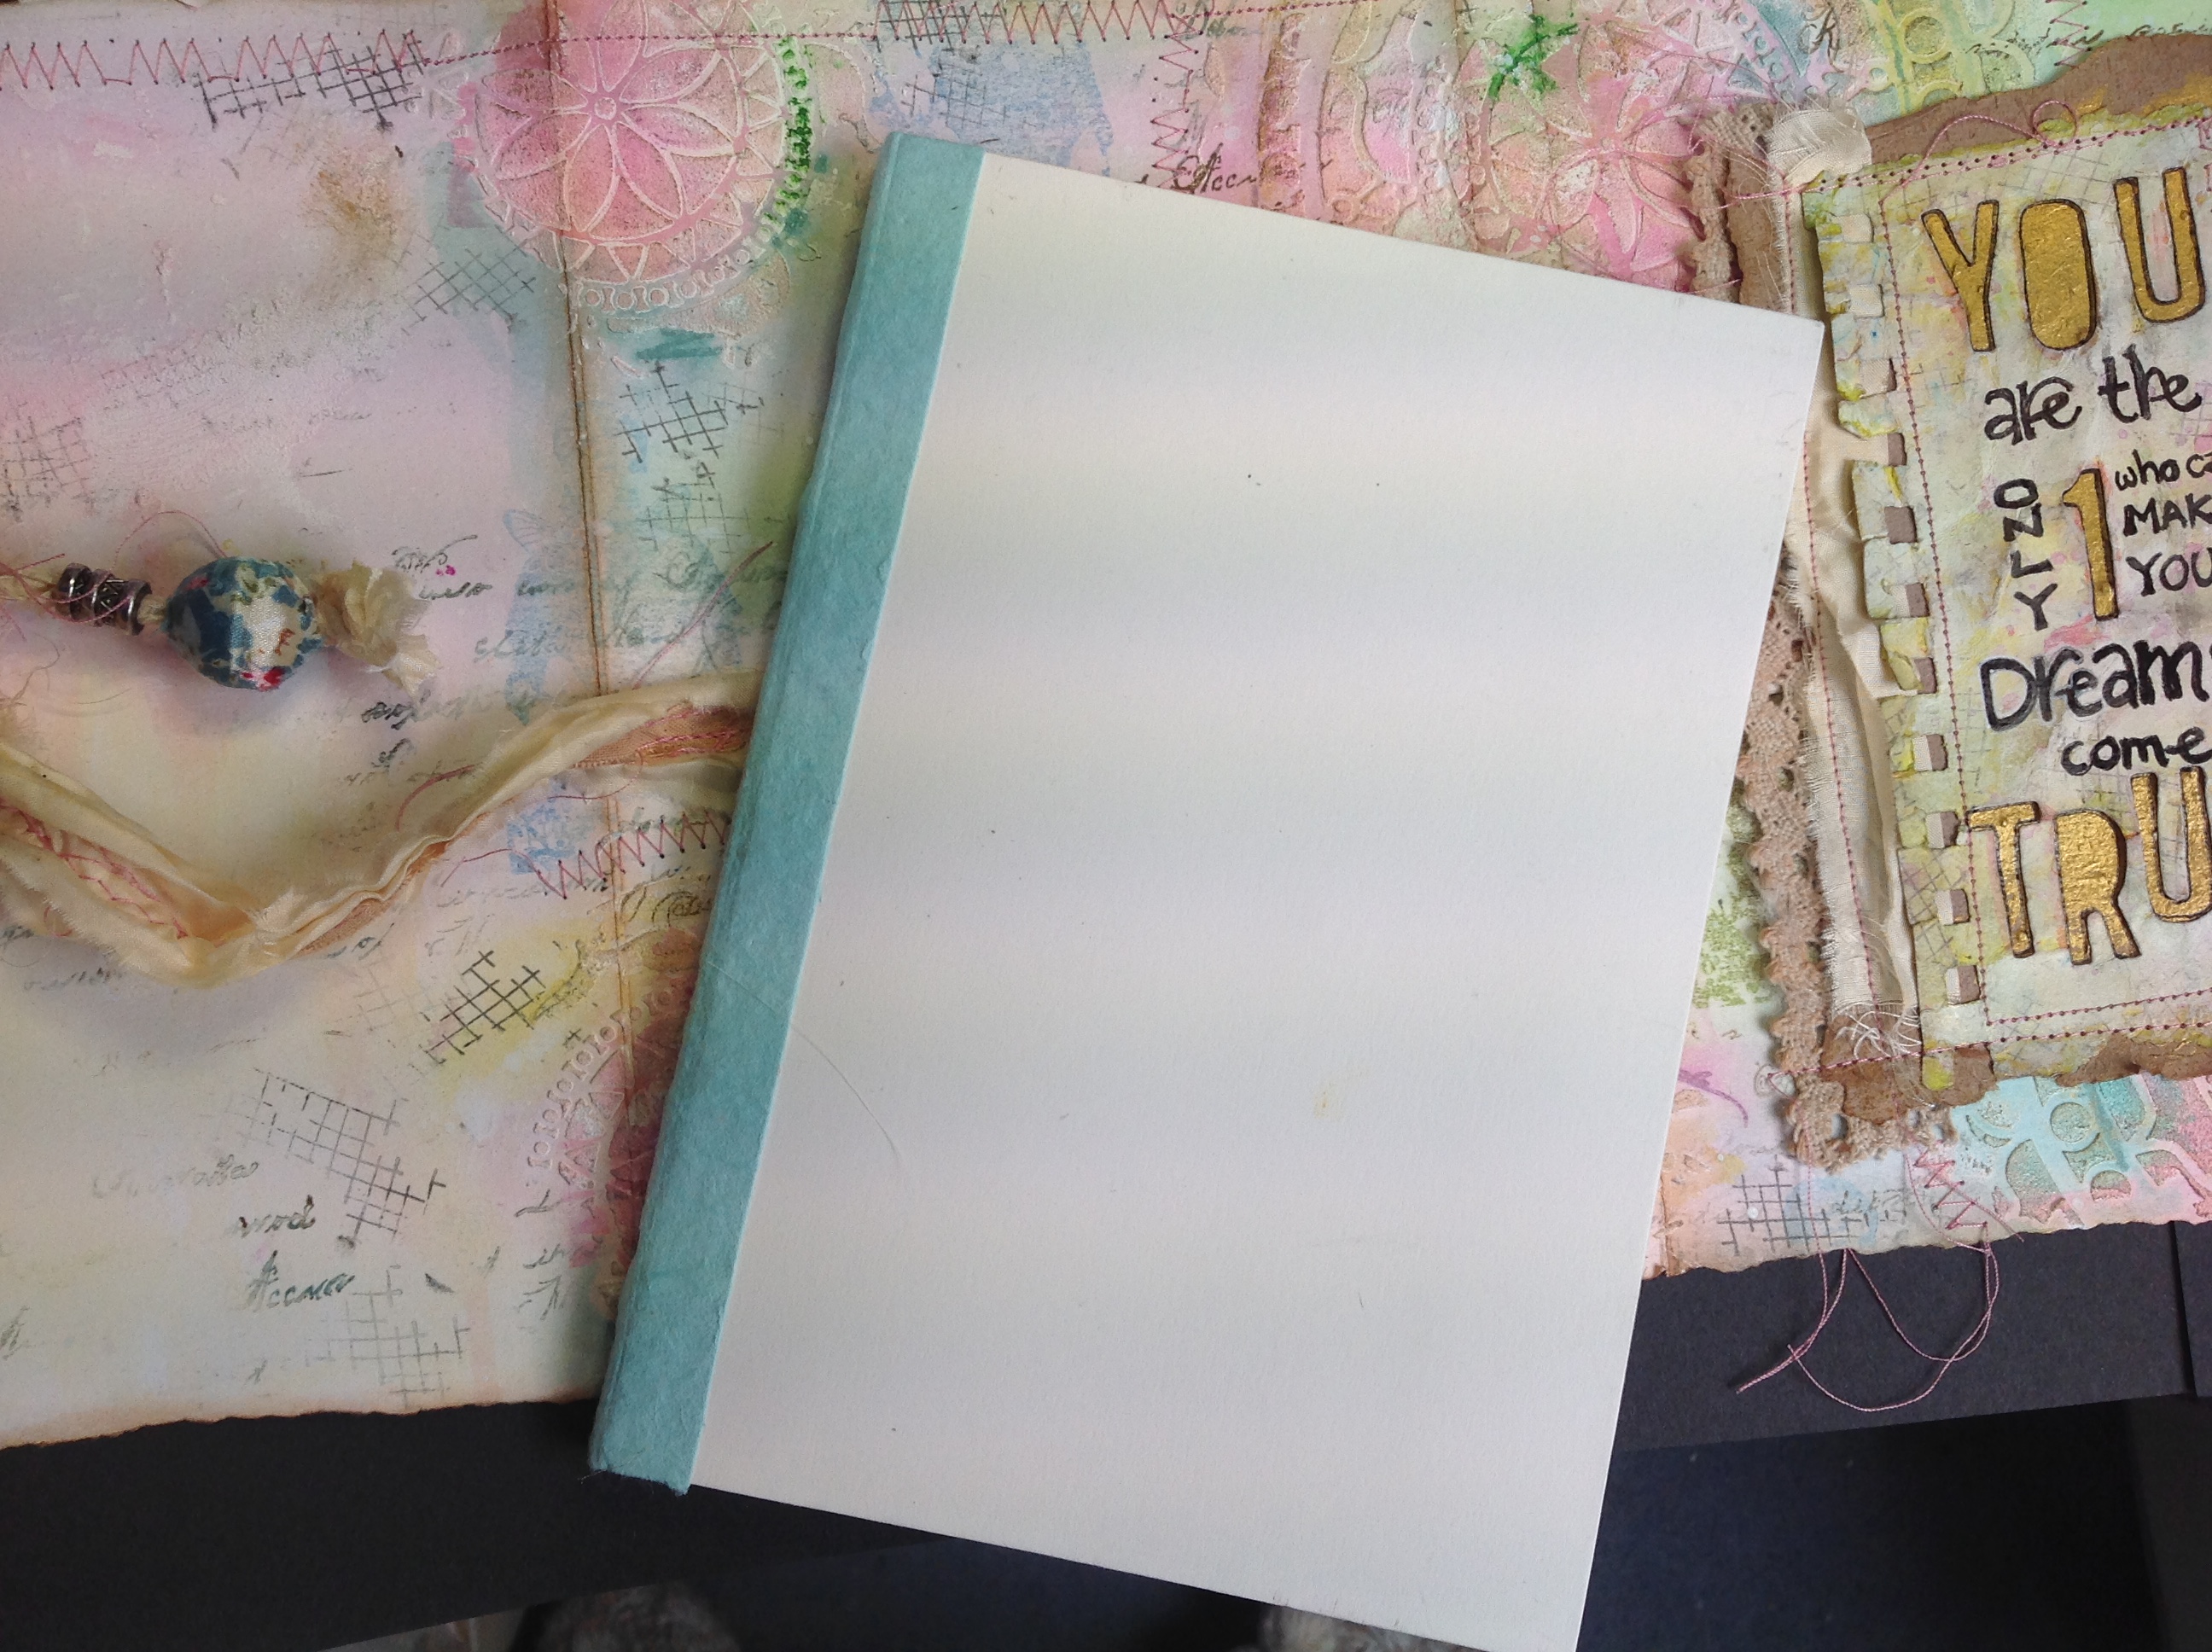
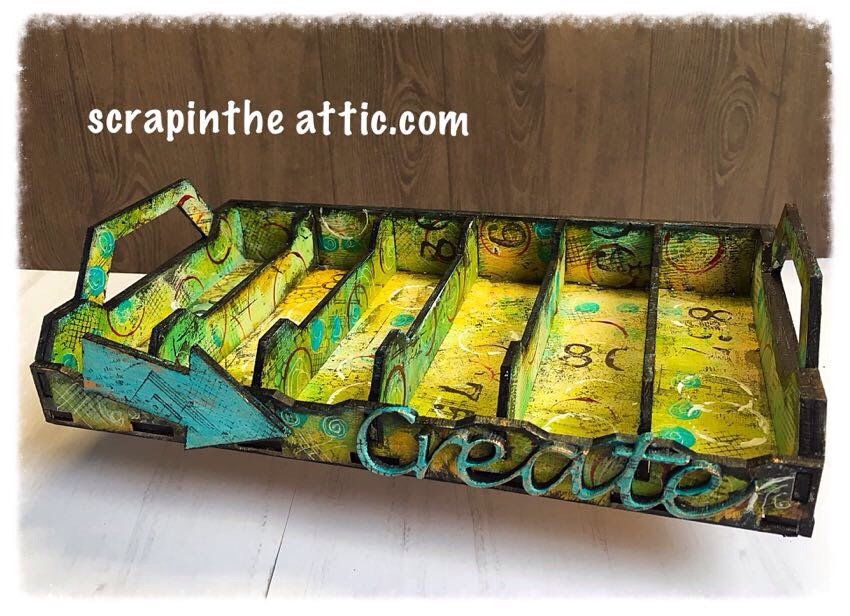
I had a small journal I wanted to cover and use for jotting ideas and sketching out ideas, the quote was just right!y

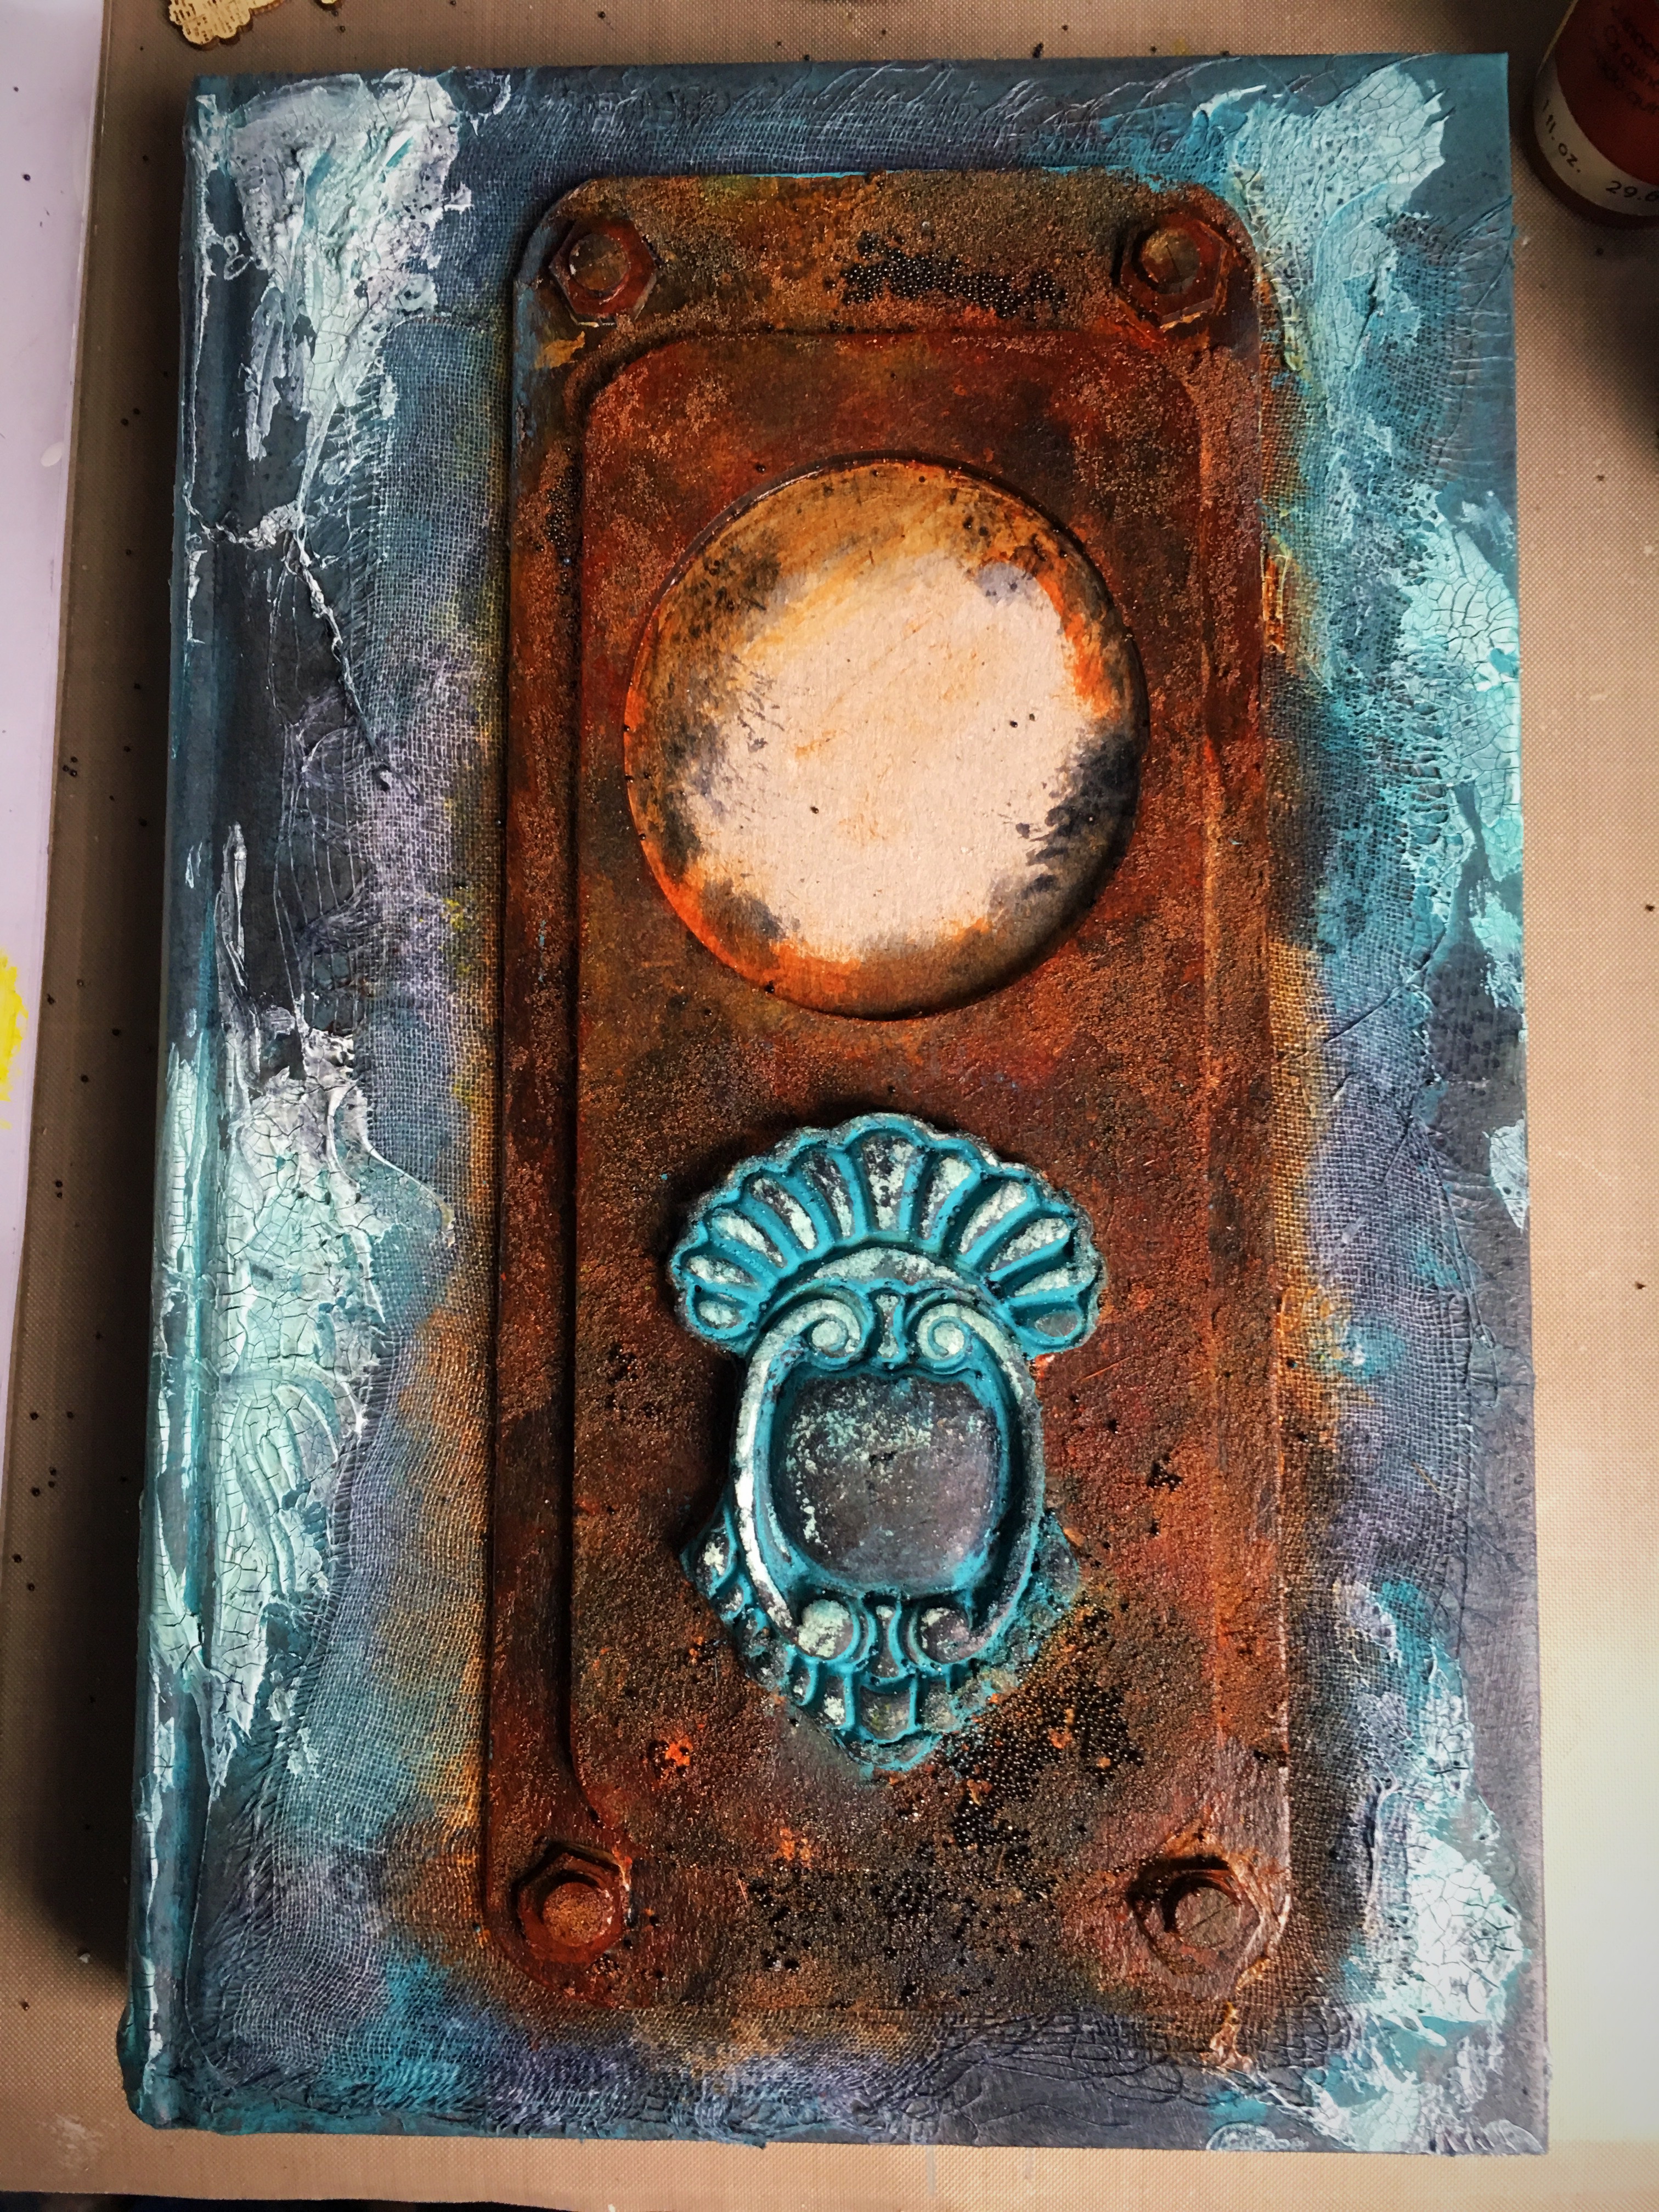
I started with a sheet of mixed media paper long enough to wrap around the journal and have pockets on the inside to hold photos and bits.

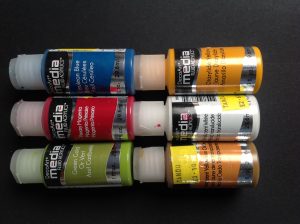
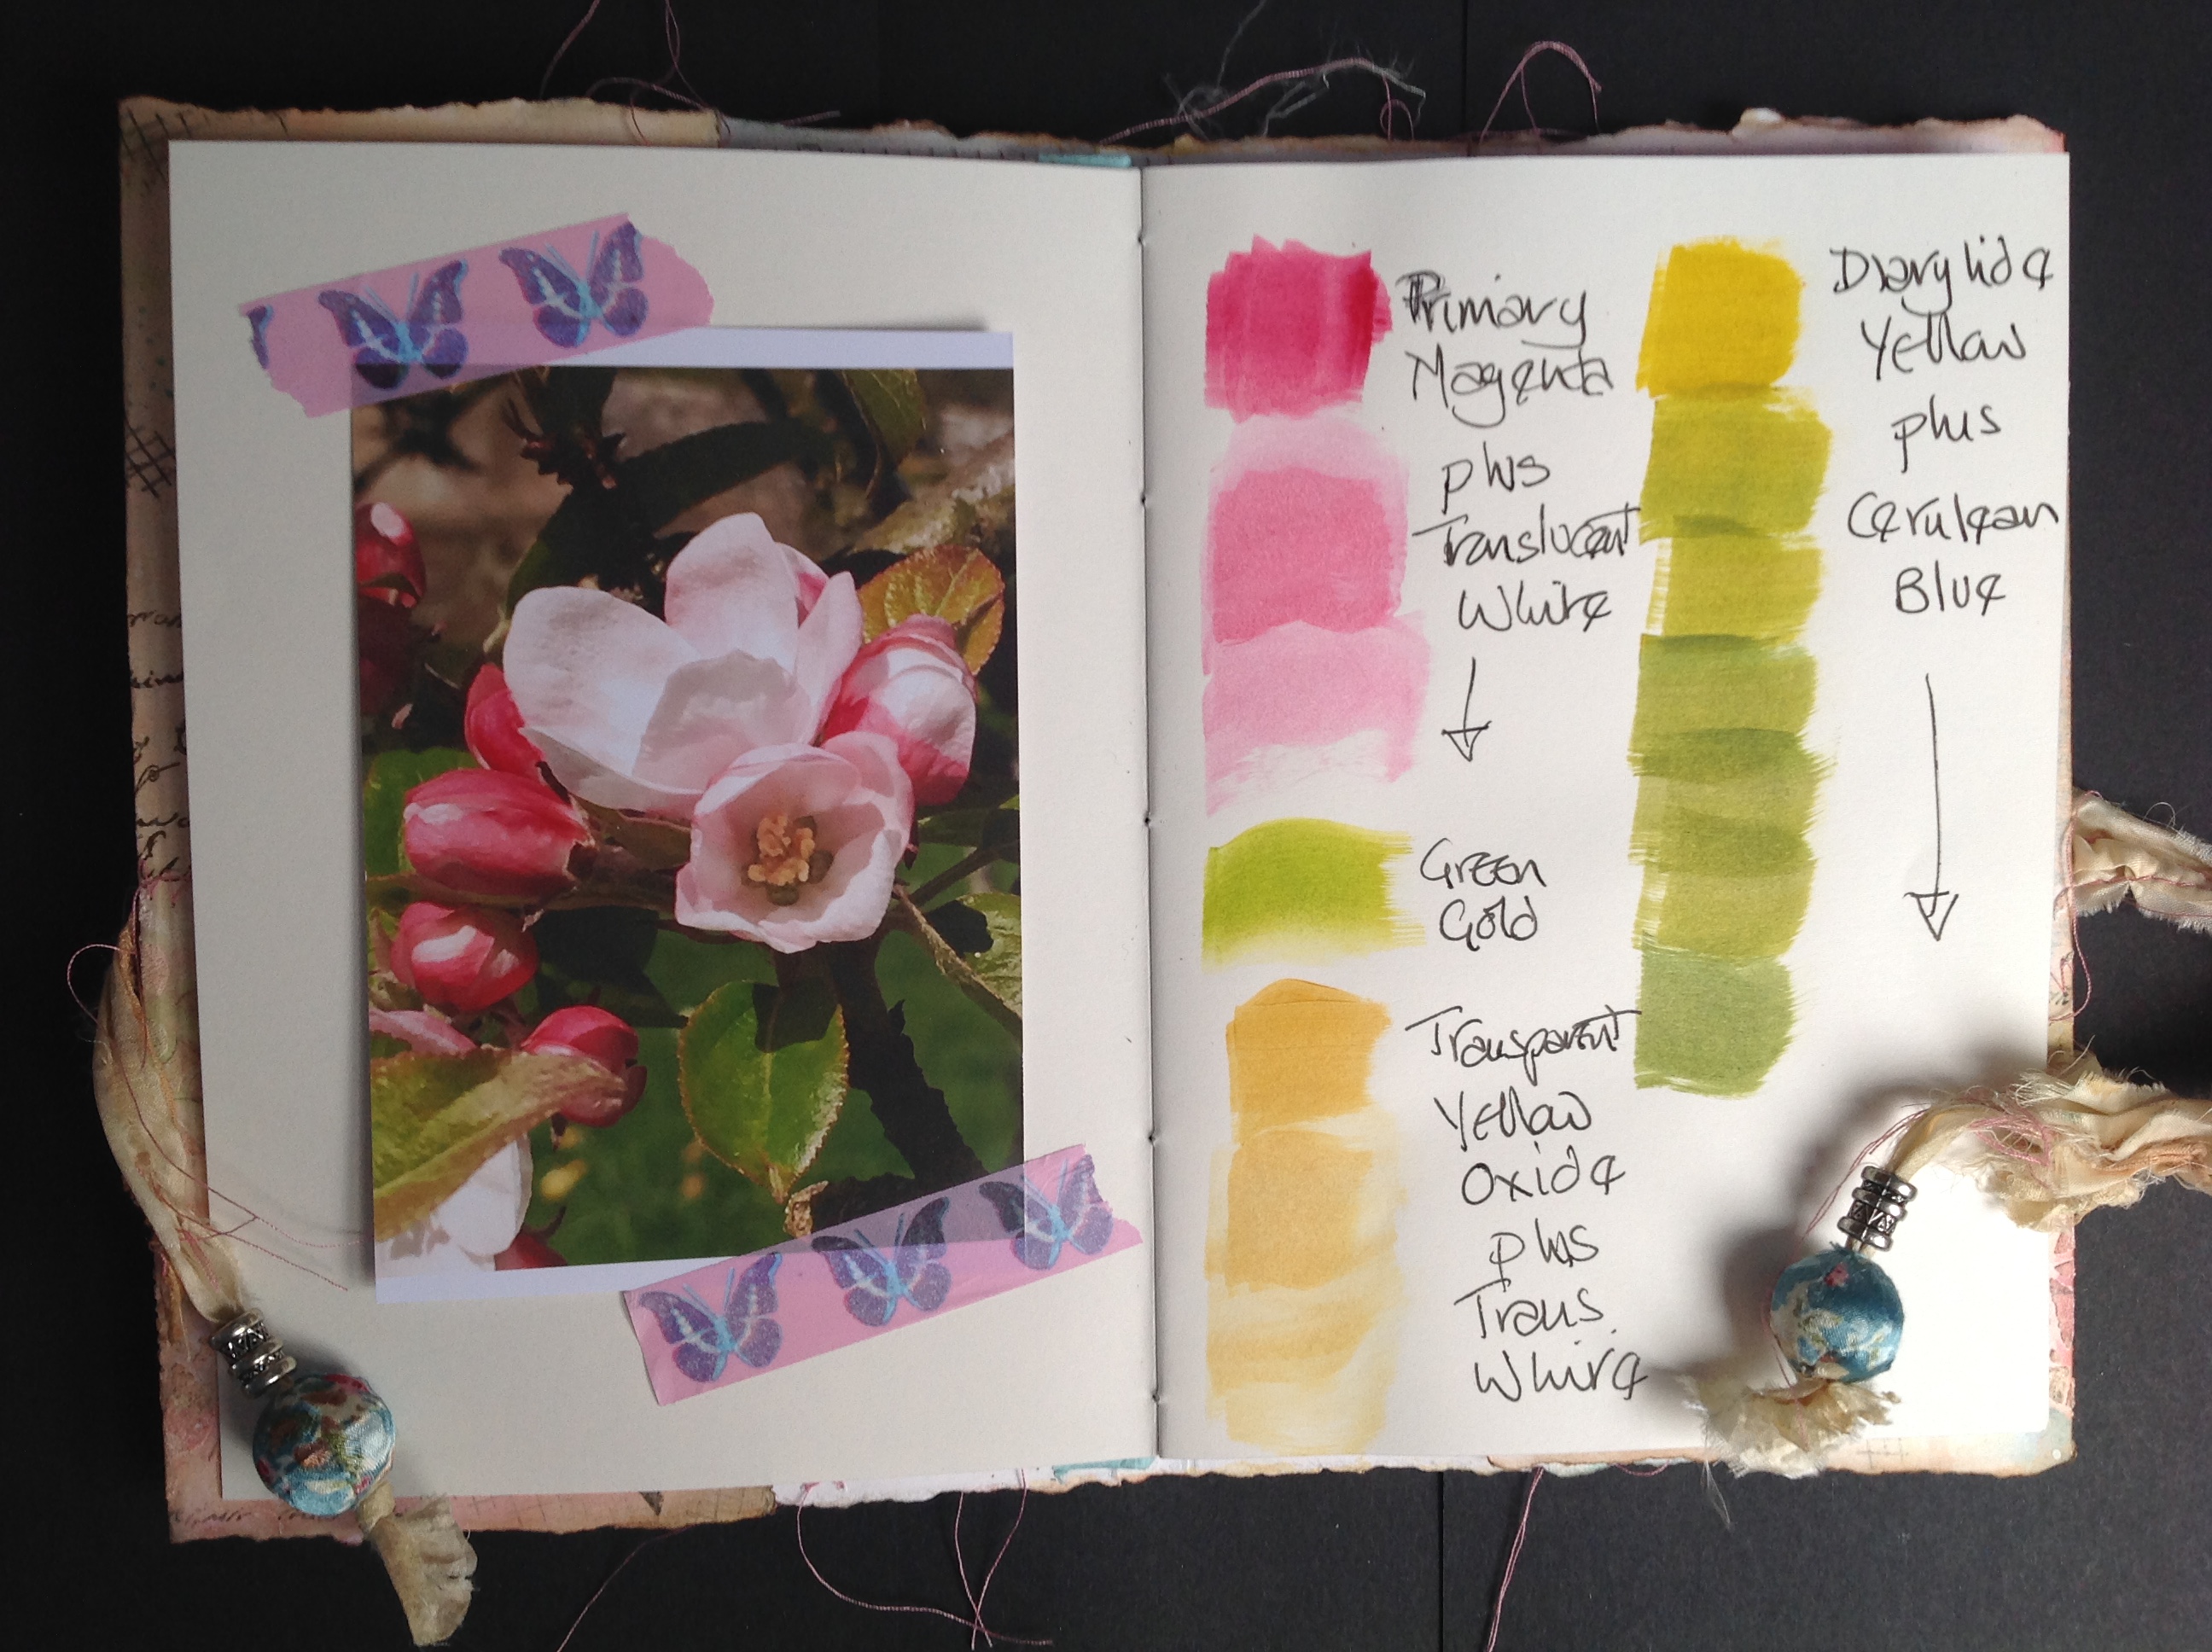
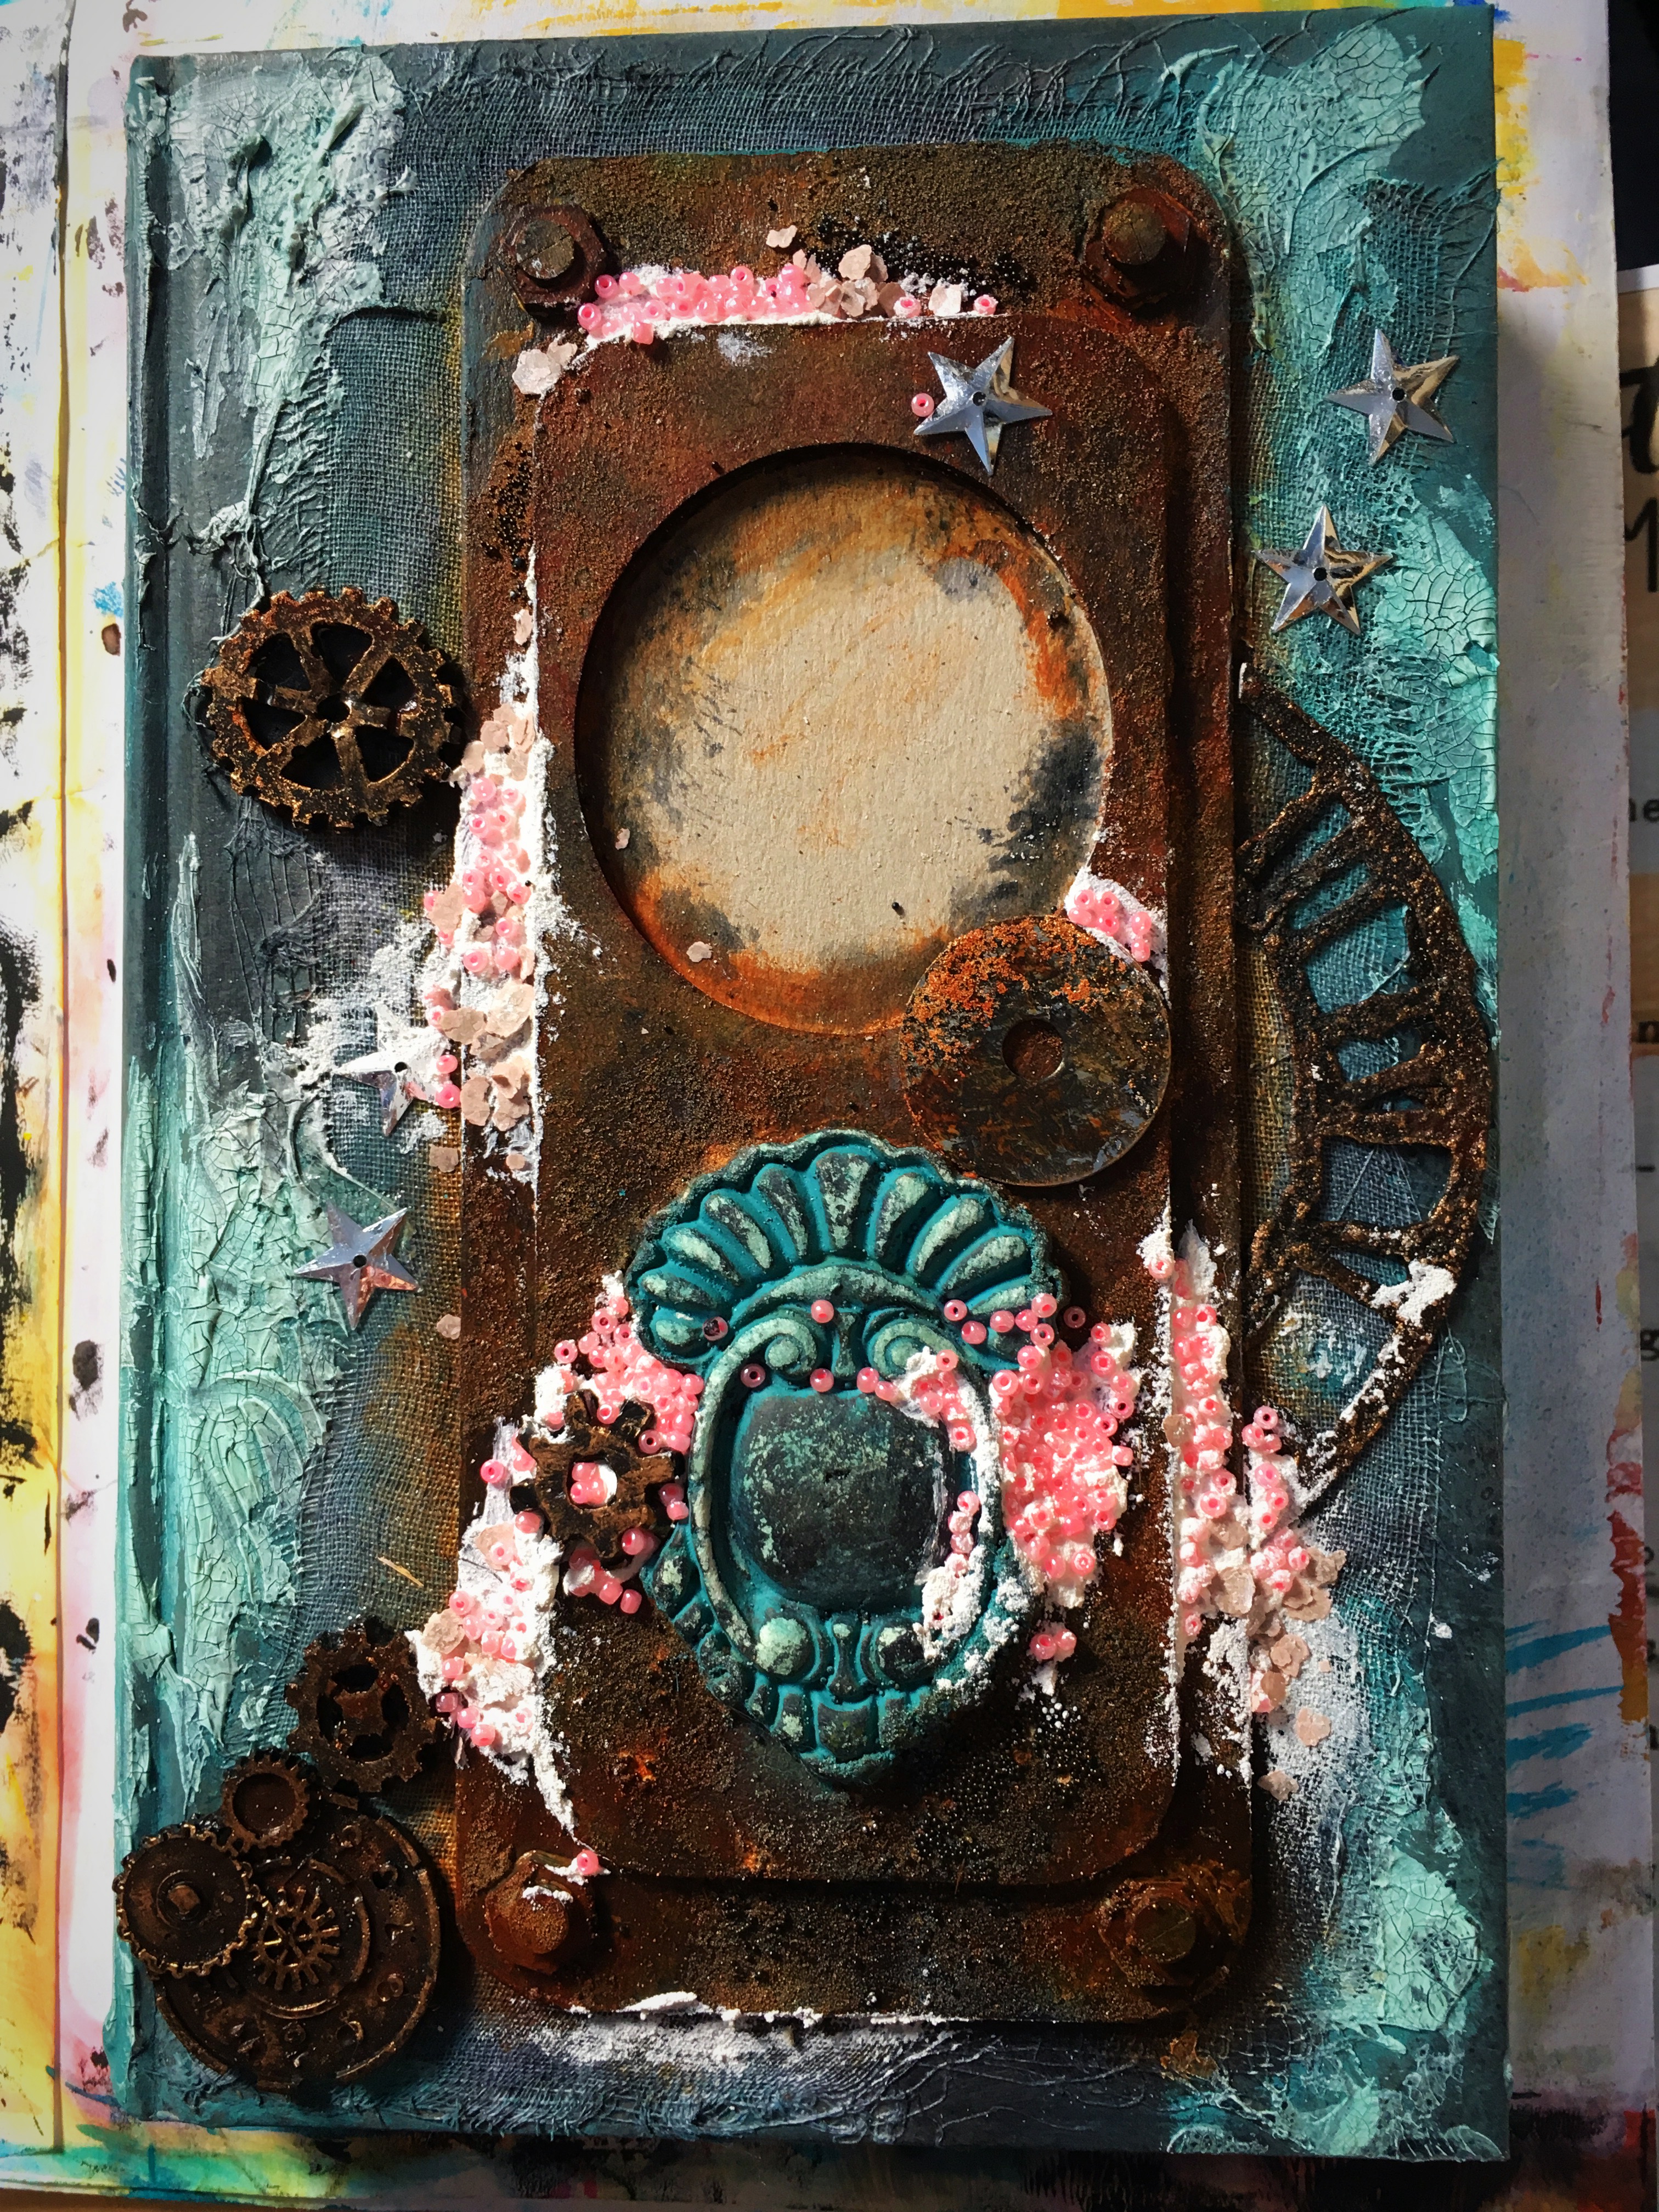
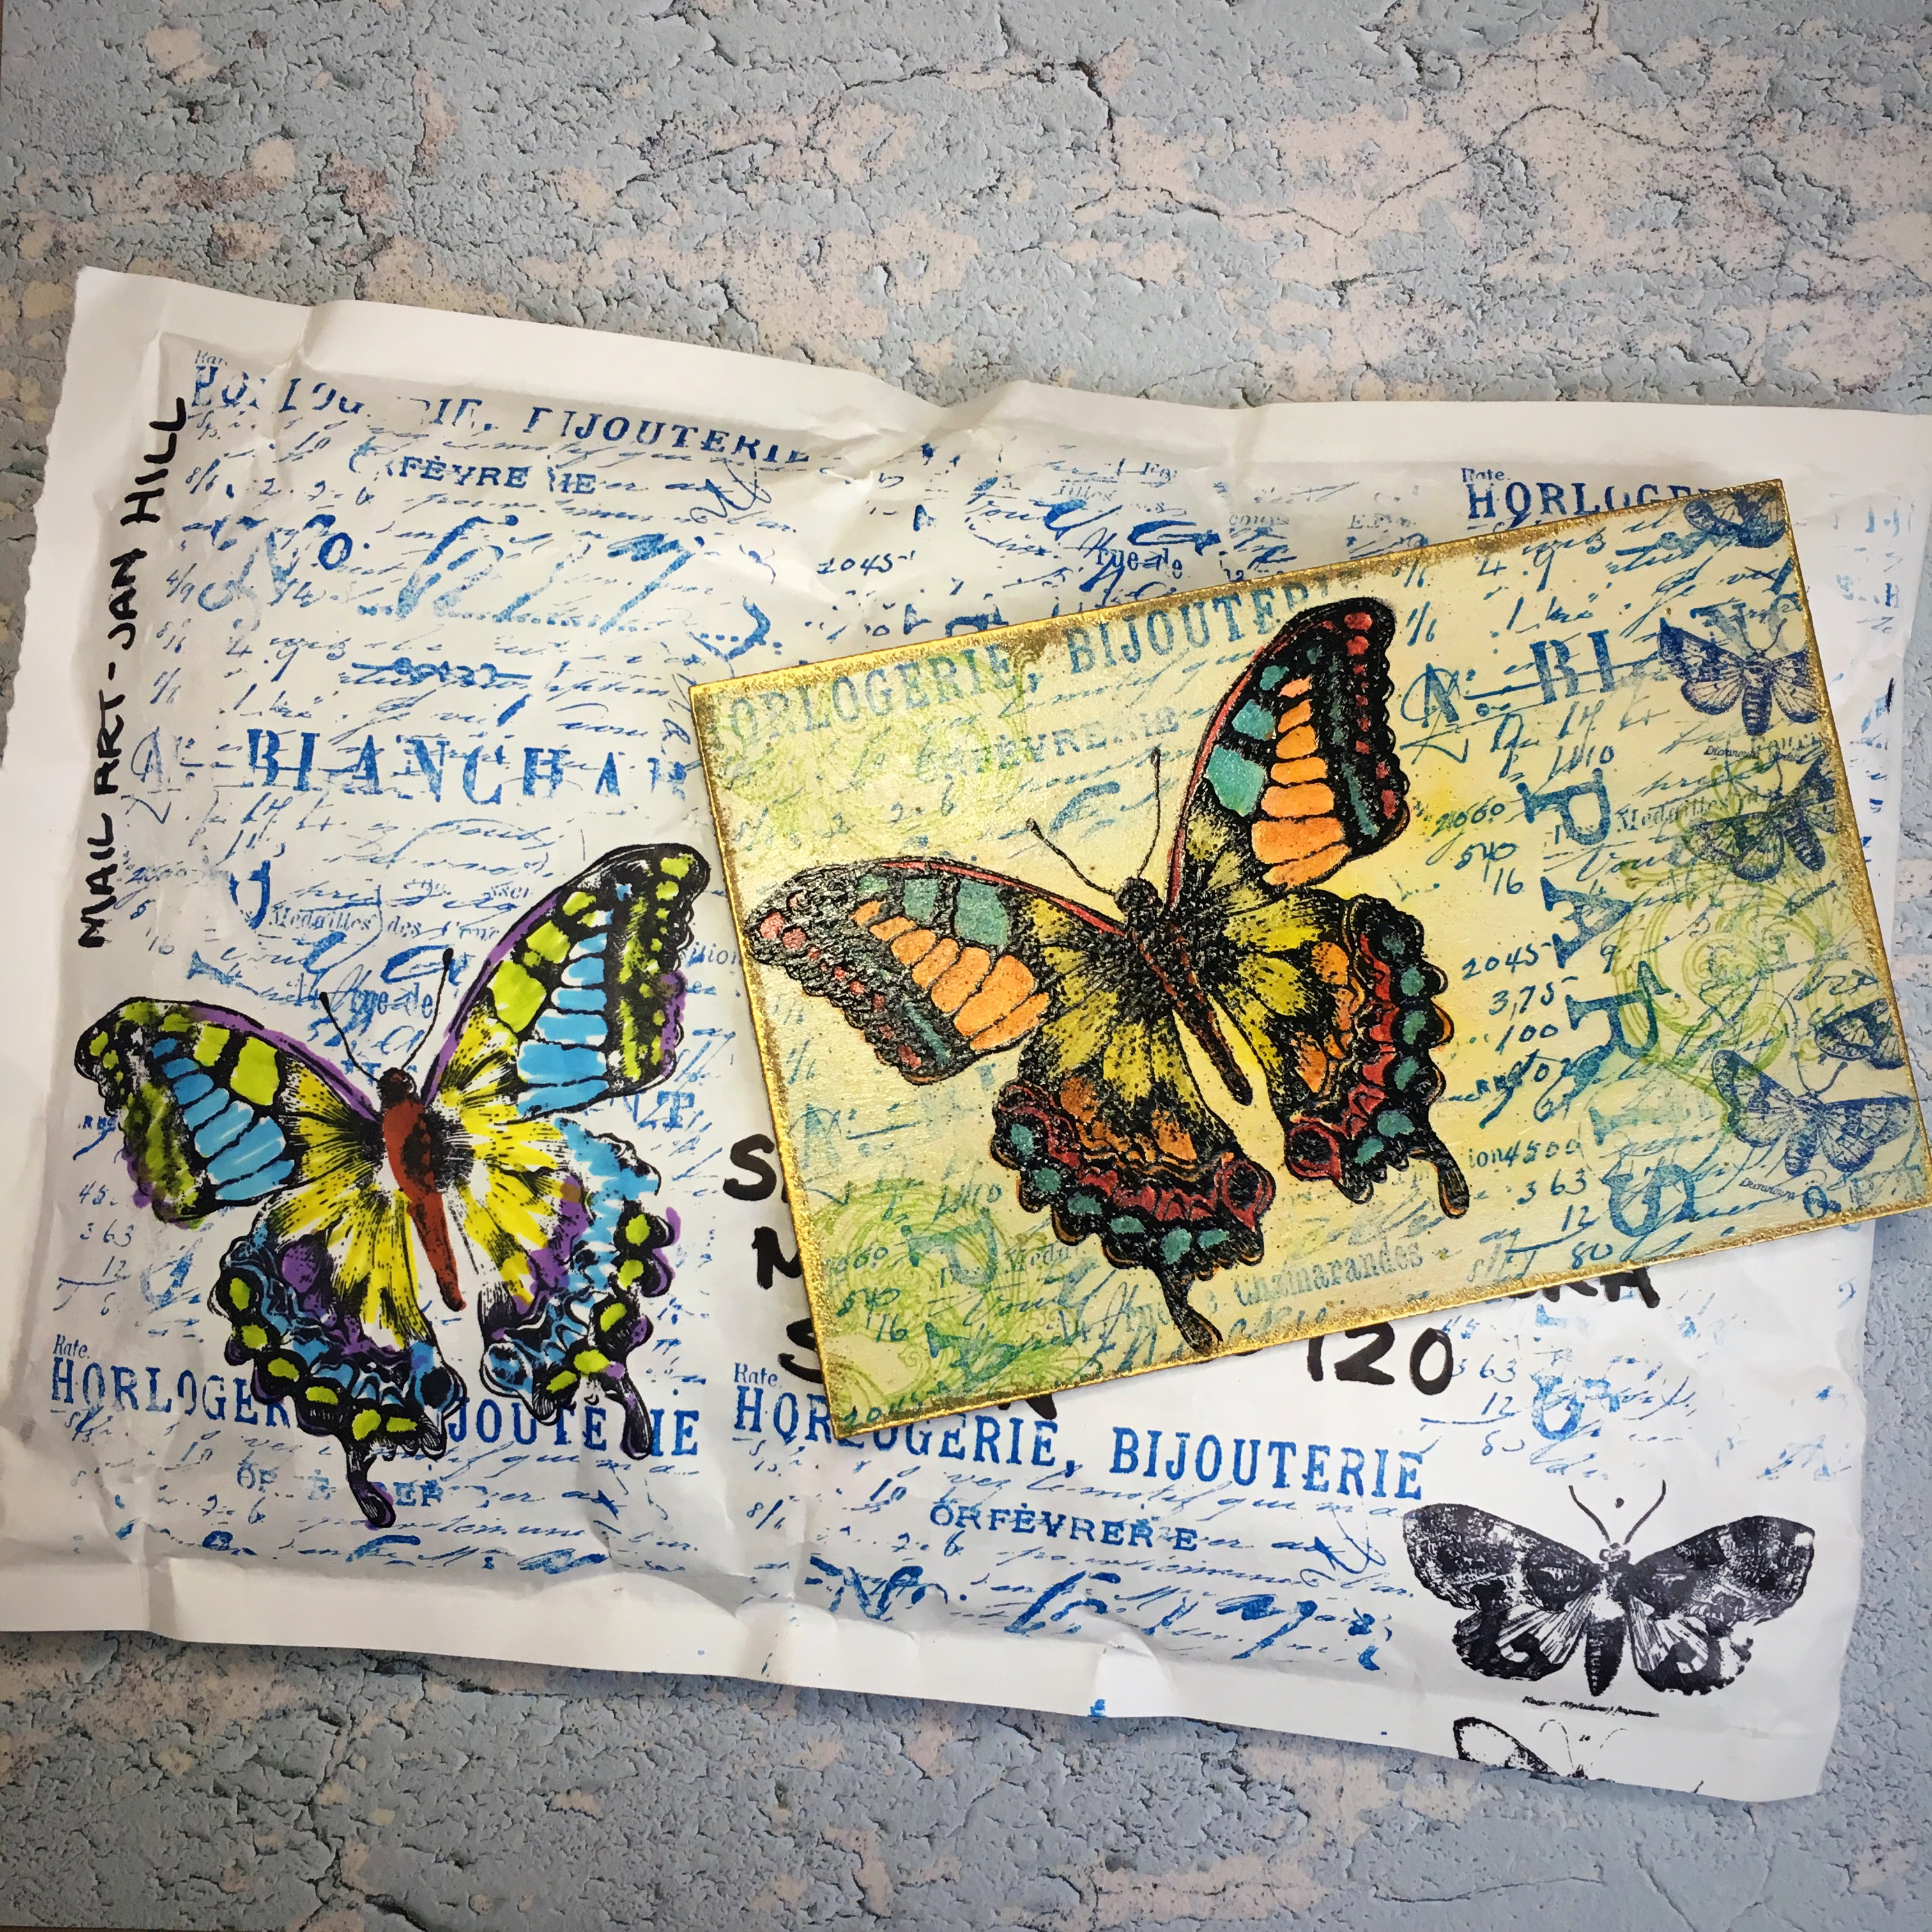
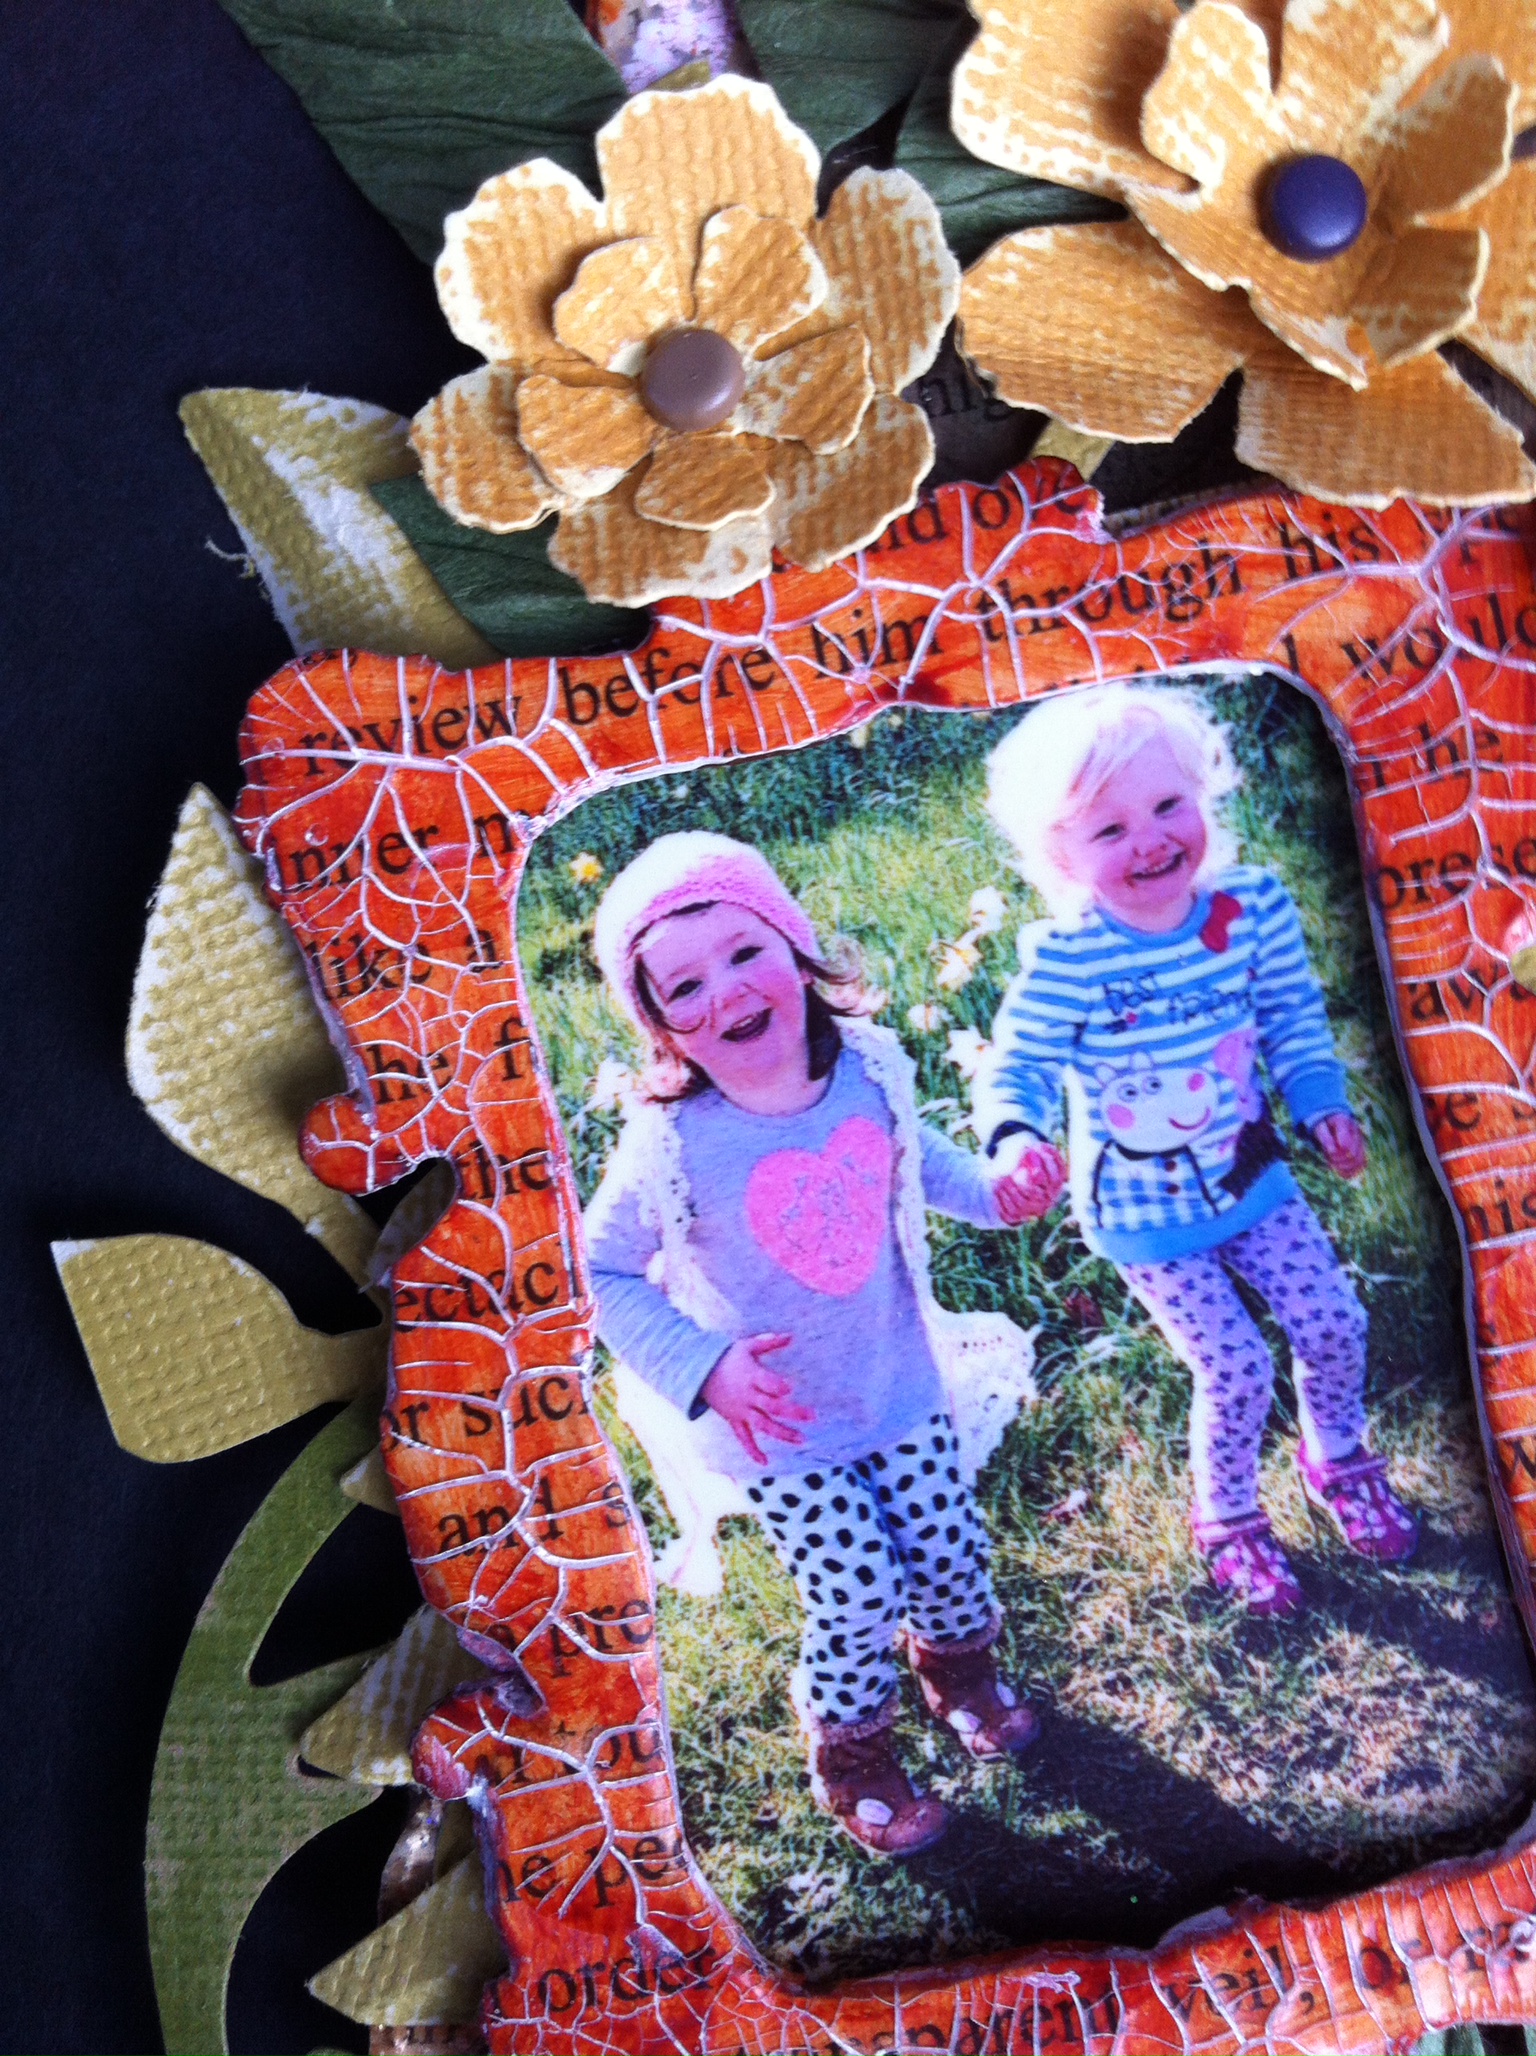
I was stuck for colours until I saw this spring blossom, the colours seemed perfect for a dreamy theme. I printed the photo and matched Decoart acrylic colours. This was useful to create a palette of colour.

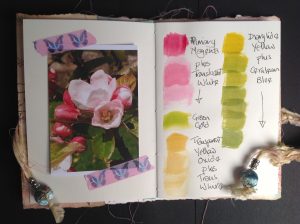
I used Decoart paints to create the shades I needed.


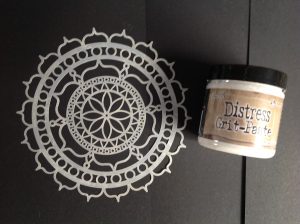
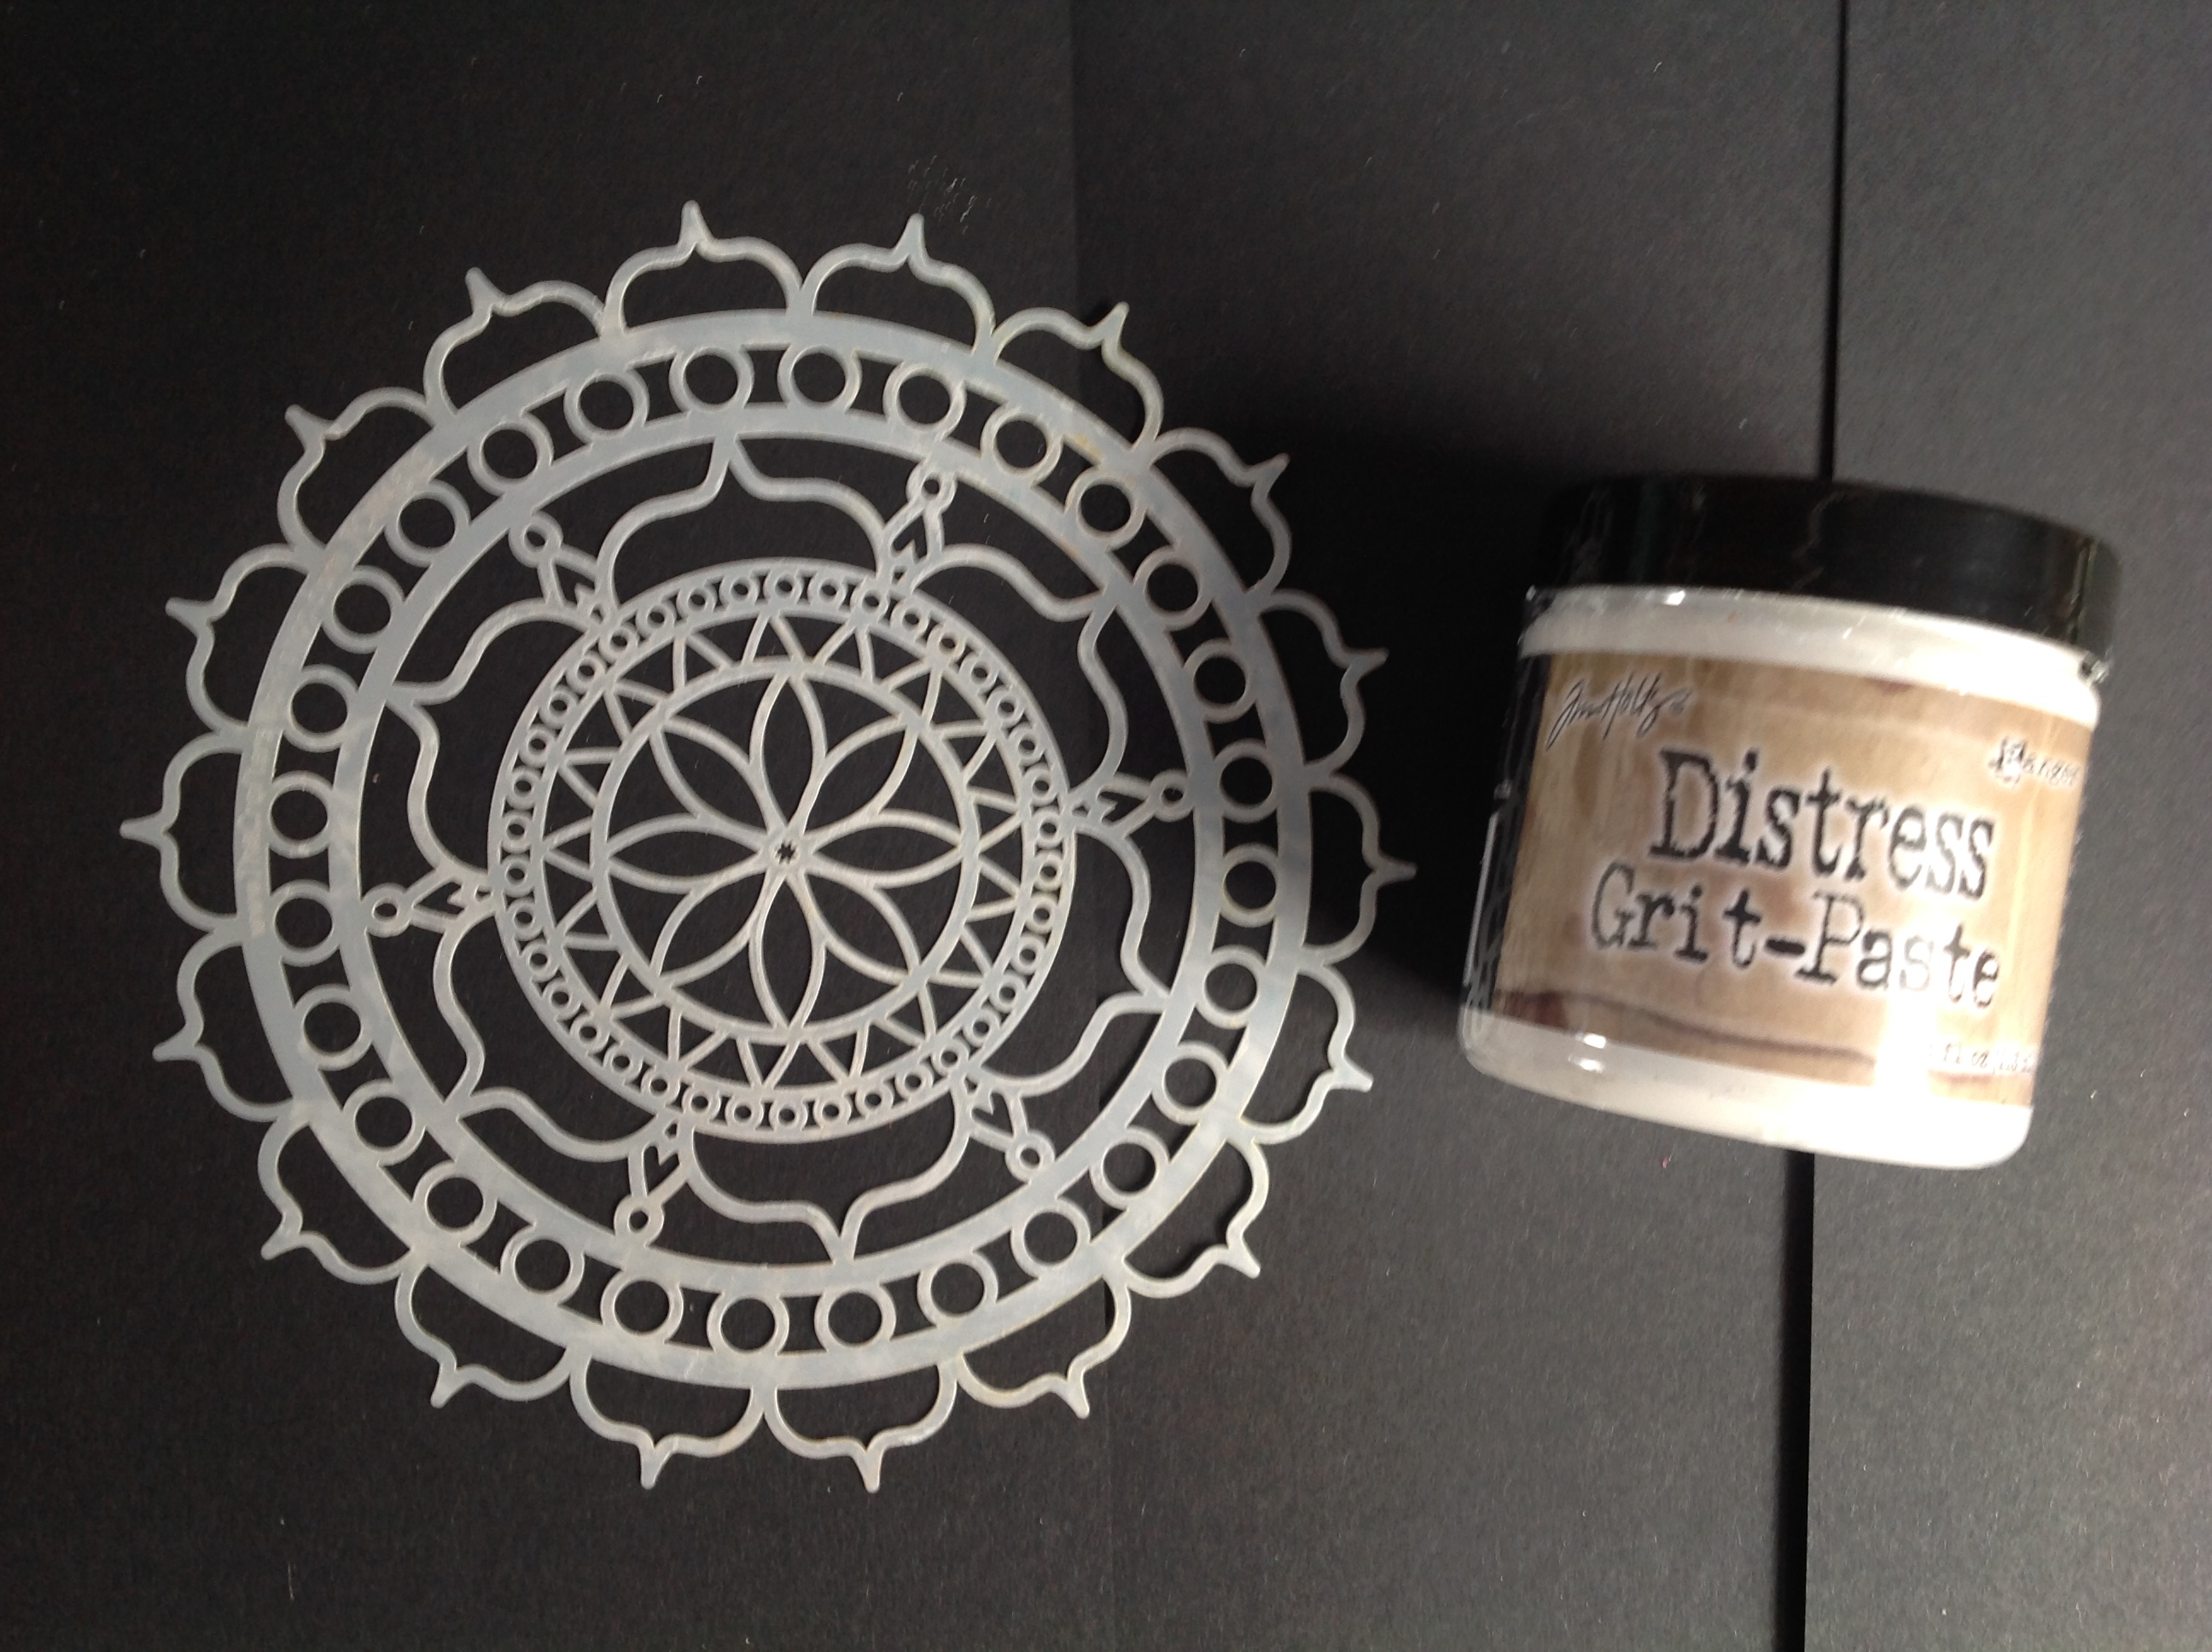
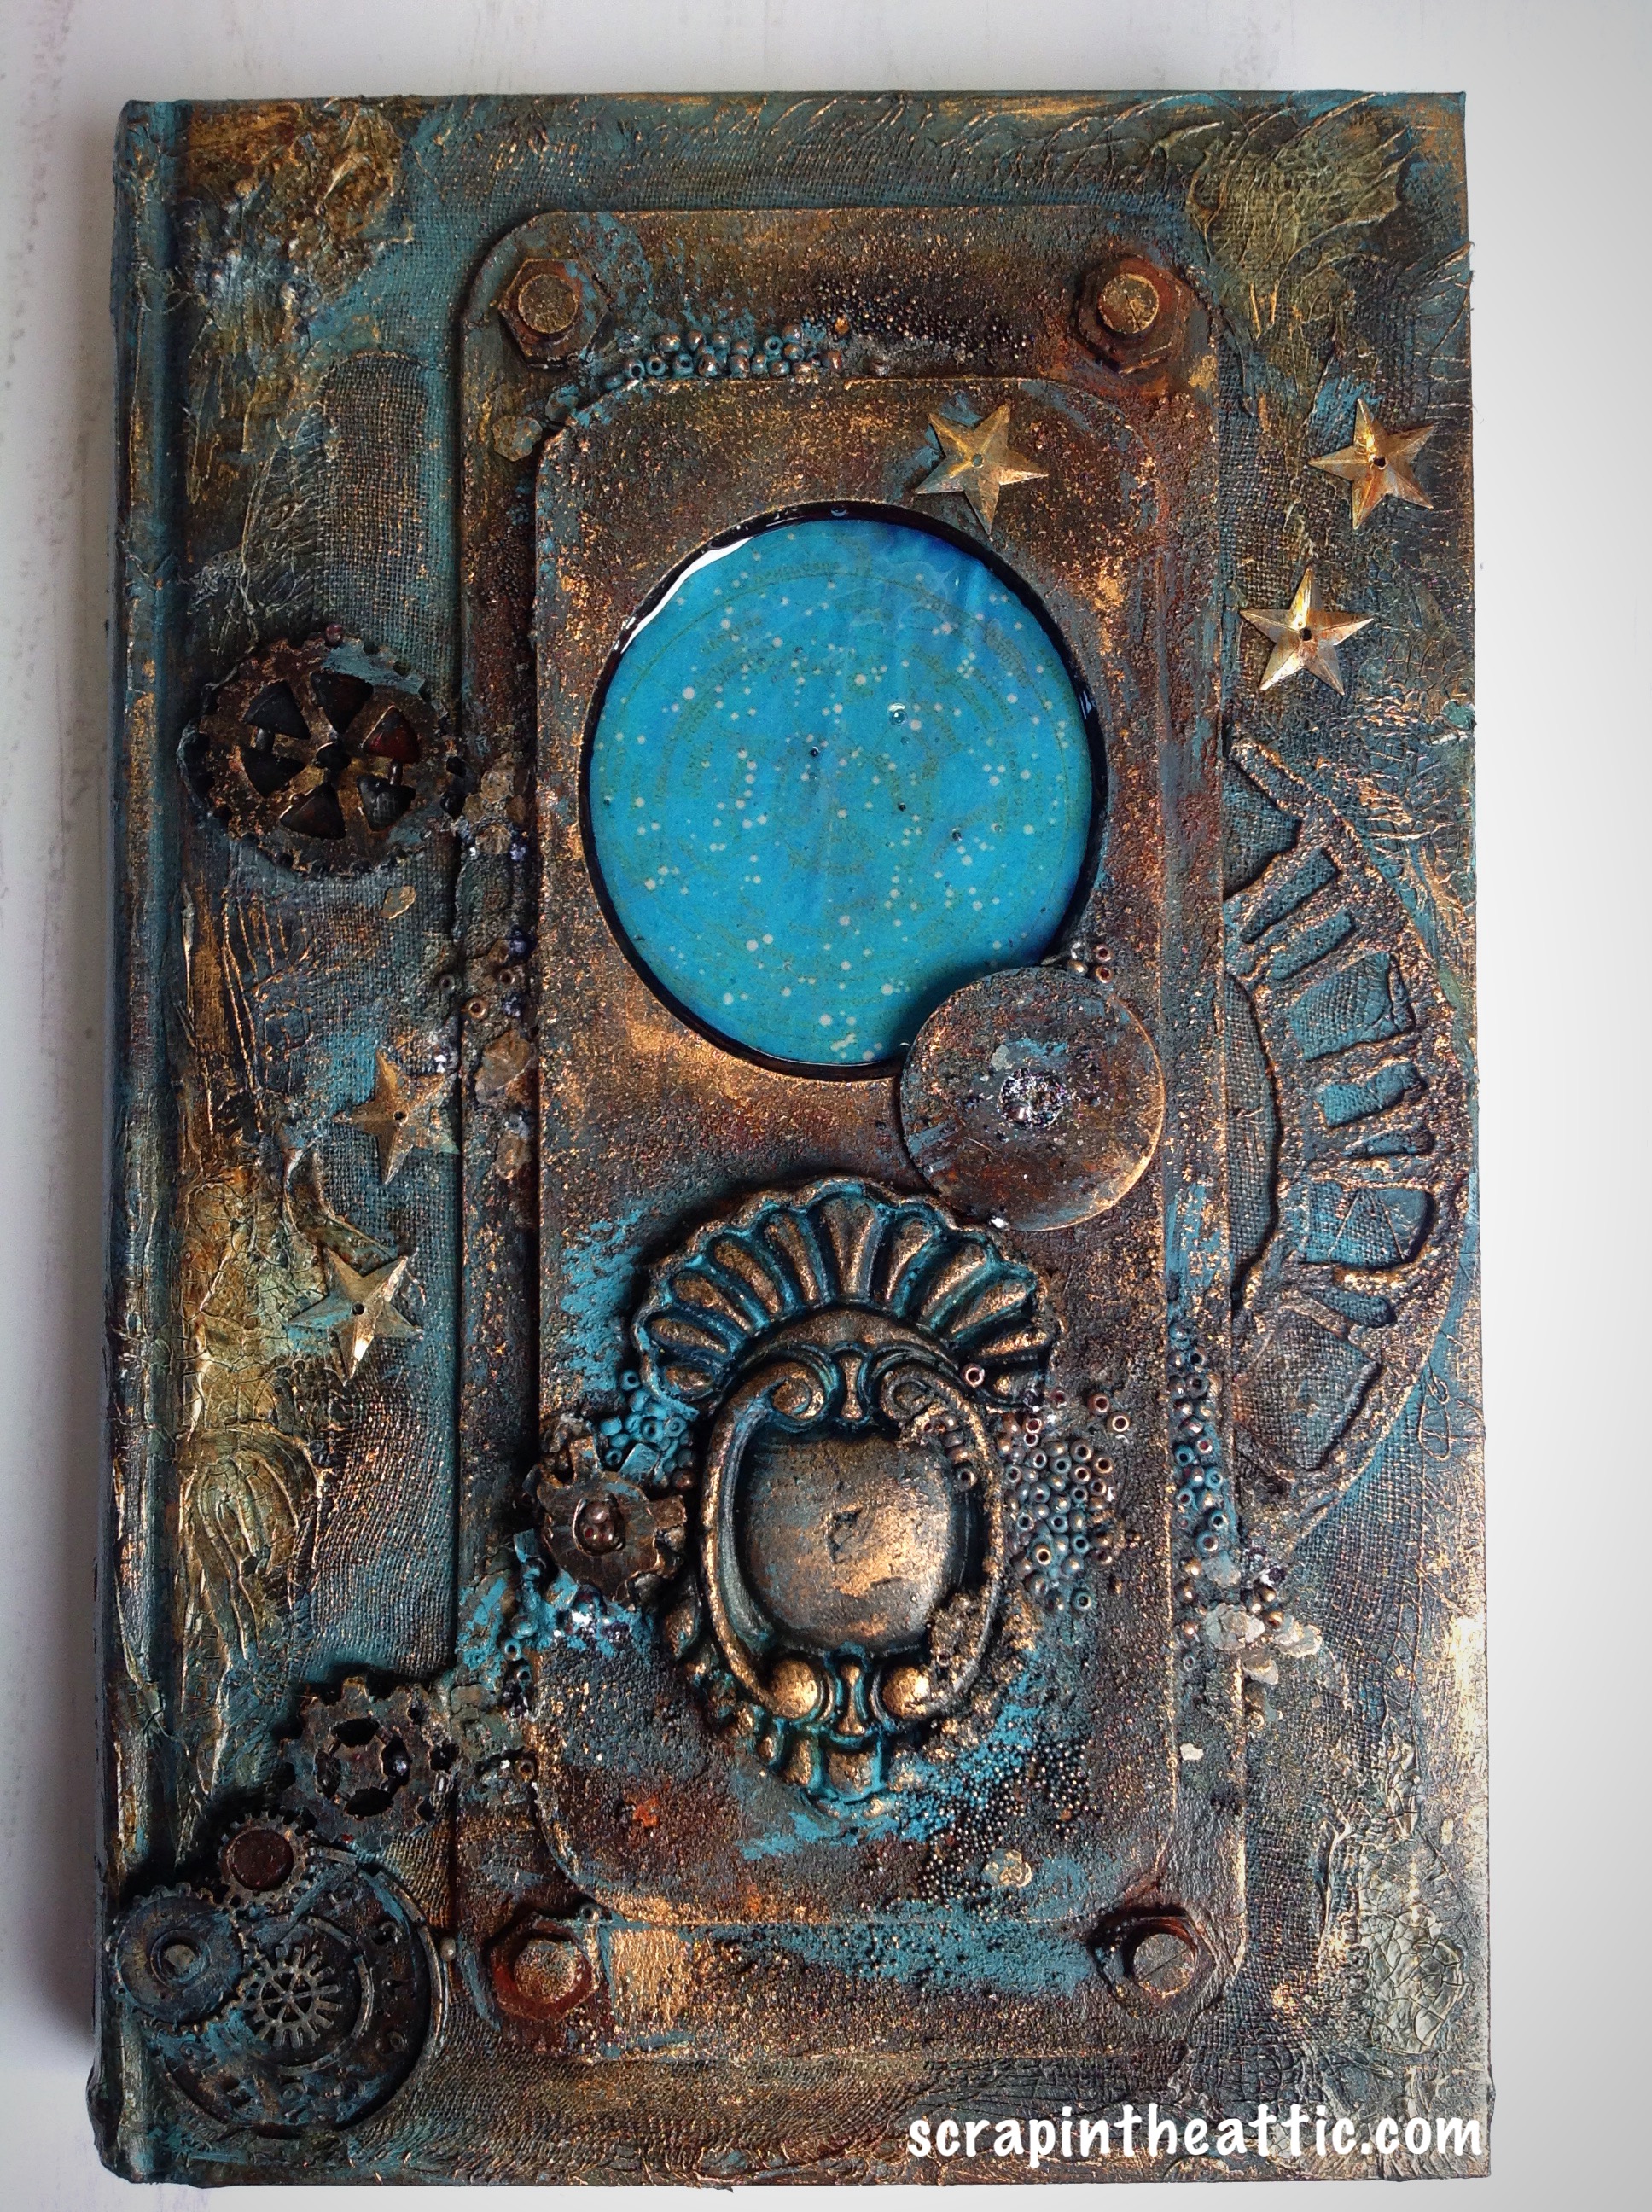
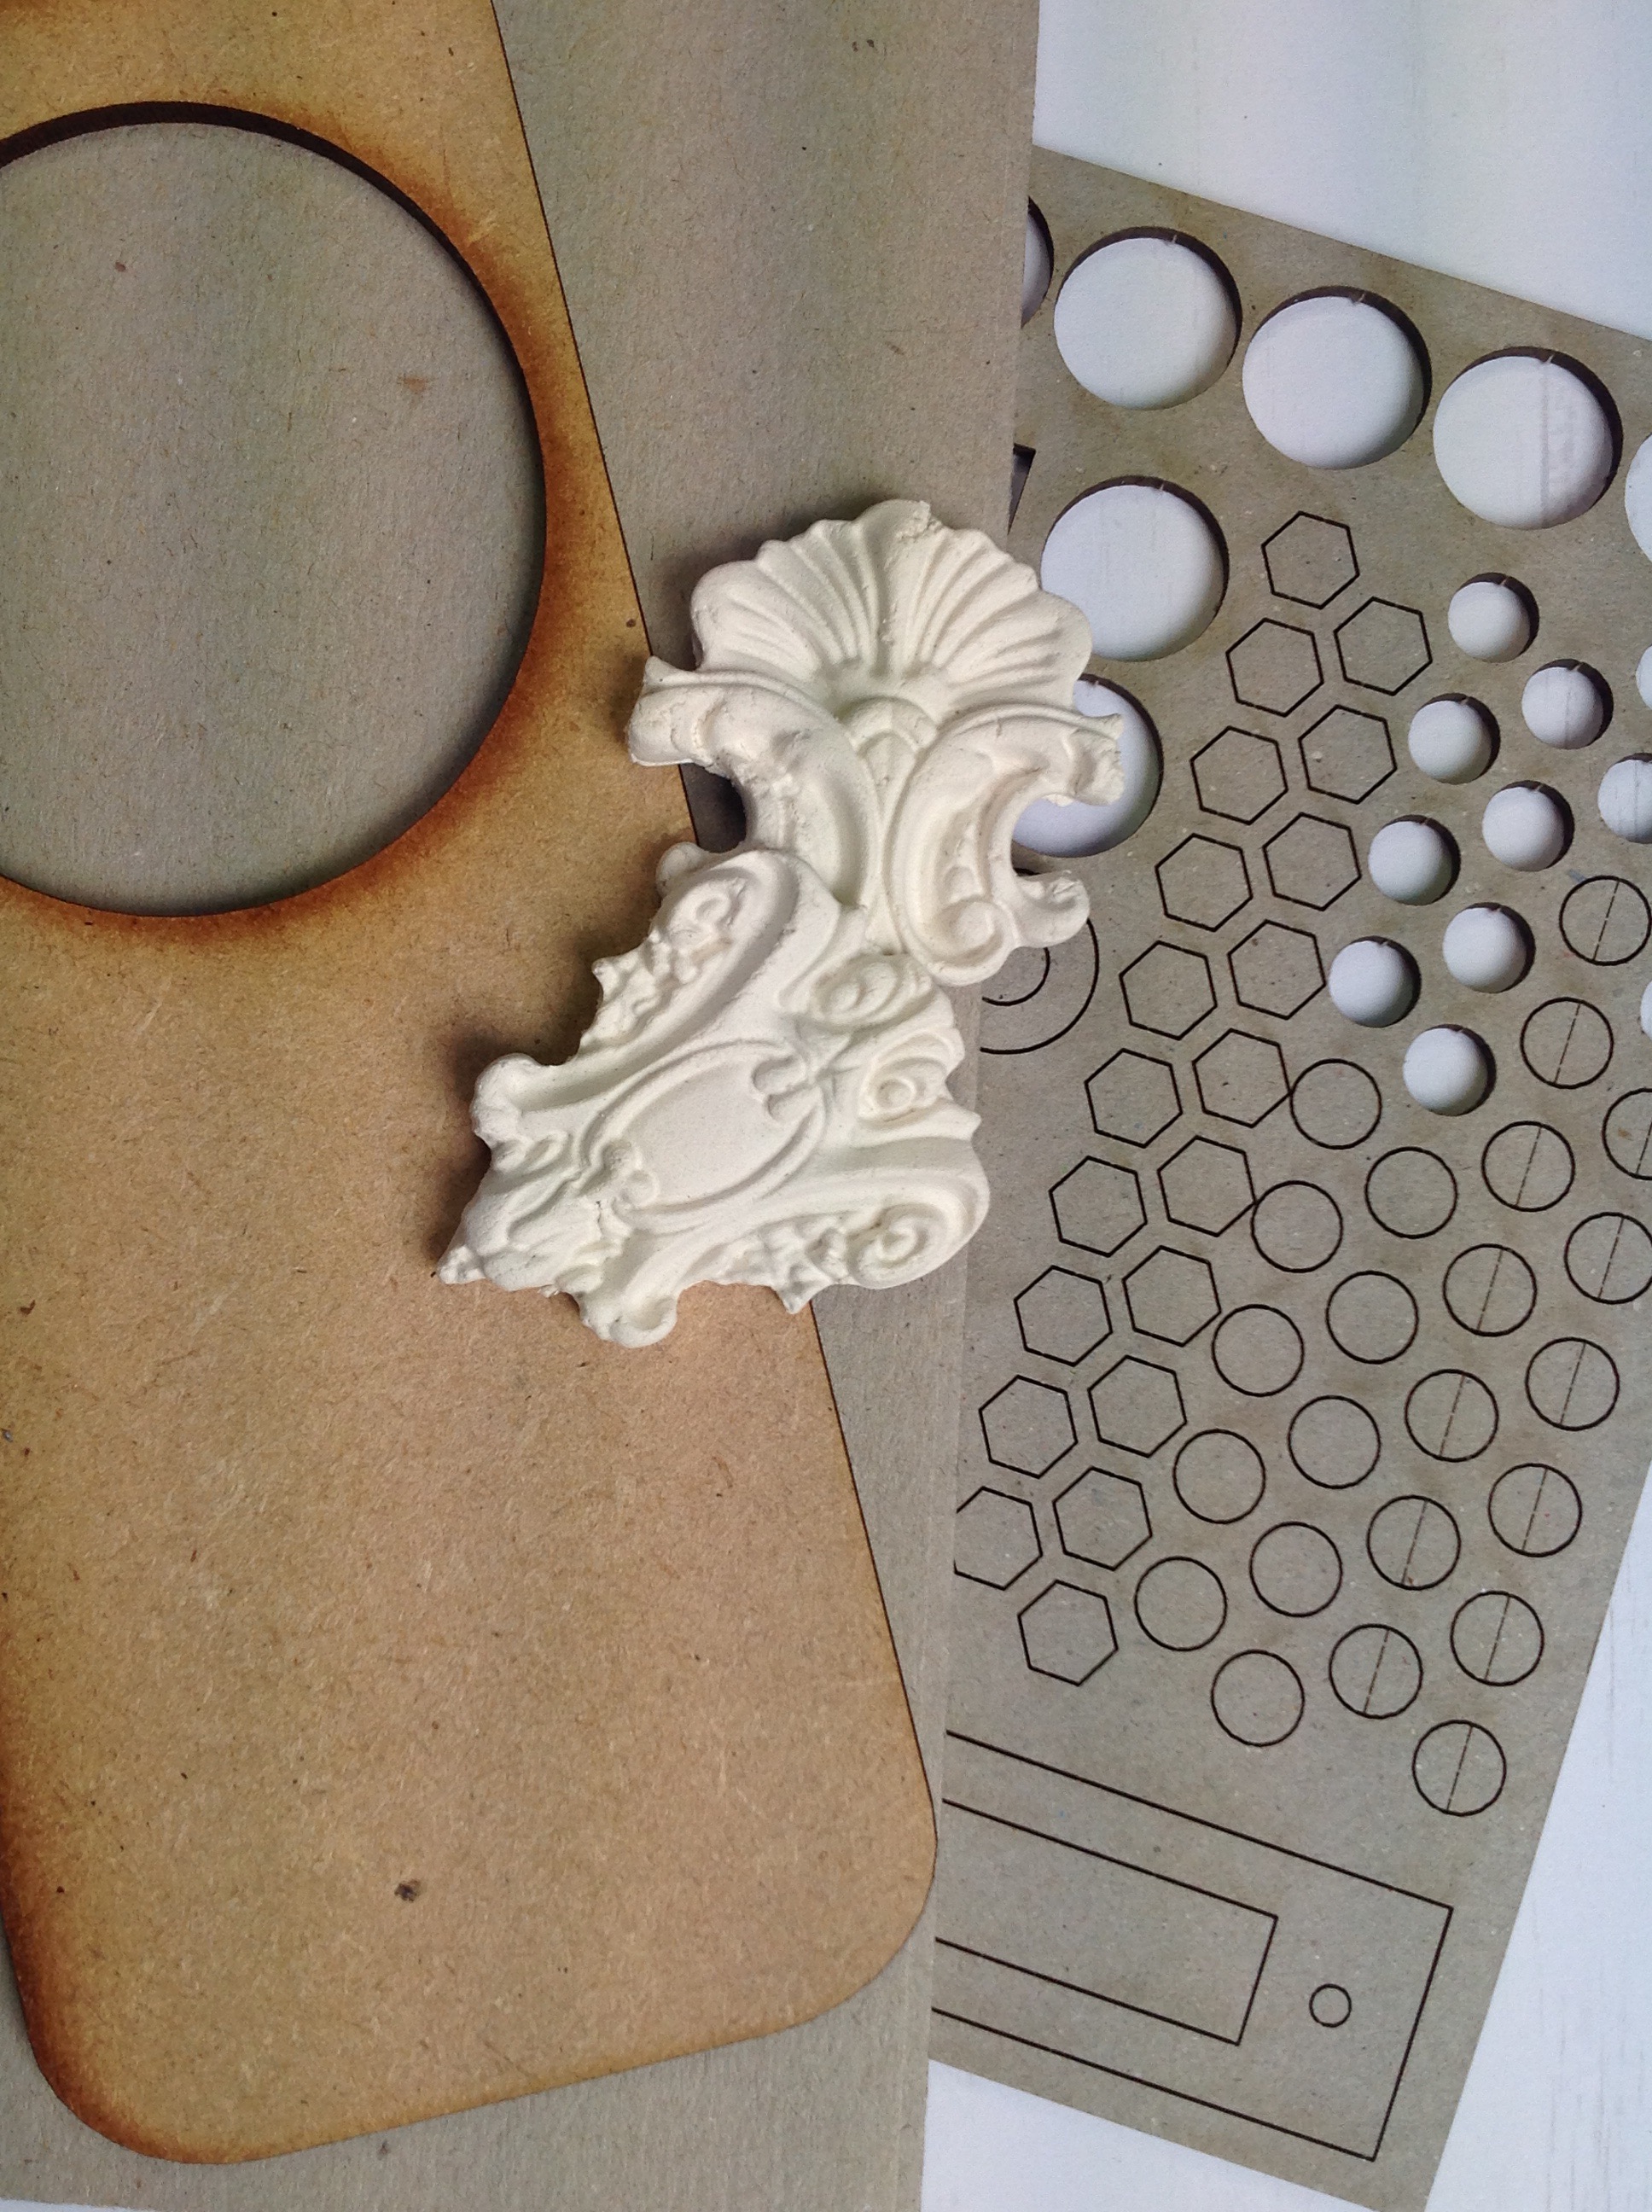
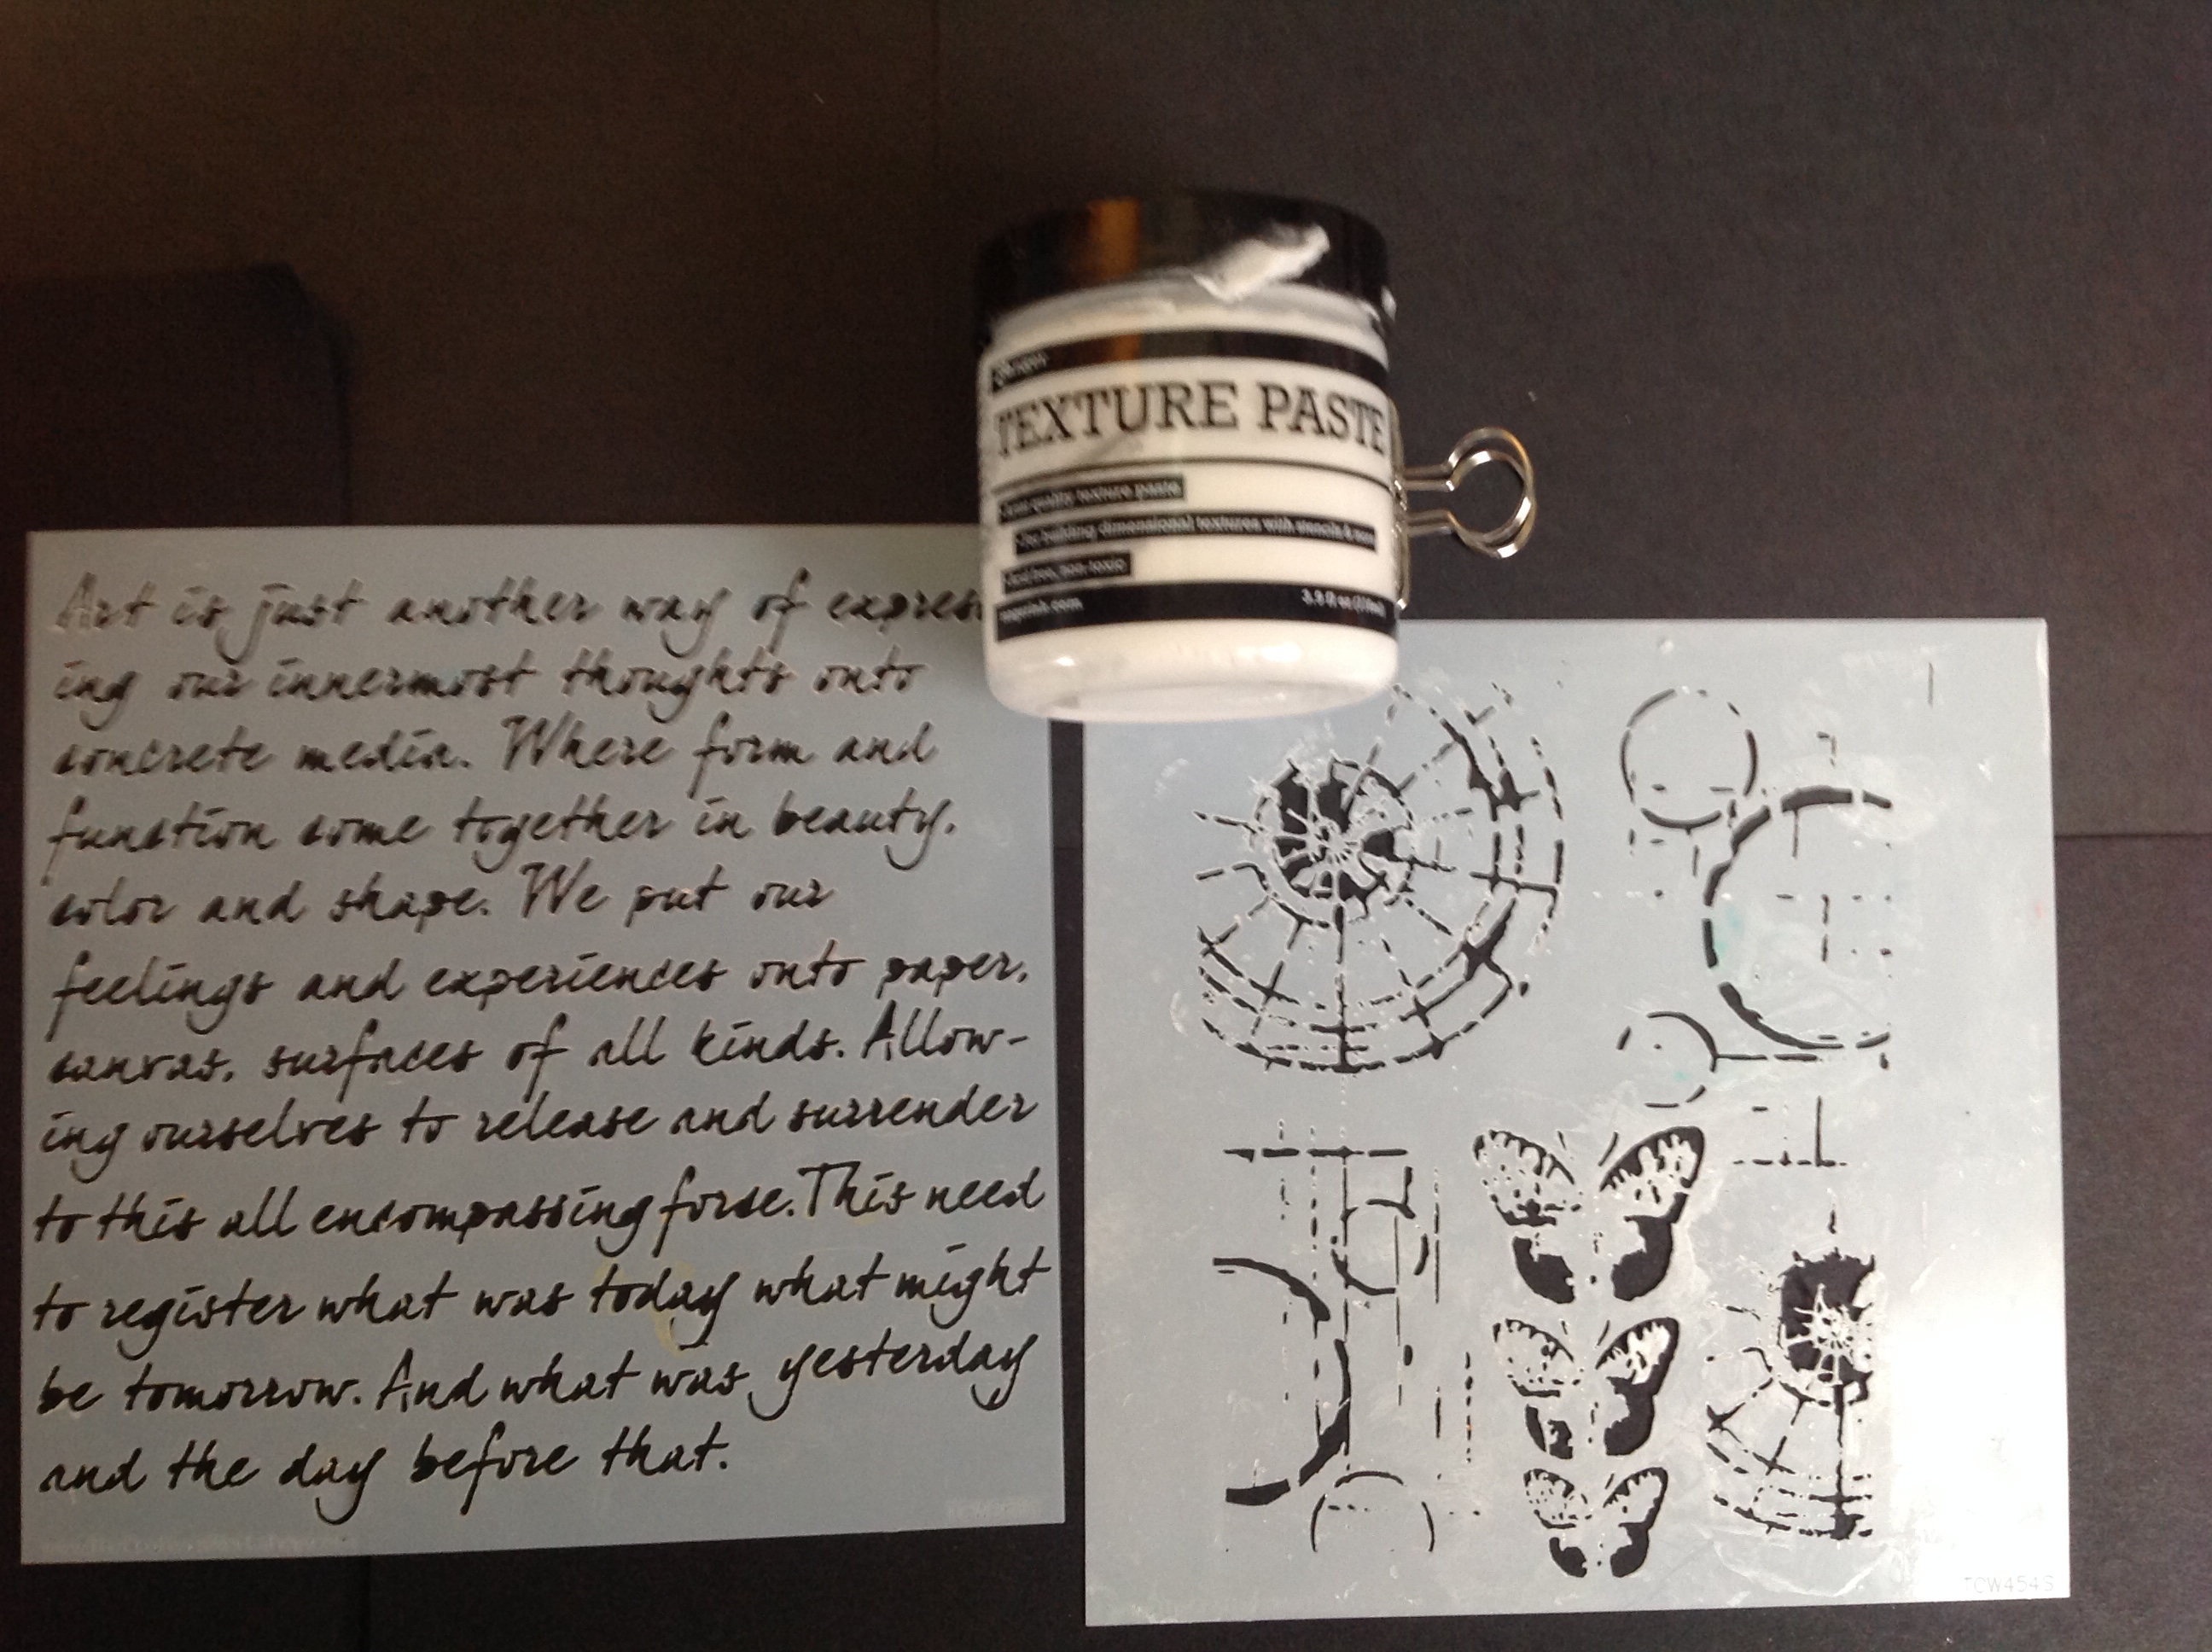
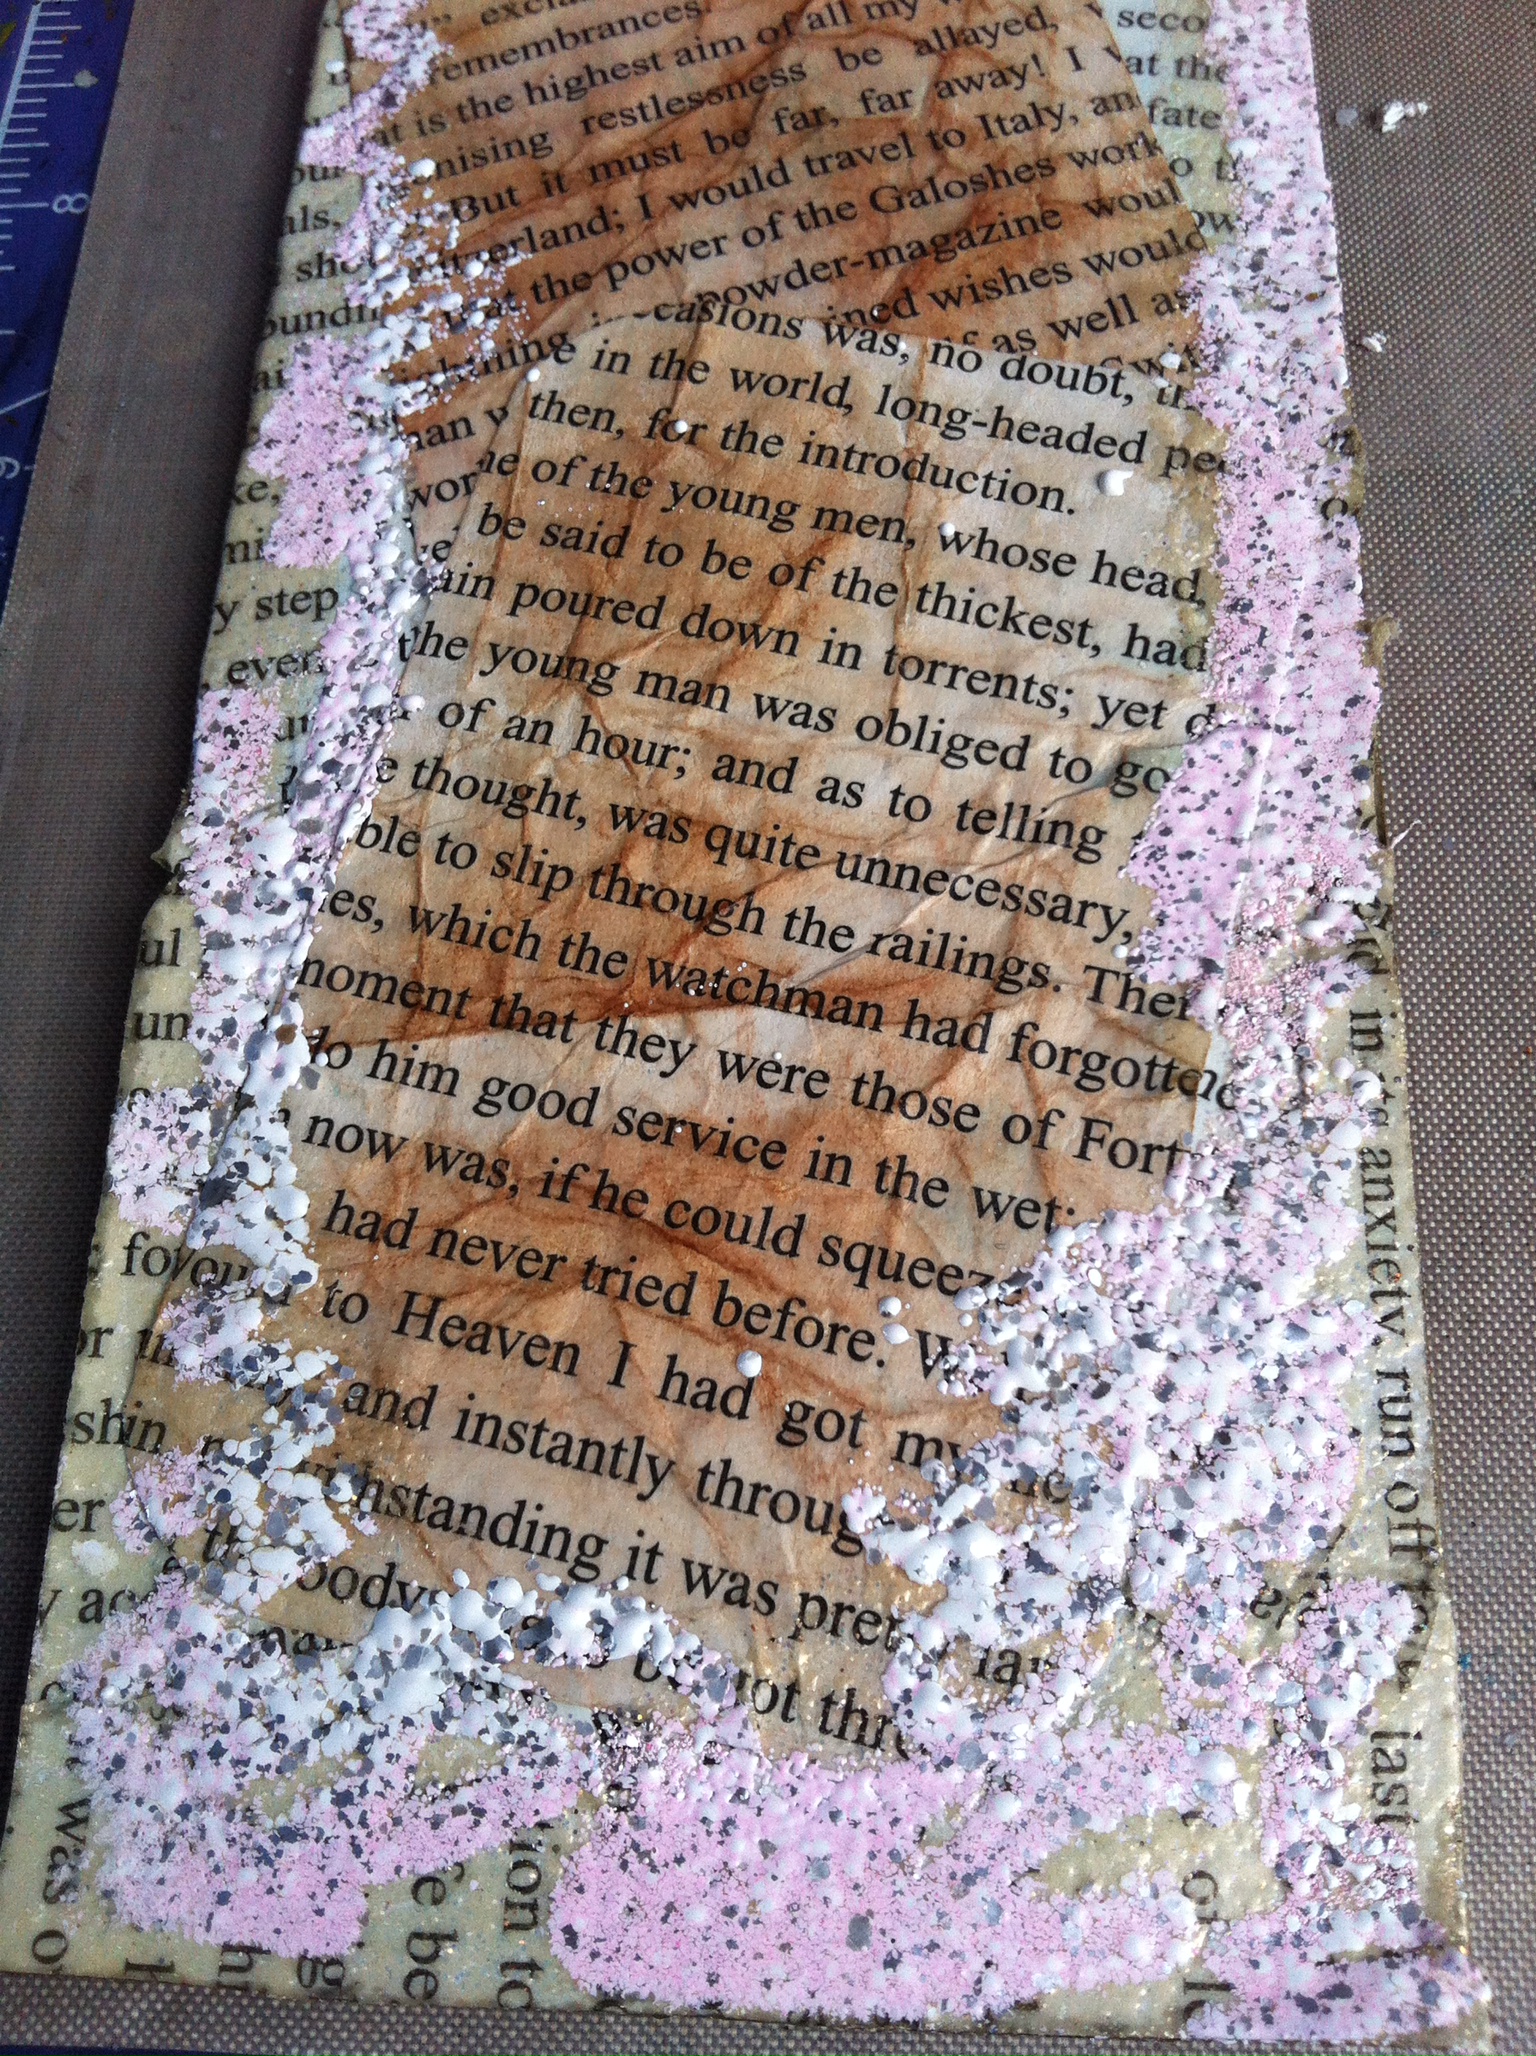
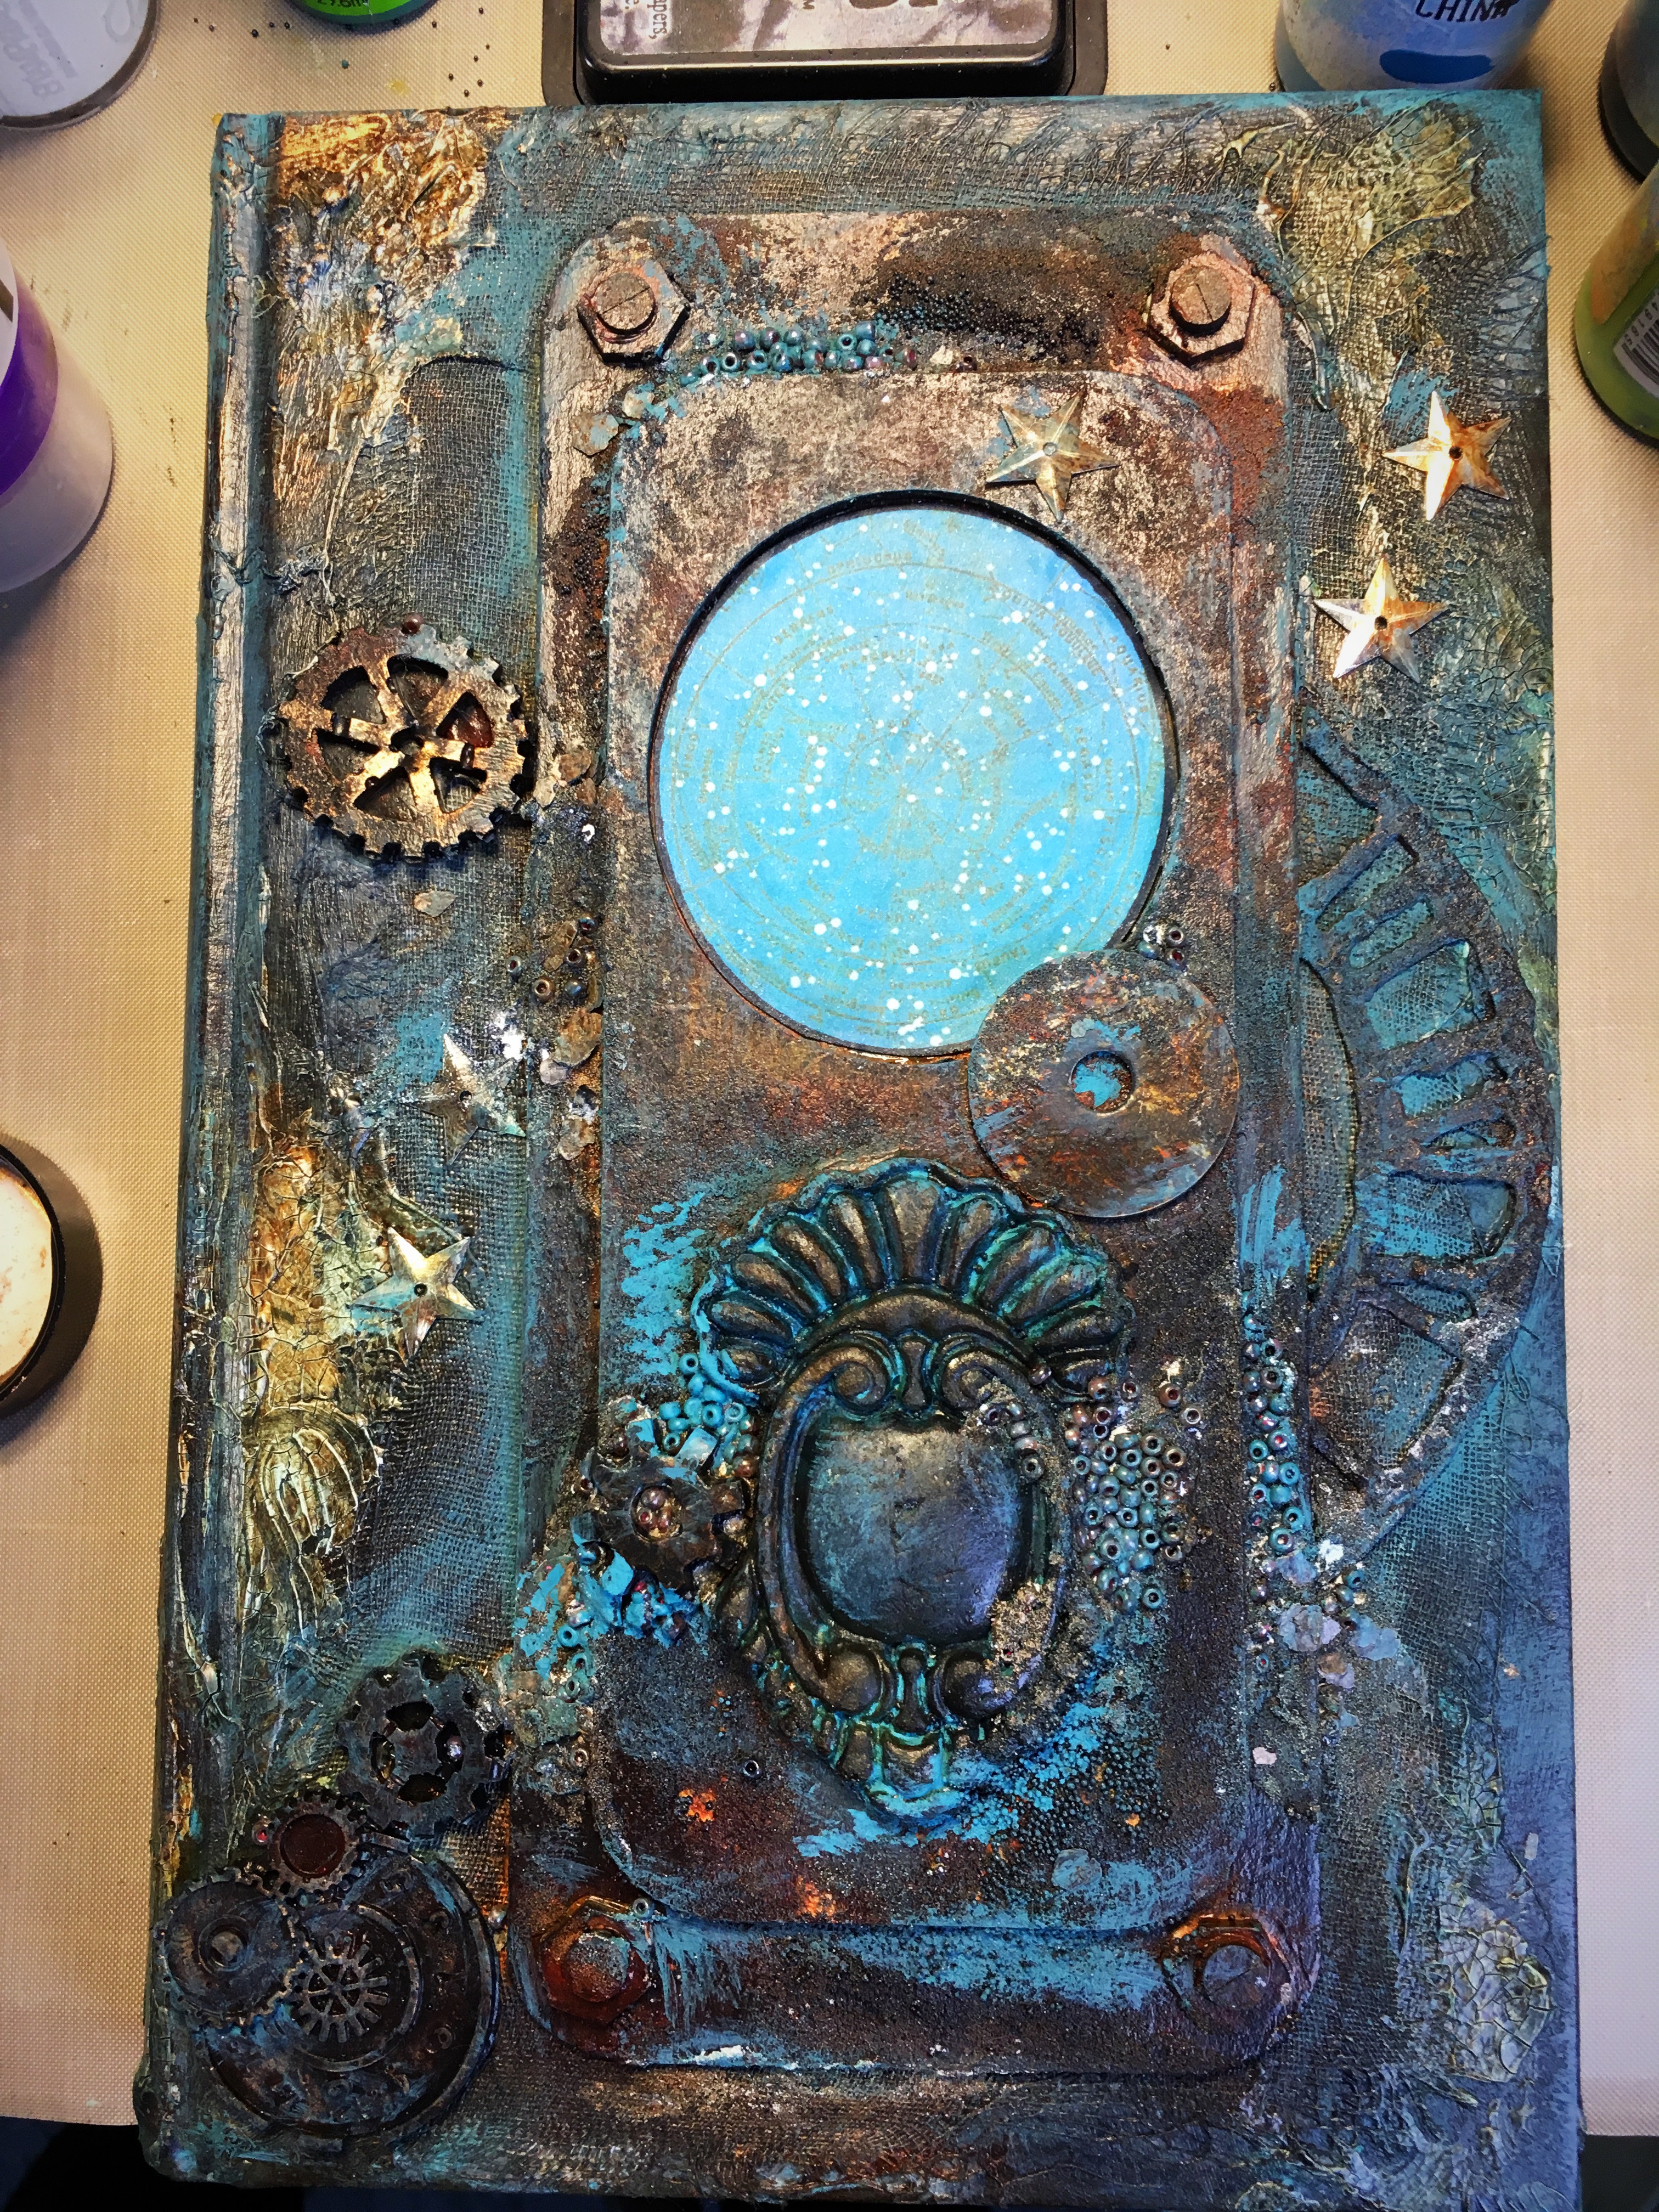
The stencil was a Mandela, the pattern reminded me of endless dreams. I used TH Distress Texture paste, it is light and takes colour well. The paint was dripped and spritzed along with some Distress Crayons.

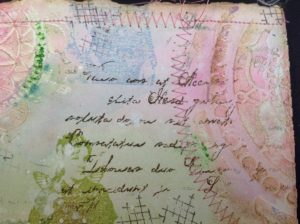
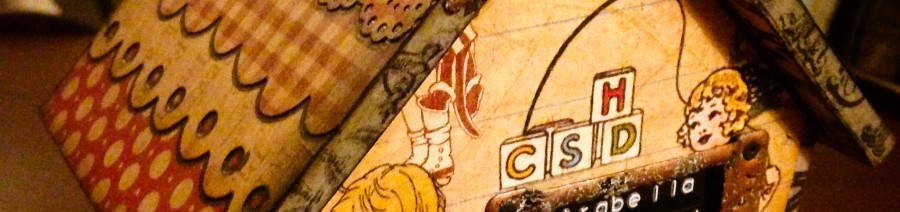
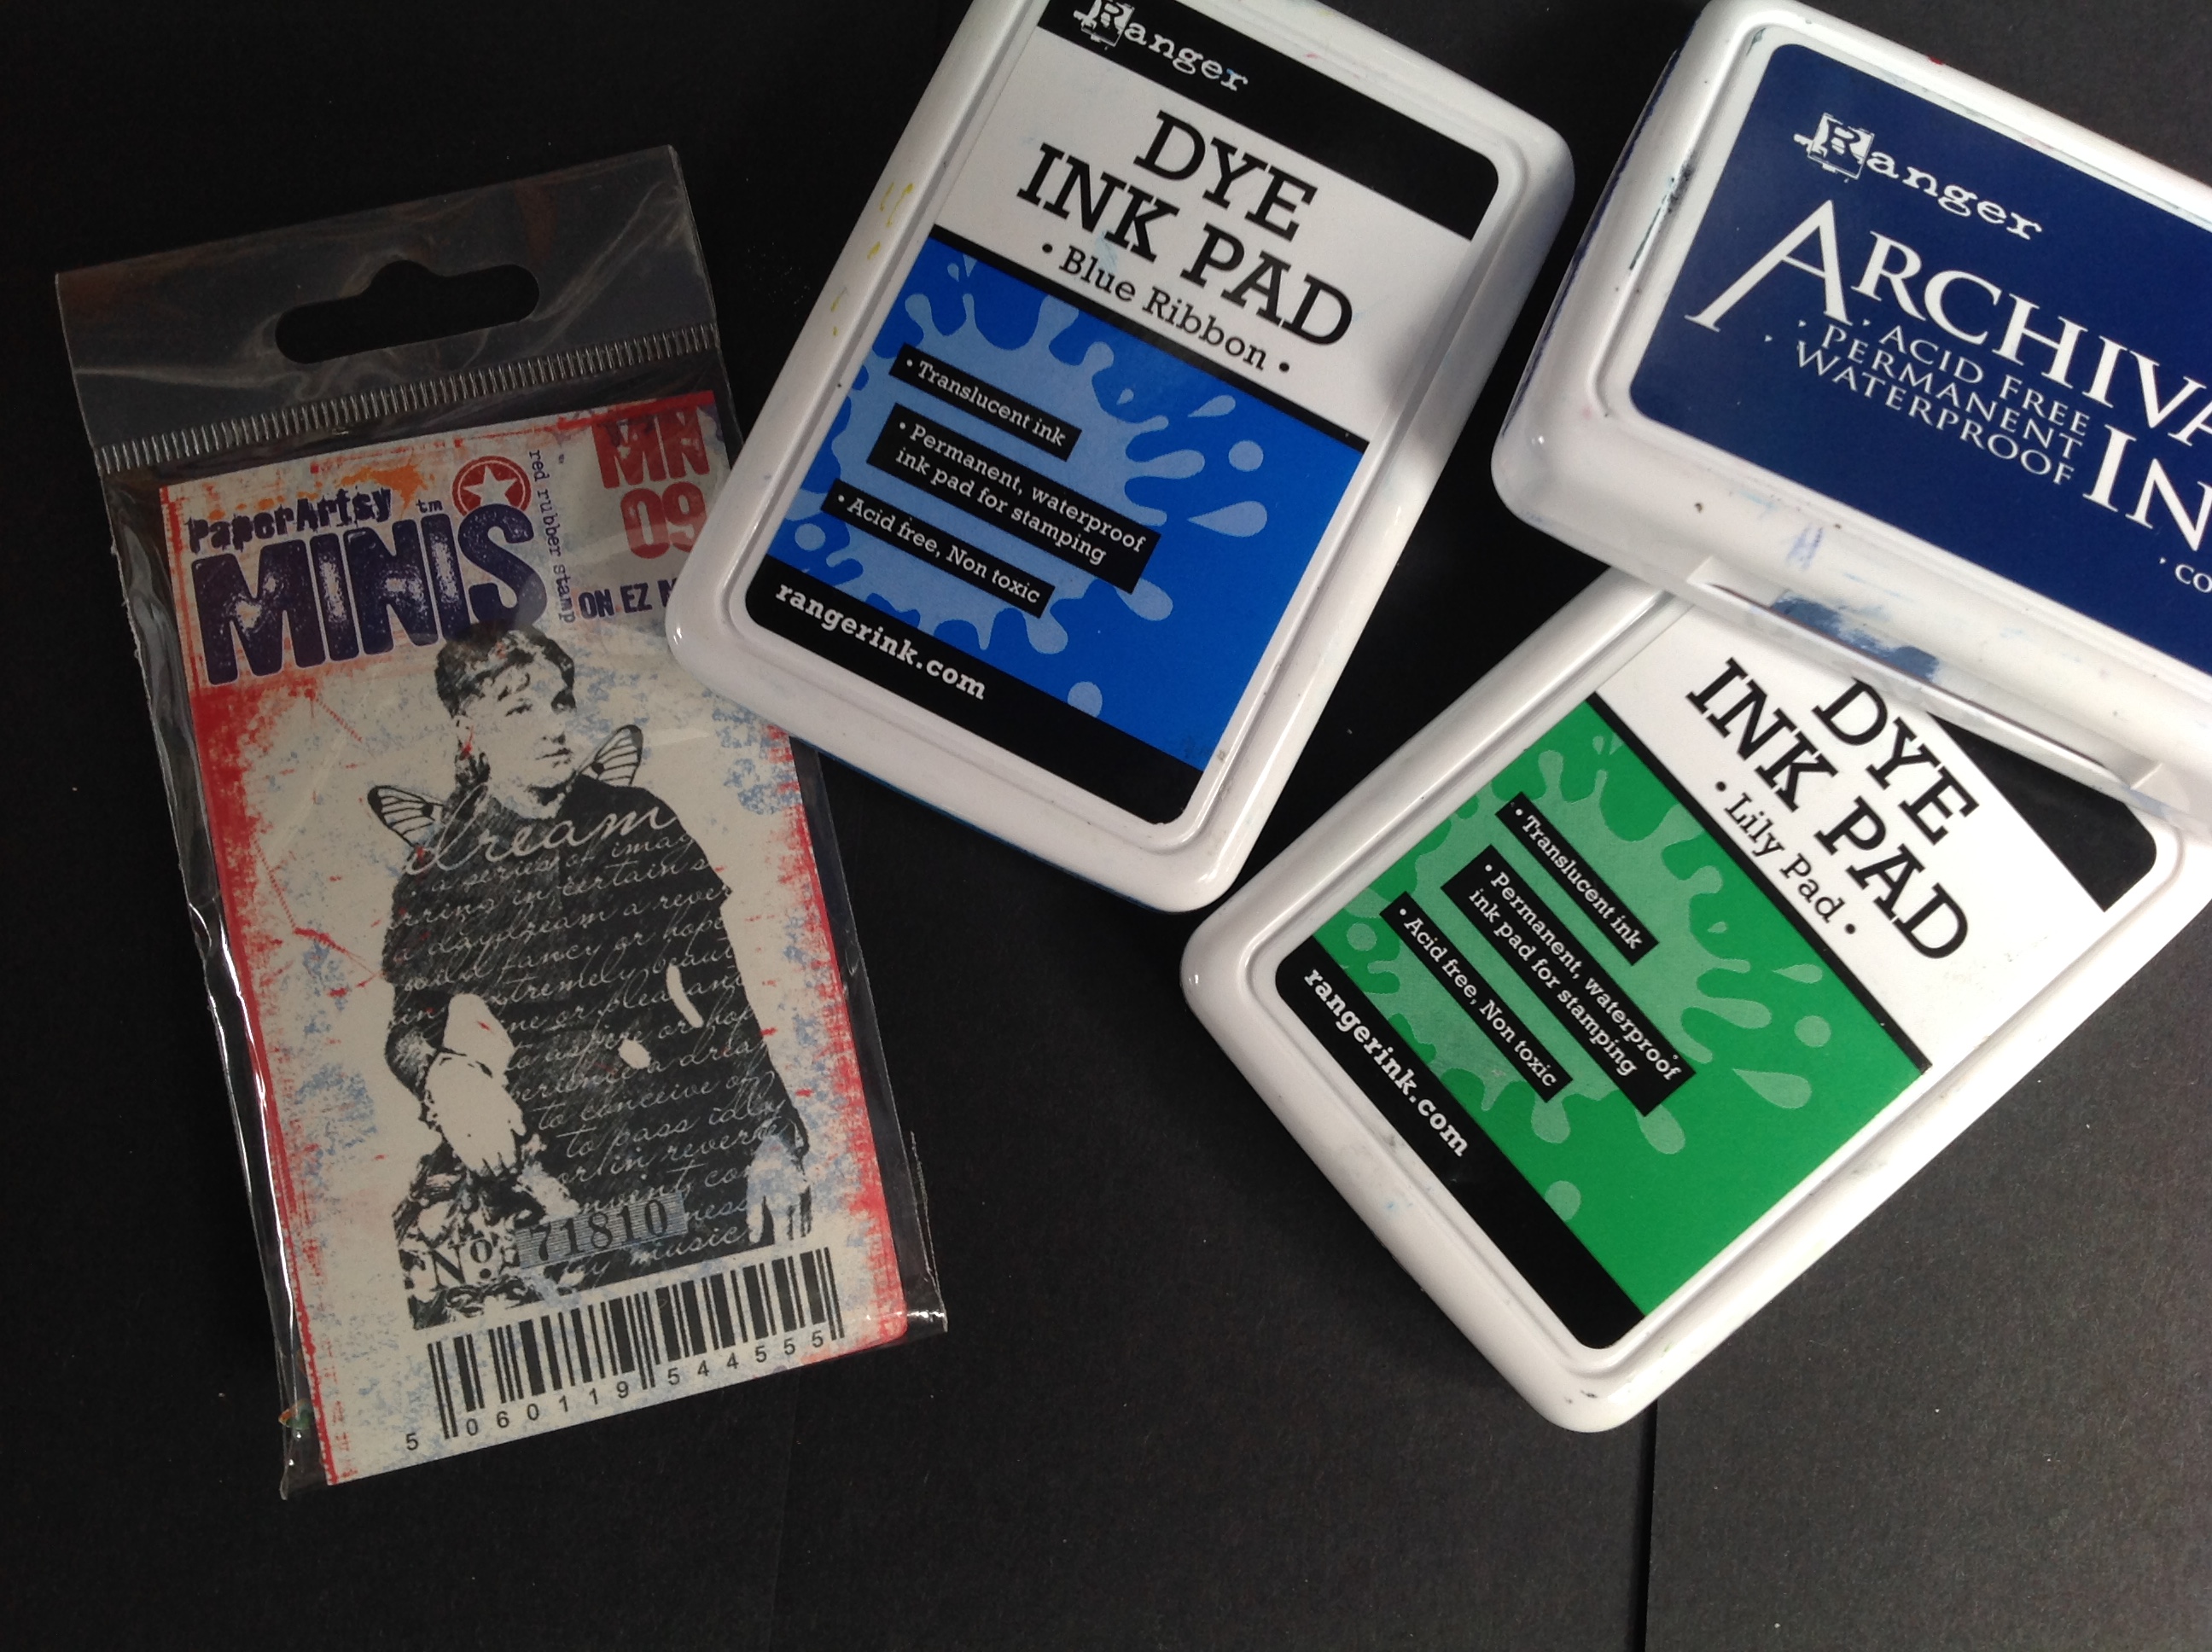
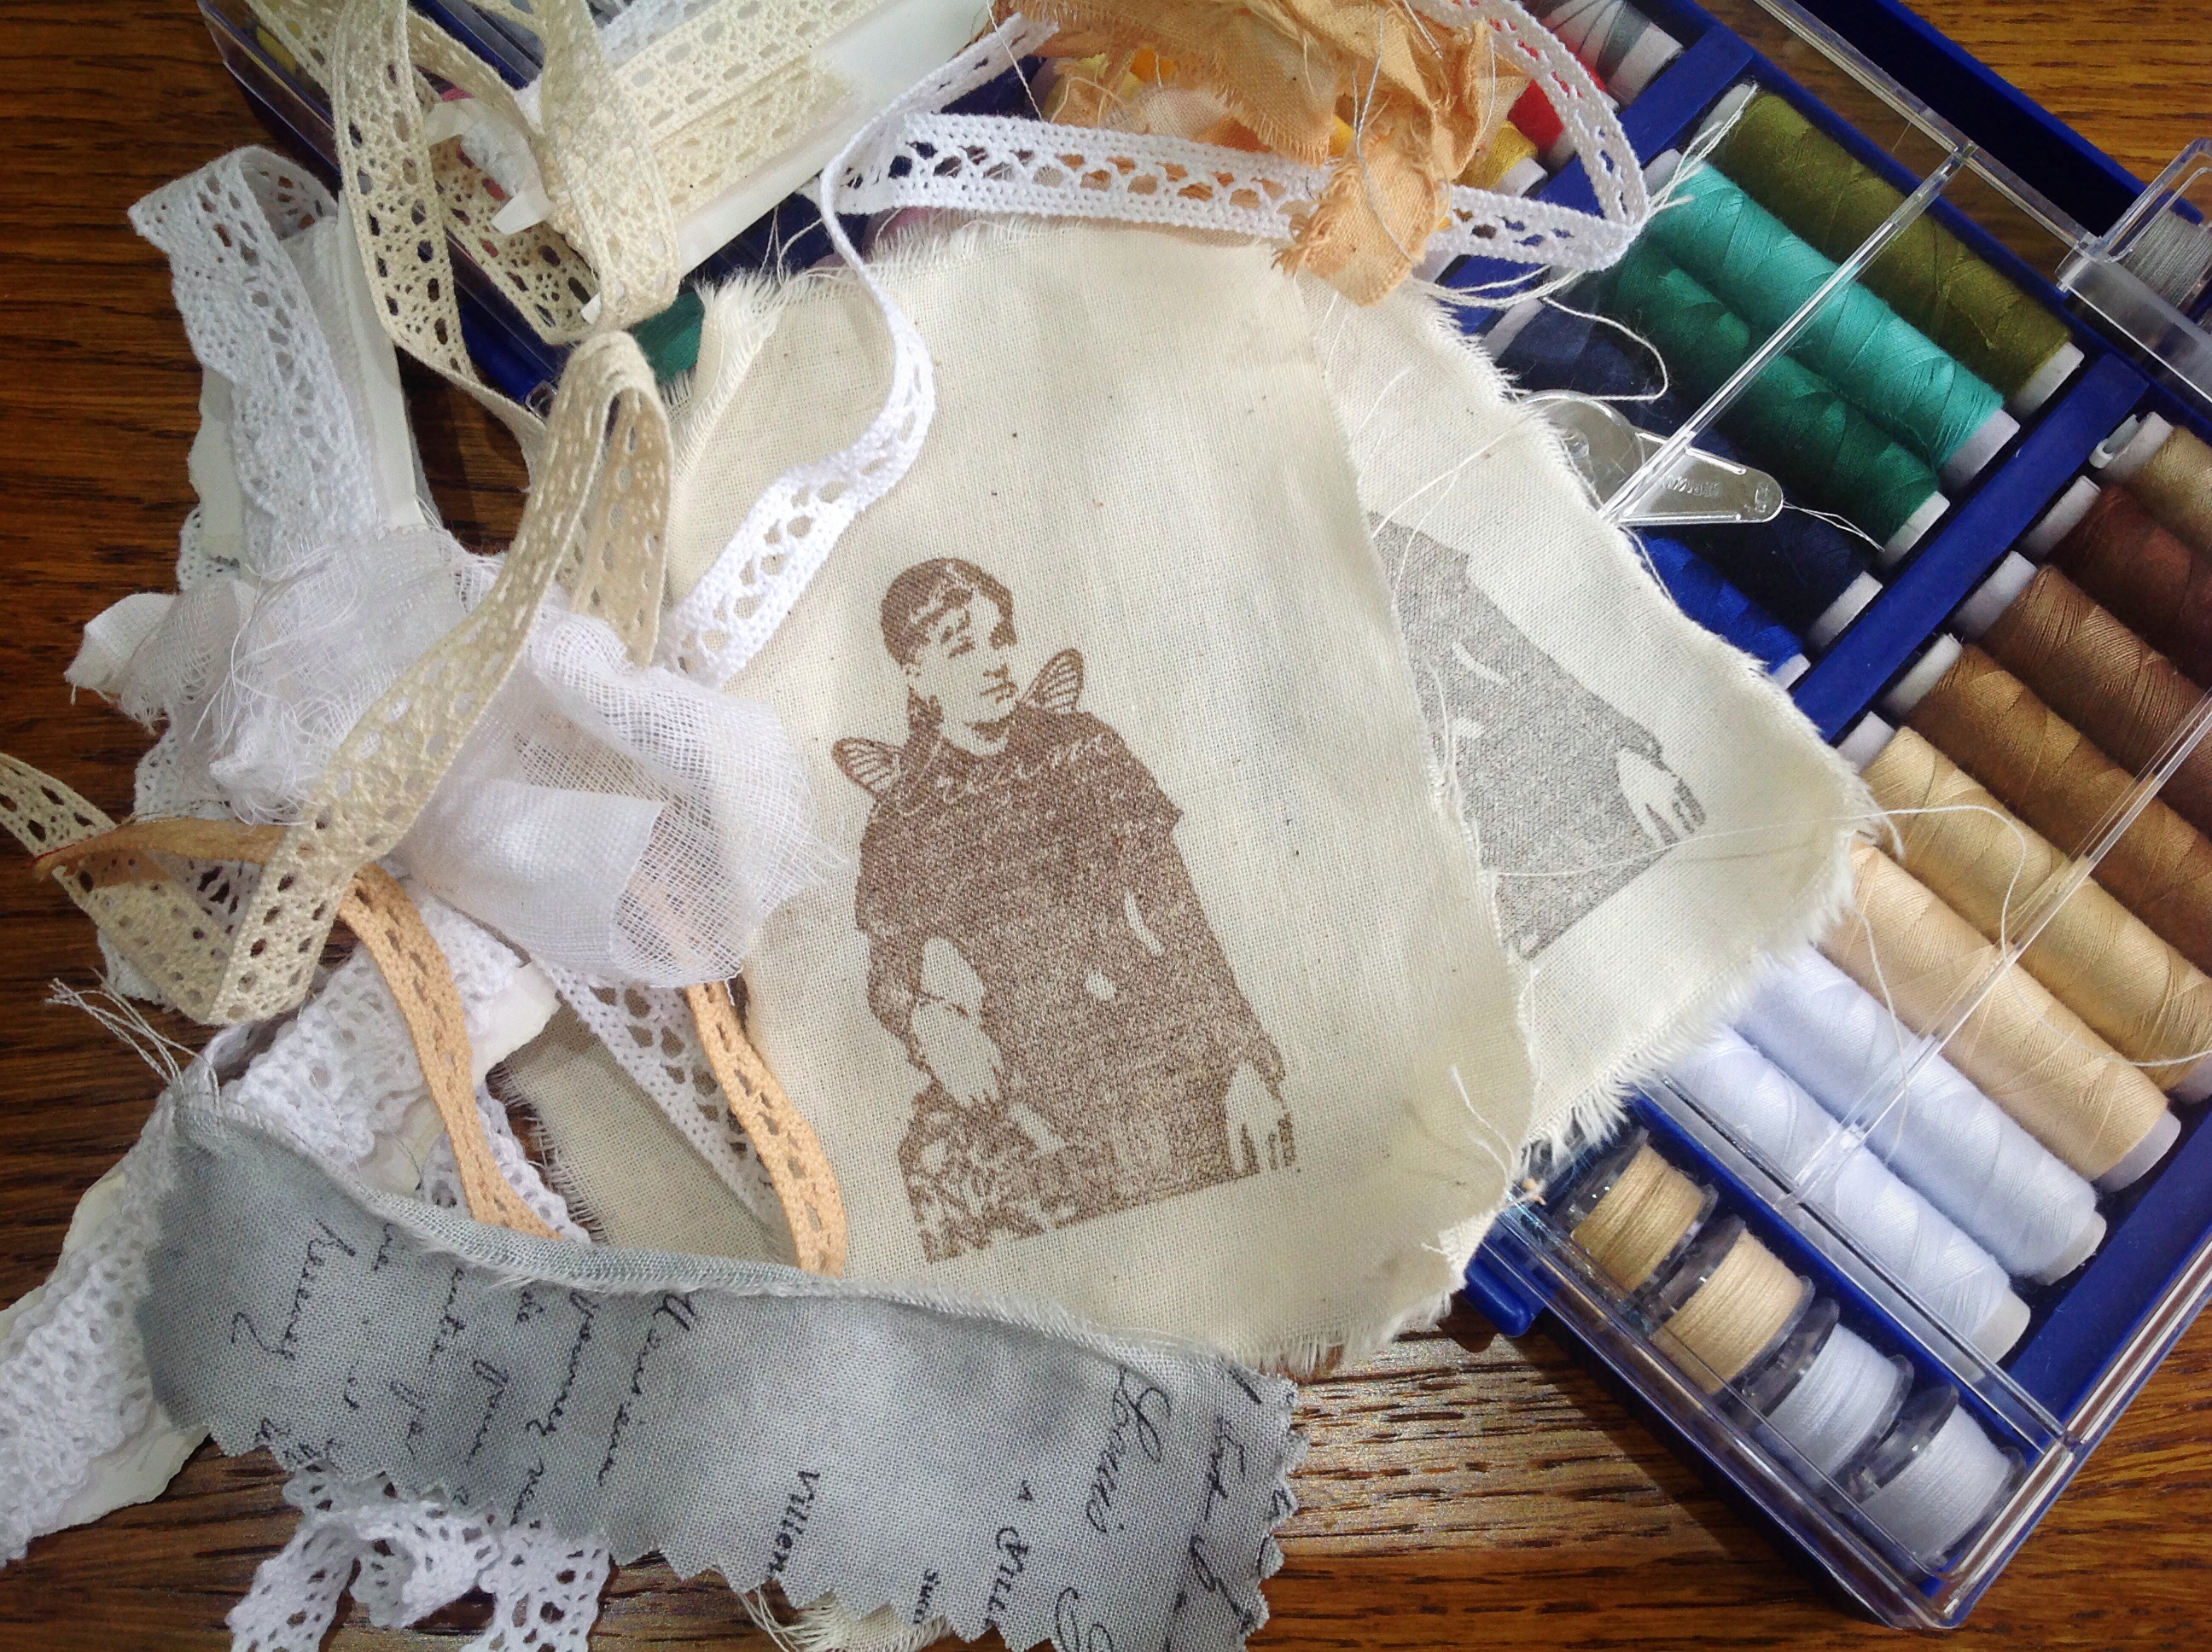
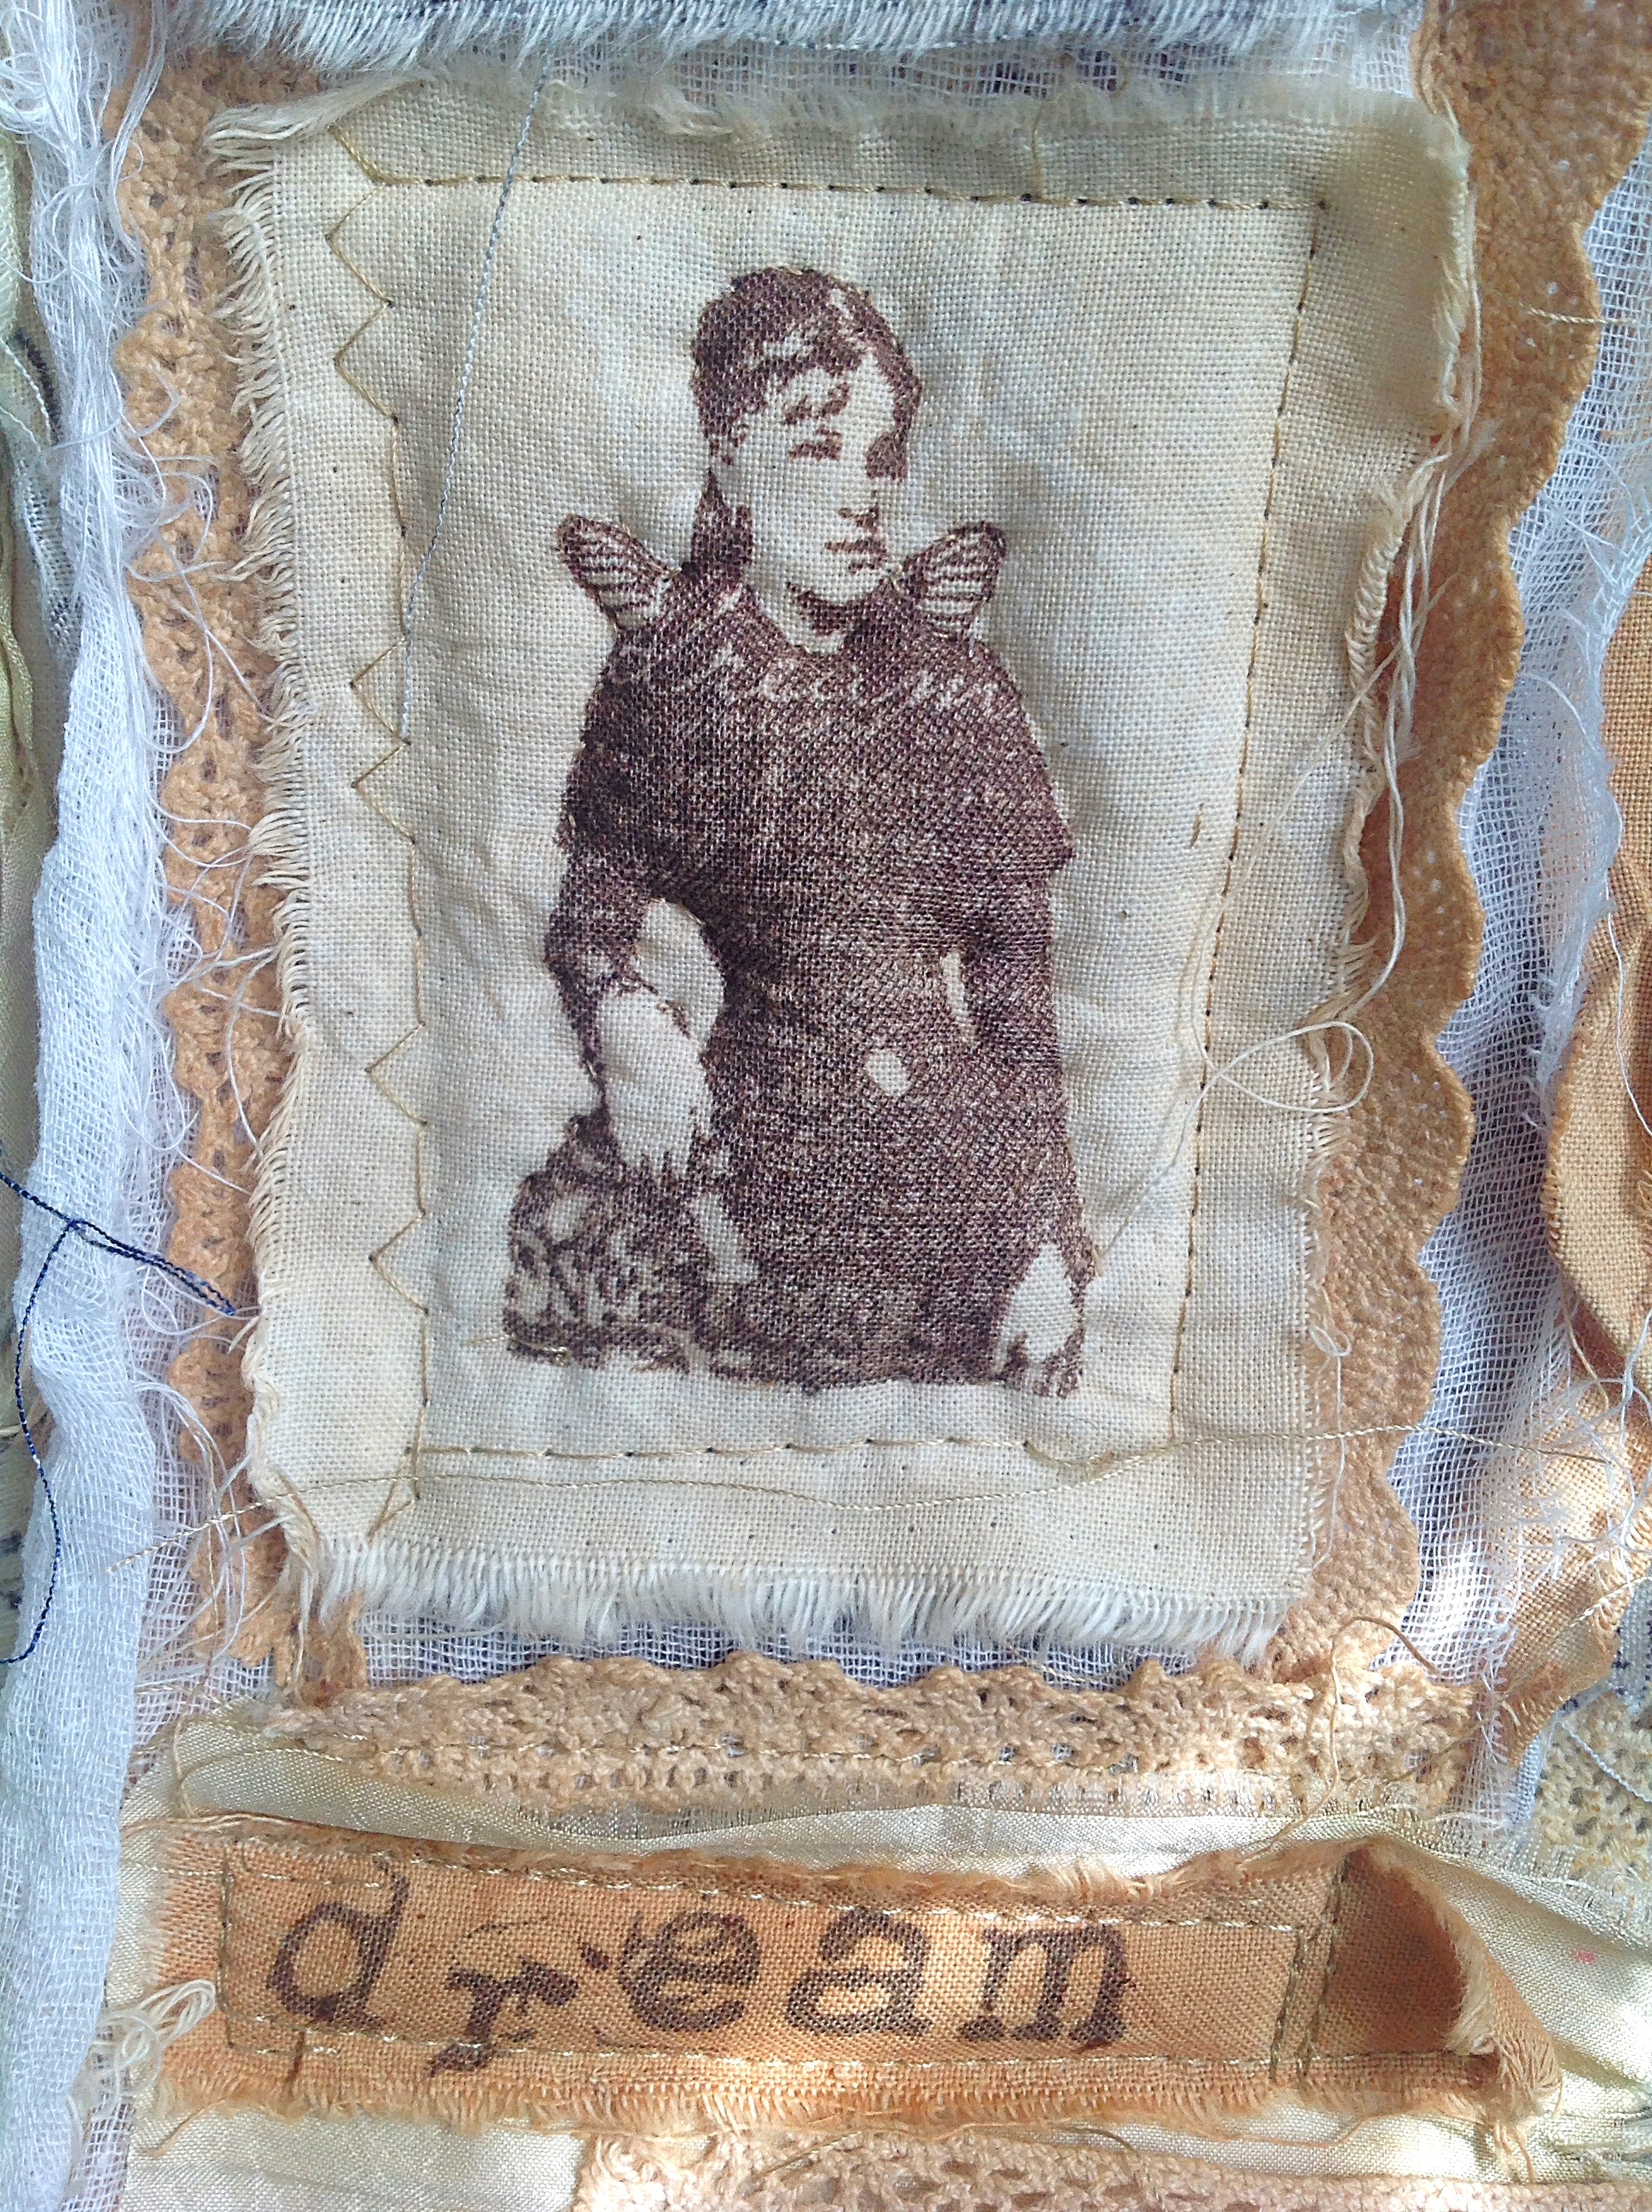
I stamped the Dreamer ( my lucky stamp), some script and texture.

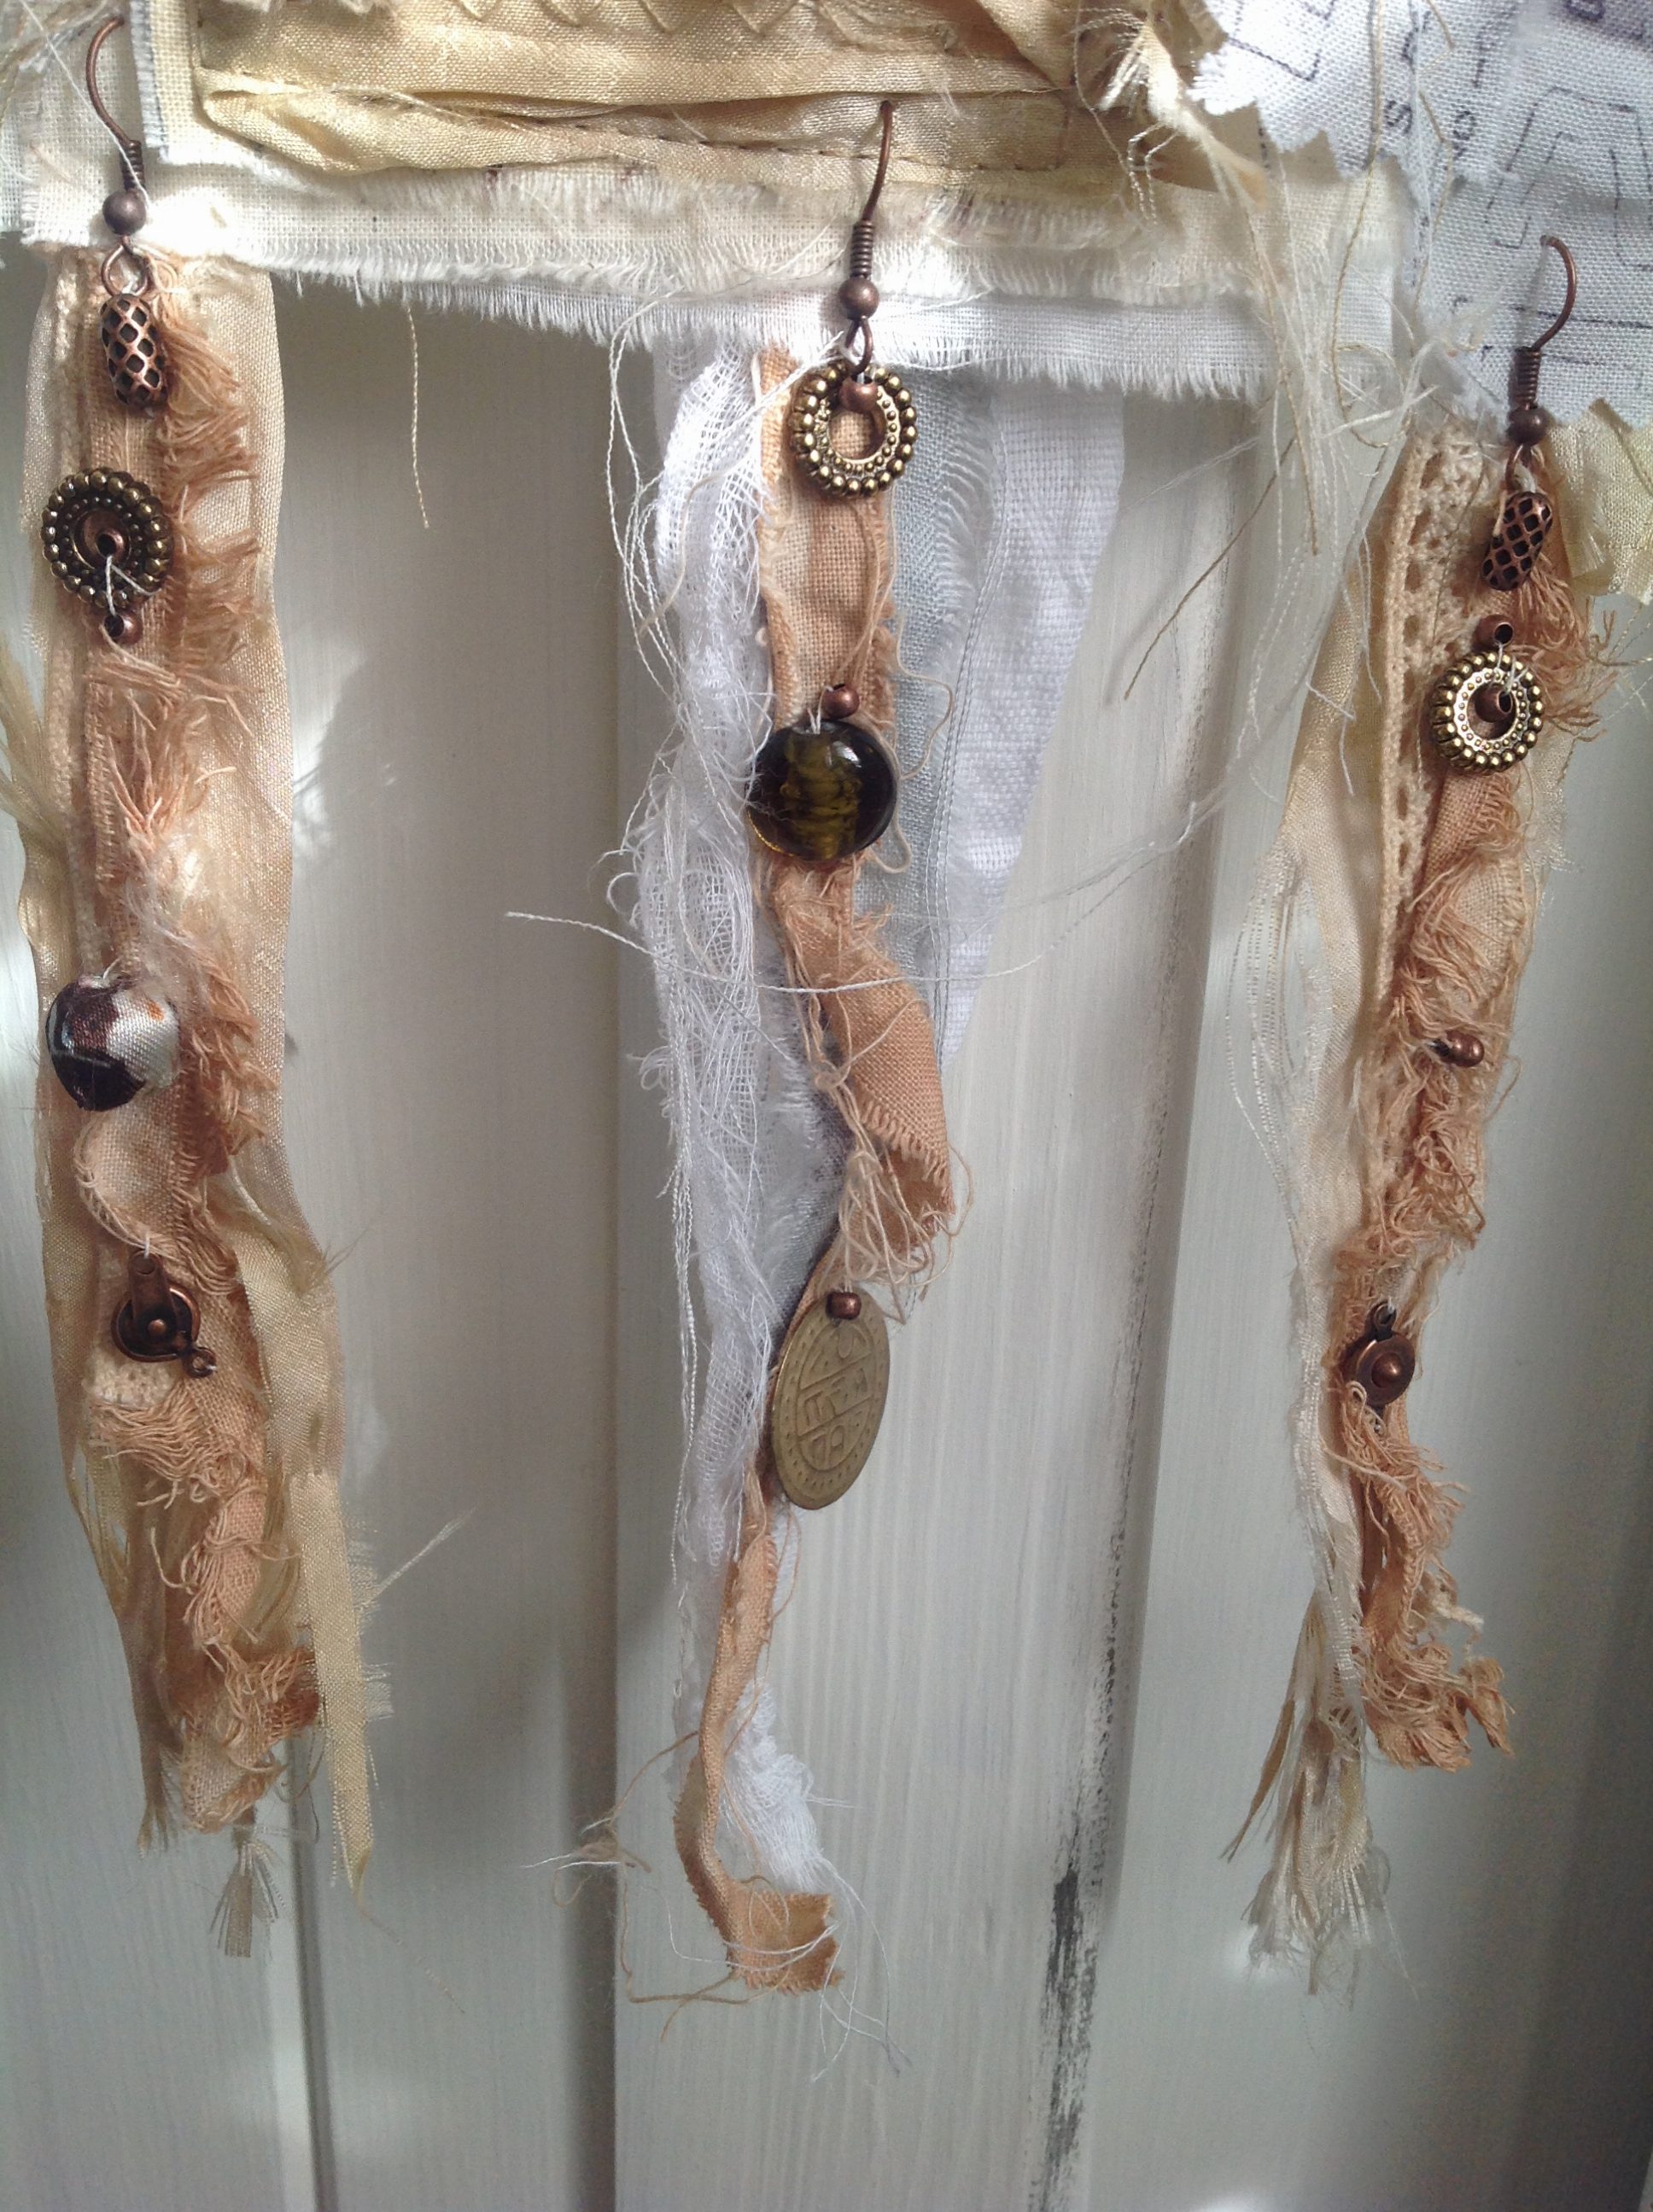
Sewing has always been my love to create interest and texture so out came the machine and I went around the mandala stencil and the edge of the journal with straight and zig zag stitch. I stitched a length of sari silk to wrap the journal and added fabric beads from my stash.

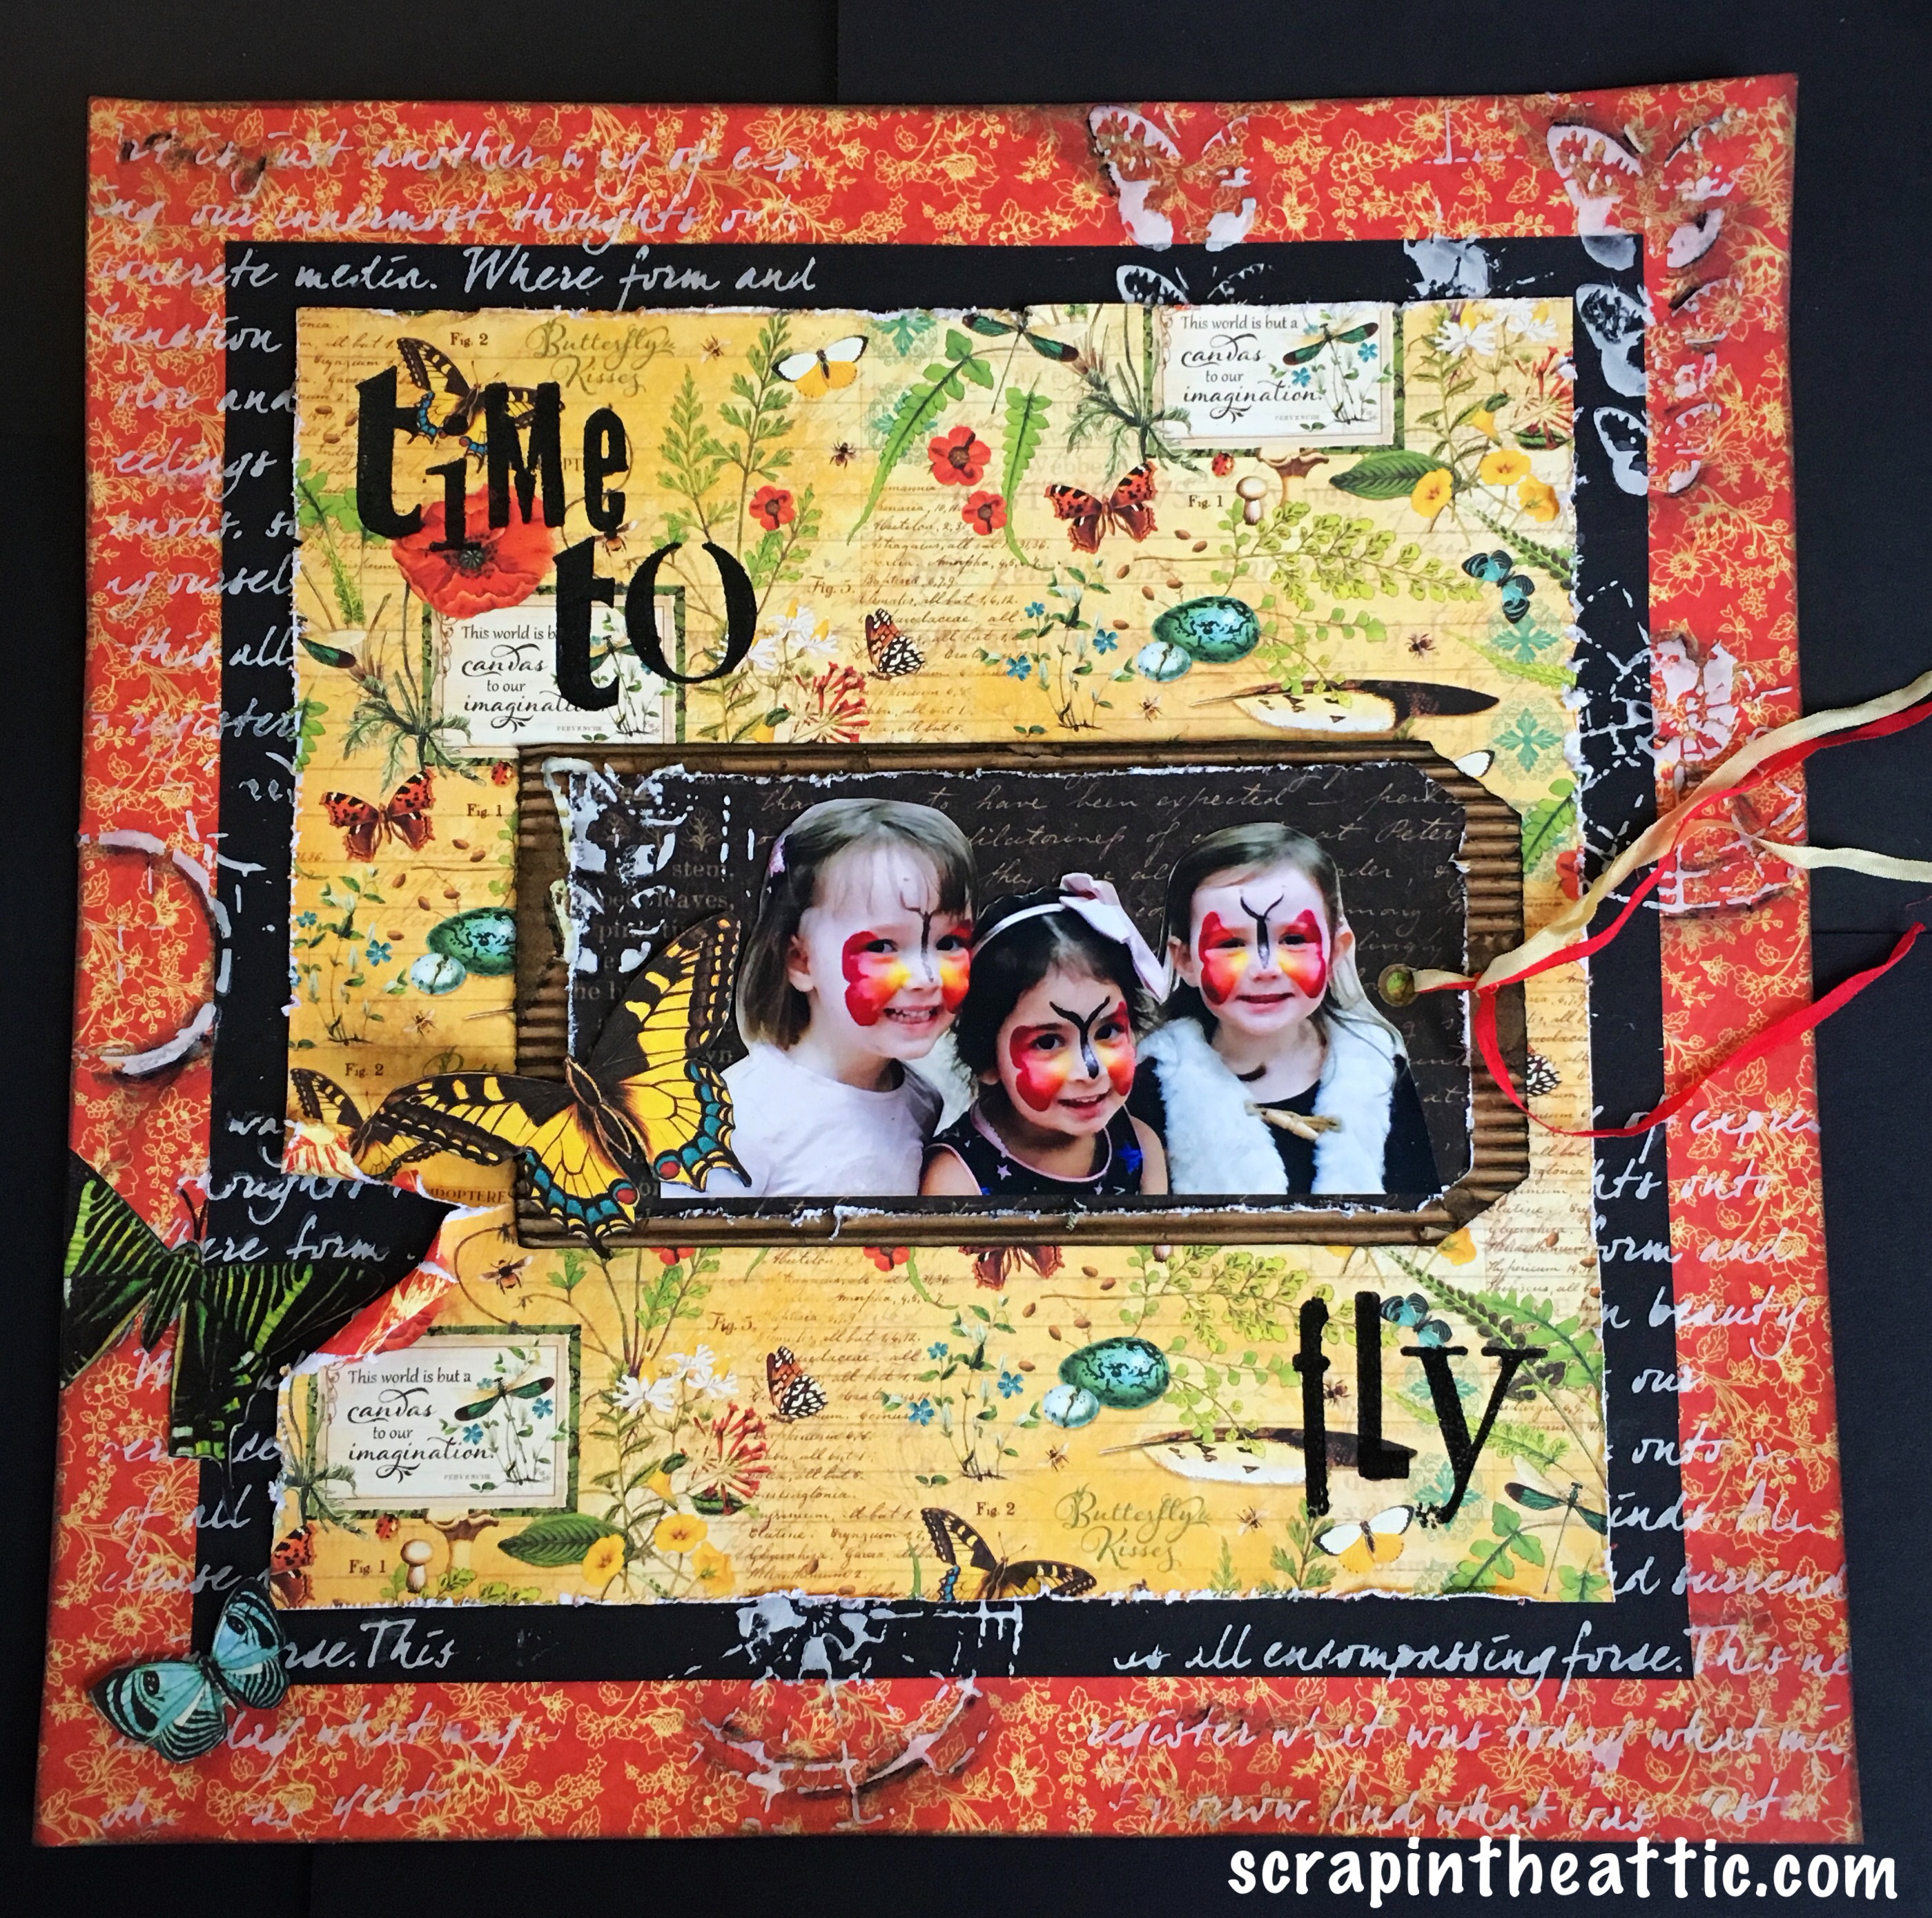
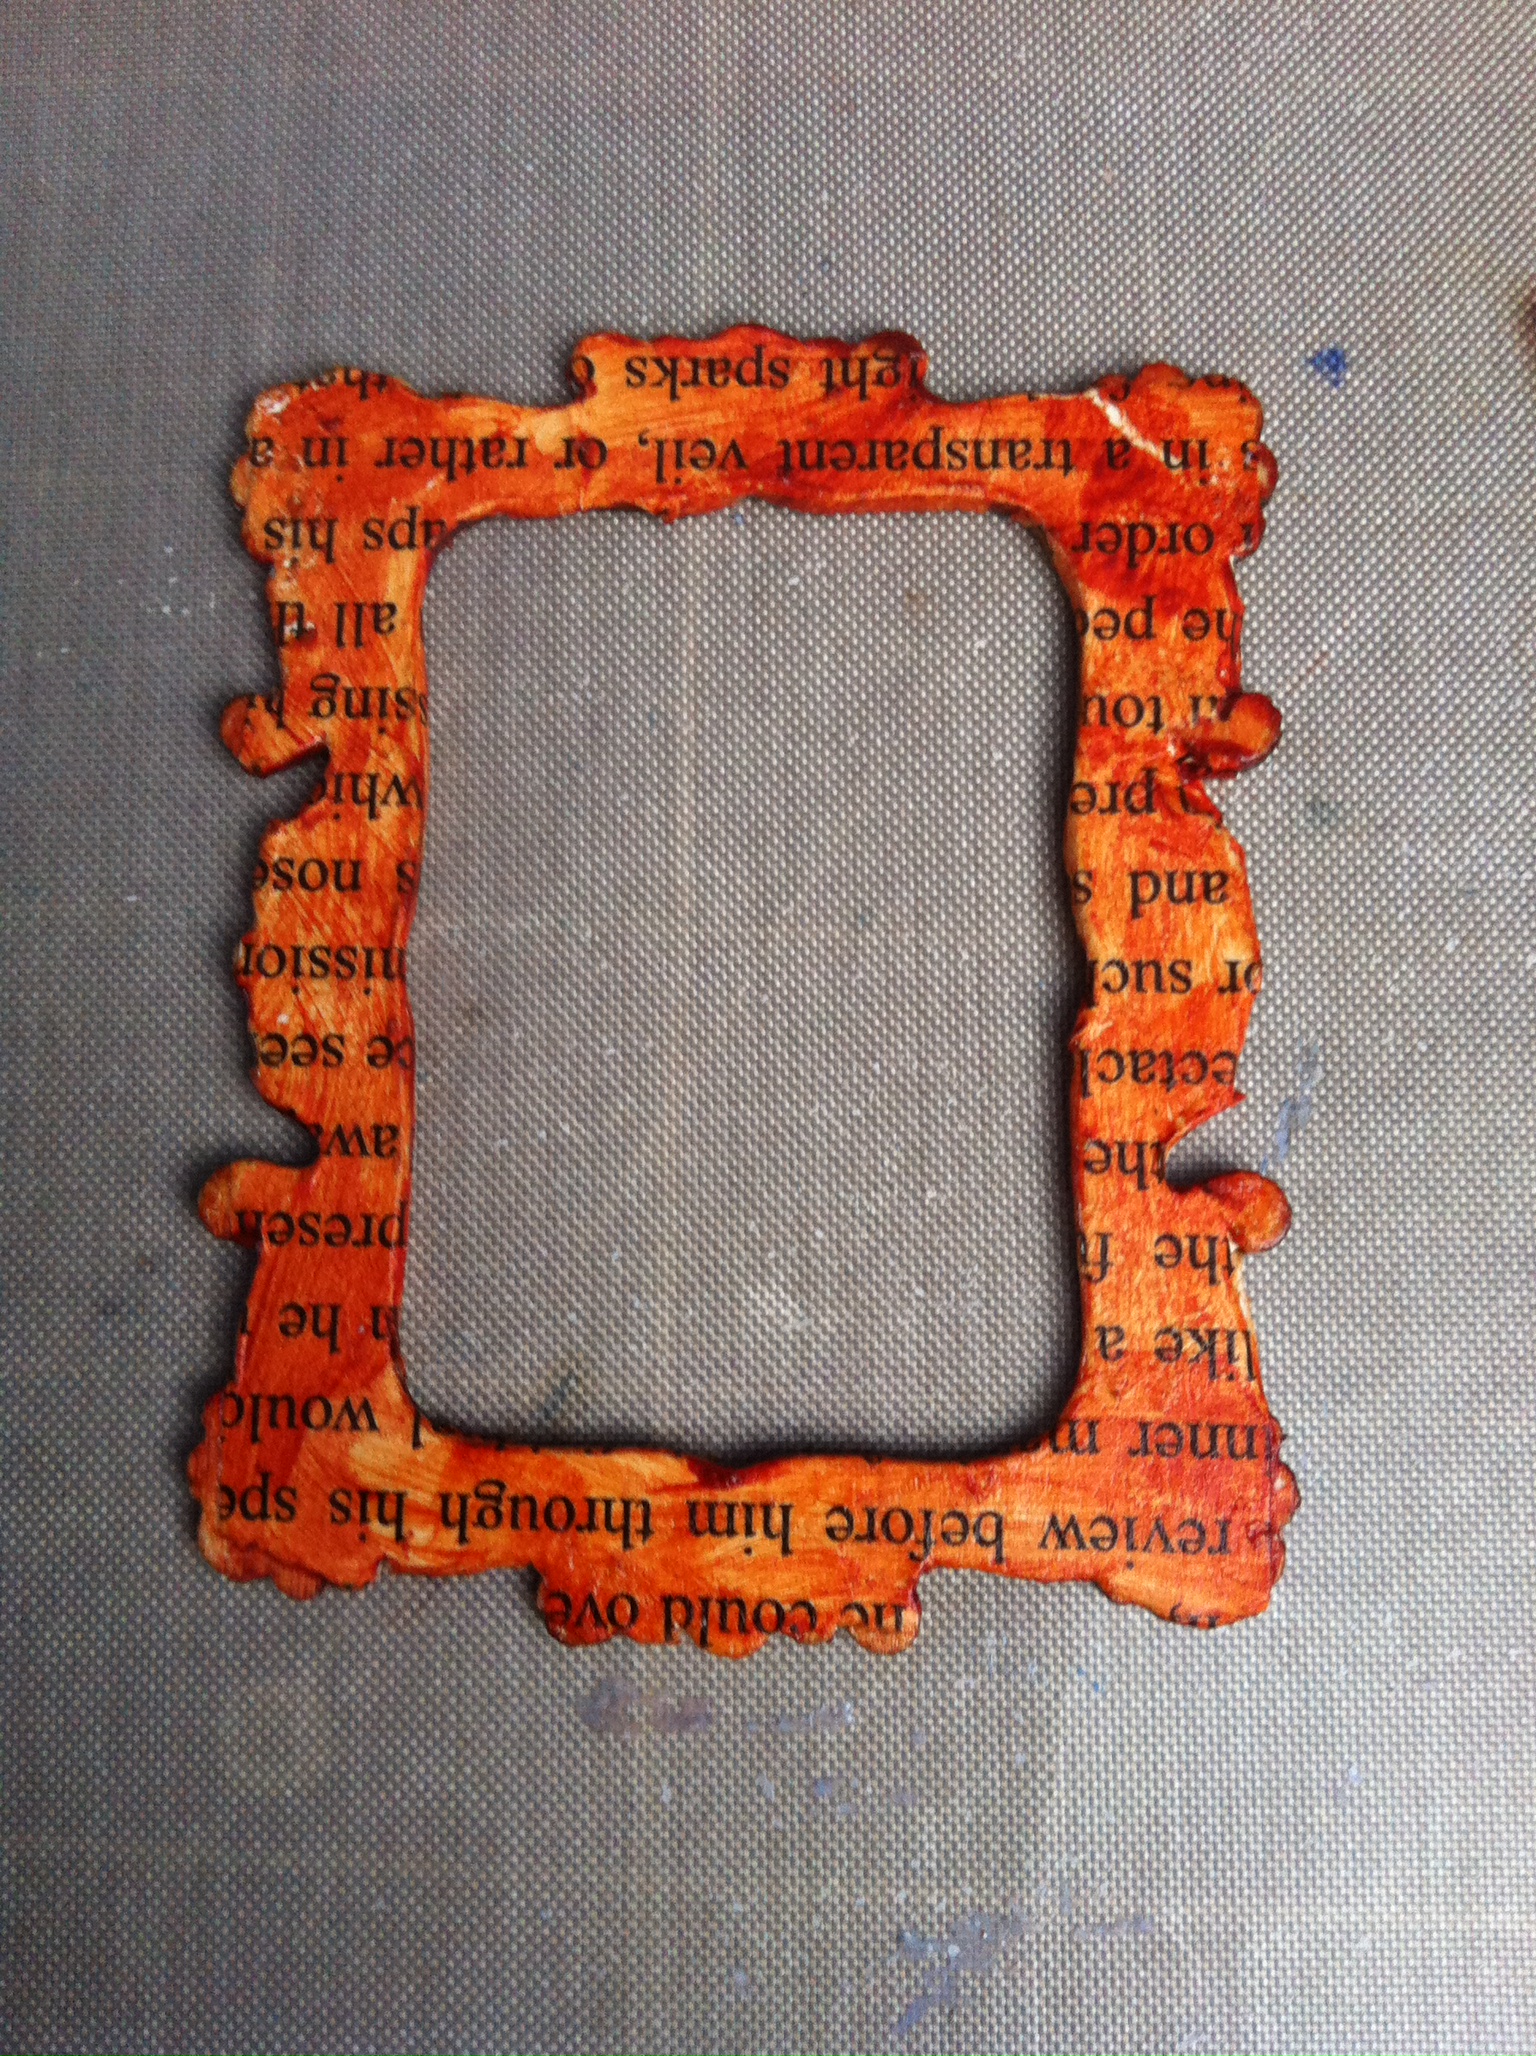
I added layers of paper, lace and fabric for the title. I cut out the words and numeral, you, 1 and True, on Watercolour paper, ( I kept the ripped off section) using TH Thinlets, I die cut dreams, painted gold, to layer on top. I printed the other words using Paperartsy stamps with archival ink and felt tipped stitches round the words. I painted gold under the cut outs and used some paper made from Elephant Poo, my friend Ruth Winters brought me as a present from South Africa!

I finished it off with machine stitching, Treasure Gold for highlights.

I am pleased with the effect I achieved, hope you all like it too!

There is time to enter this challenge over at AVJ, some great inspiration from the DT, getting creating.

Hugs

Jan x


Daisy’s small storage

Posted on

I really enjoy decorating storage items and this small mdf tray is perfect for paints or bottles. I have recently attended a workshop with Kate Crane at Ministry of Mixology and wanted to practise the techniques I learned with her.

First I laid out all the pieces and checked where they would fit, the dividers have a different fittings front and back. I used Decoart paint.

The colours were layered up from pale to dark. Remember to do both sides of each piece, I always manage to miss one side!I dried each colour before adding the next layer.

When I assembled the tray the front looked bare so I added a large mdf arrow and the word, create. The edges were all painted black and had a hint of treasure gold applied.

These trays are available from
Daisy’s and Jewels


The Celestial Book

Posted on

I altered this book for a friend.
It began with an mdf door hanger, used to frame the night sky map.


Layers of chipboard, texture pastes, Crackle paste, beads, stars, DecoArt paints and Patina Antiquing Cream ( my new favourite!) later.


I created the embellishments with moulds, paper clay and hot glue gun.


The chart had a coat of clear gesso then glossy accents to seal it in place. I highlighted raised areas with Treasure Gold, then a coat of Decoart Soft Touch Varnish.

I enjoyed altering the cover,  now for the inside!

I am entering into the April Country View Crafts challenge, Rust.
Hugs
Jan x


Mothers Day Postcard

Posted on


I was so excited when Daisy’s and Jewels made mdf postcards. I could see endless possibilities for these cute cards. I have tested them in the post and there are no problems.
I decided to create a Mothers Day card and send it to Spain for my Mum.

I began by painting the mdf with DecoArt Titan Buff. I stamped the butterfly (Tim Holtz) with black Archival ink and heat embossed clear powder on the image. I made a mask of the butterfly on a post it and then stamped the background with translucent ink in blue and green.

The butterfly was coloured with Promarkers and then I dipped the edges in embossing ink then gold powder which was heated. I gave the front a coat of soft touch varnish for protection in the post.

The back of the card was painted and stamped. I used a Sharpie to write the address and message.

The card arrived safely in Spain with a present, I decorated the Jiffy bag to match the card! Mum was delighted.
Everyone at the post office was intruiged with the postcard.

I hope you like them too
Hugs
Jan x


Dreamer

Posted on

I have wanted to make a hanging with this lovely mini Paperartsy stamp. When I was little I wanted to have wings and dreamed about flying. The word dream has such a lovely sound I decided to enter the challenge at A Vintage Journey, Words that are Special.

I began with a selection of fabrics, canvas, muslin, sari silk and Tim Holtz. I dyed different lace in tea and coffee to get a vintage look.

I stamped the image and word using Stazon Ink, make sure there is lots of ink on the stamp!
I machine stitched and padded layers of the fabric with the lace onto a piece of canvas.

I found these beautiful copper earring hooks to dangle the threads of her dreams. I decorated each strip with beads and tokens from my stash.

I was pleased with the result and clipped it onto a TH hanger.
Hope you like it too!

Hugs
Jan x


Butterfly Beauties

Posted on


As soon as I saw this photo of my granddaughter and her friends I knew I had to create a scrap page!

I began with the luscious Graphics 45 Natures Sketchbook papers. The colours were perfect with the photo. I needed a layer of black in between to set the colours off.

I wanted to link the pages together so I used Texture paste through a script stencil. Then for circles and butterflies, my favourite!

I darkened the dry stencilled images with Stabilo pencil then wet the edges with a water brush to add dimension.

The tag was created with corrugated card and Tims tag die. A smaller G45 paper piece was stuck on top, butterfly stencilled and inked.

Then for fussy cutting butterflies. The title was stamped with black ink then clear embossed. The background butterfly was also clear embossed.

Fine silk ribbon finished the tag. I am so pleased with the result.

My New Year Resolution was to join in more challenges, so I am starting with A Vintage Journey. The theme is Going round in circles,  I have used circles to make the page more cohesive.

check out their challenge and wish me luck! X


Road Trip Journal

Posted on

imageI am following the Wanderlust Course and really loving it all, some classes more than others, but it’s good to be out of your comfort zone!

I made the travel journal from Kate Cranes class and loved creating all the pages. Here I am now on our great Road Trip from Phoenix Arizona up to Yellowstone in Wyoming. We have visited all the places in between too, Sedona, Monument Valley, Bryce Canyon, Salt Lake City, Idaho Falls, travelling through Utah and Idaho.
Every night I add bits and bobs and photos from my LG phone printer!

image

image
image

image

image


image

image

Still a few pages left for Yellowstone Park!

hope you enjoyed looking, hugs Jan x


National Scrapbooking Day!

Posted on

Over at Jones the DT decided to join in the fun and create scrap pages to celebrate National Scrapbooking Day!

I created a fun page using G45 papers from Beneath the Sea papers, I love the steampunk influences.

Nat scrap


I had this sunset photo from our visit to Pismo Beach, California last year but wanted to create something more quirky. The background is fun with Brushos and waterspray, beware they get evrywhere! The rest is made from scraps I had from other projects.

Welcome… to our Scraptacular Celebration of UK Scrapbooking!
It’s (Inter) National Scrapbook Day today and Jones Crafts are celebrating in style!
We want you to get your scrap on today and join in with our Scraptacular Virtual Crop.
We want you to scraplift one of the Design Team layouts on this post.
Pop a photograph of your layout in the comments on this pinned post and share your scraplift with us.
Visit the Design Team blogs to leave a comment and you could be in with a chance of winning a Scraptacular prize! £50 worth of Scrapbooking materials from our leading Scrapbooking companies
Check out each image for blog details.
On Saturday May 14th, we will select a layout that we think is quite simply Scraptacular and that layout will be featured on the Jones Crafts Facebook page and the scrapper will win an amazing prize.
So what are you waiting for?
Ready, steady, scrap!
And don’t forget to be Scraptacular! 

Hugs Jan x


Hit the Books

Posted on

image

Welcome to the new challenge at Our Creative Corner, the very talented Jennie is Challenge Host for May. She has chosen….

Hit the Books

Jennie said “I adore old book paper and old books and I am always glad to be able to breath new life into a dilapidated book which most people would consider throwing out!”

For your projects this month we would like to see you searching through your stash for old book paper or books and create a project with what you find. You might want to use papers within your project or you might want to breath new life into an old book by altering it in some way. I hope I have chosen a challenge theme with huge scope for projects small or large.

Whatever you make let us see you give those old book papers or books centre stage!

I decided to create a Spring Tag to show this fun photo of my Granddaughter and her little friend. I chose an old book of fairy tales to use as the background on the tag and the frame.

image

 I really enjoyed collating the tag using Frantage and embossing powders heated on top of Versamark. The blush colour matched the girls clothes.

image

The frame was covered in more book pages then painted with Decoart Quin Gold, I love the translucency of this paint. I gave it a coat of Crackle Glaze when it was dry. White Antiquing cream really highlighted the cracks in the final step. I rubbed some Quin Gold around the edges of the tag with my finger.

image

The flowers and leaves were dye cut from Tims Flower Garland and Garden Greens. I chose yellow flowers to reflect the daffodils in the photo. I used Distress Coordination paper which was sanded at the edges.
Raffia wraps and metal word tags finished the piece, it was a messy but fun project!
our sponsors are
 
The winner this month will receive a huge bundle of goodies from our generous sponsor!
I am looking forward to seeing what you can do with old books.
I love the Spring feel of the little photo and will enter the challenge “Spring is in the Air” over at A Vintage Journey. Check out the DT beautiful work there.
hugs
Jan X